Tags (space delimited): building large data platforms
- 1. Download and install Phoenix parcel
- 2. Install CSD files
- 3. Add Phoenix service in Cloudera Manager (provided HBase service is installed)
- 4. Configure HBase for Phoenix
- V. Verify Phoenix installation and smoke test
- 6. Import Data Validation Test
- 7. Integration of phoinex schema with hbase namespace
1. Download and install Phoenix parcel
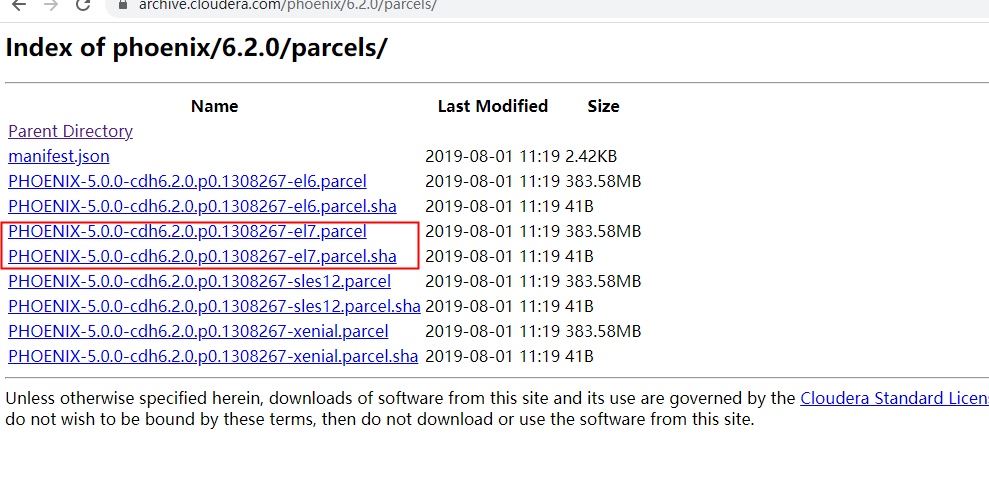
Download Address
https://archive.cloudera.com/phoenix/6.2.0/parcels/

PHOENIX-5.0.0-cdh6.2.0.p0.1308267-el7.parcel
PHOENIX-5.0.0-cdh6.2.0.p0.1308267-el7.parcel.sha

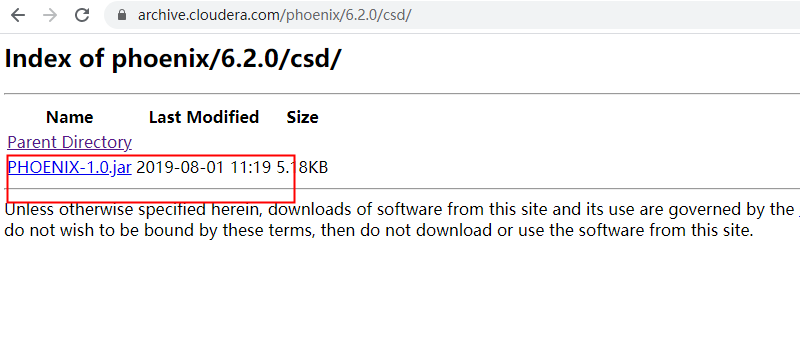
https://archive.cloudera.com/phoenix/6.2.0/csd/
PHOENIX-1.0.jar
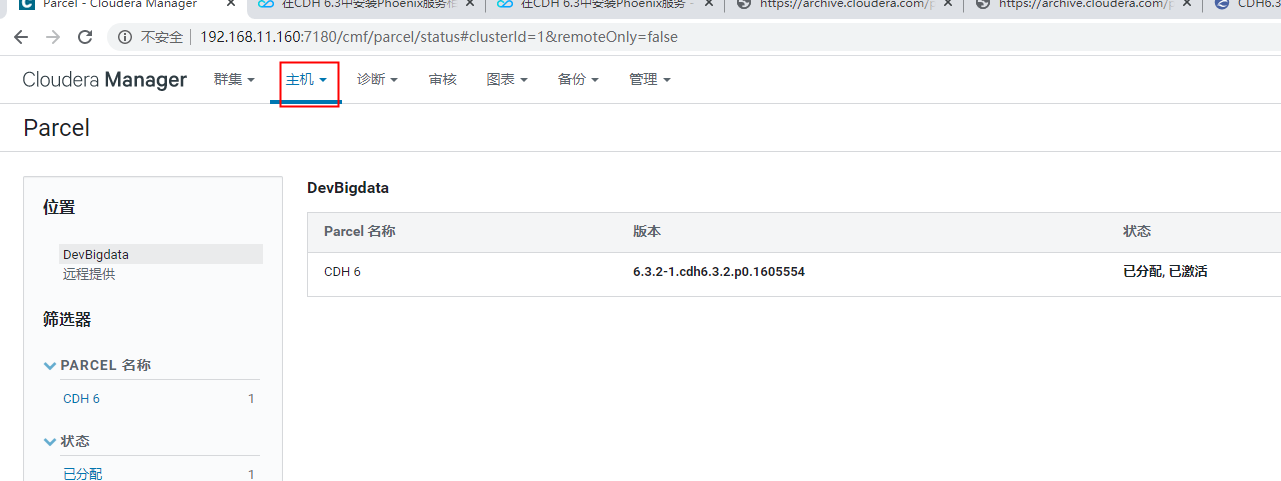
1. Log in to Cloudera Manager, click Cluster - > Parcel, and enter the Parcel page.
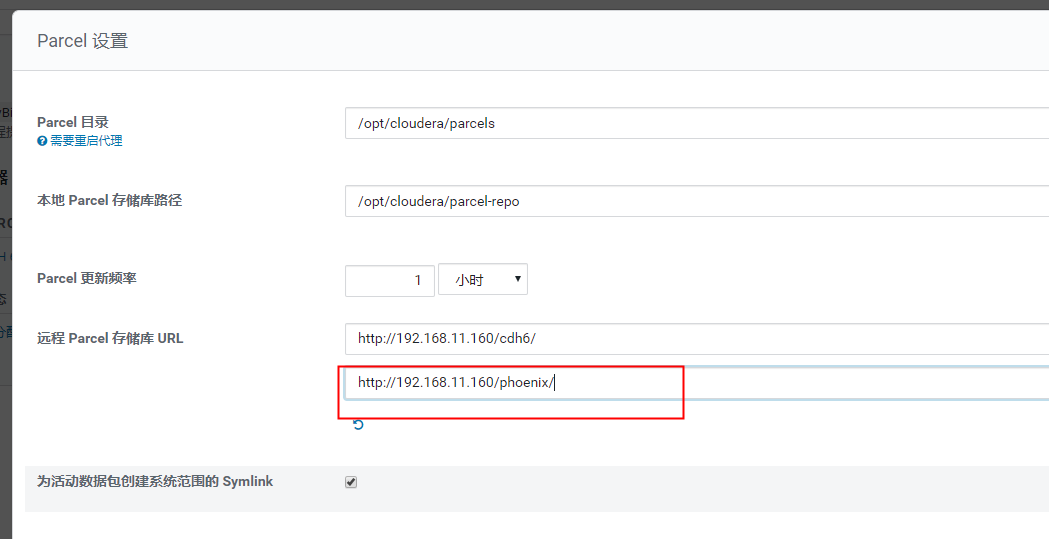
2. Click Configure to add the remote Phoenix Parcel URL, as shown in Figure 1, and save the changes.
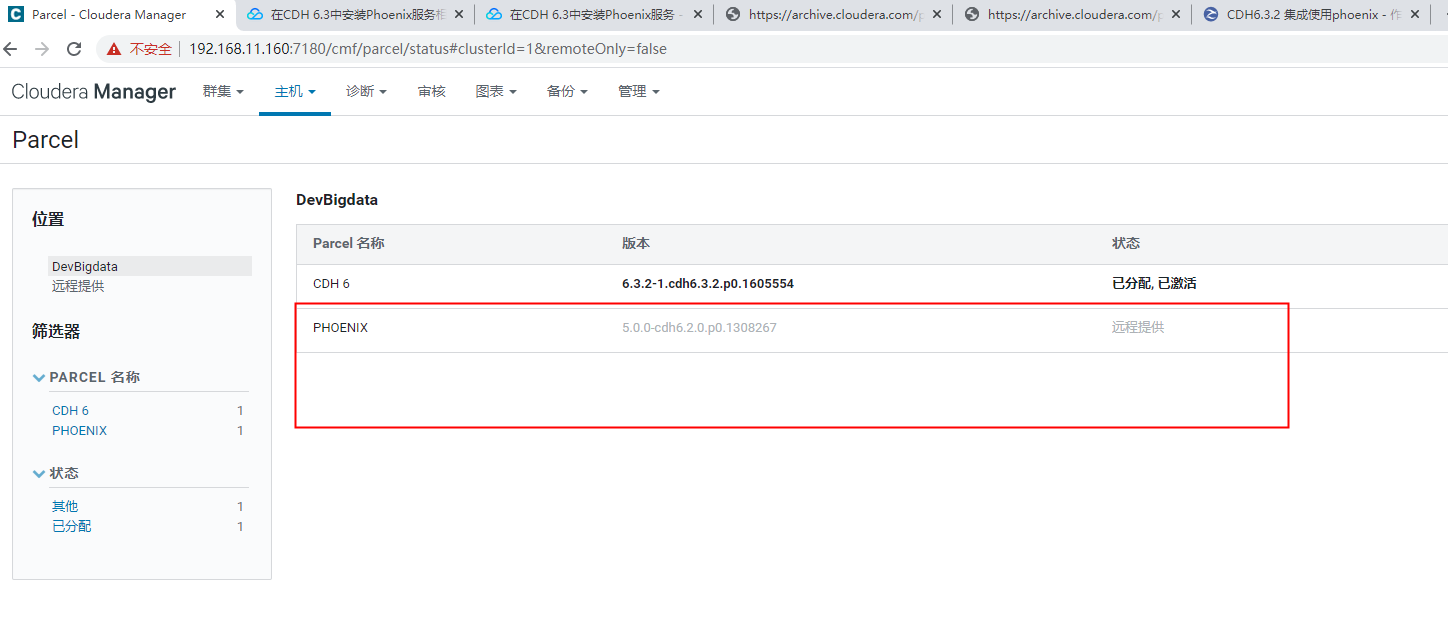
4. When the download is complete, click Assign


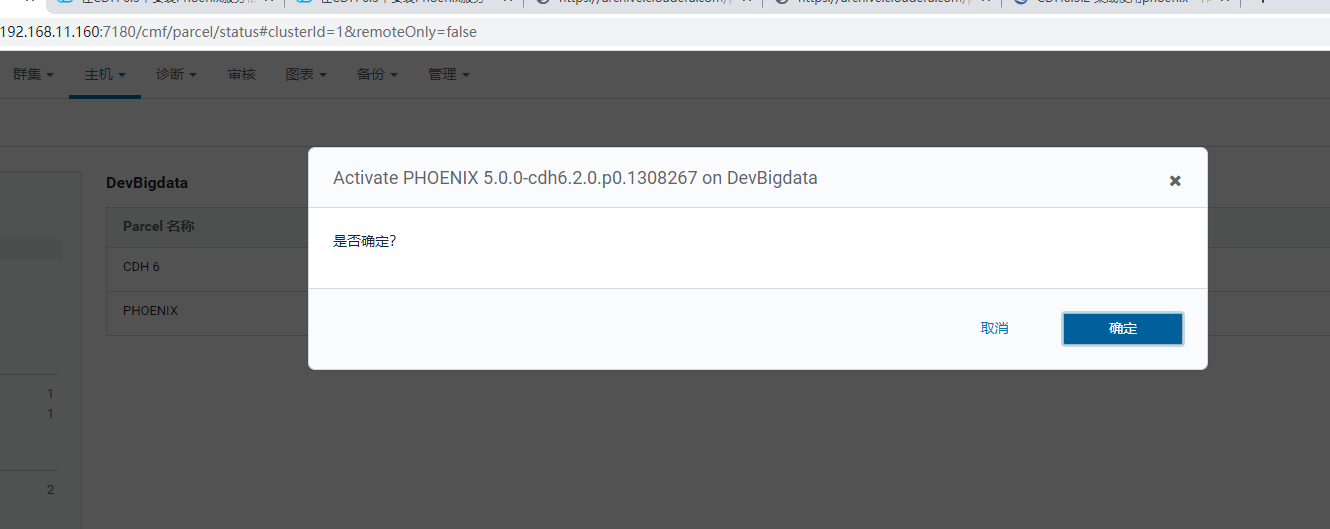
5. When the assignment is complete, click Activate

2. Install CSD files
2.1 Install phoenix
Custom Service Descriptor (CSD) files must be installed before adding Phoenix services to the CDH.

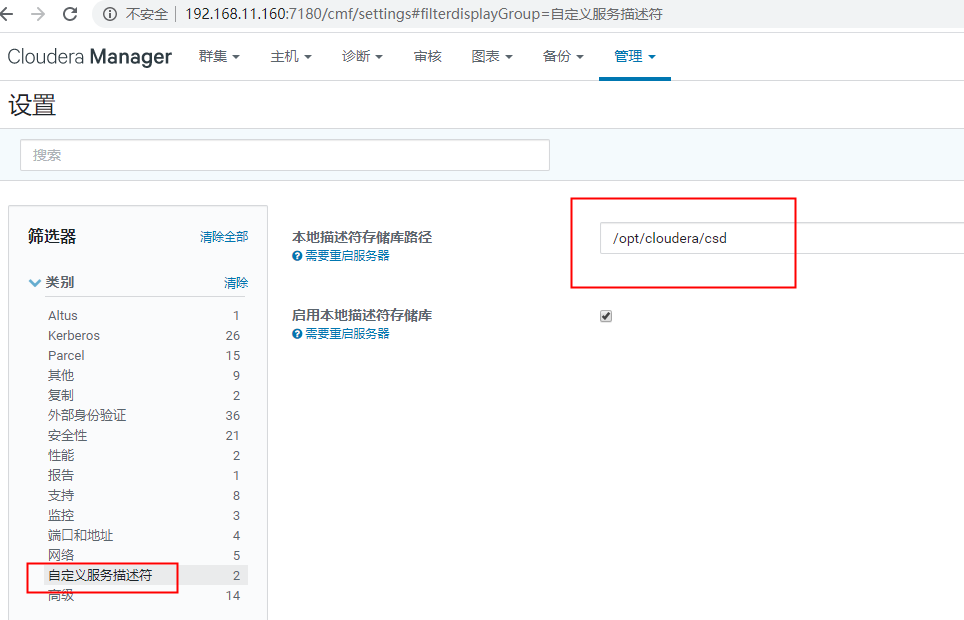
1. Determine where to store the CSD files.
 Log in to Cloudera Manager, click Manage - > Settings, click Custom Service Descriptor, and view Local Descriptor Repository Path

 /opt/cloudera/csd directory

 mv PHOENIX-1.0.jar /opt/cloudera/csd/

Start cloudera-scm-server service from scratch

systemctl restart cloudera-scm-server

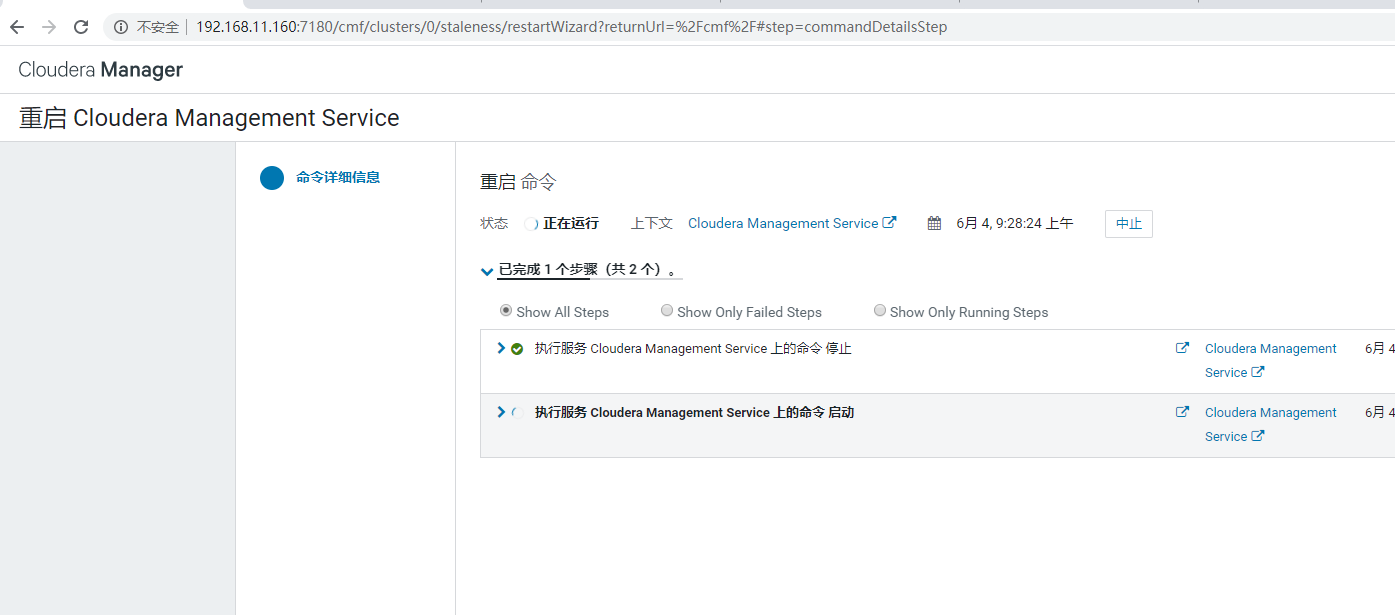
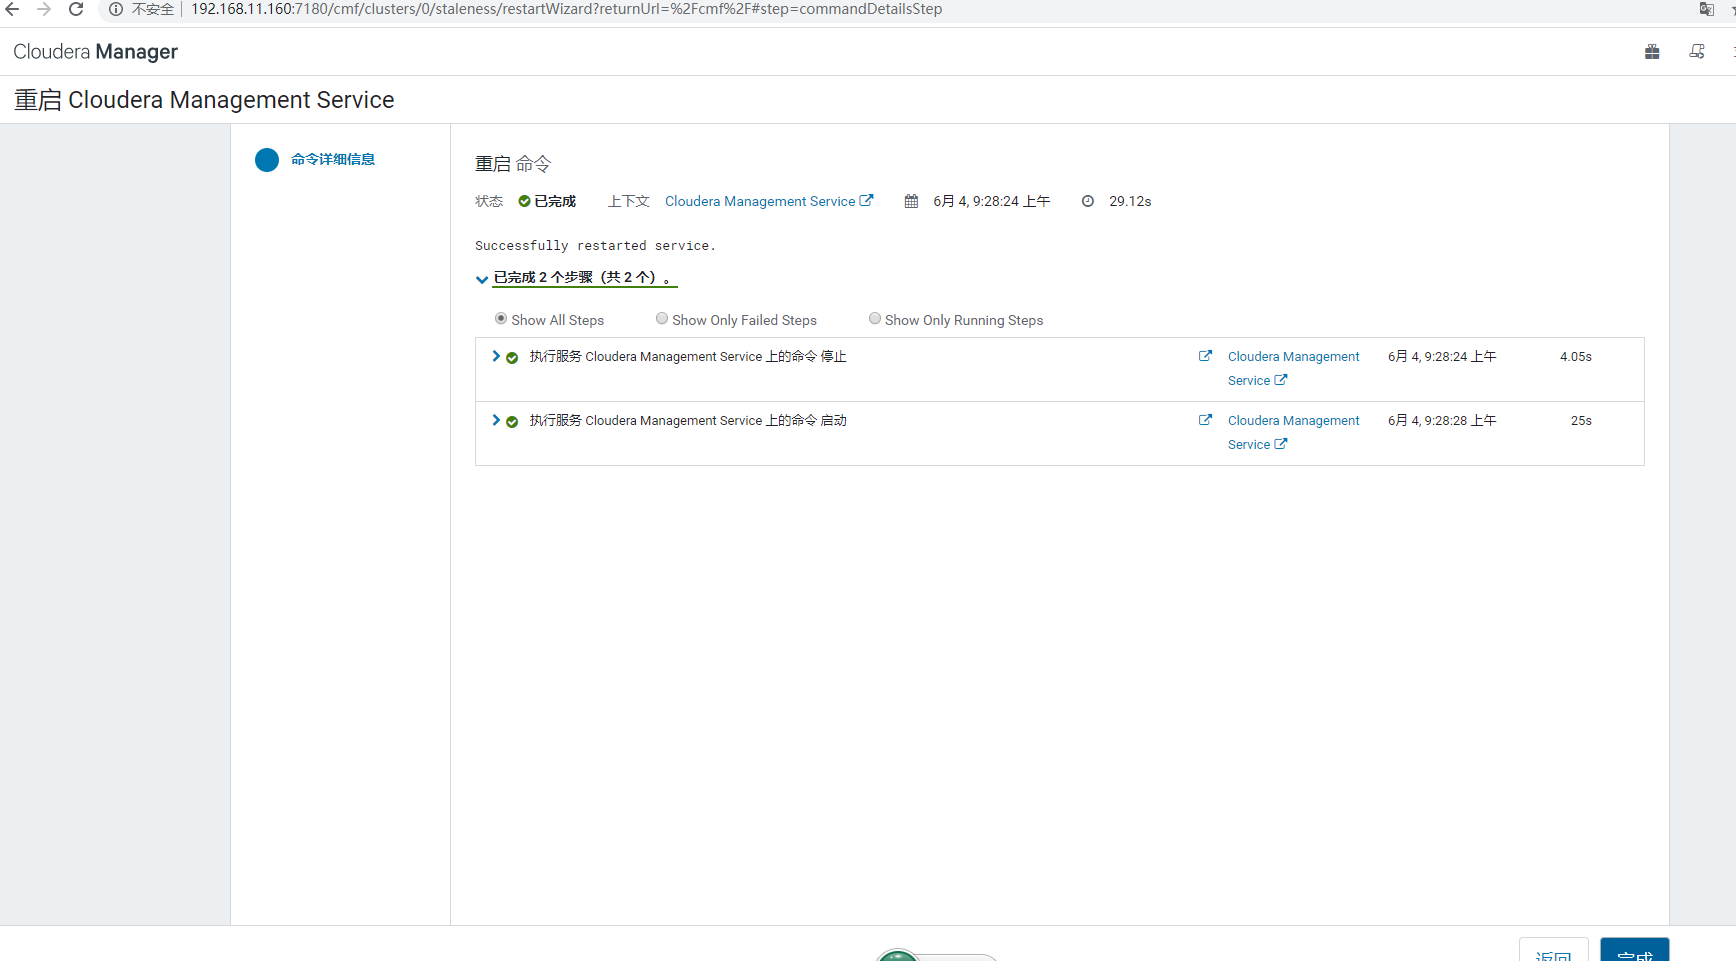
Log in to Cloudera Manager and restart the Cloudera Management Service service
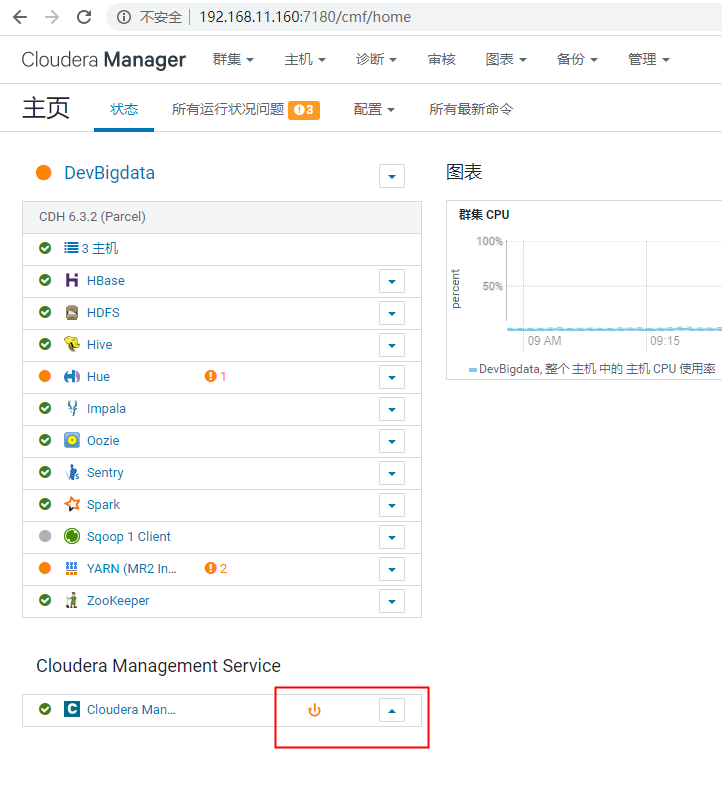
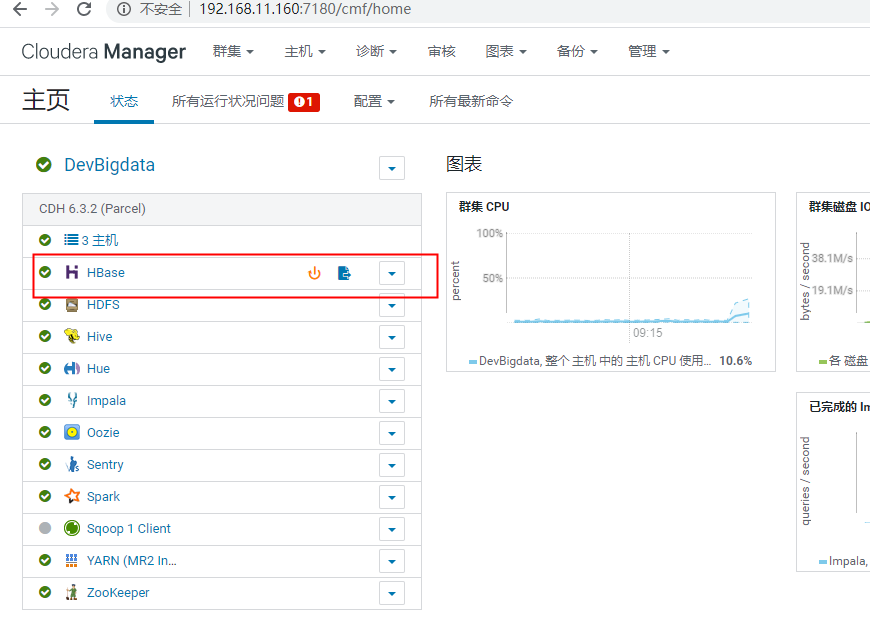
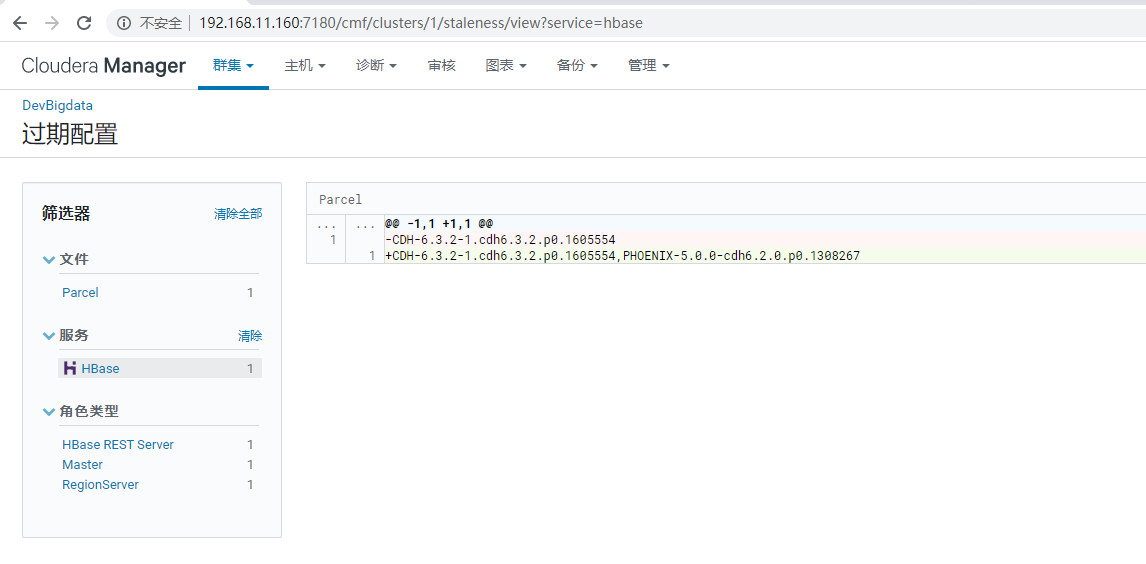
hbase needs to be restarted
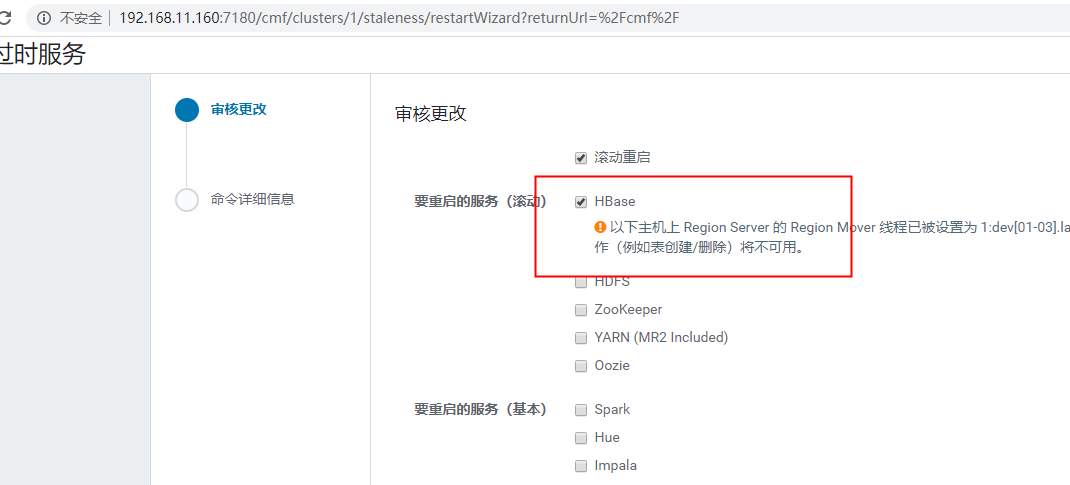
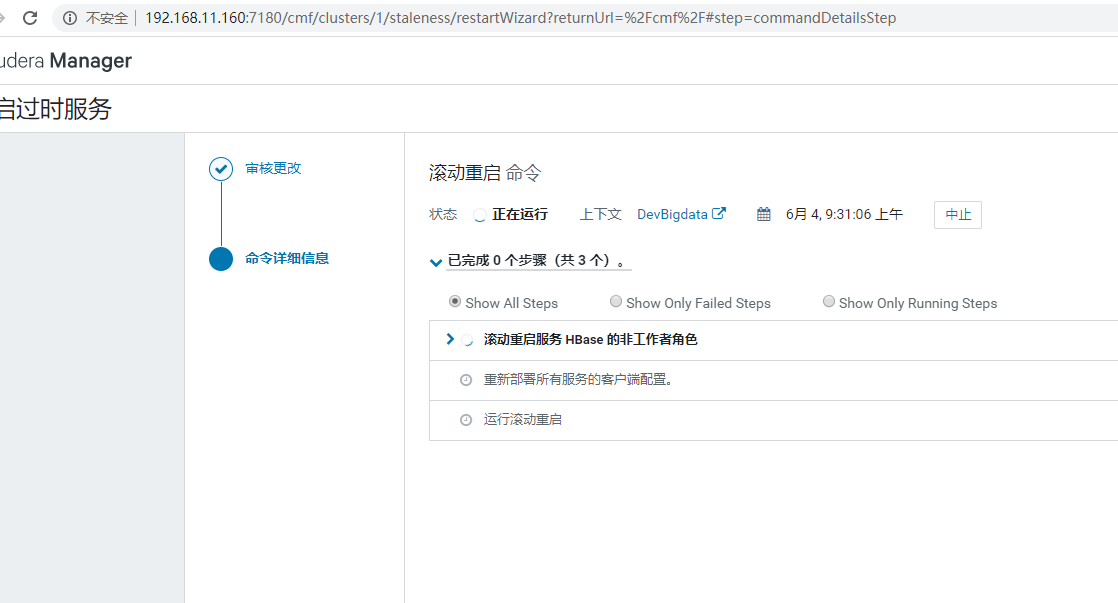
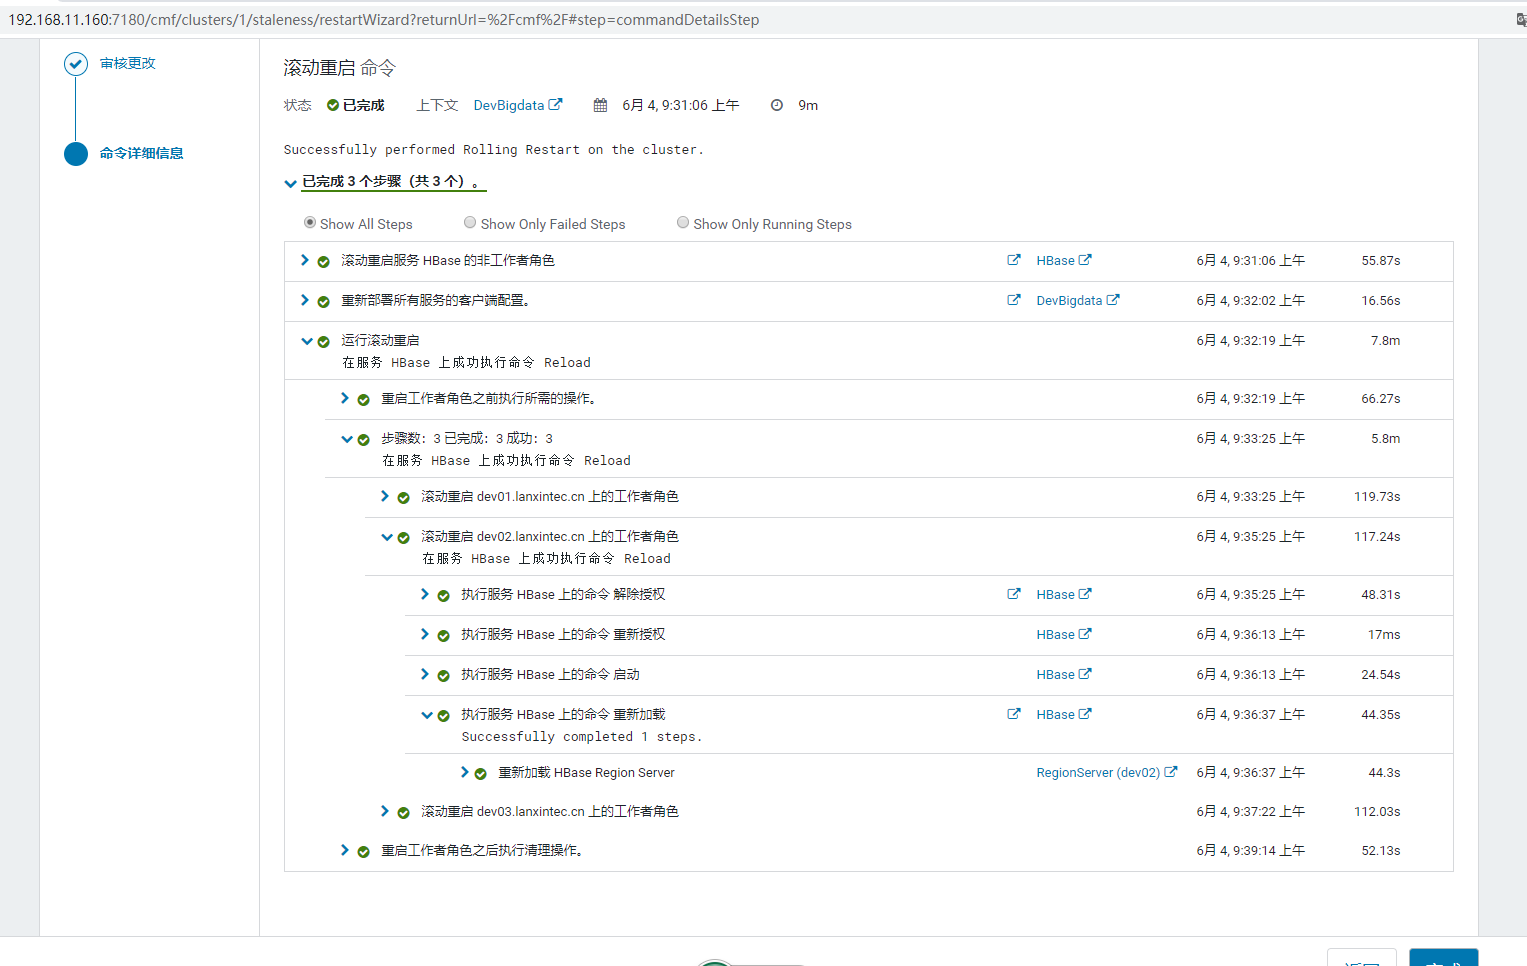
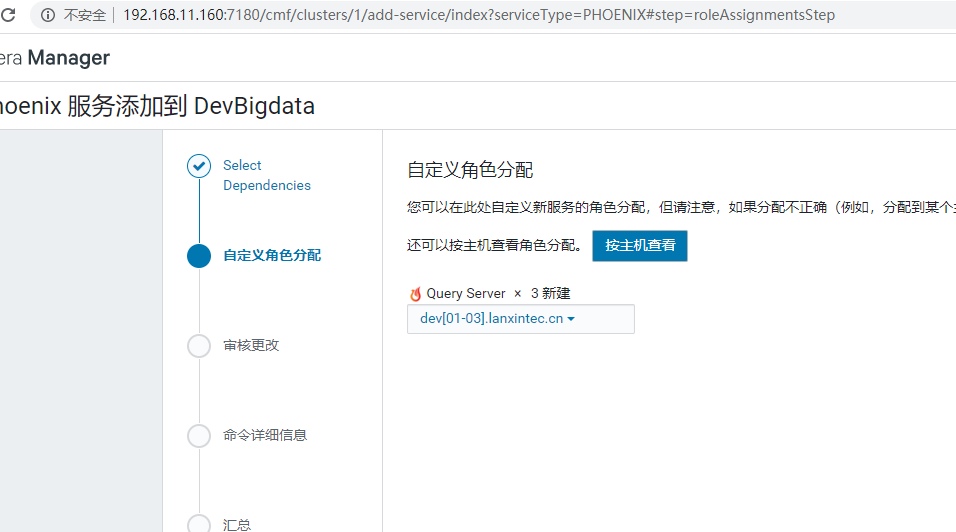
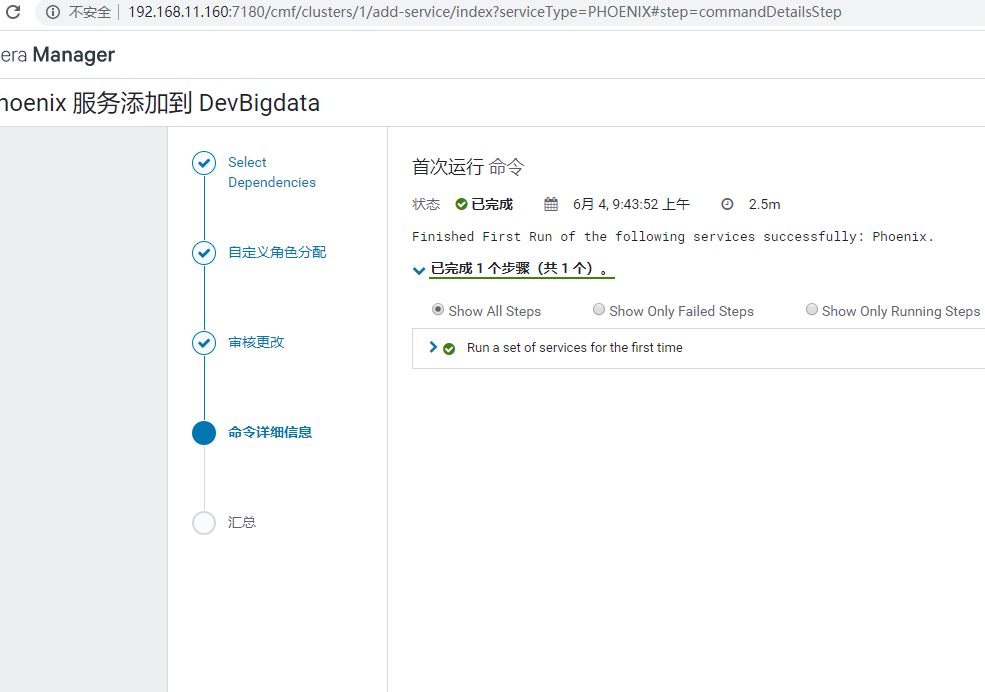
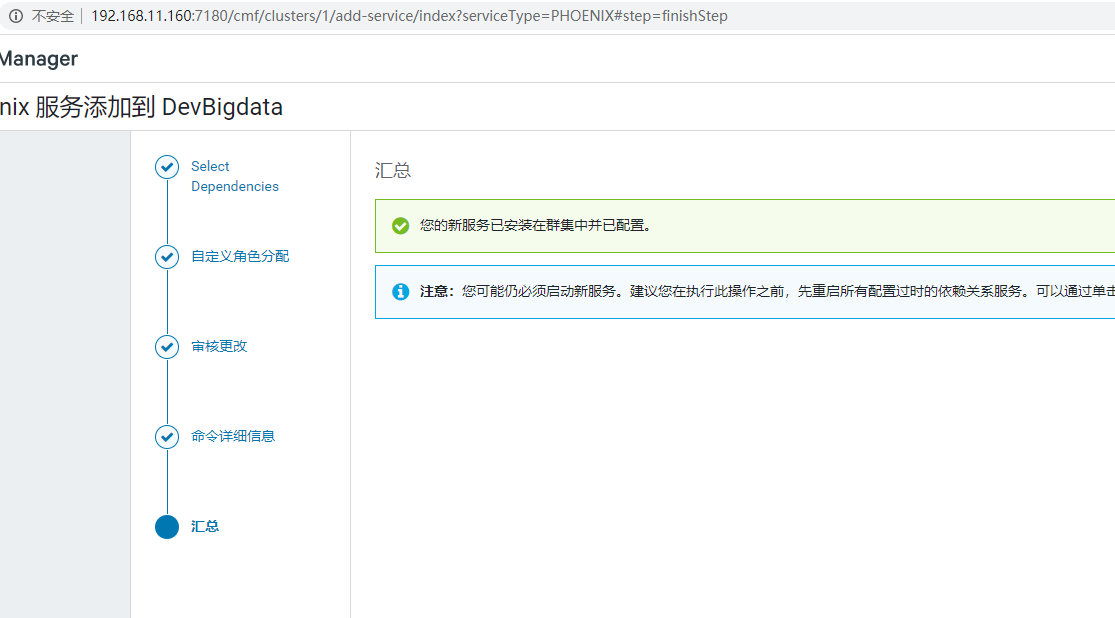
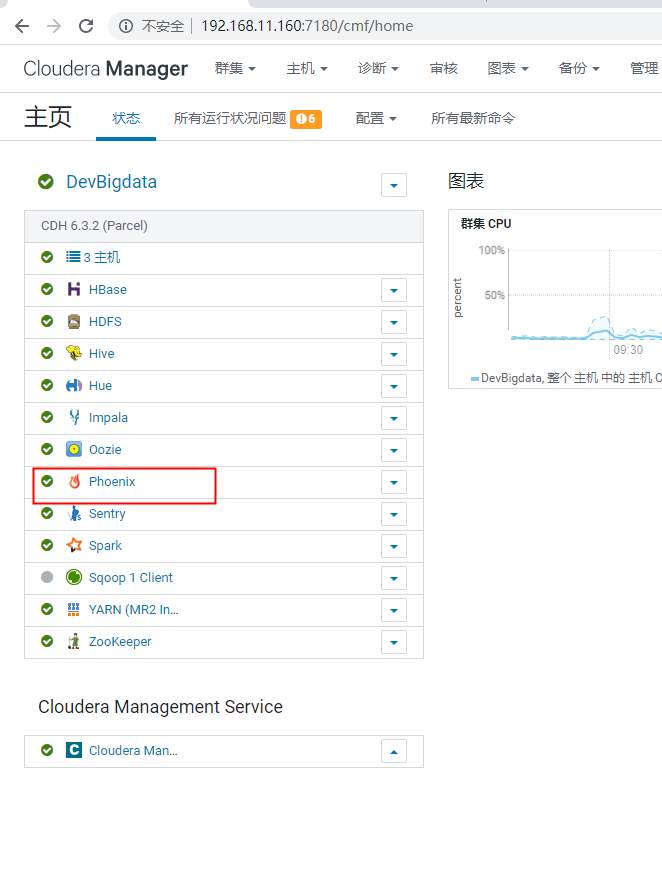
Three: Add Phoenix services to Cloudera Manager

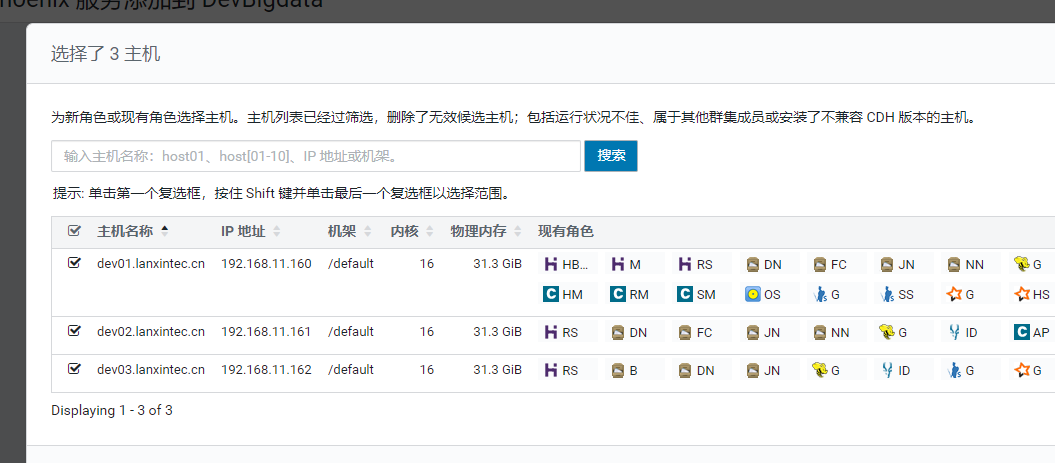
4. Configure HBase for Phoenix
1. Add Attributes
 Select " Hbase"->"Configuration, search for " hbase-site.xml Of HBase Service Advanced Configuration Code Snippet, Click to XML Format view"and add the following attributes:

<property>
<name>hbase.regionserver.wal.codec</name>
<value>org.apache.hadoop.hbase.regionserver.wal.IndexedWALEditCodec</value>
</property>

<property>
 <name>phoenix.functions.allowUserDefinedFunctions</name>
 <value>true</value>
 <description>enable UDF functions</description>
</property>

 take hbase.regionserver.wal.codec Define Write to Pre-Write Log (" wal")Code.
Set up phoenix.functions.allowUserDefinedFunctions Property to enable user-defined functions ( UDF).
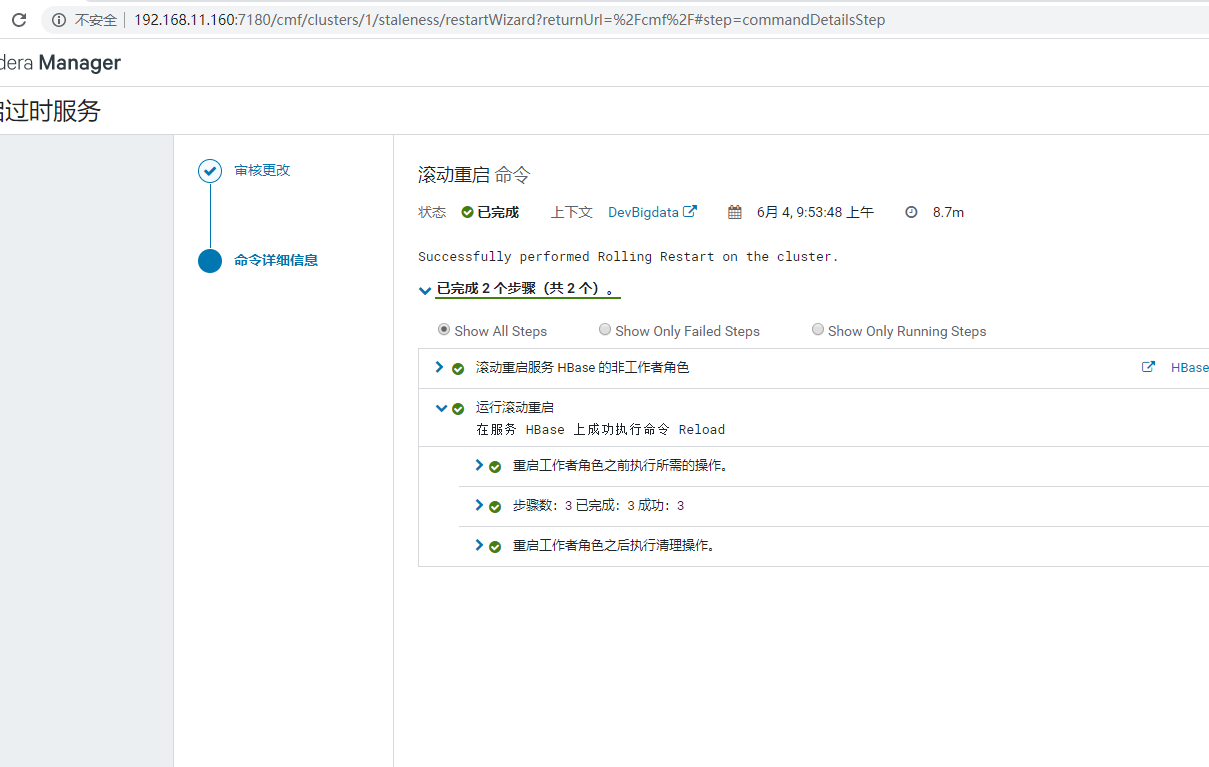
 restart Hbase service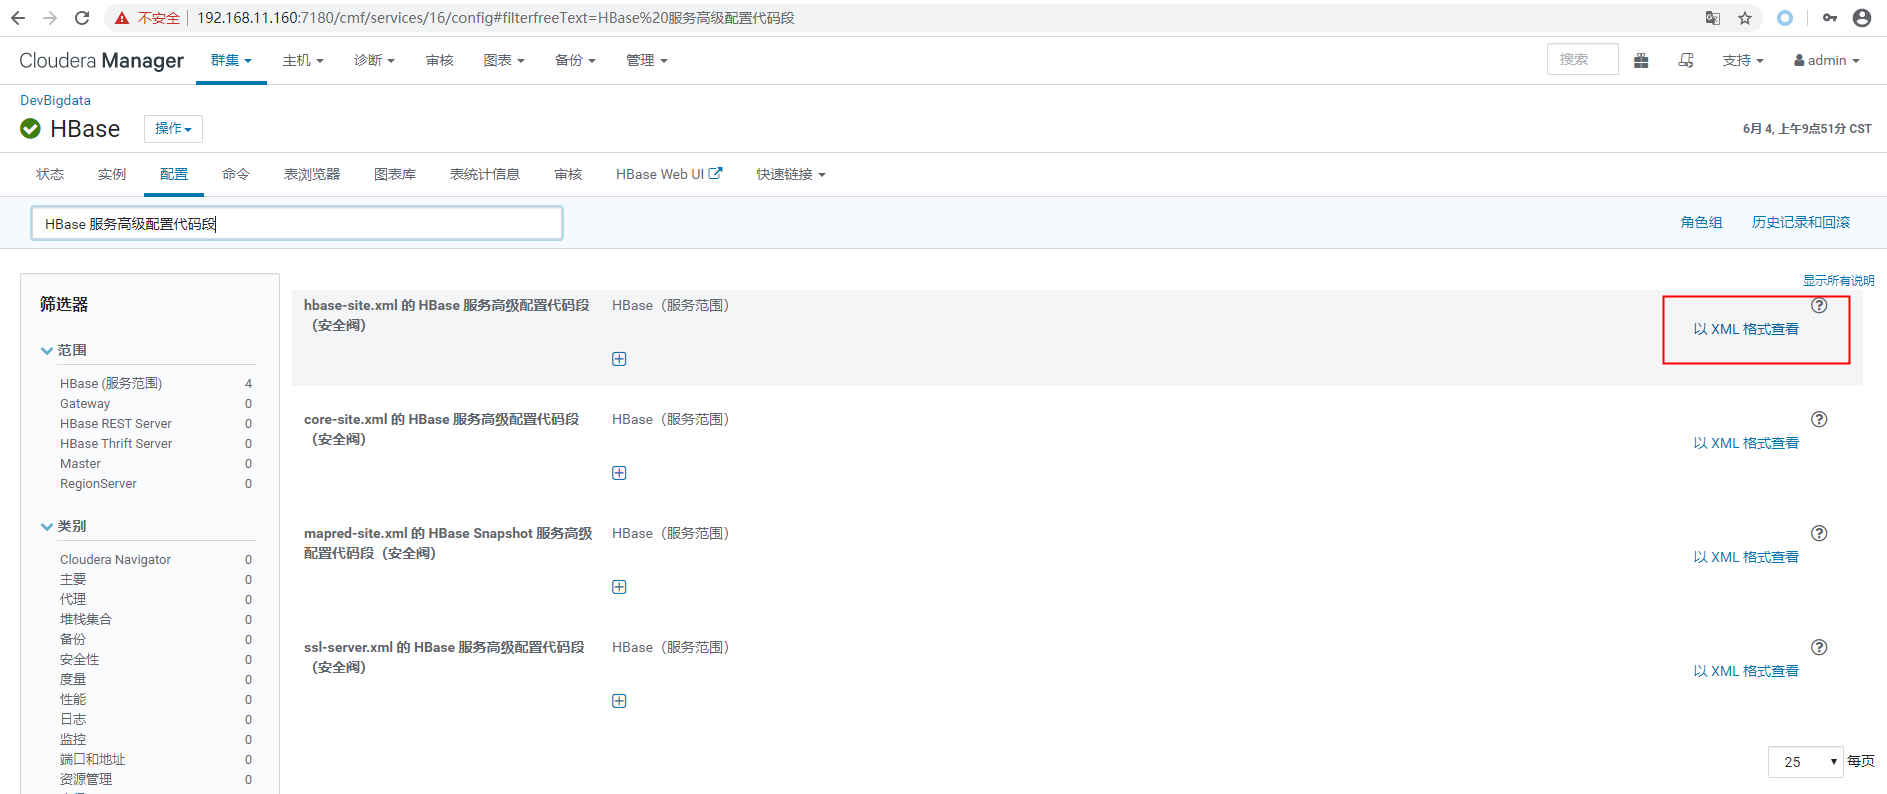

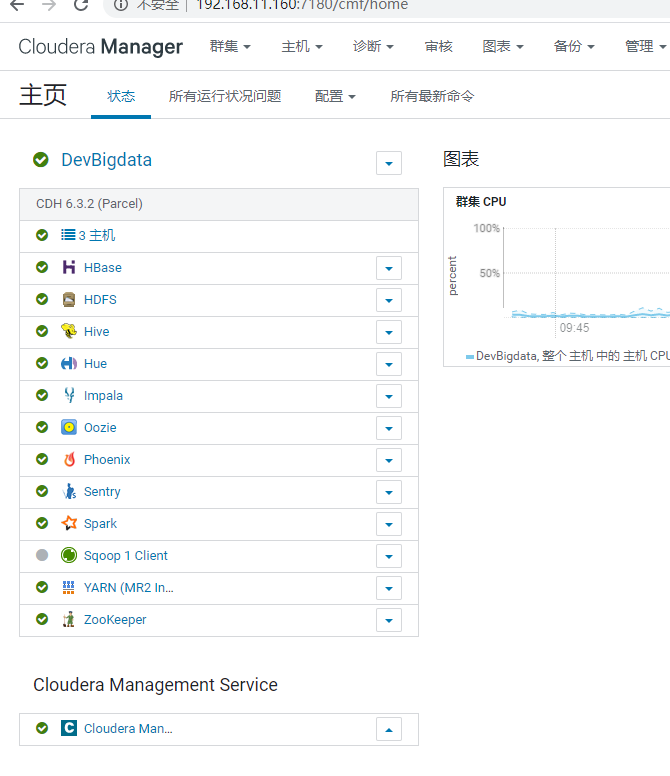
Log in to phoinex
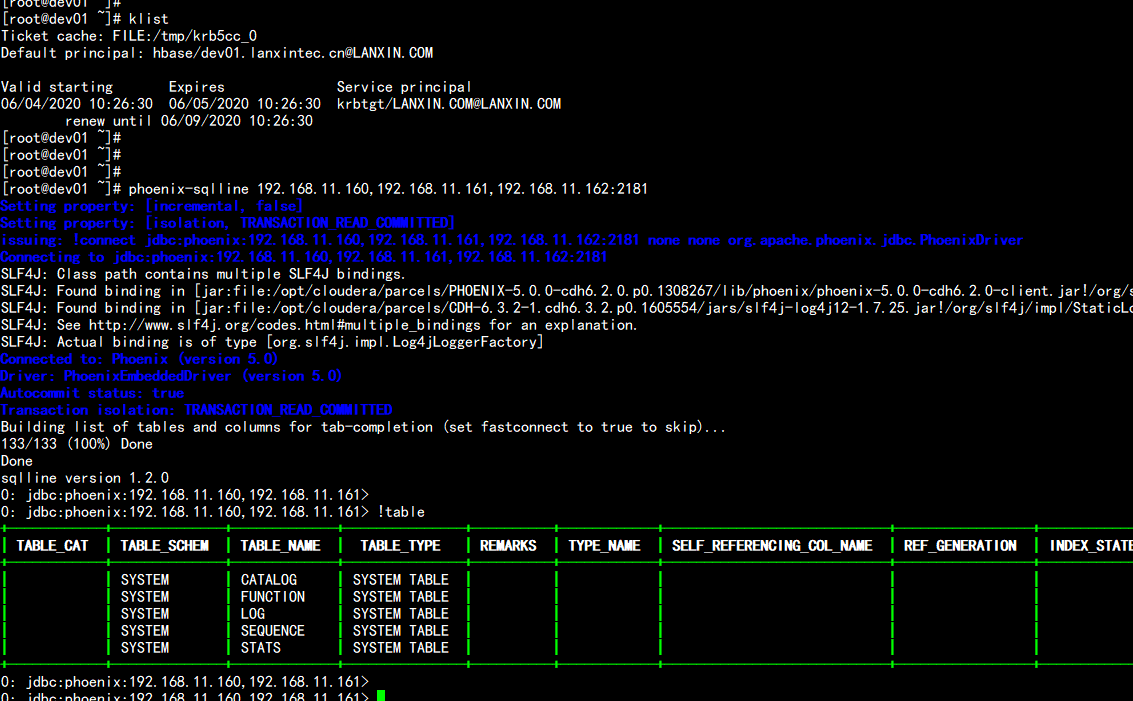
 Log in using kerberos'hbase account
kadmin.local

xst -kt /root/hbase.keytab -norandkey hbase/dev01.lanxintec.cn@LANXIN.COM

kinit -kt hbase.keytab hbase/dev01.lanxintec.cn@LANXIN.COM

klist

If hbase's keytab file expires, it will be generated from the new


Five: Smoke test
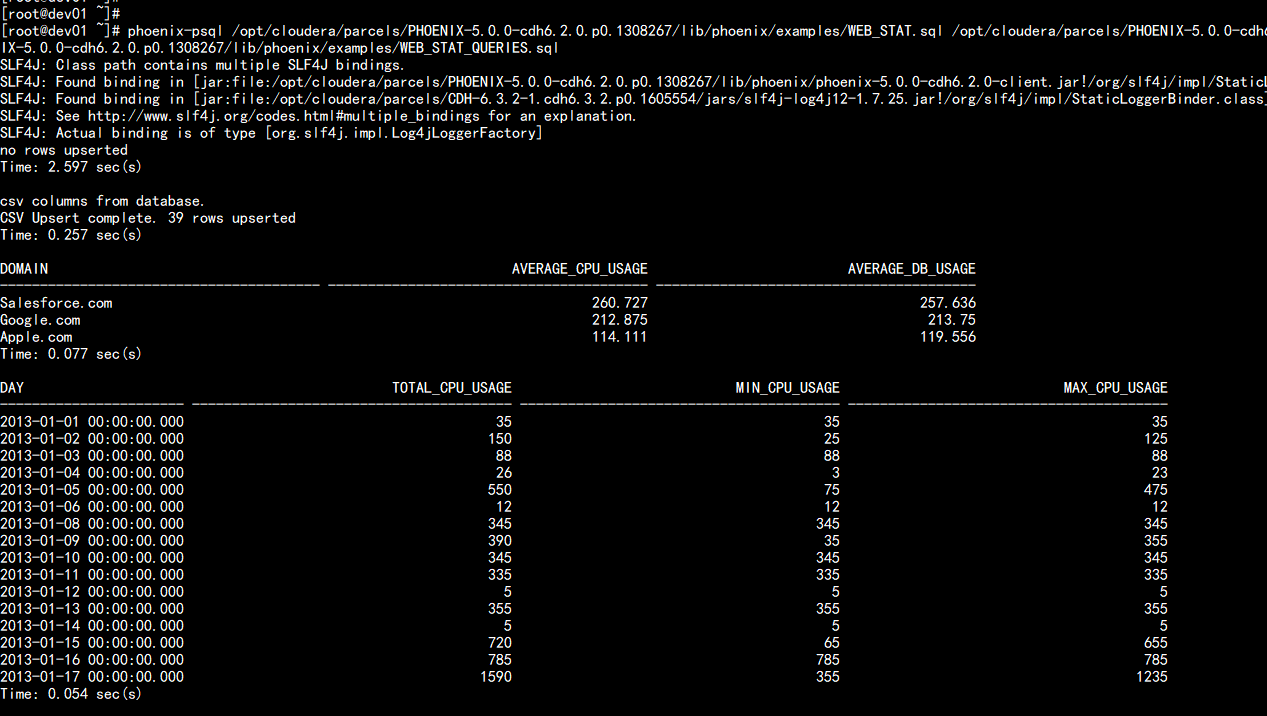
Log on to the cluster host and run the following smoke tests at a command prompt:

phoenix-psql /opt/cloudera/parcels/PHOENIX-5.0.0-cdh6.2.0.p0.1308267/lib/phoenix/examples/WEB_STAT.sql /opt/cloudera/parcels/PHOENIX-5.0.0-cdh6.2.0.p0.1308267/lib/phoenix/examples/WEB_STAT.csv /opt/cloudera/parcels/PHOENIX-5.0.0-cdh6.2.0.p0.1308267/lib/phoenix/examples/WEB_STAT_QUERIES.sql
6. Import data validation test
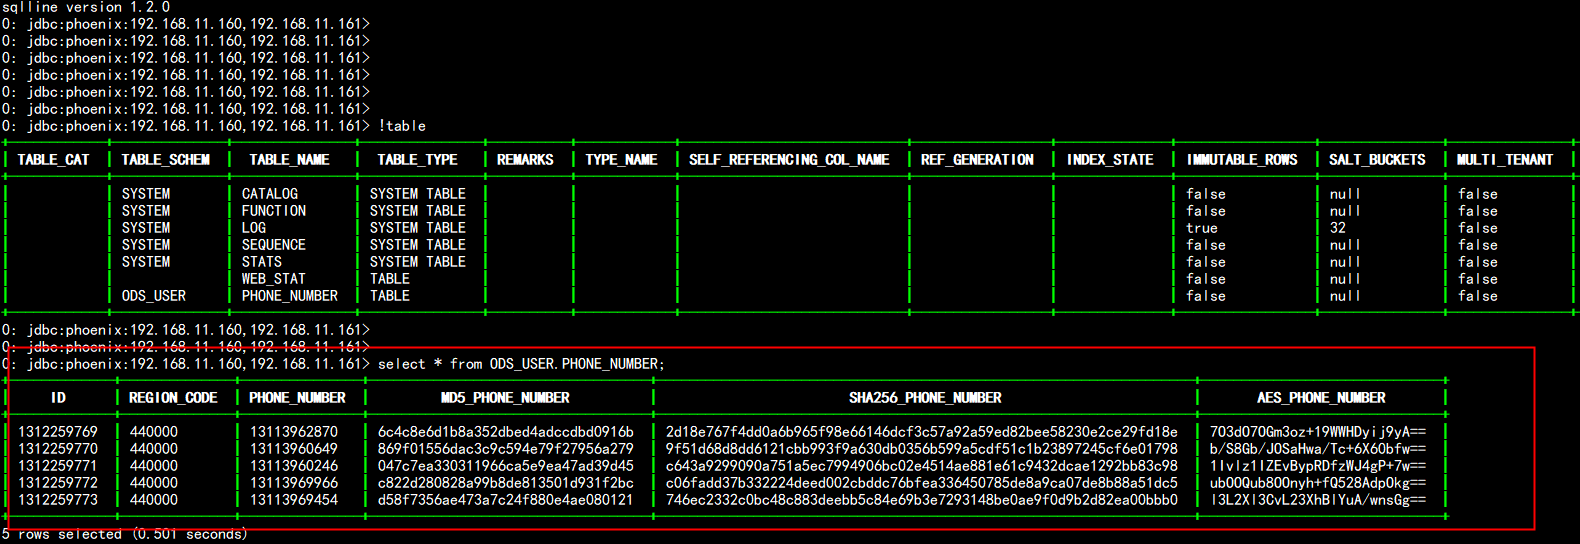
Import Test Users md5 Telephone test
vim user_md5_phone.txt
---
1312259769,440000,13113962870,6c4c8e6d1b8a352dbed4adccdbd0916b,2d18e767f4dd0a6b965f98e66146dcf3c57a92a59ed82bee58230e2ce29fd18e,7O3dO7OGm3oz+19WWHDyij9yA==

1312259770,440000,13113960649,869f01556dac3c9c594e79f27956a279,9f51d68d8dd6121cbb993f9a630db0356b599a5cdf51c1b23897245cf6e01798,b/S8Gb/JOSaHwa/Tc+6X60bfw==

1312259771,440000,13113960246,047c7ea330311966ca5e9ea47ad39d45,c643a9299090a751a5ec7994906bc02e4514ae881e61c9432dcae1292bb83c98,1Ivlz1IZEvBypRDfzWJ4gP+7w==

1312259772,440000,13113969966,c822d280828a99b8de813501d931f2bc,c06fadd37b332224deed002cbddc76bfea336450785de8a9ca07de8b88a51dc5,ubOOQub8OOnyh+fQ528AdpOkg==

1312259773,440000,13113969454,d58f7356ae473a7c24f880e4ae080121,746ec2332c0bc48c883deebb5c84e69b3e7293148be0ae9f0d9b2d82ea00bbb0,l3L2Xl3CvL23XhBlYuA/wnsGg==
---

//Introduction to Data Fields

 //Field Field Explanation
ID
REGION_CODE  Region Code
PHONE_NUMBER  Phone number
MD5_PHONE_NUMBER  Phone number md5 encryption
SHA256_PHONE_NUMBER  Phone number sha256 encryption
AES_PHONE_NUMBER  Phone number aes encryption

   //rowkey with ID as hbase here
Sign in hbase

create 'ODS_USER.PHONE_NUMBER','INFO'

list

2,stay phoenix To create the same table as hbase Mapping of tables

//Log in to phoinex
!ph

create table ODS_USER.PHONE_NUMBER(ID varchar primary key, INFO.REGION_CODE varchar, INFO.PHONE_NUMBER varchar, INFO.MD5_PHONE_NUMBER varchar, INFO.SHA256_PHONE_NUMBER varchar, INFO.AES_PHONE_NUMBER varchar) column_encoded_bytes=0;

Uploading of data to be imported hdfs

hdfs dfs -mkdir /tmp/hbase
hdfs dfs -mkdir /tmp/hfile

hdfs dfs -chmod 777 /tmp/hbase
hdfs dfs -chmod 777 /tmp/hfile

hdfs dfs -put user_md5_phone.txt


3,generate HFILE file
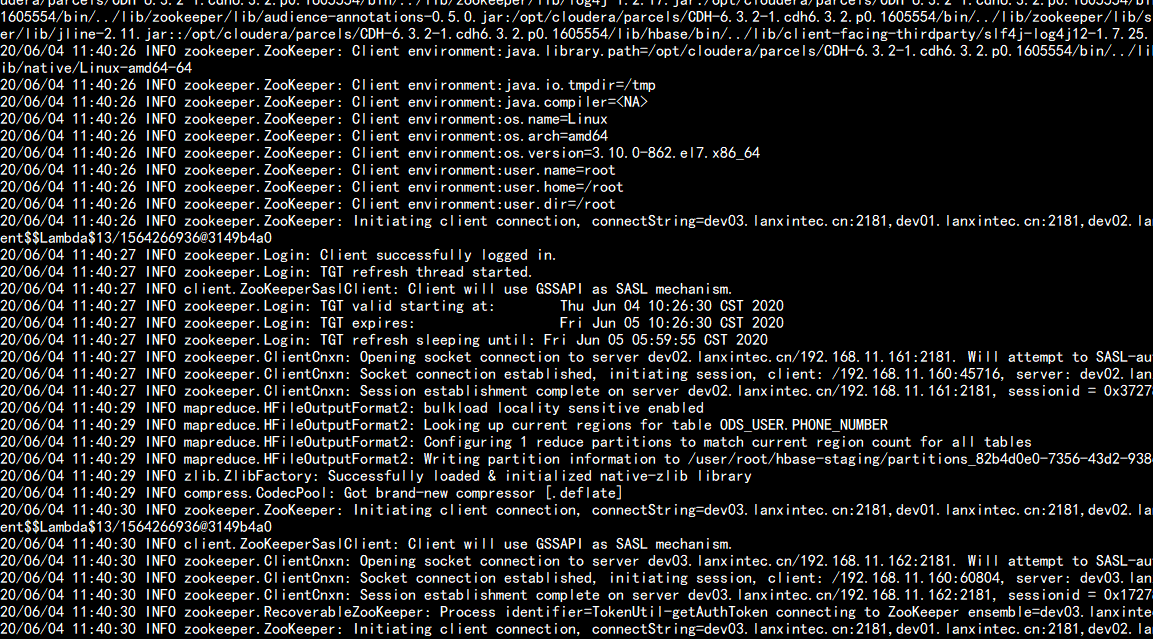
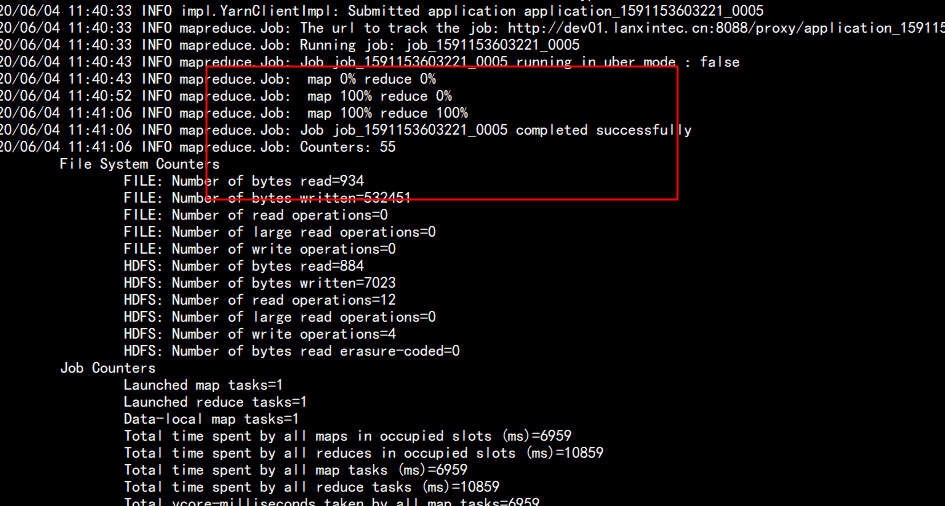
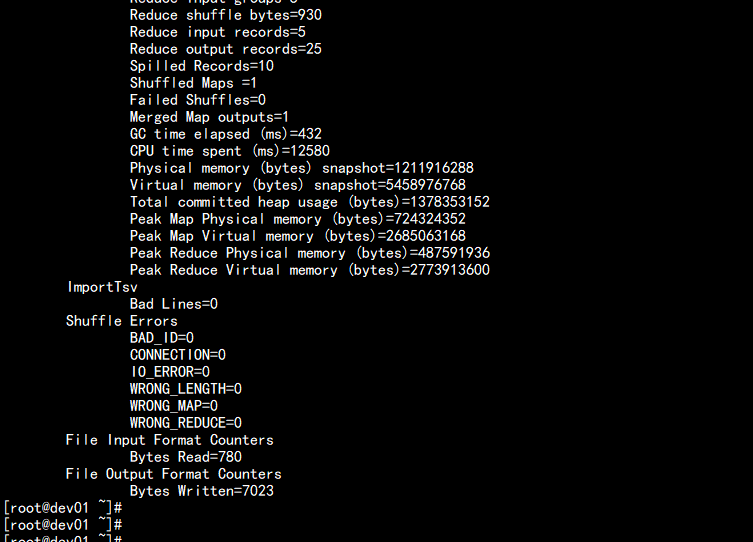
hbase org.apache.hadoop.hbase.mapreduce.ImportTsv -Dimporttsv.columns=HBASE_ROW_KEY,INFO:REGION_CODE,INFO:PHONE_NUMBER,INFO:MD5_PHONE_NUMBER,INFO:SHA256_PHONE_NUMBER,INFO:AES_PHONE_NUMBER -Dimporttsv.separator=, -Dimporttsv.bulk.output=/tmp/hfile/user_md5_phone ODS_USER.PHONE_NUMBER /tmp/hbase/user_md5_phone.txt

4,Load HFILE File to HBASE
hbase org.apache.hadoop.hbase.mapreduce.LoadIncrementalHFiles /tmp/hfile/user_md5_phone ODS_USER.PHONE_NUMBER
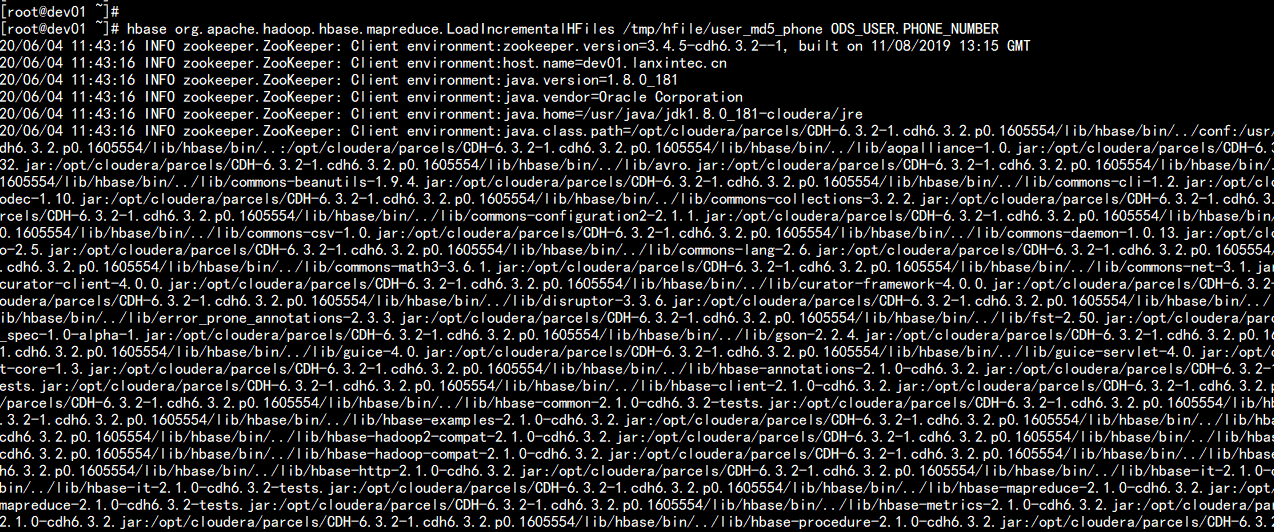
View Verification:

hbase shell

list

scan 'ODS_USER.PHONE_NUMBER'
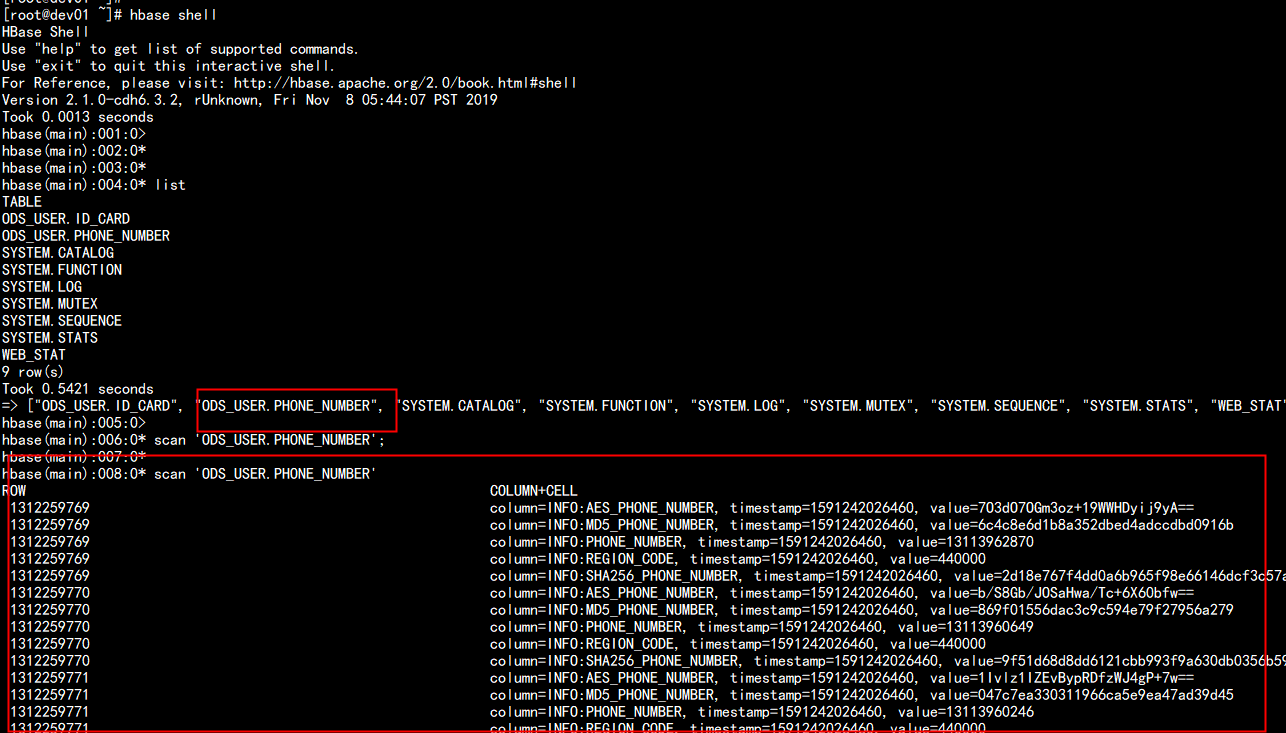
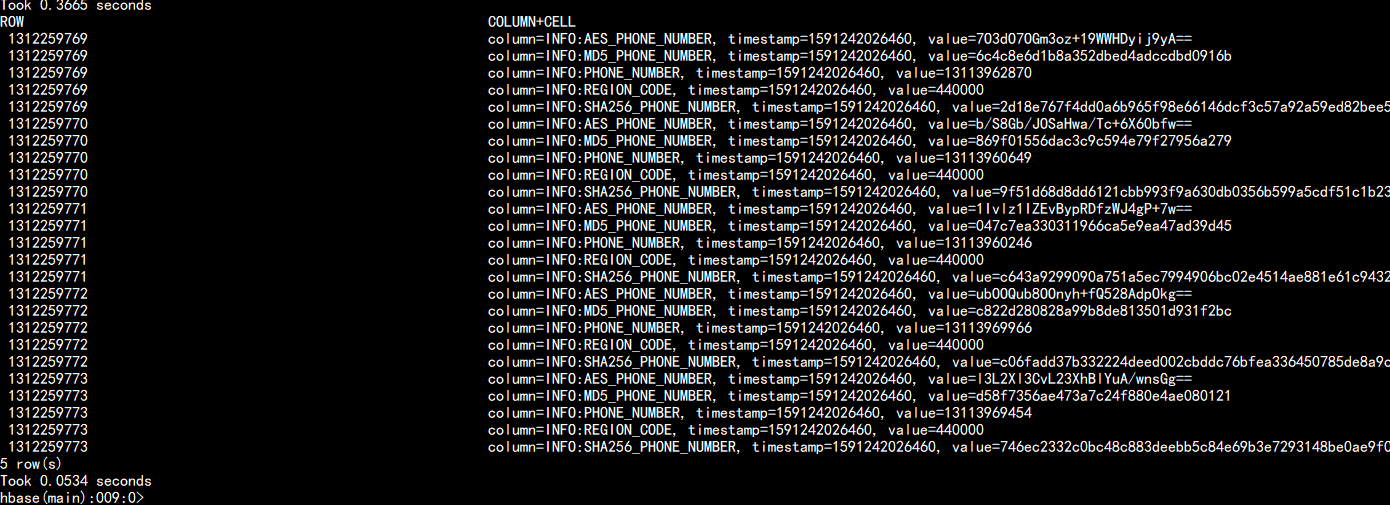
!ph

!table

select * from ODS_USER.PHONE_NUMBER;
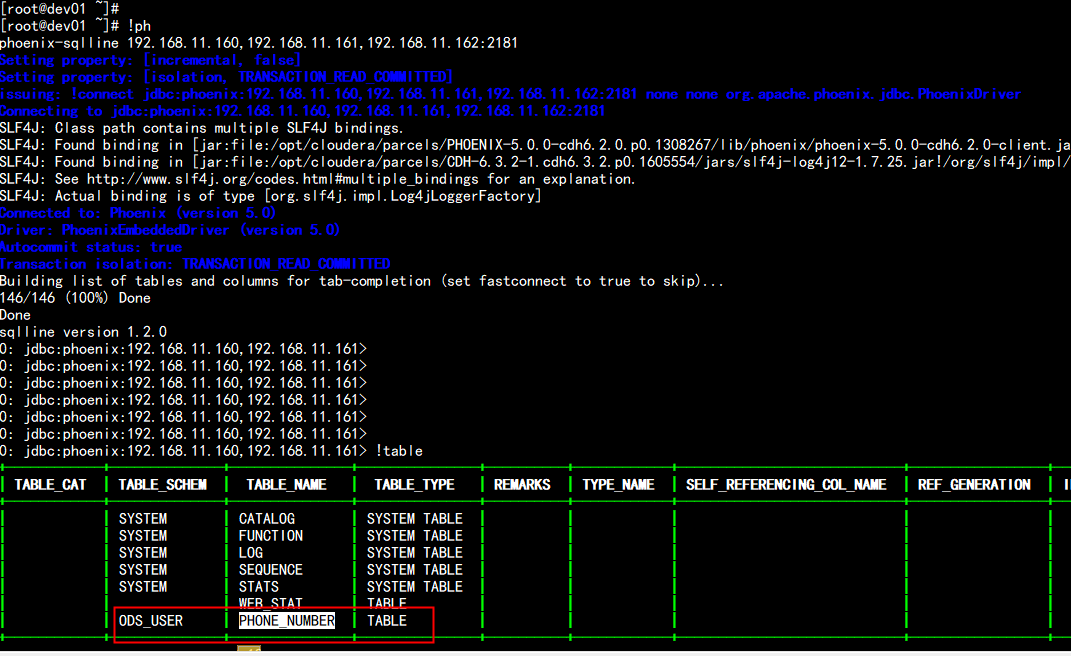
Seven: schema integration of phoinex with namespace of hbase
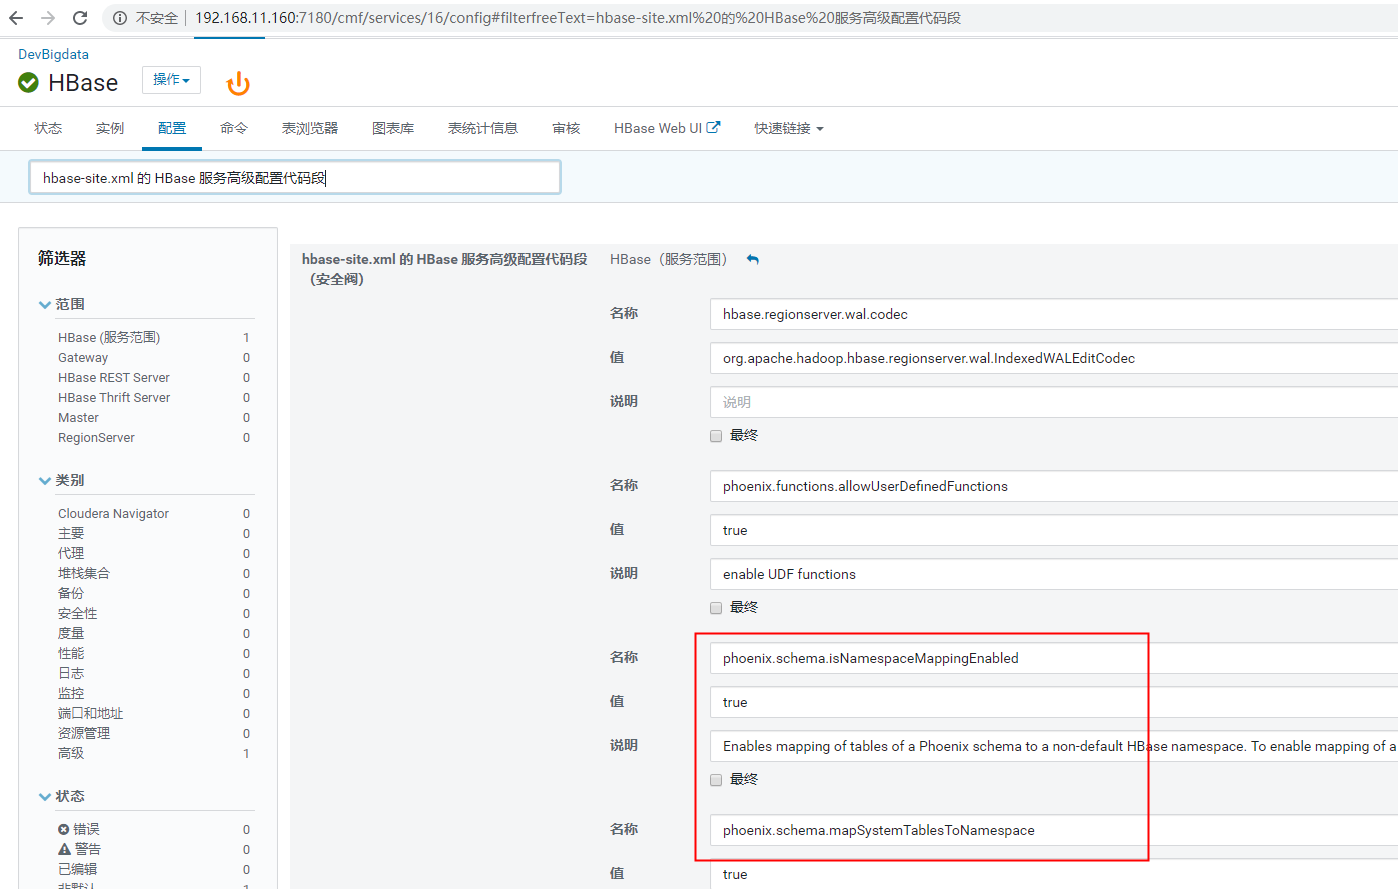
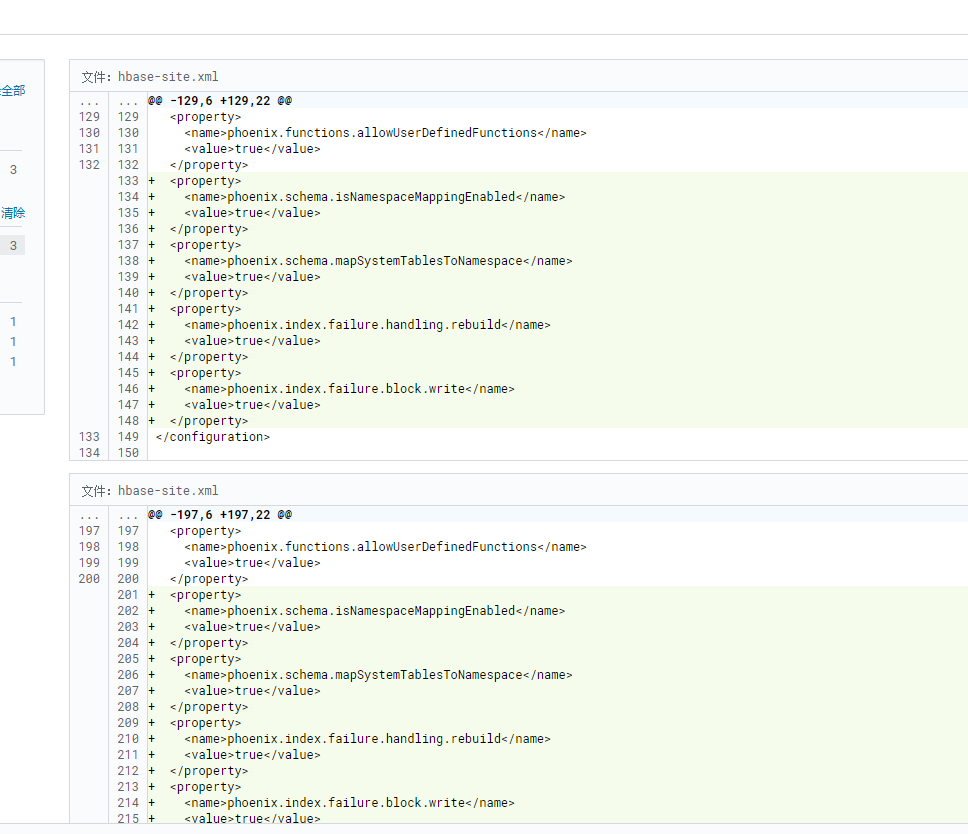
Select " Hbase"->"Configuration, search for " hbase-site.xml Of HBase Service Advanced Configuration Code Snippet, Click to XML Format view"and add the following attributes:

Select " Hbase"->"Configuration, search for " hbase-site.xml Of HBase Client Advanced Configuration Code Snippet, Click to XML Format view"and add the following attributes:

<property>
<name>phoenix.schema.isNamespaceMappingEnabled</name>
<value>true</value>
<description>Enables mapping of tables of a Phoenix schema to a non-default HBase namespace. To enable mapping of a schema to a non-default namespace, set the value of this property to true. The default setting for this property is false.</description>
</property>

<property>
<name>phoenix.schema.mapSystemTablesToNamespace</name>
<value>true</value>
<description>With true setting (default): After namespace mapping is enabled with the other property, all system tables, if any, are migrated to a namespace called system.With false setting: System tables are associated with the default namespace.</description>
</property>

<property>
<name>phoenix.index.failure.handling.rebuild</name>
<value>true</value>
</property>

<property>
<name>phoenix.index.failure.block.write</name>
<value>true</value>

</property>
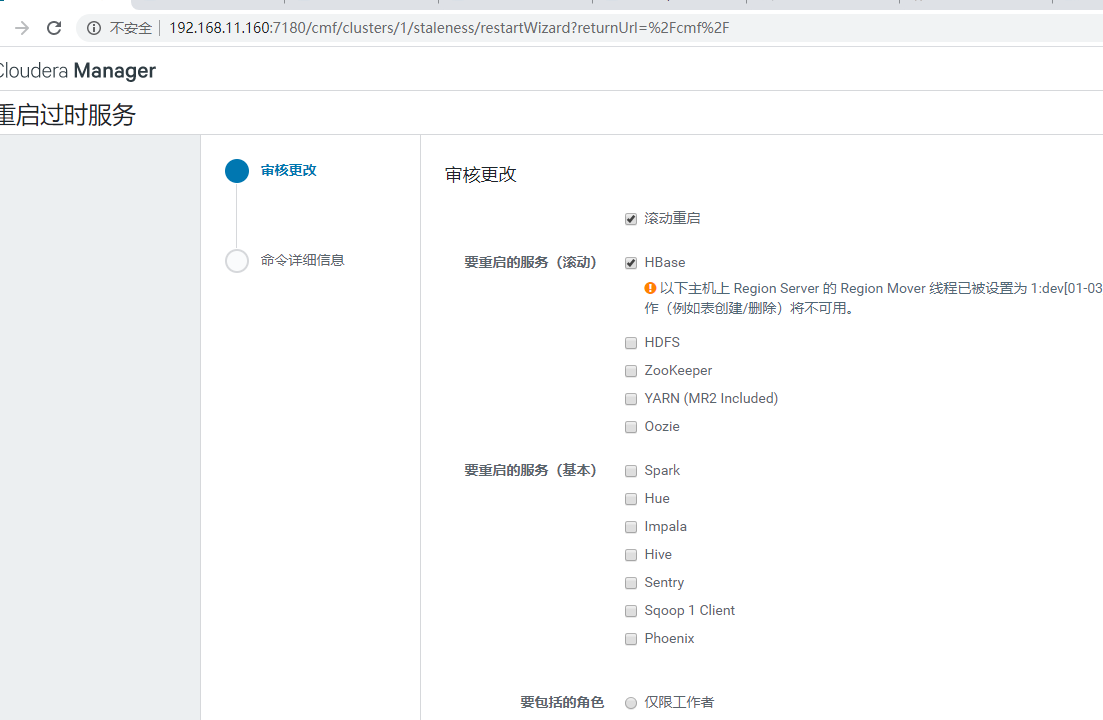
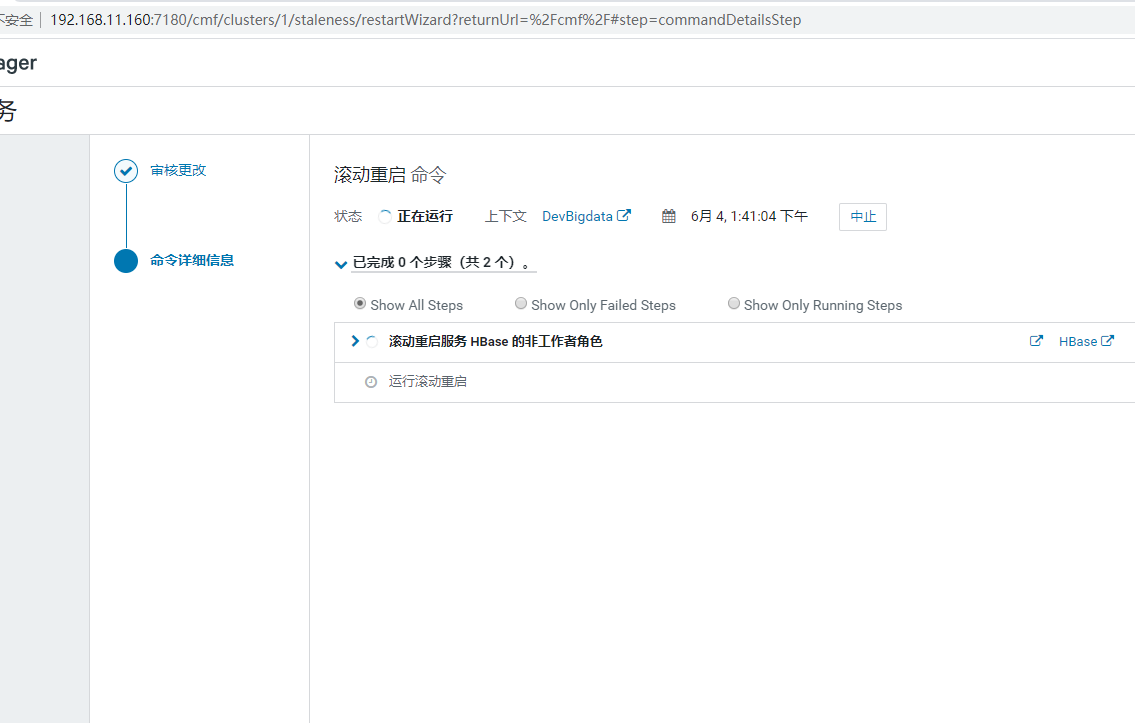
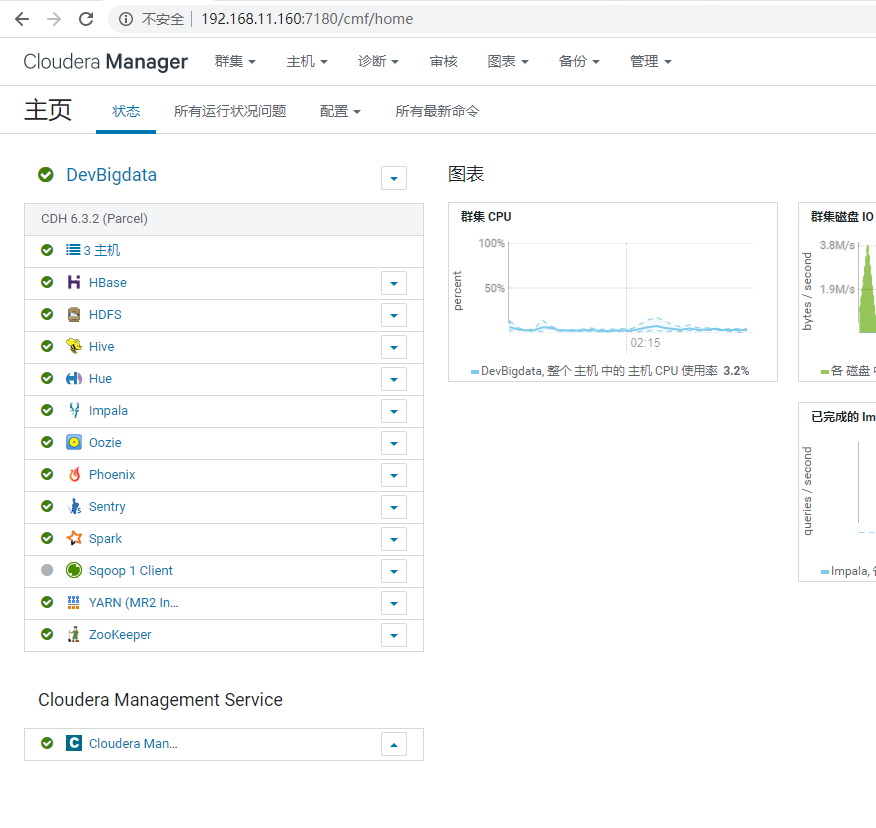
Start hbase from scratch
Organize Upload Data Test:

 vim  ip_shanghai.txt
 ---
2817314940,223.255.239.246, Shanghai, Shanghai, Unicom
 2817314941,223.255.239.247, Shanghai, Shanghai, Unicom
 2817314942,223.255.239.248, Shanghai, Shanghai, Unicom
 2817314943,223.255.239.249, Shanghai, Shanghai, Unicom
 2817314944,223.255.239.250, Shanghai, Shanghai, Unicom
 2817314945,223.255.239.251, Shanghai, Shanghai, Unicom
 2817314946,223.255.239.252, Shanghai, Shanghai, Unicom
 2817314947,223.255.239.253, Shanghai, Unicom
 2817314948,223.255.239.254, Shanghai, Shanghai, Unicom
 2817314949,223.255.239.255, Shanghai, Unicom
 ---

   ID self-increasing ID
   IP IPv4 address
   province Province
   city of city
   operator Operator
   Country country

 Use ip address as rowkey here
Sign in phoenix
!ph

create scheam IP_LOCATION;

create table IP_LOCATION.IP_ADDRESS(IP varchar primary key,INFO.ID varchar,INFO.PROVINCE varchar, INFO.CITY varchar, INFO.OPERATOR varchar, INFO.COUNTRY varchar) column_encoded_bytes=0;

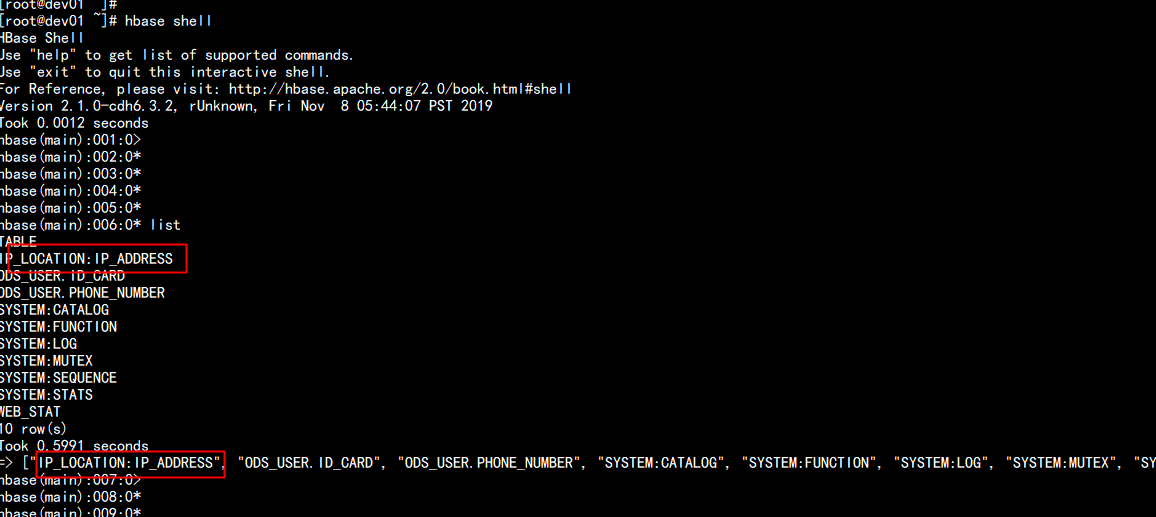
Logging in to hbase view automatically generates an IP_LOCATION:IP_ADDRESS table
Import data:

hdfs dfs -put ip_shanghai.txt /tmp/hbase

Load Data Generation hfile

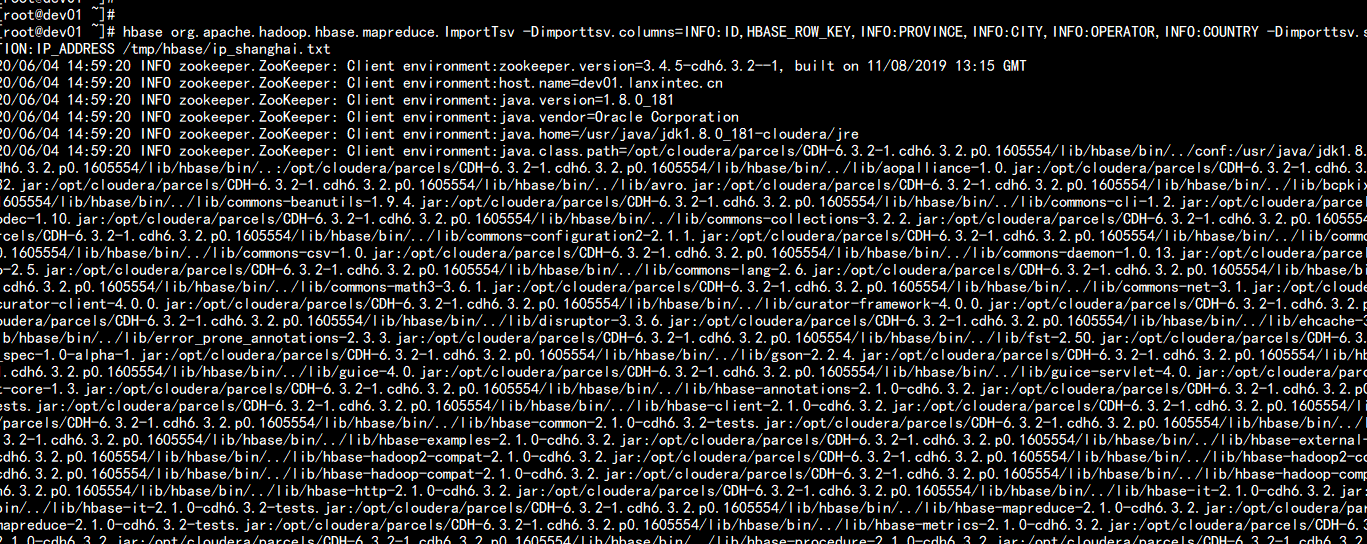
hbase org.apache.hadoop.hbase.mapreduce.ImportTsv -Dimporttsv.columns=INFO:ID,HBASE_ROW_KEY,INFO:PROVINCE,INFO:CITY,INFO:OPERATOR,INFO:COUNTRY -Dimporttsv.separator=, -Dimporttsv.bulk.output=/tmp/hfile/ipshanghai IP_LOCATION:IP_ADDRESS /tmp/hbase/ip_shanghai.txt
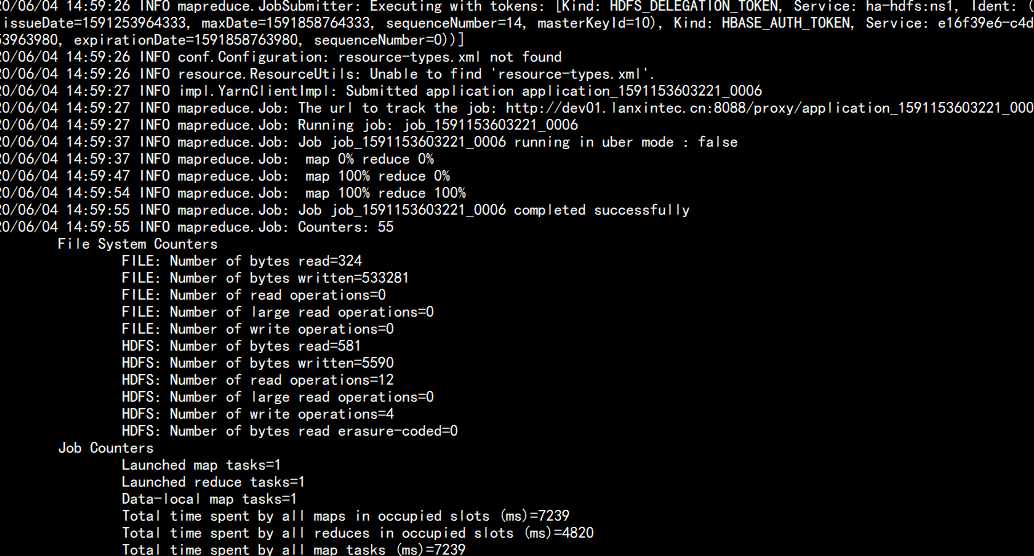
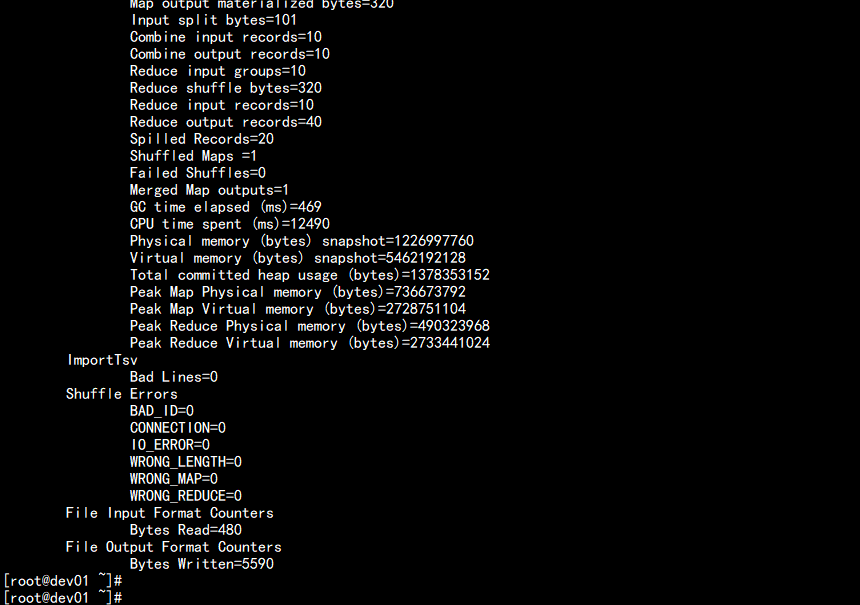
//Import data into hbase:

hbase org.apache.hadoop.hbase.mapreduce.LoadIncrementalHFiles /tmp/hfile/ipshanghai IP_LOCATION:IP_ADDRESS
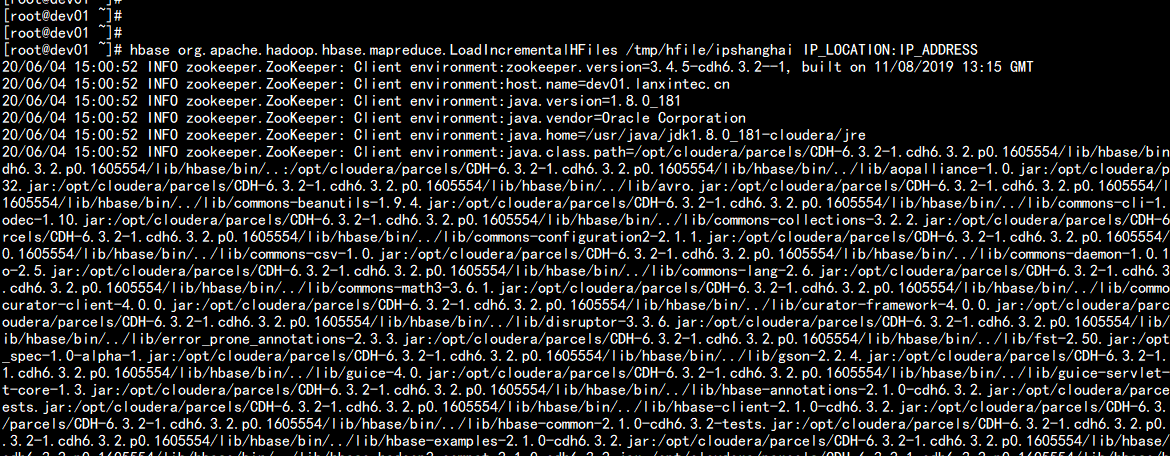
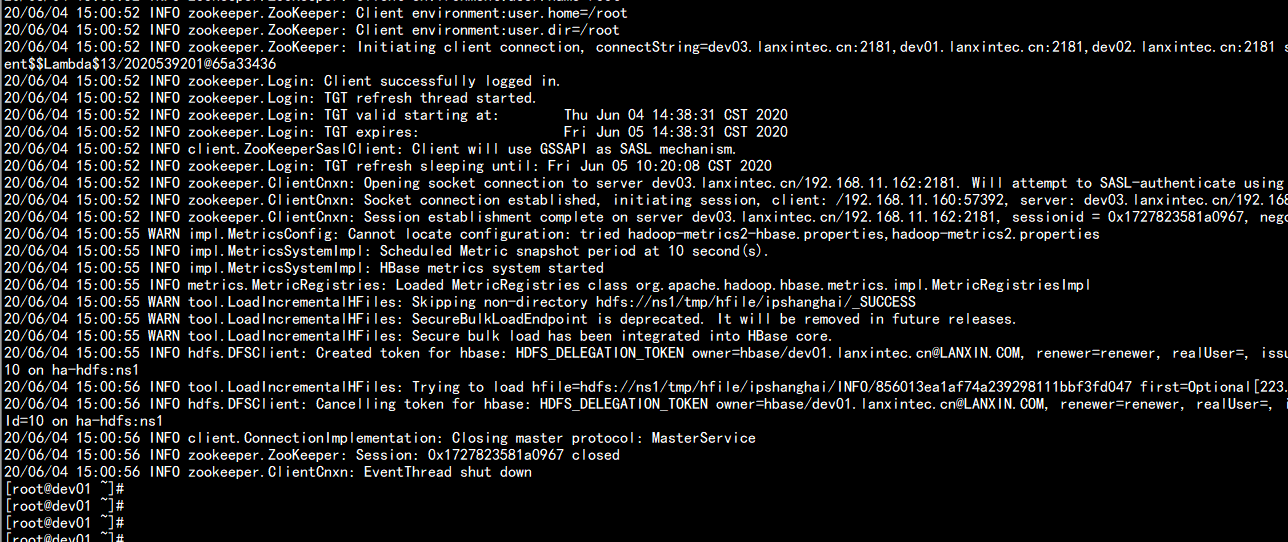
Verification:

!ph

!table

select * from IP_LOCATION.IP_ADDRESS;
