1. Prepare openssh server
Enter the following command to check whether openssh server is installed. If it is installed, the corresponding information will be output
[root@sagecat ~]# yum list installed | grep openssh
openssh.x86_64                        7.4p1-21.el7                     @anaconda
openssh-clients.x86_64                7.4p1-21.el7                     @anaconda
openssh-server.x86_64                 7.4p1-21.el7                     @anaconda
If it is not installed, enter the following command and install it according to the prompt
[root@sagecat ~]# yum install openssh-server
2. Modify the configuration file
After installing openssh server, modify sshd located in / etc/ssh directory_ Config file, open it with vim. If VIM is not installed, enter yum install yum to install it.
vim /etc/ssh/sshd_config
Locate the following code sections and modify or uncomment the following four sections
Port 22
#AddressFamily any
ListenAddress 0.0.0.0 #Cancel the previous comment
ListenAddress ::   #Cancel the previous comment

# Authentication:
#LoginGraceTime 2m
PermitRootLogin yes  #Cancel the previous comment
#StrictModes yes
#MaxAuthTries 6
#MaxSessions 10

# To disable tunneled clear text passwords, change to no here!
PasswordAuthentication yes  #Cancel the previous comment
#PermitEmptyPasswords no
After entering the vim command mode, enter wq! Exit and save the configuration
3. Restart and check whether the sshd service is running normally
Enter the following command to restart the sshd service
[root@sagecat ~]# systemctl restart sshd
Enter the following command to check whether the sshd service is running. If the result is output, it proves that it is running normally
[root@sagecat ~]# ps -e | grep sshd
  1050 ?        00:00:00 sshd
  1446 ?        00:00:00 sshd
Enter the following command to check whether port 22 is listening normally. If there is information output, it indicates that port 22 is listening. If you are prompted with netstat command not found, enter Yum install net tools to install net tools
[root@sagecat ~]# netstat -an | grep 22
tcp        0      0 0.0.0.0:22              0.0.0.0:*               LISTEN
tcp        0     36 192.168.150.128:22      192.168.150.1:1446      ESTABLISHED
tcp6       0      0 :::22                   :::*                    LISTEN
4. View the CentOS server IP and access it remotely on another server
Enter the ifconfig command to view the server IP address. As shown below, ens33 is the server network card name, 192.168 150.128 is the server IP address
[root@sagecat ~]# ifconfig
ens33: flags=4163<UP,BROADCAST,RUNNING,MULTICAST>  mtu 1500
        inet 192.168.150.128  netmask 255.255.255.0  broadcast 192.168.150.255
        inet6 fe80::af35:e43f:eb07:503  prefixlen 64  scopeid 0x20<link>
        ether 00:0c:29:24:ba:49  txqueuelen 1000  (Ethernet)
        RX packets 2409  bytes 490350 (478.8 KiB)
        RX errors 0  dropped 0  overruns 0  frame 0
        TX packets 2729  bytes 3564820 (3.3 MiB)
        TX errors 0  dropped 0 overruns 0  carrier 0  collisions 0

lo: flags=73<UP,LOOPBACK,RUNNING>  mtu 65536
        inet 127.0.0.1  netmask 255.0.0.0
        inet6 ::1  prefixlen 128  scopeid 0x10<host>
        loop  txqueuelen 1000  (Local Loopback)
        RX packets 64  bytes 5568 (5.4 KiB)
        RX errors 0  dropped 0  overruns 0  frame 0
        TX packets 64  bytes 5568 (5.4 KiB)
        TX errors 0  dropped 0 overruns 0  carrier 0  collisions 0
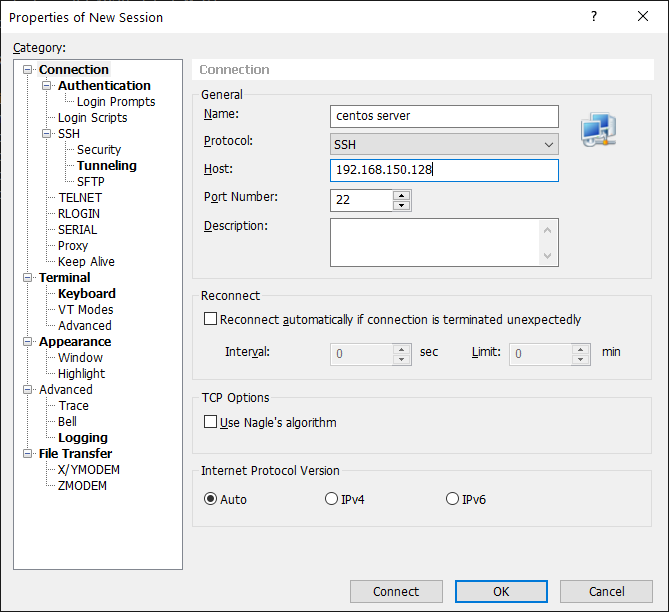
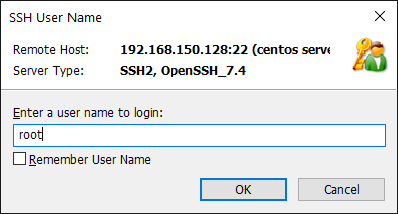
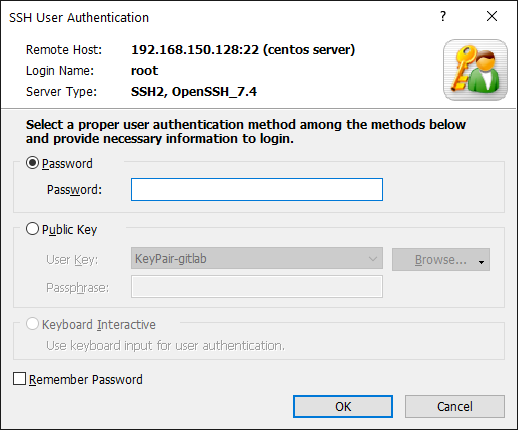
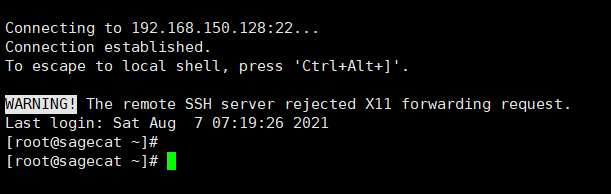
Remote access to CentOS server through Putty or XShell on another Windows computer. Benli takes XShell as an example. After establishing a new connection, enter your user name and password to start remote access!
Attachment: method of modifying host name
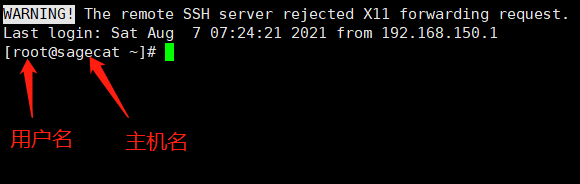
What is a host name? Please see the figure below. If you do not specify the host name when installing CentOS, the default may be localhost
Just modify the contents of hostname in / etc directory
[root@sagecat ~]# vim /etc/hostname
You will see the following contents. Delete this line, change it to the name you want, and then save it. For example, mine is sagecat. Remember not to add # comments in front of the first line, and then add the name you want in the second line! Because comments are not supported in this file, pro test!
After saving, it will not take effect until the server is started next time!
localhost.localdomain
If you think this article is helpful to you, remember to like it and pay attention to it!