About Harbor
Harbor is a mirror warehouse service used to store and distribute Docker images. Compared to Docker Registry, Harbor enhances security, identity, management and is more suitable for enterprise use.
- Official website: https://goharbor.io/
-
Official open source: https://github.com/goharbor/harbor
environmental information
The Harbor version to be deployed today is 1.9.0, and the machine information for this deployment is as follows: - Operating System: CentOS Linux release 7.7.1908
- Docker: 19.03.2
-
docker-compose: 1.23.2
Deploy Harbor
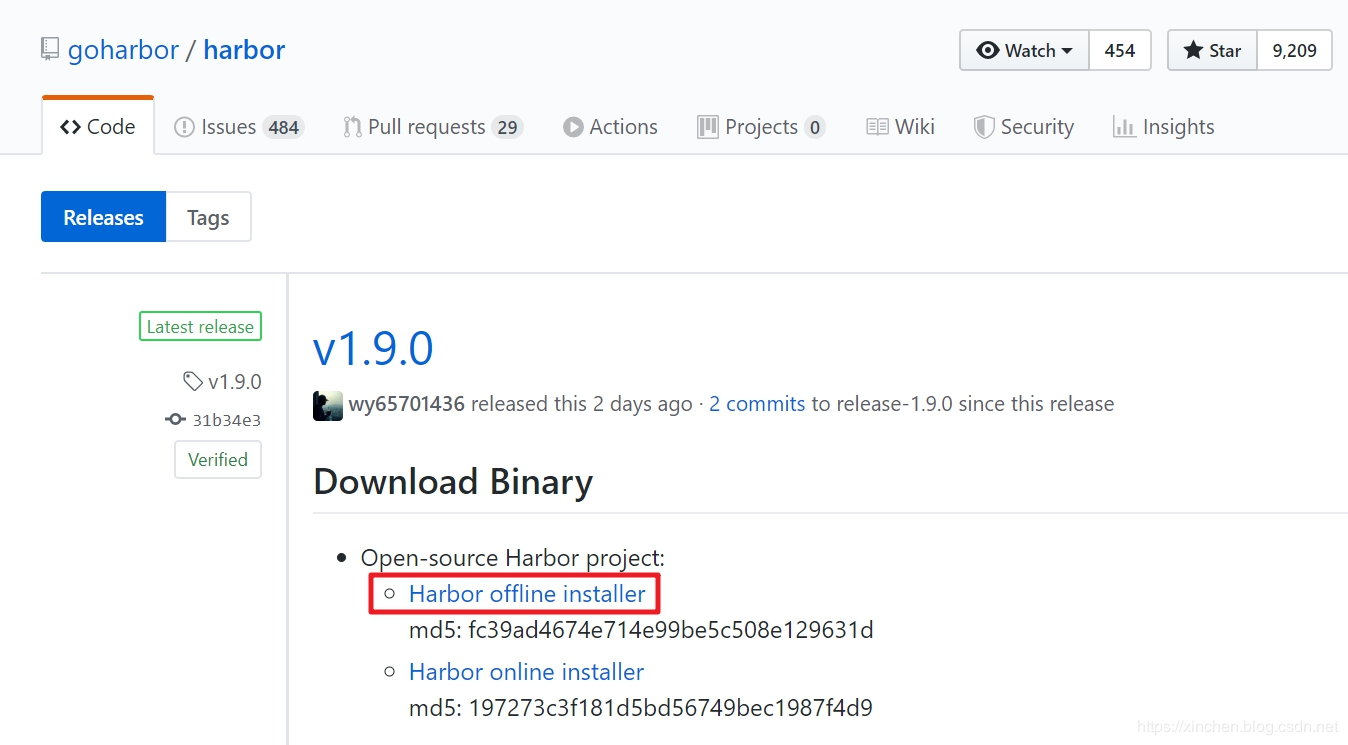
Harbor officially offers both online and offline installations, making offline installations more practical given that corporate servers may not be able to access the external network; - Open the release page of Harbor's GitHub repository to download the offline installation package at https://github.com/goharbor/harbor/releases. As shown in the red box below, I selected the latest version of 1.9.0:

- Download the offline installation package harbor-offline-installer-v1.9.0.tgz to your computer and unzip it with the following command:
tar -zxvf harbor-offline-installer-v1.9.0.tgz
The result of unzipping is a folder named harbor, which you enter.
- Modifying the configuration file harbor.yml mainly modifies the following two configurations:
a. hostname: Fill in the IP address or hostname of the machine, or the domain name if it is already bound to the domain name;
b. harbor_admin_password: Administrator's initial password;
For more configurations such as https, storage, etc., refer to the official documentation for on-demand settings;
- Start the installation and execute the command in the directory where the install.sh file is located. /install.sh to install Harbor. The console information for successful deployment is as follows:
Creating network "harbor_harbor" with the default driver
Creating harbor-log ... done
Creating registryctl   ... done
Creating registry      ... done
Creating harbor-db     ... done
Creating redis         ... done
Creating harbor-portal ... done
Creating harbor-core   ... done
Creating nginx             ... done
Creating harbor-jobservice ... done

✔ ----Harbor has been installed and started successfully.----

Now you should be able to visit the admin portal at http://192.168.50.167.
For more details, please visit https://github.com/goharbor/harbor .
- Nine containers should be functioning properly at this time:
[root@vostro ~]# docker ps
CONTAINER ID        IMAGE                                               COMMAND                  CREATED             STATUS                 PORTS                       NAMES
dac02ab21a1f        goharbor/harbor-jobservice:v1.9.0                   "/harbor/harbor_jobs..."   3 hours ago         Up 3 hours (healthy)                               harbor-jobservice
998fa5676a08        goharbor/nginx-photon:v1.9.0                        "nginx -g 'daemon of..."   3 hours ago         Up 3 hours (healthy)   0.0.0.0:80->8080/tcp        nginx
bc87d9a5a7f7        goharbor/harbor-core:v1.9.0                         "/harbor/harbor_core"    3 hours ago         Up 3 hours (healthy)                               harbor-core
ce495560ef35        goharbor/harbor-db:v1.9.0                           "/docker-entrypoint...."   3 hours ago         Up 3 hours (healthy)   5432/tcp                    harbor-db
25a13fddd607        goharbor/harbor-portal:v1.9.0                       "nginx -g 'daemon of..."   3 hours ago         Up 3 hours (healthy)   8080/tcp                    harbor-portal
b9f72d4da022        goharbor/redis-photon:v1.9.0                        "redis-server /etc/r..."   3 hours ago         Up 3 hours (healthy)   6379/tcp                    redis
3804003153ae        goharbor/harbor-registryctl:v1.9.0                  "/harbor/start.sh"       3 hours ago         Up 3 hours (healthy)                               registryctl
d8d570e88874        goharbor/registry-photon:v2.7.1-patch-2819-v1.9.0   "/entrypoint.sh /etc..."   3 hours ago         Up 3 hours (healthy)   5000/tcp                    registry
2d940d7fd271        goharbor/harbor-log:v1.9.0                          "/bin/sh -c /usr/loc..."   3 hours ago         Up 3 hours (healthy)   127.0.0.1:1514->10514/tcp   harbor-log
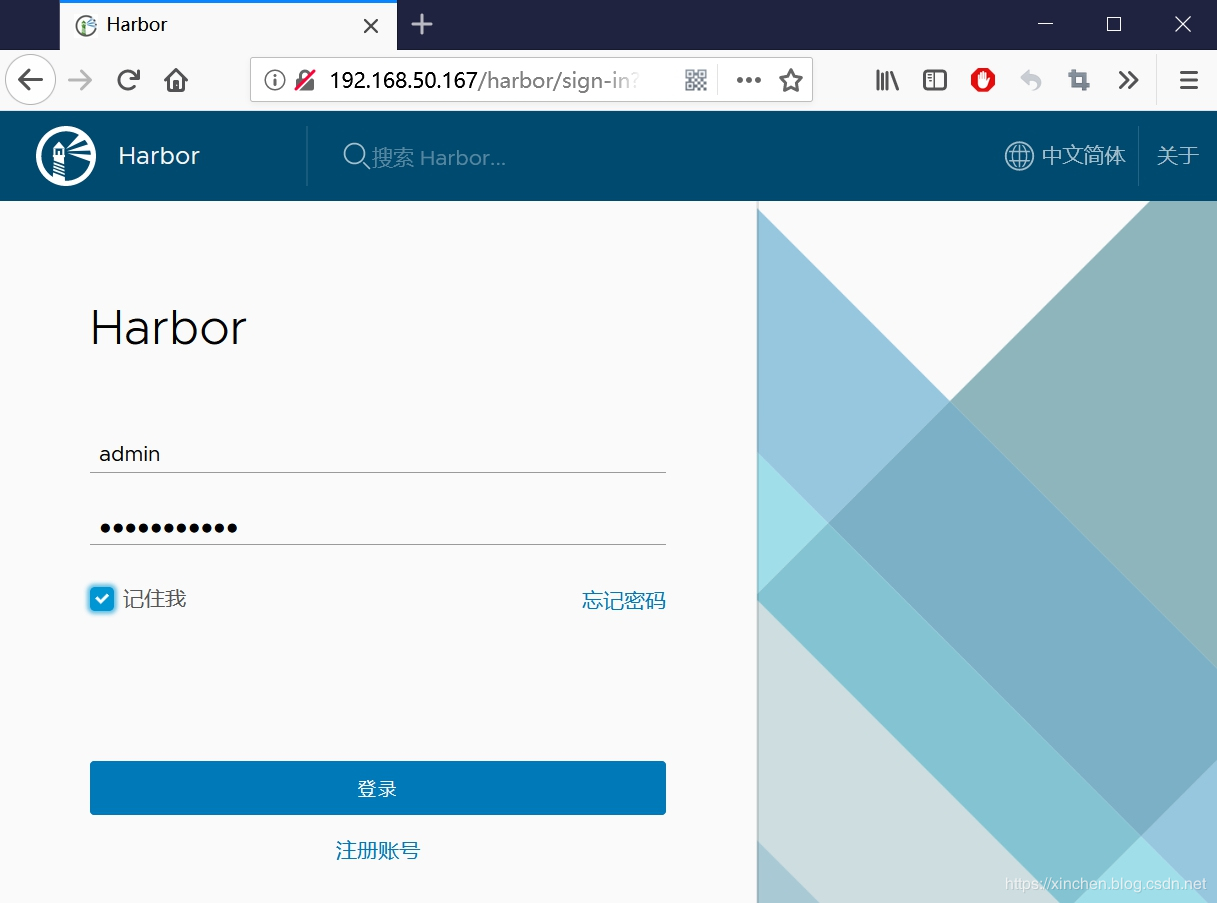
- Since Harbor's web service uses the host's 80 ports, you can access Harbor's web administration page by directly entering the host's IP address in the browser, with the account number admin and the password harbor_admin_password set earlier (the default is Harbor 12345):

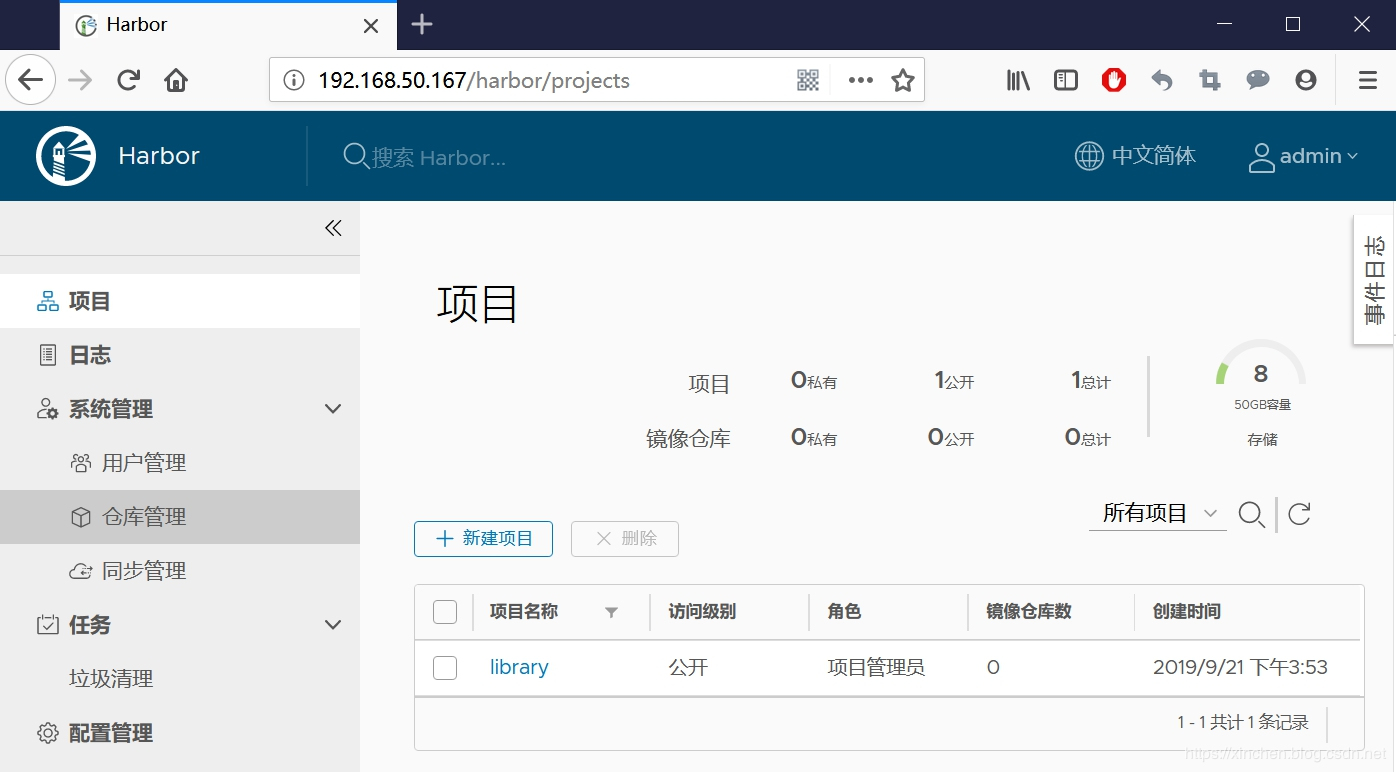
- After successful login, I found it empty, also, there is nothing at present:

Allow http connections
Next we'll verify that the Harbor service is available by remotely pushing a mirror from another Linux computer (hereinafter referred to as Computer A) to the Harbor machine.
Harbor does not allow http connections by default. You can modify the settings here to support http connections for subsequent validation operations.
- If you want to connect the Harbor server from the A computer, set up the A computer, where the A computer is the Linux operating system.
- Edit computer A's/etc/docker/daemon.json file (create a new one if it doesn't exist), add the following, 192.168.50.167 is the IP address of the Harbor server:
{
  "insecure-registries":["192.168.50.167"]
}- Restart to make the configuration effective:
systemctl daemon-reload && systemctl restart docker
Reminder again: This modification is the configuration of the machine remotely connected to the Harbor service, not the configuration of the Harbor server;
Push Mirror to Harbor
Next, verify Harbor's service and try to push a mirror of your computer to Harbor on computer A.
- Log in to computer A and select a local mirror to test. I have a local mirror named jenkinsci/blueocean:1.19.0 with ID 11e2757c8bc1:
root@hedy:~# docker images
REPOSITORY                          TAG                 IMAGE ID            CREATED             SIZE
jenkinsci/blueocean                 1.19.0              11e2757c8bc1        7 days ago          553MB
- Execute the following command to modify the name and TAG of the selected local image:
docker tag 11e2757c8bc1 192.168.50.167/library/jenkinsci/blueocean:1.19.0
Of the above commands, 192.168.50.167 is the value of the hostname configured in the harbor.yml file when harbor was installed, and library is the default project name for harbor;
- You can log in to Harbor from computer A by executing the following commands:
docker login 192.168.50.167 -u admin -p Harbor12345
- Execute the command docker push 192.168.50.167/library/jenkinsci/blueocean:1.19.0
root@hedy:~# docker push 192.168.50.167/library/jenkinsci/blueocean:1.19.0
The push refers to repository [192.168.50.167/library/jenkinsci/blueocean]
2963284ab4ce: Pushing [================================================>  ]  58.27MB/60.25MB
c4a4de444fad: Pushing [========>                                          ]  47.87MB/267.6MB
850b4f512dc8: Pushed
abdaf43f94b6: Pushed
a6a27b82134d: Pushed
d6bee87a74b8: Pushed
28c6bdb5fda9: Pushed
bb25d1c7cc8a: Pushed
e2419390abaa: Pushing [========================>                          ]  37.29MB/77.36MB
d6982687f77e: Pushed
c9659702491d: Pushed
ed4e100c24a1: Pushing [==========================================>        ]  36.71MB/43.37MB
ceaf9e1ebef5: Pushing [======>                                            ]  12.58MB/99.29MB
9b9b7f3d56a0: Waiting
f1b5933fe4b5: Waiting
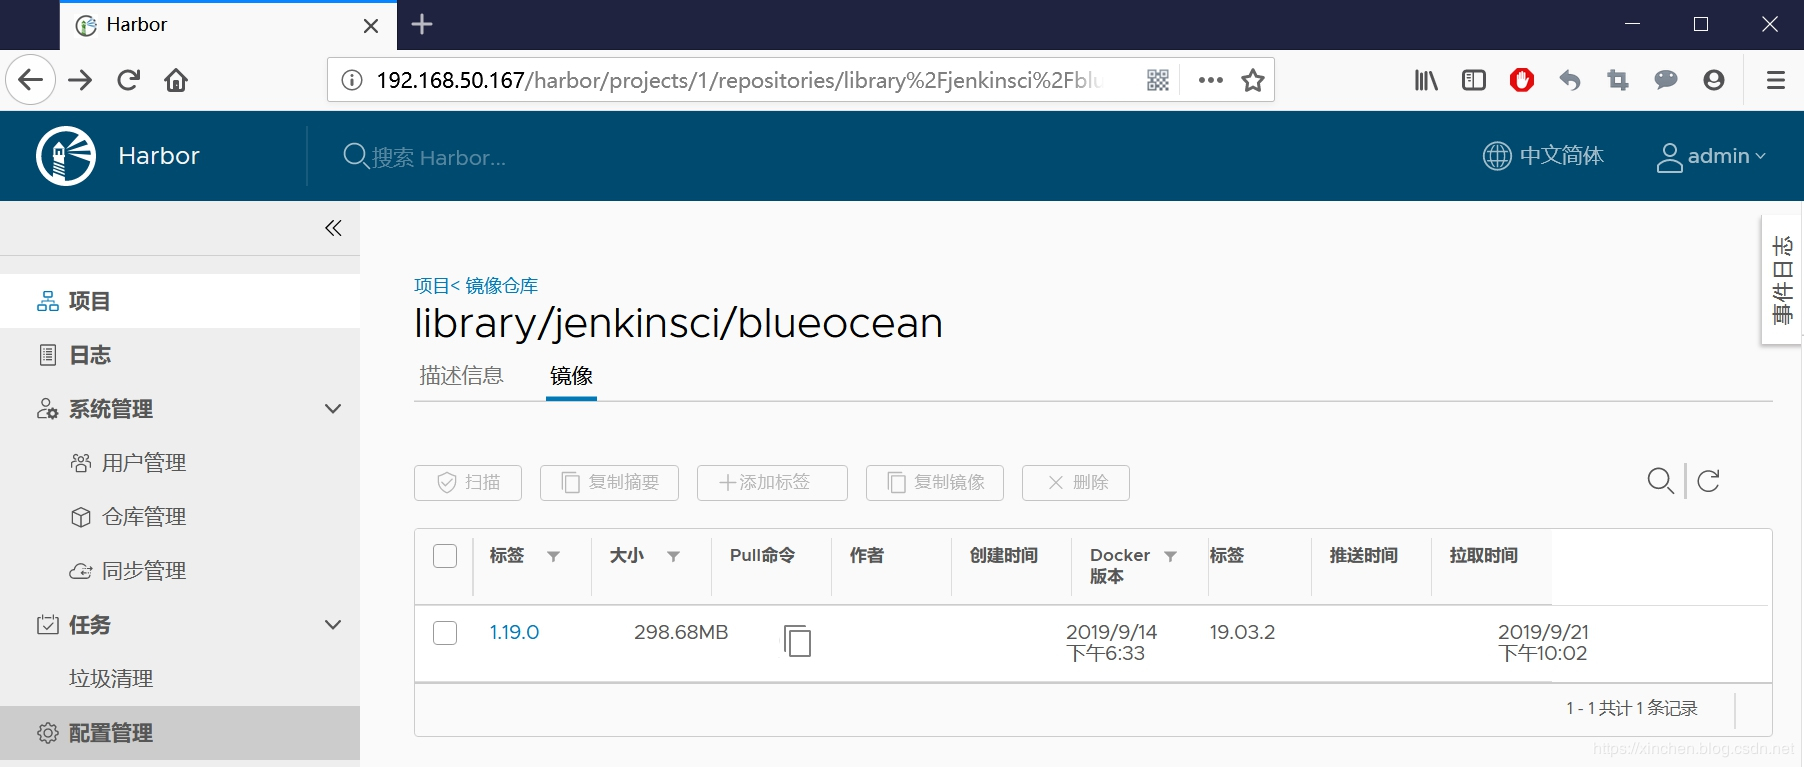
- After uploading, log in to the Harbor web page and see the newly uploaded image:

Now that the battle is over, I hope this article will give you some reference when you set up Harbor services.