1. Preparation of relevant documents
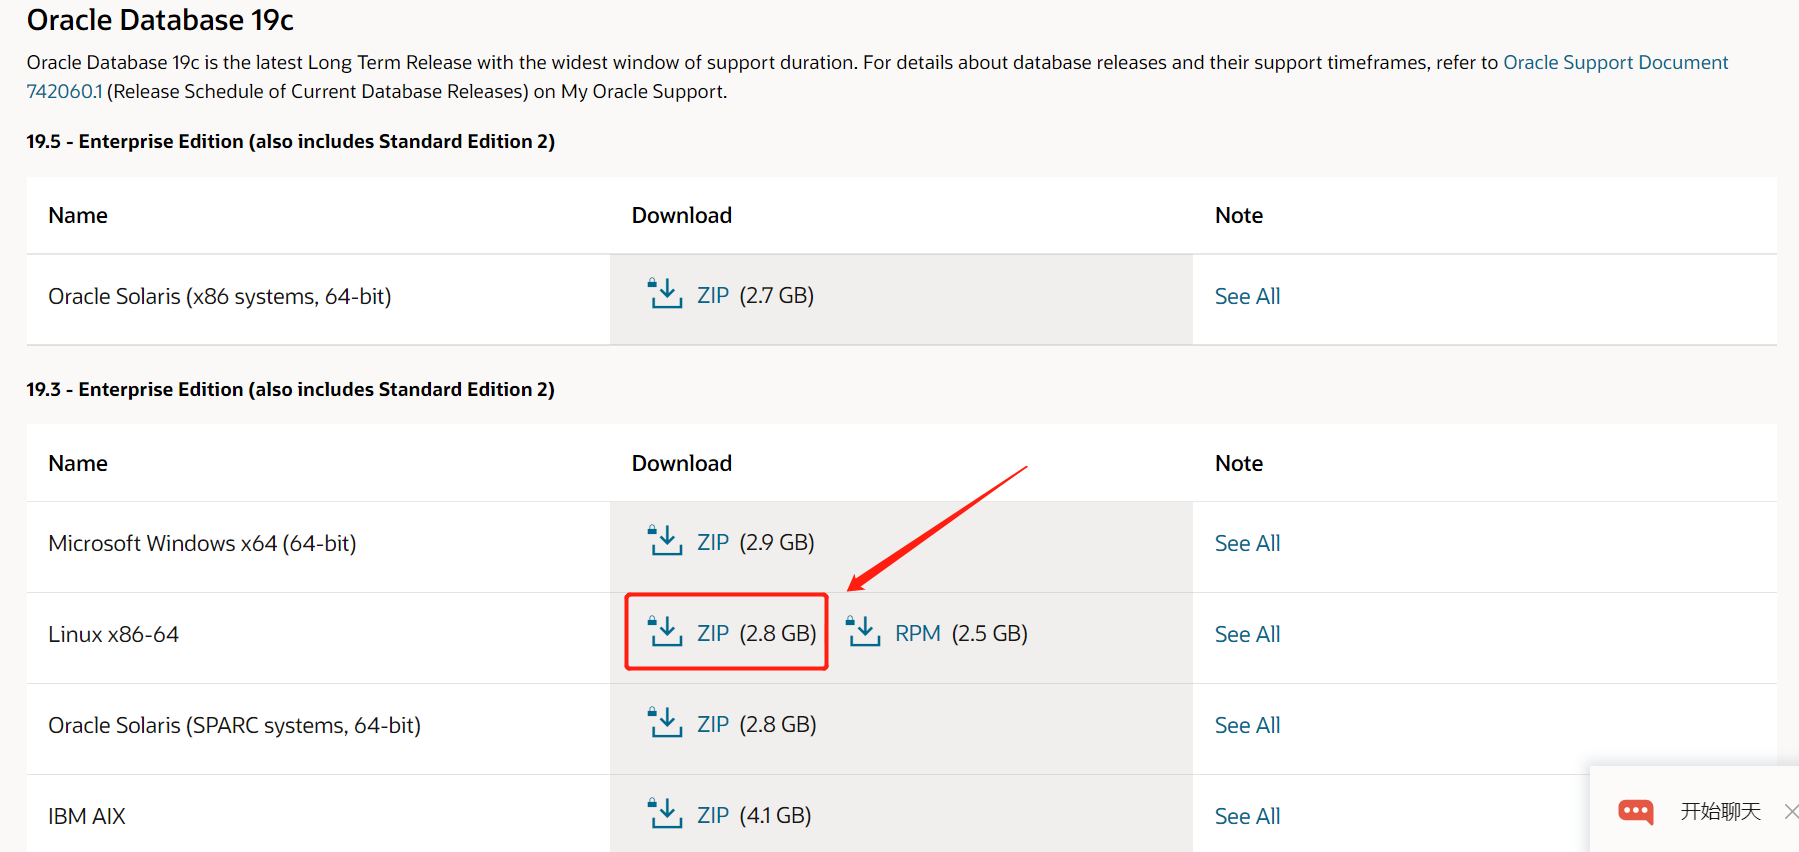
(1) linux installation file preparation, installation of oracle Software and instances, download link:
https://www.oracle.com/cn/database/technologies/oracle-database-software-downloads.html#19c
Choose Linux x86_64 system version, click download. Log in with Oracle account before downloading. If there is no Oracle, please register one in advance
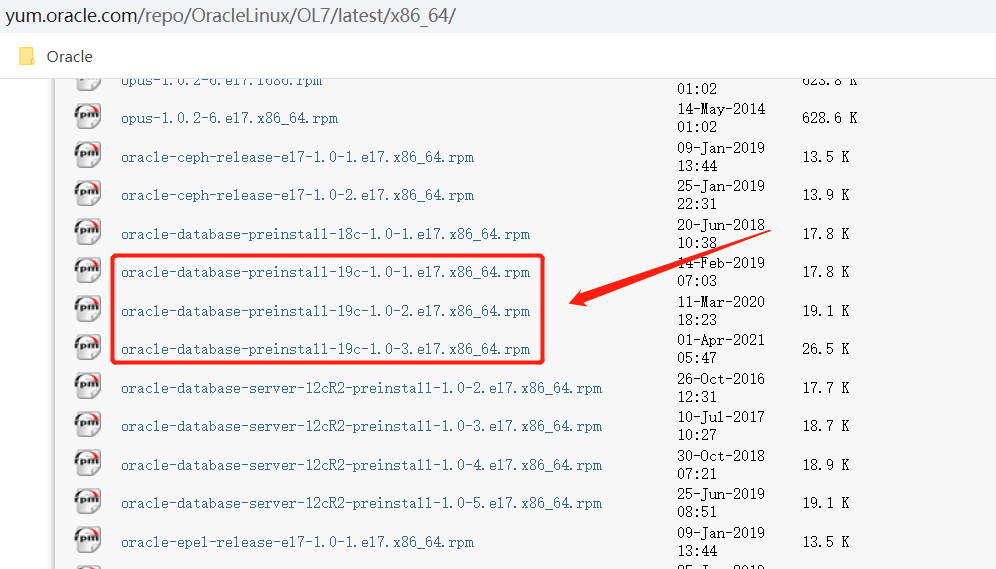
(2) linux pre installed file preparation, configuring the environment required by Oracle 19C, download link:
http://yum.oracle.com/repo/OracleLinux/OL7/latest/x86_64/getPackage/oracle-database-preinstall-19c-1.0-3.el7.x86_64.rpm
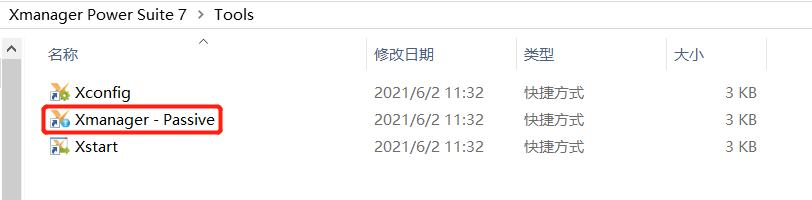
 2. The native windows starts Xmanager - Passive in Xmanager. After startup, an icon will automatically appear in the tray in the lower right corner (you can search Xmanager resources on the Internet)
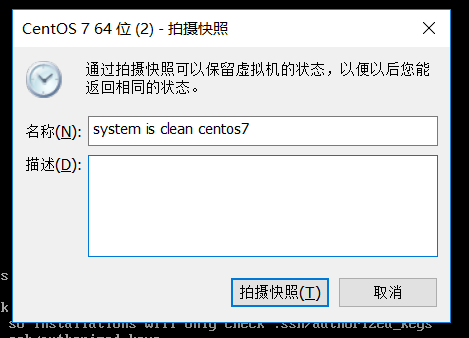
3. Before installing Oracle 19C, it is recommended to take a snapshot to prevent errors in the operation
4. CentOS 7 installed in minimized mode configures Xmanager - Passive, a graphical interface that can be opened remotely
(1) Install test package:
yum -y install xclock
(2) Install desktop environment:
yum -y groupinstall "X Window System"

yum -y install gnome-classic-session gnome-terminal control-center liberation-mono-fonts
(3) Enable graphical interface:
systemctl set-default graphical.target
(4) Restart the server:
reboot
5. Upload file
mkdir /soft
Upload the two prepared files to / soft

6. Environmental inspection
#During the installation process, oralce users and oinstall user groups are used
id oracle
cat /etc/group |grep oinstall

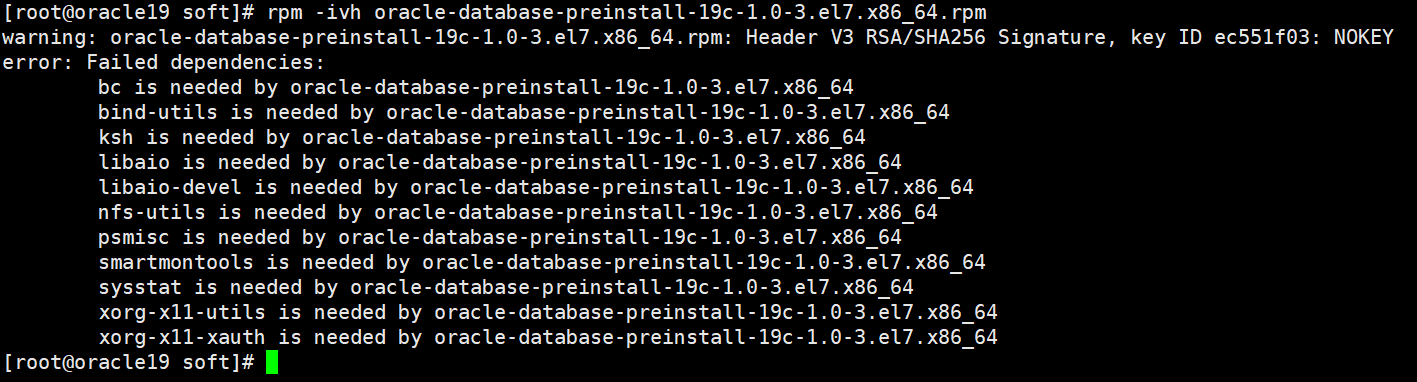
7. Install Oracle 19C pre installed package
rpm -ivh oracle-database-preinstall-19c-1.0-3.el7.x86_64.rpm
8. Install the missing dependency package, or through shell script, as shown in the following figure
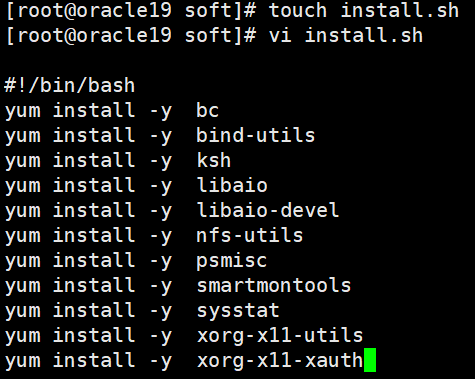
touch install.sh
chmod +x install.sh
./install.sh
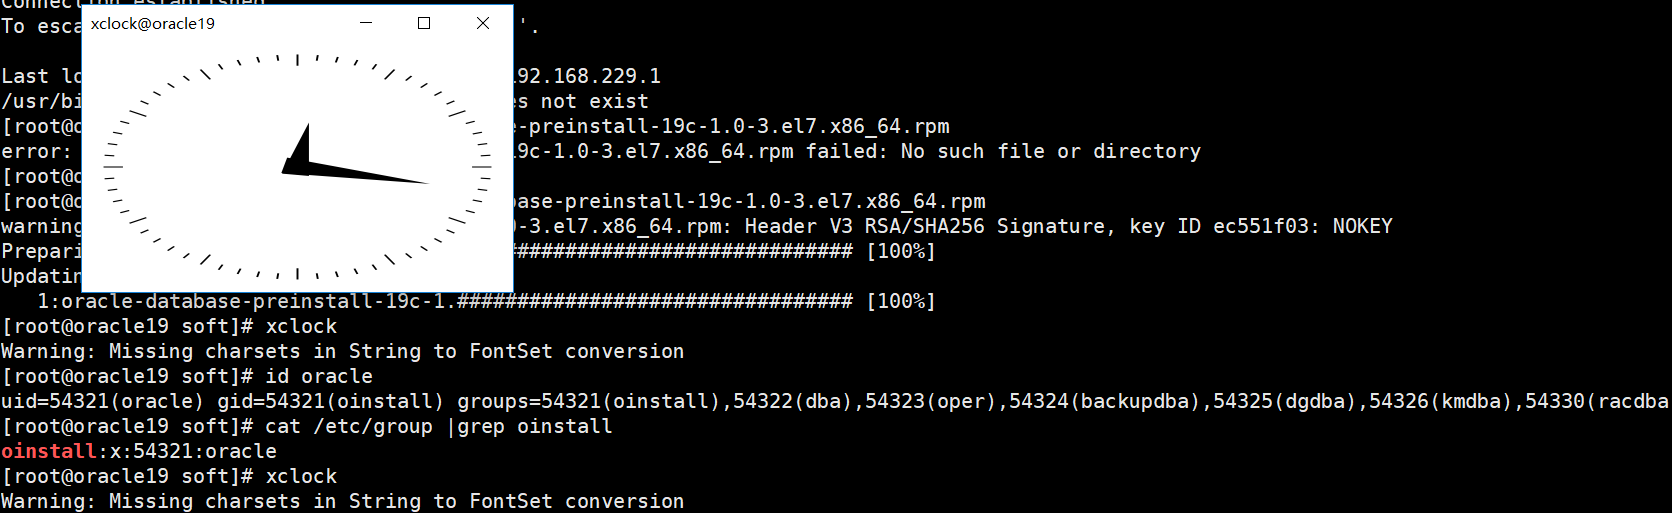
9. After installing the dependent packages required by Oracle 19C, reinstall the Oracle 19C pre installed package
rpm -ivh oracle-database-preinstall-19c-1.0-3.el7.x86_64.rpm

10. Environmental inspection again
#During the installation process, oralce users and oinstall user groups are used
id oracle
cat /etc/group |grep oinstall

xclock
11. Configure environment variables
mkdir -p /u01/app/oracle/product/19.0.0/dbhome_1/

chown oracle.oinstall /soft -R
chown oracle.oinstall /u01 -R
su - oracle

vim .bash_profile
#Add the following environment variables
export TMP=/tmp
export TMPDIR=$TMP
export ORACLE_HOSTNAME=oracle19
export ORACLE_UNQNAME=orcl
export ORACLE_BASE=/u01/app/oracle
export ORACLE_HOME=$ORACLE_BASE/product/19.0.0/dbhome_1
export ORA_INVENTORY=/u01/app/oraInventory
export ORACLE_SID=orcl
export PWB_NAME=pdb1
export DATA_DIR=/u01/oradata
export PATH=$ORACLE_HOME/bin:$PATH
export LD_LIBRARY_PATH=$ORACLE_HOME/lib:/lib:/usr/lib
export CLASSPATH=$ORACLE_HOME/jlib:$ORACLE_HOME/rdbms/jlib

export DISPLAY=192.168.229.1:0.0
12. Re enter the oracle user's shell and unzip the oracle 19C installation package
exit
su -oracle
cd $ORACLE_HOME
unzip /soft/LINUX.X64_193000_db_home.zip
13. Test remote image interface
export DISPLAY=192.168.229.1:0.0 #192.168.229.1 is the IP address of the local windows, and 0.0 is the port number
xclock
 Note: if there is no image clock, exit the current shell,reenter oracle user shell Execute the above two commands under
14. Install Oracle 19C installation package
The first step is to install the database software
cd $ORACLE_HOME

./runInstaller
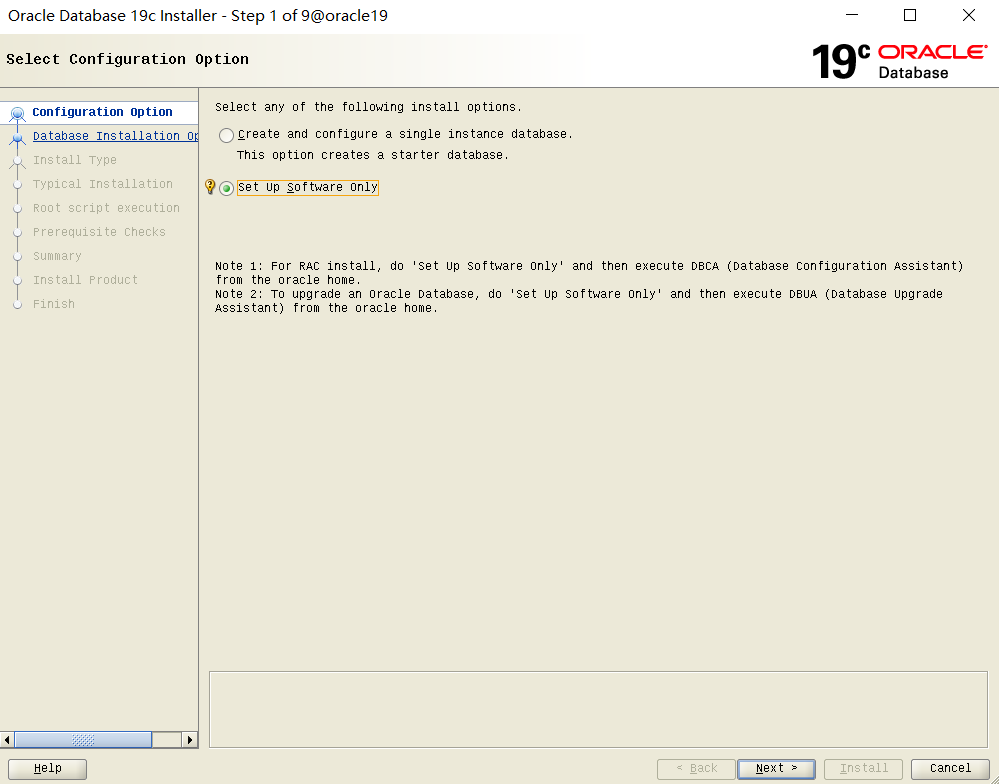
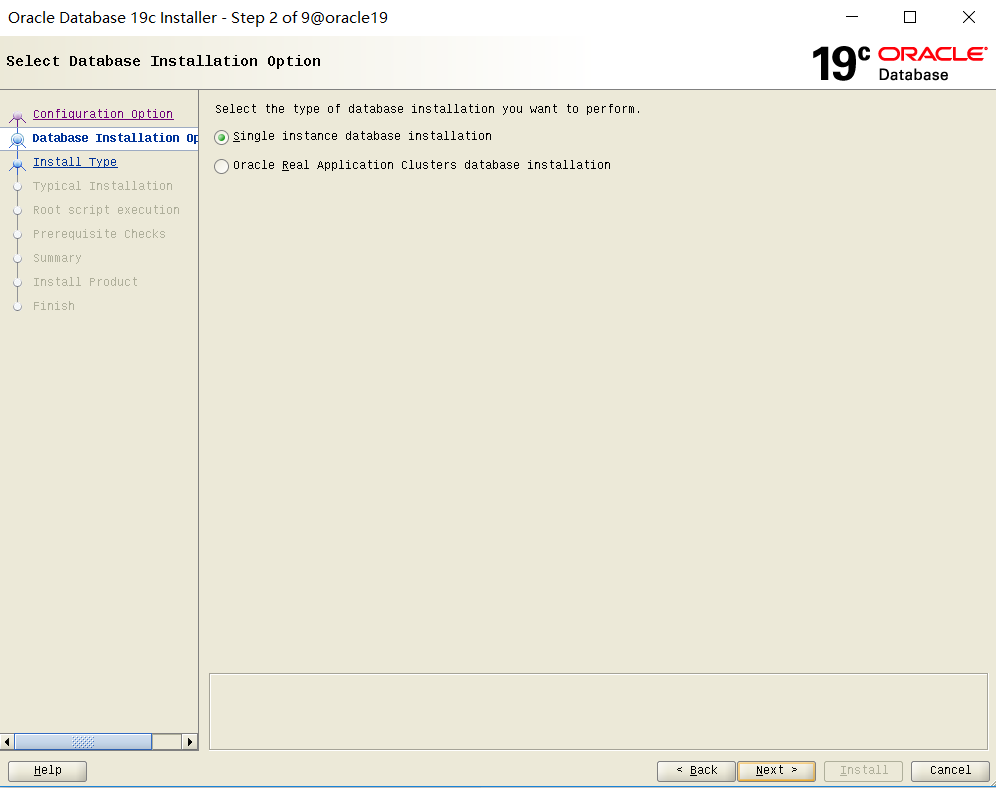
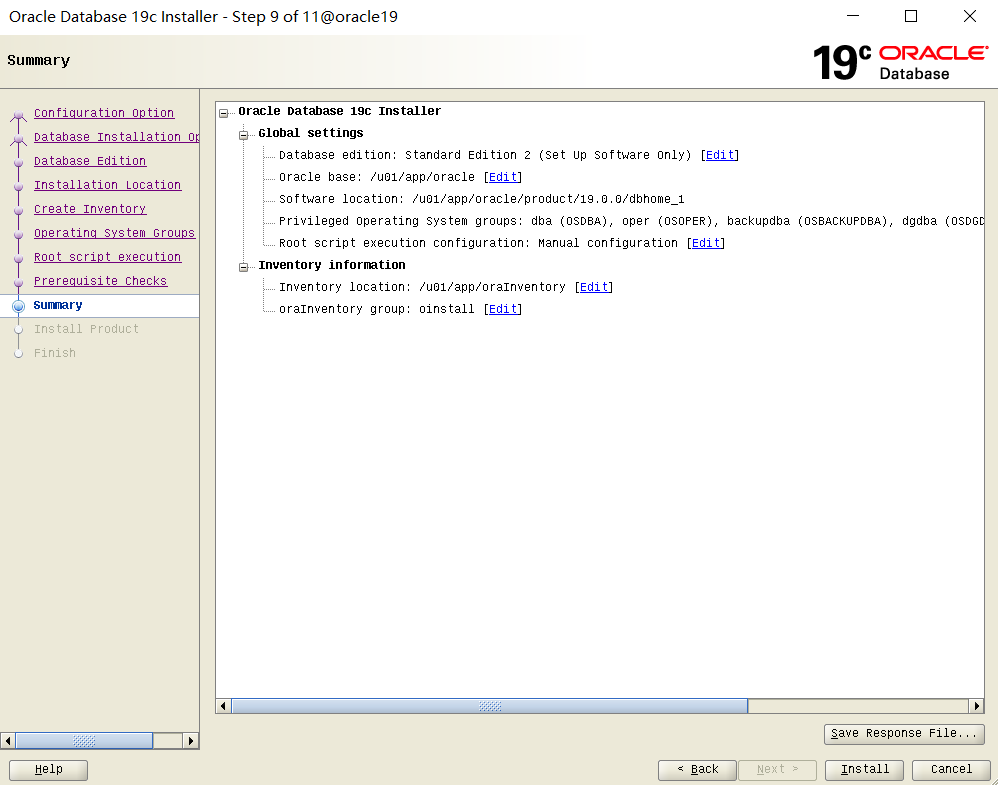
(1) Select "Set up software Only" and click "Next"
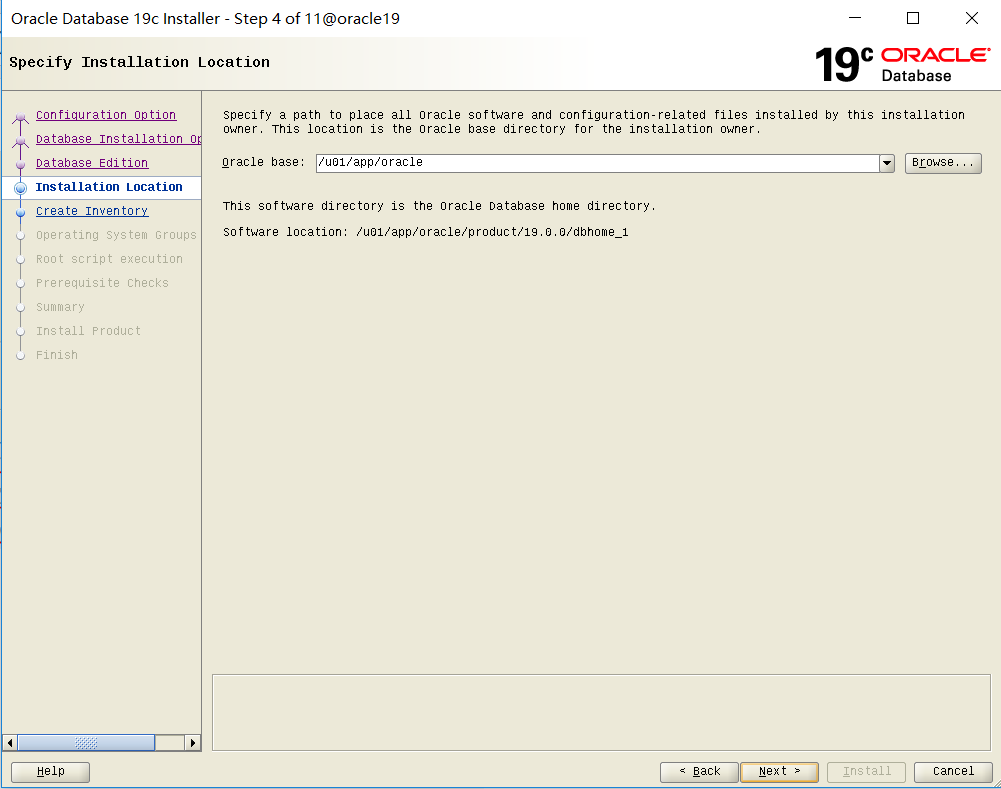
(2) Click "Next"
(3) Click "Next"

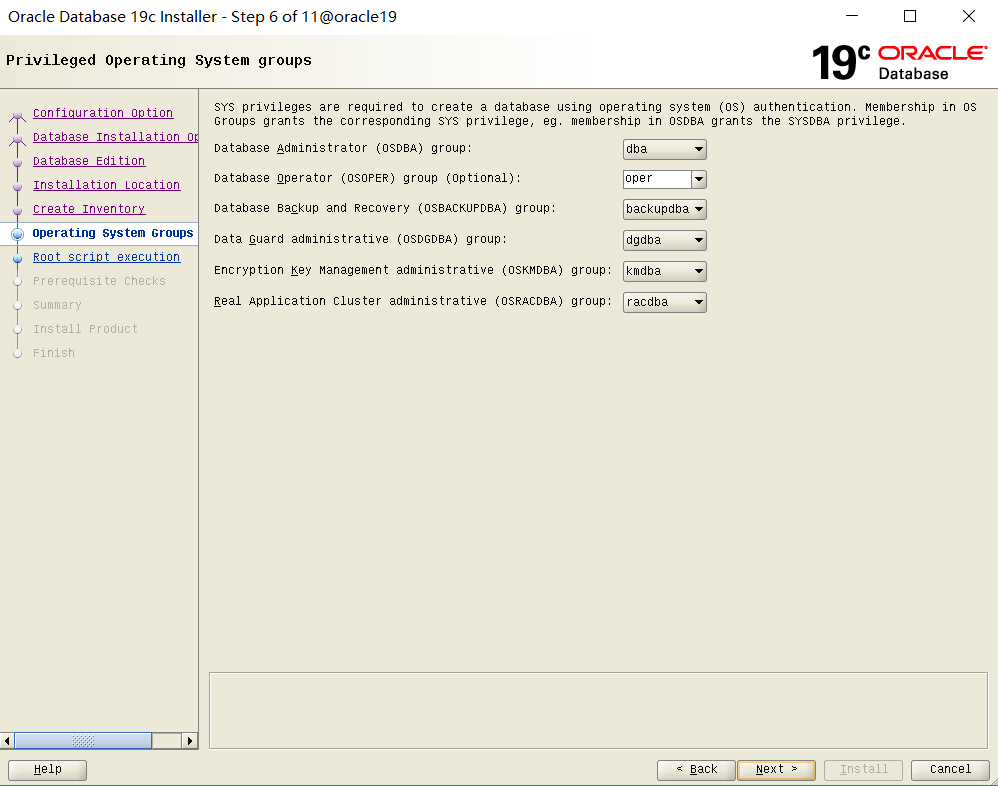
(4) Click "Next"
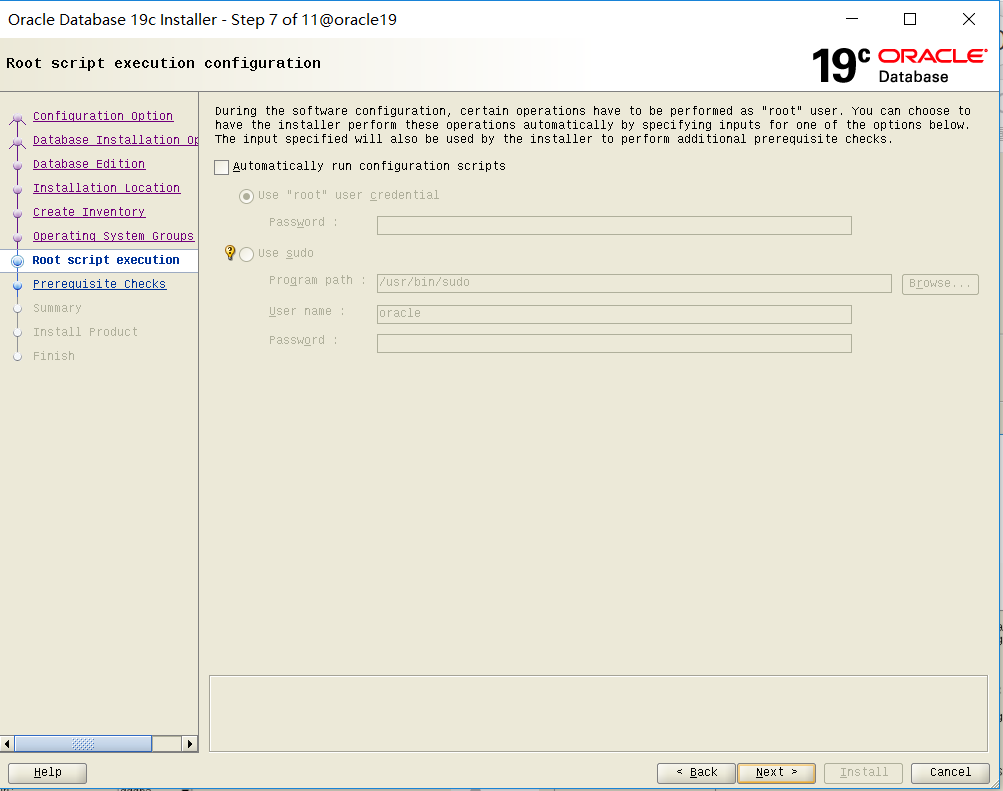
(5) Click "Next"
(6) Click "Next"
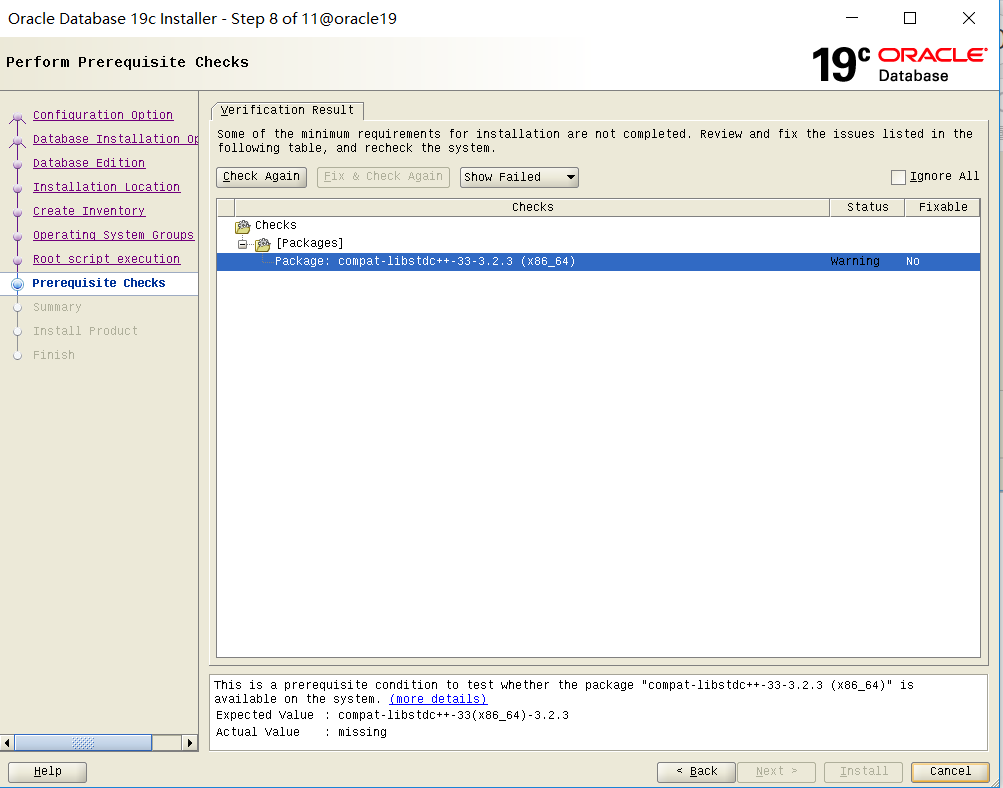
(6) . check the configuration. At this time, you will be prompted that compat libstdc + ± 33 is missing x86_ 64 dependent package, open a new window
yum install -y compat-libstdc++-33.x86_64
After installation, click "Check Again"
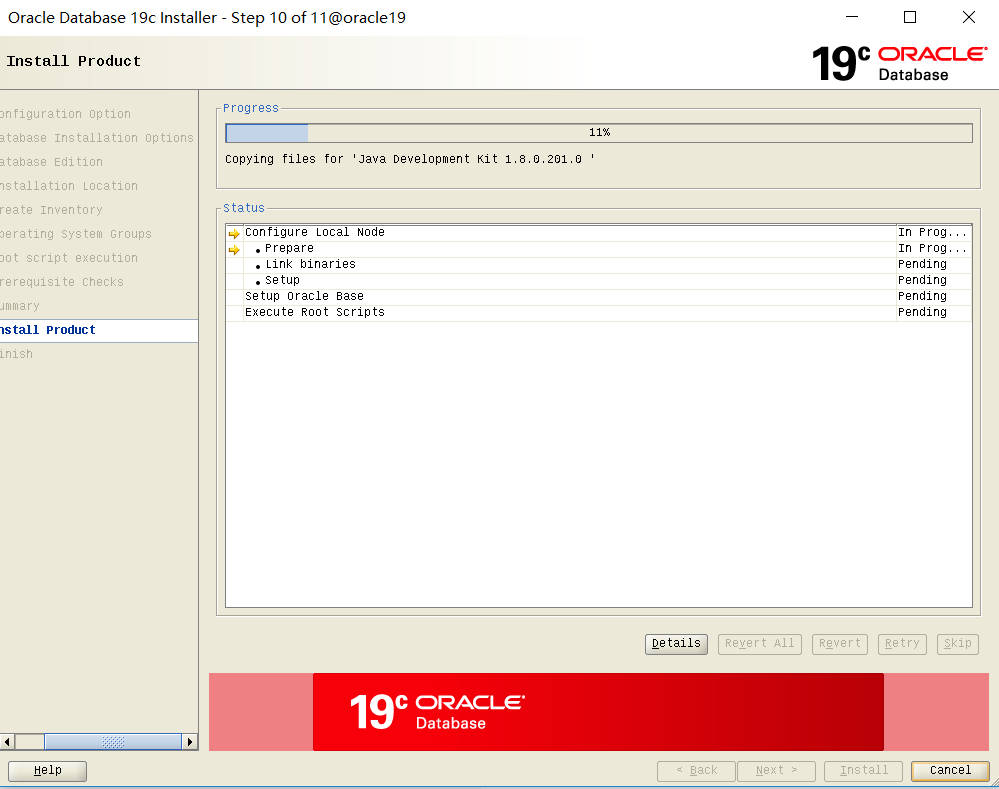
(7) Click "Install"
(8) During the installation process, you will be prompted to execute the following two scripts (forgot the screenshot) in the newly opened window
/u01/app/oraInventory/orainstRoot.sh

/u01/app/oracle/product/19.0.0/dbhome_1/root.sh #You need to hit the Enter key during execution
After execution, click "OK"
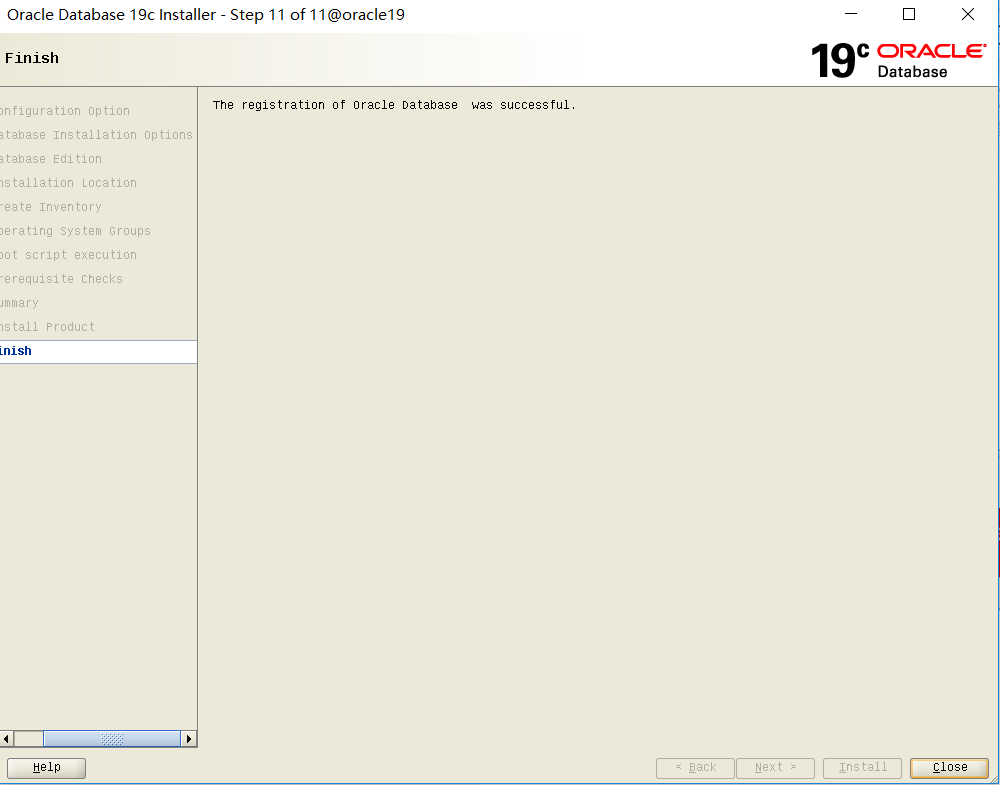
(8) Wait for the installation to complete and click "Close"
Step 2: install a listener for remote connection
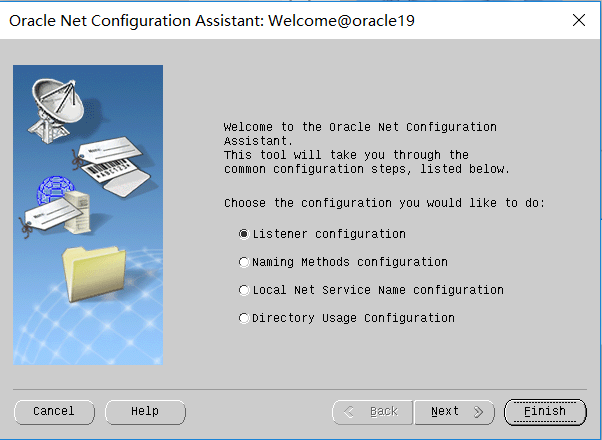
cd $ORACLE_HOME/bin

netca
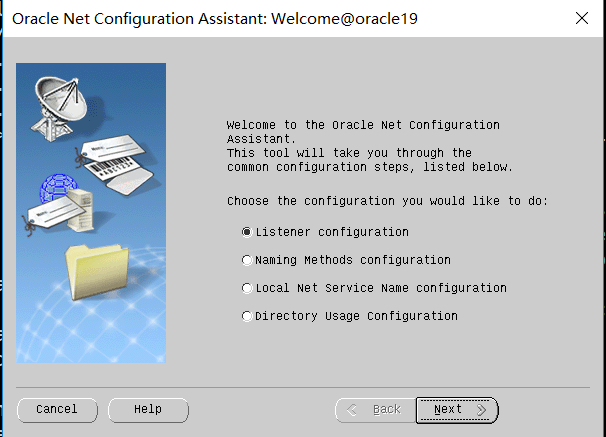
(1) Click "Next"
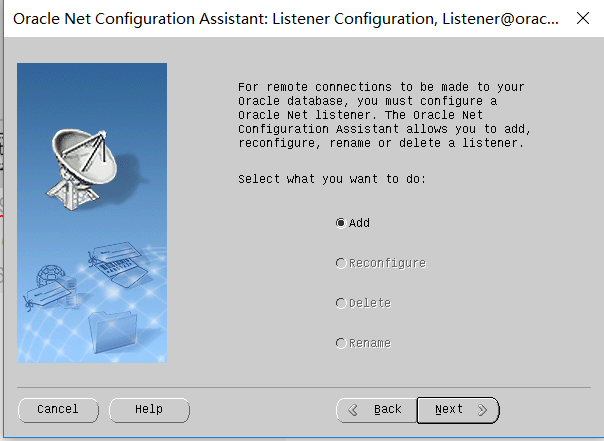
(2) Click "Next"
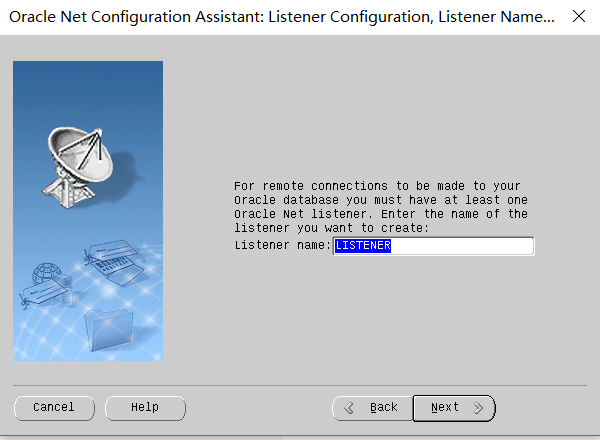
(3) Click "Next"
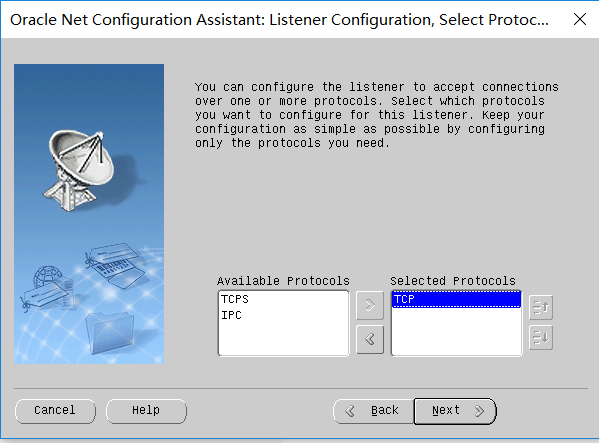
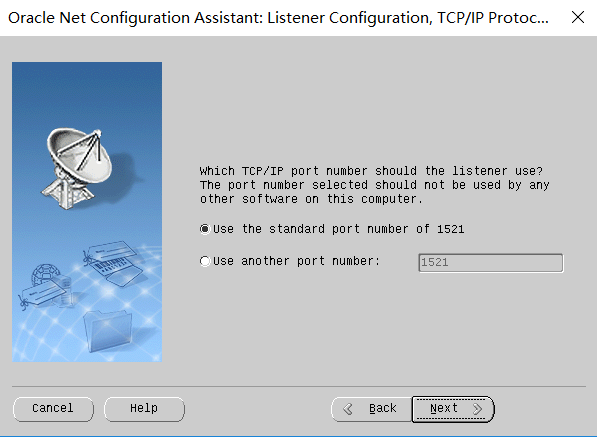
(4) Select "TCP" and click "Next"
(5) Click "Next"
(6) Click "Next"

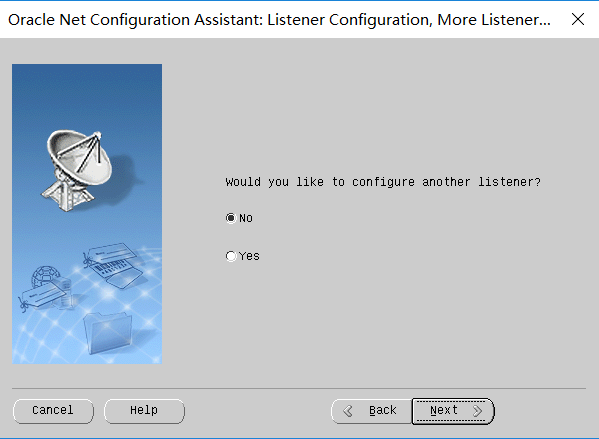
(7) Click "Next"
(8) . click "Finish"
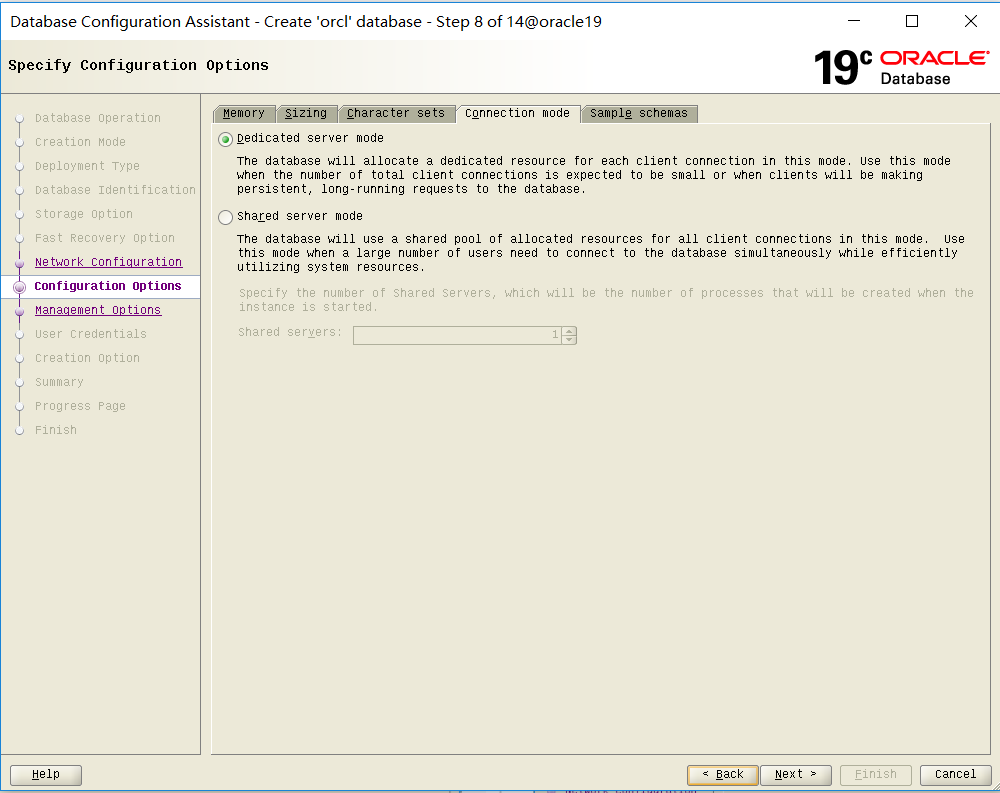
Step 3: install oracle database instance
cd $ORACLE_HOME/bin

dbca
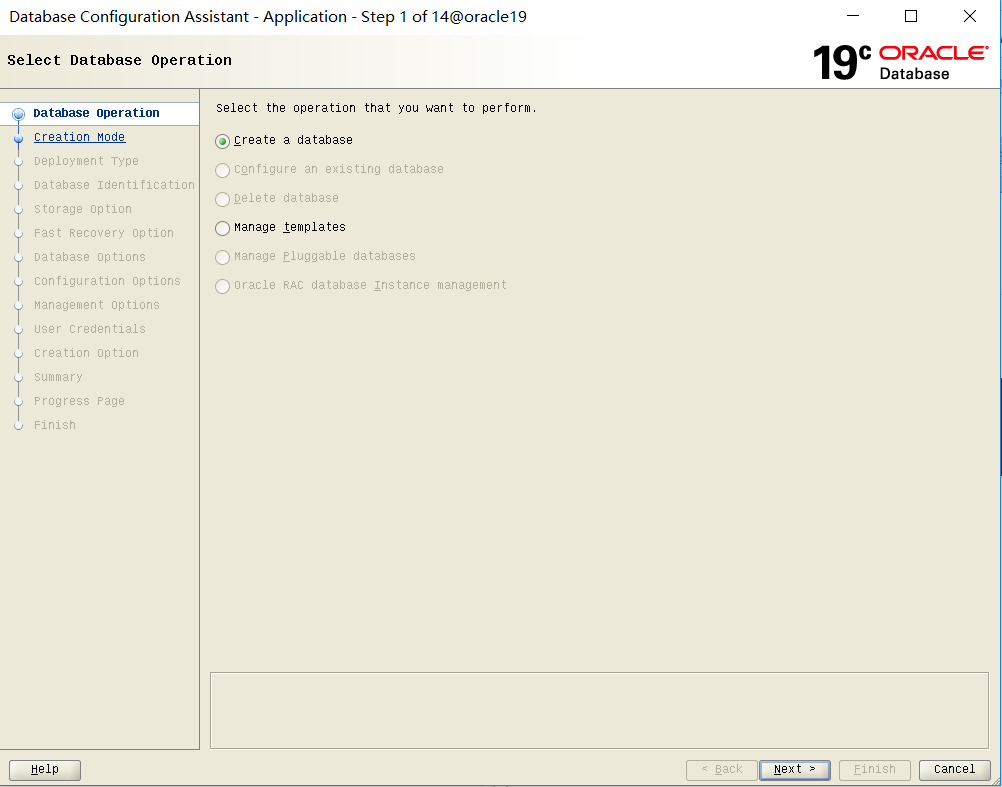
(1) Click "Next"
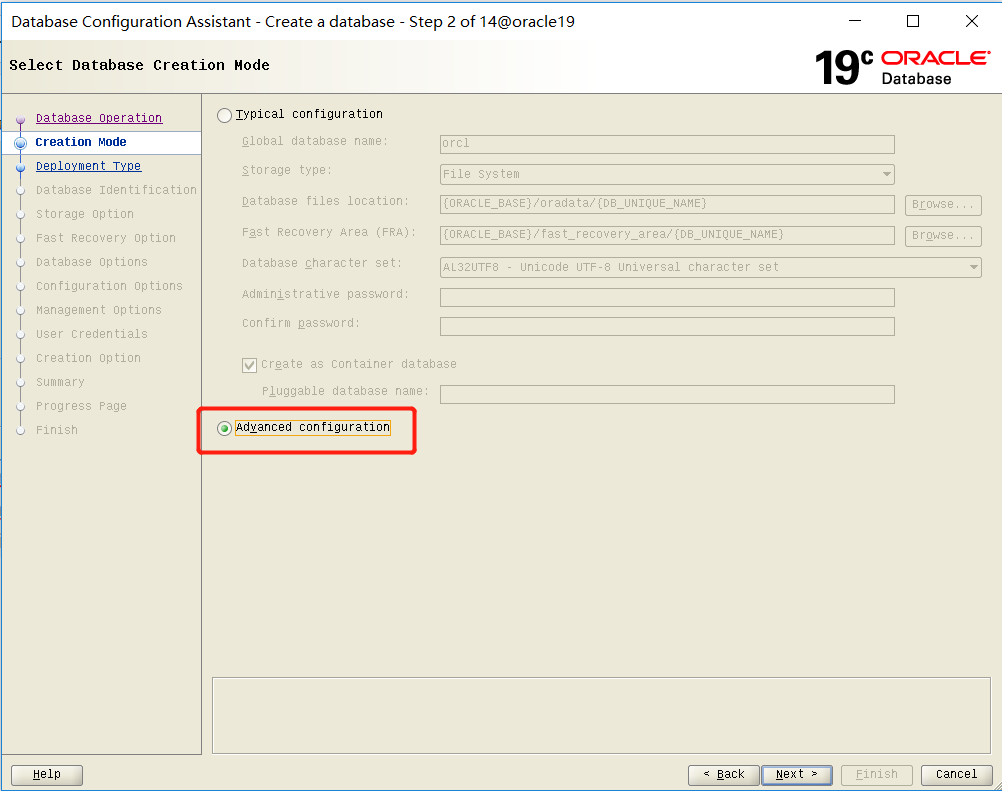
(2) Select "Advanced configuration" and click "Next"
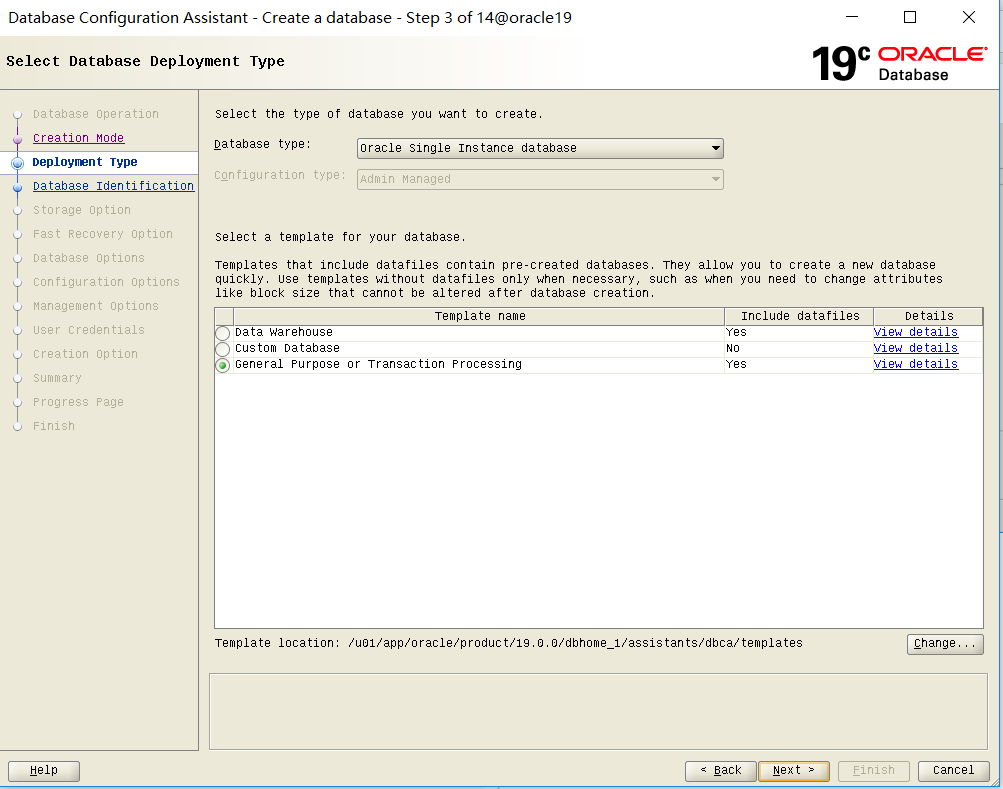
(3) Click "Next"
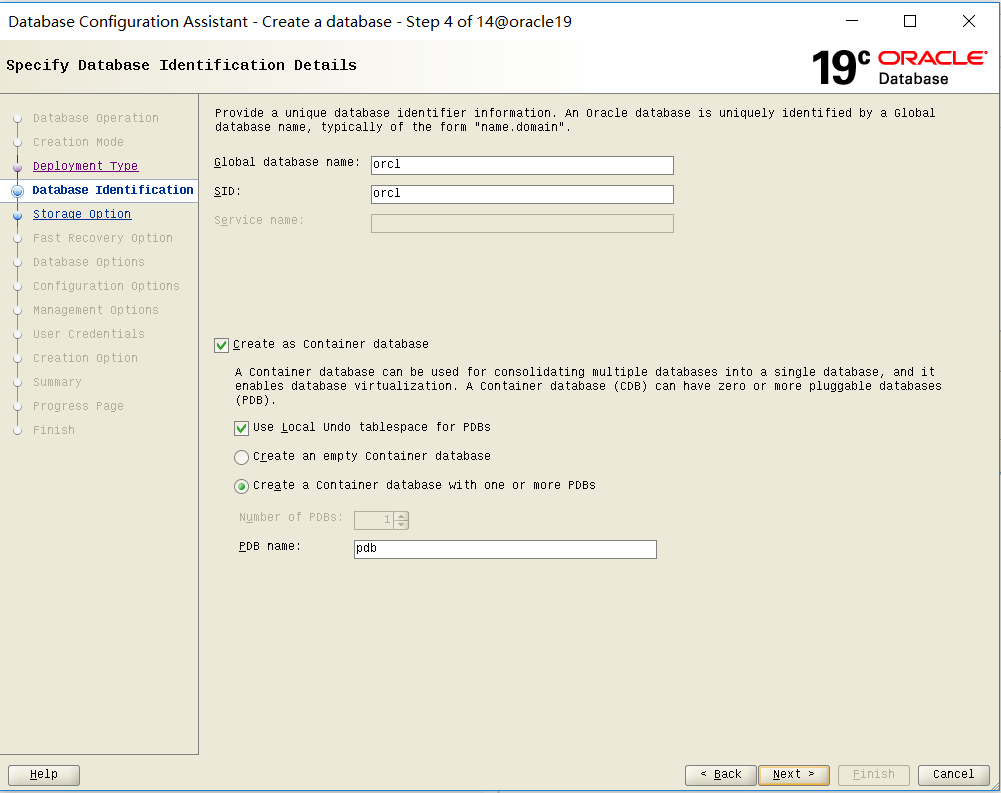
(4) Click "Next"
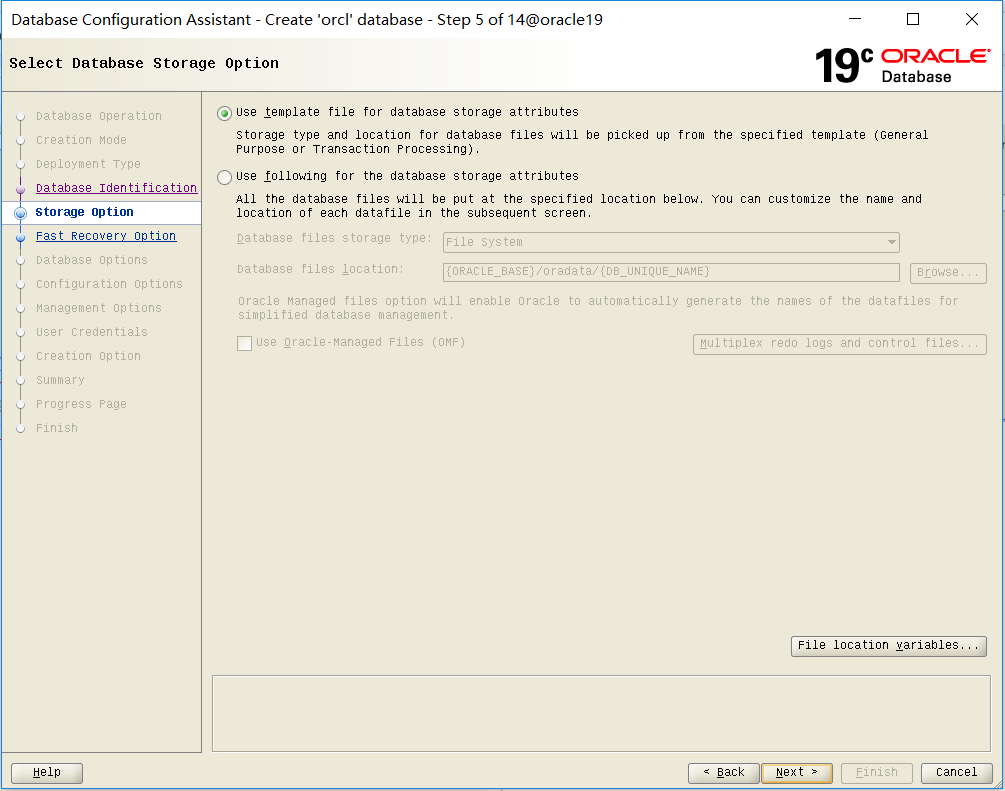
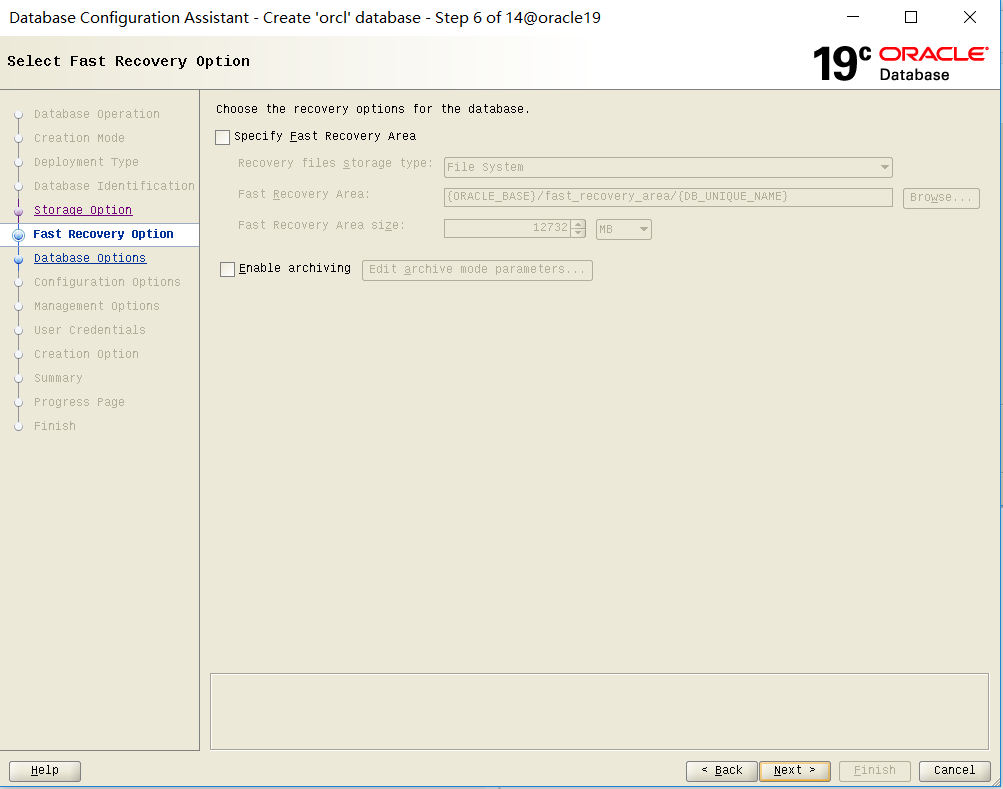
(5) Click "Next"
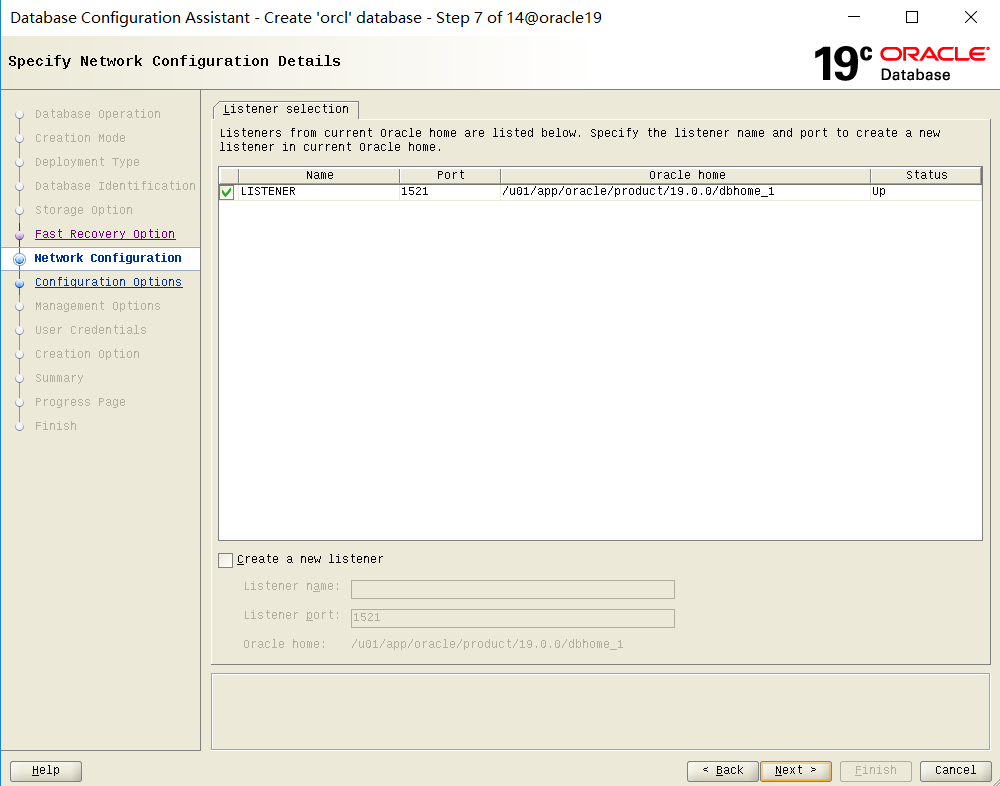
(6) Click "Next"
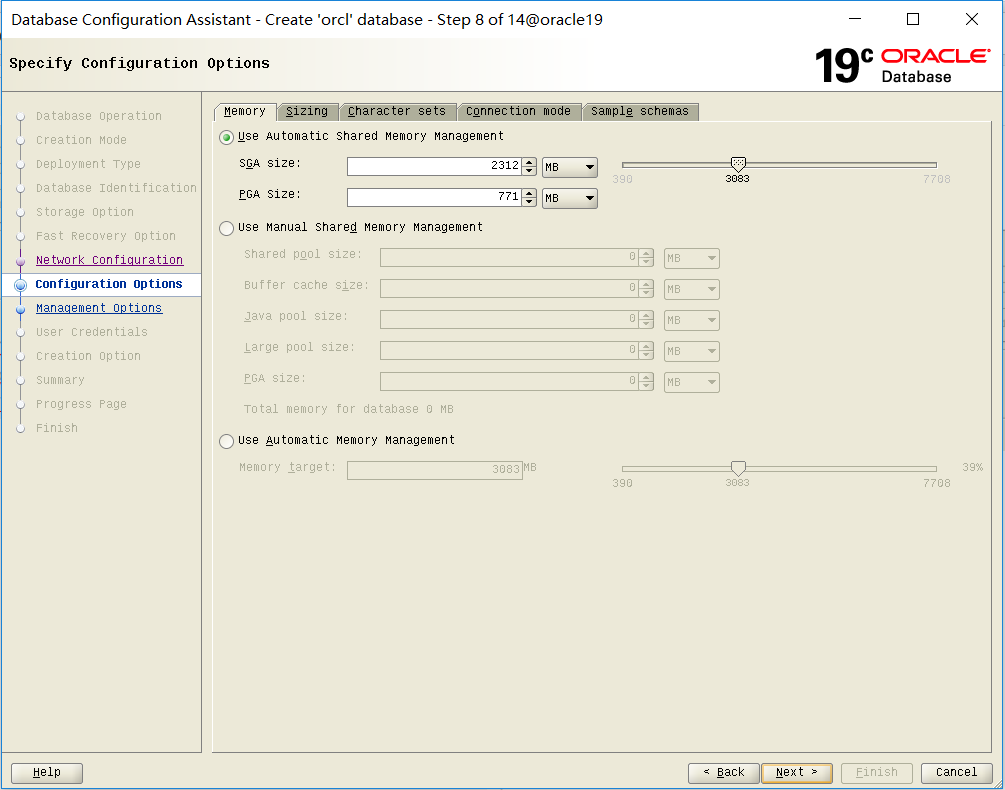
(7) Click "Next"

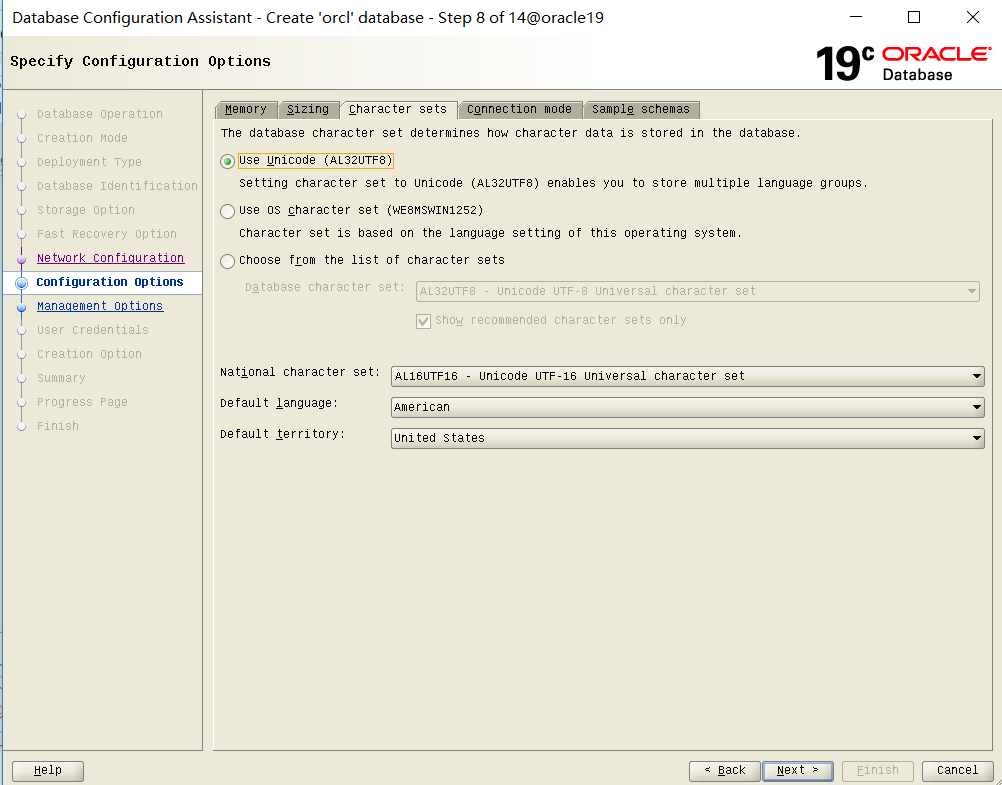
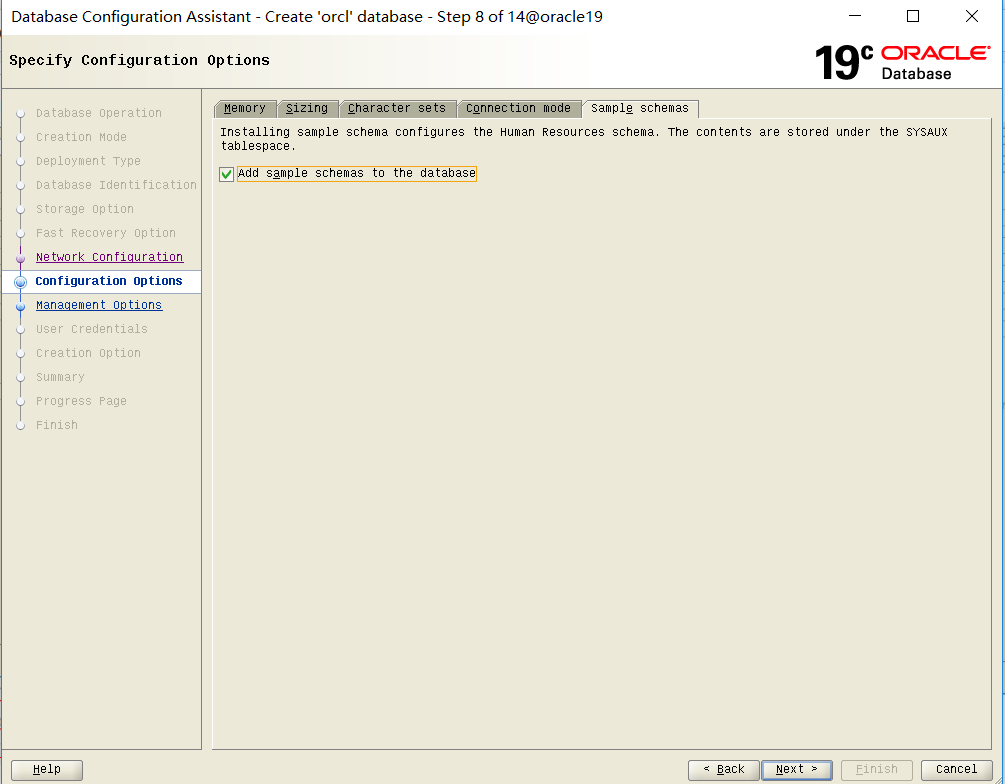
(8) For novices, it is recommended to check "Add sample schemas to the database" and click "Next"
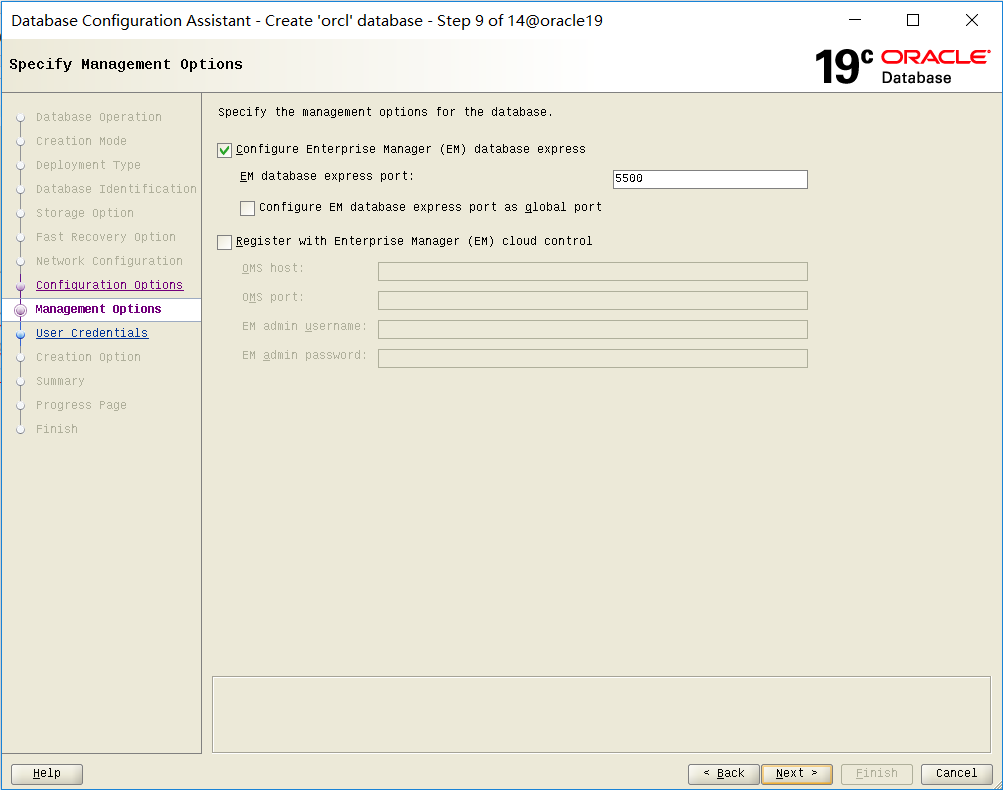
(9) Click "Next"
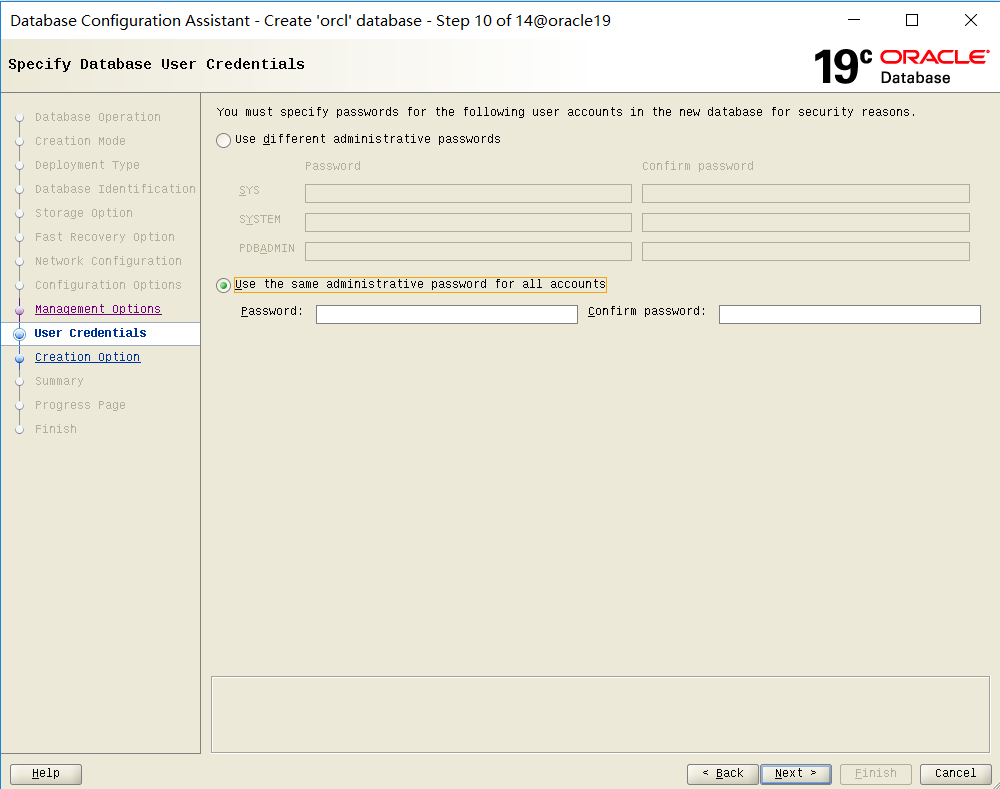
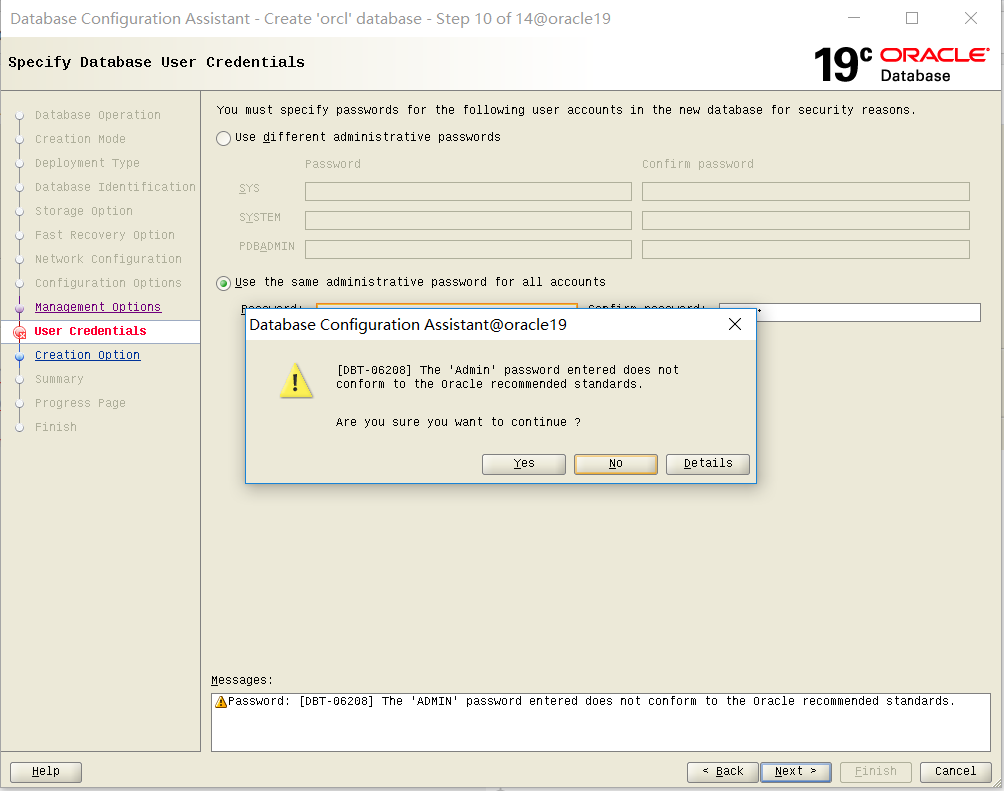
(10) I choose the second scheme here, so that the three administrator accounts adopt the same password, click "Next" and "Yes"
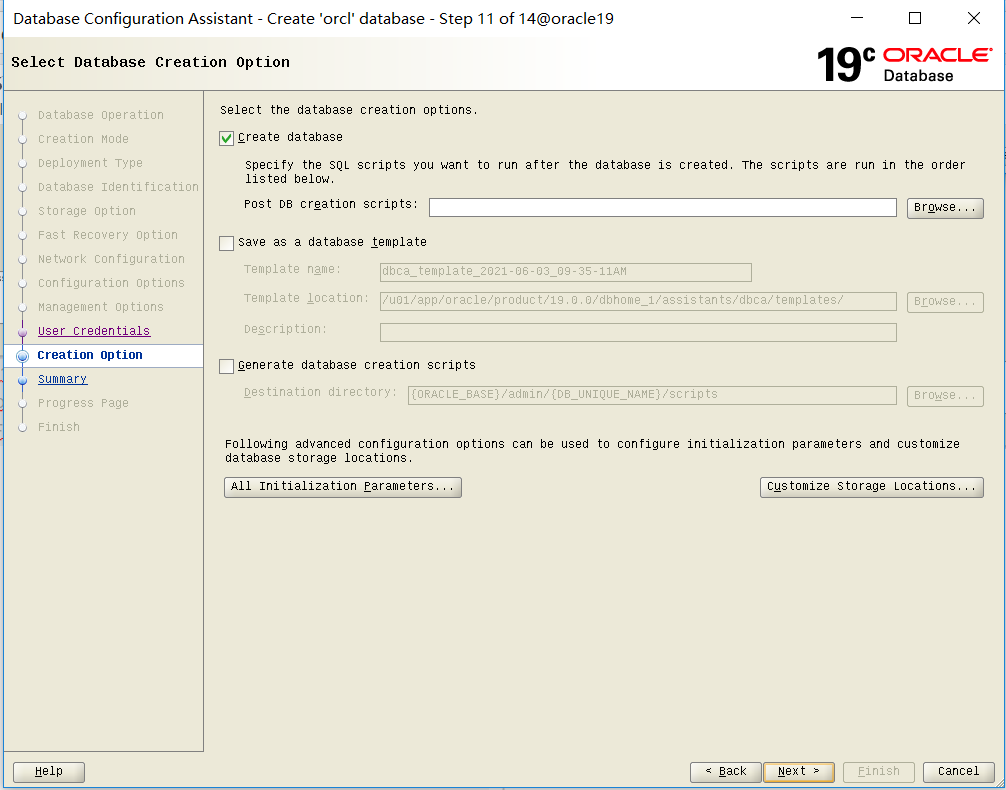
(11) Click "Next"
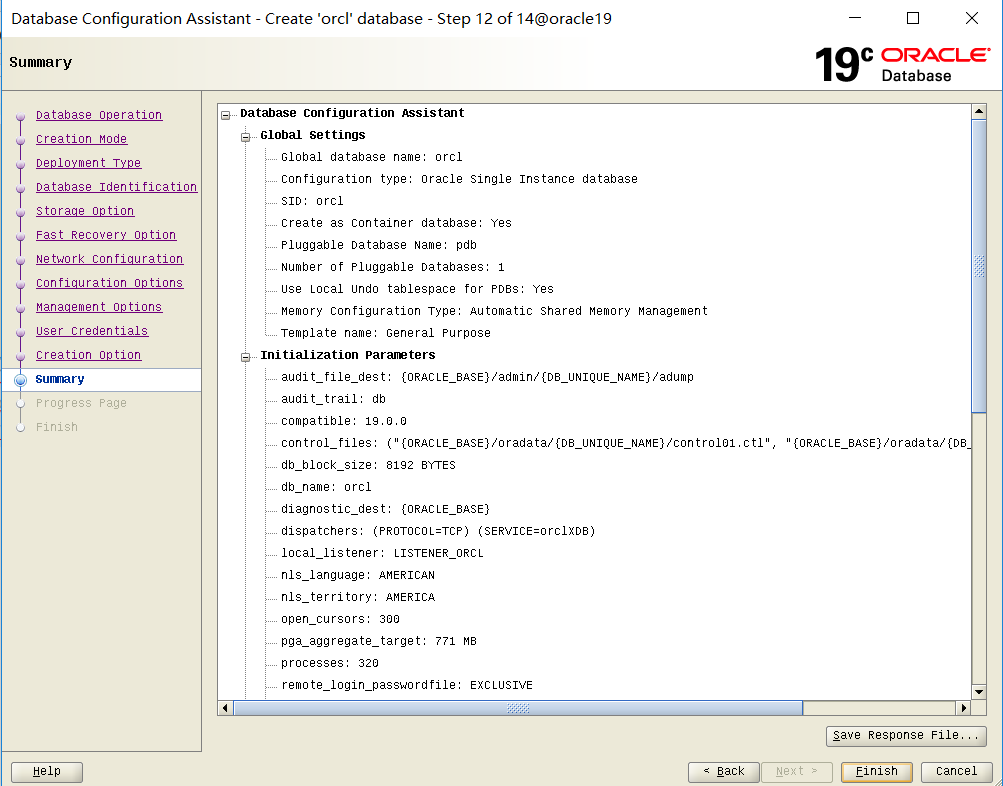
(12) . click "Finish"
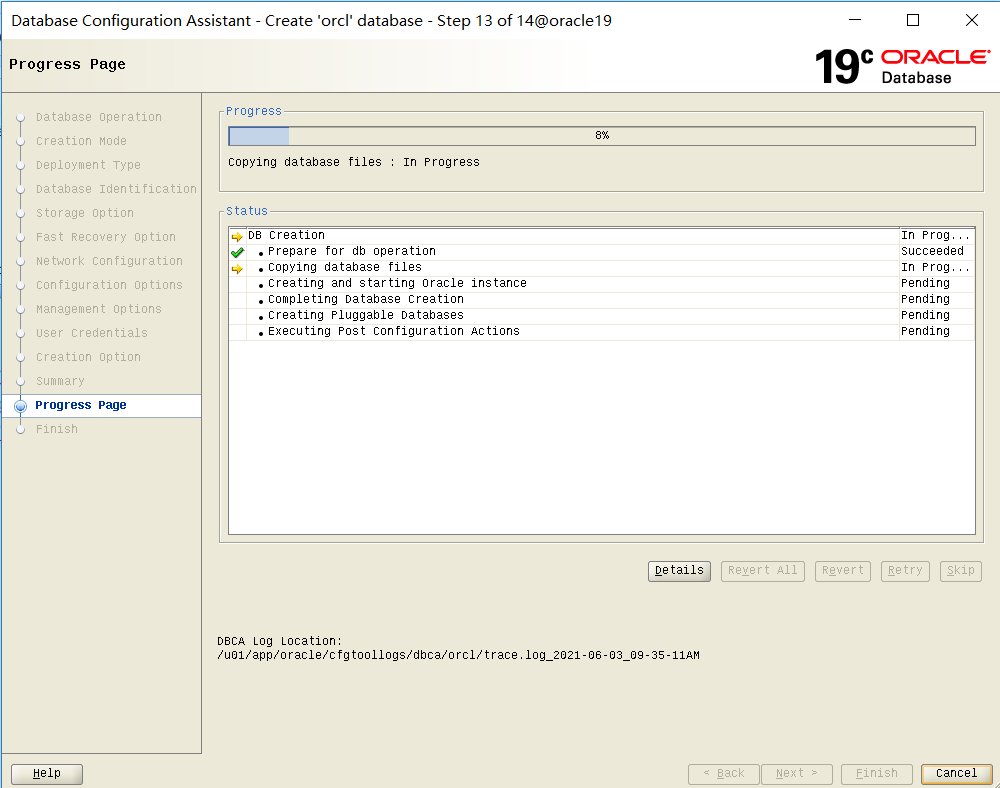
(13) Wait for the database instance installation to complete
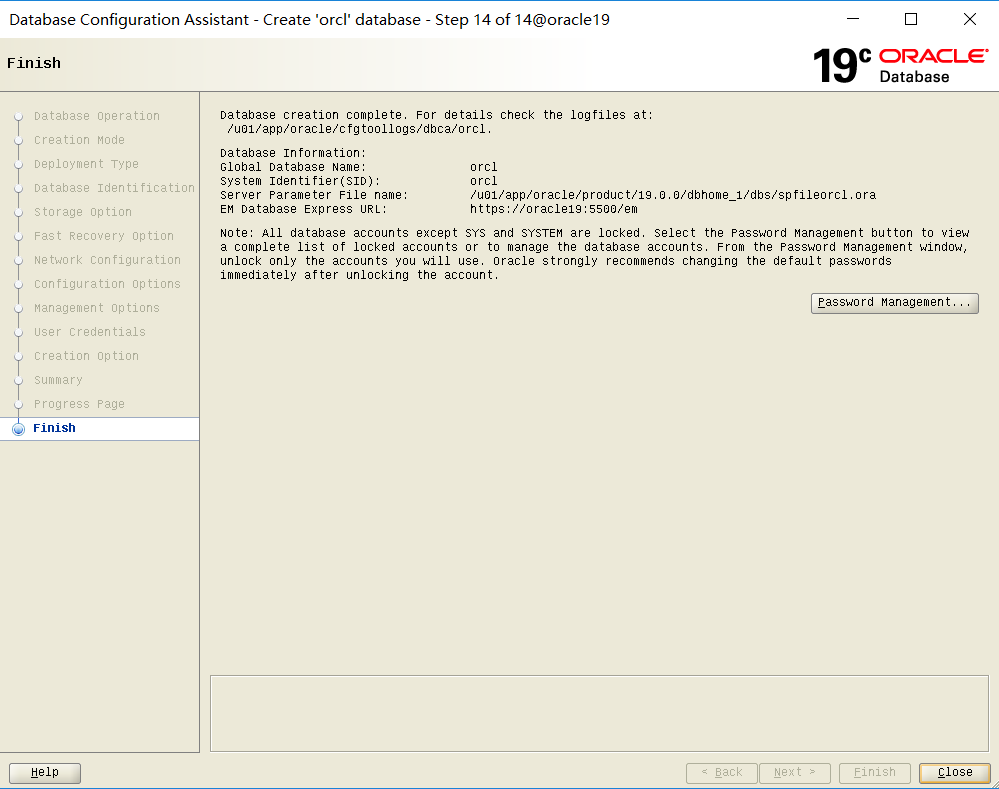
(14) . after installation, click "Close"
15. Test and verify whether Oracle 19C is installed successfully
cd $ORACLE_HOME/bin

lsnrctl status
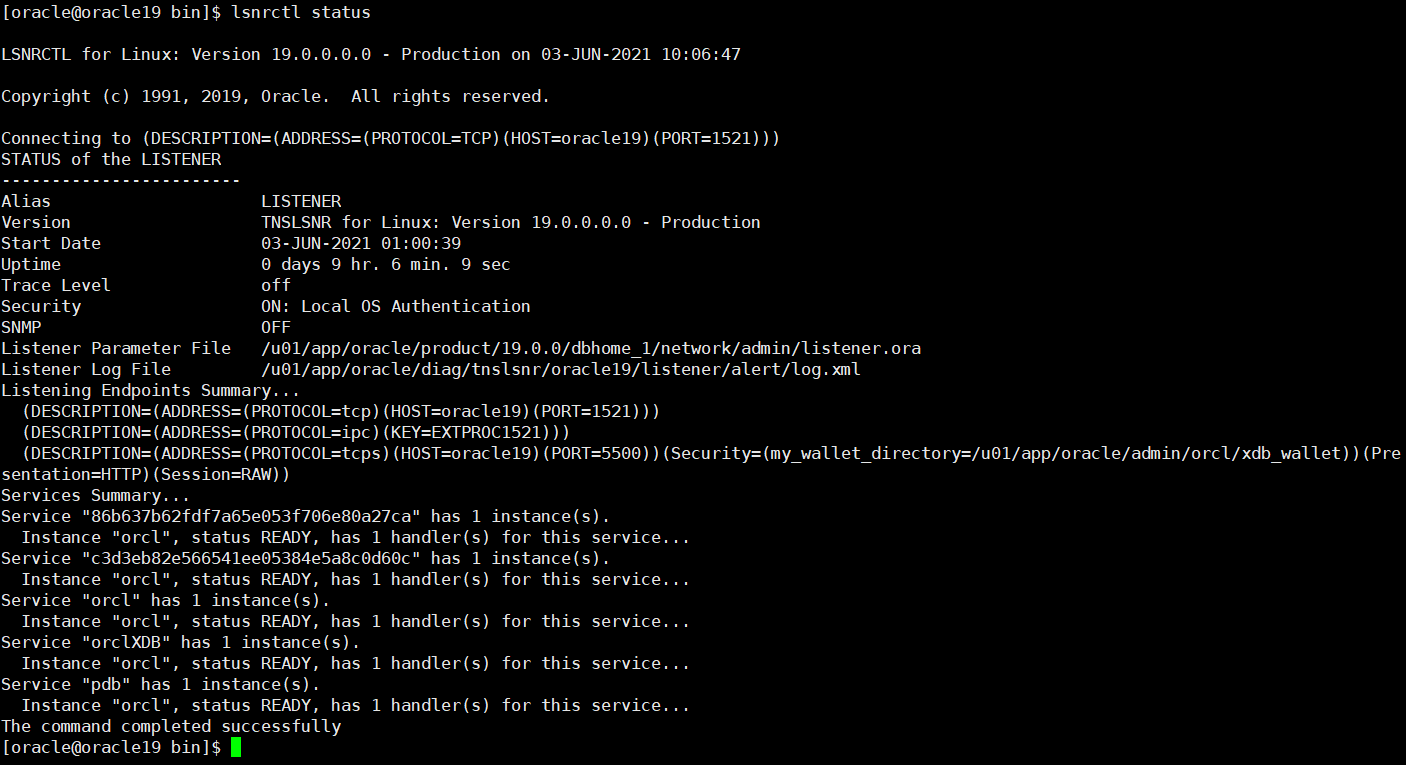
The database instance is in the service state, which indicates that the oracle instance is successfully installed