Centos7 installation K8S
1. Server
Three Centos7 servers need to be prepared and configured with at least 2C and 2G.
All three servers have been configured with static IP.
If not, please refer to: Configuring static IP for VM Ware+Centos7
| host name | IP | Docker version | Host configuration | K8S version |
|---|---|---|---|---|
| master01 | 192.168.159.171 | 20.10.7 | 2C8G | 1.21.2 |
| work01 | 192.168.159.172 | 20.10.7 | 2C8G | 1.21.2 |
| work02 | 192.168.159.173 | 20.10.7 | 2C8G | 1.21.2 |
2. Environmental preparation
Note: the following operations need to be performed by all three servers and all need to be operated with root permission
1. Configure yum source
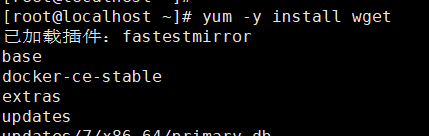
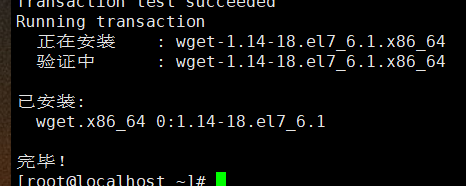
- Use the yum command to install the wget command
yum -y install wget
- Use the mv command to back up the original yum source.
mv /etc/yum.repos.d/CentOS-Base.repo /etc/yum.repos.d/CentOS-Base.repo.bak

- Use the wget command to download the yum source.
wget -O /etc/yum.repos.d/CentOS-Base.repo http://mirrors.aliyun.com/repo/Centos-7.repo

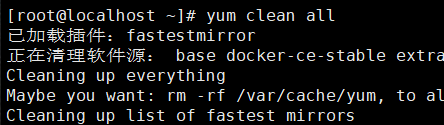
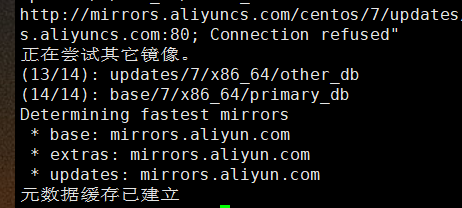
- Clean up the yum source and make it effective.
yum clean all
yum makecache

2. Turn off firewall
- Use the following command to view the firewall status and turn off the firewall. not running indicates that the firewall is off.
# View firewall status
firewall-cmd --state
# Temporarily stop firewall
systemctl stop firewalld.service
# Disable firewall startup
systemctl disable firewalld.service

3. Close selinux state
- Use the following command to view selinux status and shut down selinux.
# Viewing selinux status
getenforce
# Temporarily shut down selinux
setenforce 0
# Permanently shut down selinux
sed -i 's/^ *SELINUX=enforcing/SELINUX=disabled/g' /etc/selinux/config

4. Disable swap exchange
- Close swap memory swap using the following command
# Temporarily close swap
swapoff -a
# Permanently close swap
sed -i.bak '/swap/s/^/#/' /etc/fstab

5. Kernel parameter modification
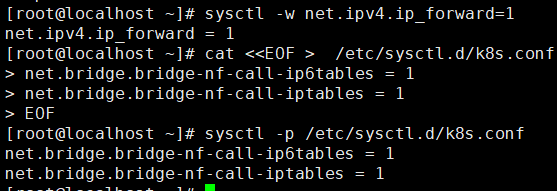
- Use the following command to modify kernel parameters.
# Modify ipv4
sysctl -w net.ipv4.ip_forward=1
# Add k8s conf
cat <<EOF >  /etc/sysctl.d/k8s.conf
net.bridge.bridge-nf-call-ip6tables = 1
net.bridge.bridge-nf-call-iptables = 1
EOF
# Valid kernel parameters
sysctl -p /etc/sysctl.d/k8s.conf
6. Set kubernetes source
- Add Ali source of kubernetes
# Add kubernetes source
cat <<EOF > /etc/yum.repos.d/kubernetes.repo
[kubernetes]
name=Kubernetes
baseurl=https://mirrors.aliyun.com/kubernetes/yum/repos/kubernetes-el7-x86_64/
enabled=1
gpgcheck=1
repo_gpgcheck=1
gpgkey=https://mirrors.aliyun.com/kubernetes/yum/doc/yum-key.gpg https://mirrors.aliyun.com/kubernetes/yum/doc/rpm-package-key.gpg
EOF

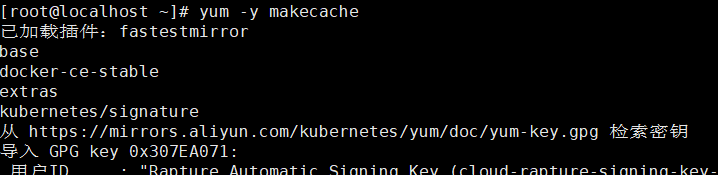
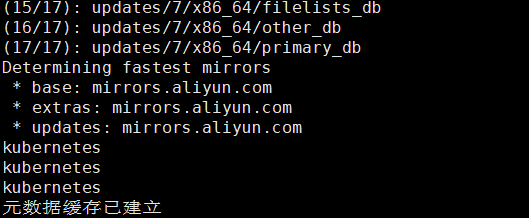
- Refresh the yum source using the following command.
yum clean all
yum -y makecache

7. Docker installation
-
Docker is installed in version 20.10.7.
Refer to this blog for installation steps: Installing Docker in Centos7
8. Set Cgroup Driver
-
Use the vim command to modify the Docker's daemon JSON file.
Add exec opts configuration.
"exec-opts": ["native.cgroupdriver=systemd"]

- Use the following command to reload the daemon JSON configuration and restart Docker
systemctl daemon-reload
systemctl restart docker

9. Verify the mac and UUID of the machine
- Use the following command to verify that the mac address and UUID of the machine are the same.
# View mac address
cat /sys/class/net/ens33/address
# View UUID
cat /sys/class/dmi/id/product_uuid

10. Modify host name
- Use the following command to modify the host name of the machine.
Note: the host names of all three machines need to be modified
hostnamectl set-hostname master01
more /etc/hostname

11. Modify hosts
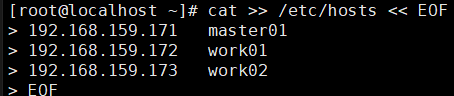
- Use the following command to modify the hosts file.
cat >> /etc/hosts << EOF
192.168.159.171   master01
192.168.159.172   work01
192.168.159.173   work02
EOF

12. Restart the machine
- Restart the three machines to make all the configurations changed above take effect!
3. Install K8S
1. View K8S version
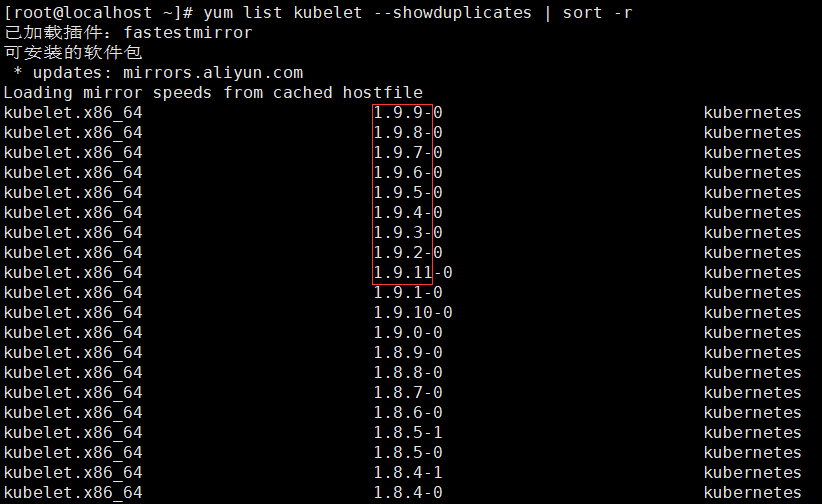
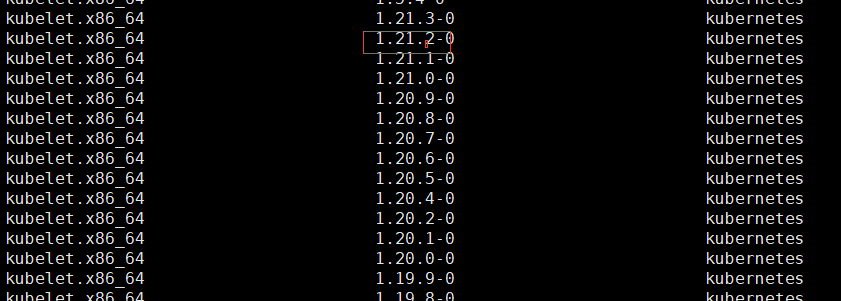
- List the supported versions using the yum list command.
Note: the version number is before the horizontal bar (-).
yum list kubelet --showduplicates | sort -r
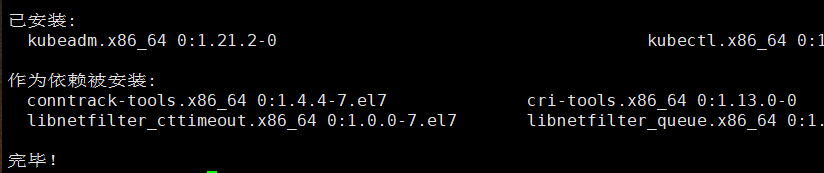
2. Install kubelet, kubedm, kubectl
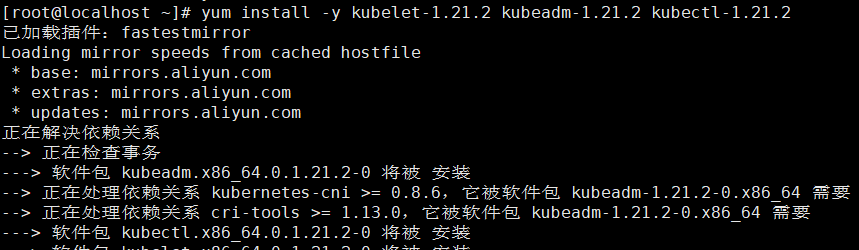
- Use the yum install command to install the specified version of K8S.
Note: the following operations are required for all three machines
yum install -y kubelet-1.21.2 kubeadm-1.21.2 kubectl-1.21.2
- Start the kubelet service and set the startup self startup.
systemctl enable kubelet && systemctl start kubelet

3. Pull image
- Use the kubedm command to view the currently k8s required mirror version.
kubeadm config images list

-
You can see that the above k8s required image version is 1.21.3. It is different from the version specified in the installation. This does not affect the installation. You can customize and modify the version.
Just focus on the versions such as pause, etcd and coredns.
Because k8s these images are all from abroad, there may be problems with directly accessing and downloading images.
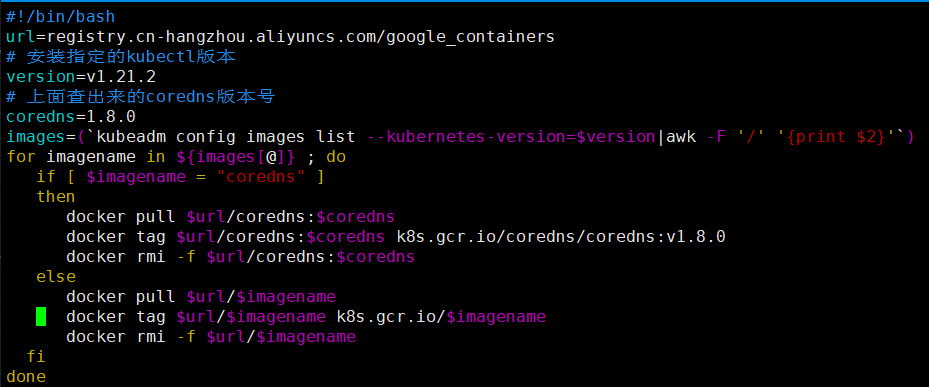
Write a pull image script and download the required version from the alicloud image warehouse.
Note: scripts need to be written on all three machines. You need to pull the image
#!/bin/bash
url=registry.cn-hangzhou.aliyuncs.com/google_containers
# Install the specified kubectl version
version=v1.21.2
# coredns version number found above
coredns=1.8.0
images=(`kubeadm config images list --kubernetes-version=$version|awk -F '/' '{print $2}'`)
for imagename in ${images[@]} ; do
   if [ $imagename = "coredns" ]
   then
      docker pull $url/coredns:$coredns
      docker tag $url/coredns:$coredns k8s.gcr.io/coredns/coredns:v1.8.0
      docker rmi -f $url/coredns:$coredns
   else
      docker pull $url/$imagename
      docker tag $url/$imagename k8s.gcr.io/$imagename
      docker rmi -f $url/$imagename
  fi
done
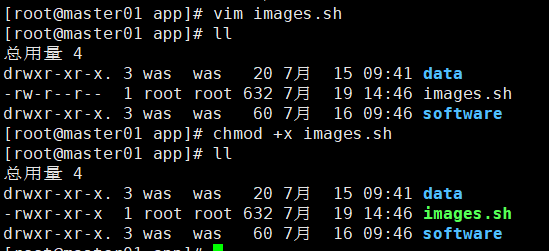
- Modify images SH script permission, changed to executable permission.
chmod +x images.sh
- Execute images SH script, pull image
./images.sh


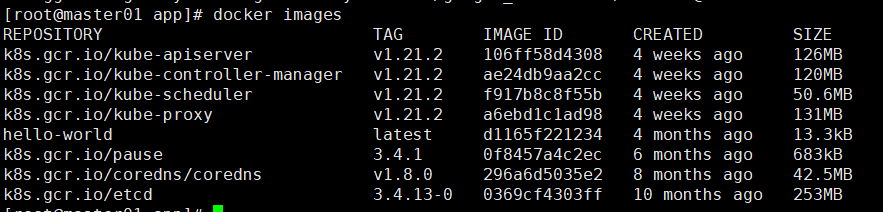
- Use the docker images command to view the image
docker images
4. Initialize K8S cluster
- Execute the initialize cluster command on the master01 machine.
Note: this command only needs to be executed on master01
kubeadm init --kubernetes-version=1.21.2 --apiserver-advertise-address=192.168.159.171 --pod-network-cidr=10.244.0.0/16
– kubernetes version # specified version
– apiserver advertisement address # k8s master node address
– network IP range of pod network CIDR # pod

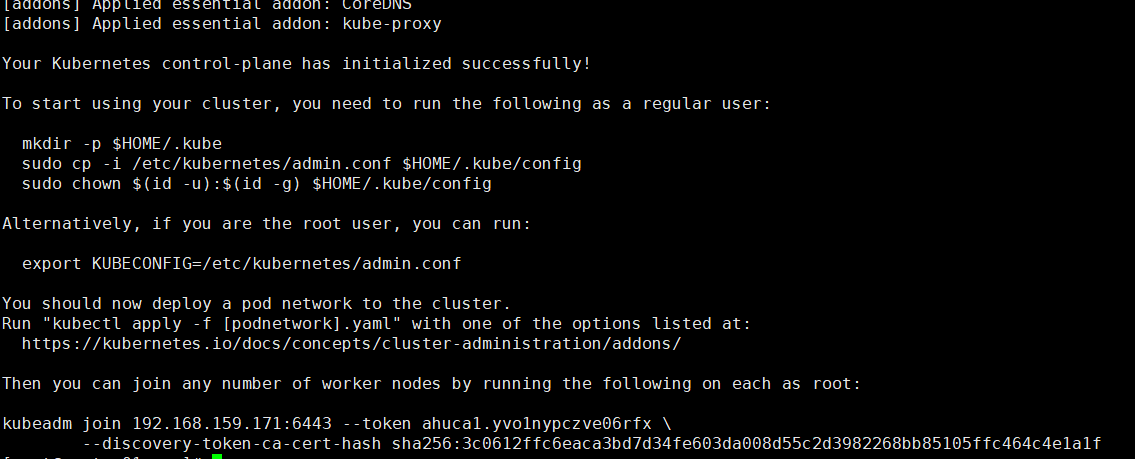
- Record the cluster initialization command and k8s give you the generated join cluster command.
kubeadm join 192.168.159.171:6443 --token ahuca1.yvo1nypczve06rfx \
	--discovery-token-ca-cert-hash sha256:3c0612ffc6eaca3bd7d34fe603da008d55c2d3982268bb85105ffc464c4e1a1f

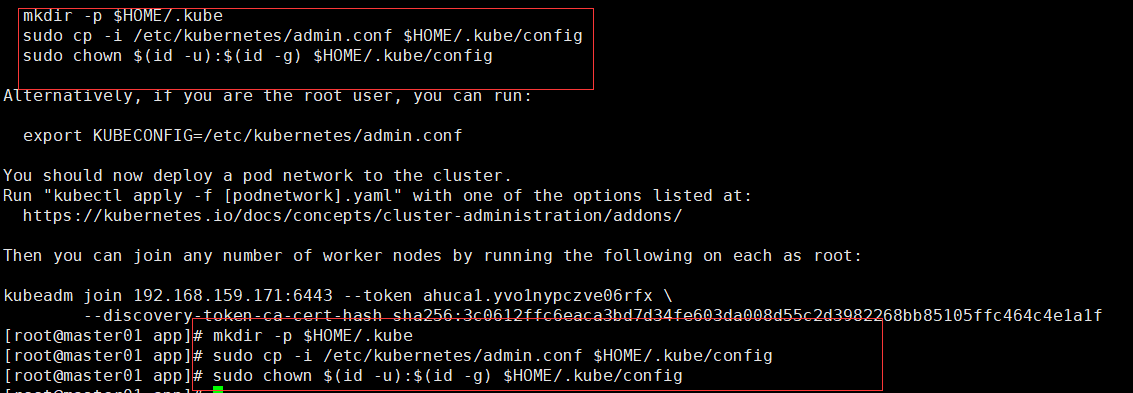
- Execute k8s cluster initialization commands to create directories and copy configuration files.
mkdir -p $HOME/.kube
sudo cp -i /etc/kubernetes/admin.conf $HOME/.kube/config
sudo chown $(id -u):$(id -g) $HOME/.kube/config
- Execute the join K8S cluster command you just recorded in the root directory of work01 and work02 machines.
kubeadm join 192.168.159.171:6443 --token ahuca1.yvo1nypczve06rfx \
	--discovery-token-ca-cert-hash sha256:3c0612ffc6eaca3bd7d34fe603da008d55c2d3982268bb85105ffc464c4e1a1f
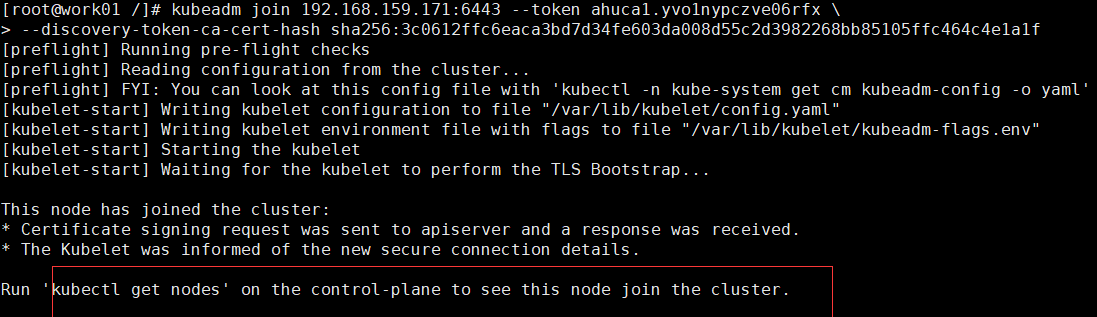
5. Execute the following command on the master01 machine to view k8s cluster nodes.
kubectl get nodes

5. Install Calico network plug-in
- Use the curl command to download the YAML file of Calico network plug-in.
curl https://docs.projectcalico.org/manifests/calico.yaml -O

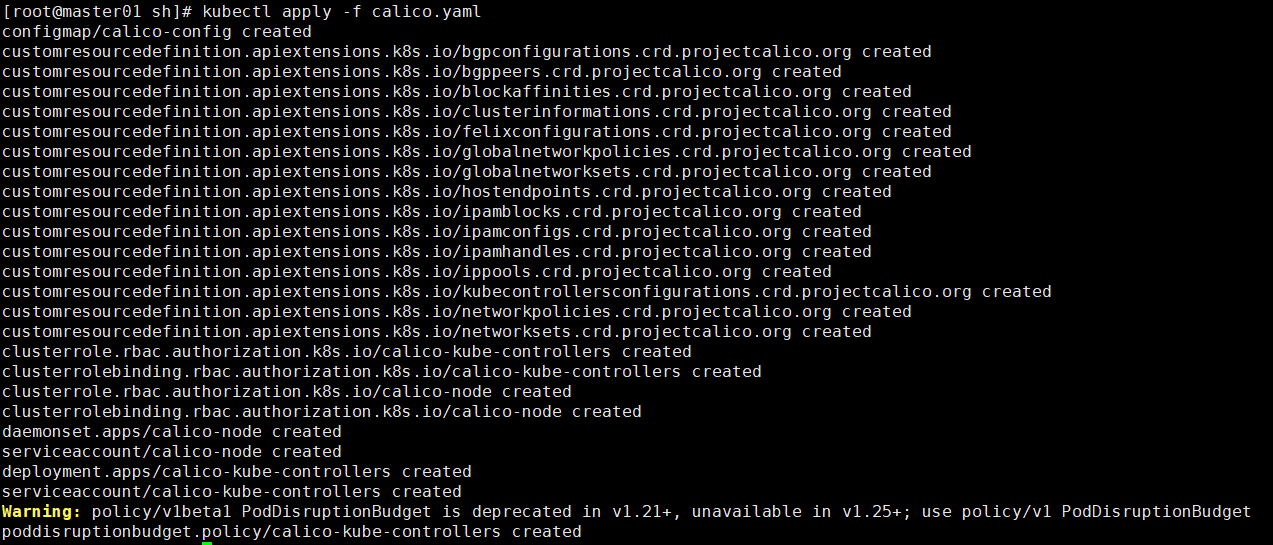
- Use kubectl apply to apply calico Yaml file.
kubectl apply -f calico.yaml
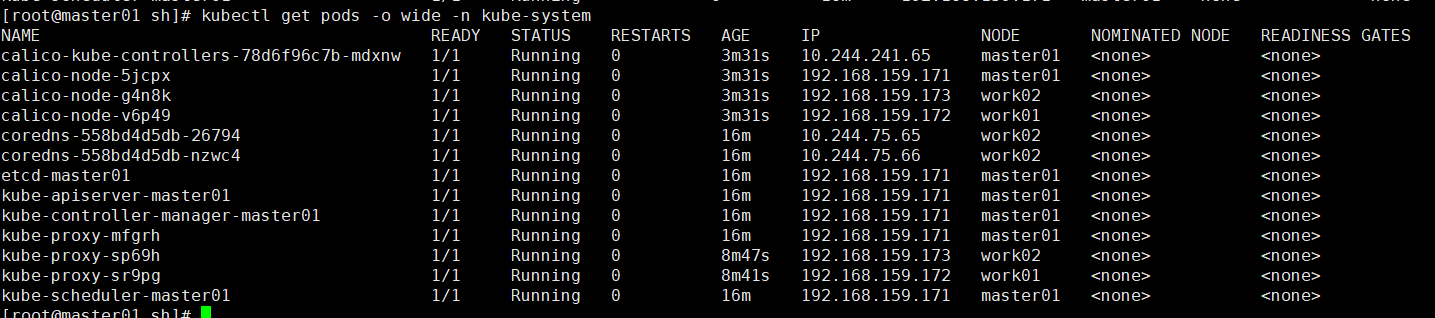
- Use the following command to view the pods of the current K8S cluster
kubectl get pods -o wide -n kube-system