1, nginx compilation and installation
1. Download installation package, compile and install
yum install -y wget gcc gcc-c++ make pcre pcre-devel zlib zlib-devel openssl openssl-devel
cd /usr/local/src
yum install lrzsz -y
wget 'http://nginx.org/download/nginx-1.14.2.tar.gz'
tar -zxvf nginx-1.14.2.tar.gz
cd nginx-1.14.2
./configure --prefix=/usr/local/nginx
make && make install
2. Check configuration file, start, reload, stop nginx command
/usr/local/nginx/sbin/nginx -t
/usr/local/nginx/sbin/nginx
/usr/local/nginx/sbin/nginx -s reload
/usr/local/nginx/sbin/nginx -s stop
3. Use systemctl to manage Nginx, VIM / usr / lib / SYSTEMd / system / Nginx service
For systemctl details, please refer to http://www.siguoya.name/pc/home/article/46
[Unit]
Description=nginx
After=network.target
[Service]
Type=forking
ExecStart=/usr/local/nginx/sbin/nginx
[Install]
WantedBy=multi-user.target
systemctl Start, reload, stop, start and self start nginx command
systemctl start nginx
systemctl restart nginx
systemctl stop nginx
systemctl enable nginx.service
2, PHP compilation and installation
1. Download the installation package, compile and install
yum -y install epel-release
yum -y install  gcc gcc-c++ make pcre pcre-devel zlib zlib-devel openssl openssl-devel libxml2 libxml2-devel libcurl libcurl-devel libjpeg libjpeg-devel libpng libpng-devel freetype freetype-devel openldap openldap-devel libmcrypt libmcrypt-devel

cd /usr/local/src/
wget 'http://hk1.php.net/distributions/php-5.6.40.tar.gz'
tar -zxf php-5.6.40.tar.gz
cd php-5.6.40
./configure --prefix=/usr/local/php --with-config-file-path=/usr/local/php/etc --enable-ctype --with-mysql=mysqlnd --with-mysqli=mysqlnd --with-freetype-dir --with-jpeg-dir --with-png-dir --with-zlib --with-libxml-dir=/usr --enable-xml --disable-rpath --enable-bcmath --enable-shmop --enable-sysvsem --enable-inline-optimization --with-curl --enable-mbregex --enable-mbstring --with-mcrypt --with-gd --enable-gd-native-ttf --with-openssl --with-mhash --enable-pcntl --enable-sockets --with-ldap-sasl --with-xmlrpc --enable-zip --enable-soap --with-gettext --enable-fpm
make && make install
cp php.ini-production /usr/local/php/etc/php.ini
php compilation and installation instructions
--prefix  appoint php Installation directory of
--with-config-file-path  appoint php Configuration file location for
--with-mysql,--with-mysqli  Give Way php Can operate mysql
--enable-fpm  Mainly nginx To call php Use of language php-fpm
2. Use default profile
mv /usr/local/php/etc/php-fpm.conf.default /usr/local/php/etc/php-fpm.conf
3. Add environment variable
echo  "export PATH=$PATH:/usr/local/php/sbin/:/usr/local/php/bin/" >> /etc/profile
source /etc/profile
4. Check the configuration file and start the php command:
/usr/local/php/sbin/php-fpm -t
/usr/local/php/sbin/php-fpm

5. Use systemctl to manage PHP FPM, VIM / usr / lib / SYSTEMd / system / PHP FPM service
[Unit]
Description=php-fpm
After=network.target
[Service]
Type=forking
ExecStart=/usr/local/php/sbin/php-fpm
ExecStop=/bin/pkill -9 php-fpm
[Install]
WantedBy=multi-user.target
systemctl start, reload, stop, start and start php commands
systemctl start php-fpm.service
systemctl restart php-fpm.service
systemctl stop php-fpm.service

systemctl enable php-fpm.service
6. The default configuration of nginx cannot handle the PHP program / usr / local / nginx / HTML / test php
<?php
  echo "zabbix";
?>
Configuration of nginx + PHP FPM combination
location / {
            root   html;
            index  index.html index.htm index.php;
        }
location ~ \.php$ {
            root           html;
            fastcgi_pass   127.0.0.1:9000;
            fastcgi_index  index.php;
            fastcgi_param  SCRIPT_FILENAME  $document_root$fastcgi_script_name;
            include        fastcgi_params;
        }
3, mysql compilation and installation
1. When you start MySQL service, you will search for my. In a certain order CNF, first find it in the / etc directory. If it cannot be found, it will search "$basedir/my.cnf". If there is a my.cnf in the / etc directory CNF, you need to rename this file to another name, such as: / etc / my cnf. Bak, otherwise, the file will interfere with the correct configuration of MySQL installed by the source code, resulting in failure to start.
mv /etc/my.cnf /etc/my.cnf.bak
2. Add mysql user
useradd -s /sbin/nologin mysql
3. Download the installation package, compile and install
yum install -y gcc gcc-c++ make tar openssl openssl-devel cmake ncurses ncurses-devel

cd /usr/local/src
wget 'https://cdn.mysql.com//Downloads/MySQL-5.6/mysql-5.6.39.tar.gz'
tar -zxvf mysql-5.6.39.tar.gz
cd mysql-5.6.39
cmake -DCMAKE_INSTALL_PREFIX=/usr/local/mysql -DMYSQL_DATADIR=/data/mysql -DDEFAULT_CHARSET=utf8 -DDEFAULT_COLLATION=utf8_general_ci -DWITH_EXTRA_CHARSETS:STRING=all -DWITH_DEBUG=0  -DENABLED_LOCAL_INFILE=1
make && make install
cp support-files/mysql.server /etc/init.d/mysqld
chmod a+x /etc/init.d/mysqld
Description of compilation options
CMACK_INSTALL_PREFIX   Specify the directory to install
MYSQL_DATADIR   appoint Mysql Data directory for
4. mysql environment variable configuration
echo "export PATH=$PATH:/usr/local/mysql/bin/"  >>/etc/profile
source /etc/profile
5. Create mysql database data file directory. The data directory is under / data/mysql
mkdir -pv /data/mysql
mkdir -p /data/mysql/{var,tmp,log}
chown -R mysql:mysql  /usr/local/mysql /data/mysql/
6. Update mysql configuration VIM / etc / my cnf
[mysqld]
bind-address=0.0.0.0
port=3306
tmpdir=/data/mysql/tmp
pid_file    = /data/mysql/var/mysql.pid
log-error   = /data/mysql/log/mysql.err
basedir     = /usr/local/mysql/
datadir=/data/mysql
user=mysql
skip-name-resolve
long_query_time=2
slow_query_log_file=/data/mysql/log/mysql-slow.log
expire_logs_days=2
innodb-file-per-table=1
innodb_flush_log_at_trx_commit = 2
log_warnings = 1
max_allowed_packet      = 512M
connect_timeout = 60
net_read_timeout = 120
7. mysql database initialization
yum install -y perl-Module-Install
/usr/local/mysql/scripts/mysql_install_db --basedir=/usr/local/mysql --user=mysql  --datadir=/data/mysql/
8. Start mysql
/etc/init.d/mysqld start
 or service mysqld start
9. Set to start automatically
chkconfig mysqld on
10. Use systemctl to manage mysqld, / usr / lib / SYSTEMd / system / mysqld service
[Unit]
Description=mysqld
After=network.target
[Service]
Type=forking
ExecStart=/etc/init.d/mysqld start
[Install]
WantedBy=multi-user.target
11. systemctl start, reload, stop, start and start mysql commands
systemctl start mysqld.service
systemctl restart mysqld.service
systemctl stop mysqld.service

systemctl enable mysqld.service
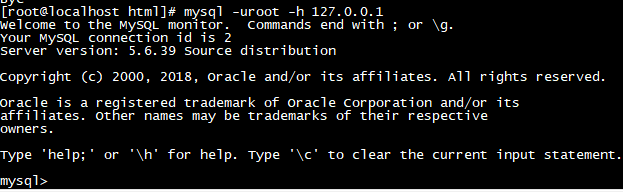
12. Accessing mysql
The default is 127.0.0.1. The user name is root and no password is required
mysql -uroot -h 127.0.0.1
- mysql set password
mysqladmin -h 127.0.0.1 -u root password '123456'
- Login with password
mysql -uroot -h 127.0.0.1 -p123456
4, LNMP environment validation
1. Create a php file
vim /usr/local/nginx/html/test_mysql.php

<?php
  $link=mysql_connect("127.0.0.1","root","zabbixpwd");
  if(!$link){
    echo "mysql_connect fail";
  }else{
    echo "mysql_connect success";
  }
?>
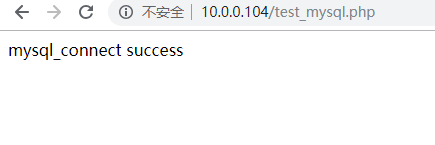
2. Access this file http://10.0.0.104/test_mysql.php , can access successfully.
5, Zabbix Server compilation and installation
zabbix's official website: https://www.zabbix.com/
1. Download the installation package, compile and install
yum install -y libevent-devel wget tar gcc gcc-c++ make net-snmp-devel libxml2-devel libcurl-devel
cd /usr/local/src/
wget 'https://nchc.dl.sourceforge.net/project/zabbix/ZABBIX%20Latest%20Stable/4.0.3/zabbix-4.0.3.tar.gz'
tar -zxvf zabbix-4.0.3.tar.gz
cd zabbix-4.0.3
./configure --prefix=/usr/local/zabbix --enable-server --enable-agent --with-mysql=/usr/local/mysql/bin/mysql_config --with-net-snmp --with-libcurl --with-libxml2
make  && make install
Option description
--prefix Specify the installation directory
--enable-server install zabbix server
--enable-agent install zabbix agent
--with-mysql use mysql To store
2. Add zabbix user
useradd -s /sbin/nologin zabbix
chown -R zabbix:zabbix /usr/local/zabbix
3. Set the zabbix environment variable and view the version
echo "export PATH=$PATH:/usr/local/zabbix/sbin/:/usr/local/zabbix/bin/"  >> /etc/profile
source /etc/profile
zabbix_server --version

4. mysql database initialization: first create the database and then authorize
mysql -h 127.0.0.1 -uroot -p123456

create database zabbix character set utf8 collate utf8_bin;
grant all privileges on zabbix.* to zabbix@'127.0.0.1' identified by '123456';
flush privileges;
set names utf8;
exit;
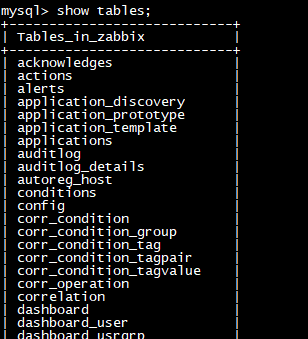
5. Import zabbix table in order
You can enter mysql, select zabbix library, and import source in MySQL
mysql -h 127.0.0.1 -uroot -p123456

use zabbix;
source /usr/local/src/zabbix-4.0.3/database/mysql/schema.sql;
source /usr/local/src/zabbix-4.0.3/database/mysql/images.sql;
source /usr/local/src/zabbix-4.0.3/database/mysql/data.sql;
You can also import directly from the outside with shell commands
mysql -uroot -p123456 zabbix < /usr/local/zabbix-4.0.2/database/mysql/schema.sql
mysql -uroot -p123456 zabbix < /usr/local/zabbix-4.0.2/database/mysql/images.sql
mysql -uroot -p123456 zabbix < /usr/local/zabbix-4.0.2/database/mysql/data.sql
6. For the configuration of zabbix server, you can back up the original and then recreate it, so as to save the need to find the configuration one by one
vim /usr/local/zabbix/etc/zabbix_server.conf
ListenPort=10051
LogFile=/usr/local/zabbix/zabbix_server.log
PidFile=/usr/local/zabbix/zabbix_server.pid
DBHost=127.0.0.1
DBName=zabbix
DBUser=zabbix
DBPassword=123456
DBPort=3306
Timeout=30
#Alarm script location
AlertScriptsPath=/usr/local/zabbix/alertscripts
ExternalScripts=/usr/local/zabbix/externalscripts
LogSlowQueries=3000
Then set the user of the directory
chown -R zabbix:zabbix /usr/local/zabbix
7. Zabbix Web installation
mkdir /usr/local/nginx/html/zabbix
cp -a /usr/local/src/zabbix-4.0.3/frontends/php/* /usr/local/nginx/html/zabbix/
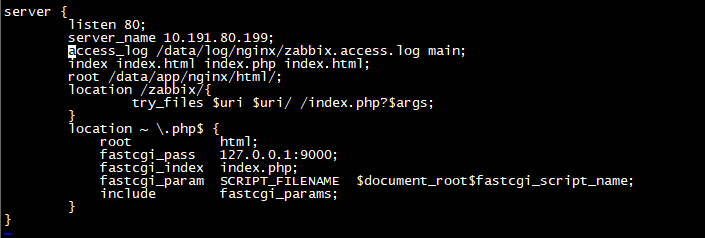
8. Modify nginx, change the nginx startup user to root to prevent inaccessible resources, and then add index PHP, you can directly access the home page of zabbix without adding index php
server {
        listen 80;
        server_name 10.191.80.199;
        access_log /data/log/nginx/zabbix.access.log main;
        index index.html index.php index.html;
        root /data/app/nginx/html/;
        location /zabbix/{
                try_files $uri $uri/ /index.php?$args;
        }
        location ~ \.php$ {
            root           html;
            fastcgi_pass   127.0.0.1:9000;
            fastcgi_index  index.php;
            fastcgi_param  SCRIPT_FILENAME  $document_root$fastcgi_script_name;
            include        fastcgi_params;
        }
}
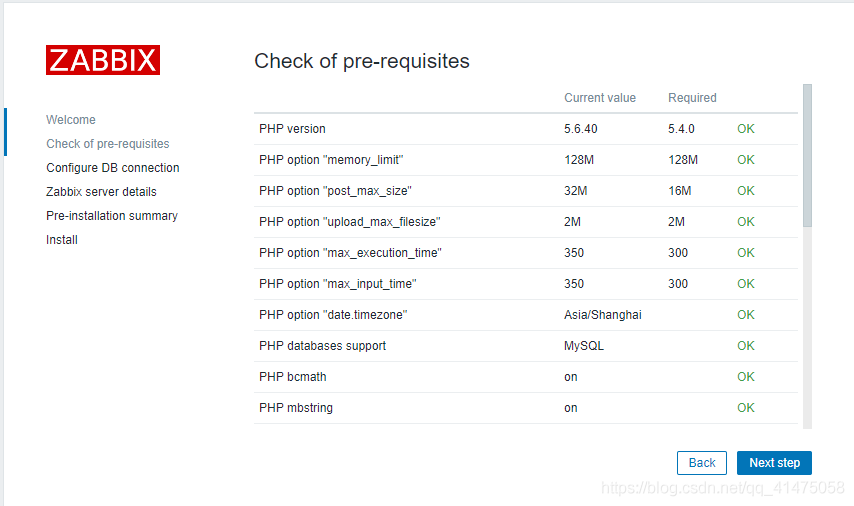
9. zabbix web requires php configuration optimization
vim /usr/local/php/etc/php.ini

post_max_size = 32M
max_execution_time = 350
max_input_time = 350
date.timezone = Asia/Shanghai
always_populate_raw_post_data = -1
Then restart php
systemctl restart php-fpm
Start zabbix_server
zabbix_server
10. Visit the home page and set index PHP, so you can access it directly
http://IP/zabbix

php configuration has been changed and is normal
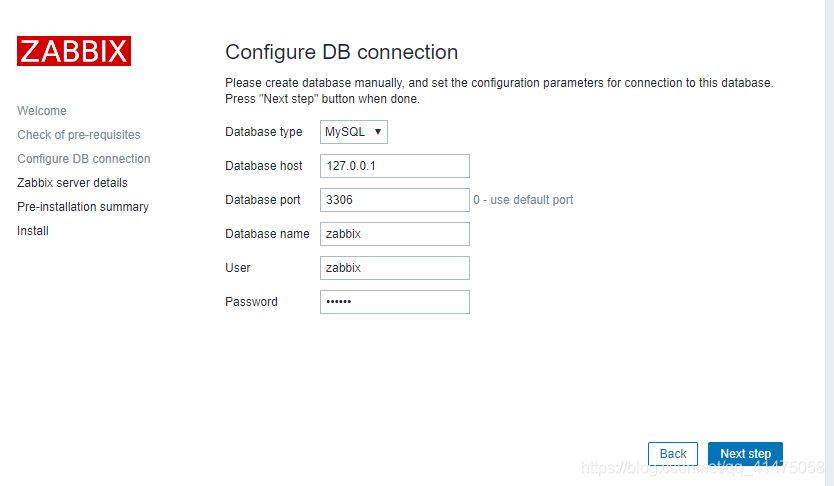
The database configuration is filled in according to the previous settings
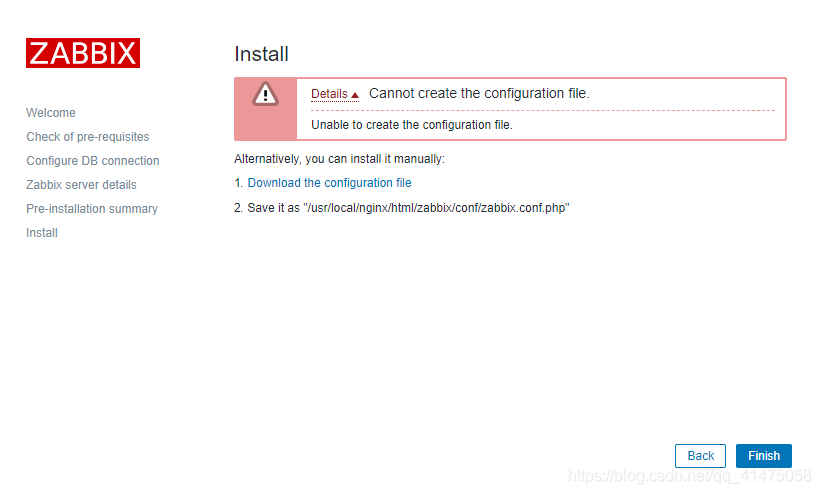
Finally, you may be prompted that the configuration file cannot be created. You need to download it and put it under the prompted folder and set permissions. Otherwise, you may be prompted that you cannot access the configuration.
chmod 644 /usr/local/nginx/html/zabbix/conf/zabbix.conf.php
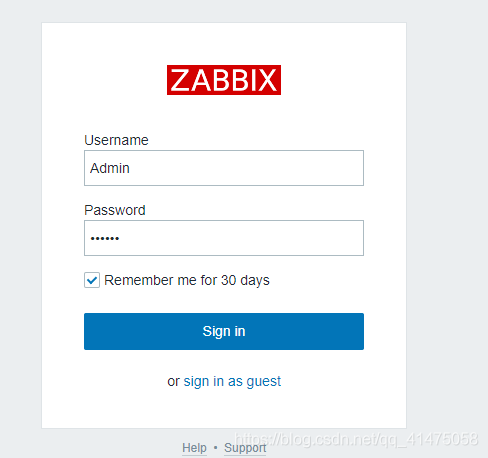
11. Then you can log in. The default user name and password are Admin zabbix
The home page is as follows

Click the user button in the upper left corner to enter, which can be set to Chinese and change the password
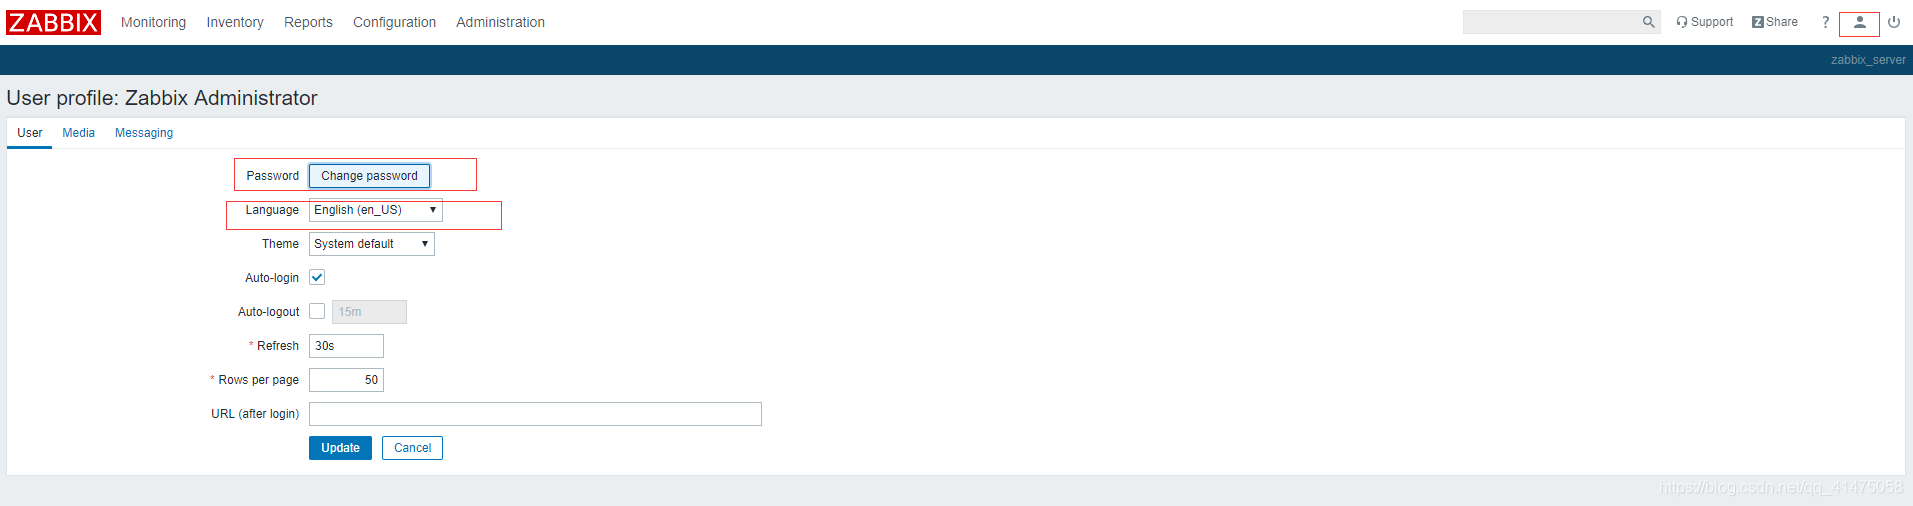
Set it to Chinese. You can also set the password in the management - user and create a new user.

6, zabbix solves Chinese garbled code
1. Although it can be set to Chinese in the user's settings, the default Chinese may be garbled
For example, if you select cpu load in (monitoring – graphics), you can see that some contents are garbled
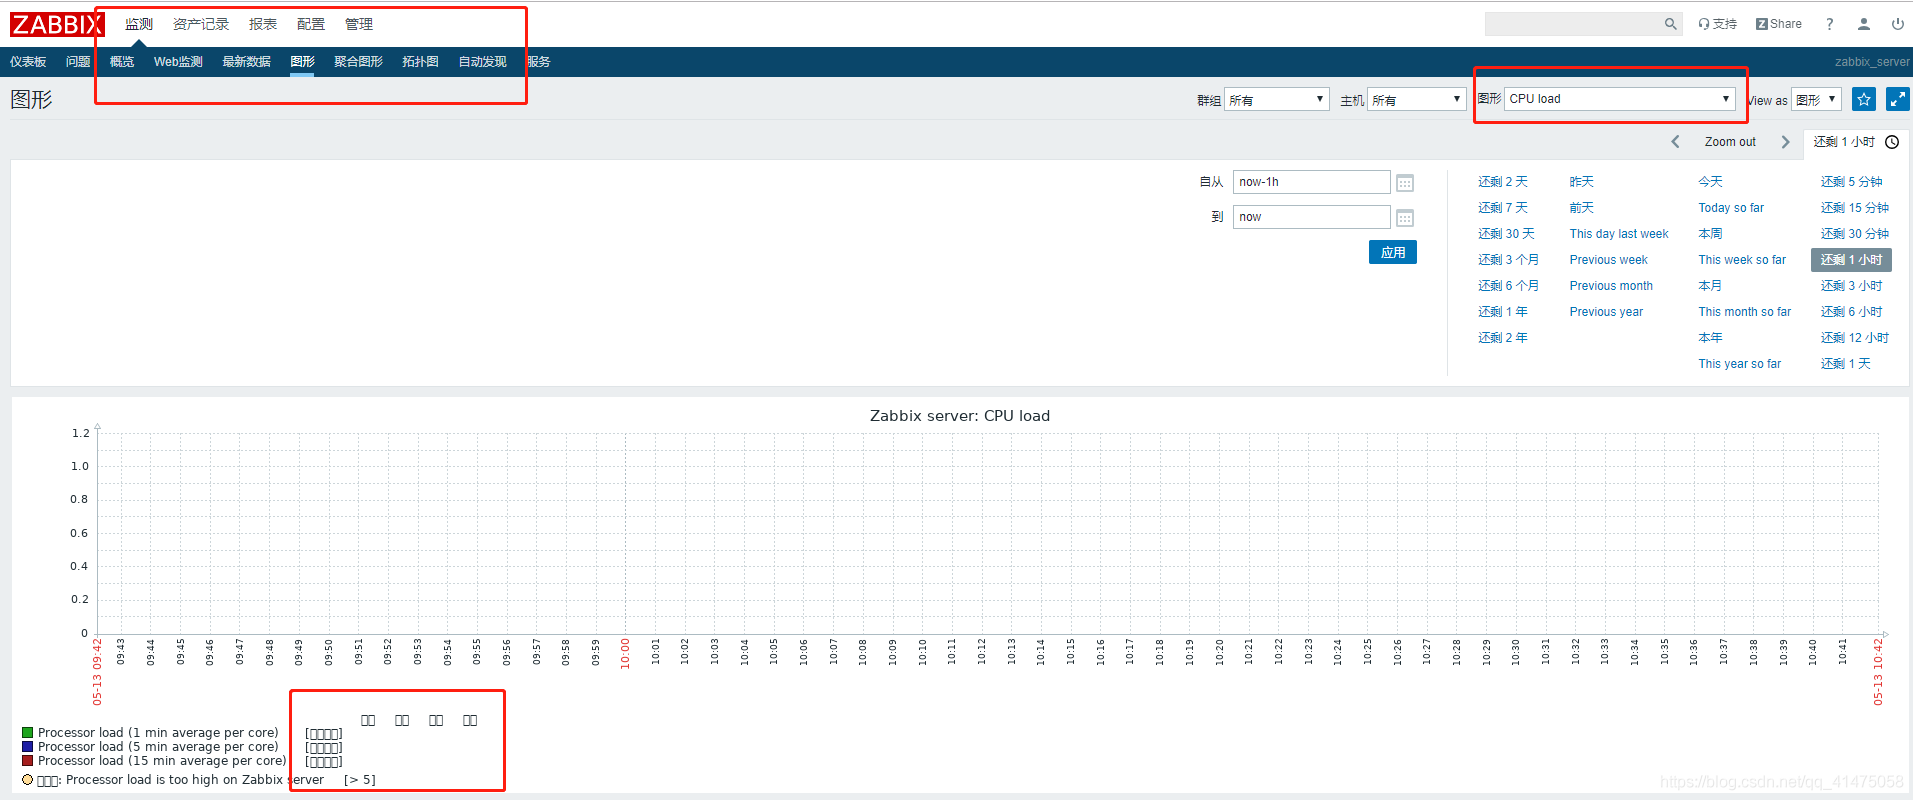
2. The default font file is in the fonts directory of zabbix web directory. The default is DejaVuSans font. This font will be partially garbled in Chinese
[root@localhost ~]# cd /usr/local/nginx/html/zabbix/fonts/
[root@localhost fonts]# ls
DejaVuSans.ttf
3. You can find the Microsoft elegant black font in the C:\Windows\Fonts directory of window, and then put it in the fonts directory of zabbix and change it to msyh TTF, you can also download one online, and then set the permission to 644, so that zabbix can read the font file
[root@localhost fonts]# chmod 644 msyh.ttf
[root@localhost fonts]# ls
DejaVuSans.ttf  msyh.ttf
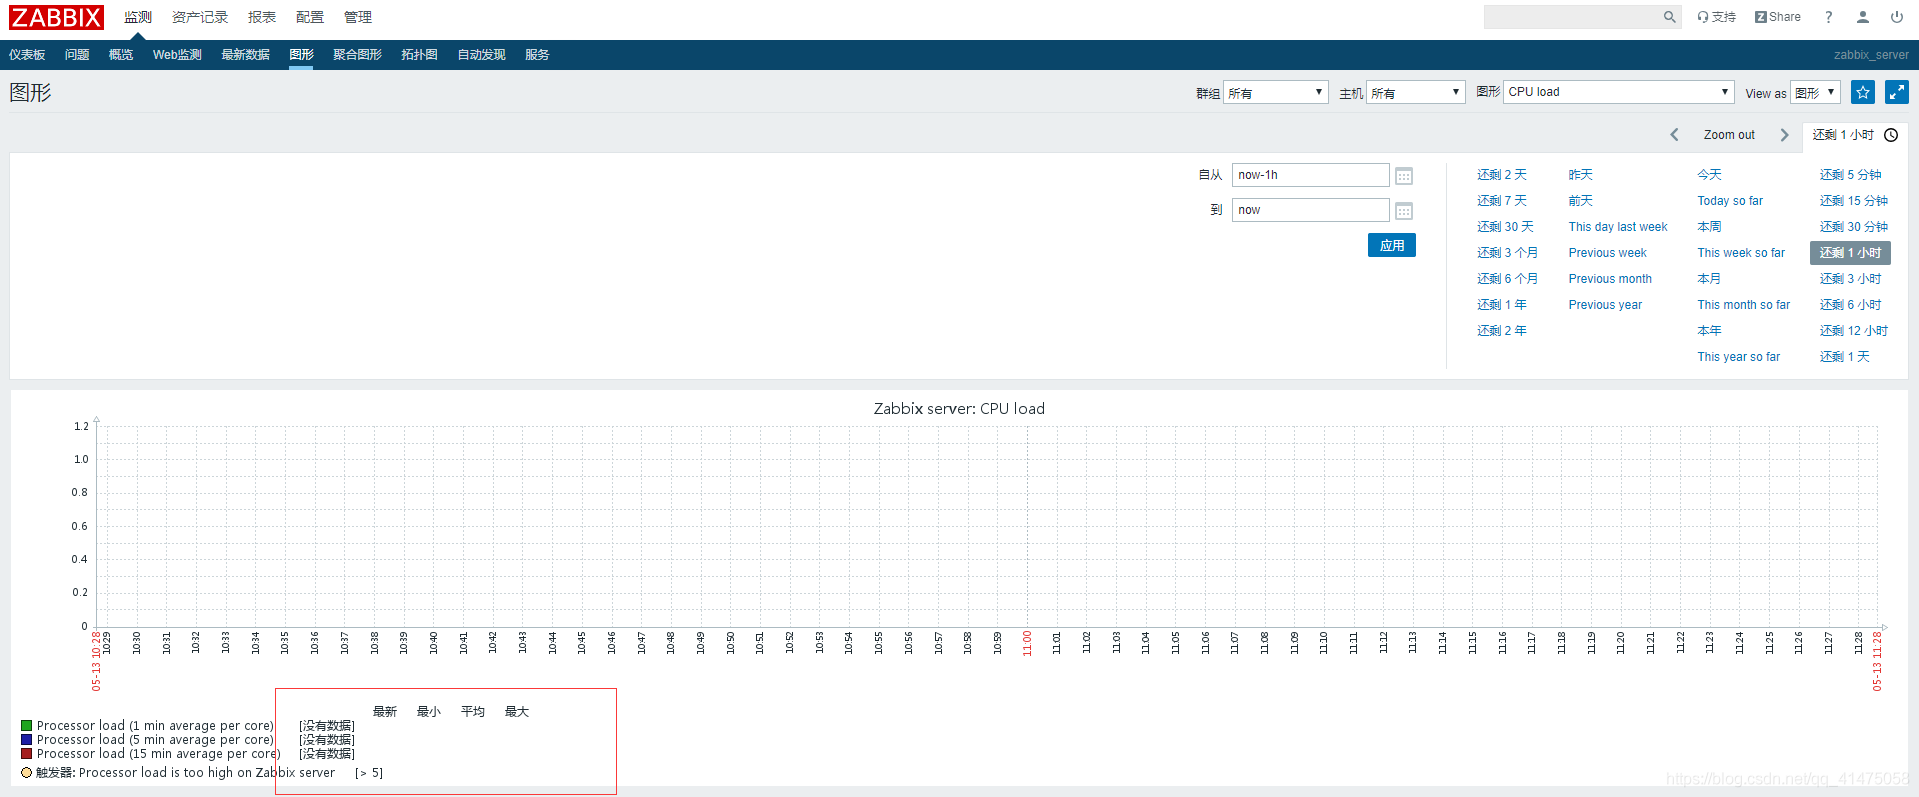
4. Change DejaVuSans in the configuration file to msyh. There are two places to change.
vim /usr/local/nginx/html/zabbix/include/defines.inc.php
5. Then refresh the next page and you can see that the Chinese is normal
Installation package and Chinese font network disk address
Link: https://pan.baidu.com/s/1D6YDRY3xGCc66hP28M79rg
Extraction code: 7p3n
reference material: https://blog.csdn.net/qq_41475058/article/details/106056778