Catalog
1 DNS server installation
2 DNS server configuration
2.1 DNS server startup
2.2 DNS server status view
2.3 DNS server configuration
2.3.1 modify the / etc/named.conf file
2.3.2 modify the / etc/named.rfc1912.zones file
2.4 create / var/named/nexus.com.zone file
2.5 DNS server configuration check
2.6 DNS server profile permission modification
2.7 restart DNS server
2.8 viewing DNS server startup status
2.9 turn off the server firewall
3 DNS linux client configuration
3.1 setting up linux client
3.2 verify linux client
4 DNS windows client configuration
4.1 setting up windows client
4.2 verify windows client
1 DNS server installation
yum install bind
2 DNS server configuration
2.1 DNS server startup
yum enable named && yum start named
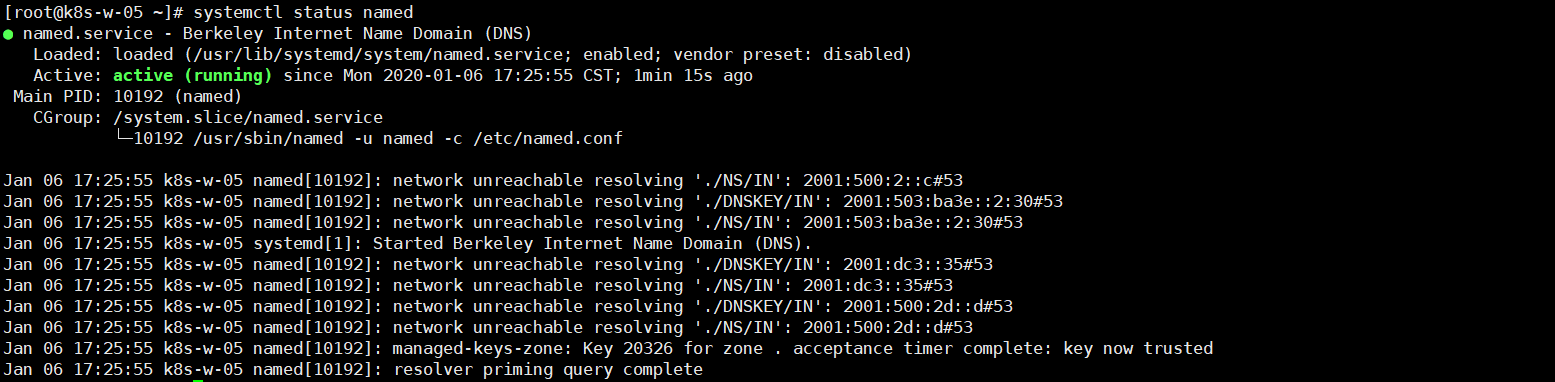
2.2 DNS server status view
2.3 DNS server configuration
The main DNS configuration files are:
1) /etc/named.conf # Master profile
2) /etc/named.rfc1912.zones # Domain name profile
3) /var/named/ # zone profile directory
2.3.1 modify the / etc/named.conf file
The named.conf file is the main configuration file of the DNS server. The key attributes are as follows:
listen-on // Monitor IPV4 address
listen-on-v6 // Monitor IPV6 address
allow-query // Set up clients with access to dns servers
The revised documents are as follows:
options {
listen-on port 53 { any; };
listen-on-v6 port 53 { ::1; };
directory "/var/named";
dump-file "/var/named/data/cache_dump.db";
statistics-file "/var/named/data/named_stats.txt";
memstatistics-file "/var/named/data/named_mem_stats.txt";
recursing-file "/var/named/data/named.recursing";
secroots-file "/var/named/data/named.secroots";
allow-query { any; };
recursion yes;
dnssec-enable yes;
dnssec-validation yes;
/* Path to ISC DLV key */
bindkeys-file "/etc/named.iscdlv.key";
managed-keys-directory "/var/named/dynamic";
pid-file "/run/named/named.pid";
session-keyfile "/run/named/session.key";
};
logging {
channel default_debug {
file "data/named.run";
severity dynamic;
};
};
zone "." IN {
type hint;
file "named.ca";
};
include "/etc/named.rfc1912.zones";
include "/etc/named.root.key";
2.3.2 modify the / etc/named.rfc1912.zones file
Add the configuration of nexus.com domain name (the custom domain name is jiuxi.nexus.com):
zone "nexus.com" IN {
type master;
file "nexus.com.zone";
};
zone "localhost.localdomain" IN {
type master;
file "named.localhost";
allow-update { none; };
};
zone "localhost" IN {
type master;
file "named.localhost";
allow-update { none; };
};
zone "1.0.0.0.0.0.0.0.0.0.0.0.0.0.0.0.0.0.0.0.0.0.0.0.0.0.0.0.0.0.0.0.ip6.arpa" IN {
type master;
file "named.loopback";
allow-update { none; };
};
zone "1.0.0.127.in-addr.arpa" IN {
type master;
file "named.loopback";
allow-update { none; };
};
zone "0.in-addr.arpa" IN {
type master;
file "named.empty";
allow-update { none; };
};
2.4 create / var/named/nexus.com.zone file
Note that the file name should be consistent with the file set in the domain name configuration file:
cp -p /var/named/named.localhost /var/named/nexus.com.zone
Edit the nexus.com.zone file:
$TTL 1D
@ IN SOA @ jiuxi.nexus.com. (
0 ; serial
1D ; refresh
1H ; retry
1W ; expire
3H ) ; minimum
@ NS jiuxi
jiuxi A 10.110.101.100
2.5 DNS server configuration check
named-checkconf
named-checkzone nexus.com /var/named/nexus.com.zone


2.6 DNS server profile permission modification
chmod 777 /etc/named.conf
chmod 777 /etc/named.rfc1912.zones
2.7 restart DNS server
systemctl restart named
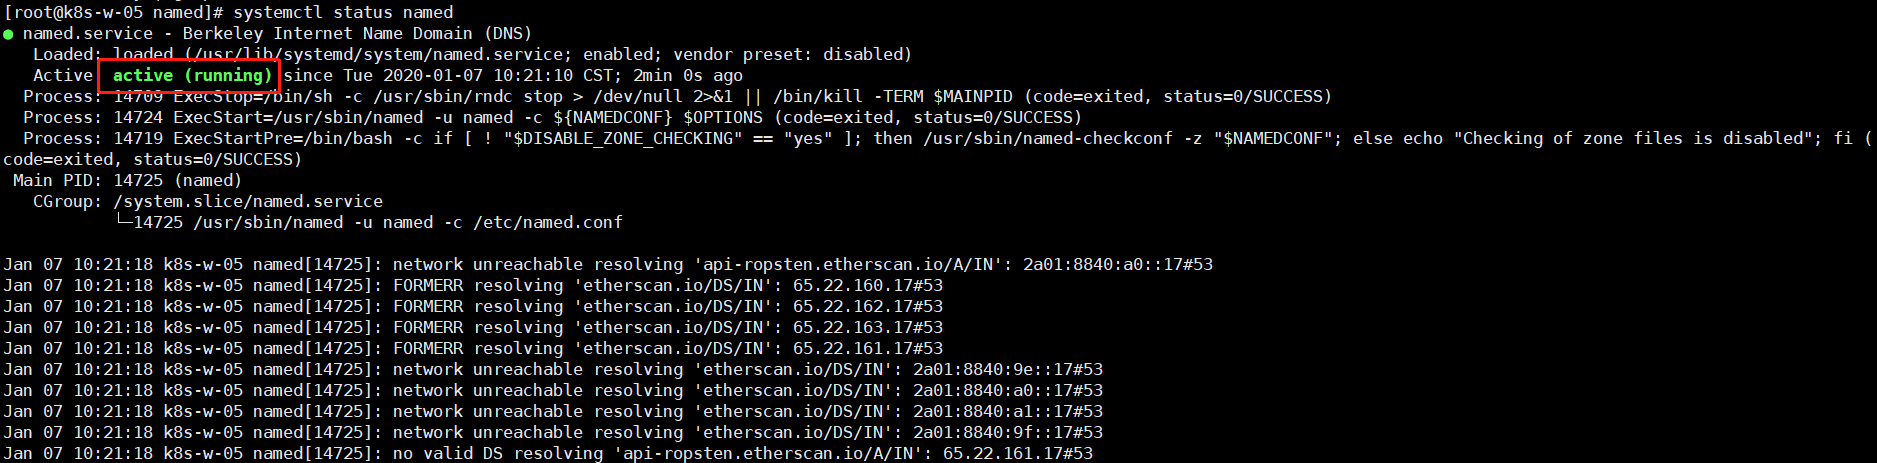
2.8 viewing DNS server startup status
systemctl status named
2.9 turn off the server firewall
systemctl stop firewalld
Since then, the entire DNS server configuration has been completed.
3 DNS linux client configuration
3.1 setting up linux client
Find another linux client to test. Modify the file / etc / removed.conf to add DNS server IP:
nameserver 10.110.101.105
Or modify the / etc / sysconfig / network scripts / ifcfg-xxxxxx network card file, add DNS information, set the custom DNS server to DNS1, and restart the network:
DNS1=10.110.101.105 # Custom DNS server IP
DNS2=114.114.114.114 # Public DNS server IP
systemctl restart network # Restart network
After the restart is successful, check the / etc/resolved.conf file to find that the custom DNS changes are successful.
3.2 verify linux client
yum install bind-utils
nslookup jiuxi.nexus.com
dig jiuxi.nexus.com
ping jiuxi.nexus.com
4 DNS windows client configuration
4.1 setting up windows client
Open run and enter ncpa.cpl:
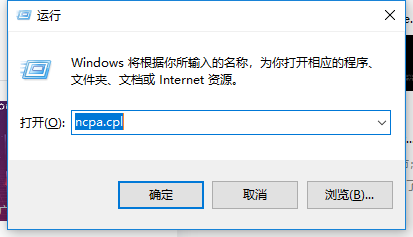
Select the network connection you are currently using:
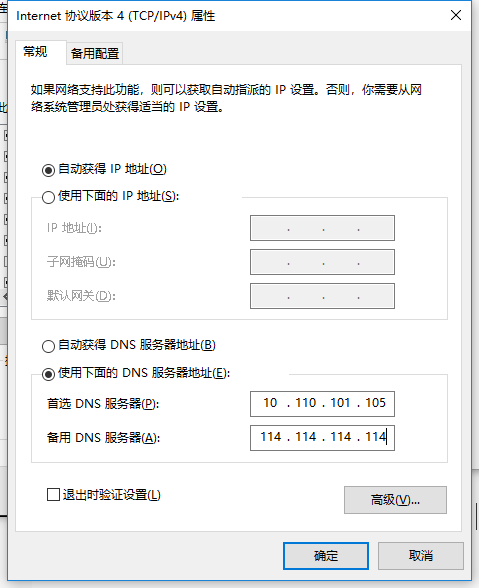
Select TCP/IPv4 protocol:
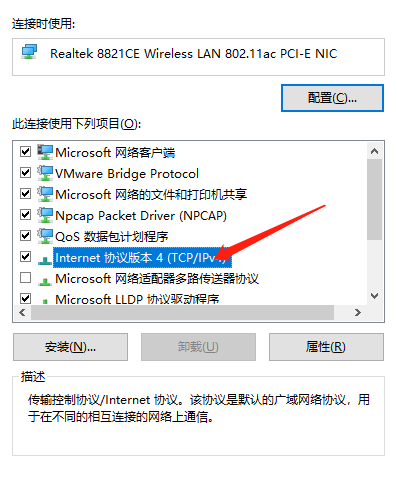
Fill in DNS configuration information. Note that set custom DNS as preferred:
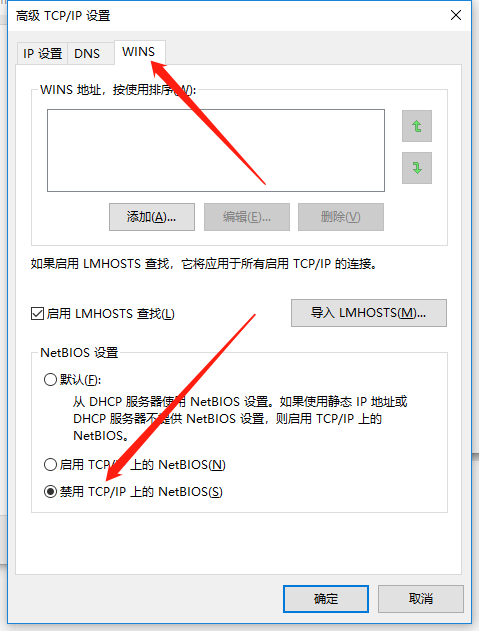
Select the Advanced tab and select the WINS tab in the pop-up box to disable NetBIOS:
4.2 verify windows client
To open the console:
ipconfig/flushdns

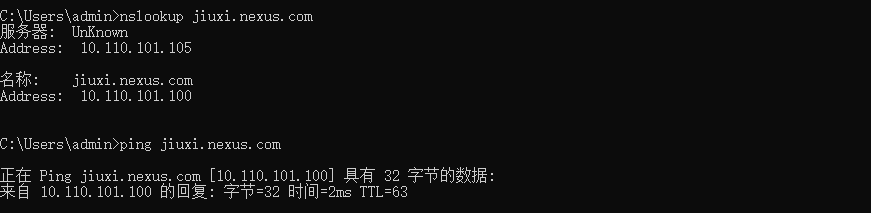
Verify win client:
nslookup jiuxi.nexus.com
ping jiuxi.nexus.com
Since then, the whole self built DNS has been completed.