File and data storage
Run todo project
Enter app directory
app
├── Dockerfile
└── spec
└── src
└── yarn.lock
Source code download: Getting started source code compressed package
New Dockerfile
FROM node:12-alpine
RUN sed -i 's/dl-cdn.alpinelinux.org/mirrors.ustc.edu.cn/g' /etc/apk/repositories
RUN apk add --no-cache python3 g++ make
RUN yarn config set registry http://mirrors.cloud.tencent.com/npm/
WORKDIR /app
COPY . .
RUN yarn install --production
CMD ["node", "src/index.js"]
Package image
docker build -t tke-todo .
function
docker run -dp 3001:3000 tke-todo
If the container name is not specified, the name will be generated automatically and randomly.
Storage Volume
The function of storage Volume is to make data persistent.
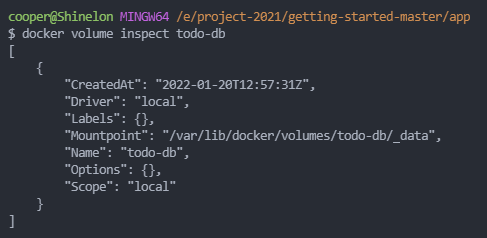
docker volume create todo-db   #Create a storage volume named todo dB
docker volume ls               #List all storage volumes
docker volume inspect todo-db  #Viewing storage volume information
docker volume --help           #Understand all instructions of dokcer volume
Containers use storage volumes
docker run -dp 3002:3000 -v todo-db:/etc/todos tke-todo
stop the container at port 3002 and run another container.
docker run -dp 3003:3000 -v todo-db:/etc/todos tke-todo
It is found that the previously added data is still.
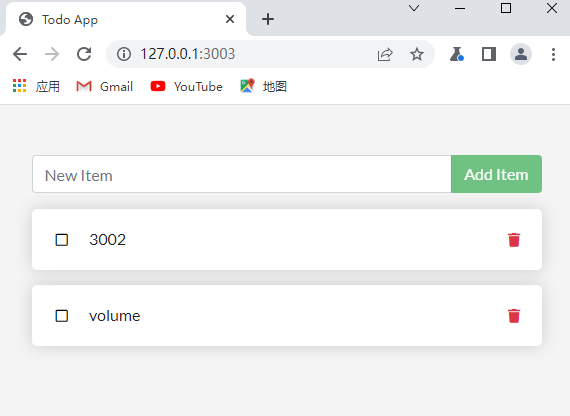
The data of a storage volume can be shared among multiple containers.
Viewing containers and exporting containers
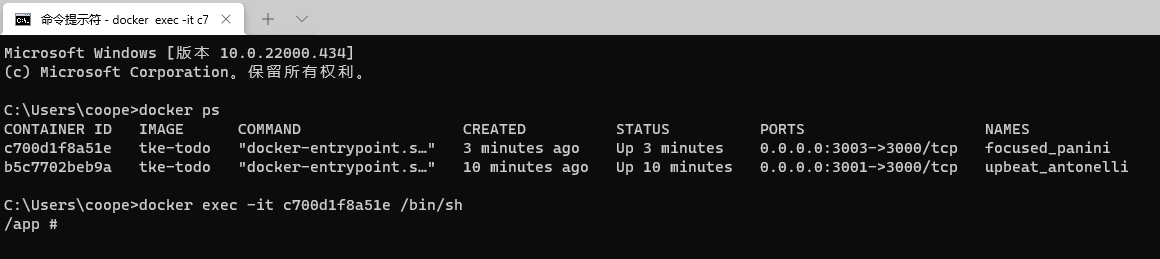
Create a new terminal
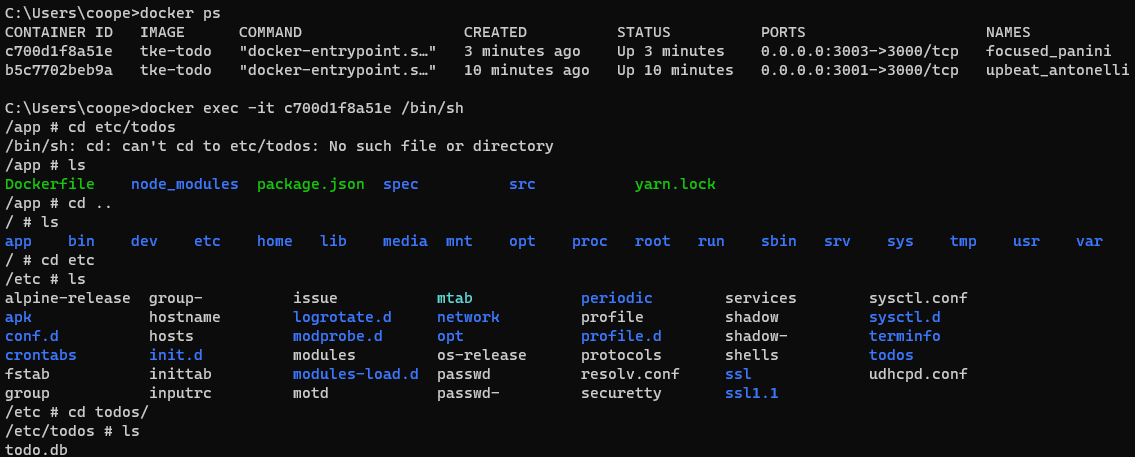
docker ps               #View the list of running containers and find the ID of the container running tke todo
docker exec -it <container ID or name> /bin/sh    #Replace with your container ID
Enter the storage volume path and view db.
cd /etc/todos           #Enter the point where the storage Volume is mounted
ls                      #View the list of files under the folder
Export as tar package
docker ps                                #Find the container ID or name you want to export from the list
docker export <container ID/name> -o Compressed package name.tar #Export all files in the container
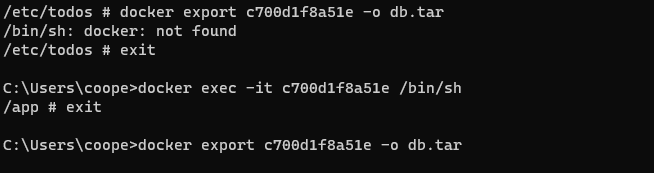
Note: to execute the docker command, you need to exit the interactive mode and enter the normal terminal mode. The exported file is in the current directory of the command line.
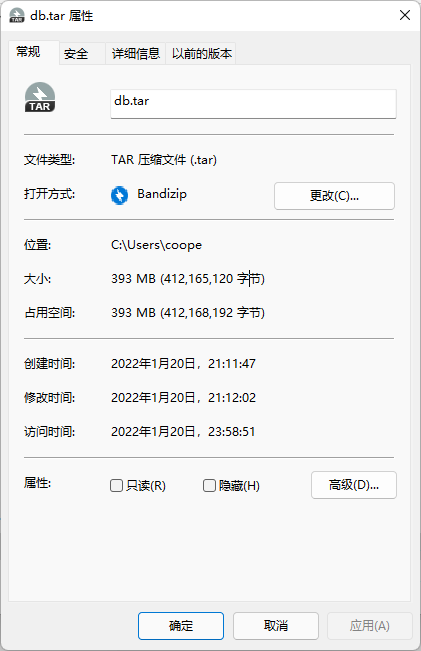
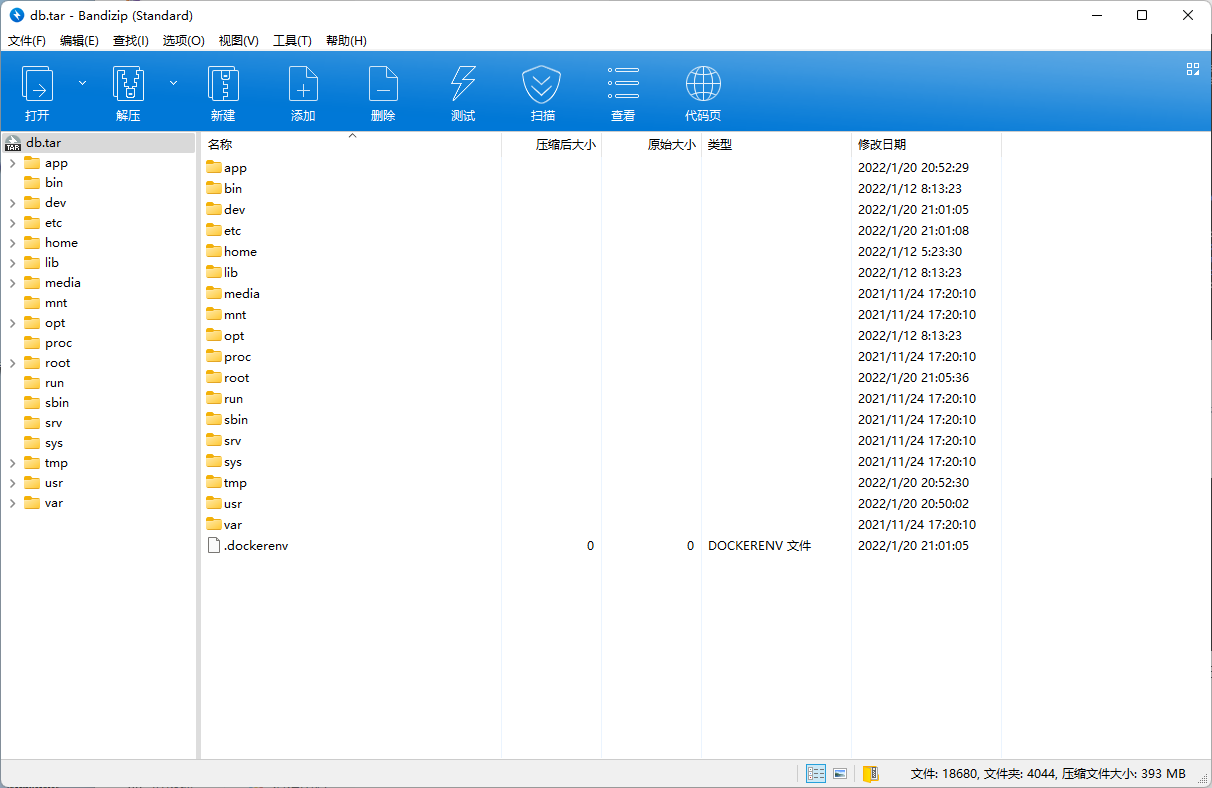
The exported file contains the entire mirror and storage Volume volume.
Wordpress and database
Pull wordpress and mysql images
docker pull wordpress docker pull mysql
Create a storage volume
docker volume create wordpress-mysql-data
Initialize and start mysql container
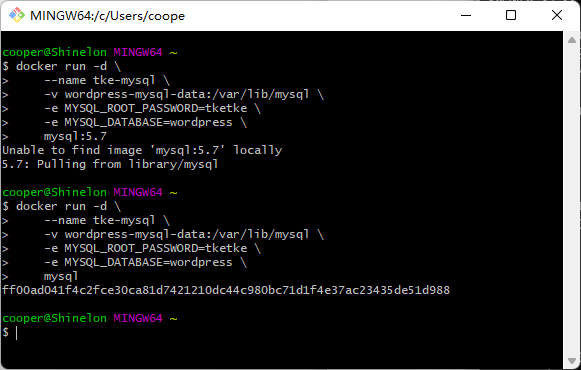
docker run -d \
    --name tke-mysql \
    -v wordpress-mysql-data:/var/lib/mysql \
    -e MYSQL_ROOT_PASSWORD=tketke \
    -e MYSQL_DATABASE=wordpress \
    mysql
git bash is recommended for multiline commands, but cmd is not supported.
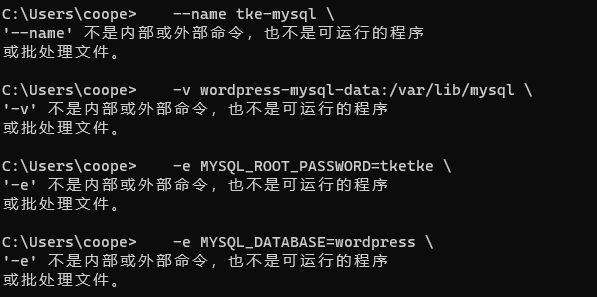
Create a new cmd and enter interactive mode
docker exec -it tke-mysql mysql -u root -p
Prompt for the password. The password is tketke just set

The password input is not visible. Press enter after input to enter the mysql interactive mode.

Enter the command SHOW DATABASES; You can see the created wordpress database.
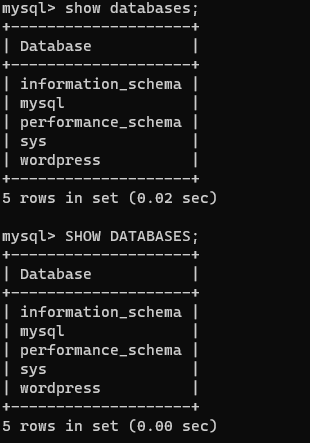
Note: there is a semicolon after the command. show and databases should be separated by spaces and are not case sensitive.
Docker installing Wordpress
Create network
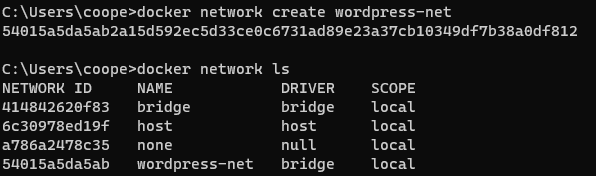
docker network create wordpress-net #Create a network named WordPress net
docker network --help
docker network ls
Database bridge to network
docker network connect wordpress-net tke-mysql
Check the detailed address of MySQL container to find the IP address information.
docker inspect tke-mysql
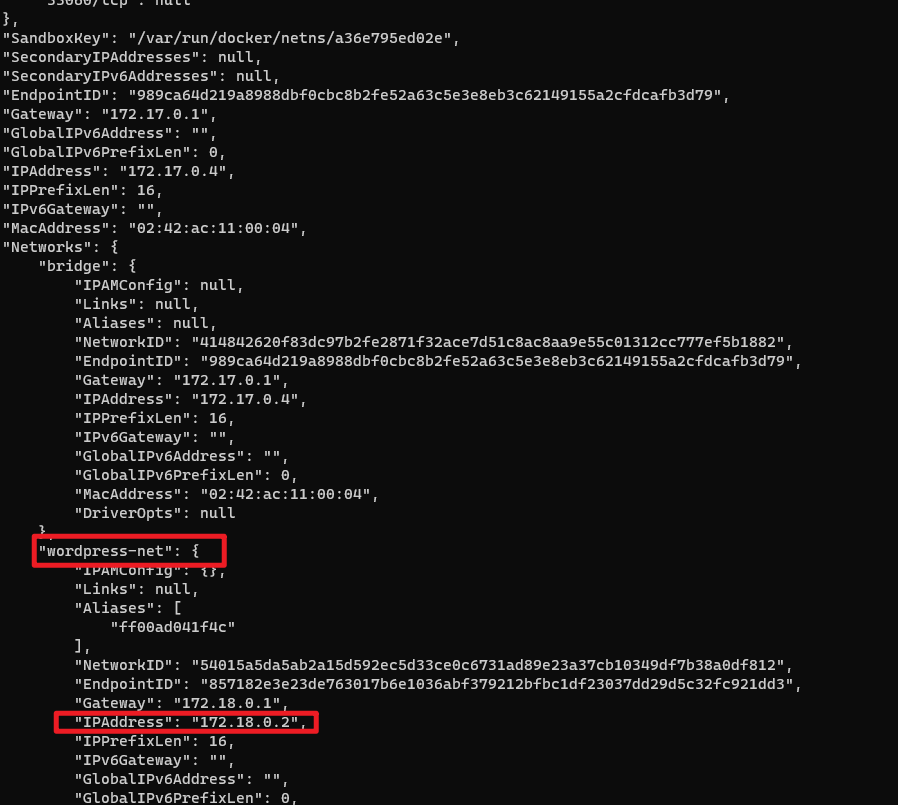
If there is too much data to find, you can use the command:
docker inspect -f '{{ $network := index .NetworkSettings.Networks "wordpress-net" }}{{ $network.IPAddress}}' tke-mysqlNote that when you run the command on windows, an error will appear:
Template parsing error: template: :1: unclosed action

For normal execution, it needs to be wrapped in double quotation marks (actually, it is still not possible, which needs to be studied)
It is recommended that networks be named without-
docker inspect -f "{{ $network := index .NetworkSettings.Networks "wordpress-net" }}{{ $network.IPAddress}}" tke-mysqlreference resources: docker - Template parsing error: template: :1: unclosed action - Stack Overflow
git bash runs without this problem

Start a wordpress
docker run -dp 8008:80 \
    --name tke-wordpress \
    --network wordpress-net \
    -v wordpress_data:/var/www/html \
    -e WORDPRESS_DB_HOST=172.20.0.2:3306 \
    -e WORDPRESS_DB_USER=root \
    -e WORDPRESS_DB_PASSWORD=tketke \
    -e WORDPRESS_DB_NAME=wordpress \
    wordpress
The above command is too long. You can copy the content and save it as WordPress sh.
There are two ways to run sh files on Windows:
- Right click the file and run it with git bash (recommended)
- Enter git bash in the current directory and execute sh WordPress sh
reference resources: How to run under Windows system sh script file - Baidu experience
Tencent cloud container service
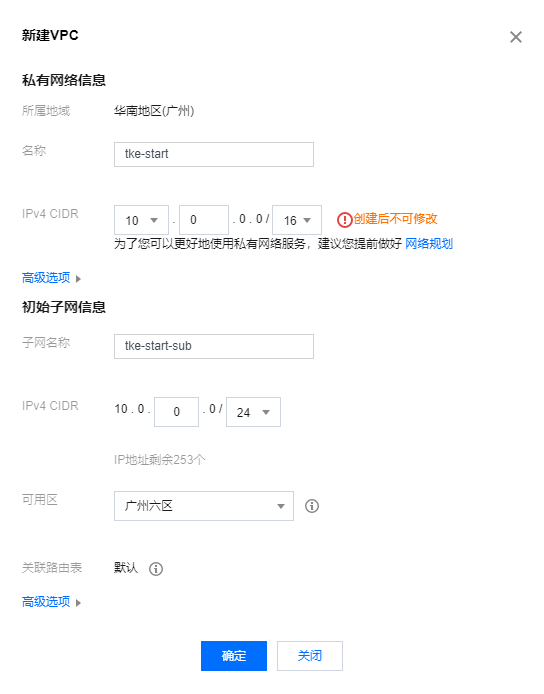
New private networks and subnets
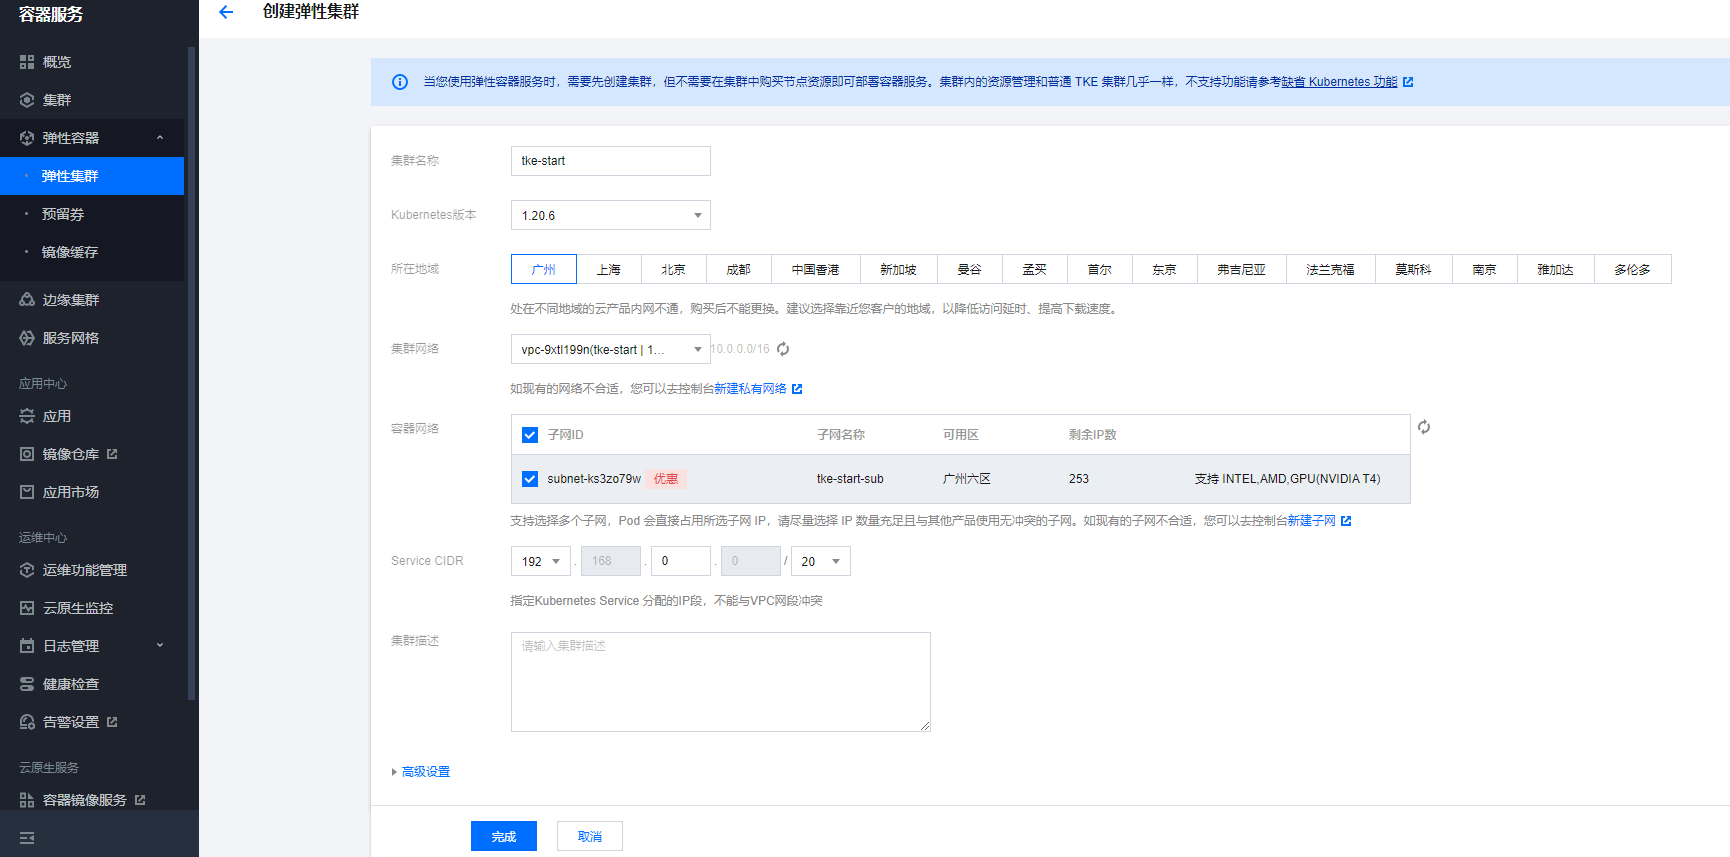
Create EKS elastic cluster
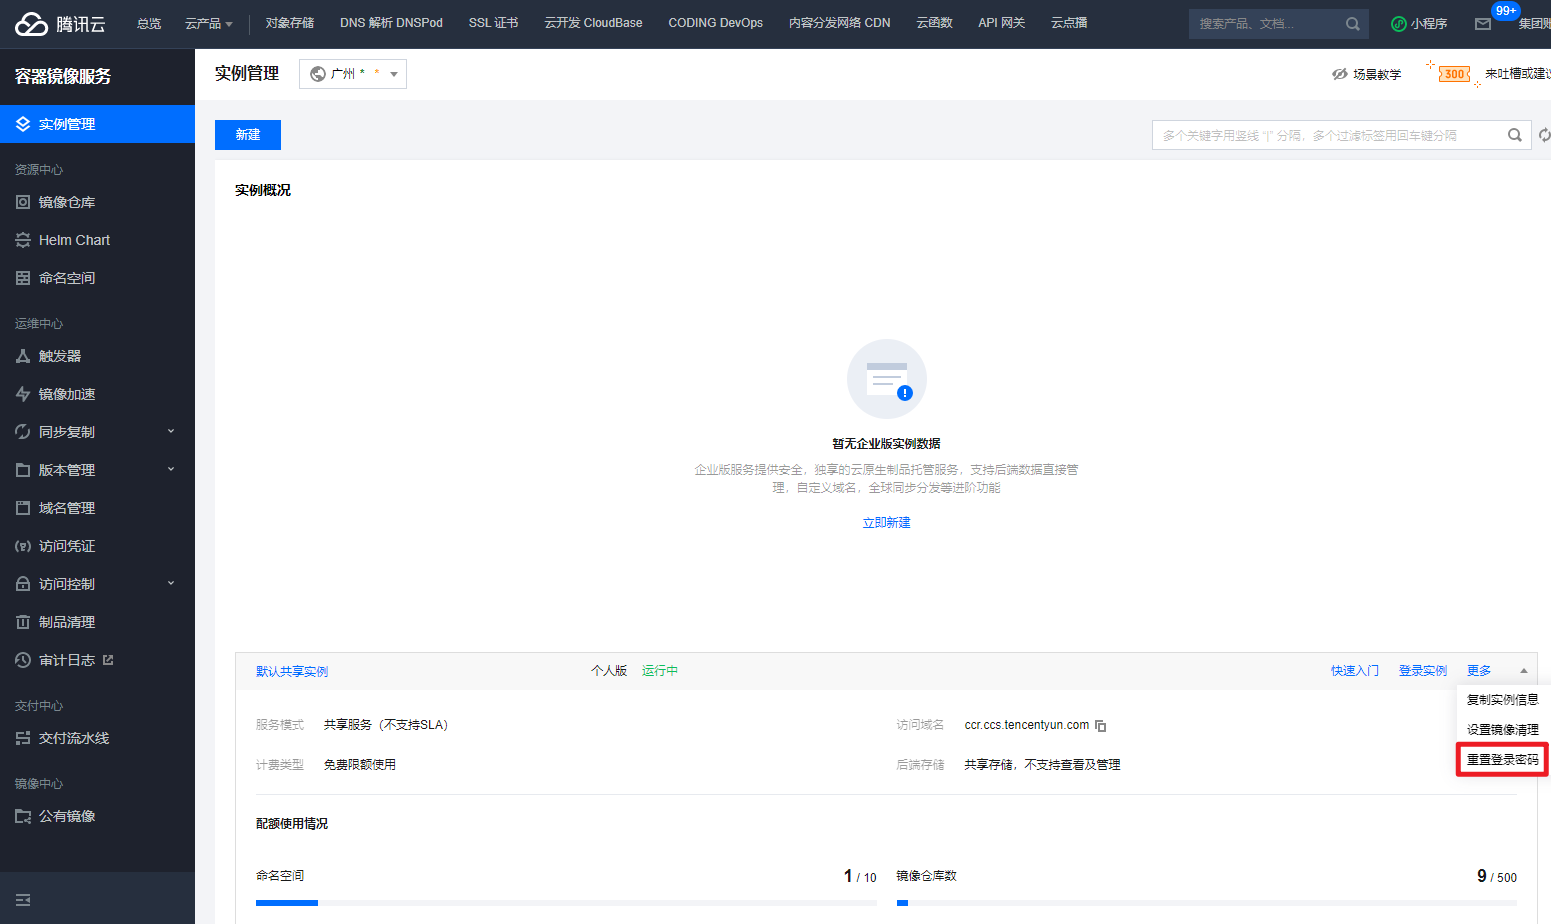
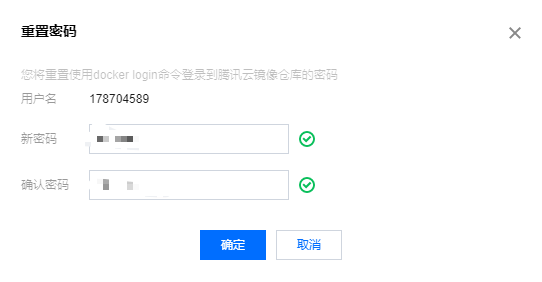
After creation, you need to go to instance management on the left, find more, and click reset password. (you must go through this step for the first time)
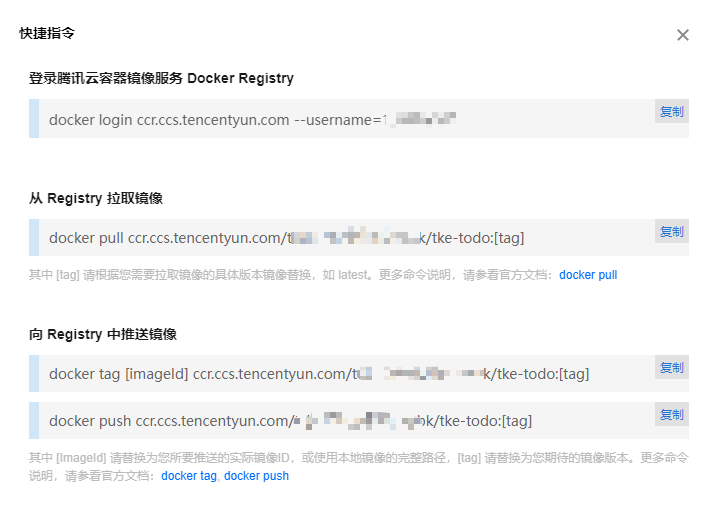
Enter login command:
docker login --username=<Your account number> ccr.ccs.tencentyun.com
After entering the password, the login is successful.

Label the previous local image. ImageId is the name or ID of the local image
docker tag [ImageId] ccr.ccs.tencentyun.com/[Your image repository namespace]/[Your image warehouse name]:[tag]
Then you can push to the image warehouse in the cloud
docker push ccr.ccs.tencentyun.com/[Your image repository namespace]/[Your image warehouse name]:[tag]
give an example:
docker tag tke-todo ccr.ccs.tencentyun.com/[Your image repository namespace]/tke-todo:1.0.1
docker push ccr.ccs.tencentyun.com/[Your image repository namespace]/tke-todo:1.0.1
The namespace can be viewed on Tencent cloud console or from shortcut instructions:

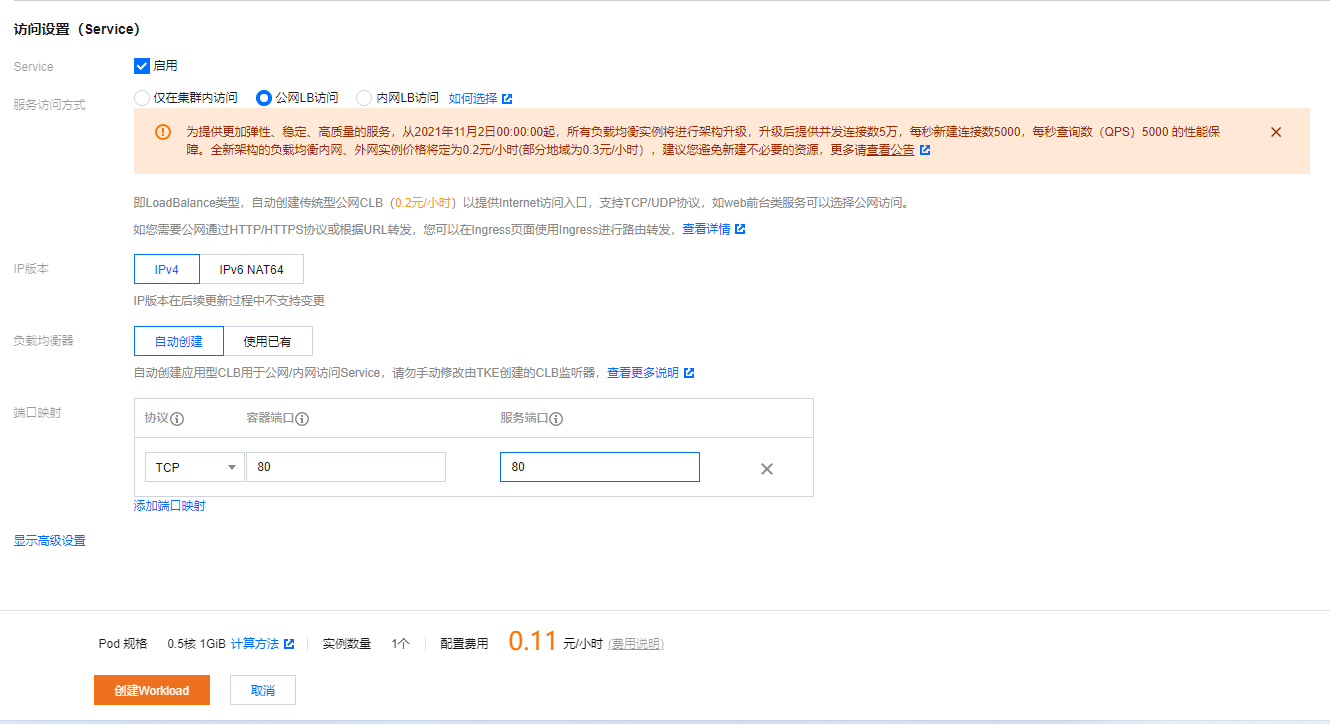
Quickly deploy applications using EKS
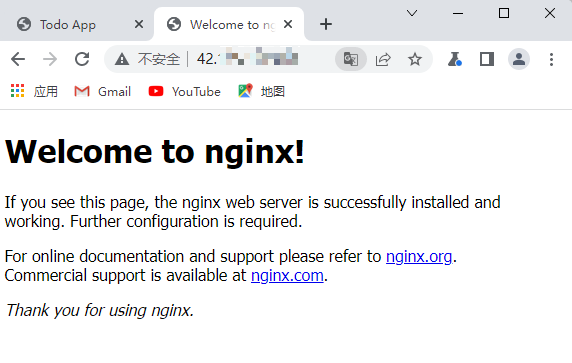
summary
Today's content is more practical. I learned the deployment of the project and the image Service of packaging and uploading to Tencent cloud container. Except that some commands will report errors in the command line of windows, there are no other cumbersome problems. After deploying the application in the cloud, remember to delete the created Workload and the Service of Service and routing. In addition, the locally exported tar package with db has more than 400 M, which can't be used later. Remember to delete it.