SpringBoot operation database (2)
4. Spring security permission control
1. Safety introduction
In Web development, security has always been a very important aspect. Although security is a non functional requirement of the application, it should be considered in the early stage of application development. If the security problem is only considered in the later stage of application development, it may fall into a dilemma: on the one hand, there are serious security vulnerabilities in the application, which can not meet the requirements of users, and may cause users' private data to be stolen by attackers; On the other hand, the basic architecture of the application has been determined. To repair security vulnerabilities, it may be necessary to make major adjustments to the architecture of the system, which requires more development time and affects the release process of the application. Therefore, security related factors should be taken into account from the first day of application development, and in the whole process of application development.
-
There are some famous ones on the market: Shiro, Spring Security!
-
What needs to be explained here is that the emergence of each framework is to solve a certain problem. What problem does the Spring Security framework appear to solve?
-
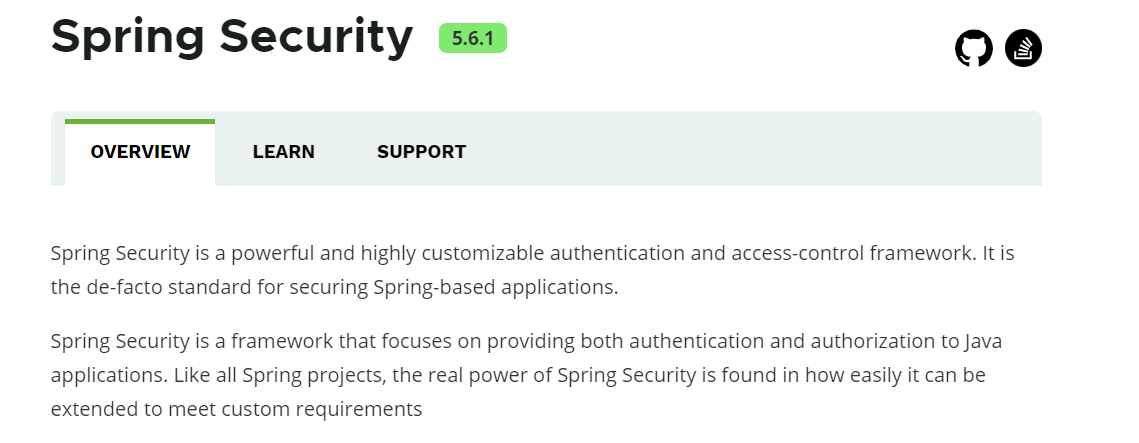
First, let's take a look at its official website: Spring Security official website address
-
Spring Security is a powerful and highly customizable authentication and access control framework. It is actually the standard for protecting spring based applications.
-
Spring Security is a framework that focuses on providing authentication and authorization for Java applications. Like all spring projects, the real strength of Spring Security is that it can be easily extended to meet customization needs.
-
You can know from the introduction of the official website that this is a permission framework. I think we didn't use the framework in our previous projects. How do we control permissions? Permissions are generally subdivided into function permissions, access permissions, and menu permissions. It's very cumbersome to write redundant code.
How to solve the cumbersome and redundant problem of writing permission code before, some mainstream frameworks came into being, and spring security is one of them.
-
Spring is a very popular and successful Java application development framework. Based on the spring framework, Spring Security provides a complete solution for Web application security. Generally speaking, the security of Web application includes two parts: user Authentication and user Authorization. User Authentication refers to verifying whether a user is a legal subject in the system, that is, whether the user can access the system. User Authentication generally requires users to provide user name and password. The system completes the Authentication process by verifying the user name and password. User Authorization refers to verifying whether a user has permission to perform an operation. In a system, different users have different permissions. For example, for a file, some users can only read it, while others can modify it. Generally speaking, the system assigns different roles to different users, and each role corresponds to a series of permissions.
-
For the two application scenarios mentioned above, the Spring Security framework has good support. In terms of user authentication, the Spring Security framework supports mainstream authentication methods, including HTTP basic authentication, HTTP form authentication, http digest authentication, OpenID and LDAP. In terms of user authorization, Spring Security provides role-based access control and Access Control List (ACL), which can carry out fine-grained control over domain objects in applications.
2. Actual test
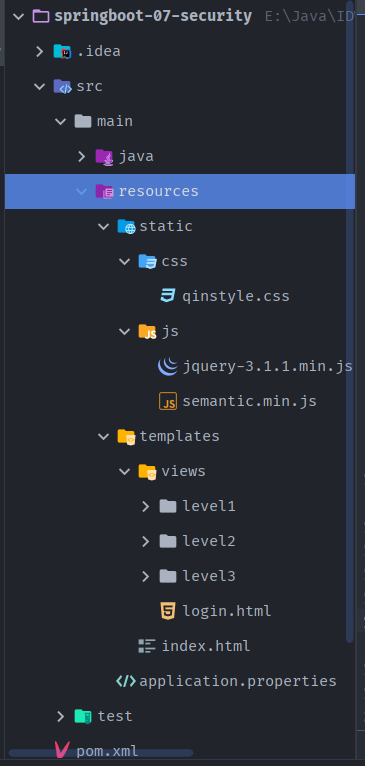
1. Establishment of experimental environment
- Create an initial springboot project web module, thymeleaf module
<!--thymeleaf-->
<dependency>
	<groupId>org.springframework.boot</groupId>
	<artifactId>spring-boot-starter-thymeleaf</artifactId>
</dependency>
- Import static resources
welcome.html
|views
|level1
1.html
2.html
3.html
|level2
1.html
2.html
3.html
|level3
1.html
2.html
3.html
Login.html
- controller jump!
package com.github.controller;

import org.springframework.stereotype.Controller;
import org.springframework.web.bind.annotation.PathVariable;
import org.springframework.web.bind.annotation.RequestMapping;

@Controller
public class RouterController {

    @RequestMapping({"/","/index"})
    public String index(){
        return "index";
    }

    @RequestMapping("/toLogin")
    public String toLogin(){
        return "views/login";
    }

    @RequestMapping("/level1/{id}")
    public String level1(@PathVariable("id") int id){
        return "views/level1/"+id;
    }

    @RequestMapping("/level2/{id}")
    public String level2(@PathVariable("id") int id){
        return "views/level2/"+id;
    }

    @RequestMapping("/level3/{id}")
    public String level3(@PathVariable("id") int id){
        return "views/level3/"+id;
    }

}
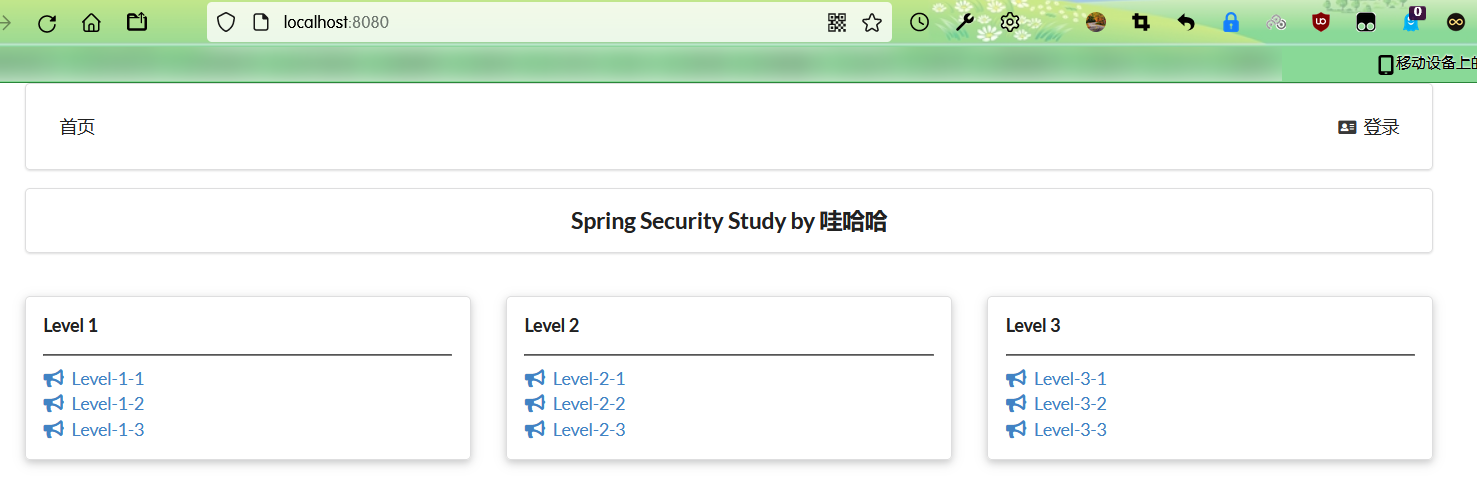
- Test whether the experimental environment is OK!
2. Get to know spring security
Spring Security is the security framework for the spring project and the default technology selection of the underlying security module of Spring Boot. It can realize powerful Web security control. For security control, we only need to introduce the Spring Boot starter security module and make a small amount of configuration to realize powerful security management!
Remember several categories:
- WebSecurityConfigurerAdapter: custom Security policy
- AuthenticationManagerBuilder: custom authentication policy
- @Enable WebSecurity: enable WebSecurity mode
The two main goals of Spring Security are "authentication" and "authorization" (access control).
Authentication
-
Authentication is about verifying your credentials, such as user name / user ID and password, to verify your identity.
-
Authentication is usually done using a combination of user name and password authentication.
Authorization
-
Authorization occurs after the system successfully verifies your identity, and will eventually grant you full access to resources (such as information, files, databases, funds, locations, almost anything).
-
This concept is universal, not just in Spring Security.
3. Certification and authorization
At present, anyone can access our test environment, as long as we use Spring Security to add the functions of authentication and authorization.
- Introducing Spring Security module
<dependency>
   <groupId>org.springframework.boot</groupId>
   <artifactId>spring-boot-starter-security</artifactId>
</dependency>
- Write Spring Security configuration class
-
Refer to the official website: https://spring.io/projects/spring-security
-
View the version in the personal project and find the corresponding help document: Spring Security Reference
- Write basic configuration class
package com.github.config;
import org.springframework.security.config.annotation.web.builders.HttpSecurity;
import org.springframework.security.config.annotation.web.configuration.EnableWebSecurity;
import org.springframework.security.config.annotation.web.configuration.WebSecurityConfigurerAdapter;
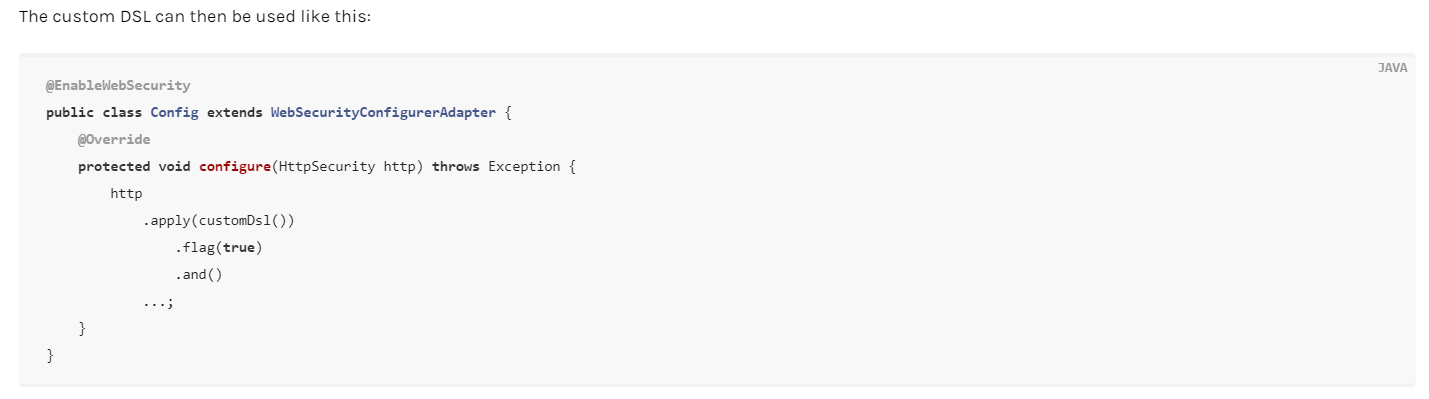
@EnableWebSecurity // Enable WebSecurity mode
public class SecurityConfig extends WebSecurityConfigurerAdapter {
@Override
protected void configure(HttpSecurity http) throws Exception {
}
}
- Authorization rules for custom requests
@Override
protected void configure(HttpSecurity http) throws Exception {
   // Authorization rules for custom requests
   // The home page is accessible to everyone
   http.authorizeRequests().antMatchers("/").permitAll()
  .antMatchers("/level1/**").hasRole("vip1")
  .antMatchers("/level2/**").hasRole("vip2")
  .antMatchers("/level3/**").hasRole("vip3");
}
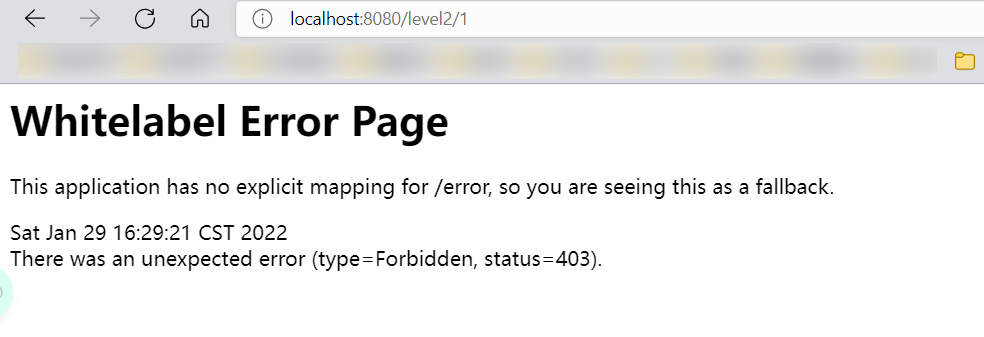
- Test: I found that I can't get in except the home page! Because there is no login role at present, because the request requires that the login role has the corresponding permission!
- Add the following configuration in the configure() method to enable the login function of automatic configuration!
// Turn on the login function of automatic configuration
// /The login request comes to the login page
// /login?error redirection here indicates login failure
http.formLogin();
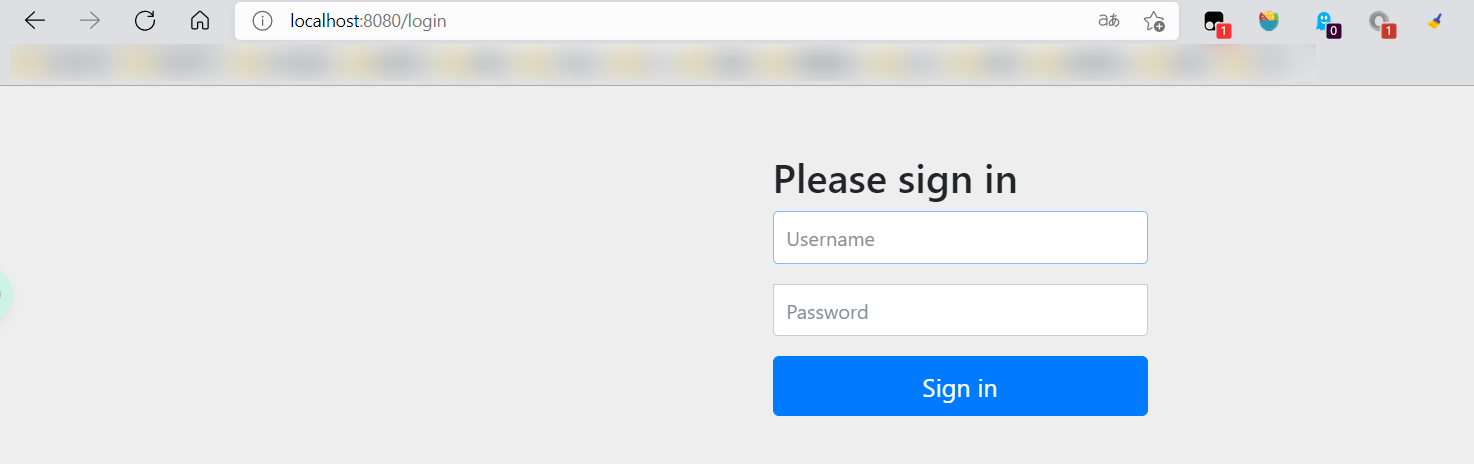
- Test it: if you don't have permission, you will jump to the login page!
- View the comments on the login page just now;
- You can define authentication rules and override the configure(AuthenticationManagerBuilder auth) method.
// Define authentication rules
@Override
protected void configure(AuthenticationManagerBuilder auth) throws Exception {

// Defined in memory, you can also get it in jdbc
auth.inMemoryAuthentication()
.withUser("subei").password("123456").roles("vip2","vip3")
.and()
.withUser("root").password("123456").roles("vip1","vip2","vip3")
.and()
.withUser("guest").password("123456").roles("vip1","vip2");
}
- Test, log in with these accounts to test! If you find it, you will report an error!
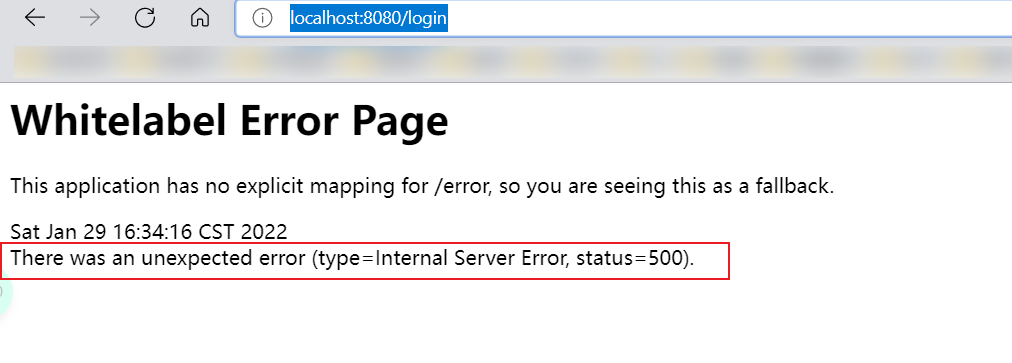
- Reason: the password transmitted from the front end should be encrypted in some way, otherwise you cannot log in and modify the code.
// Define authentication rules
@Override
protected void configure(AuthenticationManagerBuilder auth) throws Exception {
    // Defined in memory, you can also get it in jdbc
    // Spring security 5.0 adds a variety of encryption methods and changes the format of passwords.
    // If we want our project to log in normally, we need to modify the code in configure. We need to encrypt the password transmitted from the front end in some way
    // bcrypt encryption is officially recommended by spring security.

    auth.inMemoryAuthentication().passwordEncoder(new BCryptPasswordEncoder())
        .withUser("subei").password(new BCryptPasswordEncoder().encode("123456")).roles("vip2","vip3")
        .and()
        .withUser("root").password(new BCryptPasswordEncoder().encode("123456")).roles("vip1","vip2","vip3")
        .and()
        .withUser("guest").password(new BCryptPasswordEncoder().encode("123456")).roles("vip1","vip2");
}
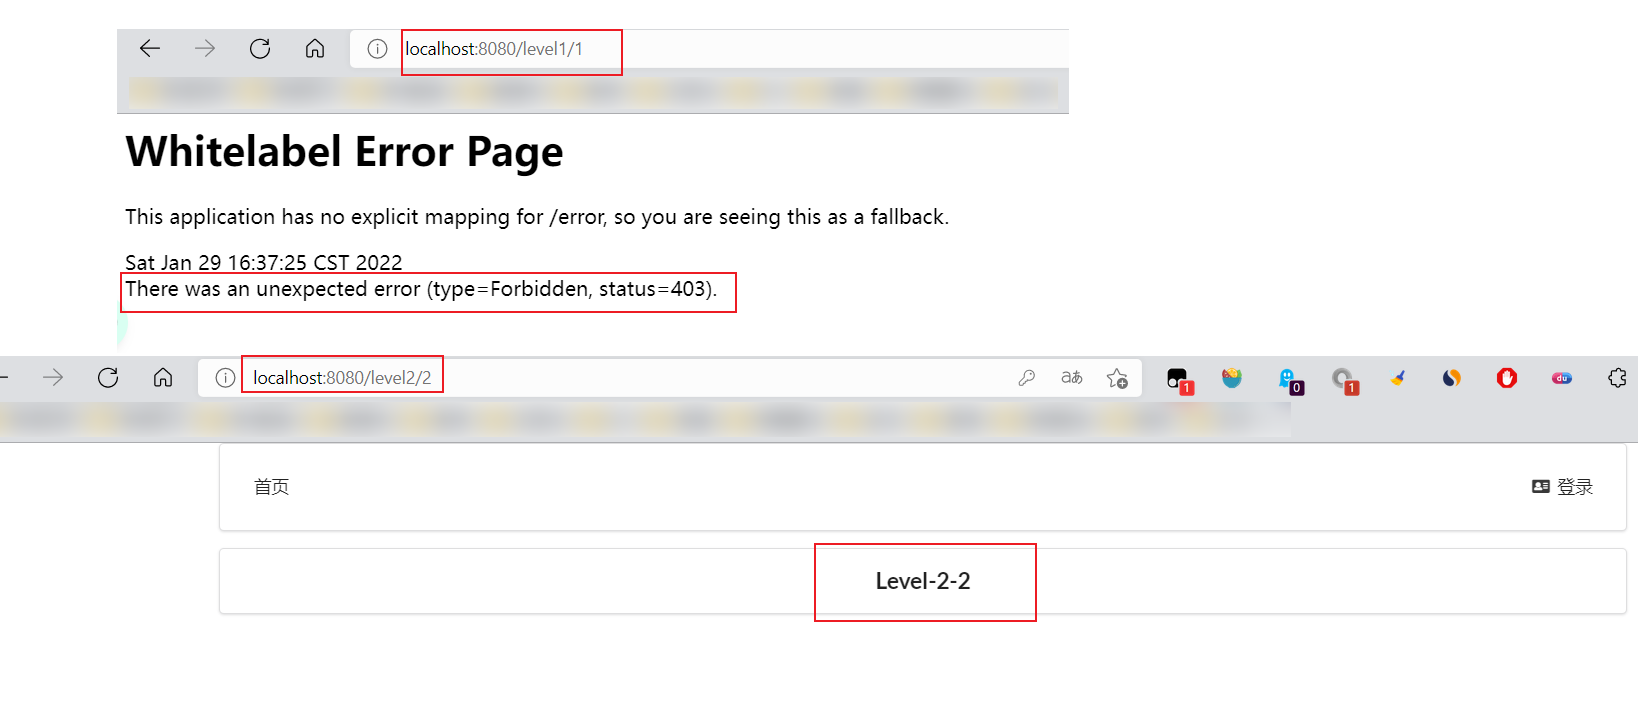
- After testing, it is found that the login is successful, and each role can only access the rules under its own authentication!
4. Authority control and cancellation
Icon library website: https://semantic-ui.com/

- Turn on the auto configured logoff function
// Authorization rules for custom requests
@Override
protected void configure(HttpSecurity http) throws Exception {
    //....
    // Turn on the login function of automatic configuration
    // /The login request comes to the login page
    // /login?error redirection here indicates login failure
    http.formLogin();
    // /Logout logout request
    http.logout();
}
- In the front end, add a logout button, index HTML navigation bar.
<a class="item" th:href="@{/logout}">
   <i class="address card icon"></i> cancellation
</a>
- Go and test it. After successful login, click logout. If you find that logout is completed, you will jump to the login page!
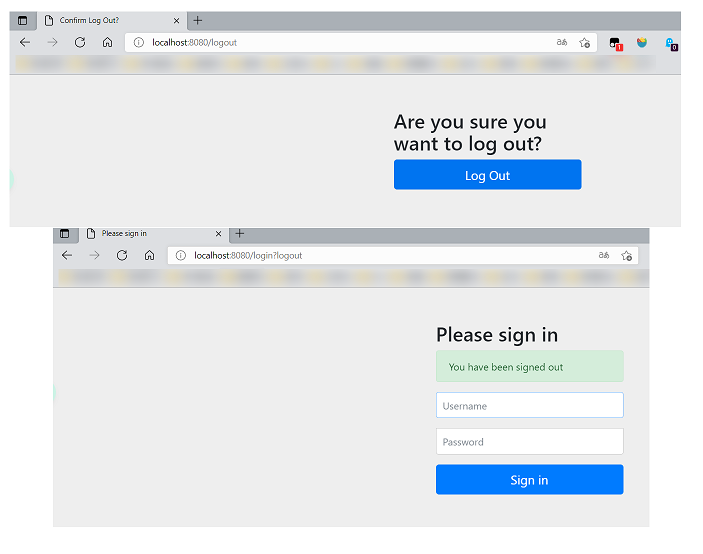
- However, when we want him to log off successfully, we can still jump to the home page. What should we do?
// .logoutSuccessUrl("/");  Log out successfully and come to the home page
http.logout().logoutSuccessUrl("/");
- Test, after logging out, find that jump to the home page, OK!
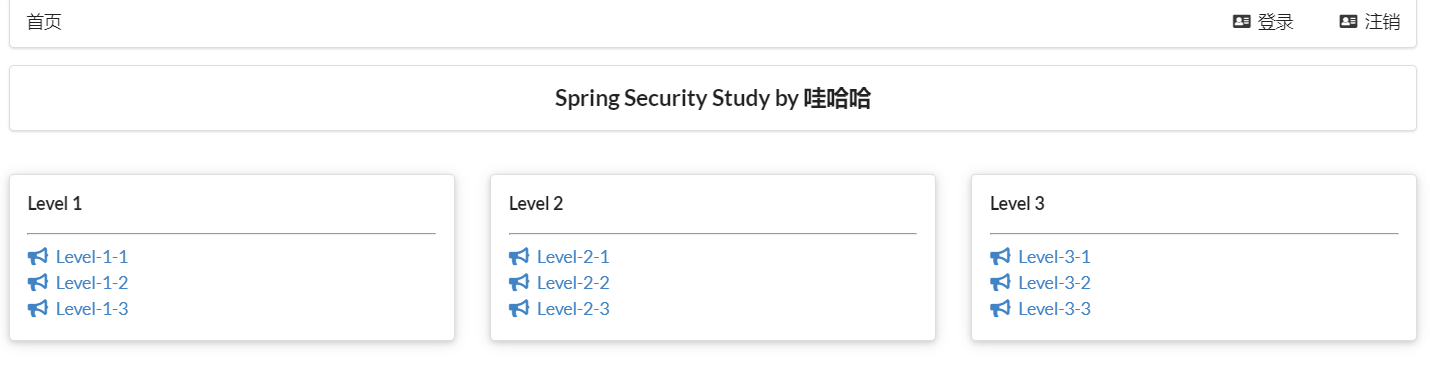
- Now there is another requirement: when the user does not log in, only the login button is displayed on the navigation bar. After the user logs in, the navigation bar can display the login user information and logout button! In addition, for example, subei has only vip2 and vip3 functions, so only these two functions are displayed when logging in, but the function menu of vip1 is not displayed! This is the real website! How to do it?
Some functions in thymeleaf need to be combined
-
sec: authorize = "isAuthenticated()": whether to authenticate login! To display different pages.
-
Maven dependency:
<!-- https://mvnrepository.com/artifact/org.thymeleaf.extras/thymeleaf-extras-springsecurity4 -->
<dependency>
   <groupId>org.thymeleaf.extras</groupId>
   <artifactId>thymeleaf-extras-springsecurity5</artifactId>
   <version>3.0.4.RELEASE</version>
</dependency>
- Modify front page
- Import namespace
<!-- https://mvnrepository.com/artifact/org.thymeleaf.extras/thymeleaf-extras-springsecurity4 -->
<dependency>
   <groupId>org.thymeleaf.extras</groupId>
   <artifactId>thymeleaf-extras-springsecurity5</artifactId>
   <version>3.0.4.RELEASE</version>
</dependency>
- Modify the navigation bar and add authentication judgment
<!--Login and logout-->
<div class="right menu">
<!--If you are not logged in-->
<div sec:authorize="!isAuthenticated()">
<a class="item" th:href="@{/login}">
<i class="address card icon"></i> Sign in
</a>
</div>
<!--If logged in-->
<div sec:authorize="isAuthenticated()">
<a class="item">
<i class="address card icon"></i>
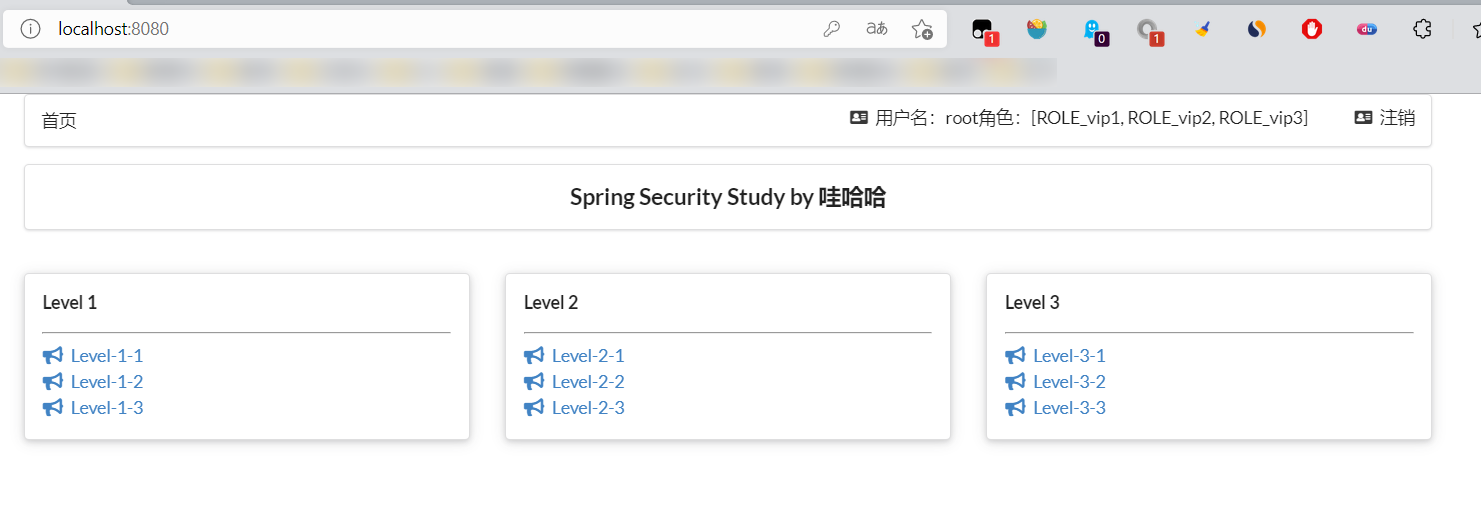
user name:<span sec:authentication="principal.username"></span>
Role:<span sec:authentication="principal.authorities"></span>
</a>
</div>
<div sec:authorize="isAuthenticated()">
<a class="item" th:href="@{/logout}">
<i class="address card icon"></i> cancellation
</a>
</div>
</div>
- Restart the test. You can log in and try. After successful login, the page we want is displayed;
- If you log off 404, it is because it prevents CSRF Cross Site Request Forgery by default, because it will cause security problems. You can change the request to post form submission, or turn off the CSRF function in spring security; You can also try: add HTTP in the configuration csrf(). disable();
http.csrf().disable(); // Turn off csrf function: Cross Site Request Forgery. By default, logout requests can only be submitted through post
http.logout().logoutSuccessUrl("/");
- Continue to complete the following role function block authentication!
<!-- sec:authorize="hasRole('vip1')" -->
<div class="column" sec:authorize="hasRole('vip1')">
   <div class="ui raised segment">
       <div class="ui">
           <div class="content">
               <h5 class="content">Level 1</h5>
               <hr>
               <div><a th:href="@{/level1/1}"><i class="bullhorn icon"></i> Level-1-1</a></div>
               <div><a th:href="@{/level1/2}"><i class="bullhorn icon"></i> Level-1-2</a></div>
               <div><a th:href="@{/level1/3}"><i class="bullhorn icon"></i> Level-1-3</a></div>
           </div>
       </div>
   </div>
</div>

<div class="column" sec:authorize="hasRole('vip2')">
   <div class="ui raised segment">
       <div class="ui">
           <div class="content">
               <h5 class="content">Level 2</h5>
               <hr>
               <div><a th:href="@{/level2/1}"><i class="bullhorn icon"></i> Level-2-1</a></div>
               <div><a th:href="@{/level2/2}"><i class="bullhorn icon"></i> Level-2-2</a></div>
               <div><a th:href="@{/level2/3}"><i class="bullhorn icon"></i> Level-2-3</a></div>
           </div>
       </div>
   </div>
</div>

<div class="column" sec:authorize="hasRole('vip3')">
   <div class="ui raised segment">
       <div class="ui">
           <div class="content">
               <h5 class="content">Level 3</h5>
               <hr>
               <div><a th:href="@{/level3/1}"><i class="bullhorn icon"></i> Level-3-1</a></div>
               <div><a th:href="@{/level3/2}"><i class="bullhorn icon"></i> Level-3-2</a></div>
               <div><a th:href="@{/level3/3}"><i class="bullhorn icon"></i> Level-3-3</a></div>
           </div>
       </div>
   </div>
</div>
- Test it!
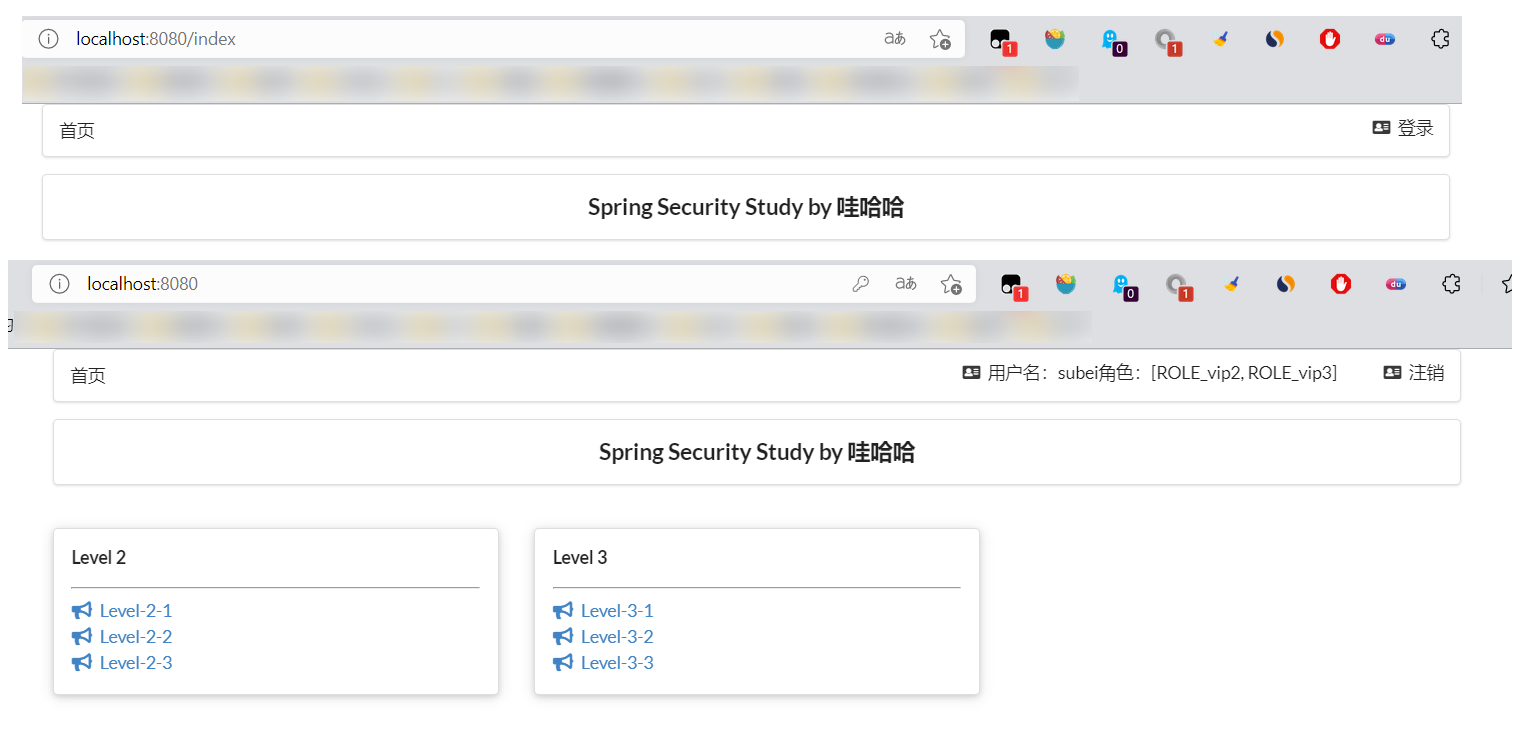
Permission control and logout are done!
5. Remember me
The current situation: as long as we log in, close the browser and log in again, we will log in again. However, in many websites, there is a function of remembering passwords. How can this be realized? It's simple
- Turn on the remember me function
// Authorization rules for custom requests
@Override
protected void configure(HttpSecurity http) throws Exception {
//. . . . . . . . . . .
   // Remember me
   http.rememberMe();
}
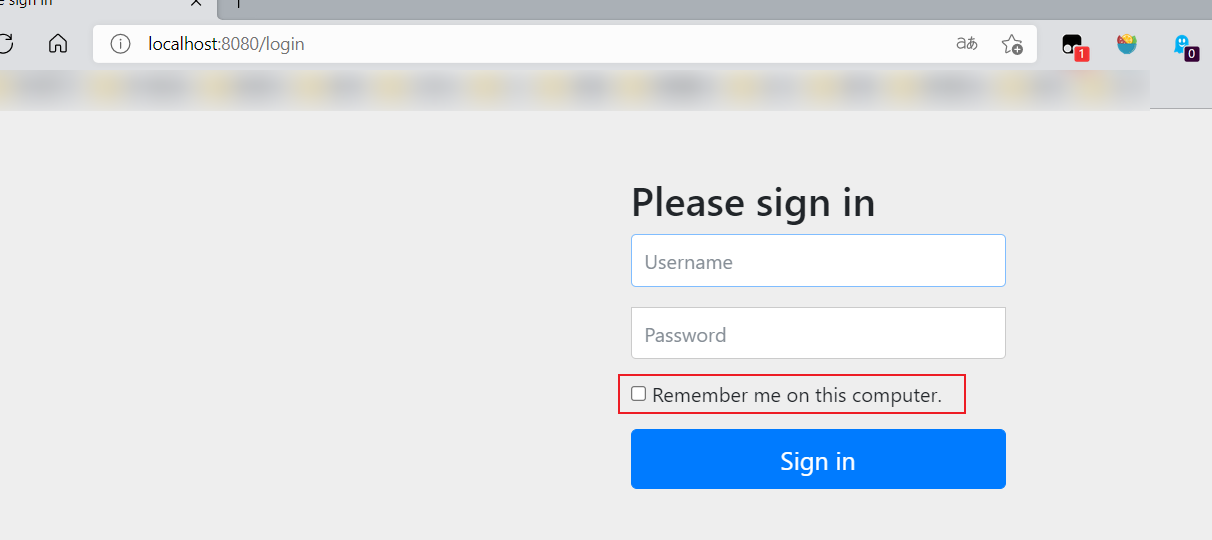
- Start the project again and test it. It is found that there is an additional remember me function on the login page. After logging in, close the browser, and then reopen the browser for access. It is found that the user still exists!
Thinking: how to achieve it? It's actually very simple
- You can view the browser's cookie s
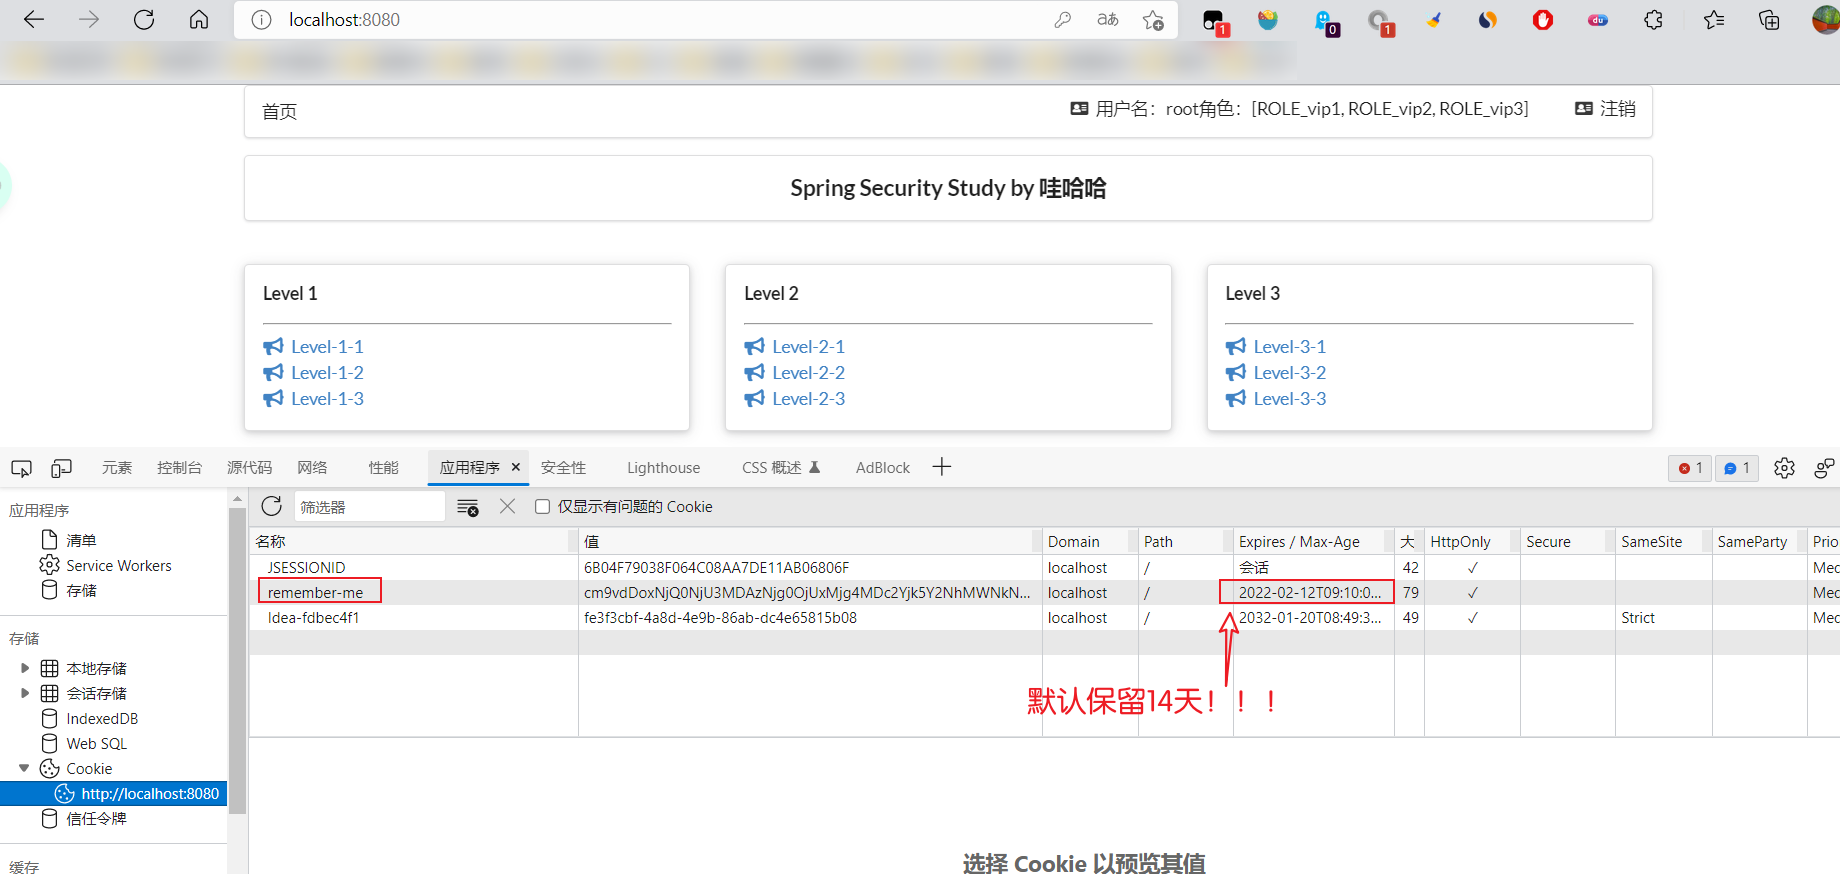
- When you click logout, you can find that spring security helps us automatically delete this cookie.
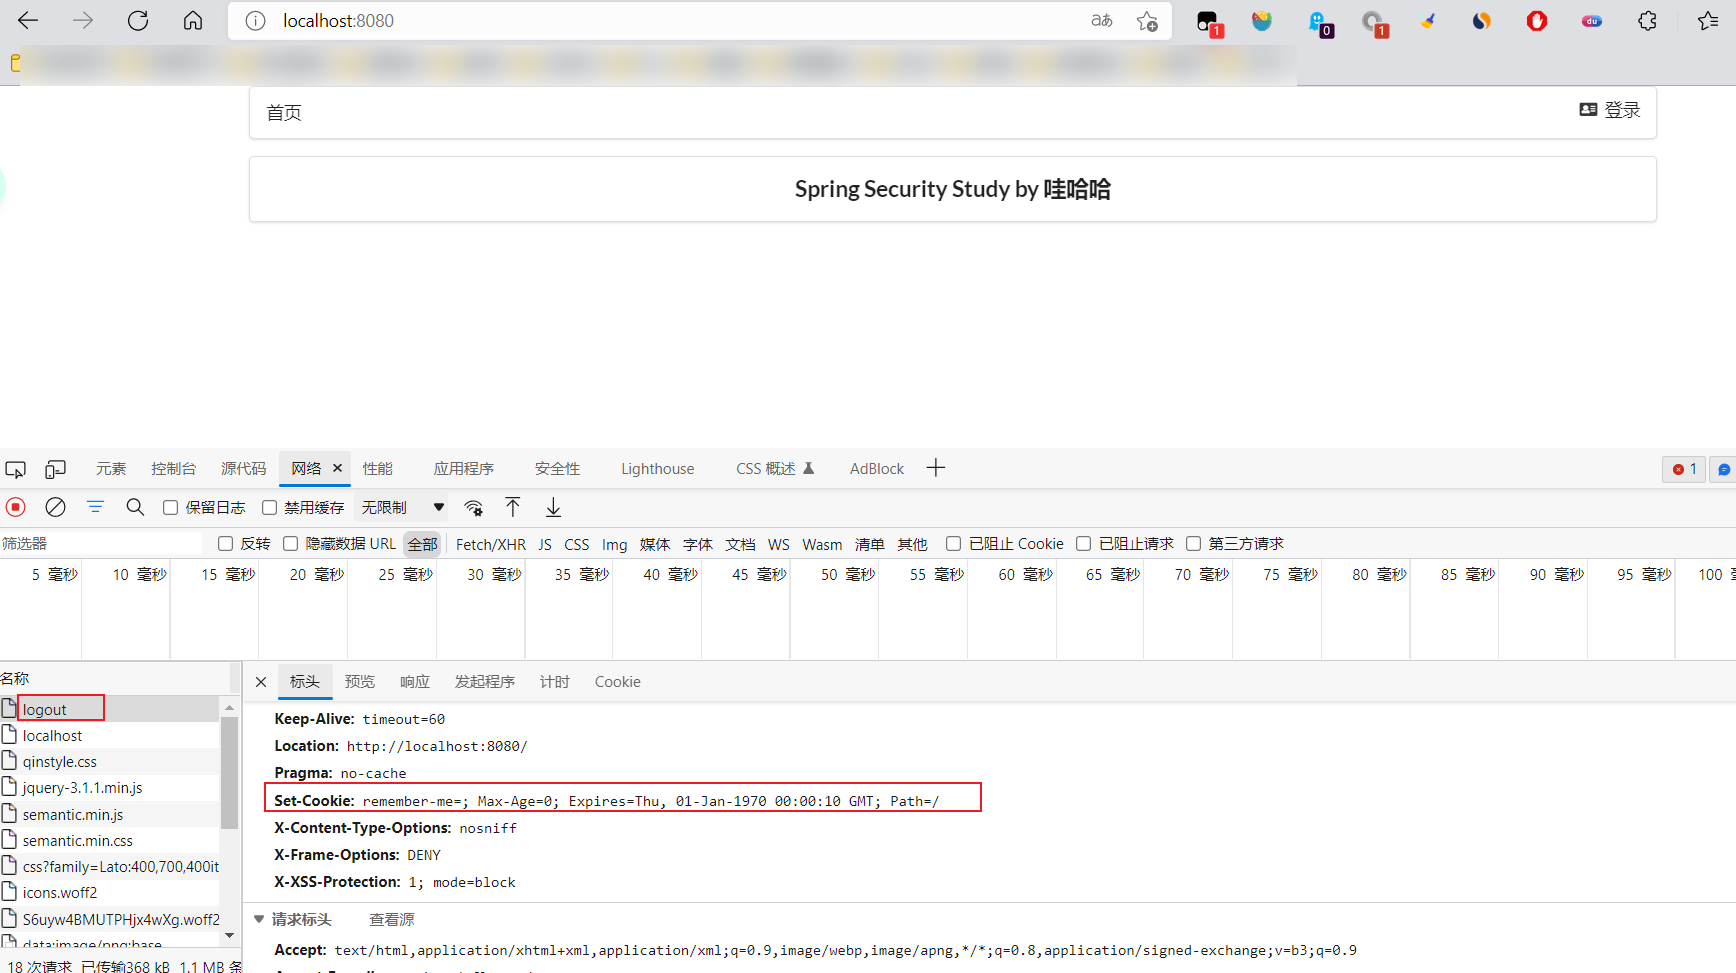
- Conclusion: after successful login, send the cookie to the browser for saving. After login, take this cookie with you. As long as you pass the check, you can avoid login. If you click log off, the cookie will be deleted. For the specific principle, refer to the Java Web stage!
6. Customize landing page
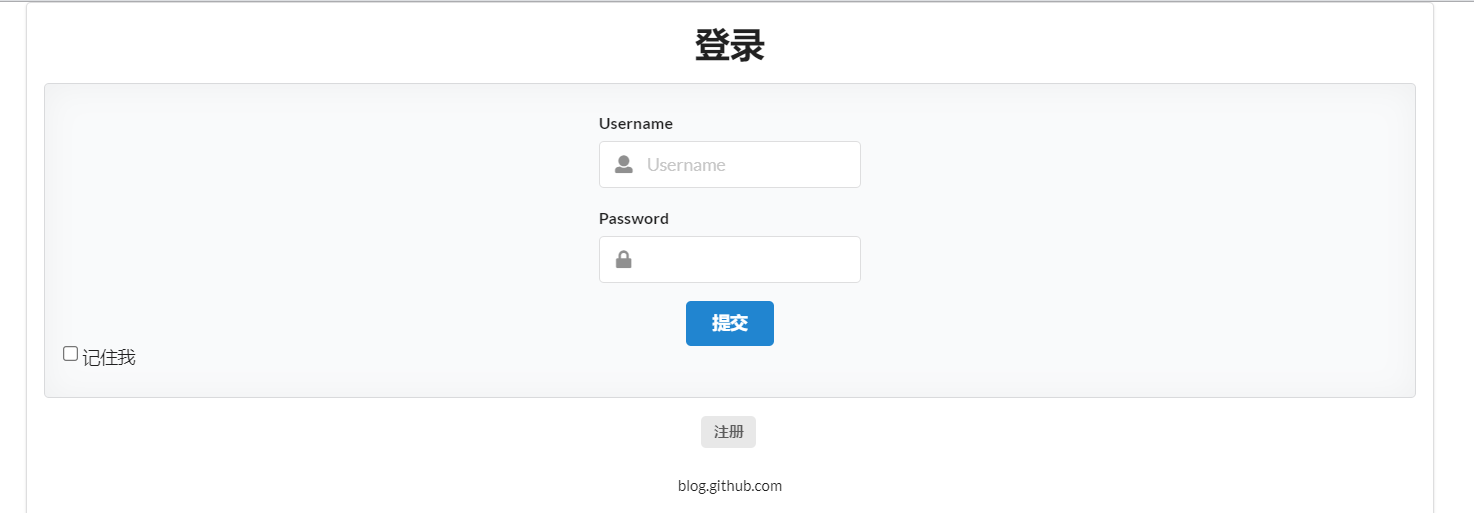
Now this Login page is the default of spring security. How can I use the Login interface written by myself?
- Specify loginpage after the login page configuration just now
http.formLogin().loginPage("/toLogin");
- Then the front end also needs to point to the login request defined by ourselves
<a class="item" th:href="@{/toLogin}">
   <i class="address card icon"></i> Sign in
</a>
- To log in, we need to configure where to send these information. Login HTML configure the submission request and method. The method must be post:
- The note in the source code of loginPage() states:

<form th:action="@{/login}" method="post">
   <div class="field">
       <label>Username</label>
       <div class="ui left icon input">
           <input type="text" placeholder="Username" name="username">
           <i class="user icon"></i>
       </div>
   </div>
   <div class="field">
       <label>Password</label>
       <div class="ui left icon input">
           <input type="password" name="password">
           <i class="lock icon"></i>
       </div>
   </div>
   <input type="submit" class="ui blue submit button"/>
</form>
4. When this request is submitted, we still need to verify it. What should we do? We can check the source code of formLogin() method! We configure the parameters of receiving login user name and password!
http.formLogin()
  .usernameParameter("username")
  .passwordParameter("password")
  .loginPage("/toLogin")
  .loginProcessingUrl("/login"); // Login form submission request
5. Add the remember me multiple selection box on the login page
<input type="checkbox" name="remember"> Remember me
6. Back end validation processing!
//Customize and remember my parameters!
http.rememberMe().rememberMeParameter("remember");
- Test, OK
Complete configuration code
package com.github.config;

import org.springframework.security.config.annotation.authentication.builders.AuthenticationManagerBuilder;
import org.springframework.security.config.annotation.web.builders.HttpSecurity;
import org.springframework.security.config.annotation.web.configuration.EnableWebSecurity;
import org.springframework.security.config.annotation.web.configuration.WebSecurityConfigurerAdapter;
import org.springframework.security.crypto.bcrypt.BCryptPasswordEncoder;

@EnableWebSecurity // Enable WebSecurity mode
public class SecurityConfig extends WebSecurityConfigurerAdapter {
    // Authorization rules for custom requests
    @Override
    protected void configure(HttpSecurity http) throws Exception {
        // The home page is accessible to everyone
        http.authorizeRequests().antMatchers("/").permitAll()
                .antMatchers("/level1/**").hasRole("vip1")
                .antMatchers("/level2/**").hasRole("vip2")
                .antMatchers("/level3/**").hasRole("vip3");

        // Turn on the login function of automatic configuration
        // /The login request comes to the login page
        // /login?error redirection here indicates login failure
        http.formLogin()
                .usernameParameter("username")
                .passwordParameter("password")
                .loginPage("/toLogin")
                .loginProcessingUrl("/login"); // Login form submission request

        //Turn on the auto configured logoff function
        // /Logout logout request
        // .logoutSuccessUrl("/");  Log out successfully and come to the home page

        http.csrf().disable();//Turn off csrf function: Cross Site Request Forgery. By default, logout requests can only be submitted through post
        http.logout().logoutSuccessUrl("/");

        //Remember me
        http.rememberMe().rememberMeParameter("remember");
    }

    // Define authentication rules
    @Override
    protected void configure(AuthenticationManagerBuilder auth) throws Exception {
        // Defined in memory, you can also get it in jdbc
        // Spring security 5.0 adds a variety of encryption methods and changes the format of passwords.
        // If we want our project to log in normally, we need to modify the code in configure. We need to encrypt the password transmitted from the front end in some way
        // bcrypt encryption is officially recommended by spring security.

        auth.inMemoryAuthentication().passwordEncoder(new BCryptPasswordEncoder())
                .withUser("subei").password(new BCryptPasswordEncoder().encode("123456")).roles("vip2","vip3")
                .and()
                .withUser("root").password(new BCryptPasswordEncoder().encode("123456")).roles("vip1","vip2","vip3")
                .and()
                .withUser("guest").password(new BCryptPasswordEncoder().encode("123456")).roles("vip1","vip2");
    }
}