Deployment of front and rear end separation projects to ECS
Alibaba cloud servers are used by bloggers 😊 No more nonsense. Let's start directly
Recommended tools:
XFTP: used to transfer files to the server Lanzou cloud download password: ciwg
XShell: used for remote connection and operation of server Lanzou cloud download password: 3g61
Navicat: used to connect and manage databases Download from official website
ECS configuration:
Overview of required environment:
JDK for Java
MySQL
Nginx
-
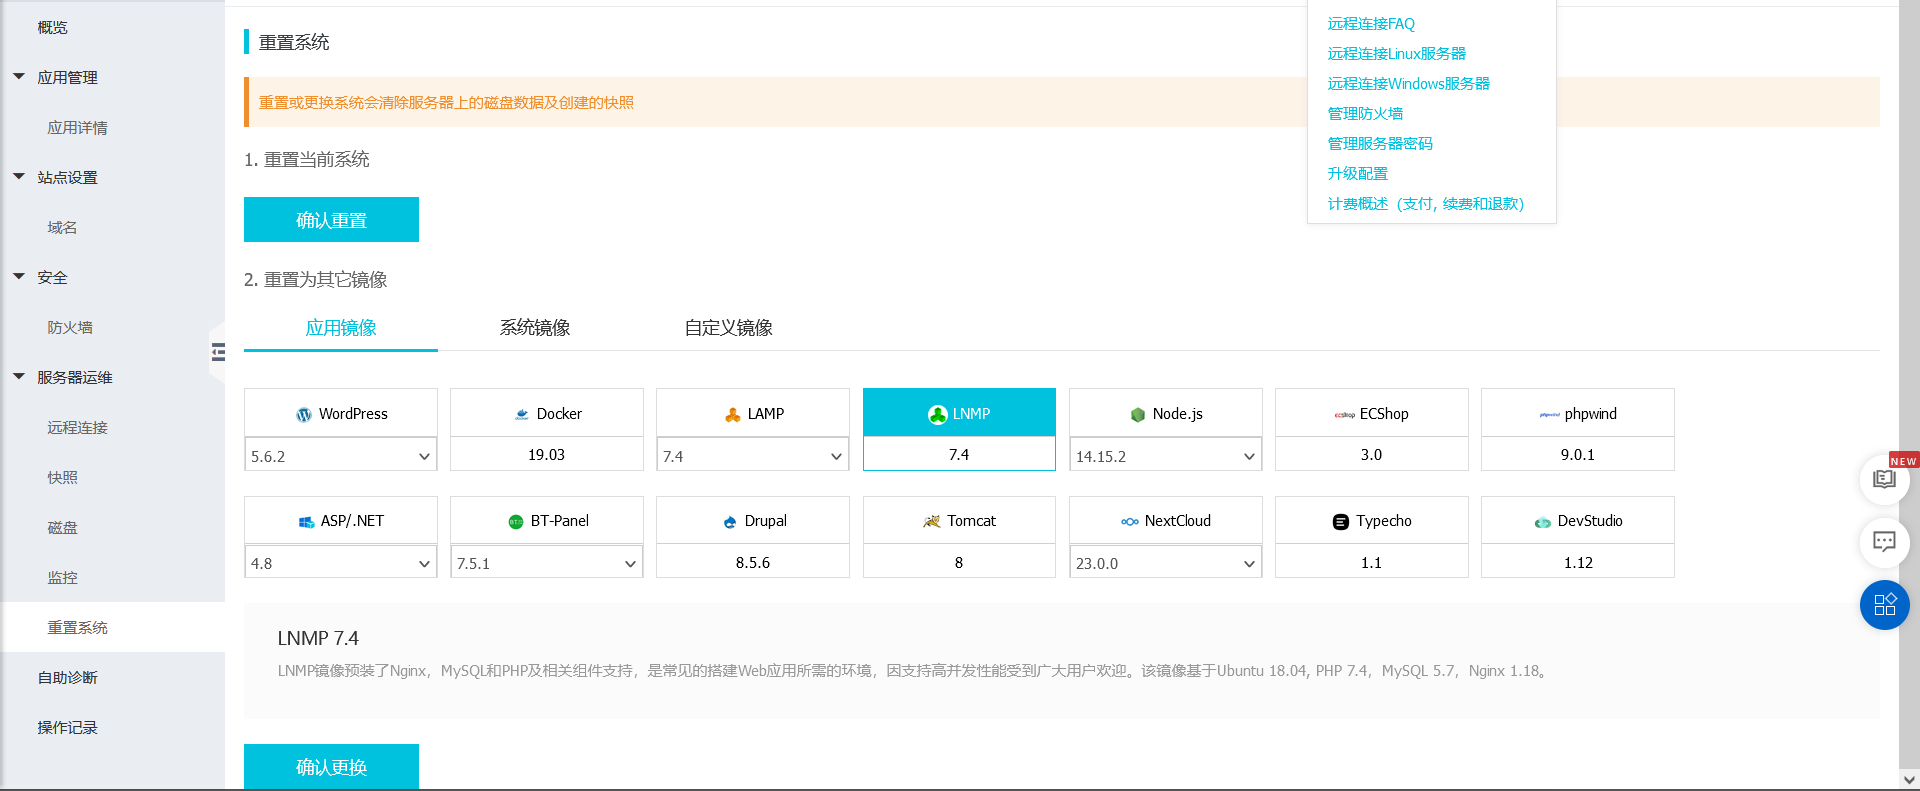
The main image system selected here is os8.0 2. The application image is lnmp7 4. The application image is selected because it is pre installed with nginx1 18,MySQL5.7. You don't have to install it yourself
-
Now start installing JDK (> = 1.8):
Download the latest version of JDK in version 1.8 from the official website of oracle. After downloading, upload the file to the server through WinSCP or XFTP. Then decompress and configure environment variables.
#tmp stores temporary installation package
mkdir -p /data/tmp

#Enter the installation package directory and unzip it
cd /data/tmp
tar -zxvf jdk-8u261-linux-x64.tar.gz

#Move the extracted folder to a unified place
mv /data/tmp/jdk1.8.0_261 /data/service/jdk1.8.0_261

#Modify the environment variable / etc/profile, JAVA_HOME is modified to its own jdk path.
vim /etc/profile
export JAVA_HOME=/data/service/jdk1.8.0_261
export PATH=$PATH:$JAVA_HOME/bin

#Make environment variables effective
source /etc/profile

#Check whether the configuration is successful
java -version
In this way, the server environment is configured
Backend configuration deployment:
- Since the MySQL version used by ECs is 5.7, the backend POM The XML file should be modified accordingly:
<dependency>
   <groupId>mysql</groupId>
   <artifactId>mysql-connector-java</artifactId>
   <version>5.1.25</version>
   <scope>runtime</scope>
</dependency>
The 5.1.25 version used here is tested to be compatible with 5.7, mainly because bloggers can't find the jar package of 5.7 😂 If you find a little partner, you can share it. Crab is spicy 😘
- application. The part of YML about database should also be adjusted accordingly:
spring:
 datasource:
   url: jdbc:mysql://Server public IP:3306 / your database name? useSSL=false&characterEncoding=utf8&allowPublicKeyRetrieval=true
   username: root
   password: admin
   driver-class-name: com.mysql.jdbc.Driver
- Next, package the backend project:
Execute Maven's life cycle in sequence: clean, complex and package. The skip test mode should be selected
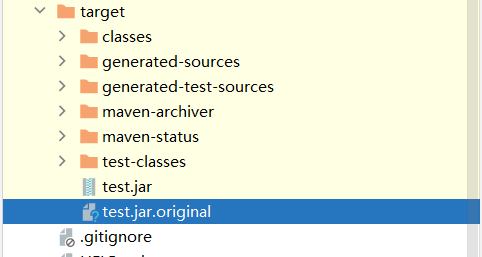
Finally, you can get a jar package under the target folder, which is what we want to deploy to the server
-
Deploy to server:
First, the remote connection permission of the database should be opened:
Enter in the XShell terminal:
#Log in to MySQL service:
mysql -u root -p

#Open permissions:
GRANT ALL PRIVILEGES ON  *.*  TO 'root'@'%' IDENTIFIED BY 'Password for remote connection' WITH GRANT OPTION;

#Refresh permissions:
FLUSH PRIVILEGES;
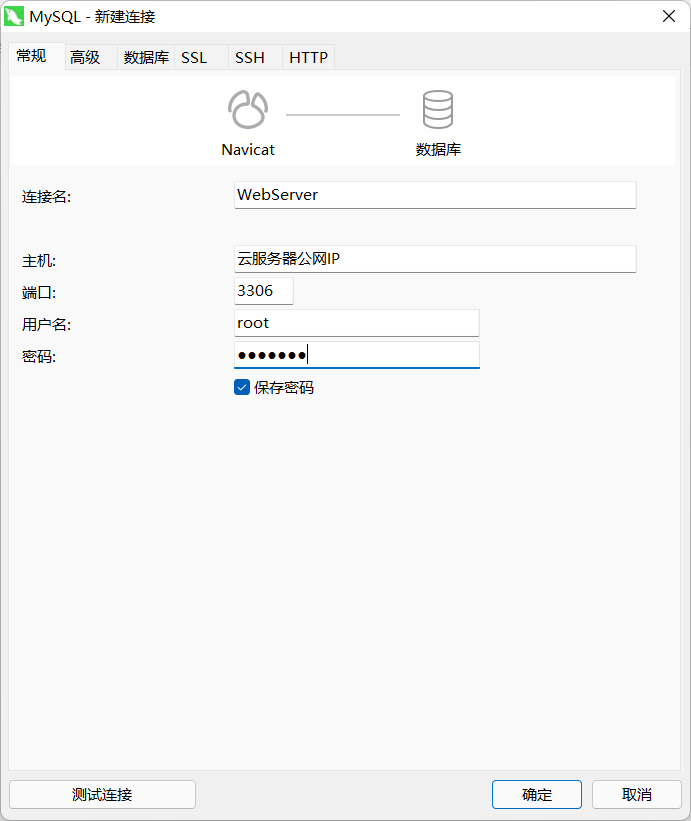
After that, we can use Navicat tool to remotely connect to the server database, and then create the database required by our own project, and then carry out the following operations:
Then we create a new folder to run the jar package
#Switch to the root directory
cd /

#New folder
mkdir /webServer
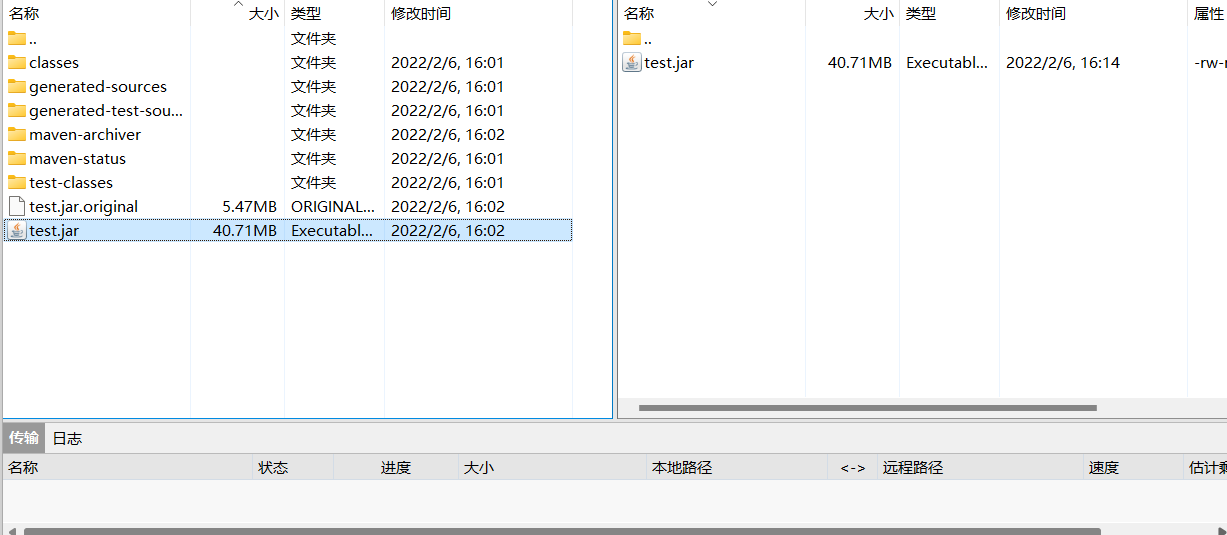
Upload the jar package to the corresponding location of the server by using XFTP tool:
-
Turn on the back-end service:
cd /webServer

nohup java -jar test.jar > jk.log &

cat jk.log
Then make corresponding adjustments according to the output content
-
Check whether it is opened successfully:
ps -ef | grep java

-
Turn off the back-end service:
#First use the ps command to query the java process
ps -aux | grep java

#Then kill the process with the kill command
kill -9 specific pid

Front end configuration deployment
-
Configure axios and cross domain support profiles:
#main.js file Axios.defaults.baseURL = 'http://Public IP: back end port number / transfer '; #config/index.js file proxyTable: { '/transfer':{ target:'http://Public IP: backend port number ', changeOrigin:true, pathRewrite:{ '^/transfer':'' } } }, -
Package the front-end project with npm run build command at the terminal
npm run build

-
Upload to the server using XFTP tool:
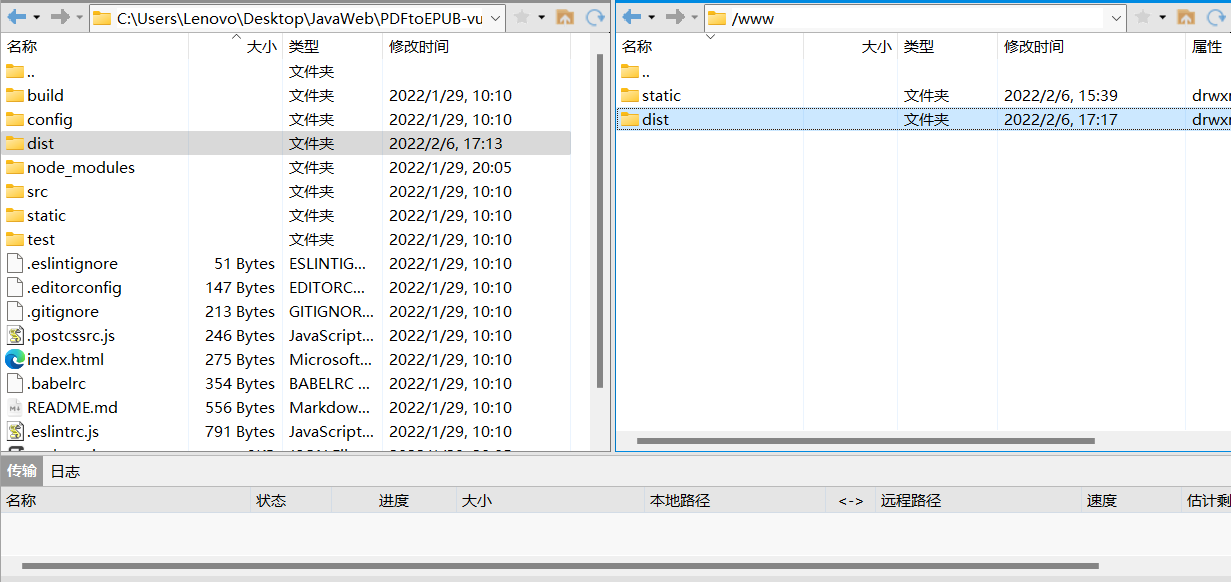
-
Change Nginx configuration:
#View the location of nginx
whereis nginx

#Switch directory
cd /usr/local/nginx/conf

#Edit nginx Conf configuration file
vim nginx.conf

#Modify one place, add one place

#Modified part:
root Yours dist File path

#Add section:
location / {
    try_files $uri $uri/ /index.html;
  }

#After modifying the configuration file, the nginx service should be restarted
service restart nginx
Deployment test:
Enter the public IP of the server in your browser to see the results~