preface
Life is a journey. The road you have traveled is the life you have woven. We can't predict the future road. However, we can grasp ourselves now, cherish everything around us, walk down-to-earth, take our own road, and don't leave a regretful scenery in life!
For enterprise development, stability and convenience are the two most important features. SpringBoot is more like a framework, which can realize the rapid integration and automatic assembly of multiple frameworks, and well meet the needs of enterprises. After learning the framework knowledge for a period of time and doing several projects, now let's go back and review the various frameworks assembled by SpringBoot. This paper records how SpringBoot integrates the Mybatis framework.
Tip: the following is the main content of this article. The following cases can be used for reference
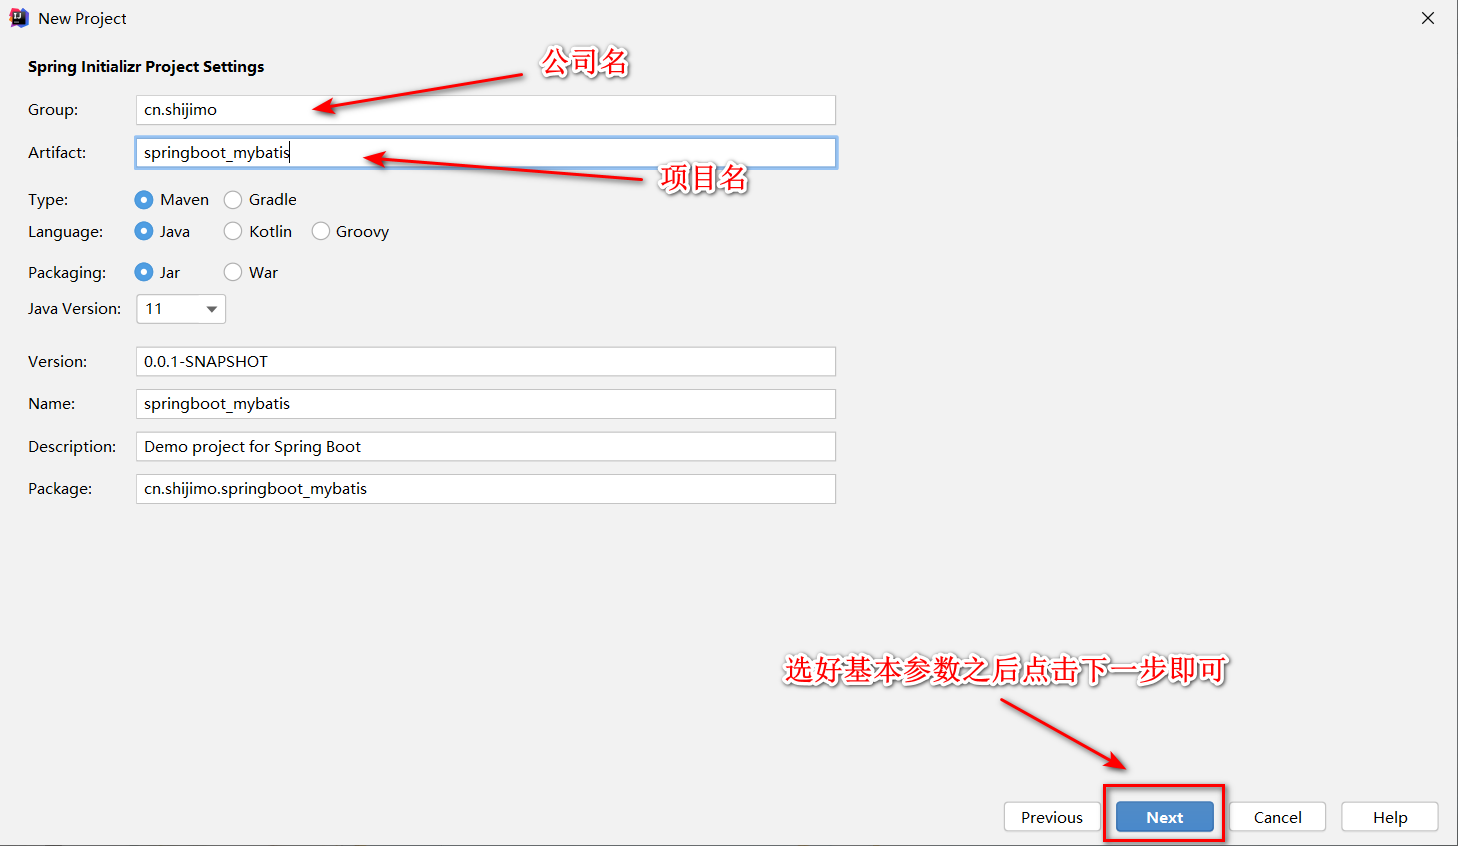
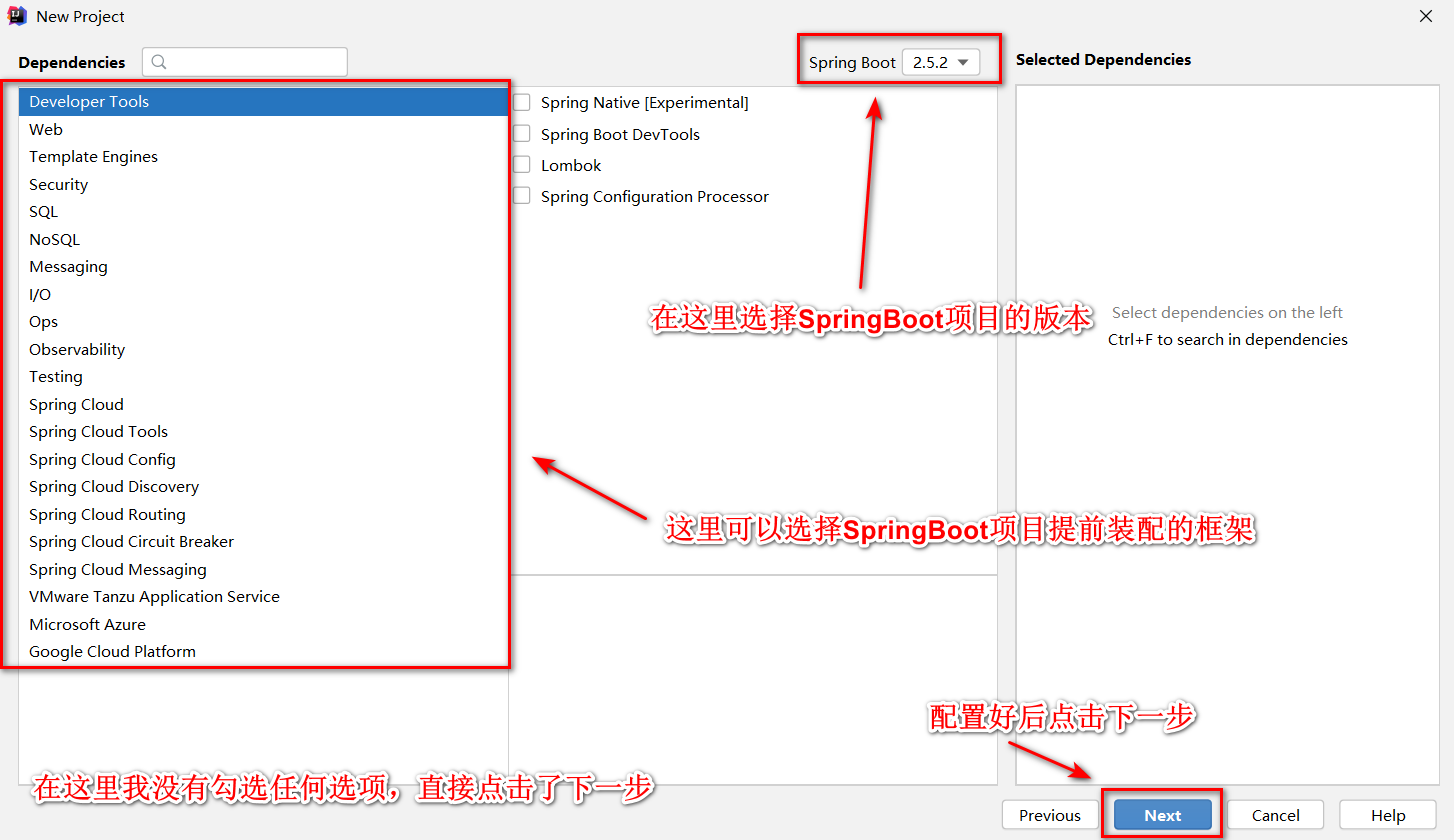
1, Create a SpringBoot project
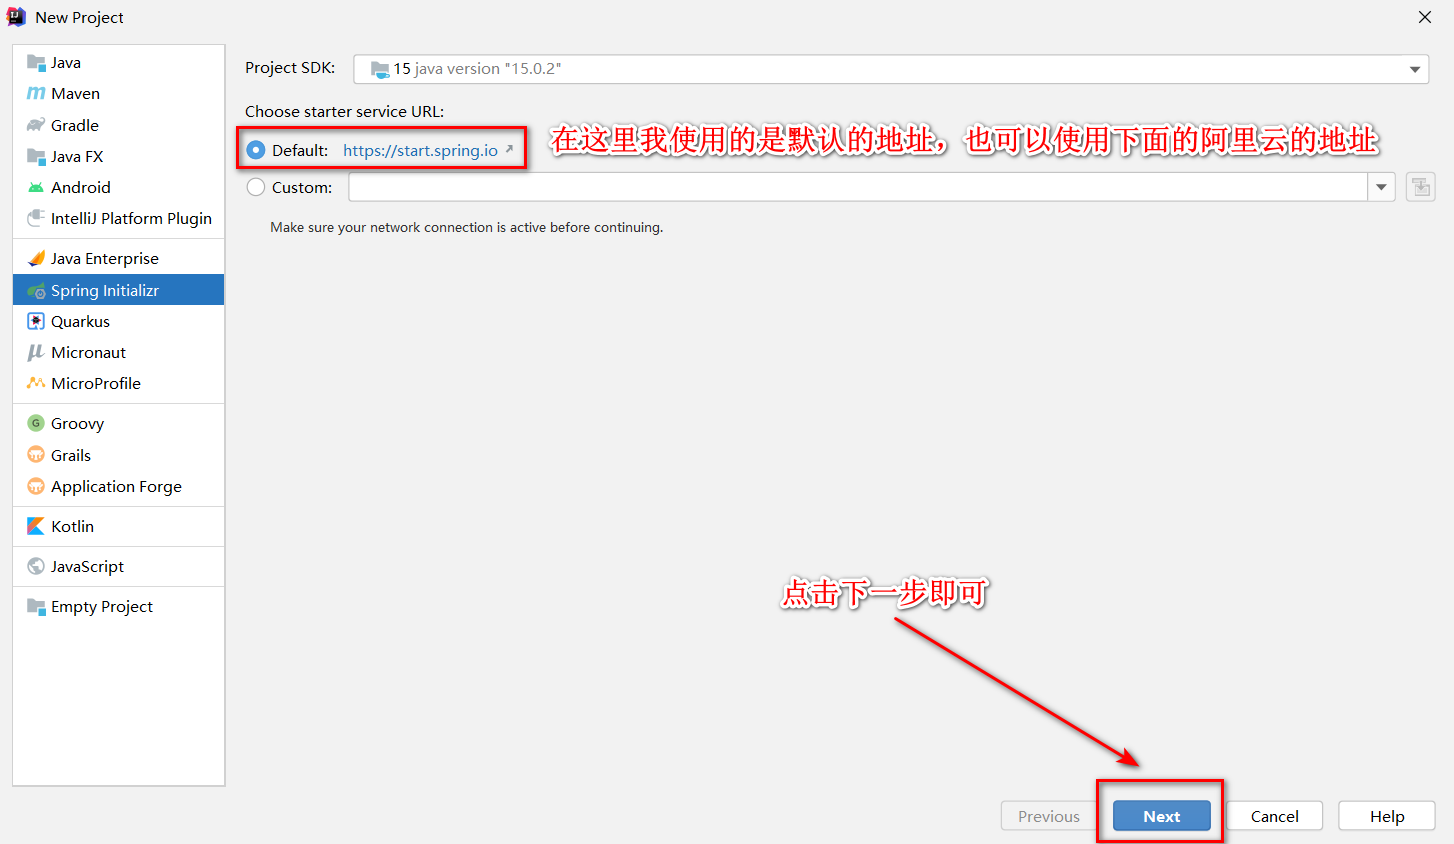
Alibaba cloud's address is as follows:
http://start.aliyun.com
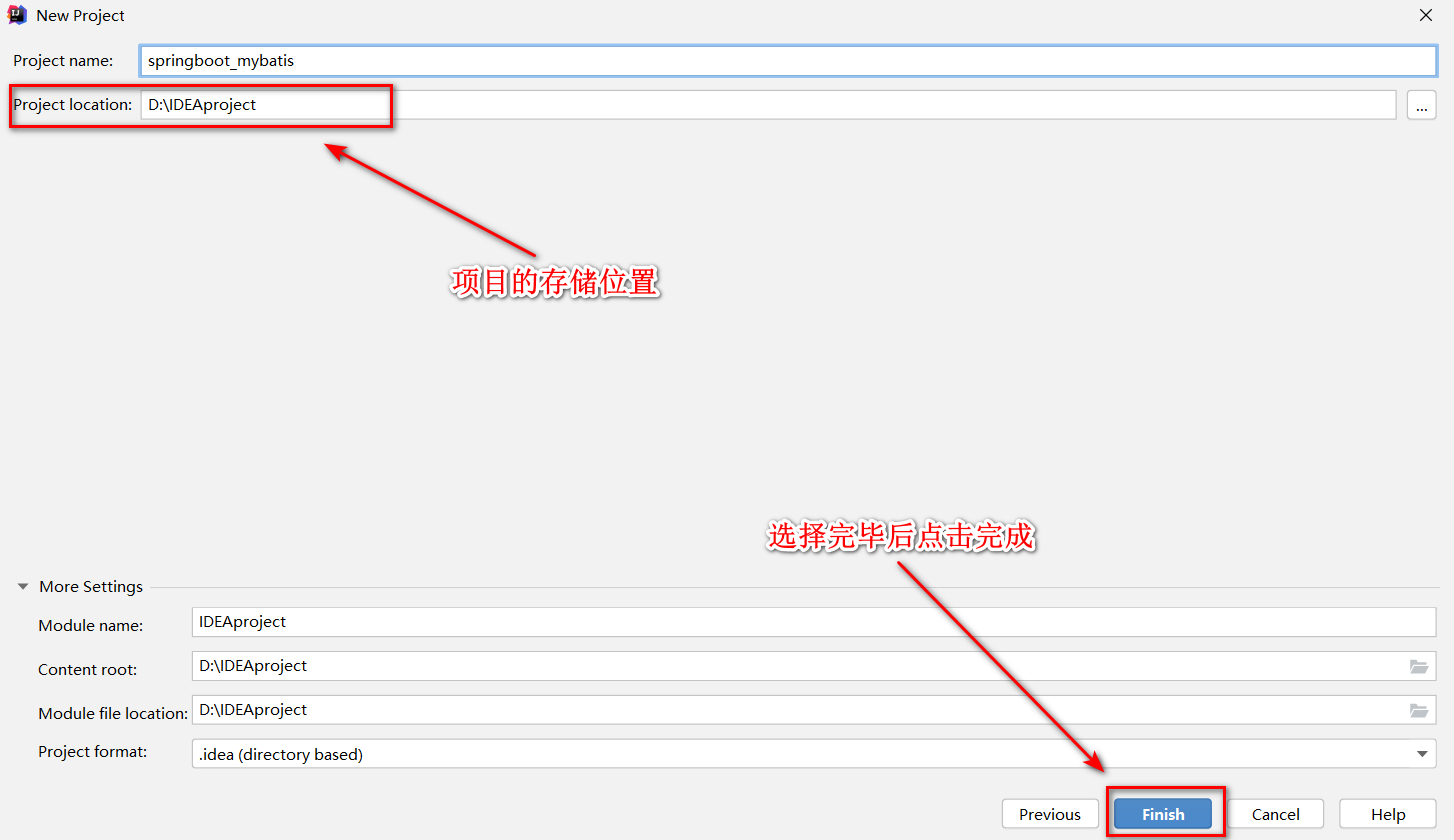
The following figure shows the created SpringBoot project
Here, the project navigation bar on the left may appear. java files and resource files are all ordinary folders. There is no icon of maven project on the right. This is because the download has not been completed yet. Just wait for the download to complete
2, Configure Mybatis
To configure Mybatis:
- In POM Add jar package dependency to XML file
- The spring boot project integrates the Mybatis configuration file
(1) Connect to database
(2) Spring boot integrates Mybatis - Create Mapper interface
- Create XML Mapping File
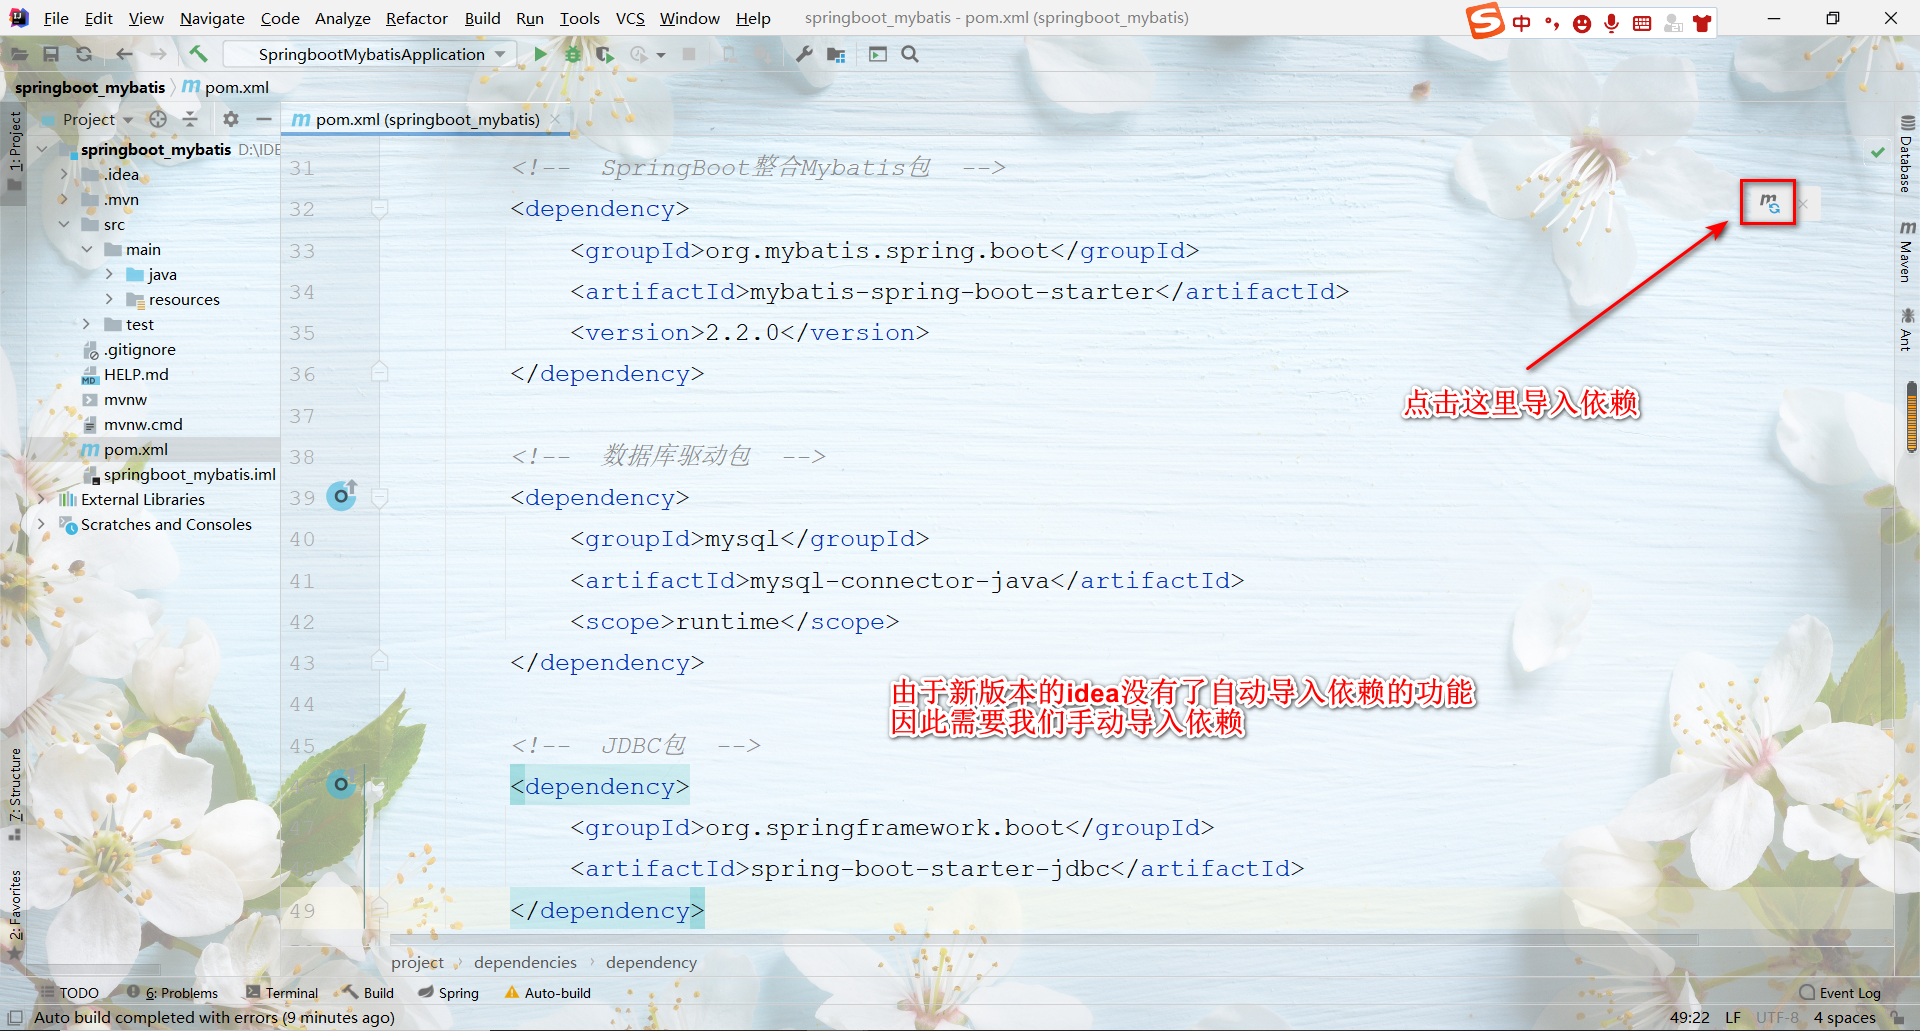
1. In POM Add jar package dependency to XML file
There are three kinds of jar packages to add dependencies here: SpringBoot integration Mybatis package, database driver package and JDBC package
SpringBoot integrates the Mybatis package:
<dependency>
	<groupId>org.mybatis.spring.boot</groupId>
	<artifactId>mybatis-spring-boot-starter</artifactId>
	<version>2.2.0</version>
</dependency>
Database driver package:
<dependency>
	<groupId>mysql</groupId>
	<artifactId>mysql-connector-java</artifactId>
	<scope>runtime</scope>
</dependency>
JDBC package:
<dependency>
	<groupId>org.springframework.boot</groupId>
	<artifactId>spring-boot-starter-jdbc</artifactId>
</dependency>
The author's idea version is 2020.2. In the higher version of idea, maven project does not have the function of automatically importing dependencies, so we need to add dependencies manually
2. Spring boot integrates Mybatis configuration files
First, create a pojo package in the project. The path is SRC - > main - > java - > create a pojo package
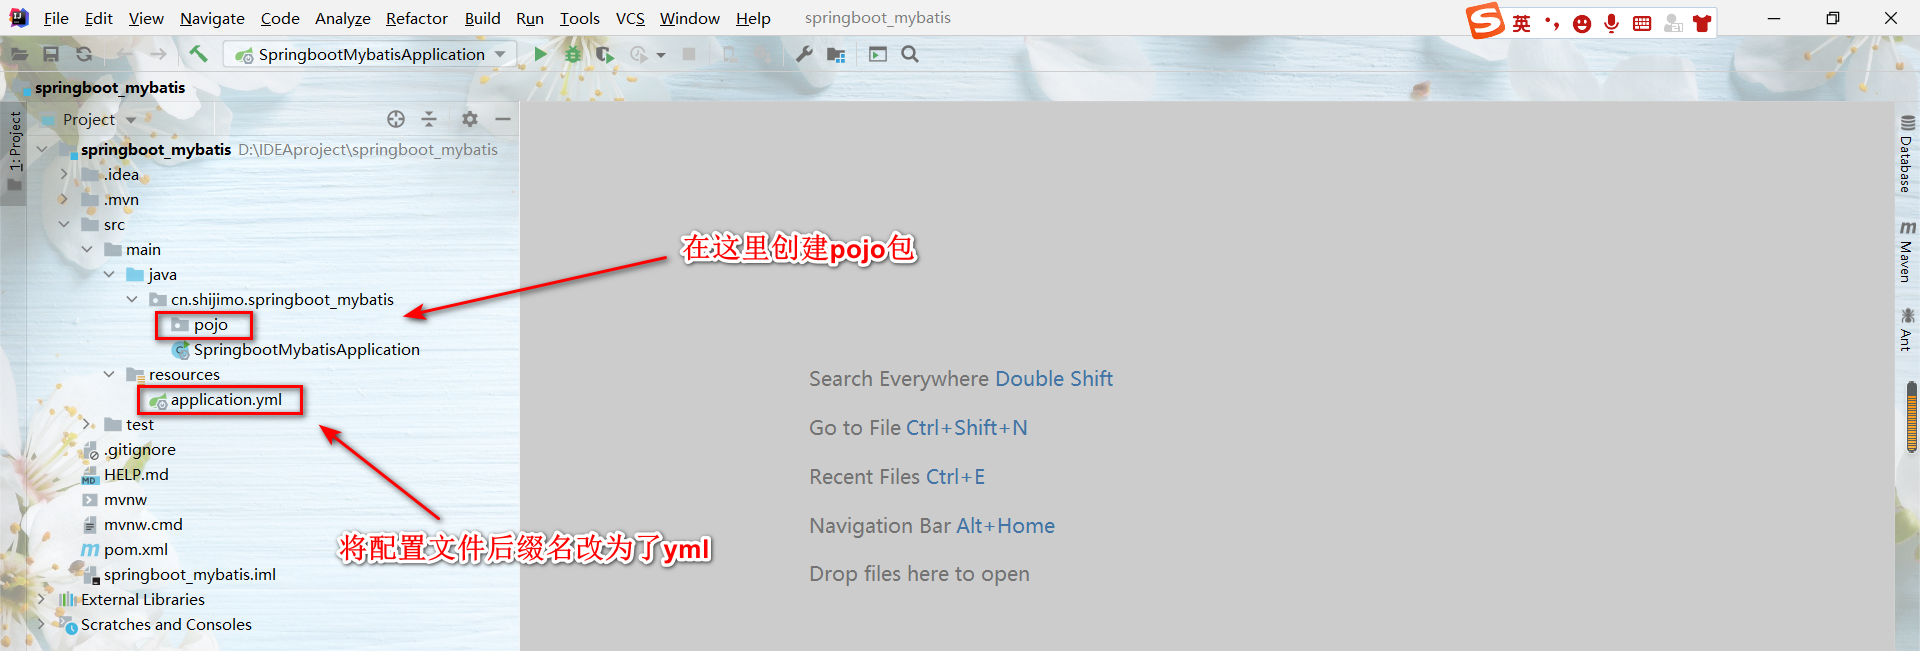
Most of the configuration parameters of SpringBoot are in application Properties or application yml file. The default configuration file in the newly created SpringBoot project is application Properties, because the yml file is more hierarchical than the properties file, the author changed the file suffix to yml
Then create a User entity class under the pojo package to test whether the integration is successful
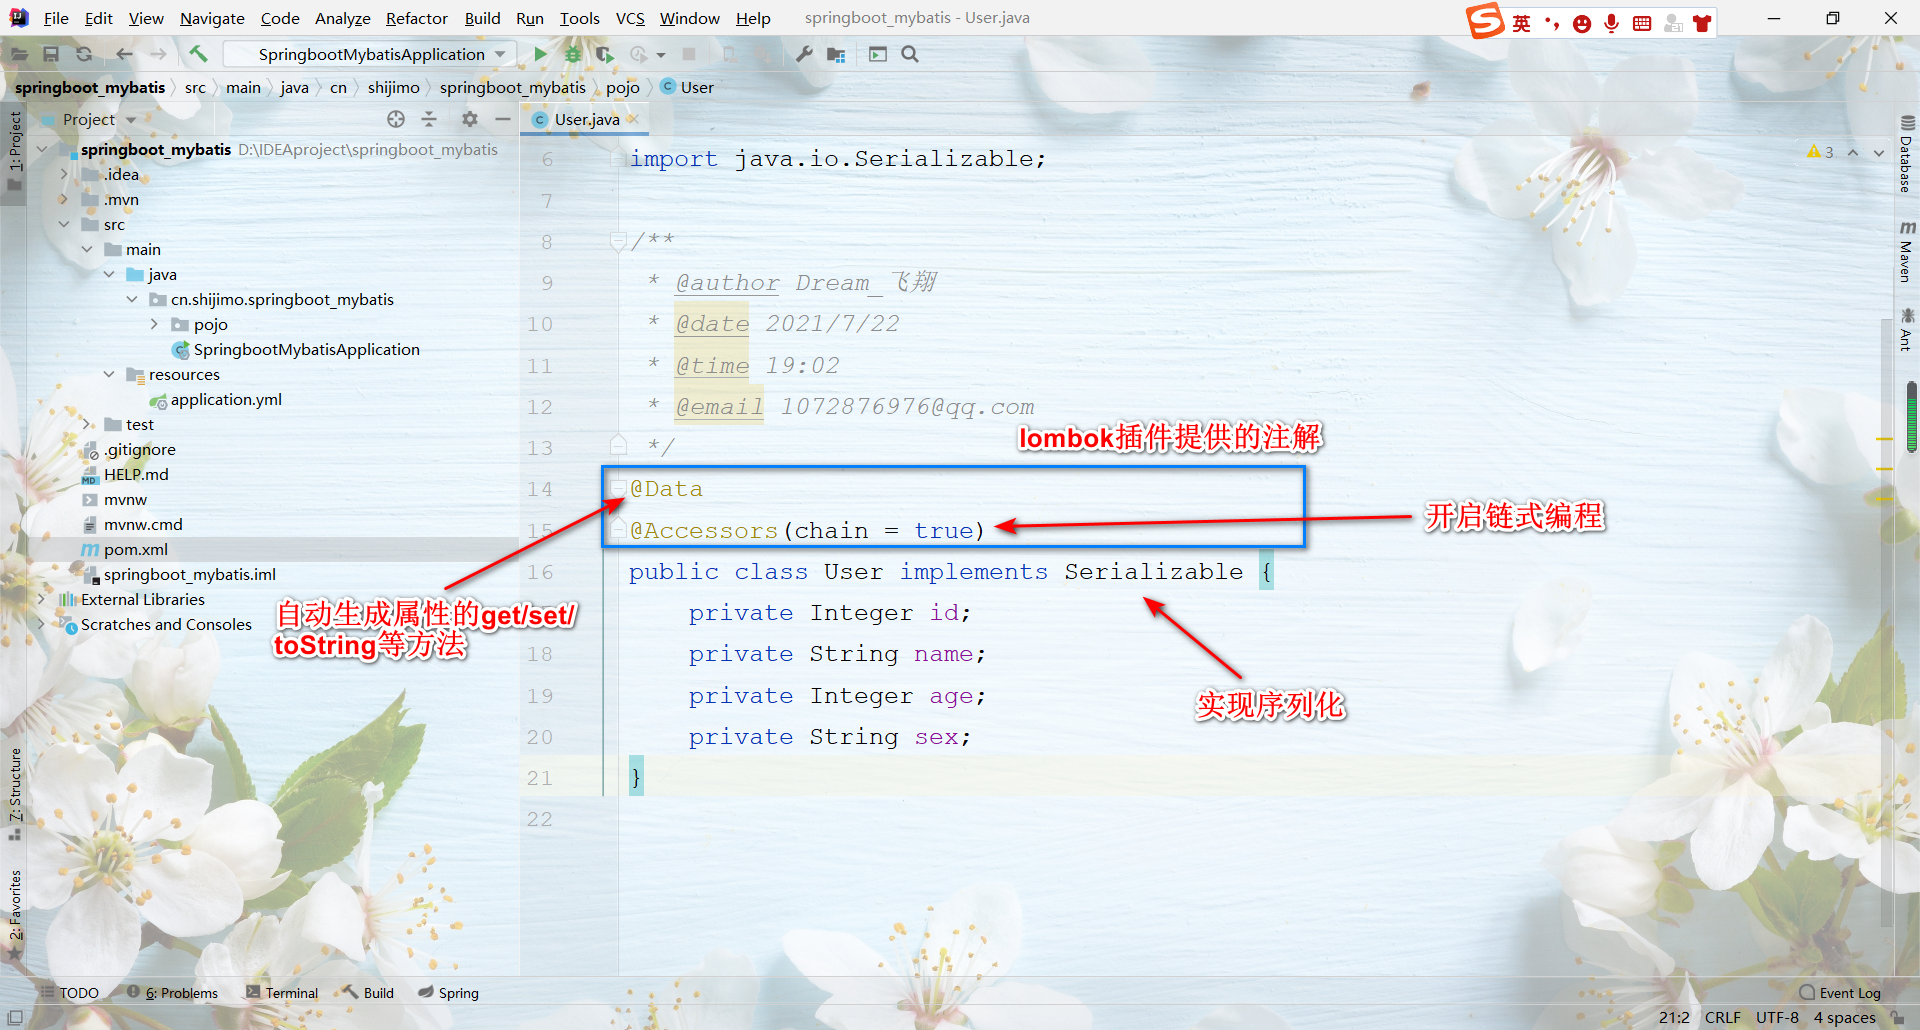
User class code:
@Data
@Accessors(chain = true)
public class User implements Serializable {
    private Integer id;
    private String name;
    private Integer age;
    private String sex;
}
The function of serialization is to ensure the integrity of data during transmission
Then configure the following parameters in the yml file:
spring:
  datasource:
    driver-class-name: com.mysql.cj.jdbc.Driver
    url: jdbc:mysql://localhost:3306/jt?serverTimezone=Asia/Shanghai&useUnicode=true&characterEncoding=utf8&autoReconnect=true&allowMultiQueries=true
    username: root
    # If the database password starts with the number 0, you must use the package number - > e.g. "01234"
    password: 123456

# Spring boot integrates Mybatis configuration
mybatis:
  # Define alias mapping package: implement object mapping
  type-aliases-package: cn.shijimo.springboot_mybatis.pojo
  # Load a mapping file. One interface corresponds to one mapping file
  mapper-locations: classpath:/mappers/*.xml
  # Turn on hump mapping
  configuration:
    map-underscore-to-camel-case: true
Parameter interpretation:
- serverTimezone=Asia/Shanghai (select the time zone as Asia and Shanghai)
- Useunicode = true & characterencoding = utf8 (whether to use unicode encoding and set character set)
- autoReconnect=true (auto reconnection or not)
- allowMultiQueries=true (allow batch operations)
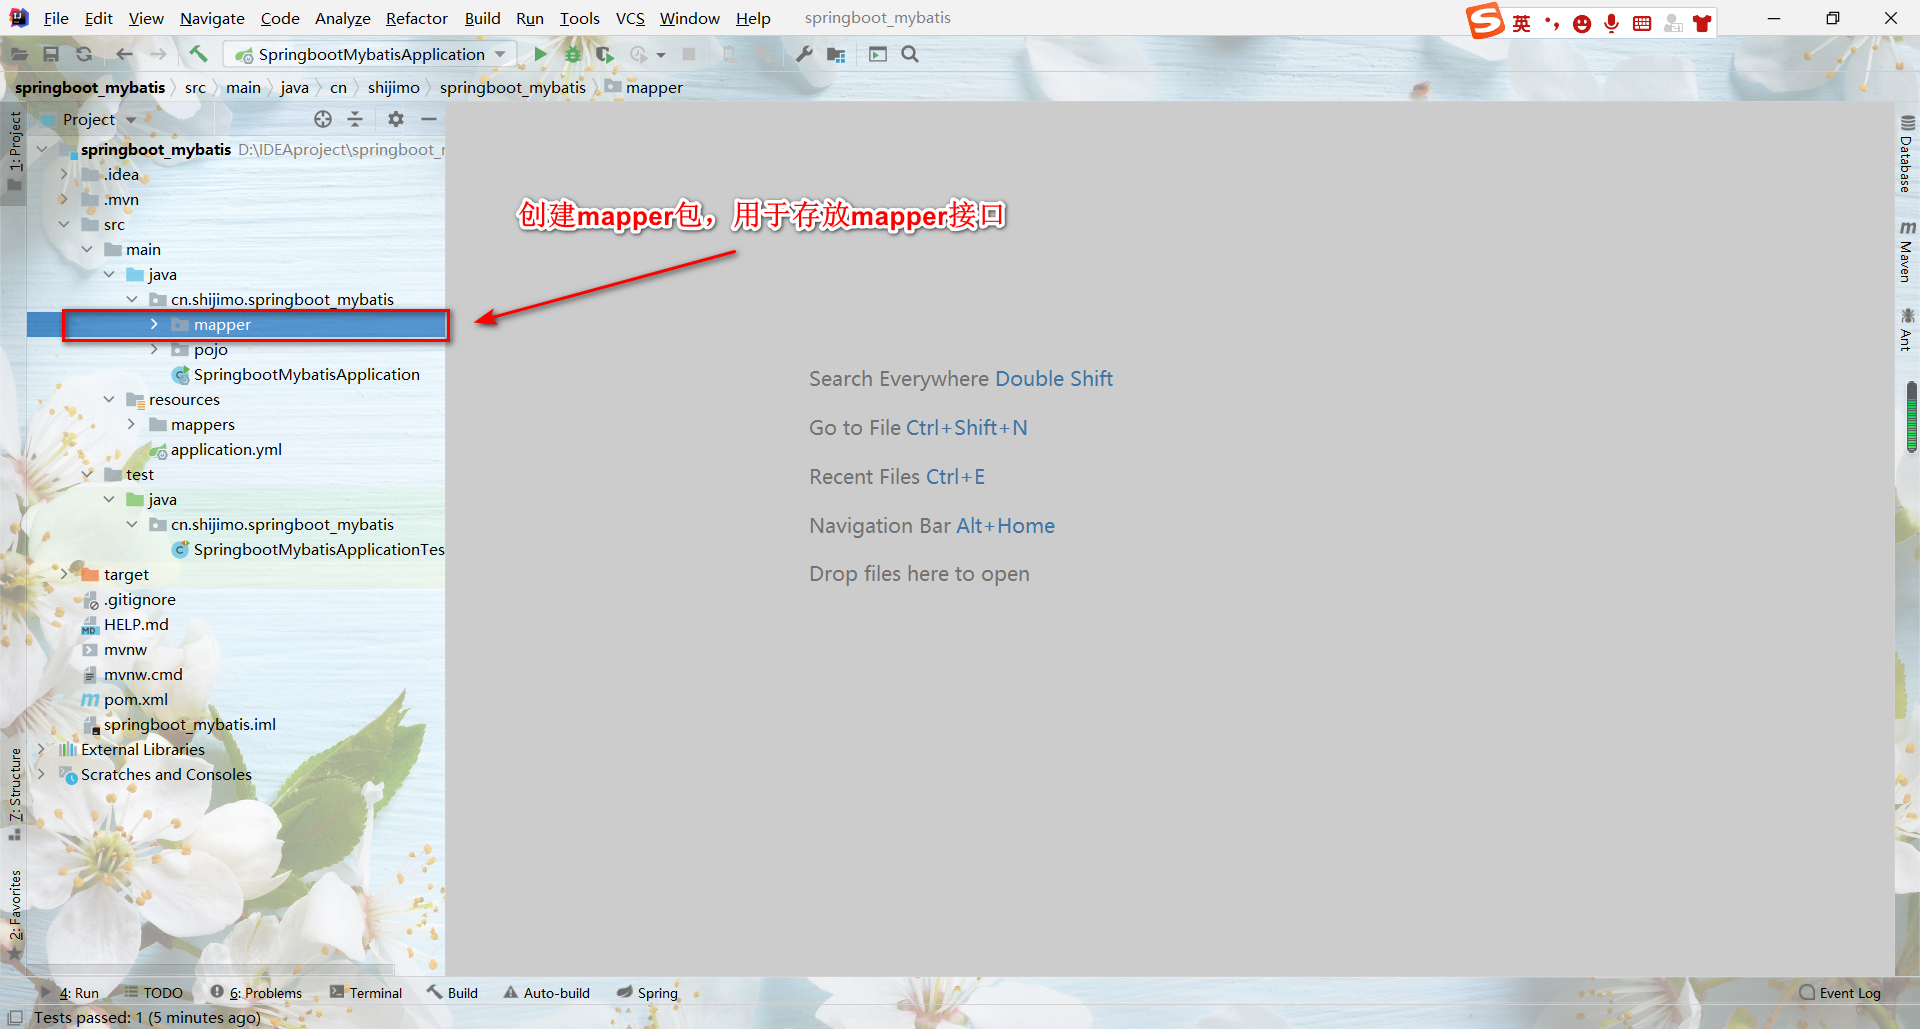
3, Create Mapper interface
Create a new package named mapper under the project path, and create an interface named UserMapper in the package
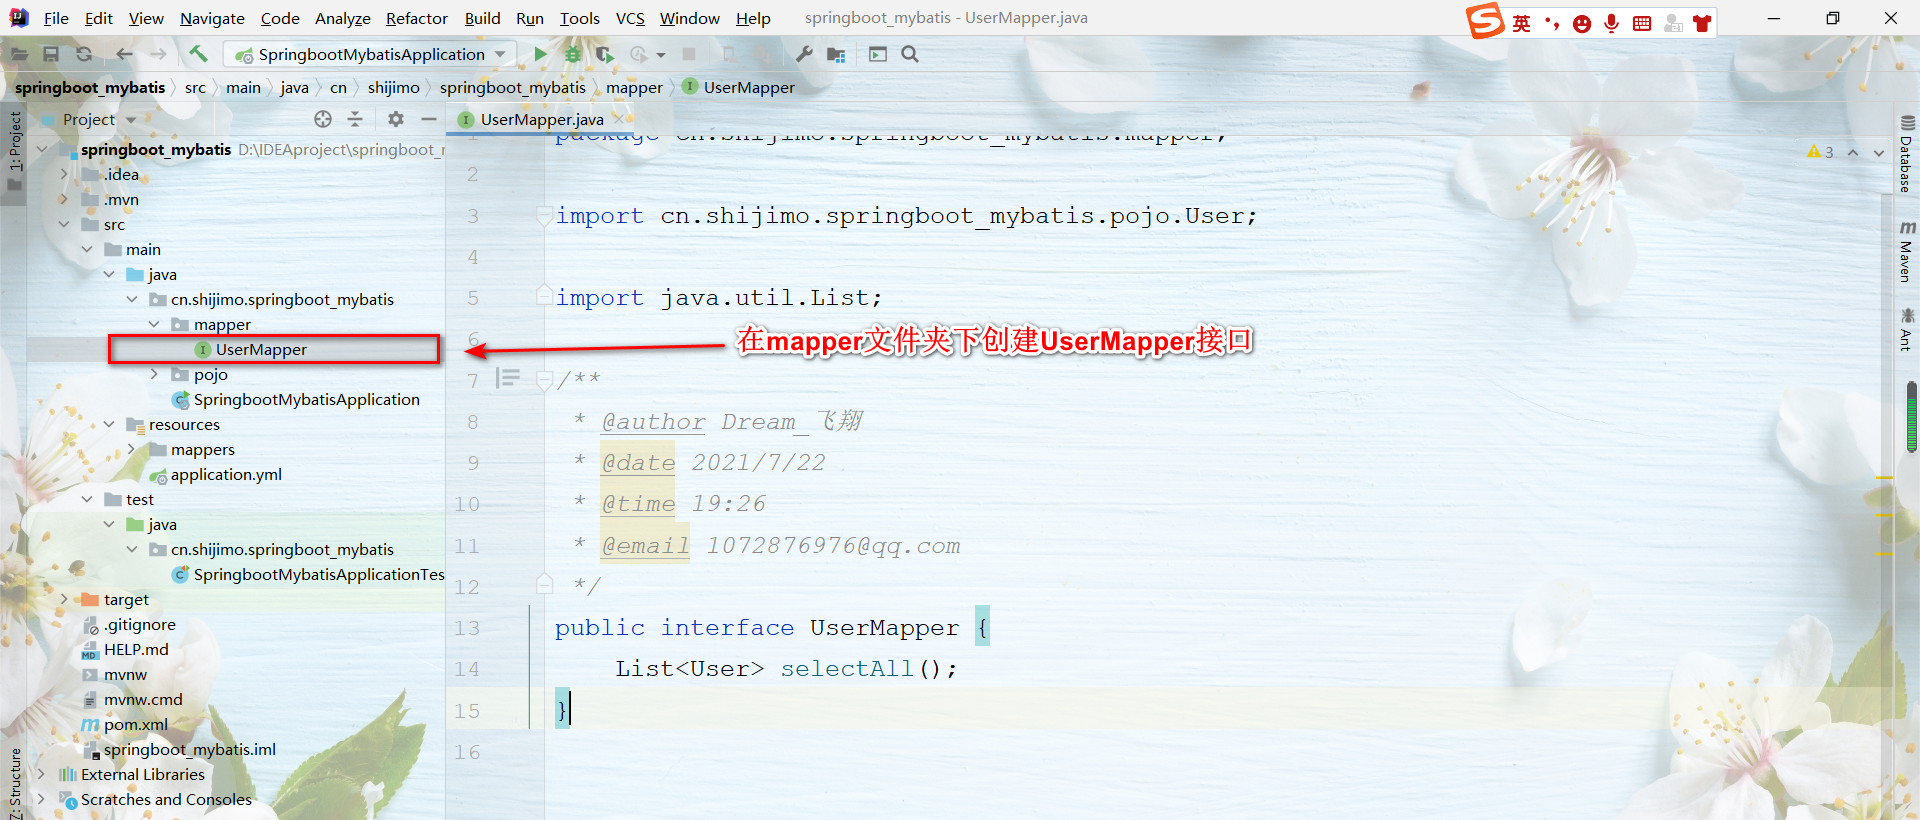
Mapper interface code:
public interface UserMapper {
    List<User> selectAll();
}
4, Create XML Mapping File
In the resource directory, create a new folder named mappers. In the mappers folder, create an XML file named usermapper xml
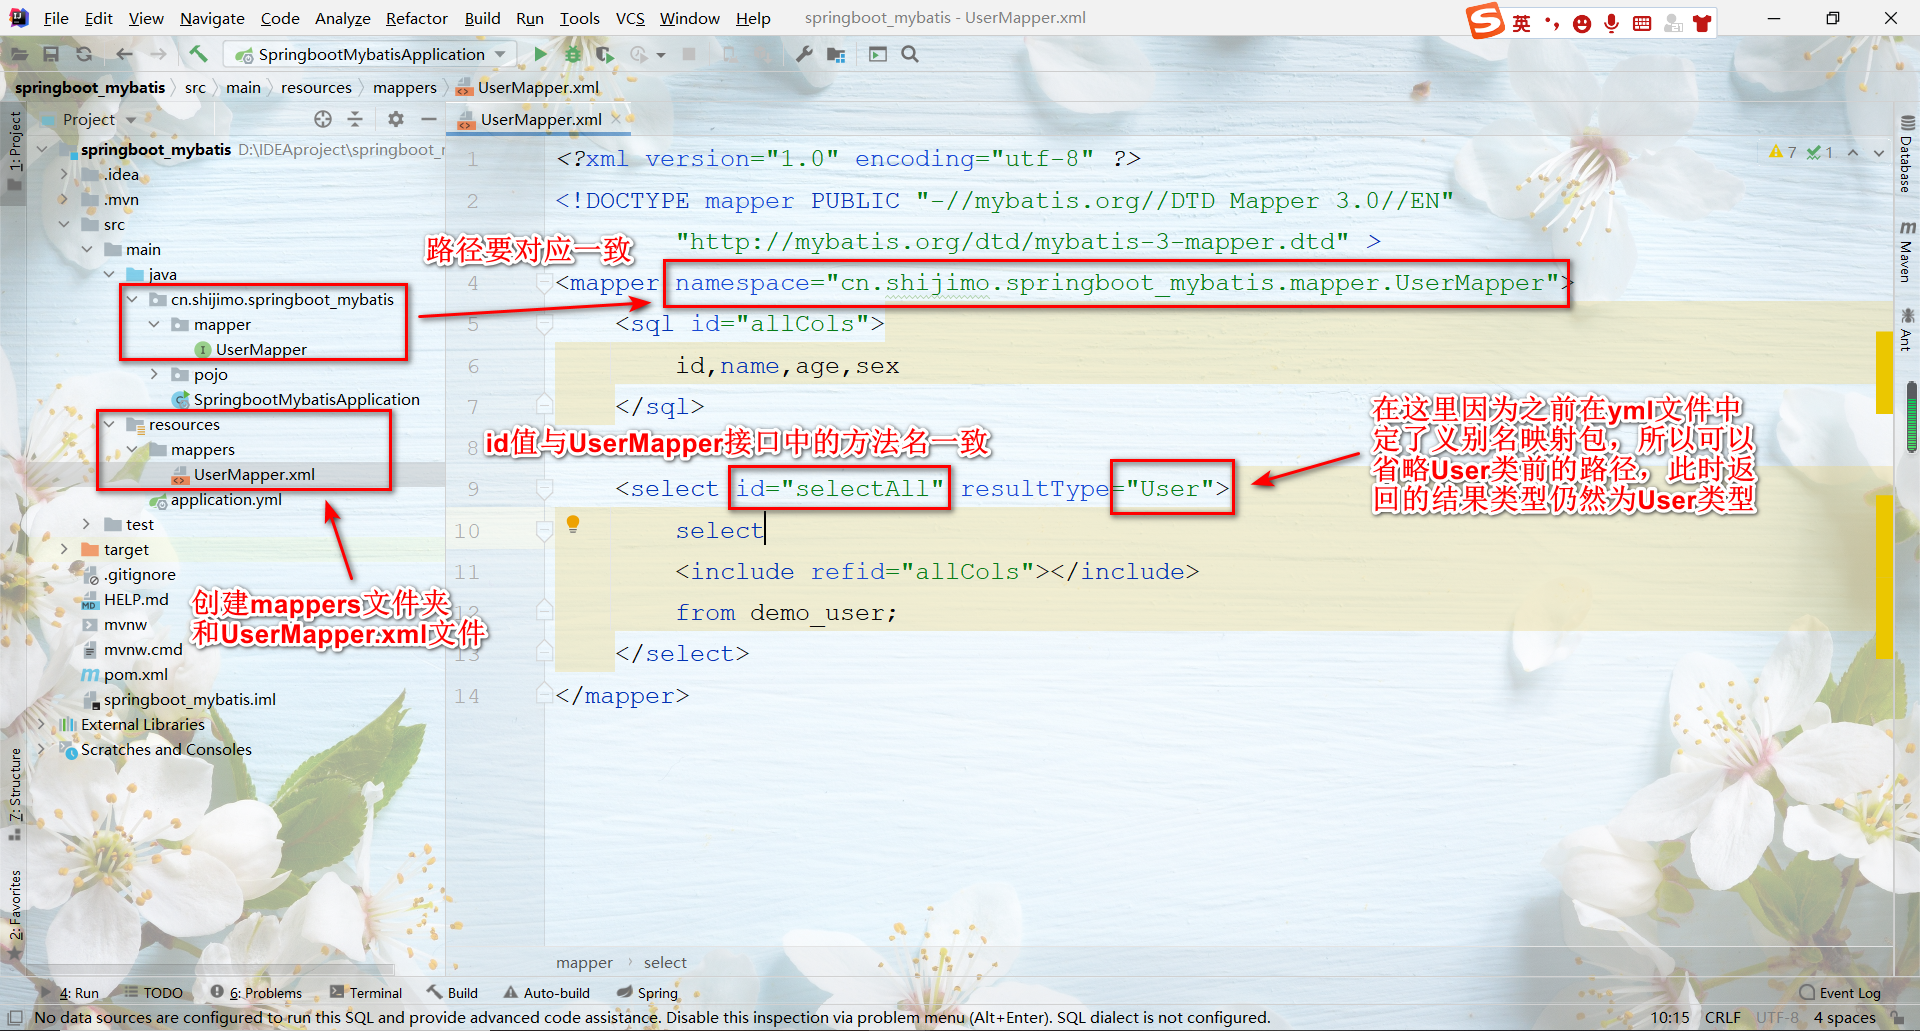
UserMapper.xml file code:
<?xml version="1.0" encoding="utf-8" ?>
<!DOCTYPE mapper PUBLIC "-//mybatis.org//DTD Mapper 3.0//EN"
        "http://mybatis.org/dtd/mybatis-3-mapper.dtd" >
<mapper namespace="cn.shijimo.springboot_mybatis.mapper.UserMapper">
    <sql id="allCols">
        id,name,age,sex
    </sql>

    <select id="selectAll" resultType="User">
        select
        <include refid="allCols"></include>
        from demo_user;
    </select>
</mapper>
The author previously wrote how to configure mapper XML file template, you can refer to the link
IDEA add mapper XML file template
5, Testing
To test whether the integration is successful in the test class, first add a package scanning annotation on the main class to tell where the Mapper interface in SpringBoot is
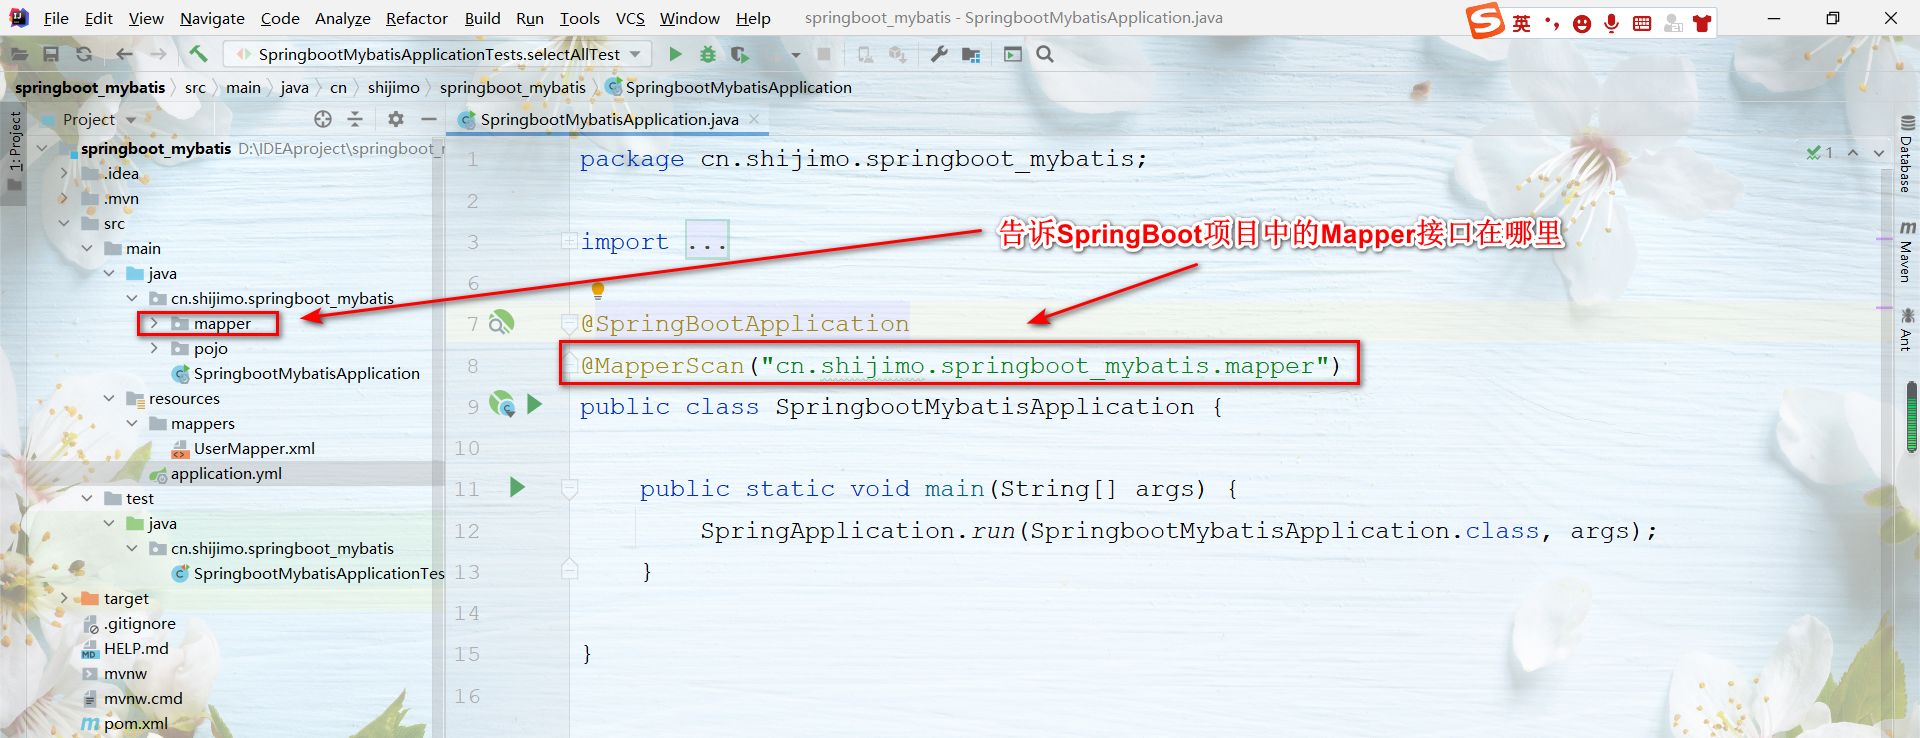
The interface cannot create an instance through the new keyword. During automatic injection, the Spring container will create a proxy object - > dynamic proxy object of JDK for the interface
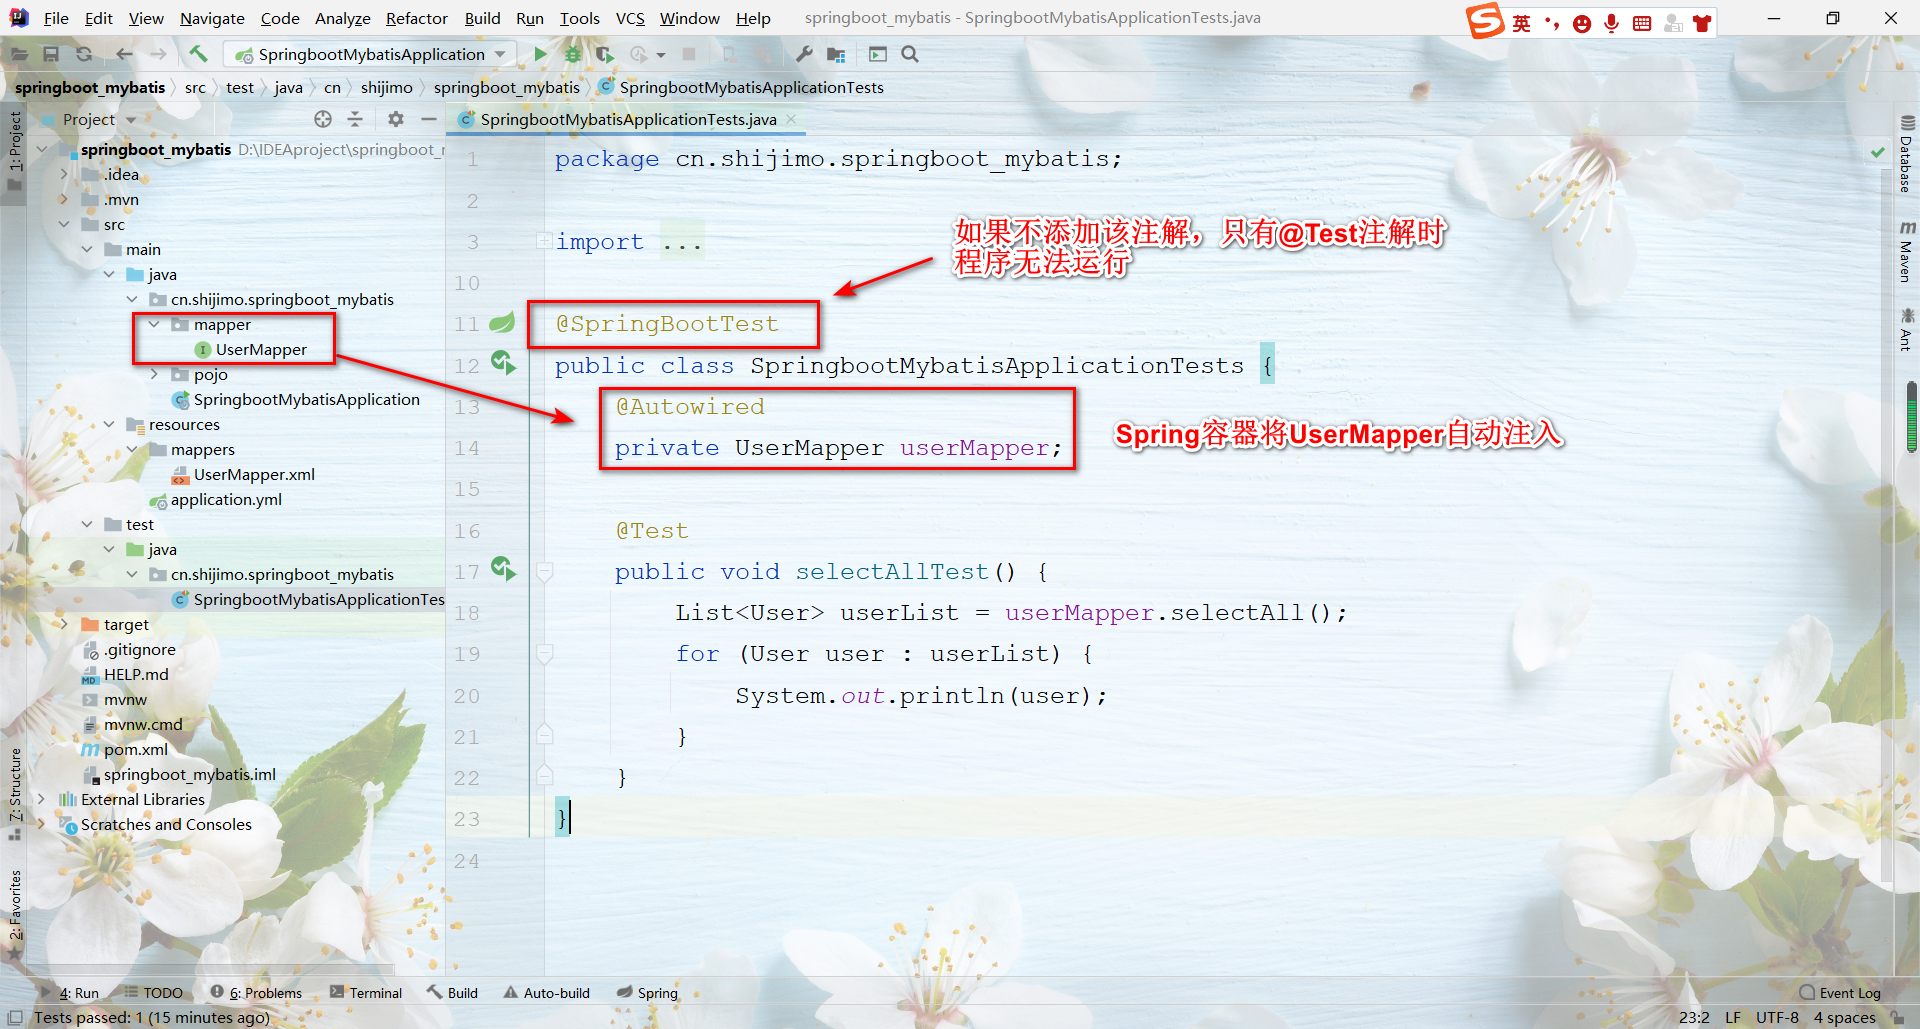
Test class code:
@SpringBootTest
public class SpringbootMybatisApplicationTests {
    @Autowired
    private UserMapper userMapper;

    @Test
    public void selectAllTest() {
        List<User> userList = userMapper.selectAll();
        for (User user : userList) {
            System.out.println(user);
        }
    }
}
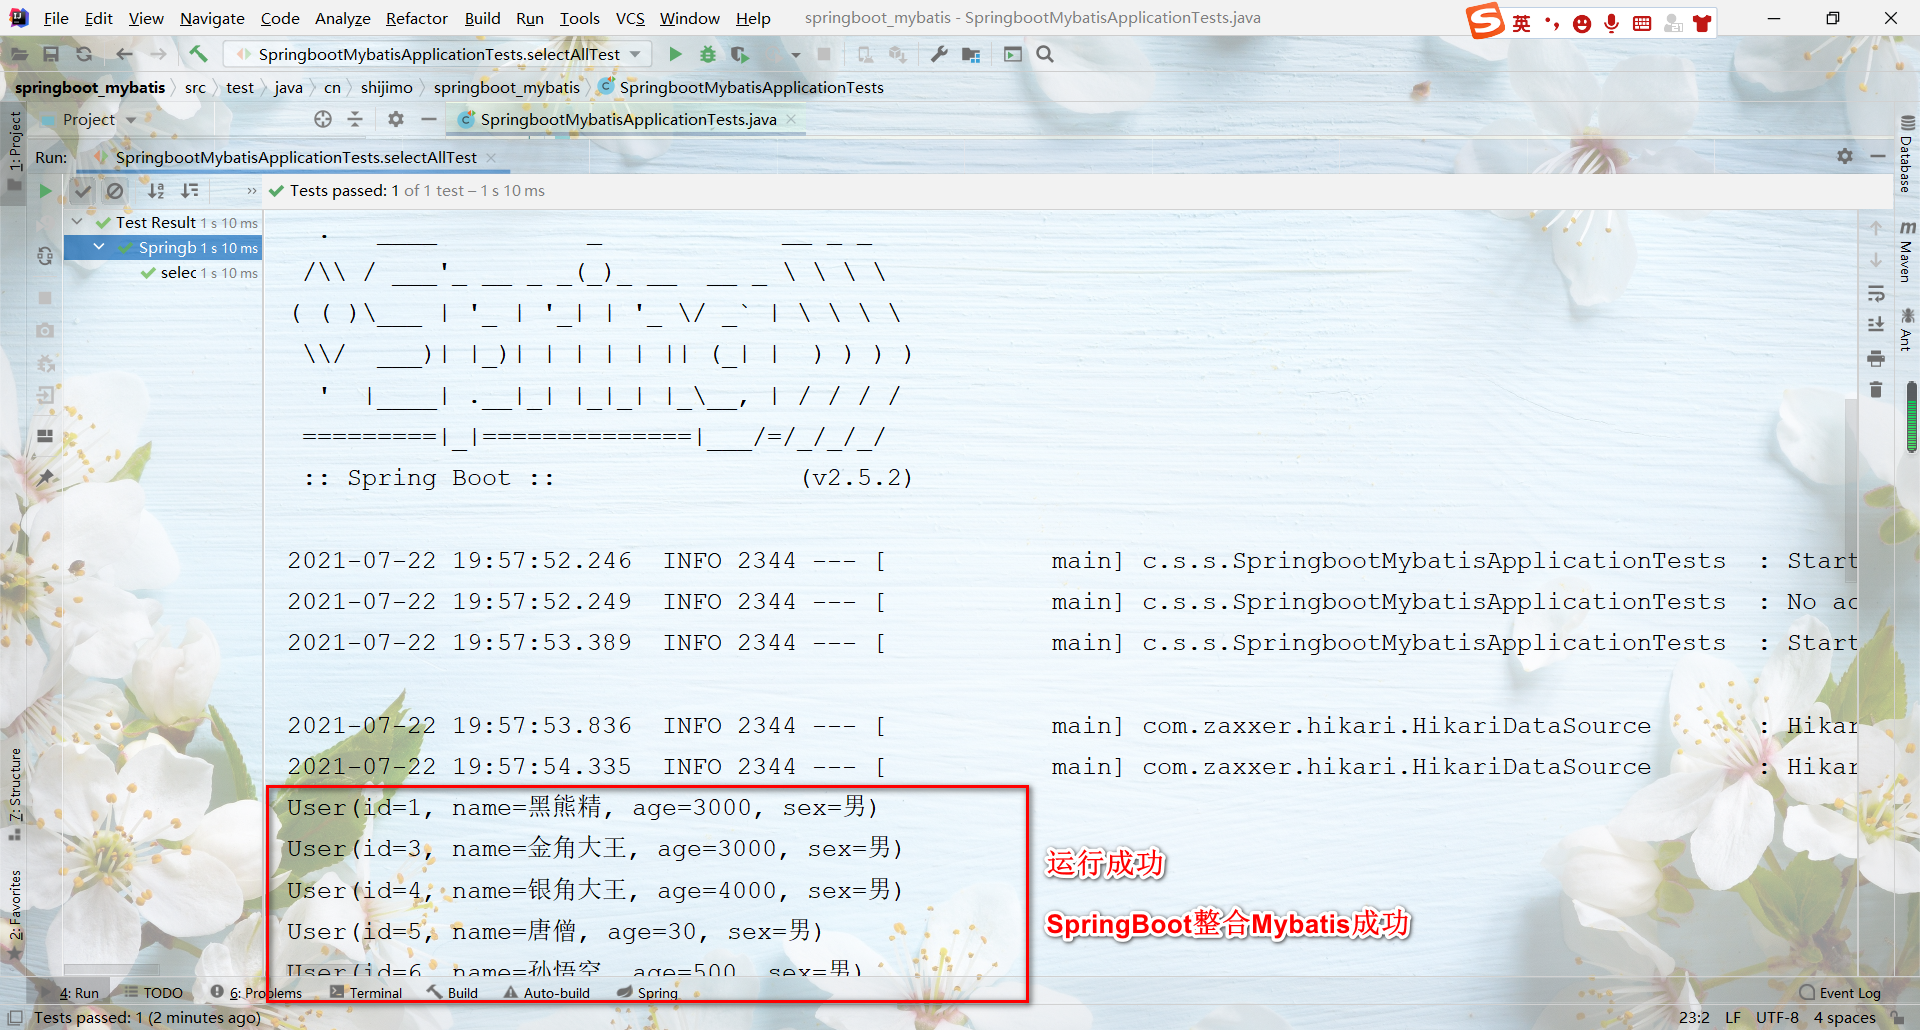
Operation results:
summary
The above is the process of Spring Boot integrating the Mybatis framework. Vividly speaking, Spring Boot is like a fast and effective "all-purpose glue". Spring Boot can quickly integrate almost all frameworks in the Java field with spring frameworks. Moreover, Spring Boot provides automatic configuration function for the integration of these frameworks, Therefore, there is little need to provide additional configuration information to integrate them -- not only there is no need to provide XML configuration, but even annotations can be omitted.
If you want to do it, you can do it well. Even if no one applauds you, at least you can bravely appreciate yourself. When you applaud, refuel and forge ahead for your rough life, you will welcome applause and applause from others!