Detailed process of springboot framework building
1. Create
- 1.1 Create a new springboot project, as shown in the figure.
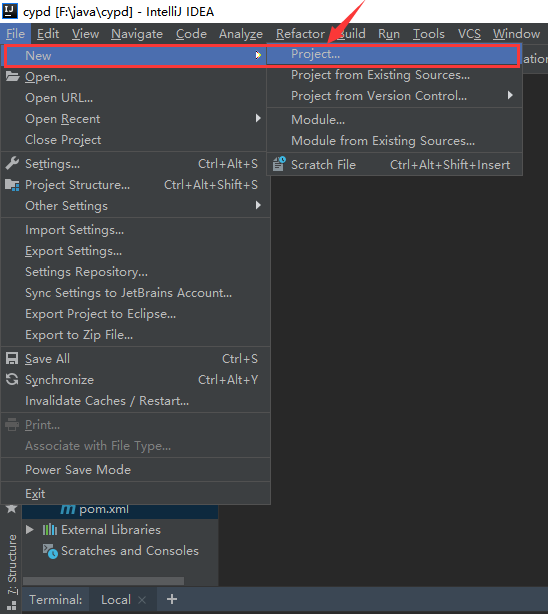
- 1.2 Select Spring Initializr.
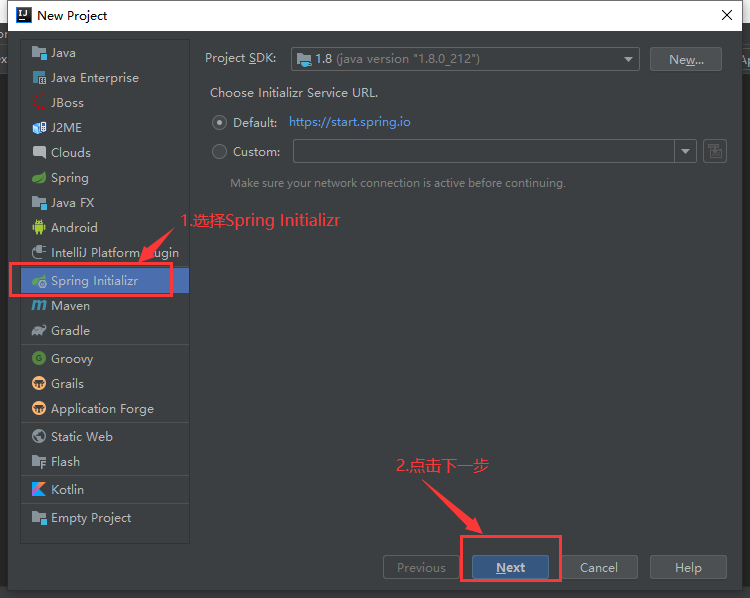
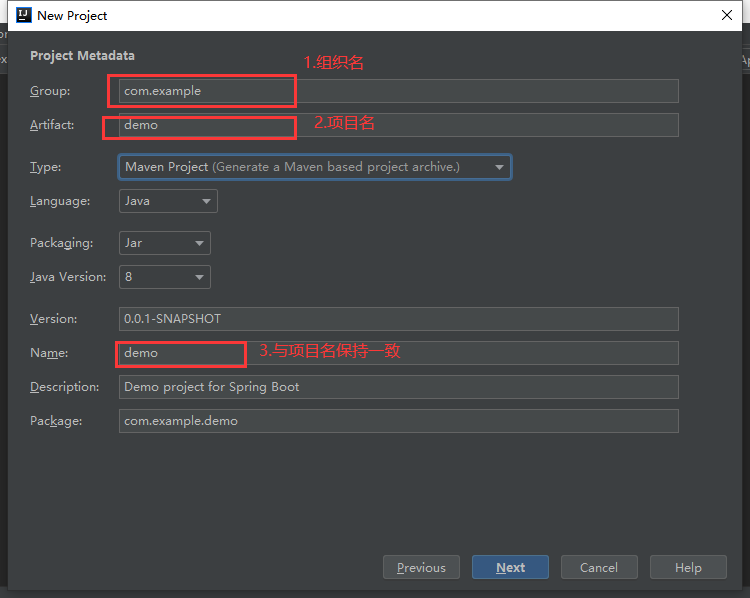
- 1.3 Fill in Group, Artifact, and Name, where you choose the default, then click next, as shown in the following image.
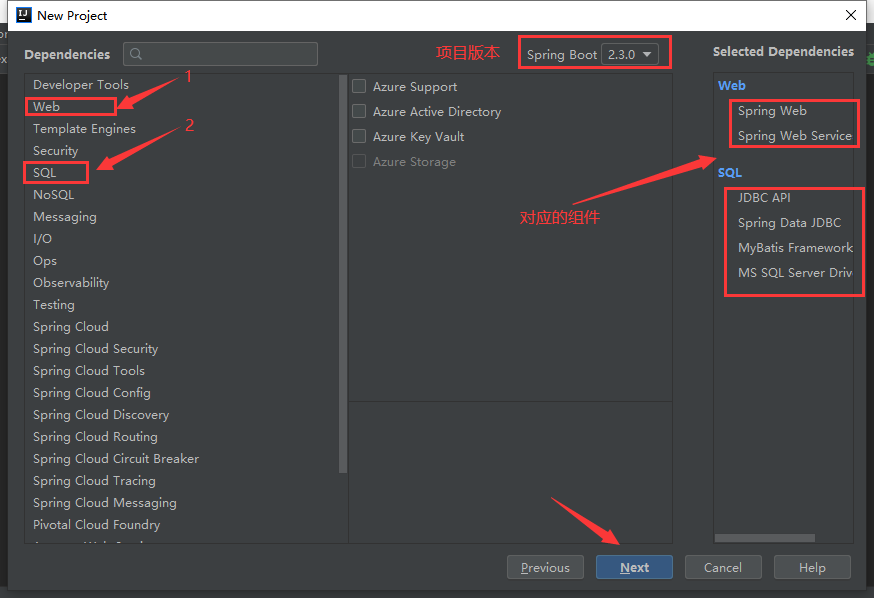
- 1.4 Choose the components you want: The basic components are the web and web server in the web module, MySQL, JDBC, and Mybatis in the SQL module, and the project version number can choose the default.
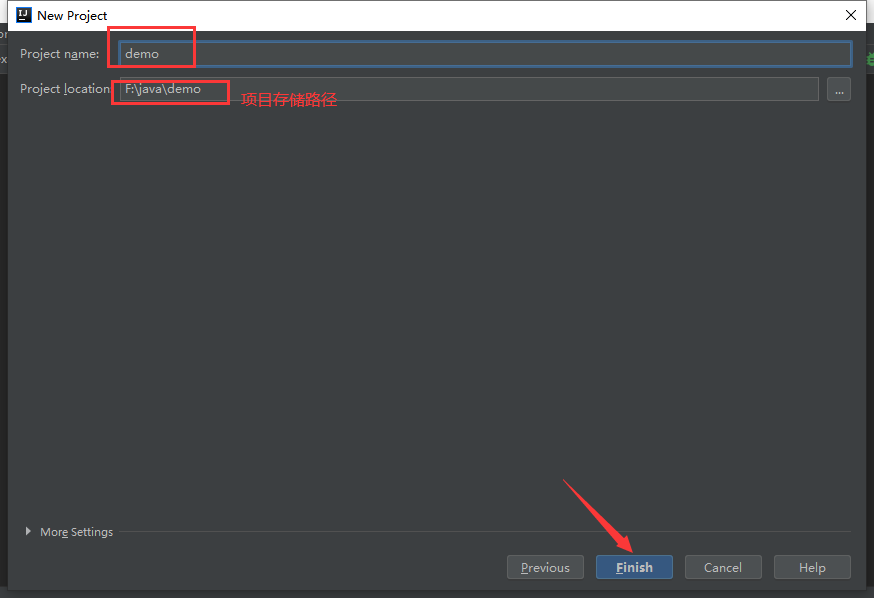
- 1.5. Finalize the project name and select the storage path for the project, click finish.
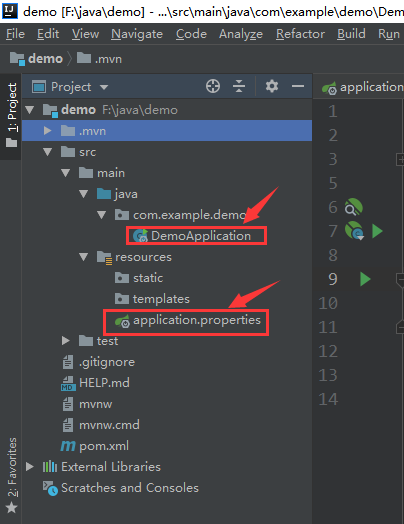
- 1.6 The entire project architecture after creation is shown in the following figure.among DemoApplication.java For the sprinboot core class, the main method for the entire project is in that class,Application.propertiesConfiguration file for the project.
2. Configure the project to complete the framework
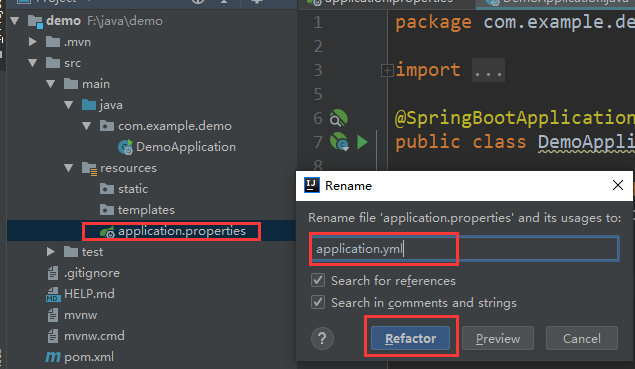
- 2.1 First configure the.properties file to connect to the database. yml and.properties are configured in different formats. I'll configureApplication.propertiesChange toApplication.ymlBecause in actual development, individuals like to use the.yml format.
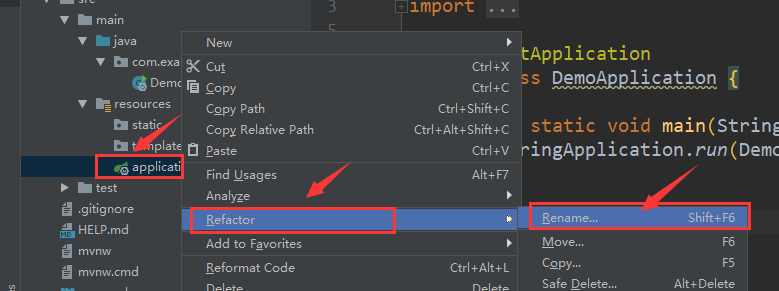
- Click refactor to modify.
- Just start openingApplication.ymlIs empty, you can add the following: (username and password fill in the user name and password of your own database, driver-class-name is the database connection driver, url is the connection address of the database, my database is Ali cloud, port is the access port number for the project, context-path is the project context path configuration, plus the access keyWith this path, mapper-location specifies to scan all files in mapperXml suffixed with xml)

- 2.2. In demo\src\main\java\Com.example.demoIn, create the package corresponding to the SpringMVC pattern as follows:
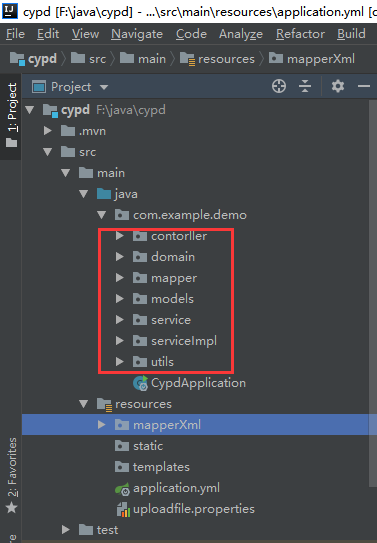
-
domain packages are mainly used to centrally manage the corresponding entity classes. controller is the control layer, service and service Impl are the service layer and service implementation layer, respectively. Mappper manages the interface classes stored with mybatis.
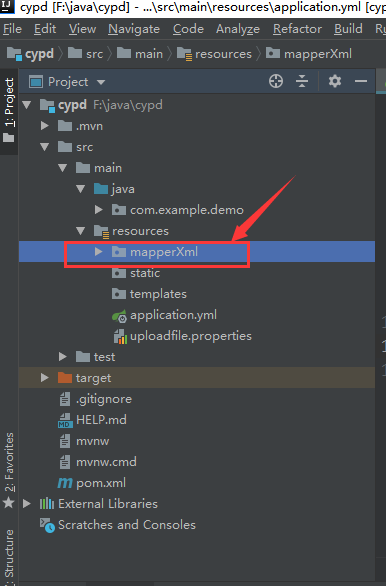
- 2.3. In resources, create mapperXml to store mapper's correspondingMapper.xmlFile.
- 2.4 In the utils package, write the SessionId tool class needed for the project as follows:

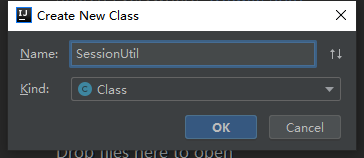
- The code is as follows:
package com.example.demo.utils;
import com.google.gson.Gson;
import javax.servlet.http.HttpSession;
public class SessionUtil {
    /**
     * Permission Control
     * @param sessionId sessionId
     * @return
     */

    public static boolean checkSession(String sessionId) {
      HttpSession httpSession = MySessionContext.getSession(sessionId);
        Gson gson = new Gson();
        //Integer.valueOf(httpSession.getAttribute("userNo")).intValue()
        if (httpSession == null ) {
            return false;
        }
        return true;
    }
    public static boolean checkSessionOnly(String sessionId,String userNo) {
        //!!!Verify only session!!!

        System.out.println("From the front SessionID: "+sessionId);
        HttpSession httpSession = MySessionContext.getSession(sessionId);
        Gson gson = new Gson();
        System.out.println(httpSession);
        System.out.println(httpSession.getAttribute("userNo"));
        System.out.println(userNo);
        if (httpSession == null) {
            System.out.println("@@@@@@@@");
            return false;
        }
        return true;
    }
    public static boolean checkSessionOnly(String sessionId) {
        //!!!Verify only session!!!

        HttpSession httpSession = MySessionContext.getSession(sessionId);
        Gson gson = new Gson();
        if (httpSession == null) {
            return false;
        }
        return true;
    }
}
3. Write test classes and implement interfaces
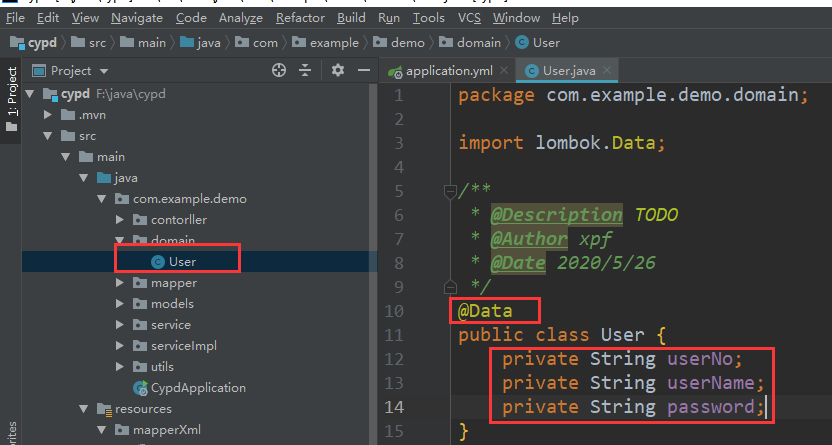
- 3.1. Create entity classes in the domain package User.class, write class attributes, generate getter and setter methods for attributes (if idea has a lombok plug-in, you only need to introduce @Data above the file)
- 3.2. Create the UserController class in the controller package
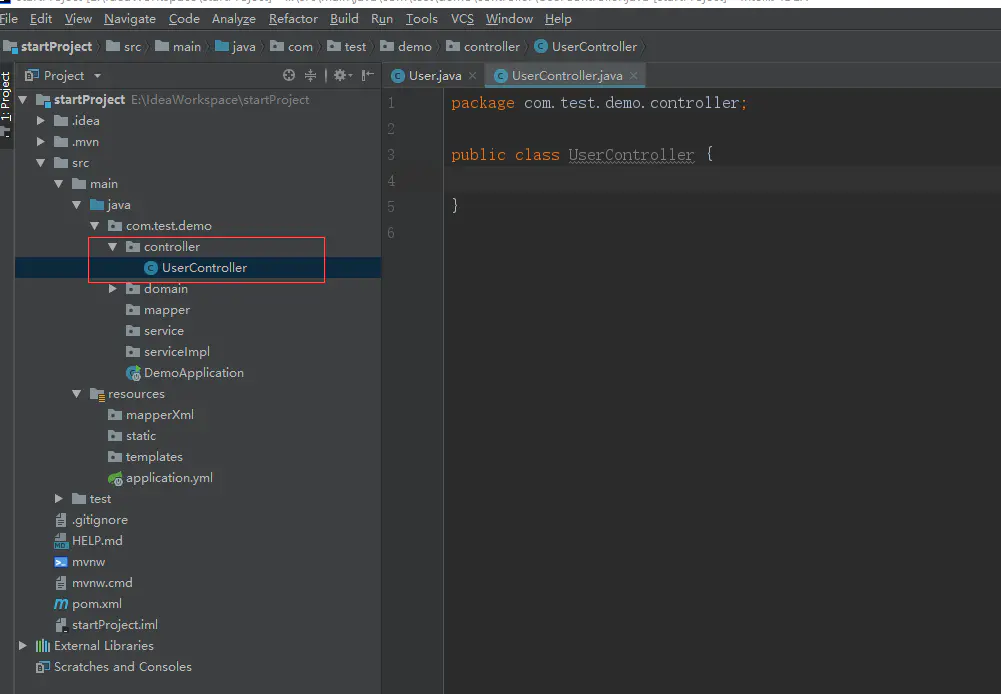
- Write a login interface, write the diagram code in UserController, and note that the value value in @RequestMapping can be customized as a url requesting the interface.The first @RequestMapping is at the class level, and the second @RequestMapping is at the method level.If we need to request the interface, call the method as follows:
- localhost:18115/cypd/user/login
@Controller
@RequestMapping("/user")
public class UserController {

    @Autowired
    private UserService userService;

    @RequestMapping(value = "/login", method = RequestMethod.POST)
    @ResponseBody
    public void login(HttpServletRequest request, HttpServletResponse response) throws IOException {
        JSONObject jsonObject = JsonParseUtil.requestToJSONObject(request);
        User user = JSON.parseObject(jsonObject.toString(), User.class);
        response.setContentType("text/html;charset=UTF-8");
        if (userService.checkUserMessage(user)) {
            HttpSession session = request.getSession();
            MySessionContext.AddSession(request.getSession());
            response.getWriter().print(CommonLogic.jsonAssembly(Constant.SUCCESS_CODE, "Login Successful", session.getId()));
        } else {
            response.getWriter().print(CommonLogic.jsonAssembly(Constant.ERROR_CODE, "Account or password error", null));
        }
    }
}
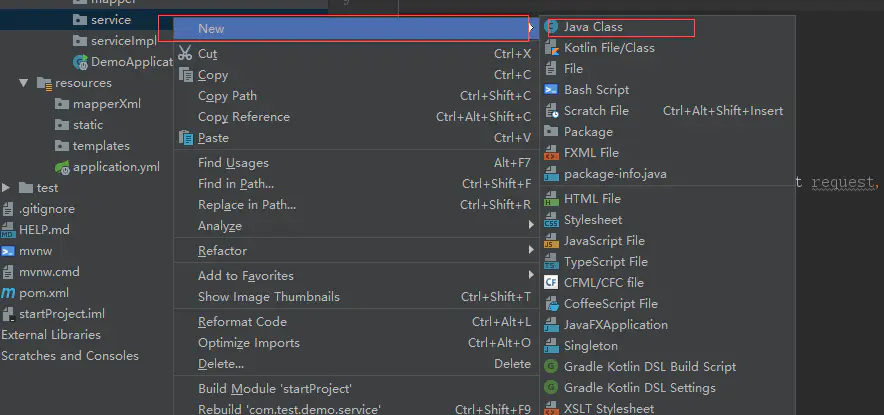
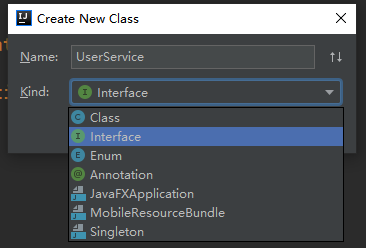
- 3.3. Create the UserService interface in the service package.
- The interface code is as follows:
package com.example.demo.service;
import com.example.demo.domain.User;

/**
 * @Description TODO
 * @Author xpf
 * @Date 2020/5/26
 */

public interface UserService {
    boolean checkUserMessage(User user);
}
- 3.4 Create a UserServiceImpl implementation class in the serviceImpl package to implement the UserService.Add the comment @Service and implements UserService.
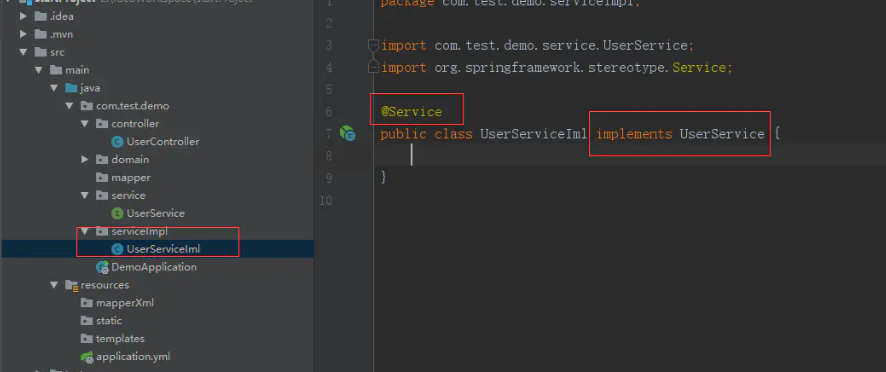
- The code is as follows:
package com.example.demo.serviceImpl;
import com.example.demo.domain.User;
import com.example.demo.mapper.UserMapper;
import com.example.demo.service.UserService;
import org.springframework.beans.factory.annotation.Autowired;
import org.springframework.stereotype.Service;

/**
 * @Description TODO
 * @Author xpf
 * @Date 2020/5/26
 */
@Service
public class UserServiceImpl implements UserService {

    @Autowired
    private UserMapper userMapper;

    @Override
    public boolean checkUserMessage(User user) {
        User use1= userMapper.checkUserMessage(user);
        if (use1 != null) {
            return true;
        }else {
            return false;
        }
    }
}
- 3.5. Create the UserMapper interface in the mapper in the same way as step 3.And add the comment @Repository.
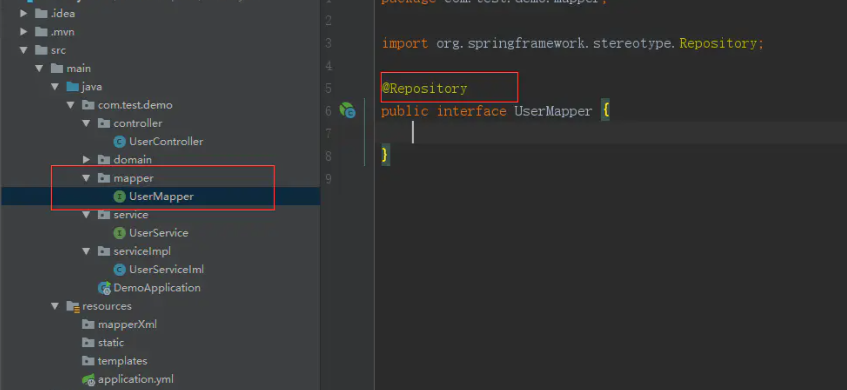
- The code is as follows:
package com.example.demo.mapper;
import com.example.demo.domain.User;
import org.springframework.stereotype.Repository;

/**
 * @Description TODO
 * @Author xpf
 * @Date 2020/5/26
 */

@Repository
public interface UserMapper {
    User checkUserMessage(User user);
}
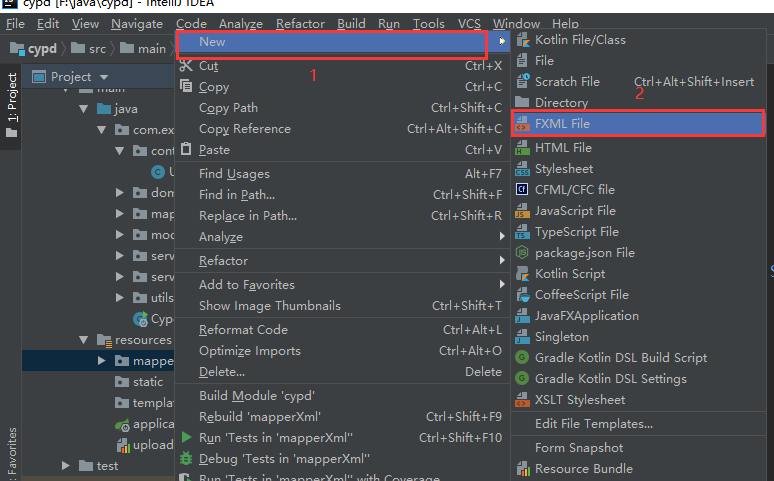
- 3.6 Created in mapperXml under resource UserMapper.xml File, the collective process is shown in the following figure, FXML File, created by directly modifying the suffix name.xml
- The code is as follows (in namespace)Com.example.demo.Mapper.UserMapperThe specific path and name of the apper that needs to be associated, and the reconfiguration indicates that the xml is associated with UserMapper)
<?xml version="1.0" encoding="UTF-8" ?>
<!DOCTYPE mapper PUBLIC "-//mybatis.org//DTD Mapper 3.0//EN" "http://mybatis.org/dtd/mybatis-3-mapper.dtd" >
<mapper namespace="com.example.demo.mapper.UserMapper">
<select id="checkUserMessage" resultType="com.example.demo.domain.User" parameterType="com.example.demo.domain.User">
select * from t_user where user_no =
</select>
</mapper>
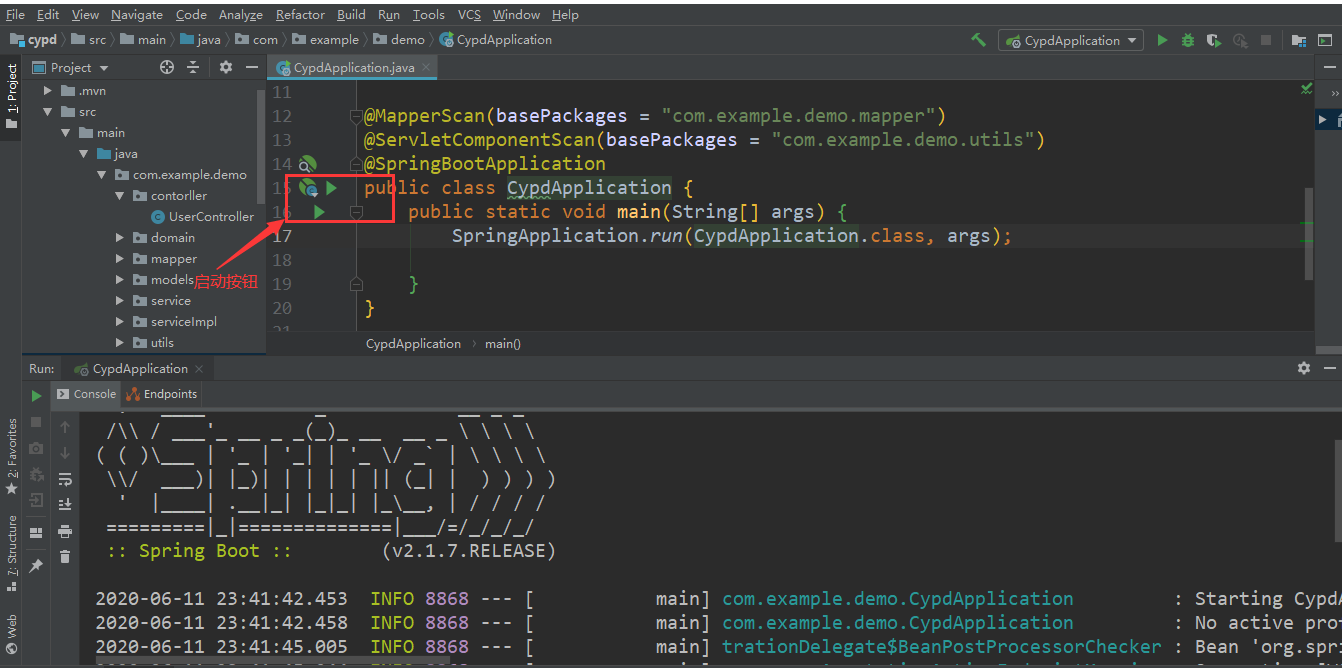
- 3.7 In the core class (DemoApplication), add scanned mapper packages and toolkits, corresponding to mapper paths and Toolkit paths
package com.example.demo;

import org.mybatis.spring.annotation.MapperScan;
import org.springframework.boot.SpringApplication;
        import org.springframework.boot.autoconfigure.SpringBootApplication;
import org.springframework.boot.web.servlet.ServletComponentScan;

/**
 * @author xpf
 */

@MapperScan(basePackages = "com.example.demo.mapper")
@ServletComponentScan(basePackages = "com.example.demo.utils")
@SpringBootApplication
public class DemoApplication {
    public static void main(String[] args) {
        SpringApplication.run(DemoApplication.class, args);
    }
}
- 3.8 Start the project and click the Start button in DemoApplication. If the startup is successful, the following interface will appear:
3.9 Use the test tool to test, choose the postman test here, choose the post method, enter in url: localhost18099/cypd/user/login.Click the send button and a return value appears with a response status code of 200, indicating that the test was successful.

Keywords:
Mybatis
Database
xml
Session
Added by Jax2 on Thu, 11 Jun 2020 19:19:20 +0300