Remote control mode
This mode can use remote control to complete the mode selection and car forward and backward drive functions, mode selection is introduced in the final MERGE section. YFRobot studio directly used to write the communication protocol, convenient and practical, in fact, I only need to use OK. Communication protocol part of the program is not posted here, can be found online. This paper mainly summarizes the optimization of the algorithm of remote control driving car. The remote control mode chooses the red light mode, and the rocker returns to the analog value, ranging from 0 to 256. The algorithm here is to drive the car forward between 0 to 128 and backward between 128 and 256, and to change the speed linearly according to the size of the analog value, so as to push the rocker forward or backward lightly and push the rocker up again. The purpose of moving forward or backward. Left and right turns are analogous to forward and backward. The driving function is different from the ordinary driving function. It can be found in the driving control part.
/**
 * @brief: It realizes the car's forward, backward, steering and parking under the remote control mode.
 * @param: NONE
 * @retval: NONE
 * @others: The return parameters of rocker are optimized by some algorithms.
**/
void Remote_Ctr(void)
{
	static int pss_data[2];//An array of rocker return values used to record the return values of left and right rockers
	static int pulse_run;//pulse value to drive the car forward
	static int turn_rate;//Steering adjustment rate
	pss_data[0]=PS2_AnologData(PSS_LY);
	pss_data[1]=PS2_AnologData(PSS_RX);
	if(pss_data[0]<64)  //Forward at high speed and turn with one side deceleration
	{
		pulse_run=(int)(3.91*pss_data[0]);
		drive_pulse(pulse_run);
		if(pss_data[1]<128)
		{
			turn_rate=(int)(1-pss_data[1]/128);
			turn_pulse(pulse_run*(1+turn_rate),pulse_run);  //Left deceleration
		}
		else
		{
			turn_rate=(int)((pss_data[1]+1)/128-1);
			turn_pulse(pulse_run,pulse_run*(1+turn_rate));  //Right deceleration
		}
	}
	else if(pss_data[0]<128)  //Forward at a low speed and turn with one side acceleration
	{
		pulse_run=(int)(3.91*pss_data[0]);
		drive_pulse(pulse_run);
		if(pss_data[1]<128)
		{
			turn_rate=(int)(1-pss_data[1]/128);
			turn_pulse(pulse_run,pulse_run*(1-turn_rate));		//Right acceleration
		}
		else
		{
			turn_rate=(int)((pss_data[1]+1)/128-1);
			turn_pulse(pulse_run*(1-turn_rate),pulse_run);		//Left acceleration
		}
	}
	else if(pss_data[0]<192)		//Back off at low speed and turn with one side acceleration
	{
		pulse_run=(int)(500-3.91*(pss_data[0]-128));
		reverse_pulse(pulse_run);
	}
	else  //Back at high speed, turn with one side deceleration
	{
		pulse_run=(int)(500-3.91*(pss_data[0]-128));
		reverse_pulse(pulse_run);
	}
}
Bluetooth mode
This mode can use Bluetooth mobile phone to complete mode selection and car forward and backward drive functions, mode selection is introduced in the final MERGE section. Here is different from the remote control part. The driving function is the same as usual. It mainly drives the car by reading Bluetooth signal. The speed control is realized by GEAR of global variable.
Serial Port Configuration
First of all, we need to initialize the serial ports of HC-05. I choose STM32 serial port 2 here.
/**
 * @brief: Bluetooth mode initialization function, initialized serial port 2
 * @param: NONE
 * @retval: NONE
 * @others: NONE
**/
void Bluetooth_Ctr_Init(void)
{
	  GPIO_InitTypeDef GPIO_InitStructure;
    USART_InitTypeDef USART_InitStrue;
    NVIC_InitTypeDef NVIC_InitStrue;

    RCC_AHB1PeriphClockCmd(RCC_AHB1Periph_GPIOA,ENABLE);//GPIOA Port Enablation
    RCC_APB1PeriphClockCmd(RCC_APB1Periph_USART2,ENABLE);//Serial Port Enablation

		GPIO_PinAFConfig(GPIOA,GPIO_PinSource2,GPIO_AF_USART1); //GPIOA2 Multiplexed to USART2
		GPIO_PinAFConfig(GPIOA,GPIO_PinSource3,GPIO_AF_USART1); //GPIOA3 Multiplexed to USART2

		//USART2 Port Configuration
		GPIO_InitStructure.GPIO_Pin = GPIO_Pin_2 | GPIO_Pin_3; //GPIOA2 and GPIOA3
		GPIO_InitStructure.GPIO_Mode = GPIO_Mode_AF;//Reuse function
		GPIO_InitStructure.GPIO_Speed = GPIO_Speed_50MHz;	//Speed 50MHz
		GPIO_InitStructure.GPIO_OType = GPIO_OType_PP; //Push-pull multiplexing output
		GPIO_InitStructure.GPIO_PuPd = GPIO_PuPd_UP; //Pull up
		GPIO_Init(GPIOA,&GPIO_InitStructure); //Initialize PA2, PA3

    USART_InitStrue.USART_BaudRate=115200;
    USART_InitStrue.USART_HardwareFlowControl=USART_HardwareFlowControl_None;
    USART_InitStrue.USART_Mode=USART_Mode_Tx|USART_Mode_Rx;
    USART_InitStrue.USART_Parity=USART_Parity_No;
    USART_InitStrue.USART_StopBits=USART_StopBits_1;
    USART_InitStrue.USART_WordLength=USART_WordLength_8b;

    USART_Init(USART2,&USART_InitStrue);

    USART_Cmd(USART2,ENABLE);//Enabled Serial Port 2

    USART_ITConfig(USART2,USART_IT_RXNE,ENABLE);//Open Receive Interrupt

    NVIC_InitStrue.NVIC_IRQChannel=USART2_IRQn;
    NVIC_InitStrue.NVIC_IRQChannelCmd=ENABLE;
    NVIC_InitStrue.NVIC_IRQChannelPreemptionPriority=0;
    NVIC_InitStrue.NVIC_IRQChannelSubPriority=0;
    NVIC_Init(&NVIC_InitStrue);
}
The interrupt service function of serial port 2 is exactly the same as the interrupt function of serial port 1 in the positive point atomic routine.
/**
 * @brief: Interrupt Service Function in Serial Port 2
 * @param: NONE
 * @retval: NONE
 * @others: No difference from the interrupt service function of serial port 1 in the punctual atomic routine
**/

void USART2_IRQHandler(void)                	//Serial Port 1 Interrupt Service Program
{
	u8 Res;
#if SYSTEM_SUPPORT_OS//if SYSTEM_SUPPORT_OS is true, OS support is required.
	OSIntEnter();
#endif
	if(USART_GetITStatus(USART2, USART_IT_RXNE) != RESET)  //Receiving interrupts (data received must end at 0x0d 0x0a)
	{
		Res =USART_ReceiveData(USART2);//(USART2->DR); //Read the received data

		if((USART_RX_STA&0x8000)==0)//Receiving not completed
		{
			if(USART_RX_STA&0x4000)//Received 0x0d
			{
				if(Res!=0x0a)USART_RX_STA=0;//Receive errors, restart
				else USART_RX_STA|=0x8000;	//Receiving completed
			}
			else //I haven't received 0X0D yet.
			{
				if(Res==0x0d)USART_RX_STA|=0x4000;
				else
				{
					USART_RX_BUF[USART_RX_STA&0X3FFF]=Res ;
					USART_RX_STA++;
					if(USART_RX_STA>(USART_REC_LEN-1))USART_RX_STA=0;//Receiving data error, restart receiving
				}
			}
		}
  }
}
Implementation of Bluetooth Control
This part of the implementation is very simple, paste the code directly.
/*Bluetooth ctr-----------------------------------------------------------------*/
/**
 * @brief: Bluetooth Control Function-Car Forward, Backward, Steering and Parking
 * @param: NONE
 * @retval: NONE
 * @others: The print character is 5, but the ASCII code is not 5, but 0x35. Dakeng appears.
**/
void Bluetooth_Ctr(void)
{
		extern u16 GEAR;
		if(USART_RX_BUF[0]==0x31)	//Here is a big pit, the print character is 5, but the ASCII code is not 5 but 0x35. Tossing all afternoon
		{
			LED0=!LED0;
			drive(GEAR);
		}
		else if(USART_RX_BUF[0]==0x32)
		{
			LED1=!LED1;
			reverse(GEAR);
		}
		else if(USART_RX_BUF[0]==0x33)
		{
			LED0=!LED0;
			left_move(GEAR);
		}
		else if(USART_RX_BUF[0]==0x34)
		{
			LED1=!LED1;
			right_move(GEAR);
		}
		else if(USART_RX_BUF[0]==0x30)
		{
			LED0=0;
			LED1=0;
			stop();
		}
}
Configuration of Bluetooth Debugging Assistant for Mobile Phone
The realization of the previous function is based on Bluetooth debugging assistant of mobile phone. Here is the configuration process.
Download Bluetooth Debugging Assistant
Here Directly to you, on the Internet to find resources have not been found
To configure
After the Bluetooth module is installed on the control board, it enters the Bluetooth settings of the mobile phone, matches, and then enters the debugging assistant to start configuring the software.
After entering, the name of your Bluetooth module will be automatically searched out.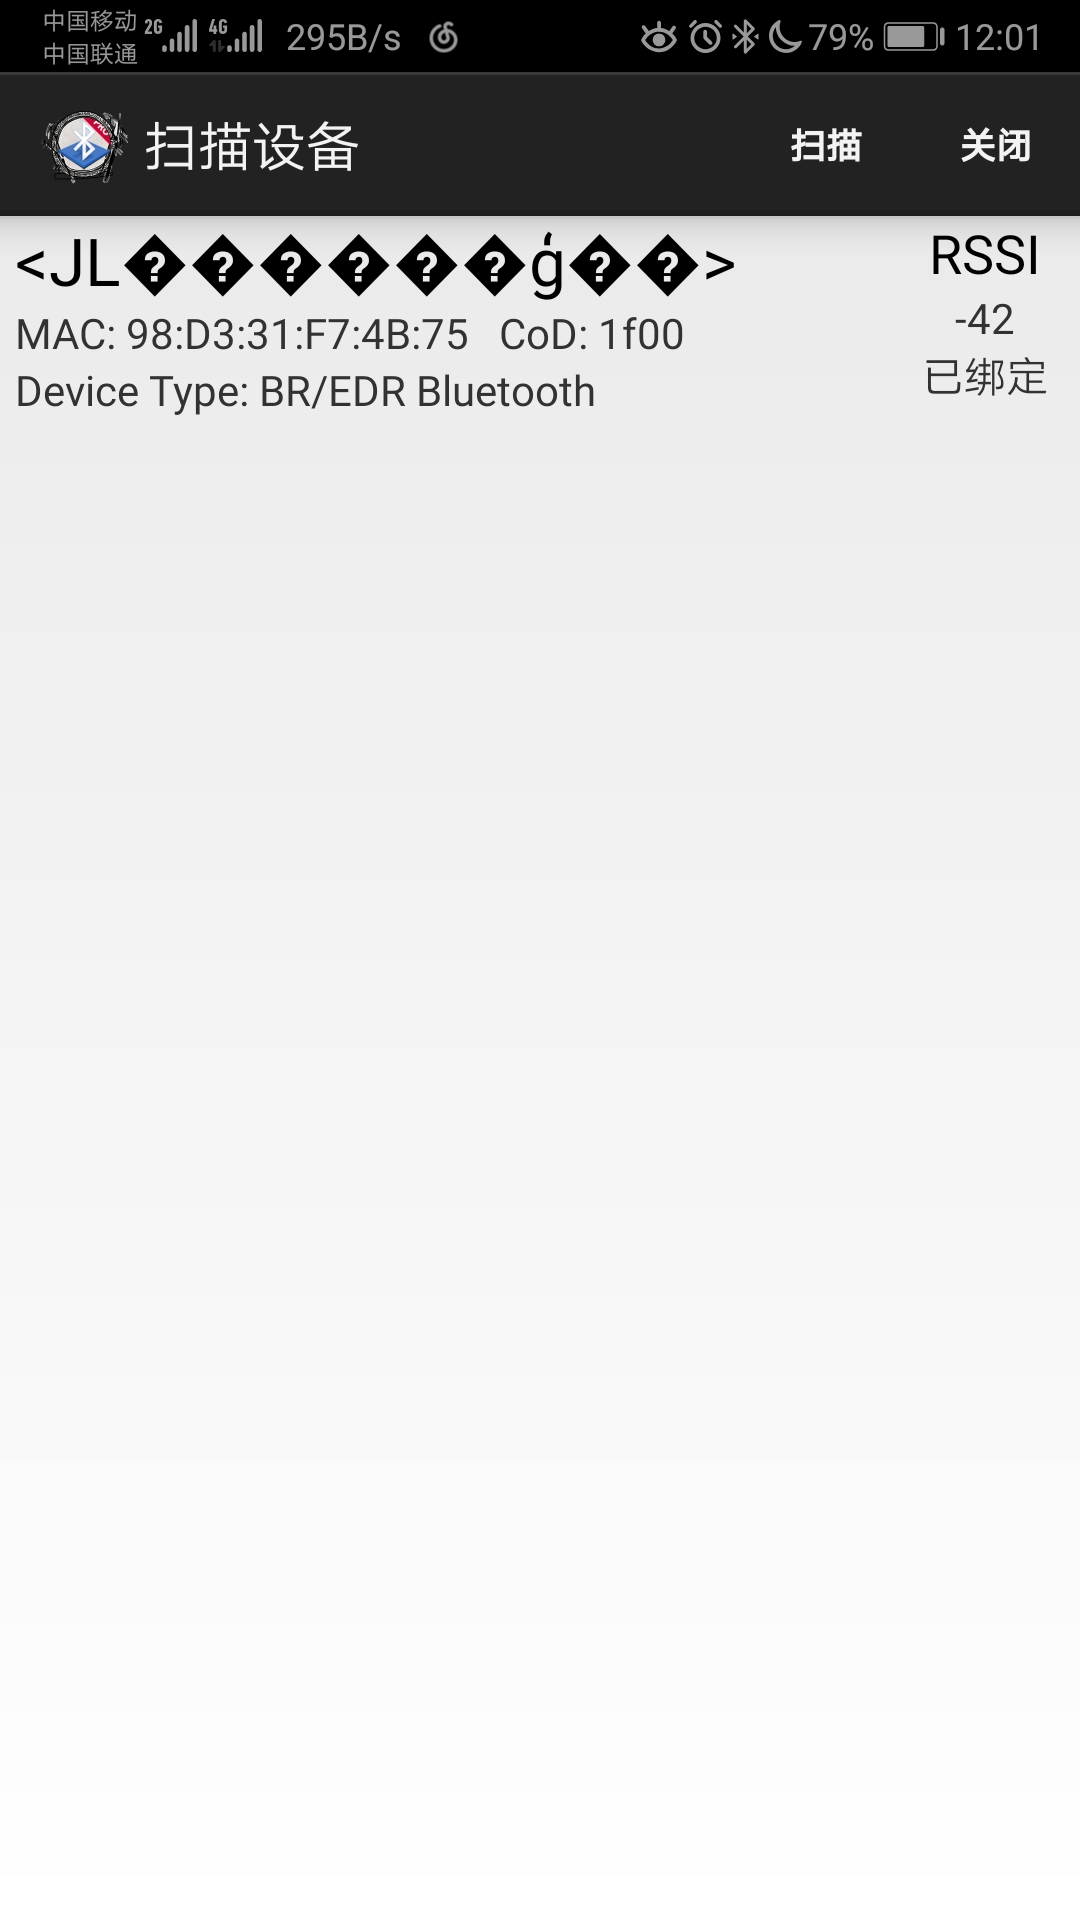
Click here to enter and click Connect Device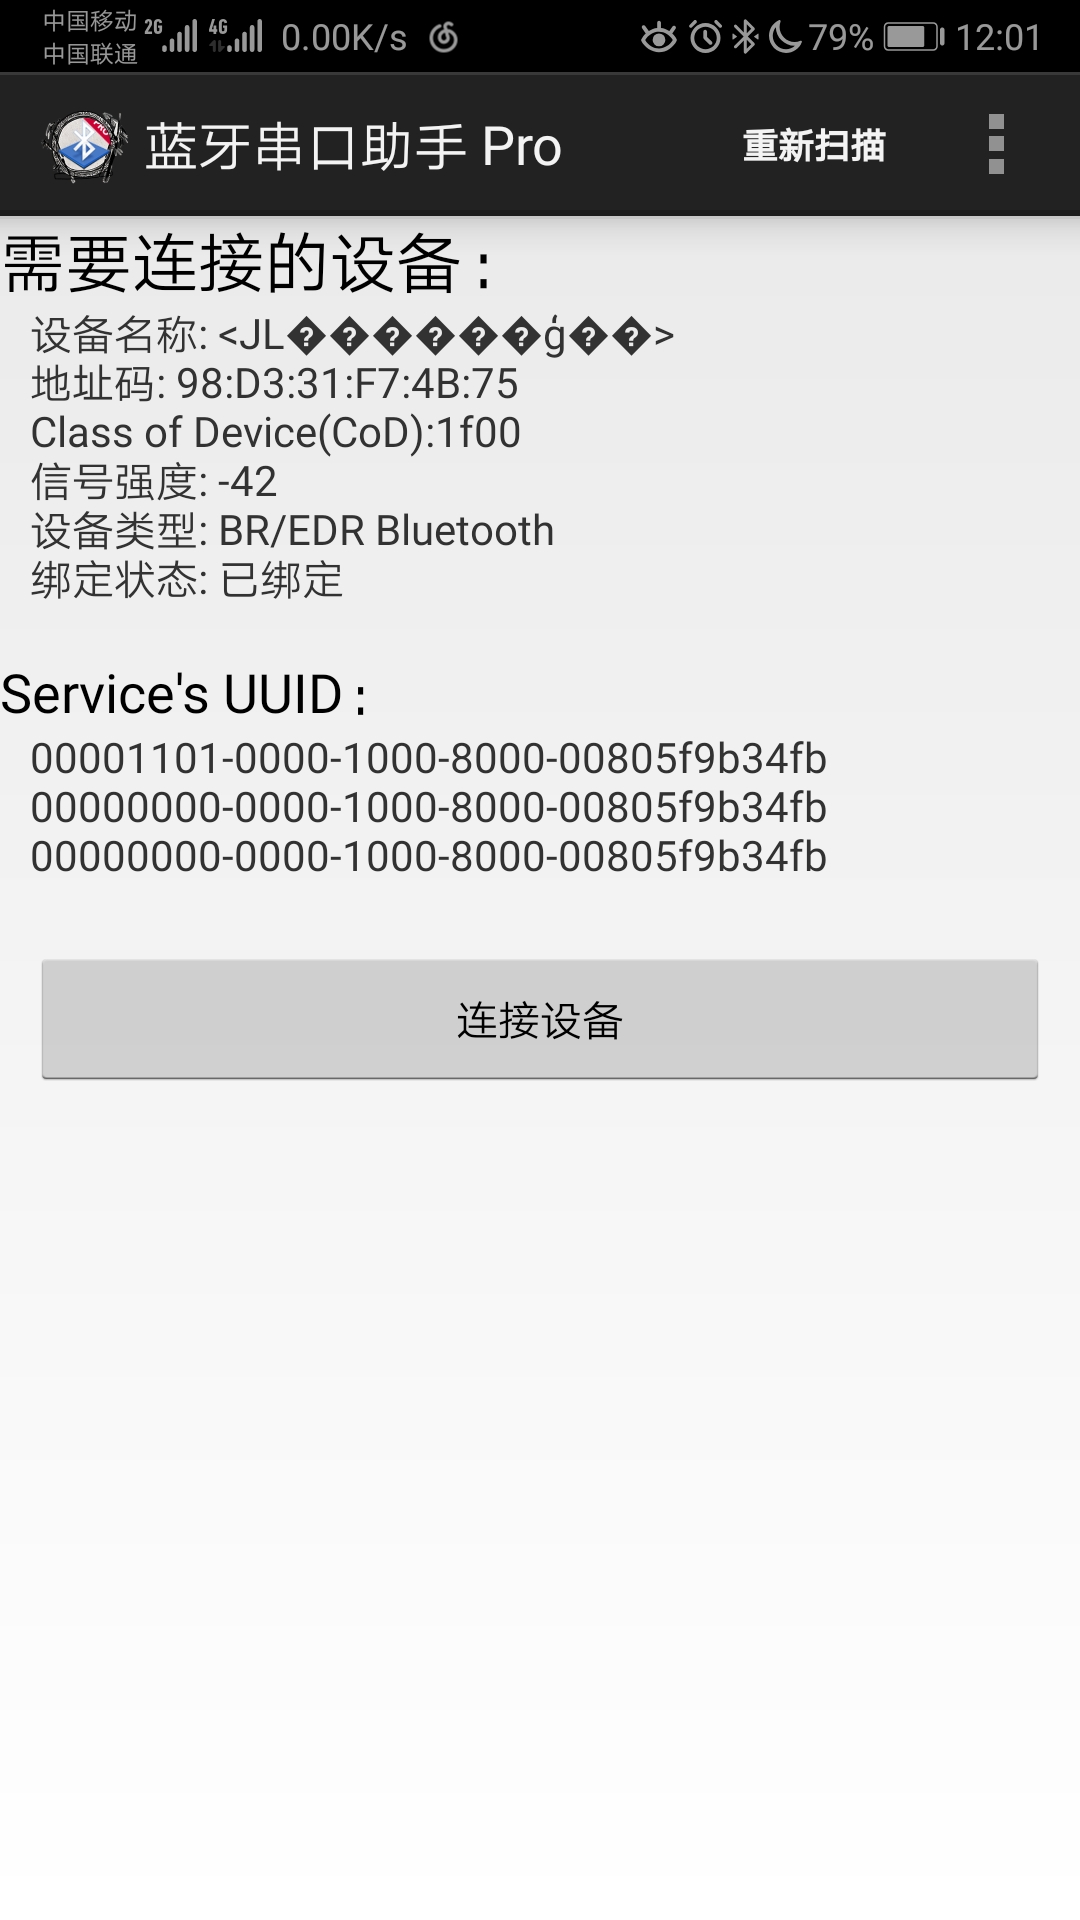
Connection success, click on the keyboard mode, we mainly use this mode, other modes can be used for testing.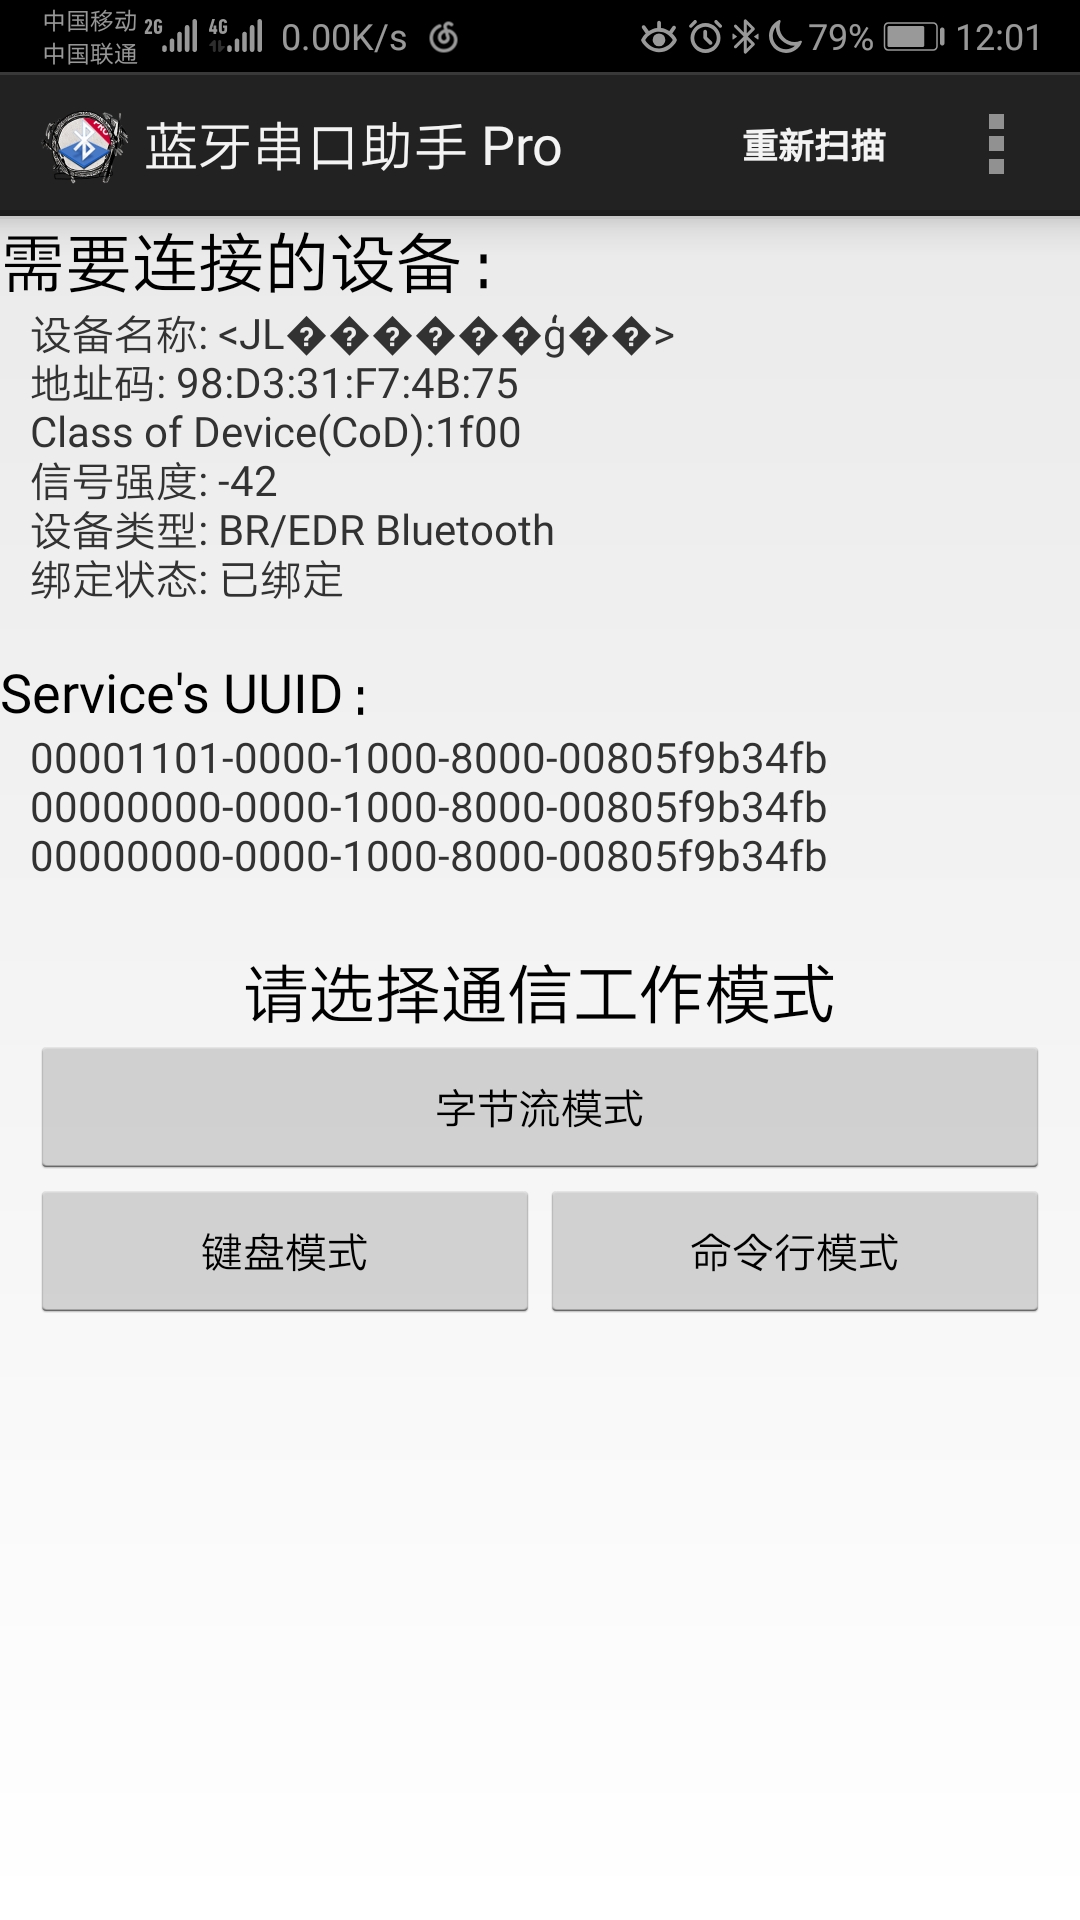
Click on the three points in the upper right corner, and then click on the configuration keyboard value.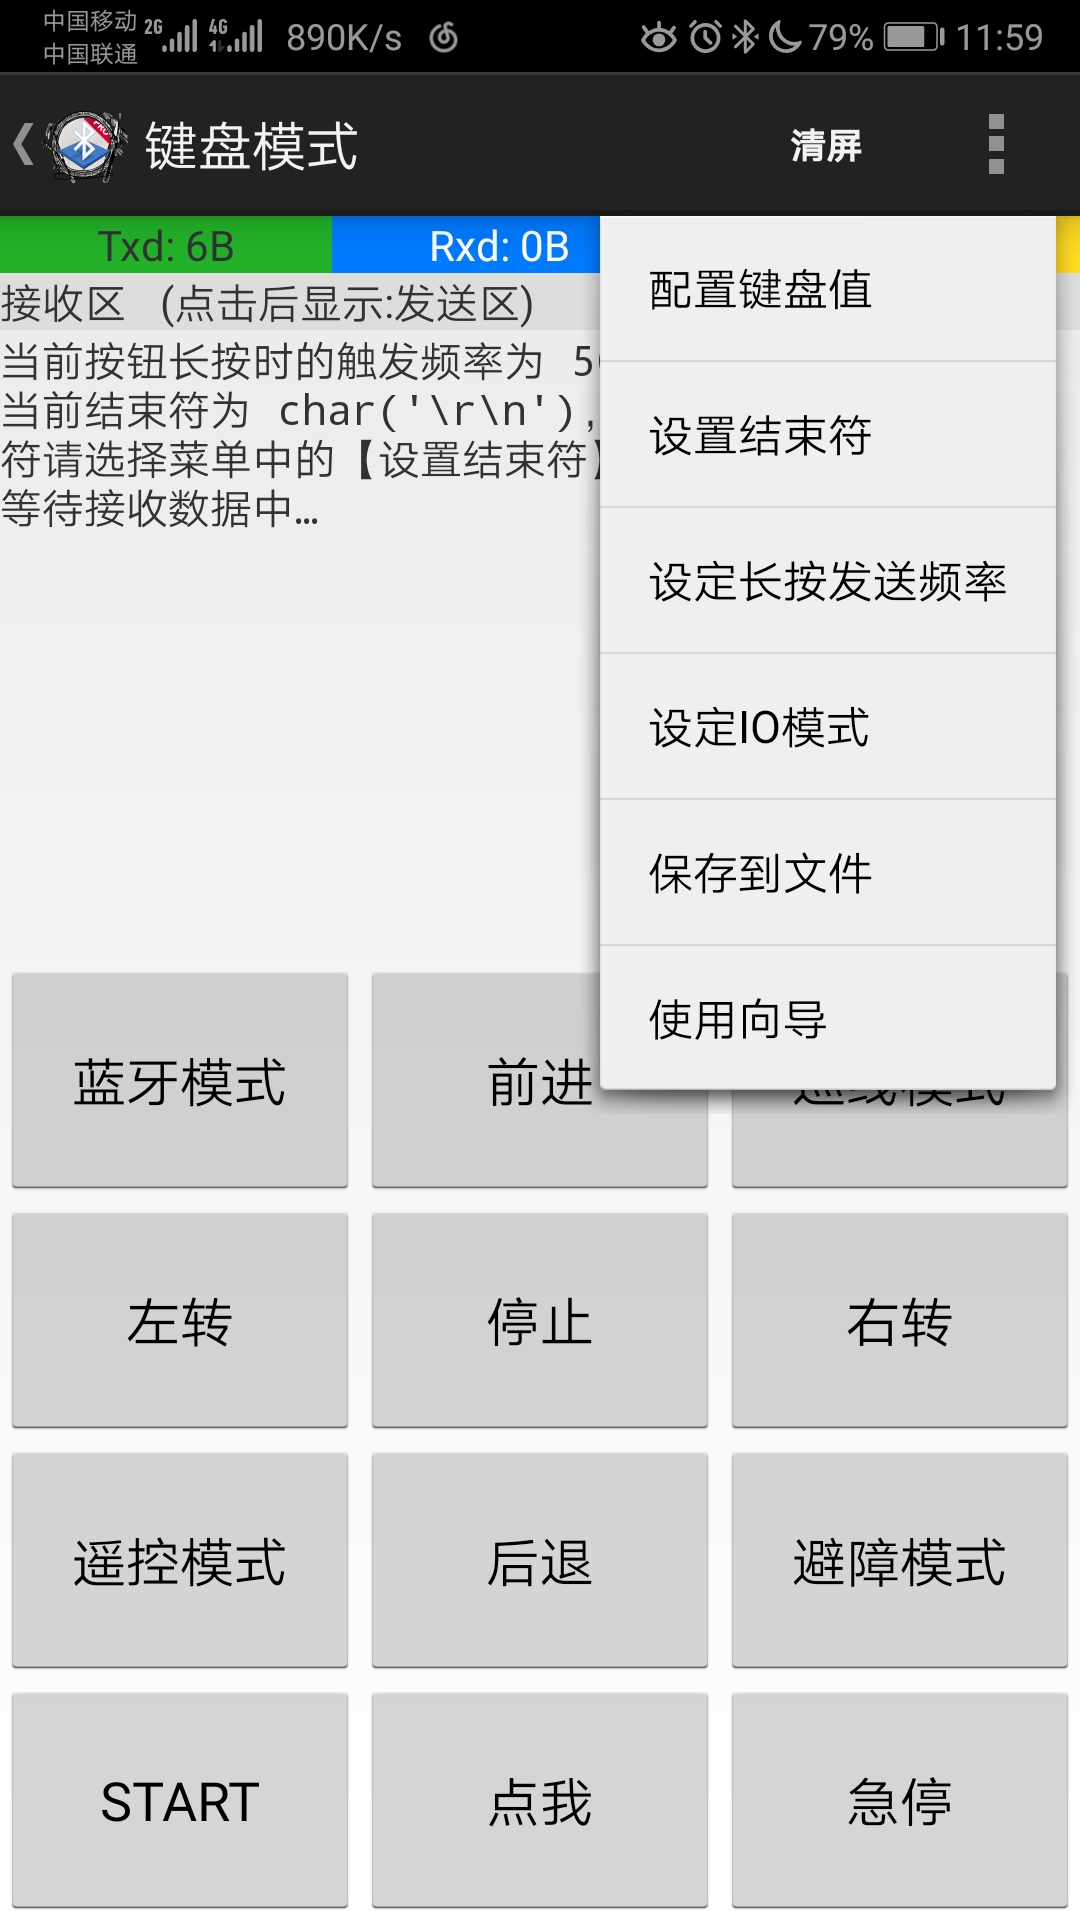
Then click on the keyboard location you want to use, and set the appropriate settings, such as setting Bluetooth mode selection here, which means that the Bluetooth mode is selected at a click.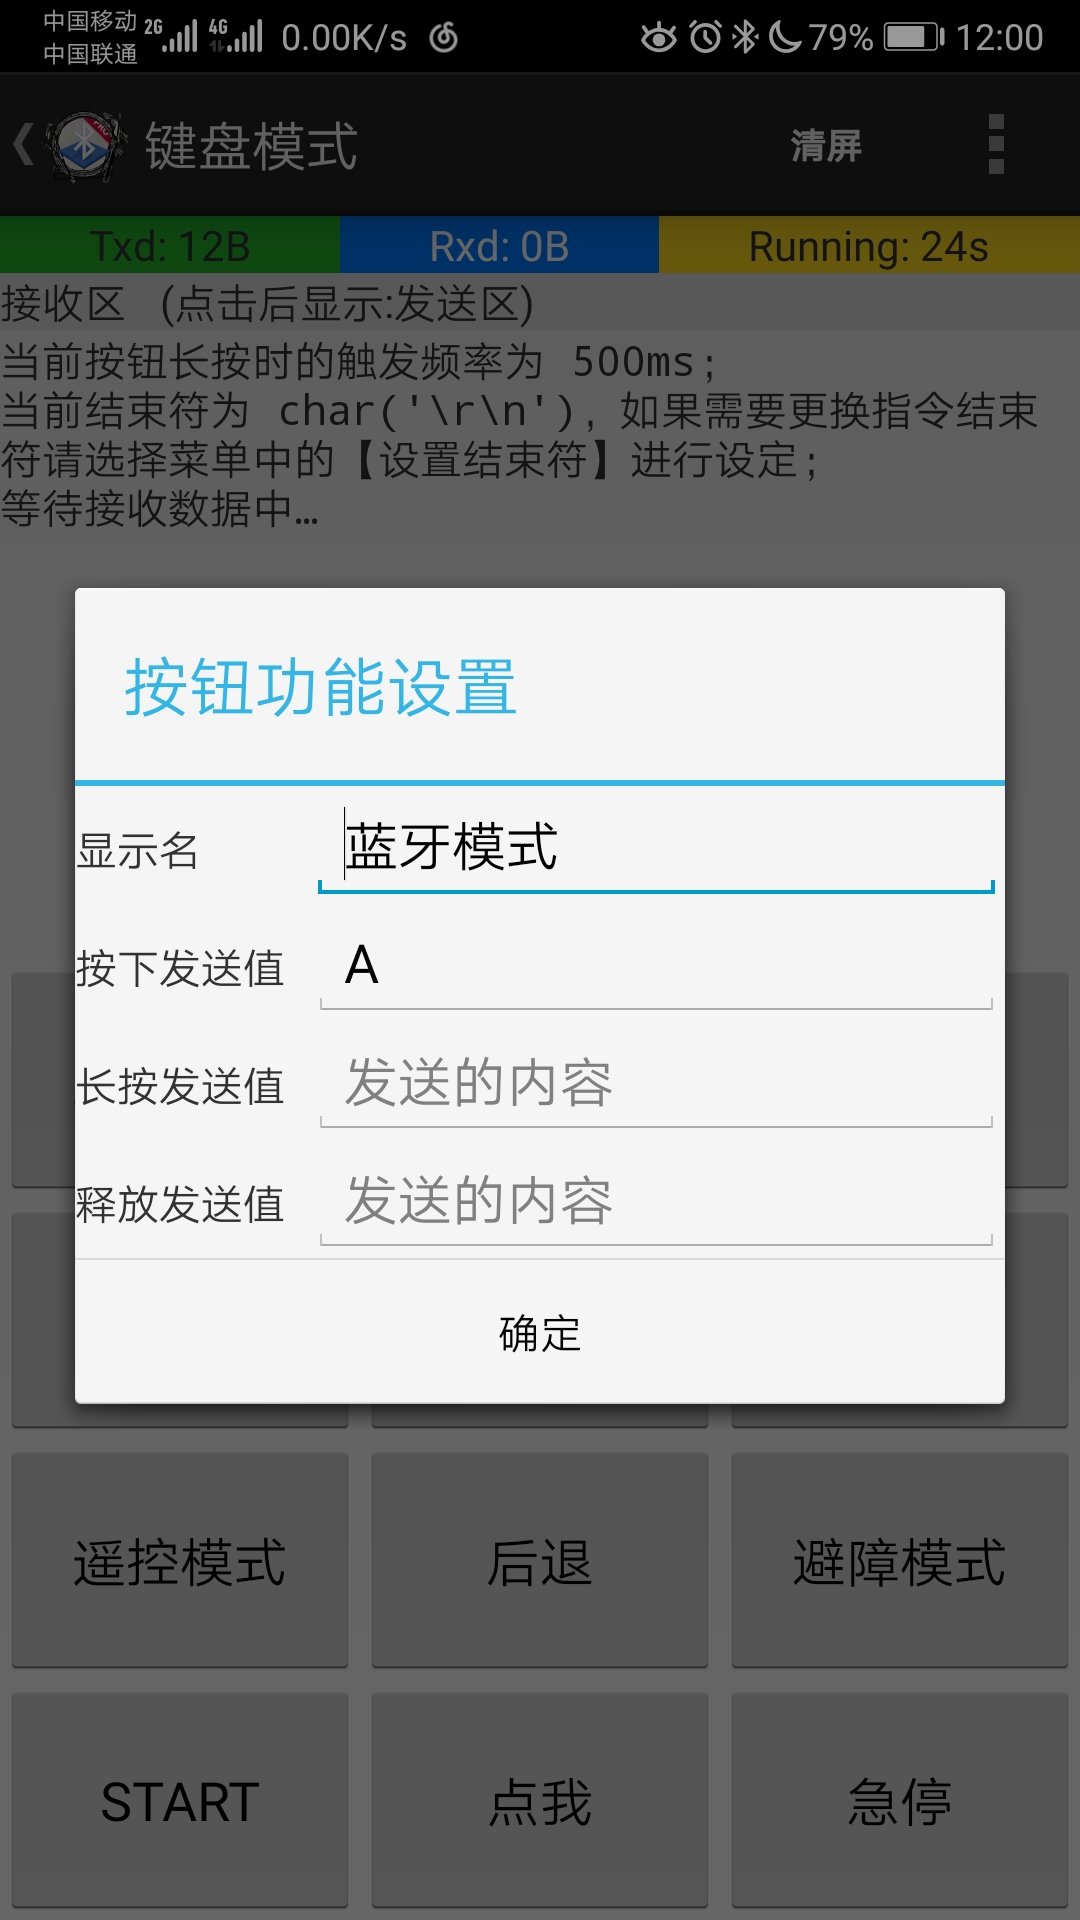
Then set the START key to indicate the confirmation mode selection, which is the Bluetooth mode will take effect, of course, these are reflected in the program, I summarized at MERGE.
Setting the forward button means pressing forward, releasing the parking, backing, turning left, turning right is the same as setting here.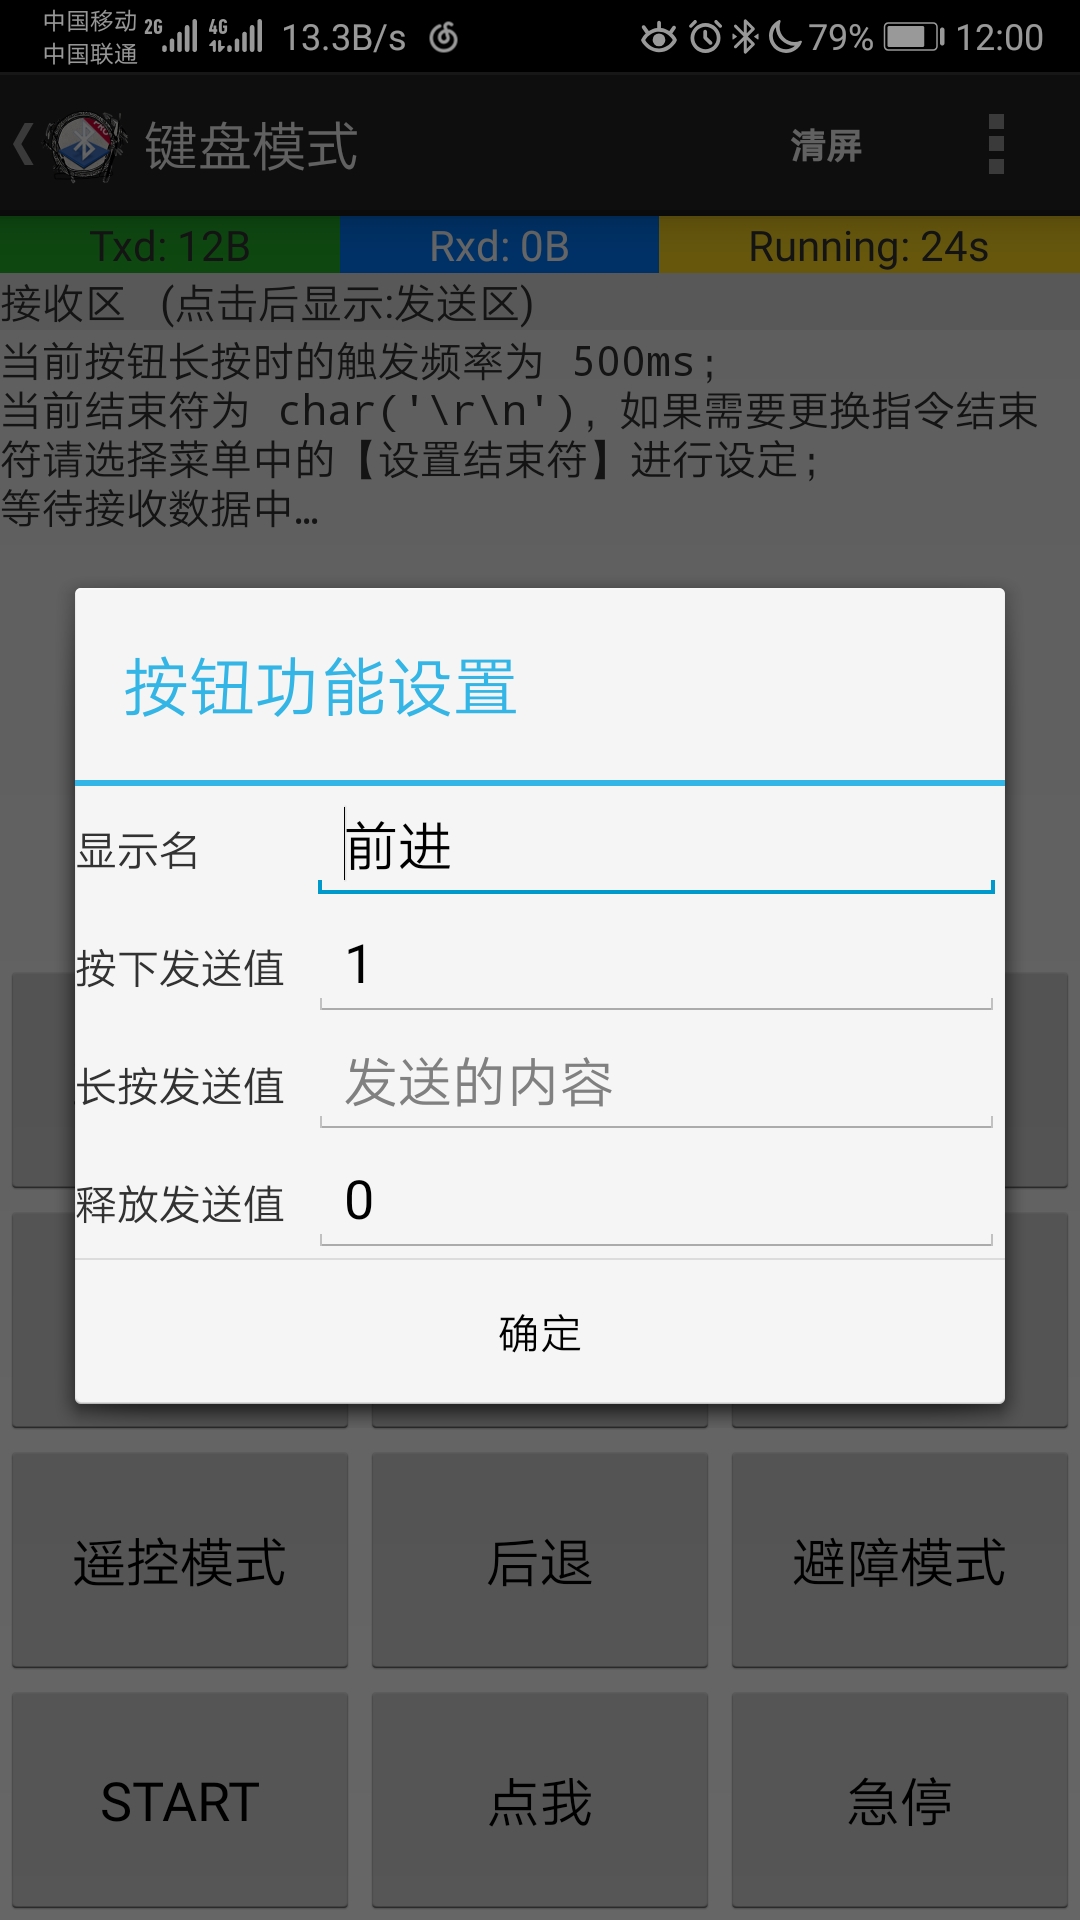
Parking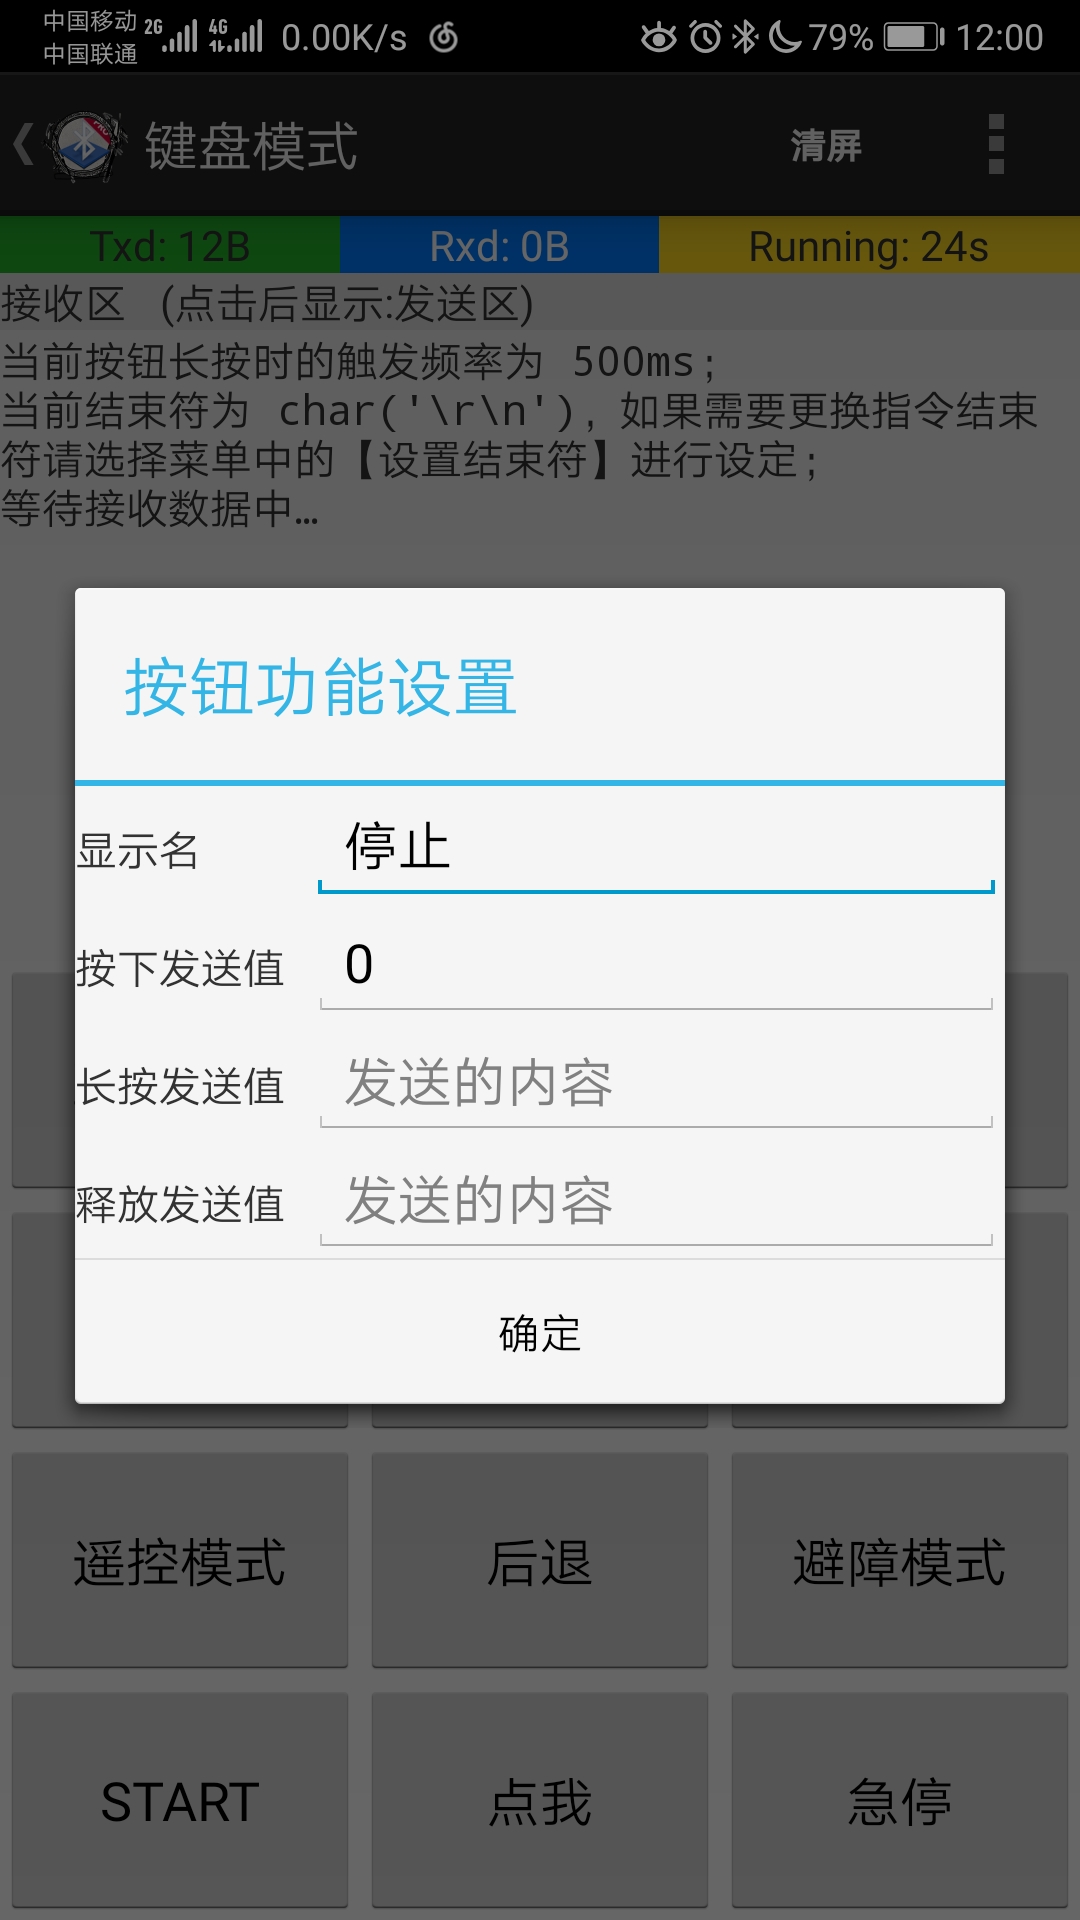
Emergency stop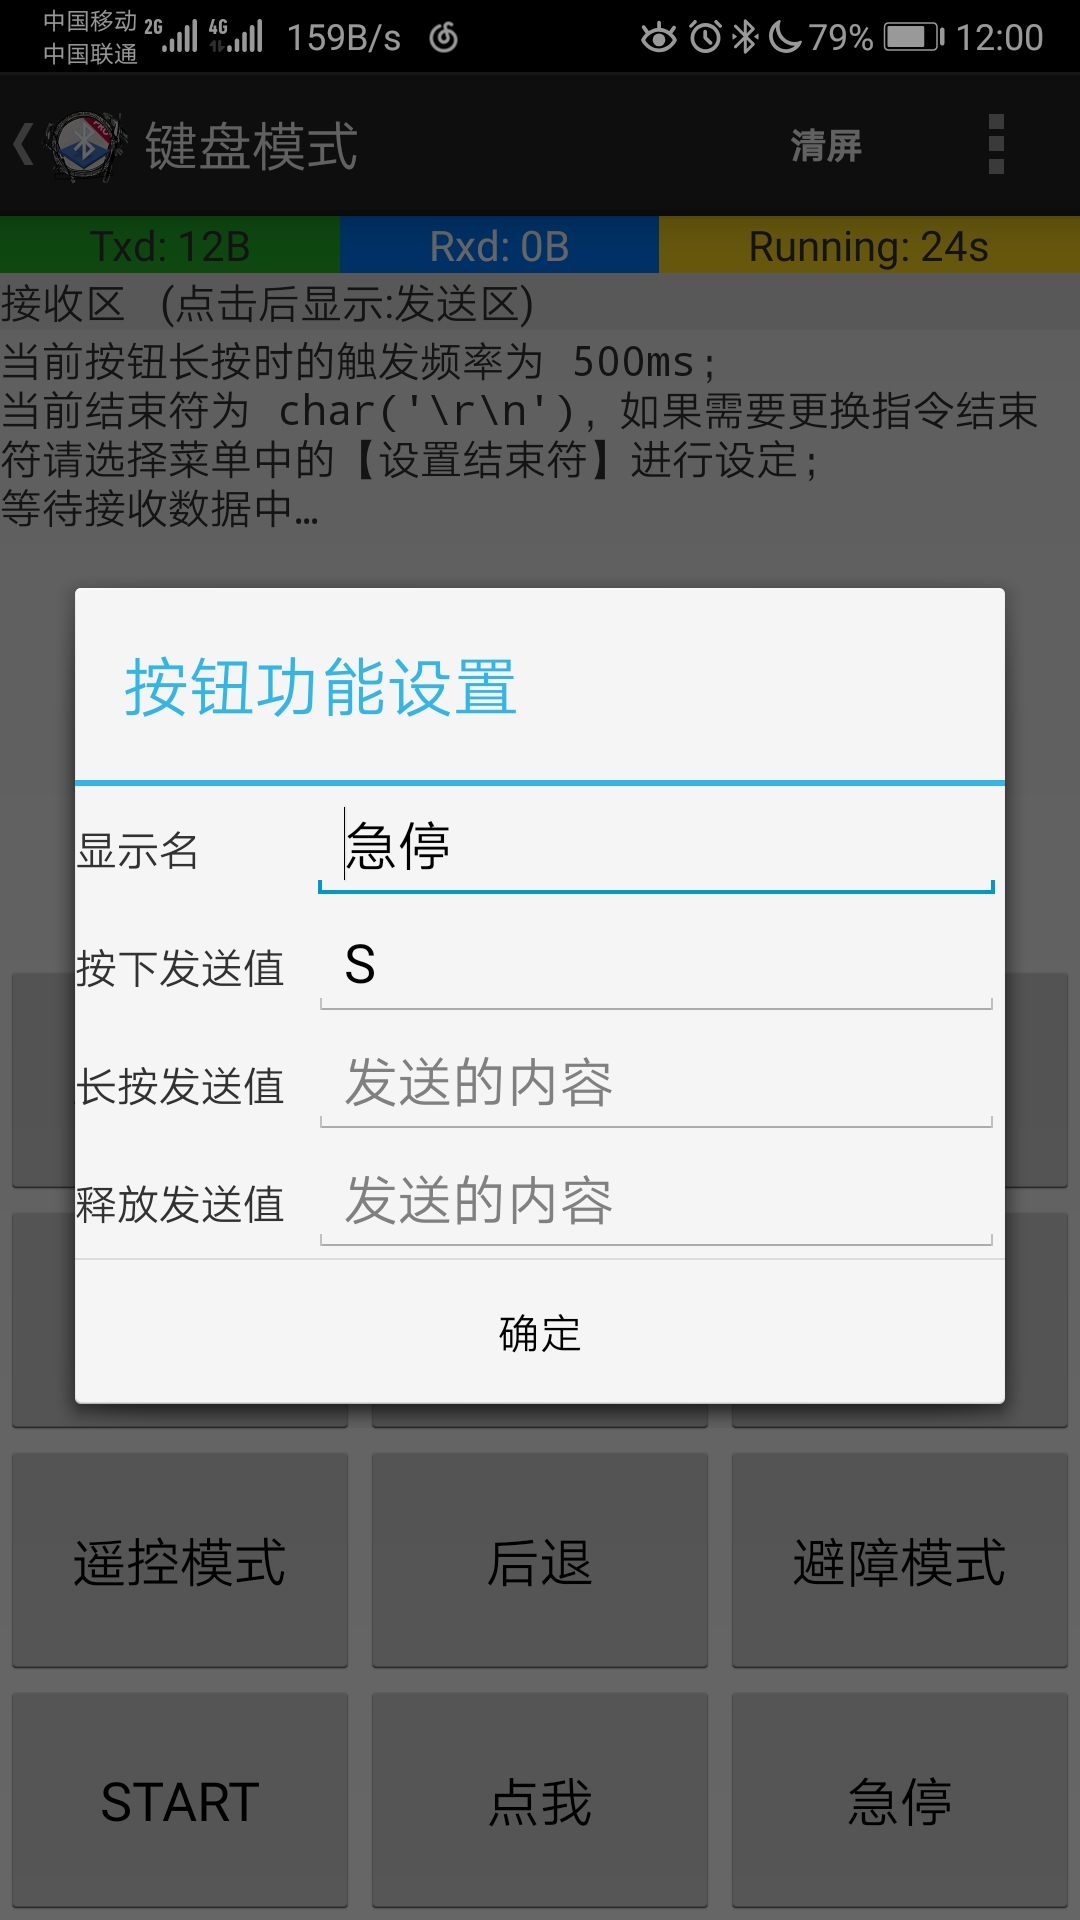
The debugging assistant is configured here.
MERGE-Remote Control & Bluetooth
This paper summarizes how to integrate remote control and Bluetooth control functions to realize the functions of remote control and Bluetooth control at the same time. At the same time, it has built-in soft emergency stop function.
/*Mode config-----------------------------------------------------------------*/
/**
 * @brief: Mode Selection Initialization Function for Initialization of Various Patterns
 * @param: Key Value, Remote Control and Bluetooth Mode Universal
 * @retval: NONE
 * @Others: Because the main function is set to use remote control and Bluetooth to select mode directly,
						So the initialization of remote Bluetooth mode is done in the main function, and no settings are made here.
**/
void Mode_select(u8 key)
{
	switch(key)
	{
		case 13://REMOTE_CTR_MODE

			break;
		case 15://BLUETOOTH_MODE

			break;
		case 16://TRACE_MODE
				Trace_Init();
			break;
		case 14://OBSTACLE_AVOID_MODE
				HCSR04_Init();
			break;

		case 66://REMOTE_CTR_MODE

			break;
		case 65://BLUETOOTH_MODE

			break;
		case 67://TRACE_MODE
				Trace_Init();
			break;
		case 68://OBSTACLE_AVOID_MODE
				HCSR04_Init();
			break;
		default:
			break;

	}
}

/**
 * @brief: Functional function of mode operation
 * @param: Mode Selection Key Value, Remote Control and Bluetooth Mode Universal
 * @retval: NONE
 * @Others: NONE
**/
void Mode_run(u8 mode)
{
	switch(mode)
	{
		case 13://REMOTE_CTR_MODE
				Remote_Ctr();
			break;
		case 15://BLUETOOTH_MODE
				Bluetooth_Ctr();
			break;
		case 16://TRACE_MODE
				TRACE_Implement();
			break;
		case 14://OBSTACLE_AVOID_MODE
				Obstacle_avoid();
			break;

		case 66://REMOTE_CTR_MODE
				Remote_Ctr();
			break;
		case 65://BLUETOOTH_MODE
				Bluetooth_Ctr();
			break;
		case 67://TRACE_MODE
				TRACE_Implement();
			break;
		case 68://OBSTACLE_AVOID_MODE
				Obstacle_avoid();

			break;
		default:
			break;
	}
}


/**
 * @brief: Mode Selection Scanning Function for Scanning Pressed Key Values for Corresponding Operations
 * @param: NONE
 * @retval: NONE
 * @Others: NONE
**/
void Mode_Scan(void)
{
		static int Start_flag=0;//Start running the sign, the car starts running at non-zero.
		static u8 key1;//Selection of Key Values in Remote Control Mode
		static u8 mode1;//Operating Key Value in Remote Control Mode
		static u8 key2;//Selected Key Values in Bluetooth Mode
		static u8 mode2;//Running Key Value in Bluetooth Mode

		//Remote control mode scanning
		key1=PS2_DataKey();
		if(key1==13|key1==14|key1==15|key1==16)//Mode Selection Function Press the Key
		{
		printf("  \r\n   %d  is  light  \r\n",Data[1]);//ID
		printf("  \r\n   %d  is  pressed  \r\n",key1);
		Mode_select(key1);
		mode1=key1;
		Start_flag=0;
		if(key1 == 11)
		{
			PS2_Vibration(0xFF,0x00); //There must be a delay_ms(1000) after the vibration is sent out.
			delay_ms(500);
		}
		else if(key1 == 12)
		{
			PS2_Vibration(0x00,0xFF); //There must be a delay_ms(1000) after the vibration is sent out.
			delay_ms(500);
		}
		else
			 PS2_Vibration(0x00,0x00);
		}
		//Press the start key, mark position 1, ready to enter the execution state
		if(key1==4)
		{
			Start_flag=1;
		}
		//start key press, flag position 1, enter execution status
		if(Start_flag==1)
		{
			Mode_run(mode1);
		}
		printf(" %5d %5d %5d %5d\r\n",PS2_AnologData(PSS_LX),PS2_AnologData(PSS_LY),
																	PS2_AnologData(PSS_RX),PS2_AnologData(PSS_RY) );

		//Bluetooth mode scanning
		if(USART_RX_STA&0x8000)
		{
			printf("\r\n The message you sent is:\r\n");
			USART_SendData(USART1, USART_RX_BUF[0]);//Key value sent to computer serial debugging assistant
			USART_SendData(USART2, USART_RX_BUF[0]); //Key Value Sends to Mobile Bluetooth Serial Debugging Assistant
			//Mode Selection Function Press the Key
			if(USART_RX_BUF[0]==0x41|USART_RX_BUF[0]==0x42|USART_RX_BUF[0]==0x43|USART_RX_BUF[0]==0x44)
			{
				key2=USART_RX_BUF[0];
				Mode_select(key2);
				Start_flag=0;
			}
			mode2=USART_RX_BUF[0];
			//Press the start key, mark position 2, and prepare for execution
			if(mode2==0x46)
			{
				Start_flag=2;
			}

			printf("\r\n\r\n");//Insert line breaks
			USART_RX_STA=0;

		}
		//start key press, mark position 2, enter execution status
		if(Start_flag==2)
		{
			Mode_run(key2);
		}


		//Soft and urgent stop
		if(key1==1||mode2==83)
		{
			stop();
			Start_flag=0;
		}

}