Before Django (3. ListView view of common views) In, we mentioned that there are five common views. To add such an operation, we will use the CreateView view. The table also mentioned that using CreateView requires both Model and Form. Let's take a look at Form first.
There are two main types of forms:
- Form (data should be verified manually, and each field should be defined manually, which has nothing to do with Model)
- ModelForm (the model class name associated one-to-one will be used directly with the fields defined in the model)
Form
Configure forms Py file
forms.py file is mainly used to store things related to form. No matter using ordinary form or ModelForm, form code is written in it.
from django import forms

class CreatePersonForm(forms.Form):
    name = forms.CharField(max_length=32)
    age = forms.IntegerField()
    gender = forms.BooleanField()
    id_card = forms.IntegerField()
    address = forms.CharField(max_length=255)
    temperature = forms.FloatField()
It can be seen that the writing of ordinary form is basically the same as that of model. The only difference is that models are used in model. ###, forms. ###.
Some operations in the terminal
Like the model, we can also import the form in the terminal to operate. Similarly, we need to run Python manage Py shell enters the command interaction interface, and then imports the form class we need to operate:
from Django01_app02.forms import CreatePersonForm
Instantiate a form in the terminal and assign a value to the form
>>> form=CreatePersonForm(data={'name':'Wang Ergou','age':15,'gender':2,'id_card':123456789,'address':''})
>>> form
<CreatePersonForm bound=True, valid=Unknown, fields=(name;age;gender;id_card;address;temperature)>
In the above, we didn't assign values to all the parameters of the form, and when we looked at the form, we found that bound=True, valid = unknown, which means that our successful data was passed into the form, but it hasn't been verified yet. We perform manual verification using form is_ Valid () to validate the data.
>>> form.is_valid()
False
>>> form
<CreatePersonForm bound=True, valid=False, fields=(name;age;gender;id_card;address;temperature)>
After verification, False appears. When you check the form again, you find that valid=False, indicating that we have not successfully verified. Why? Use form Errors check the error and find that it is because we didn't fill in the address and temperature in the assignment just now, so the verification failed.
>>> form.errors
{'address': ['This field is required.'], 'temperature': ['This field is required.']}
Usually, when the verification fails, we need to perform another operation, throw an exception or render the exception to the front end. Then we assign the two parameters in the form that fail to pass the verification, and then the verification can pass successfully without error information. Then you can save the data in the view and return to a page.
>>> form=CreatePersonForm(data={'name':'Wang Ergou','age':15,'gender':2,'id_card':123456789,'address':'Beijing','temperature':37})
>>> form
<CreatePersonForm bound=True, valid=Unknown, fields=(name;age;gender;id_card;address;temperature)>
>>> form.is_valid()
True
>>> form
<CreatePersonForm bound=True, valid=True, fields=(name;age;gender;id_card;address;temperature)>
>>> form.errors
{}
It should be noted that: because the form has nothing to do with the model, even if the verification in the form is successful, the error will still be reported when saving the data. The verification in the form is the limiting condition written in the form, which is not necessarily consistent with that in the model. For example, we now have gender=2, and the form does not verify the error, However, when uploading data in the model, an error will be reported because the gender can only be 1 or 0.
Write Views
Define the get method to get the page (render the page with render function)
class PersonCreate(View):
    def get(self, request, *args, **kwargs):
        return render(request, 'Django01_app02/peraon_craete.html')

    def post(self, request, *args, **kwargs):
        #Validation data
        data = request.POST
        form =CreatePersonForm(data=data)
        if form.is_valid():
            #Save data
            person=Person(
                name=form.cleaned_data['name'],
                age=form.cleaned_data['age'],
                gender=form.cleaned_data['gender'],
                id_card=form.cleaned_data['id_card'],
                address=form.cleaned_data['address'],
                temperature=form.cleaned_data['temperature'],
            )
            person.save()
        else:
            raise Exception
        #Jump
        return HttpResponseRedirect(reverse('personal:peraon_list'))
Write Html
The action and url in the form are inversely parsed, and the method can be submitted (post)
<!DOCTYPE html>
<html lang="en">
<head>
  <meta charset="UTF-8">
  <title>Registrant information</title>
</head>
<body>
  <form action='{% url 'personal:peraon_create' %}' method="post">
{#    <form action='' method="post">#}
{#    Both have the same effect action If you don't fill in it, it will be submitted to the current page by default, but I don't know the difference between adding parameters and not adding parameters#}
    {% csrf_token %}
    <p><label>name:<input type="text" name="name"></label></p>
    <p><label>Age:<input type="number" name="age"></label>
    </p><p><label>Gender:
      <input type="radio" name="gender" value="female" checked="checked">male
      <input type="radio" name="gender" value="male">female
    </label></p>
    <p><label>ID<input type="number" name="id_card"></label></p>
    <p><label>Address:<input type="text" name="address"></label></p>
    <p><label>Body temperature:<input type="number" name="temperature" step="0.1"></label></p>
    <p><button type="submit">preservation</button></p>
  </form>
</body>
</html>
urls
#Django01_app02/urls.py
from django.urls import path
from Django01_app02.views import *
app_name='Django01_app02'
urlpatterns = [
path('list/', PersonList.as_view(),name='peraon_list'),
path('craete/', PersonCreate.as_view(),name='peraon_create')
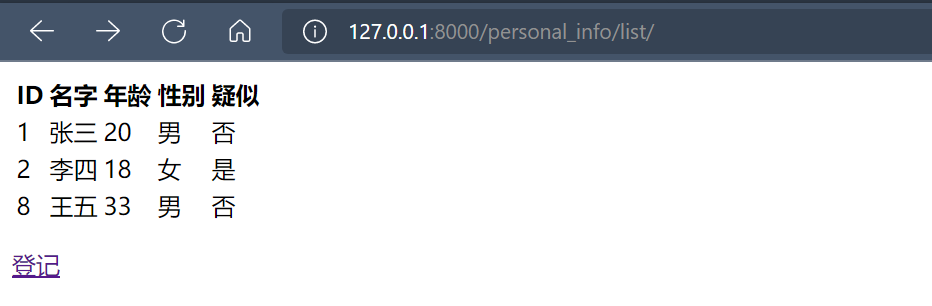
]After all operations are completed, we can run the program to open the page. Of course, we jump to person first_ List page, so how to start from person_ The list page jumps to person_ The create page only needs to be in person_list. Add a sentence of code under the table form in HTML
<p><a href={% url 'personal:peraon_create' %}>register</a></p>The results are as follows:
Click the registration button to jump to:
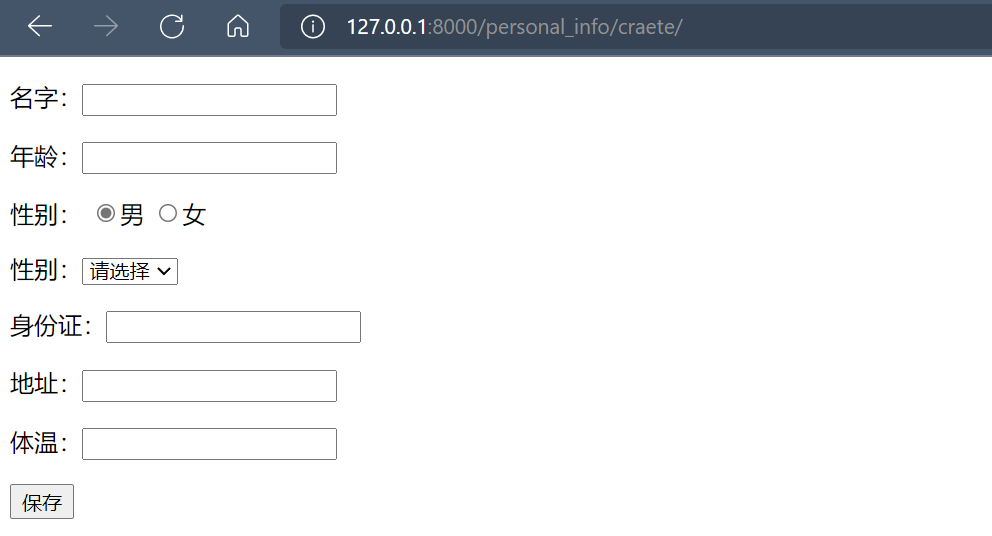
Then we can fill in and click Save to jump to the list interface again and display the information just saved.
ModelForm
When writing forms as like as two peas, you will find that the Field in the form is basically the same as that in the Field. And generally, the data to be verified in the form is the data to be saved in our model. At this time, we can bind the fields in the model to the fields in the form
For example, there is such an information table of epidemic personnel in our database. The fields have a lot of information, such as name, age, gender, address, body temperature, etc. now let you write a page to create epidemic personnel information. How should your background write it?
- Front end: first, these fields will be listed one by one in the front end for users to fill in, and then the background will receive users' input one by one
- Background: define an epidemic personnel model to save epidemic personnel information
- Background: define an epidemic situation personnel form to verify the data transmitted from the front end
- Background: use the get() method in the view function to get the verified data one by one, and then use the QuerySet method in the model to save the data
In the above, we use the ordinary Form, but in the above example: in fact, the definition of the Form is similar to that of the model, but if we follow the above method, we need to completely define both sides of a similar thing, which is troublesome
Therefore, Django provides a ModelForm component: this component is mainly used to integrate forms and models and connect them. You don't need to define it completely twice
Configure forms Py file
1. Must inherit forms ModelForm
2. class Meta:
- Model = "# one to one associated model class name"
- fields = "__all__" # indicates that all fields in the model class are displayed (need to be verified), or you can customize the fields
- exclude=None, # exclude fields (excluded fields do not need to be verified)
- widgets=None, # custom plug-ins
- error_messages=None, # custom error messages (overall error messages from django.core.exceptions import NON_FIELD_ERRORS)
- labels=None, # prompt information
- help_texts=None, # help prompt
- localized_fields=('birth_date ',) # localization, such as displaying data according to different time zones
To use modelform, you must write a modelform first
class PersonCreateForm(forms.ModelForm):
    class Meta:
        model = Person
        fields='__all__'
Configure Views
class PersonCreate(CreateView):
    form_class = PersonCreateForm
    model = Person
    template_name = 'Django01_app02/peraon_craete.html'
    success_url = reverse_lazy('personal:peraon_list')
Write Html
You don't need to customize the form. Use {form}} in html to display the form. add. as_p can wrap each field in the form.
<!DOCTYPE html>
<html lang="en">
<head>
  <meta charset="UTF-8">
  <title>Registrant information</title>
</head>
<body>
  <form action='{% url 'personal:peraon_create' %}' method="post">
    {% csrf_token %}
    {{ form.as_p }}
    <p><button type="submit">preservation</button></p>
  </form>
</body>
</html>
The operation results are as follows:
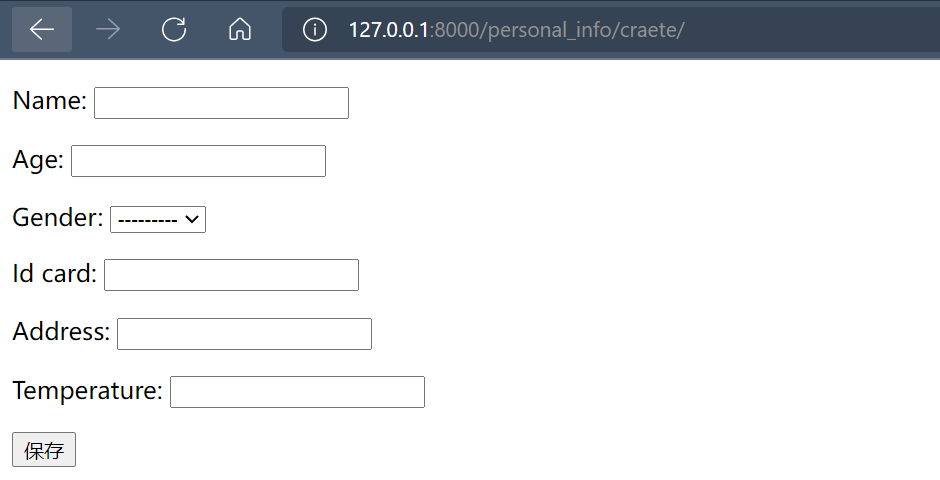 However, the form automatically generated by the model is the same as the fields defined in the model, which is in English. At this time, we can use the labels attribute in the class Meta in the modelform to rename. We only need to add the following code under the class Meta.
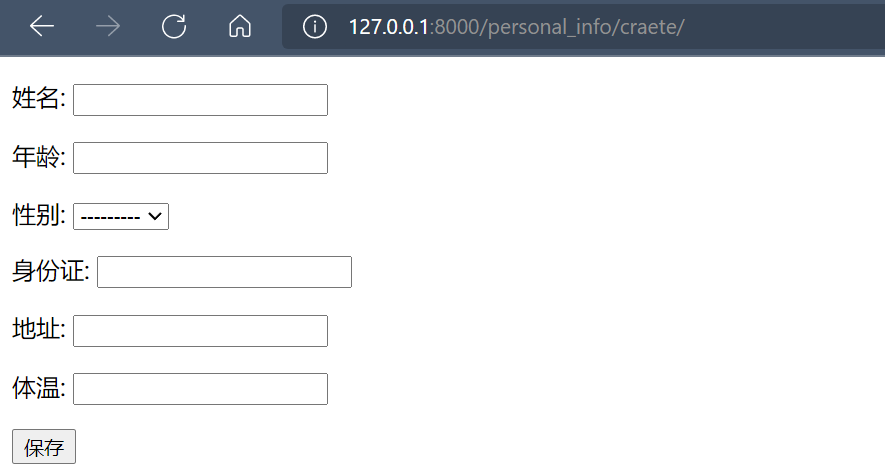
labels= {'name':'full name','age':'Age','gender':'Gender','id_card':'ID','address':'address','temperature':'temperature'}Run this time after modification:
So far, we have a preliminary understanding of the creatiview view, Form and ModelForm.