After installing django, it's time to install xadmin. We all know that Django has its own native background admin, but here we don't need admin, we use xadmin, because the interface of xadmin is more beautiful.
1. Installation of xadmin
First log in to root user and install xadmin:
1pip install https://github.com/sshwsfc/xadmin/tarball/master
Note: You can't use pip install xadmin, because the xadmin installed in this way is not compatible with Python 3, there will be a series of problems in the use process. In addition, the best way to install plug-ins is to use root users, so as to avoid a series of permission problems.
Then su - pycode, go to the root directory, and create a new django project:
1django-admin.py startproject shopping_sites
Errors were reported as follows:
-bash: django-admin.py: command not found
Should not be caused by the addition of environment variables, under root, use the following commands to add:
1vim /etc/profile
At the end, add the following command:
1export PATH=$PATH:/usr/local/python3.6.8/lib/python3.6/site-packages/Django-1.11.20-py3.6.egg/django/bin2source /etc/profile
Use the command echo $PATH to see if it works.
Re-su-pycode, go to the root directory, and create a new django project:
1django-admin.py startproject shopping_sites
ls can see that the directory shopping_sites appears, and then execute the following command:
1cd shopping_sites2cp /usr/local/python3.6.8/lib/python3.6/site-packages/xadmin -r ./
Copy xadmin to the current directory for later personalized modification.
2. Introduce xadmin into the current project
- First, modify the shopping_sites/shopping_sites/settings.py file and add three lines to the file, as follows:
1INSTALLED_APPS = (2 ...34 'xadmin',5 'crispy_forms',6 'reversion',78 ...9)
- You can also modify language settings:
1LANGUAGE_CODE = 'zh-hans' #Support Chinese
- Modify shopping_sites/shopping_sites/urls.py as follows:
1from django.conf.urls import url, include 2#from django.contrib import admin 3from xadmin.plugins import xversion 4import xadmin 5 6xversion.register_models() 7xadmin.autodiscover() 8 9urlpatterns = [10url(r'^xadmin/', include(xadmin.site.urls)),11]
3. New app
Execute the following orders:
1python manage.py startapp op_xadmin
Successfully, you can see that the op_xadmin directory appears under the shopping_sites directory.
Note: If you can't find any module in the process of establishing app, you can install it directly by PIP install XXXXXX.
4. Database Installation and Use
We use mysql as the database, first we need to build the database:
1mysql -uroot -p123456 #Super user login
Then create a new database and grant permissions:
1CREATE DATABASE shopping DEFAULT CHARACTER SET utf8 COLLATE utf8_general_ci;2grant all on shopping.* to mysql@localhost identified by 'mysql';
Use show variables like'% character%'; the command shows that the character set has been set to utf8.
Next, modify set.py as follows:
1DATABASES = { 2 'default': { 3 'ENGINE': 'django.db.backends.mysql', 4 'NAME': 'shopping', 5 'USER':'mysql', 6 'PASSWORD':'mysql', 7 'HOST':'', 8 'PORT':'', 9 }10}
Then execute the command of database synchronization: Python management.py makemigrations, error reporting:
django.core.exceptions.ImproperlyConfigured: Error loading MySQLdb module: No module named 'MySQLdb'.
Looking at the error message, you can see that there is no module connected to mysql installed. Here we use pymysql, so pip install pymysql installed.
Modify init.py in the project directory and add the following code:
1import pymysql2pymysql.install_as_MySQLdb()
Re-execution, no error reporting, as follows:
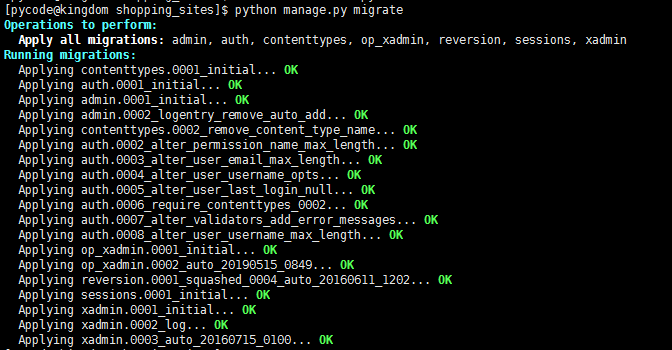
5. Start django
Then modify admin.py to adminx.py in the op_xadmin directory as follows:
1from .models import ops2import xadmin34# Register your models here.56class opsAdmin(object):7 list_display = ('op_name')89xadmin.site.register(ops, opsAdmin)
Then we need to add the following to set.py:
1ALLOWED_HOSTS = ['192.168.233.250'] #Be careful to change to your own linux machine or virtual machine ip address
Start up service:
1python manage.py runserver 192.168.233.250:9090
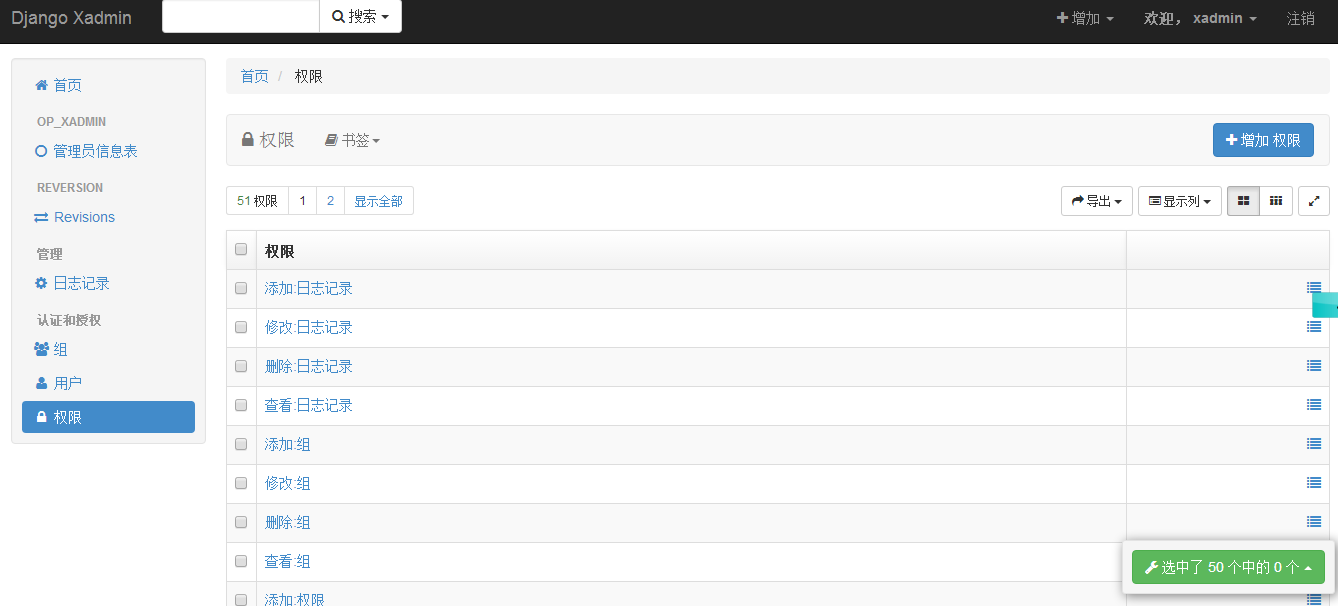
Open the local page:
http://192.168.233.250:9090/xadmin/
As follows:
Use the command: Python management.py create superuser to create a superuser.
user:xadmin
email:xadmin@szkingdom.com
passwd:1qaz!QAZ
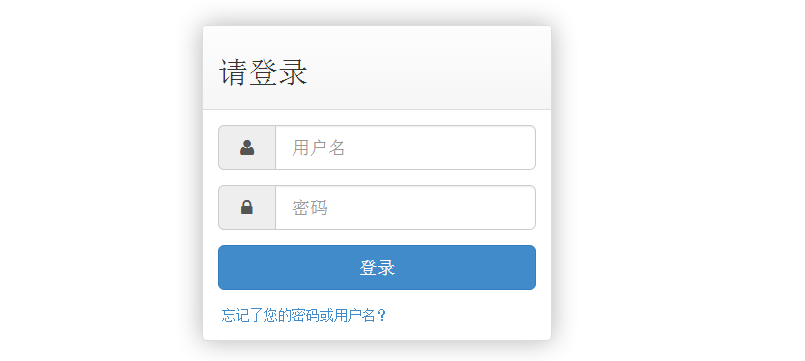
Restart the service and login:
Click on the Administrator Information Table and keep reporting errors. The error information is as follows:
1Internal Server Error: /xadmin/op_xadmin/ops/2Traceback (most recent call last):3 File "/usr/local/python3.6.8/lib/python3.6/site-packages/Django-1.11.20-py3.6.egg/django/db/models/options.py", line 617, in get_field4 return self.fields_map[field_name]5KeyError: 'o'
Then all kinds of search reasons were not found, and the field name was modified directly as follows:
1class ops(models.Model): 2 opera_name = models.CharField(max_length=32, unique=True, verbose_name=u"Administrator name") 3 opera_age = models.CharField(max_length=32, default = '23', verbose_name=u"Administrator Age") 4 5 class Meta: 6 db_table = 'ops' 7 verbose_name = 'Administrator Information Table' 8 verbose_name_plural = 'Administrator Information Table' 910 def __str__(self):11 return self.opera_name
After updating the database, restart the service:
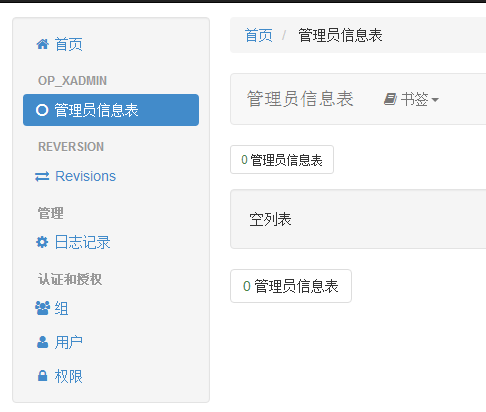
You can see that clicking on the Administrator Information Sheet will no longer report errors. Okay, let's share it here today. If it's useful to you, you can give a compliment. For more use of xadmin, please pay attention to the following articles. Thank you!