The website deployed by oneself still has a small sense of achievement. After all, it has stepped on many pits, and its actual combat skills have made some progress.
Website (customized later): https://murmuring-escarpment-91471.herokuapp.com/
Django project: learning notes web page
Establish virtual environment
To use Django, you first need to establish a virtual working environment. A virtual environment is a location on the system where packages can be installed and isolated from other Python packages.
Create a new directory for the project and name it learning_log, then switch to this directory in the terminal, and execute the following command to create a virtual environment
python -m venv ll_env
Here you run the module venv and use it to create a file called ll_env virtual environment.
Activate virtual environment
If you are using a Windows system, use the command
ll_env\Scripts\activate
To stop using the virtual environment, execute the command
deactivate
Install Django
After activating the virtual environment, execute the following command to install Django:
pip install django
Create a new project in Django
When the virtual environment is still active (ll_env contained in parentheses), execute the following command to create a new project
django-admin startproject learning_log .
Note: don't forget this period, otherwise you will encounter some configuration problems when deploying the application. If you forget this period, delete the created files and folders (except ll_env) and run the command again.
Directory learning_log contains four files, the most important of which is settings py,urls.py and WSGI py.
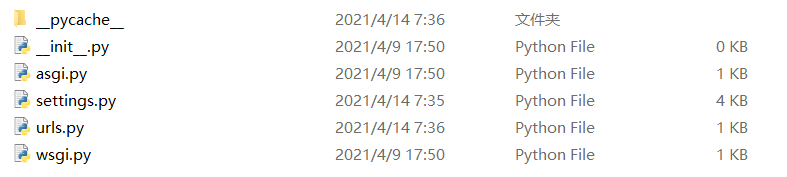
- File settings Py specifies how Django interacts with the system and how to manage the project. During the development of the project, we will modify some of these settings and add some settings.
- File URLs Py tells Django which pages should be created to respond to browser requests.
- File WSGI Py helps Django provide the file it creates. This file name is the acronym of Web server gateway interface.
Create application
The Django project consists of a series of applications that work together to make the project a whole.
The command startapp appname lets Django build the infrastructure needed to create the application.
such as
(ll_env)learning_log$ python manage.py startapp learning_logs
Define model
The model tells Django how to handle the data stored in the application. At the code level, the model is a class, just like each class discussed above, including attributes and methods.
Activation model
To use these models, you must have Django include the aforementioned application in the project. To do this, open settings Py (which is located in the directory learning_log/learning_log), in which a fragment tells Django which applications have been installed into the project and will work together.
When you need to modify the data managed by "learning notes", you should take the following three steps: modify models Py, yes, learning_logs calls makemigrations and Django migrates the project.
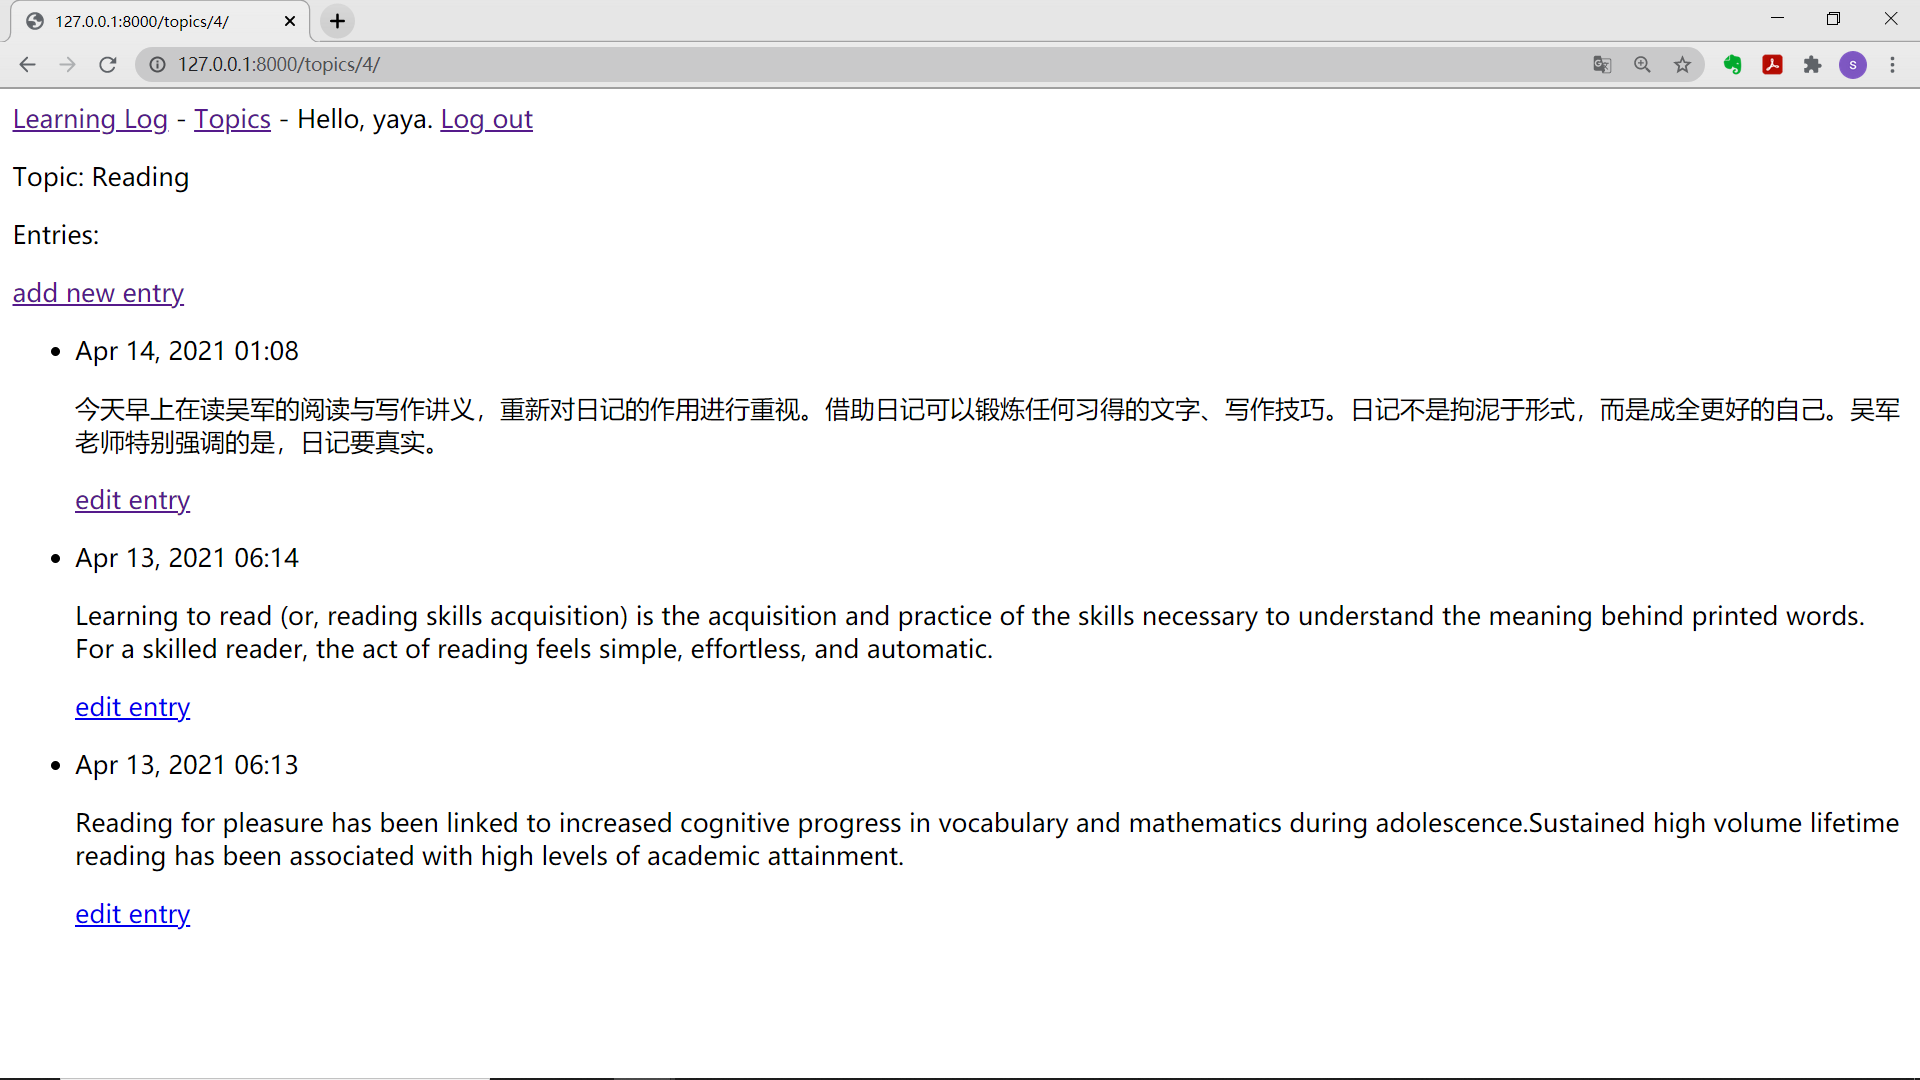
Create page
The process of creating pages using Django is divided into three stages: defining URLs, writing views, and writing templates. The order in which these three phases are completed is irrelevant, but in this project, the URL pattern is always defined first.
- The URL pattern describes how the URL is designed to let Django know how to match the browser request with the website URL to determine which page to return.
- Each URL is mapped to a specific view - the view function gets and processes the data required by the page.
- View functions usually use templates to render pages, and templates define the overall structure of the page.
urls.py
"""definition learning_logs of URL pattern"""
from django.urls import path
from . import views

app_name = 'learning_logs'
urlpatterns = [
	# homepage
	path('', views.index, name='index'),
]
To indicate which URLs are currently located Py file, add a document string at the beginning of the file. Next, the function path is imported because you need to use it to map the URL to the view. We also imported the module views, in which the period allows Python to start from the current URLs Import views. From the folder where the PY module is located py. Variable app_name enables Django to convert this URLs Py files are distinguished from files with the same name in other applications within the project. In this module, the variable urlpatterns is a list that can be used in application learning_ Page requested in logs.
The actual URL pattern is a call to the function path(), which accepts three arguments. The first is a string that helps Django route requests correctly. After receiving the requested URL, Django tries to route the request to a view. To do this, it searches all URL patterns and finds the one that matches the current request. Django ignores the underlying URL of the project( http://localhost:8000/ )Therefore, the empty string ('') matches the underlying URL. Other URLs do not match this pattern. If the requested URL does not match any of the existing URL patterns, Django will return an error page.
The second argument to path() specifies to call view Which function in py. When the requested URL matches the above regular expression, Django will call view The function index() in py. The third argument specifies the name of the URL pattern as index, allowing us to refer to it elsewhere in the code. Whenever you need to provide a link to this home page, you will use this name instead of writing a URL.
Some results of Chapter 19
Let users have their own data
Use @ login_required restricted access
Django provides the decorator @ login_required, which allows you to easily allow only logged in users to access certain pages. Decorator is an instruction placed in front of the function definition. Python modifies the behavior of the function code according to it before the function runs.
Associate data to users
The data at the highest level needs to be associated with users, and the data at the lower level will be automatically associated with users. For example, in the project "study notes", the top-level data of the application is the topic, and all entries are associated with a specific topic. As long as each topic belongs to a specific user, the owner of each entry in the database can be determined.
Some achievements:
Beginning of Chapter 20
Project deployment
Here is "python programming from introduction to practice (Second Edition)"
requirements.txt content:
asgiref==3.3.4
beautifulsoup4==4.9.3
Django==3.2
django-bootstrap4==3.0.0
django-heroku==0.3.1
gunicorn==20.1.0
psycopg2>=2.6.1
pytz==2021.1
soupsieve==2.2.1
sqlparse==0.4.1
Note: when I first started git push heroku master, I always reported an error because heroku in a file was written as herocu, for example:
remote:          File "/tmp/build_b999a8c2/learning_log/settings.py", line 142, in <module>
remote:            django_herocu.settings(locals())
remote:        NameError: name 'django_herocu' is not defined
remote:
remote:  !     Error while running '$ python manage.py collectstatic --noinput'.
remote:        See traceback above for details.
remote:
remote:        You may need to update application code to resolve this error.
remote:        Or, you can disable collectstatic for this application:
remote:
remote:           $ heroku config:set DISABLE_COLLECTSTATIC=1
remote:
remote:        https://devcenter.heroku.com/articles/django-assets
remote:  !     Push rejected, failed to compile Python app.
remote:
remote:  !     Push failed
remote: Verifying deploy...
remote:
remote: !       Push rejected to vast-oasis-96898.
remote:
To https://git.heroku.com/vast-oasis-96898.git
 ! [remote rejected] master -> master (pre-receive hook declined)
error: failed to push some refs to 'https://git.heroku.com/vast-oasis-96898.git'
After modification, use the command git commit -am "a paragraph" to commit again.
Then execute git push heroku master and the project will be deployed.
remote: -----> $ python manage.py collectstatic --noinput
remote:        128 static files copied to '/tmp/build_c3a2293e/staticfiles', 406 post-processed.
remote:
remote: -----> Discovering process types
remote:        Procfile declares types -> web
remote:
remote: -----> Compressing...
remote:        Done: 73.9M
remote: -----> Launching...
remote:        Released v5
remote:        https://vast-oasis-96898.herokuapp.com/ deployed to Heroku
remote:
remote: Verifying deploy... done.
To https://git.heroku.com/vast-oasis-96898.git
 * [new branch]      master -> master
To verify that the server process is started correctly, execute the command heroku ps:
(ll_env) PS D:\user\file\python\python_work\learning_log> heroku ps
[1]Free dyno hours quota remaining this month: 550h 0m (100%)
Free dyno usage for this app: 0h 0m (0%)
For more information on dyno sleeping and how to upgrade, see:
https://devcenter.heroku.com/articles/dyno-sleeping

[2]=== web (Free): gunicorn learning_logs.wsgi --log-file - (1)
web.1: crashed 2021/04/15 16:54:59 +0800 (~ 5m ago)
The output indicates how long the project can be active in the next month [1]. At the time of writing this book, Heroku allowed free deployment and was active for up to 550 hours a month. After the activity time of the project exceeds this limit, the standard server error page will be displayed, which will be customized later. At [2], we found that the process specified by Procfile was started.
What about Ip mismatch in heroku login, Terminate with Ctrl+C and then output
heroku login -i
Then you will be prompted to enter heroku's email and password, and then log in.
Then enter heroku open, and Application error appears
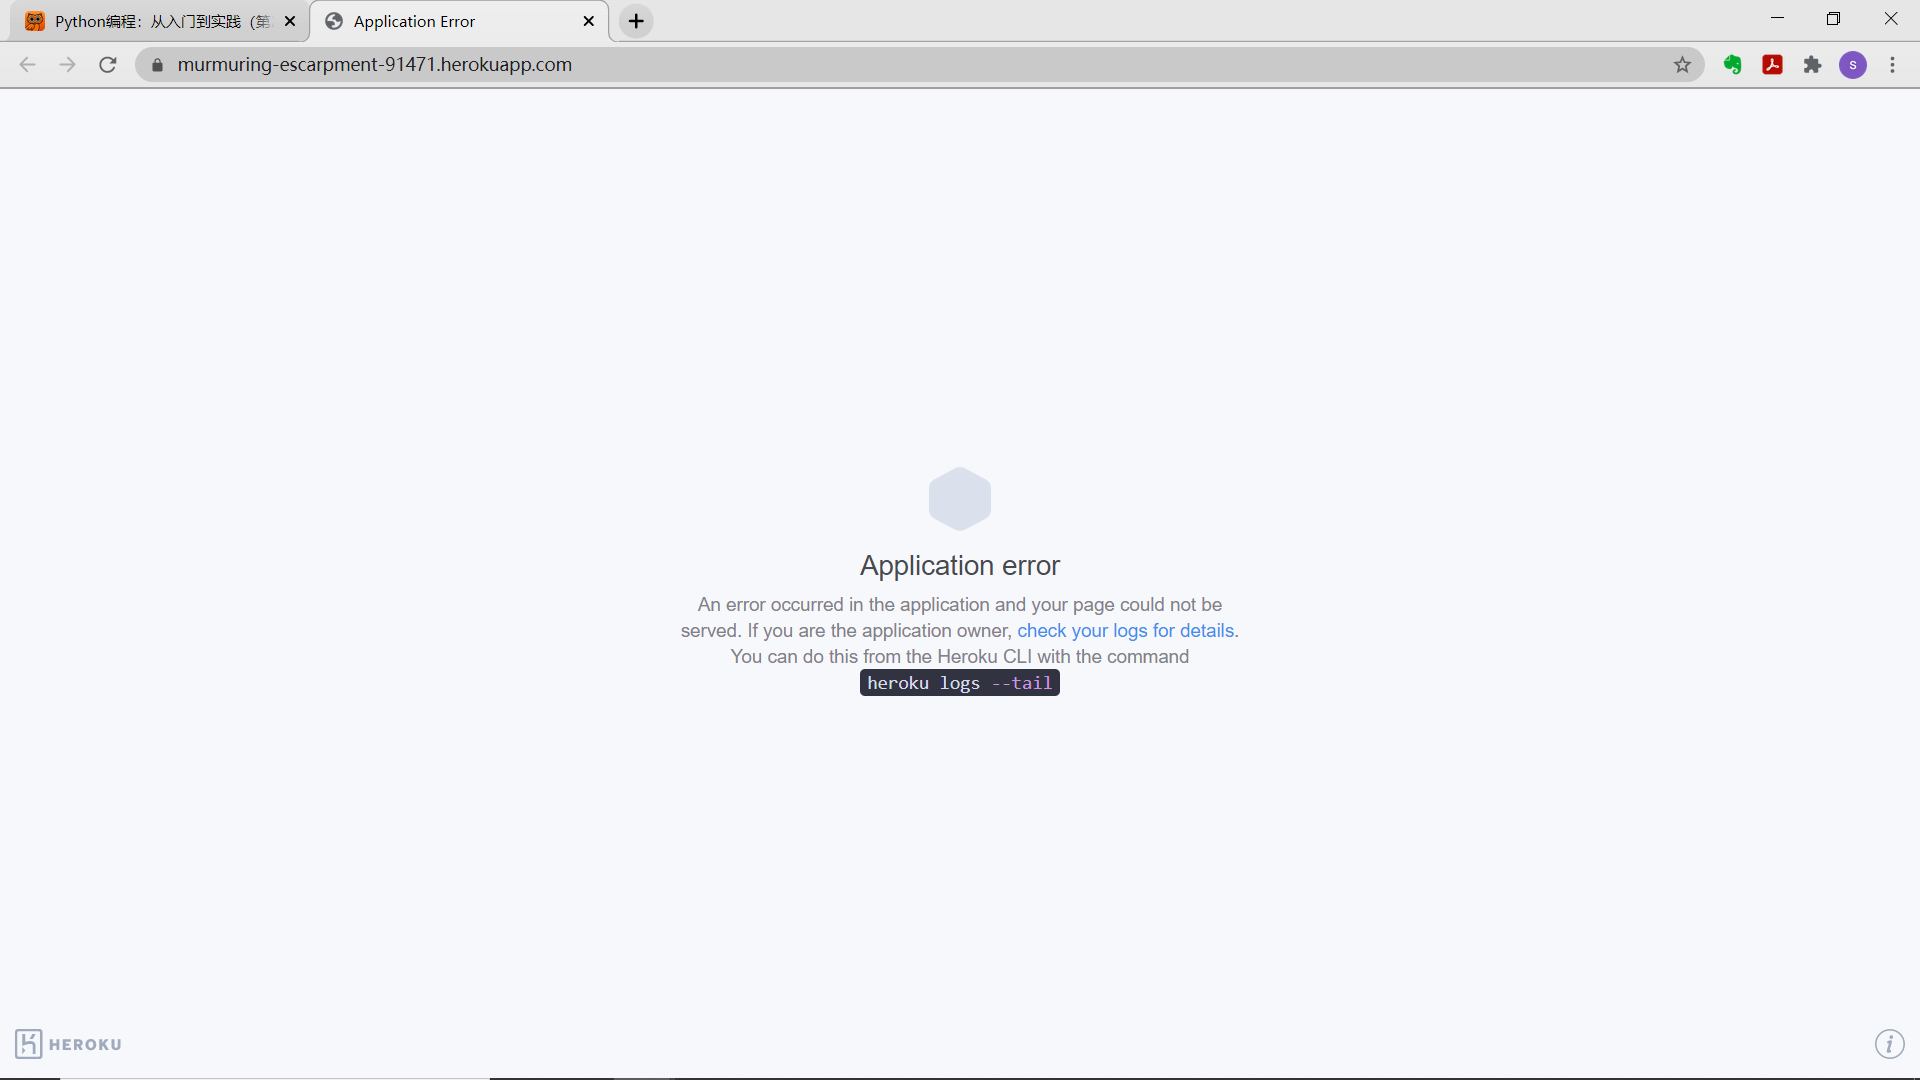
resolvent:
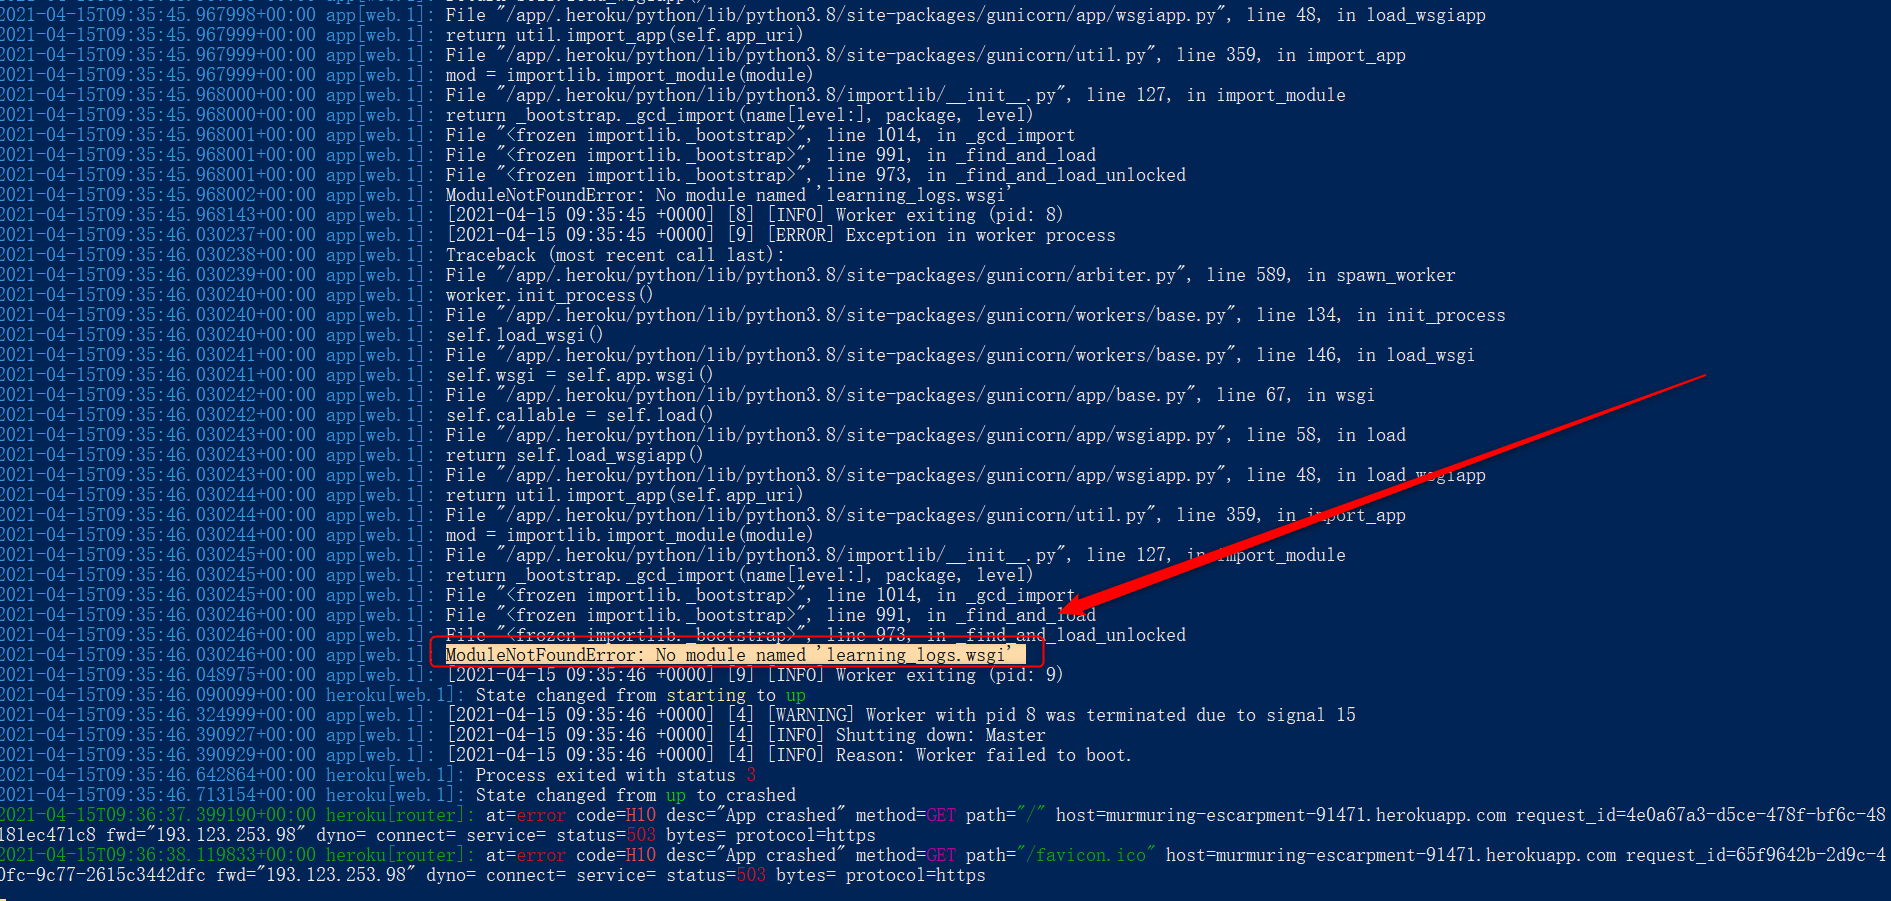
Enter heroku logs --tail
Then find the error: learning is not found_ logs. WSGI, sure enough, this is the author's mistake, and the correct one should be learning_log.wsgi, write s more, modify the Procfile file, and then resubmit.

After modification:

Then resubmit
(ll_env) PS D:\user\file\python\python_work\learning_log> git status
On branch master
Changes not staged for commit:
  (use "git add <file>..." to update what will be committed)
  (use "git restore <file>..." to discard changes in working directory)
        modified:   Procfile

no changes added to commit (use "git add" and/or "git commit -a")
(ll_env) PS D:\user\file\python\python_work\learning_log> git commit -am "Procfile, modify learning_logs.wsgi into learning_log.wsgi"
warning: LF will be replaced by CRLF in Procfile.
The file will have its original line endings in your working directory
[master f5db365] Procfile, modify learning_logs.wsgi into learning_log.wsgi
 1 file changed, 1 insertion(+), 1 deletion(-)
(ll_env) PS D:\user\file\python\python_work\learning_log> git status
On branch master
nothing to commit, working tree clean
(ll_env) PS D:\user\file\python\python_work\learning_log>
Then redeploy to heroku
git push heroku master
Then continue to execute: heroku open
be accomplished

Build on Heroku database
heroku run python manage.py migrat
If you access the deployed application, you will be able to use it as on the local system, but you can't see any data entered in the local deployment (including super user accounts) because they haven't been copied to the online server. Typically, local data is not replicated to online deployments, as local data is usually test data.
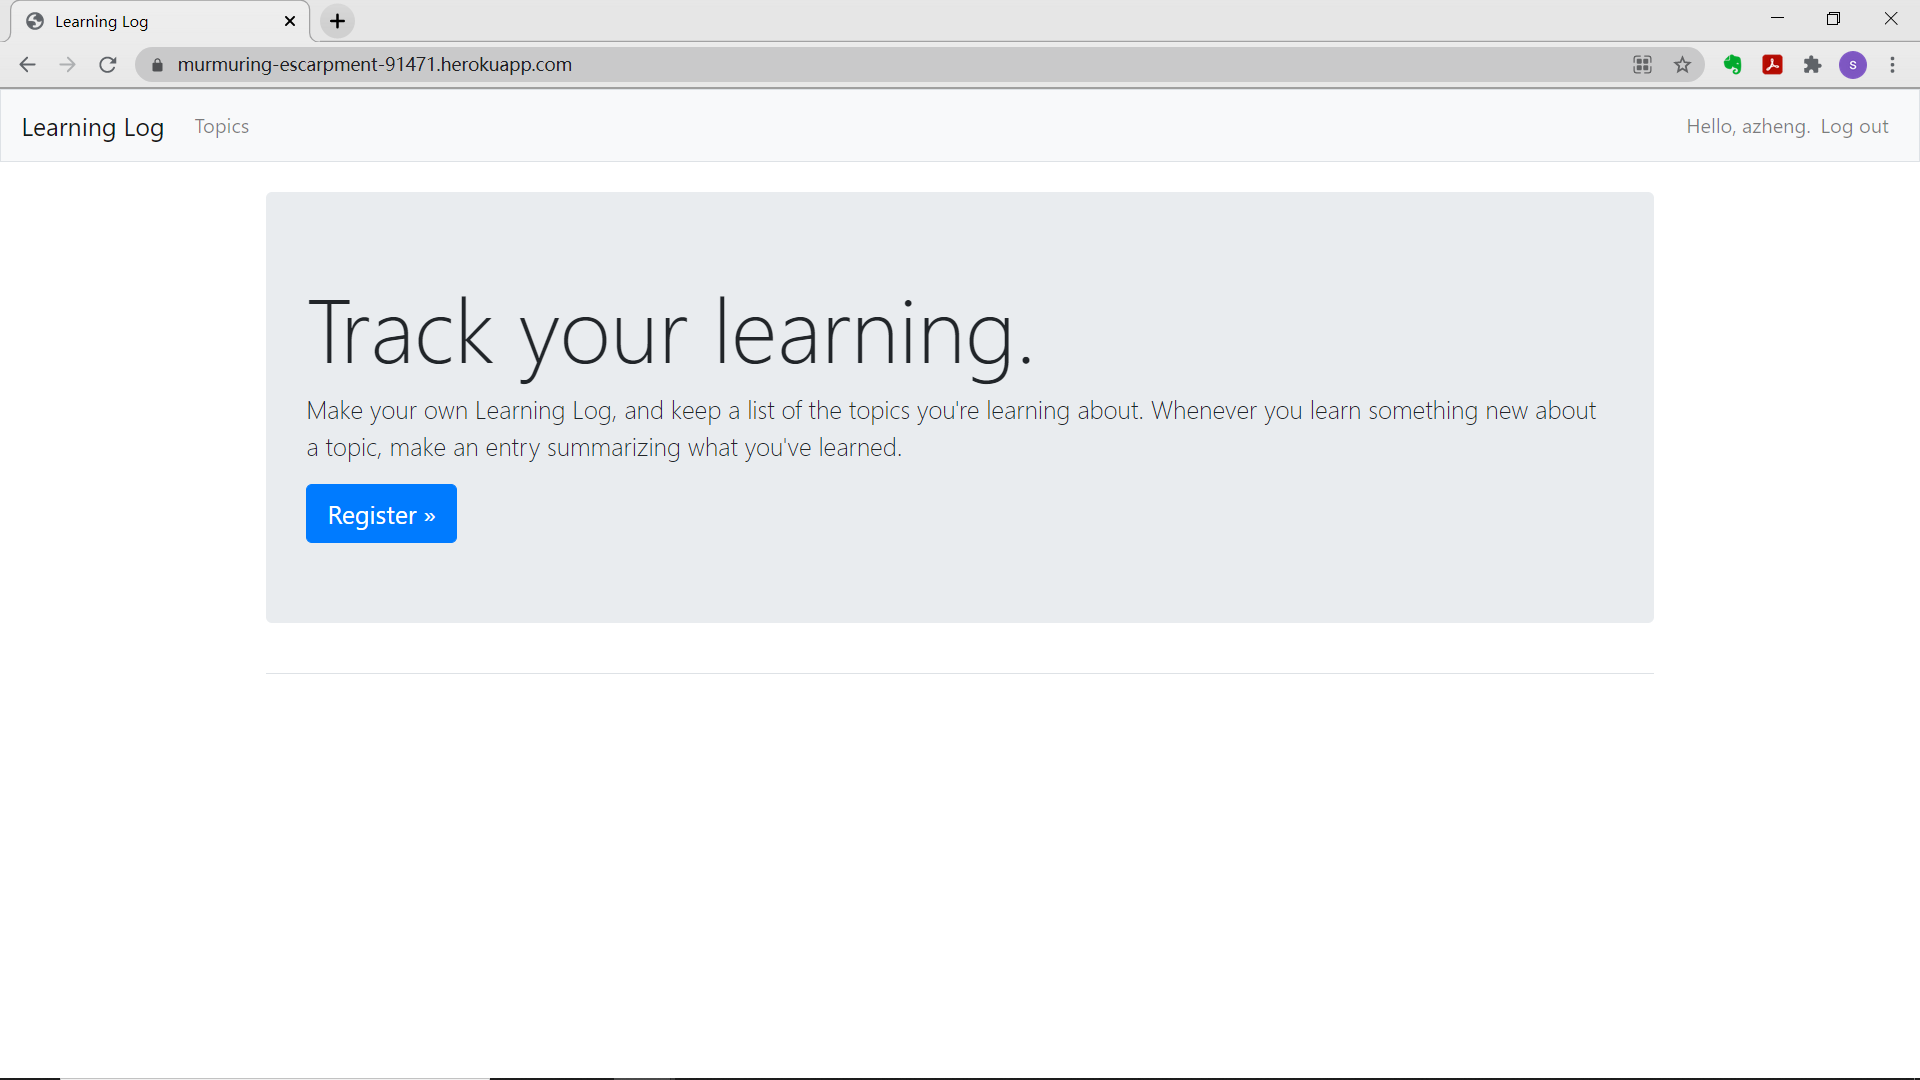
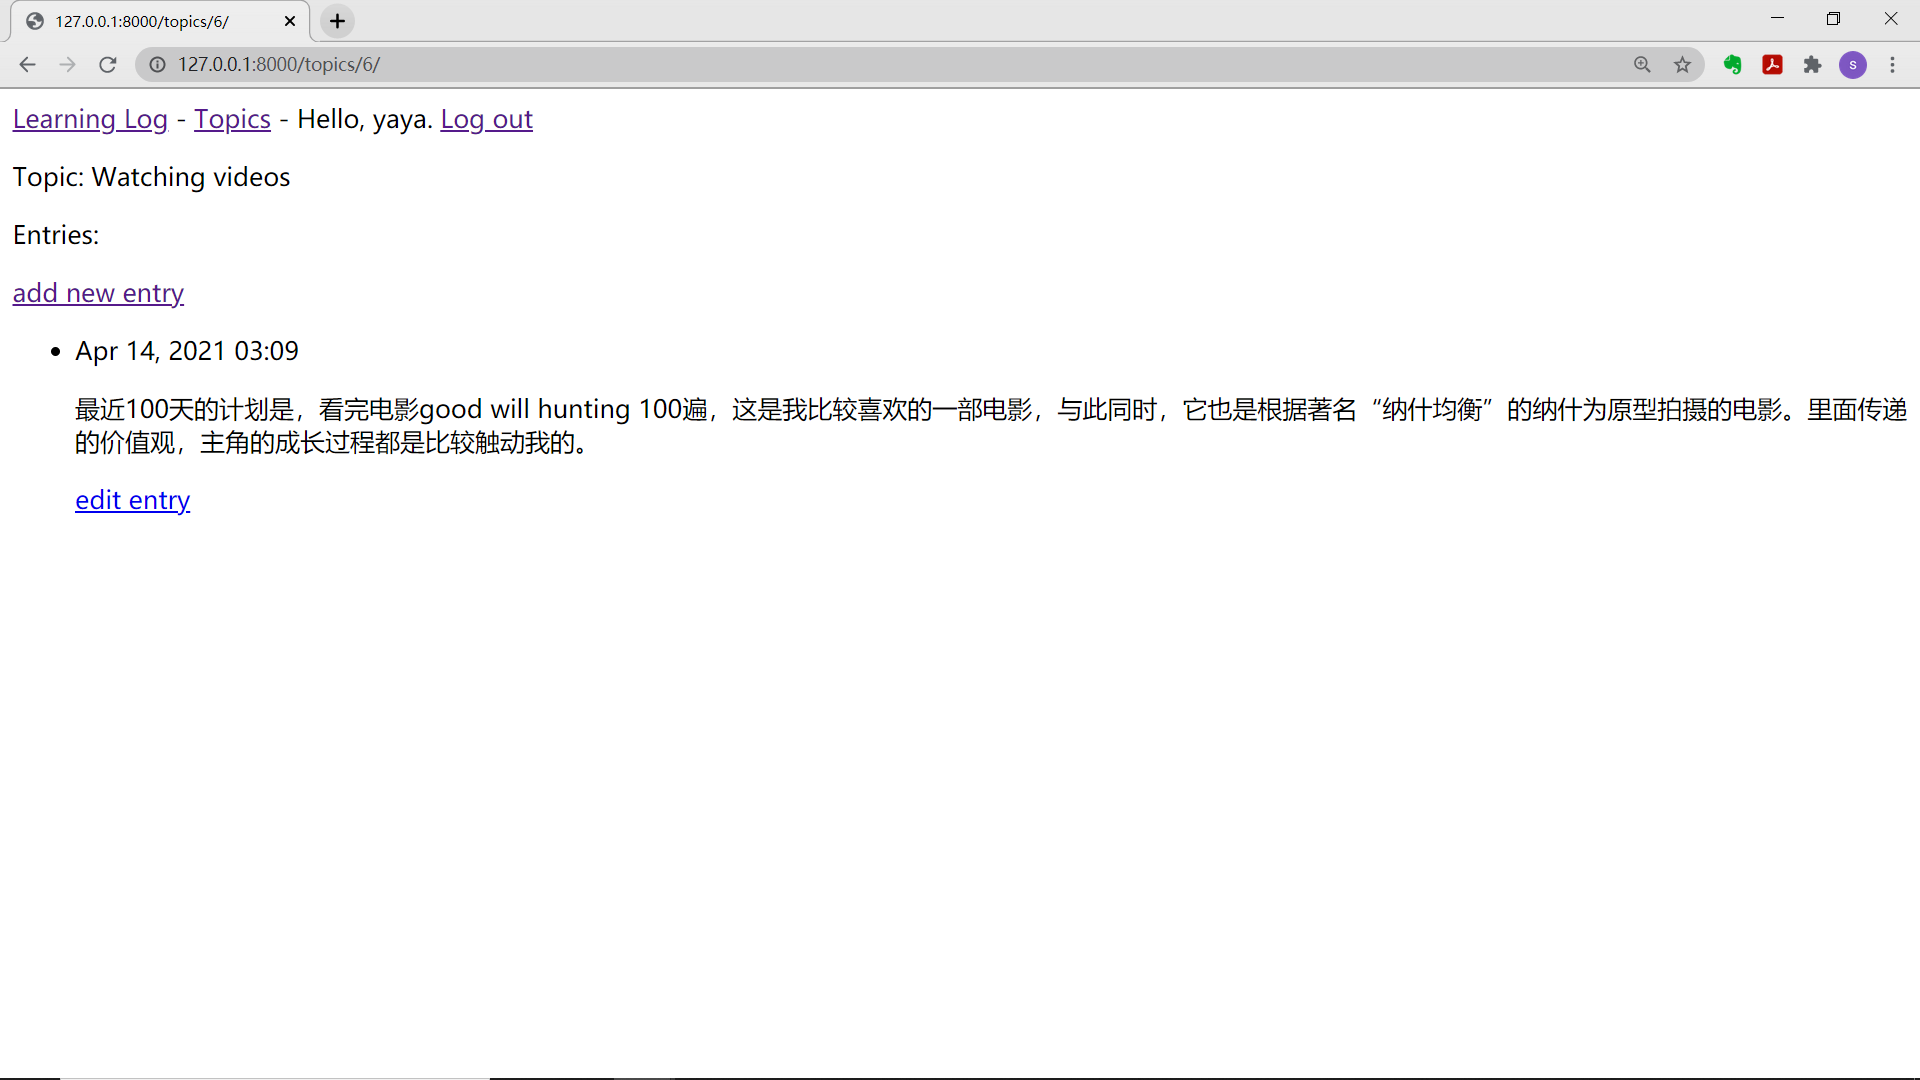
You can share the Heroku URL of the learning notes so that anyone can use it.
At present, the url address of the self built web page is: https://murmuring-escarpment-91471.herokuapp.com/
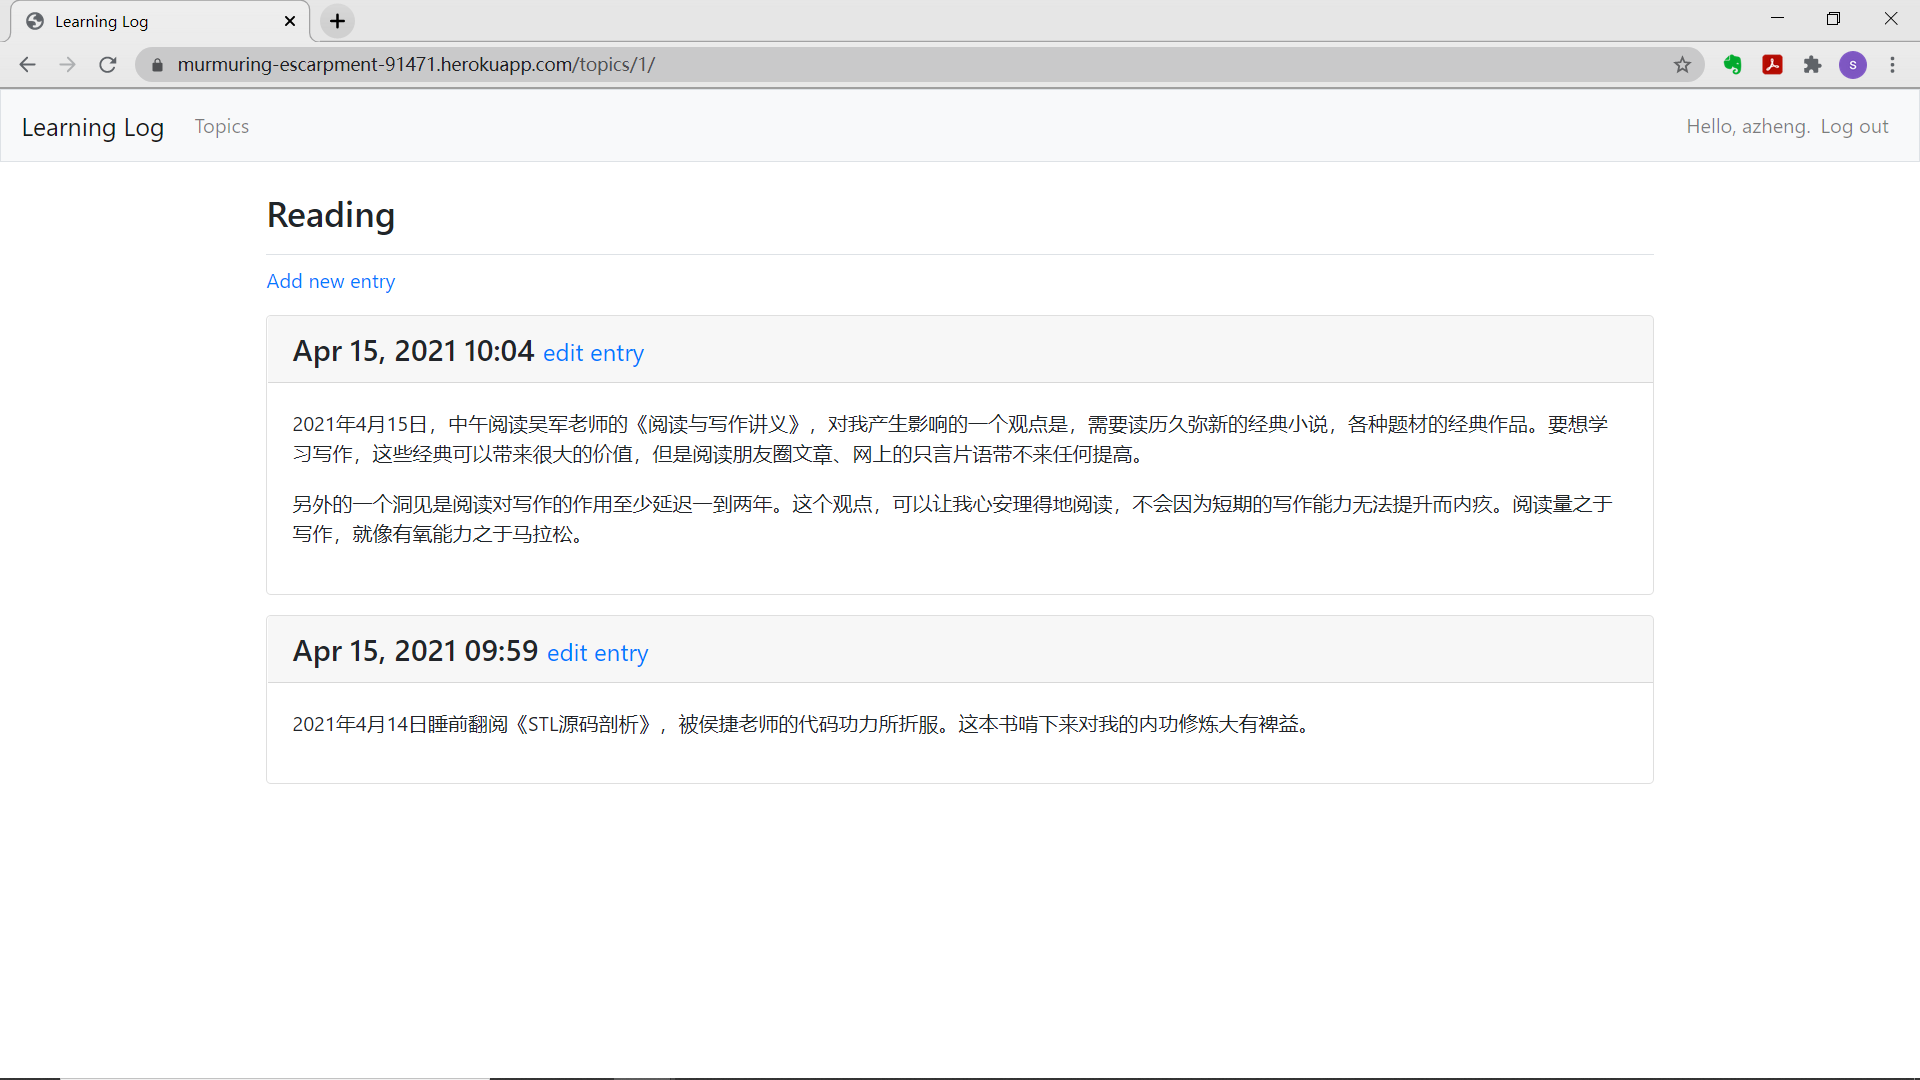
Then he registered the user and wrote his own Learning Log.
reference resources
[1] Eric Mathers Python Programming - from introduction to practice [M] Beijing: People's Posts and Telecommunications Press, 2016