1, Creation of Django project
1. Project creation and operation
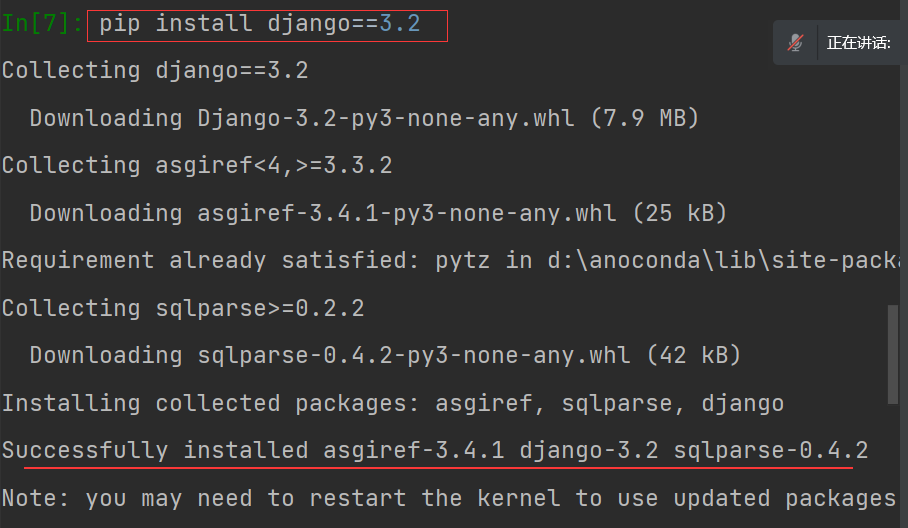
Install Django module
Open pycharm and install the Django module in the Terminal interactive interface

Note: different versions may be slightly different in the use of the framework. Select the version as needed.
pip install django==2.0
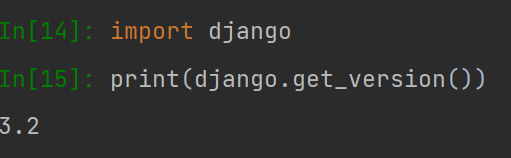
Import the module in the python console interface of pycharm and view the version:
import django
print(django.get_version())
Create project
In Terminal, enter the command to create BookManage
django-admin startproject Project name( BookManage)
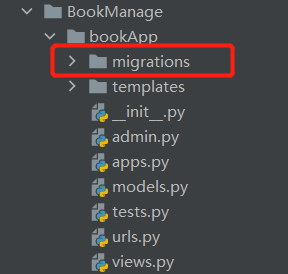
After successful creation, the following directory will appear
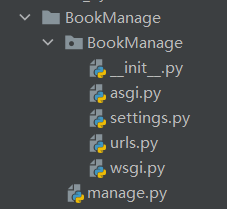
Description of contents
| file name | explain |
|---|---|
| manage.py | A command line tool that allows you to interact with Django projects in a variety of ways. The inner Directory: the real Python package of the project |
| _init_.py | An empty file that tells Python that this directory should be treated as a Python package |
| settings.py | Project configuration |
| urls.py | URL declaration for the project |
| wsgi.py | Project WSGI compatible Web server portal |
2. Creation and use of applications
back-stage management
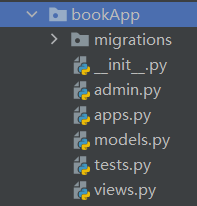
(1) , create the first application
python BookManage/manage.py startapp bookApp
Django comes with a utility that automatically generates the basic directory structure of your application, so you can focus on writing code rather than creating directories.
- One or more applications can be created in a project, and each application performs a business process
- Commands for creating applications
python manage.py startapp bookApp
(2) Write the first view function
from django.shortcuts import render
# Create your views here.
from django.http import HttpResponse
'''
The imported module can be used at the end of the module Alt+Enter to generate automatically
'''
def index(request):
  return HttpResponse("Library management system")
(3) . routing rules
Create a URLconf in the bookApp directory and a URL named URLs py
from django.urls import path
from . import views

urlpatterns =[
	'''
	When the user access path is book/,Namely bookApp The app's home page,
	implement views.index This view function,Reverse get by name url address
	'''
	path(r'', views.index, name='index'),
]
According to the configuration file BookManage/settings, the main file for route lookup is BookManage / URLs Py, so add a url rule to the file:
from django.contrib import admin
from django.urls import path, include
#The include() function allows references to other URLconfs

urlpatterns = [
    path('admin/', admin.site.urls),
    path('book/', include('bookApp.urls'))
]
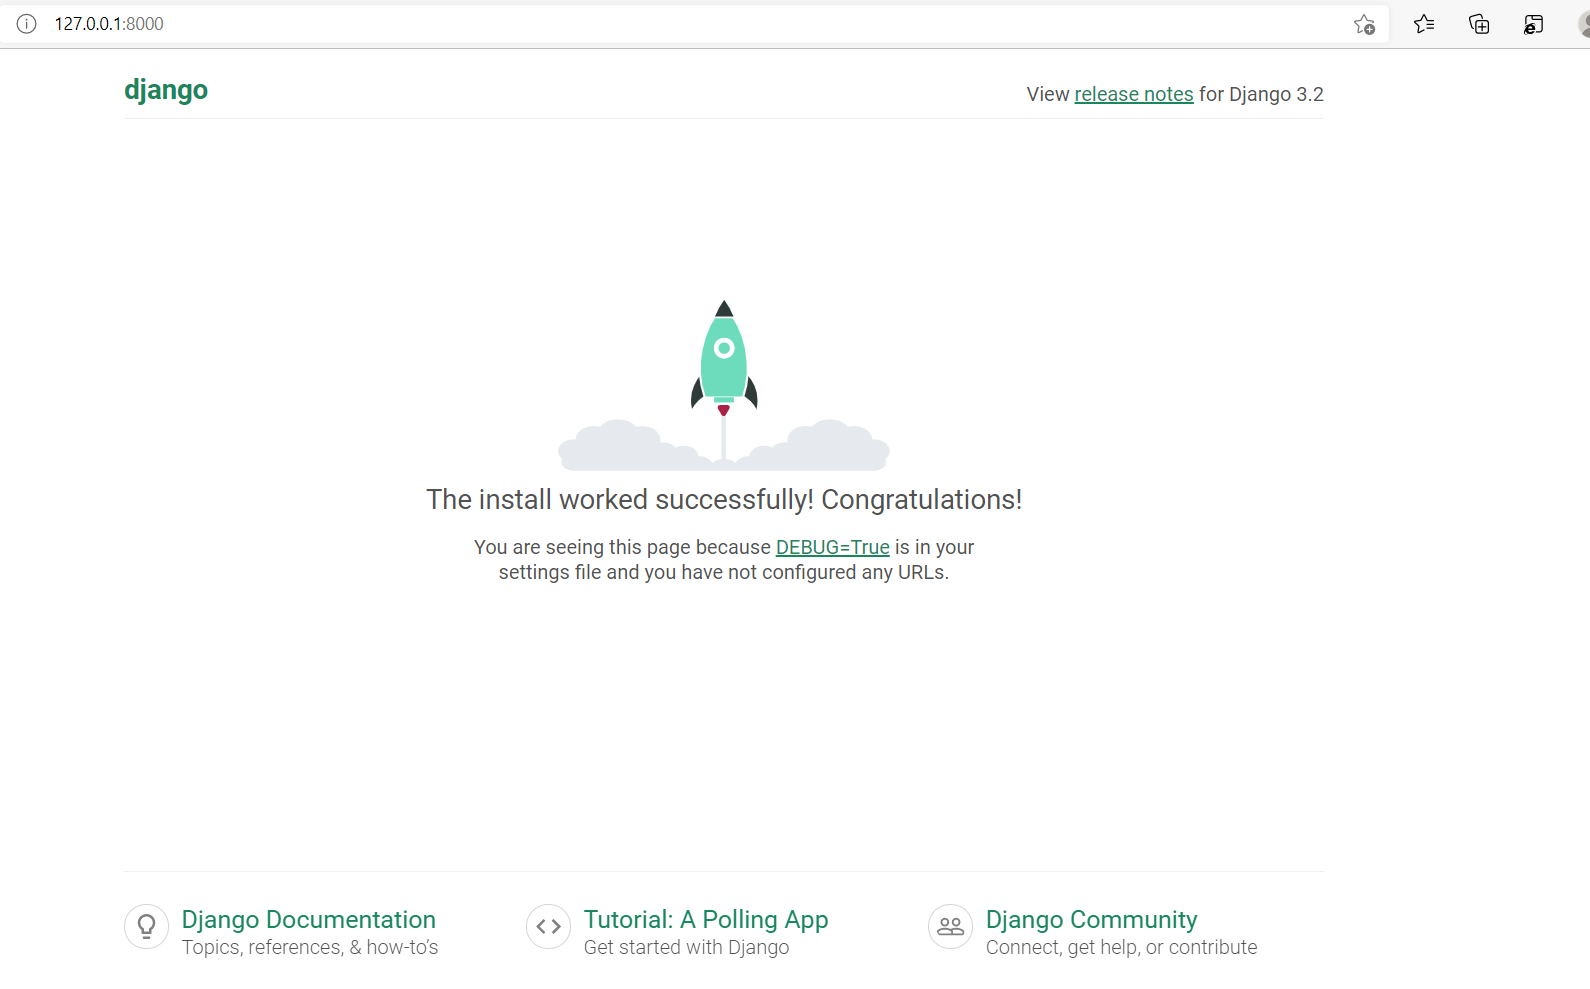
(4) . effect display
python manage.py runserver #Start the server
Visit 127.0.0.1:8000
3. Database model of the project
(1) . database creation
- The databases supported by Django include sqlite, mysql and other mainstream databases
- Django uses SQLite database by default
SQLite database is used here as an example
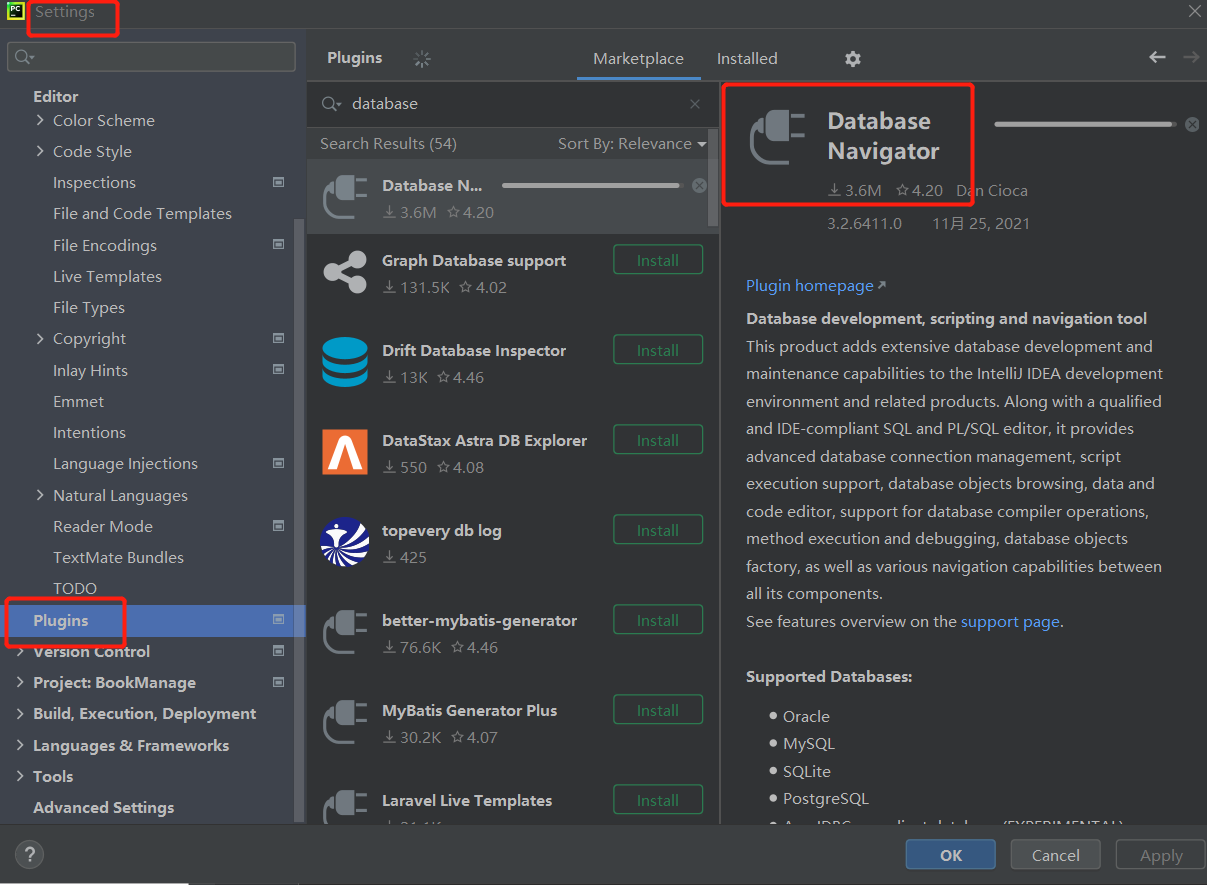
The community version does not have a database, so you need to download the plug-in yourself:
file – > settings – > plugins – > database navigator Download
Click open database file dB sqlite3
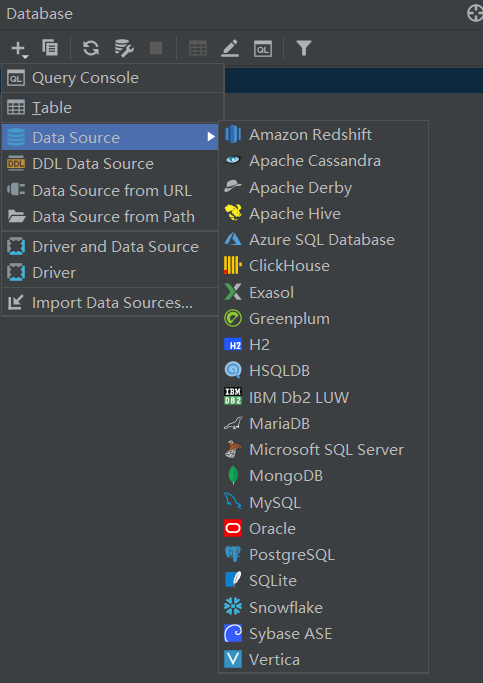
When you create a project for the first time, the database table will not appear when you click it for the first time. You need to reset it: find SQLite
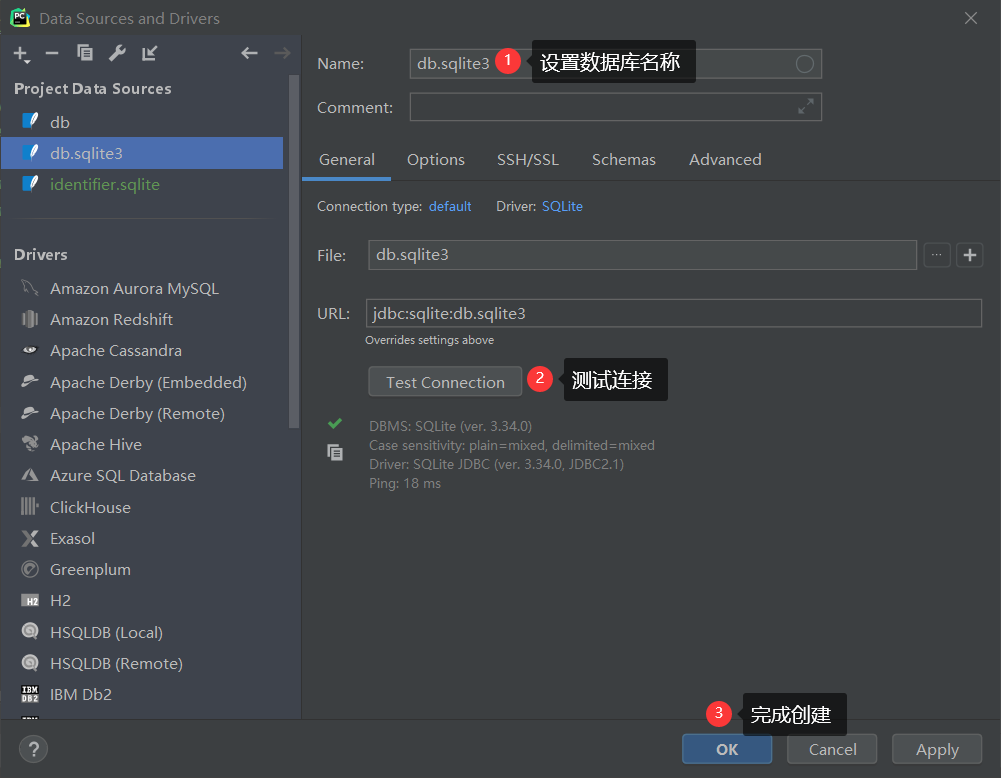
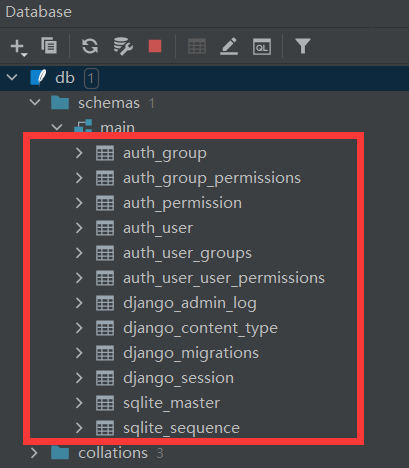
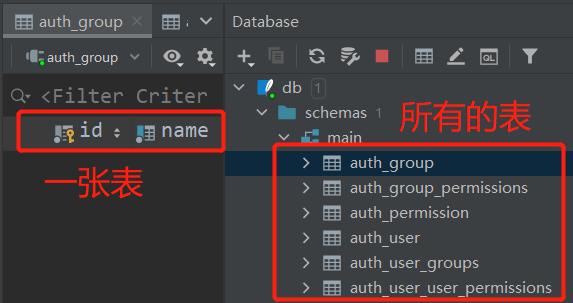
If the setting is successful, all database tables will be displayed
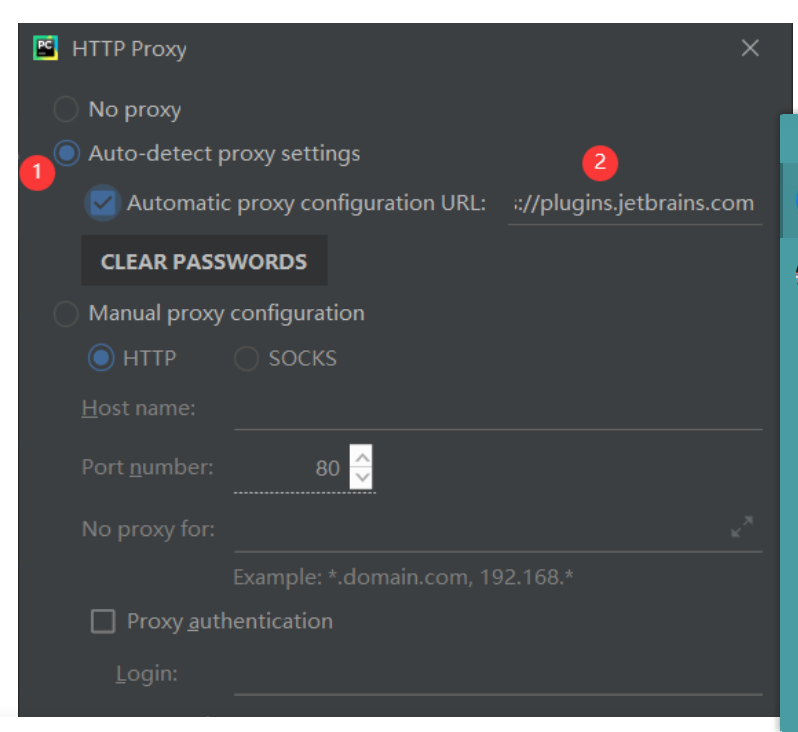
If the test connection fails, you will be prompted to download the driver file (dirve file). The download may fail. You can set the http proxy, enter the download failure route in the url, and then click test connection to succeed:
(2) Create database model
This example completes the maintenance of "book hero" information and needs to store two kinds of data: Book and hero. The book hero relationship is one to many.
Book table structure design: Table Name: Book
- Book Name: title
- Book release time: pub_date
Hero table structure design: Table Name: Hero
- Hero name: name
- Hero gender: Gender
- Hero profile: content
- book: book
Generate database tables
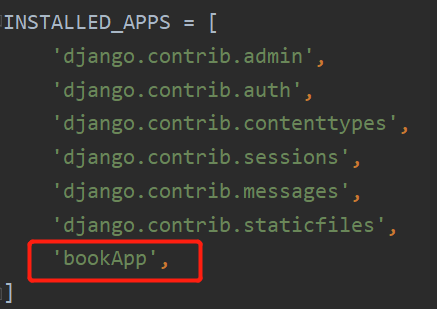
- Activation model
Edit settings Py file to add the application to installed_ In apps
- Generate migration file
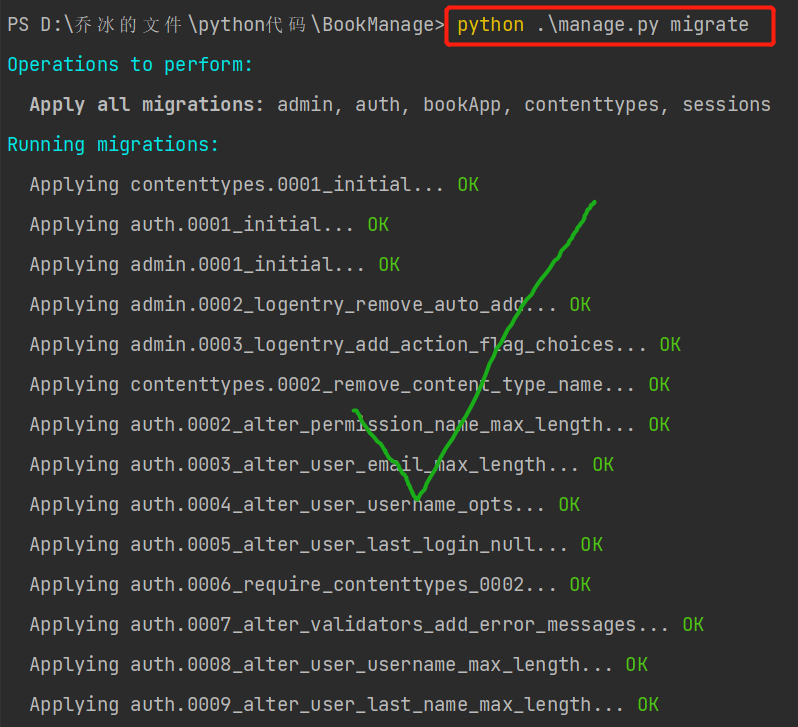
Open Terminal
 python .\manage.py makemigrations	#Generate migration script
 python .\manage.py migrate		#Write the data of the table into the database
Generated migration folder

To view the generated database tables:
(3) Basic operation of database model
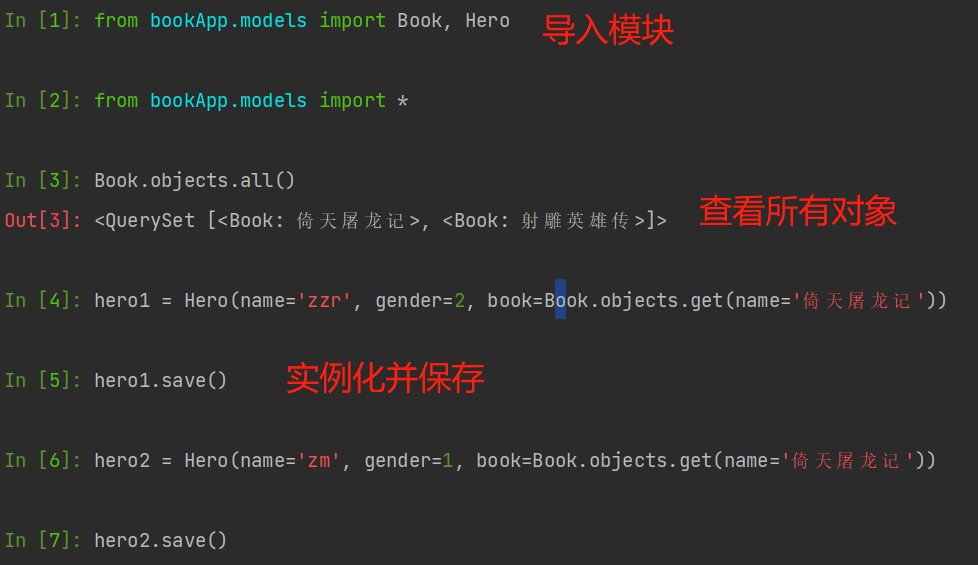
Enter the interactive Python shell and use the free API provided by Django
python manage.py shell

Import the created class:
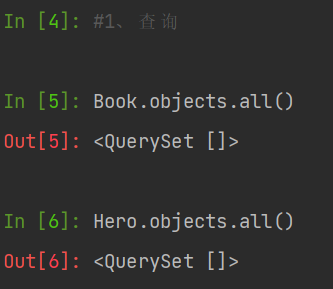
 from bookApp.models import Book, Hero
 from bookApp.models import *
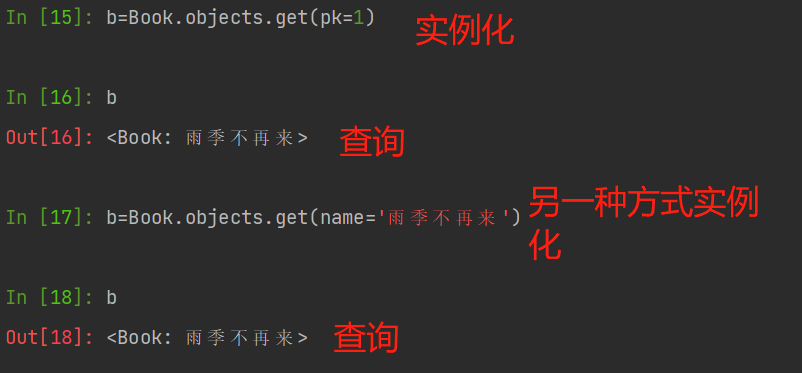
query
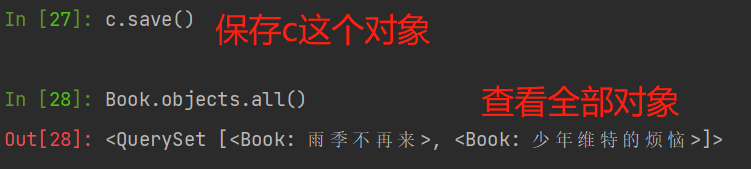
Add data
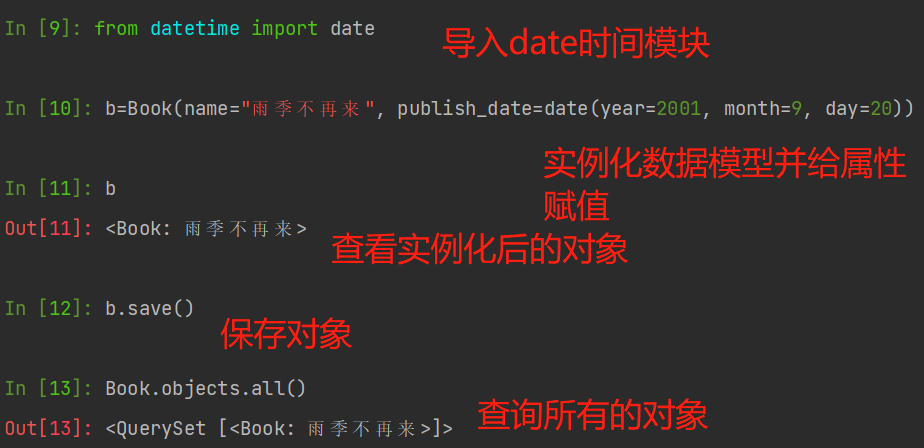
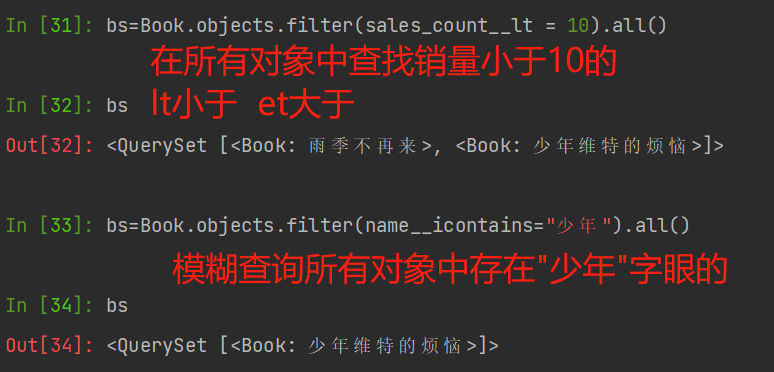
Query data

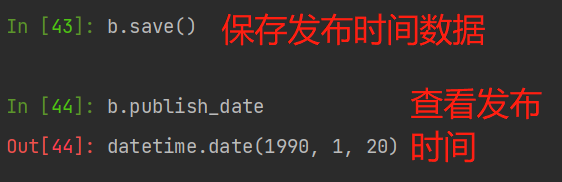
Update data
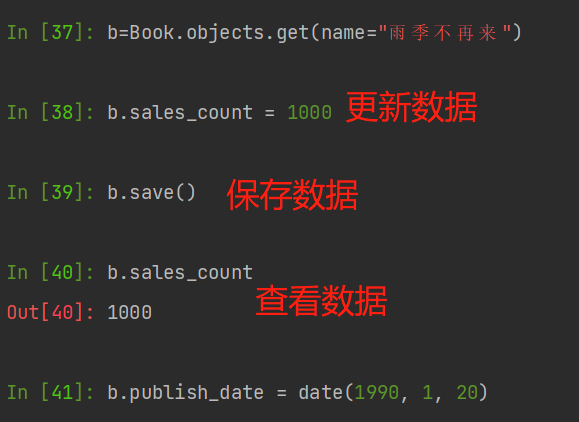
Delete data


4. Enable background Admin site management
- The site is divided into "content publishing (background management)" and "public access (foreground management)"
- The "content publishing" part is responsible for adding, modifying and deleting content. Developing these repeated functions is a tedious and lack of creativity.
- Therefore, Django will generate the management module completely automatically according to the defined model class
Django framework has a very powerful application function: automatic management interface. It is often used by Web platform managers to manage the whole system
Web platform.
By default, in settings Installed in py configuration file_ Apps contains the following applications. For subsequent development, it is required to
Recognize that these applications are included.
| application program | function |
|---|---|
| django.contrib.admin | Manage website |
| django.contrib.auth | Certification management |
| django.contrib.contenttypes | Content type framework |
| django.contrib.sessions | Session framework |
| django.contrib.messages | Message frame |
| django.contrib.staticfiles | Framework for managing static files |
- Database migration
To use these Django built-in applications, we need to create some data table correspondences in the database before we can use them.
python manage.py makemigrations
python manage.py migrate
- Create administrator user
python manage.py createsuperuser
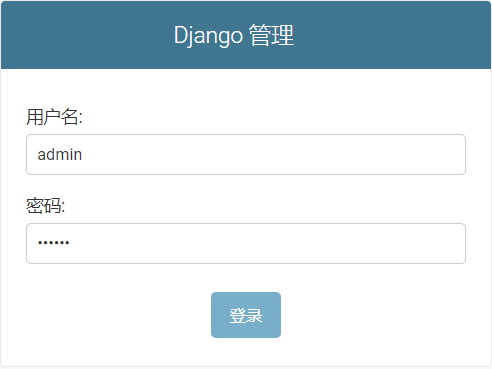
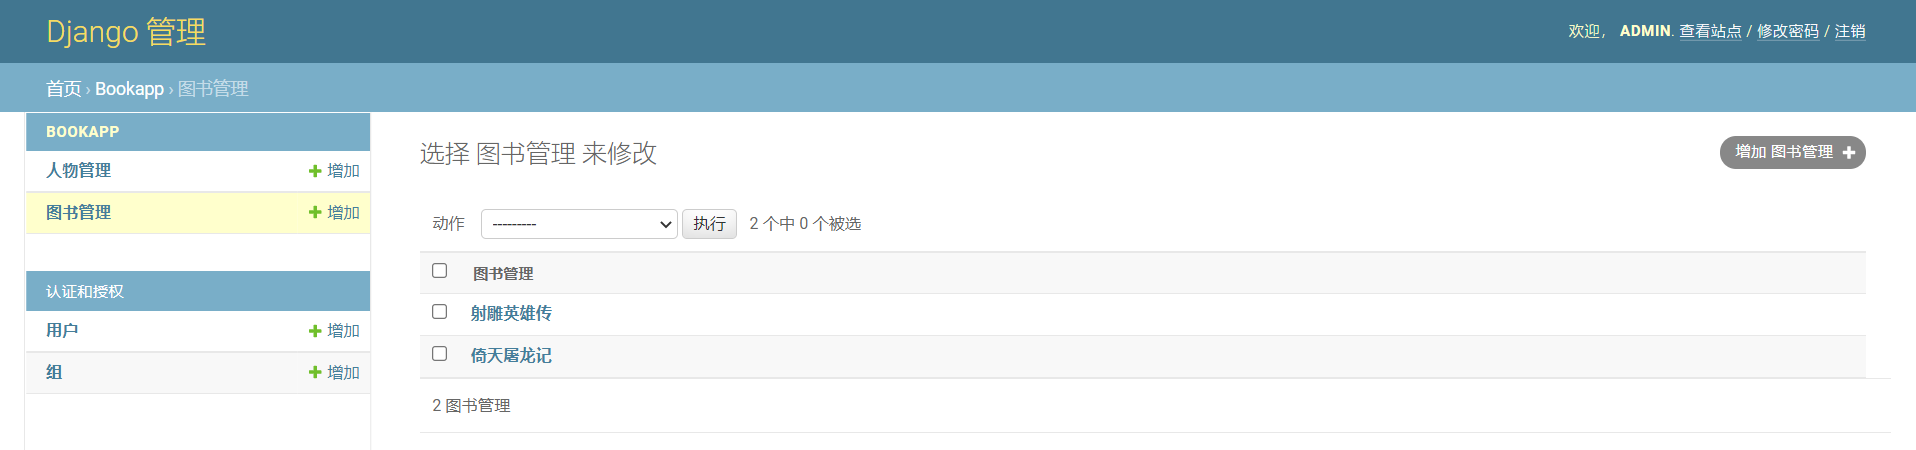
Start the server, access through "127.0.0.1:8000/admin", and enter the user name and password created above to complete the login
When you enter the management site, you can manage groups and users by default
- Management interface localization
Edit settings Py file to set the code and time zone
LANGUAGE_CODE = 'zh-Hans'
TIME_ZONE = 'Asia/Shanghai'
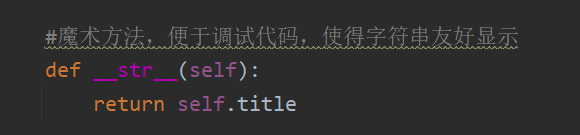
In the background management, the Book management displays English. How to turn it into Chinese
Use magic methods:
 def __str__(self):
        return self.title
'''
Magic method, easy to debug code, making the string friendly display
'''
- Custom management page
Django provides admin Modeladmin class
Define the display mode of the model in the Admin interface by defining the subclass of ModelAdmin
from bookApp.models import Book, Hero

class HeroInline(admin.TabularInline):
    #class
    model = Hero
    extra = 2

class BookAdmin(admin.ModelAdmin):
    list_display = ['id', 'name', 'publish_date', 'sales_count']
    #list_display: display fields. You can click the column header to sort
    list_filter =  ['publish_date', 'sales_count']
    #list_filter: filter field, and the filter box will appear on the right
    list_fields = ['name', 'description']
    #list_fields: search field. The search box will appear on the upper side
    list_per_page = 10
    #list_per_page: page, and the page box will appear on the lower side
    inlines = [HeroInline]

class HeroAdmin(admin.ModelAdmin):
    #list_display: display fields. You can click the column header to sort
    list_display = ['id', 'name', 'gender', 'book']
    #list_filter: filter field, and the filter box will appear on the upper side
    list_filter = ['book', 'gender']
    #search_fields: search field, and the search box will appear on the lower side
    search_fields = ['name', 'description']
    list_per_page = 10

admin.site.register(Book, BookAdmin)
admin.site.register(Hero, HeroAdmin)
Front desk management
(1) . URLconf routing management
- In Django, defining URLconf includes regular expressions and views.
- Django uses regular expressions to match the requested URL. Once the match is successful, it calls the application's view.
- Note: only the path part is matched, that is, the string after removing the domain name and parameters.
- Add a sub configuration file to the main configuration file to connect the main urlconf configuration to the urlconf configuration file of the sub module.
The sub configuration files of the bookApp sub application are as follows:
rom django.urls import path

from . import views

urlpatterns =[
	path(r'', views.index, name='index'),
	path(r'<int:id>/', views.detail, name='detail'),
]
(2) View function processing business logic
- In Django, views respond to WEB requests
- The view receives the reqeust request object as the first parameter, which contains the requested information
- The view function is a Python function defined in views In PY
- After defining the view, you need to configure urlconf, otherwise the request cannot be processed
from django.shortcuts import render
from django.http import HttpResponse
def index(request):
  return HttpResponse("Library management system")
def detail(request, id):
  return HttpResponse("Library management details page information %s" % id)
Follow the links below to test whether the run is successful:
http://127.0.0.1:8000/book/detail/2/
http://127.0.0.1:8000/book/
Edit views The PY file calls the template in the method:
from django.shortcuts import render
from django.http import HttpResponse

def index(request):
  return HttpResponse("Library management system")

def detail(request, id):
    '''Book details page information'''
    book = Book.objects.filter(id=id).first()
    pub_date = book.pub_date
    heros = book.hero_set.all()
    return render(request, 'book/detail.html',
                  {'book': book, 'heros': heros})
(3) Template management to achieve a good-looking HTML page
As a Web framework, Django needs a convenient way to generate HTML dynamically. The most common approach is to use templates.
The template contains the static part of the required HTML output, as well as some special syntax that describes how to insert dynamic content.
Template engine configuration
The directory of template creation is as follows:
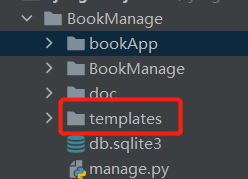
Modify BookManage / settings Py file to set the DIRS value of TEMPLATES
# The modified part specifies the template path
    'DIRS': [os.path.join(BASE_DIR, 'templates')],
Template syntax: Variables
Variable output syntax
{{ var }}
When the template engine encounters a dot ("."), It will be queried in the following order:
- Dictionary query, for example: foo ["bar"]
- Property or method query, for example: foo bar
- Numeric index query, for example: foo[bar]
Template syntax: common tags
{ % tag % }
Create text in the output.
Control loop or logic.
Load external information into the template.
{% for ... in ...  %}
 Loop logic
{% endfor  %}
{% if ...  %}
 Logic 1
{% elif ...  %}
 Logic 2
{% else  %}
 Logic 3
{% endif  %}
{% comment  %}
 multiline comment
{% endcomment  %}
{% include "base/left.html"  %}
'''
Load the template and render with the parameters in the label
'''
{% url 'name' p1 p2  %}
'''
Reverse parsing
'''
{% csrf_token  %}
'''
For Cross Site Request Forgery protection
'''
Front end HTML design of home page and detail page
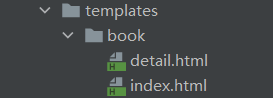
<!index.html>
<!DOCTYPE html>
<html lang="en">
<head>
<meta charset="UTF-8">
<title>Title</title>
</head>
<body>
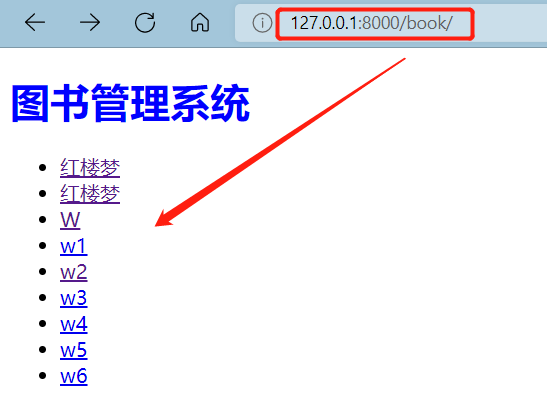
<h1 style="color: blue">Library management system</h1>
<ul>
{% for book in books %}
<li><a href="/book/{{ book.id }}/">{{ book.title }}</a></li>
{% endfor %}
</ul>
</body>
</html>
<!detail.html>
<!DOCTYPE html>
<html lang="en">
<head>
<meta charset="UTF-8">
<title>Title</title>
</head>
<body>
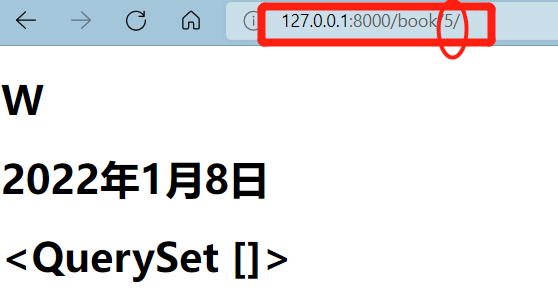
<h1>{{book.title}}</h1>
<h1>{{book.pub_date}}</h1>
<h1>{{heros}}</h1>
</body>
</html>
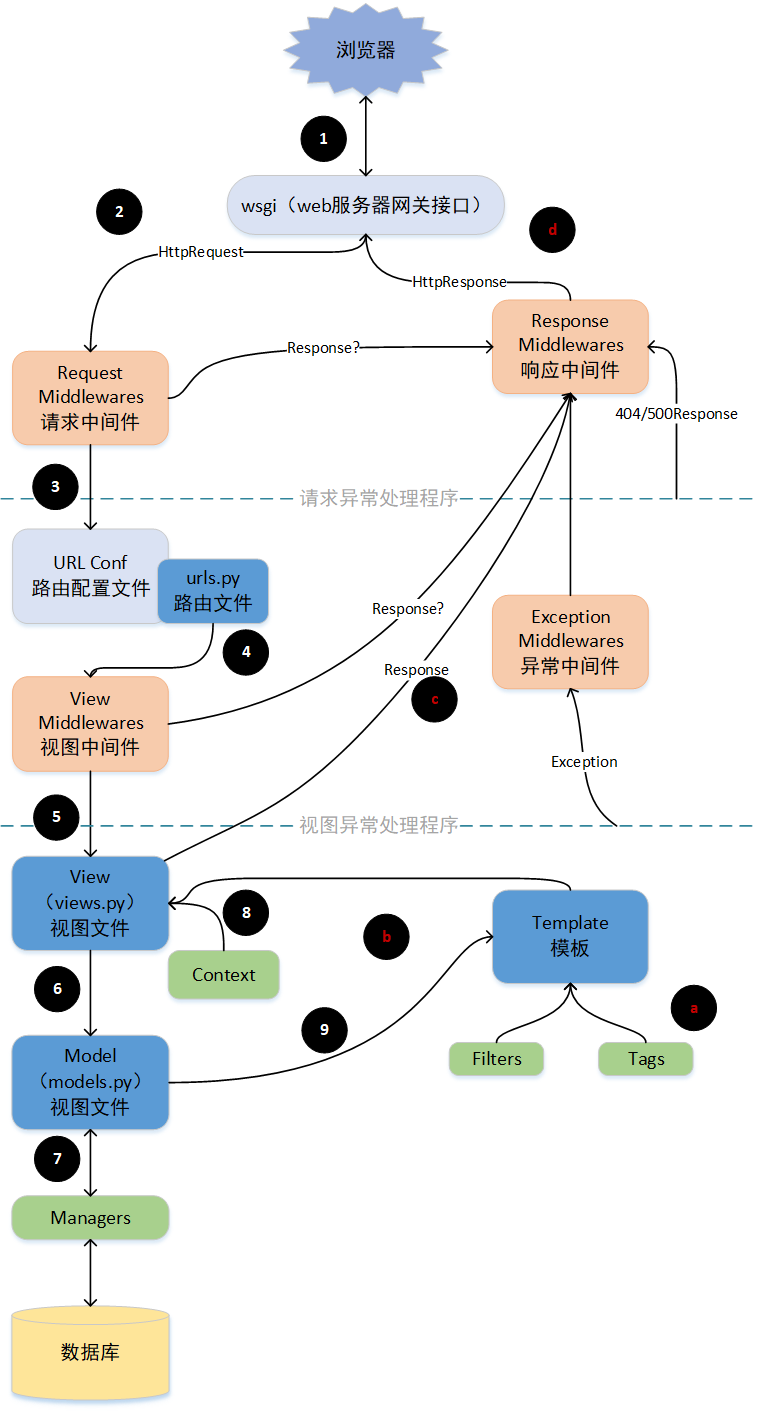
2, Django request lifecycle
1. Django project process
- wsgi: web Framework (Flask, Django) that encapsulates the request and gives it to the back end
- Request middleware: verify the request or add other relevant data to the request object, such as csrf and request session
- Route matching: match different view functions according to different URLs sent by the browser
- View function: process business logic in the view function, which may involve: ORM Templates (ORM: object relational mapping, which is used to map the objects represented by the object model to the SQL based database. In effect, it actually creates a "virtual object database" that can be used in the programming language. In this way, when operating entity objects, it does not need to use complex SQL statements, but simple operations.)
- Response middleware: process the response data
- wsgi: send the content of the response to the browser
2. Project flow chart