Congratulations. After learning this, you should all know the basic playing methods of docker. Next, we will introduce some editing tools of docker.
1. Why Docker Compose?
Official website town building: https://www.runoob.com/docker/docker-compose.html
In one sentence:
Help us manage containers in batches with rules.
In the previous basic tutorial, we introduced Dockerfile. The startup services build images and start containers through Dockerfile. For several services, we can build and run one by one, but there are hundreds or thousands of actual production environments. At this time, do we still start one by one manually?
In addition, there are dependencies between services. For example, a service deployed by Tomcat depends on MySQL and Redis. When starting Tomcat services, we need to start MySQL and Redis first. This order is also very important.
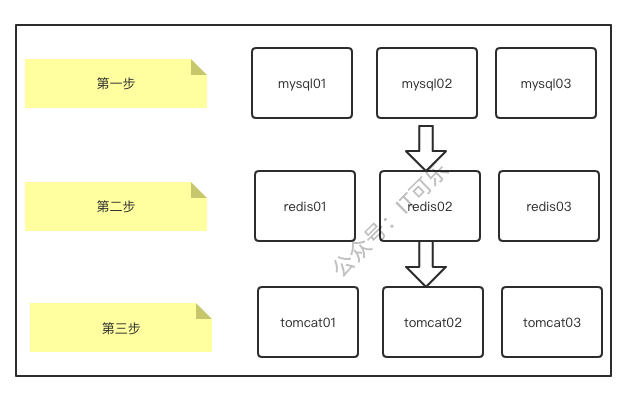
With Docker Compose, we can bid farewell to the tedious manual steps, define rules in advance and manage them uniformly.
2. Docker Compose limitations
First of all, although Docker Compose is an official container orchestration tool, it is not used in the actual production environment (for example, Swarm and K8S, which will be introduced later) because of its great limitations. You can understand it here.
Only single machine and multiple containers are supported, and cluster environment management is not supported.
3. Installation
Refer to official documents: https://docs.docker.com/compose/install/
Docker Compose is provided by default for Mac/Windows installation, so we don't need to install it, but it needs to be installed manually for Linux environment.
3.1 download
sudo curl -L "https://github.com/docker/compose/releases/download/1.29.2/docker-compose-$(uname -s)-$(uname -m)" -o /usr/local/bin/docker-compose
The above is officially provided, but the download will be slow. You can use the domestic download address:
sudo curl -L "https://get.daocloud.io/docker/compose/releases/download/1.29.2/docker-compose-$(uname -s)-$(uname -m)" -o /usr/local/bin/docker-compose

3.2 authorization
sudo chmod +x /usr/local/bin/docker-compose
3.3 verify installation
docker-compose version

3.4 unloading
sudo rm /usr/local/bin/docker-compose
4. Usage
According to the official tips, using Docker Compose is divided into three steps:
- Step 1: use Dockerfile to define the application environment.
- Step 2: use docker - compose YML defines the services that make up the application so that they can run together in an isolated environment.
- Step 3: execute the docker compose up command to start and run the entire application.
How to use it specifically is demonstrated by two small examples.
5. Deploy WP blog
This is also an official example: https://docs.docker.com/samples/wordpress/
WordPress is a personal blog system and gradually evolved into a content management system software. It is developed using PHP language and MySQL database. Users can use their own blog on the server supporting PHP and MySQL database.
5.1 create project directory
Any name, used to store docker compose YML file
mkdir my_wordpress
We created one named my according to the official_ WordPress directory.
5.2 create docker compose yml
Create a docker - compose YML file, as follows:
version: "3.9"

services:
  db:
    image: mysql:5.7
    volumes:
      - db_data:/var/lib/mysql
    restart: always
    environment:
      MYSQL_ROOT_PASSWORD: somewordpress
      MYSQL_DATABASE: wordpress
      MYSQL_USER: wordpress
      MYSQL_PASSWORD: wordpress

  wordpress:
    depends_on:
      - db
    image: wordpress:latest
    volumes:
      - wordpress_data:/var/www/html
    ports:
      - "8000:80"
    restart: always
    environment:
      WORDPRESS_DB_HOST: db:3306
      WORDPRESS_DB_USER: wordpress
      WORDPRESS_DB_PASSWORD: wordpress
      WORDPRESS_DB_NAME: wordpress
volumes:
  db_data: {}
  wordpress_data: {}
5.3 construction project
docker-compose up -d
Note to switch to my_wordpress directory, otherwise add the - f parameter to specify docker - compose YML file.
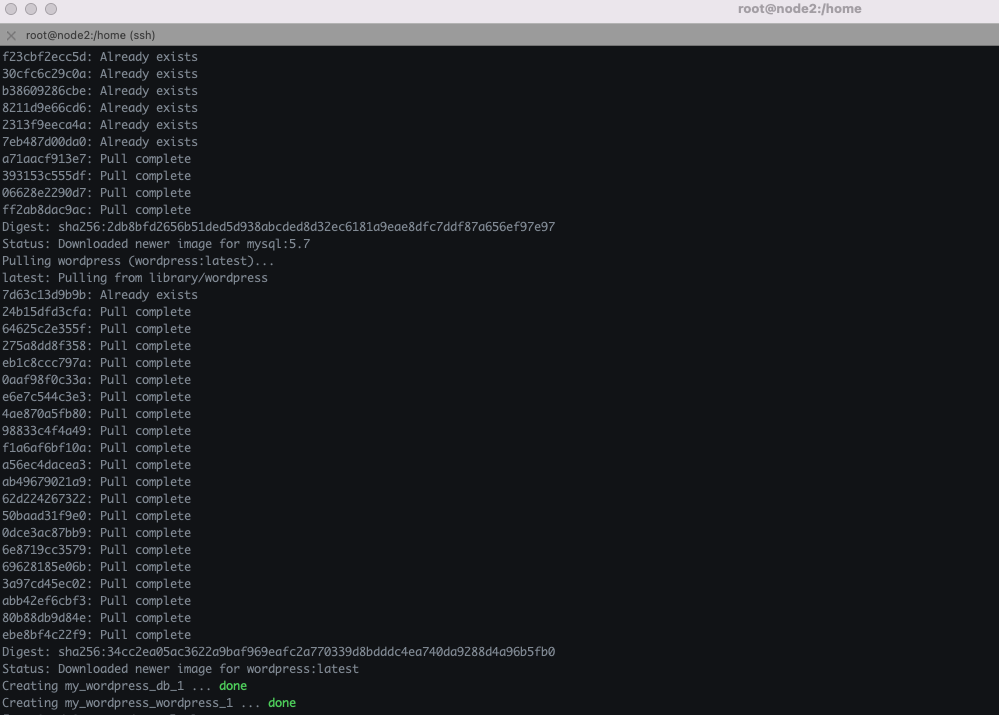
Seeing the screenshot above indicates that the startup is successful.
5.4 access page
http: / / host IP:8000
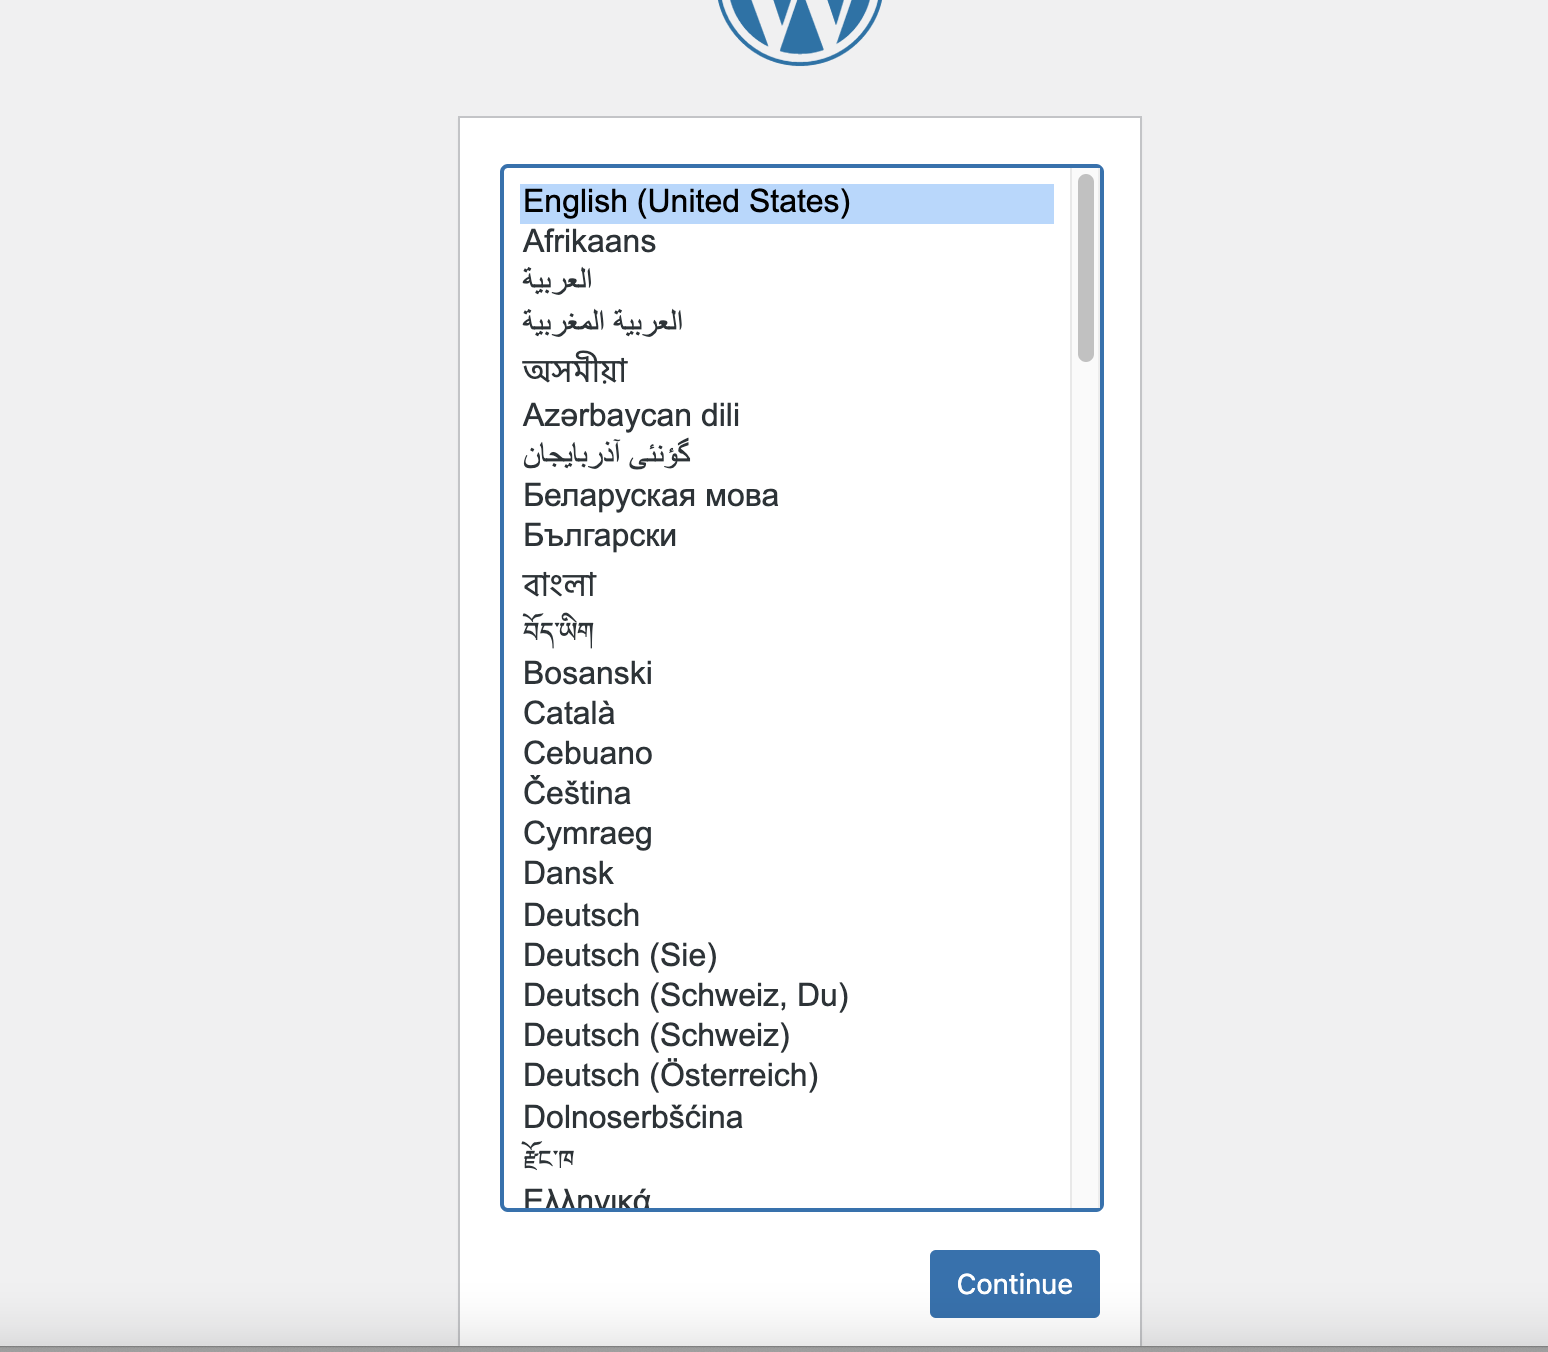
In addition, we can also see that two containers are started through the docker ps command.

6,docker-compose.yml rule
The above example is very simple, but one core is docker compsoe For the compilation of YML file, let's introduce the Compilation Rules of this file in detail.
Introduction to official rules:
https://docs.docker.com/compose/compose-file/
# Level 1: version
version: "3.9"
# Layer 2: Service
services:
	# Service name
  db:
  	# Image name
    image: mysql:5.7
    # Mounted container volume
    volumes:
      - db_data:/var/lib/mysql
    # Whether the service is automatically restarted after hanging up
    restart: always
    # Environment variable settings
    environment:
      MYSQL_ROOT_PASSWORD: somewordpress
      MYSQL_DATABASE: wordpress
      MYSQL_USER: wordpress
      MYSQL_PASSWORD: wordpress
  # Service name
  wordpress:
  	# Dependent services
    depends_on:
      - db
    image: wordpress:latest
    volumes:
      - wordpress_data:/var/www/html
    ports:
      - "8000:80"
    restart: always
    environment:
      WORDPRESS_DB_HOST: db:3306
      WORDPRESS_DB_USER: wordpress
      WORDPRESS_DB_PASSWORD: wordpress
      WORDPRESS_DB_NAME: wordpress
# Layer 3: other configurations, including network, container, volume, etc
volumes:
  db_data: {}
  wordpress_data: {}
In fact, it is mainly three-tier configuration. You can read the name and meaning of each configuration item, and the official website that you don't understand also has a very detailed description.
7. Docker Comopose deployment custom service
Let's write a service ourselves. We don't need the official service. We'll take you to play it manually.
The Redis counter is incremented by 1 every time the Tomcat service is accessed
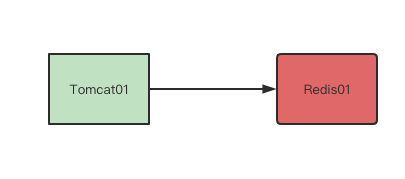
7.1 writing Tomcat service
Create a new springboot project, and then a new controller class:
package com.itcoke.counter.controller;

import org.springframework.beans.factory.annotation.Autowired;
import org.springframework.data.redis.core.StringRedisTemplate;
import org.springframework.web.bind.annotation.GetMapping;
import org.springframework.web.bind.annotation.RestController;
import javax.servlet.http.HttpServletRequest;

@RestController
public class CounterController {

    @Autowired
    StringRedisTemplate redisTemplate;

    @GetMapping("/visit")
    public String count(HttpServletRequest request){
        String remoteHost = request.getRemoteHost();
        Long increment = redisTemplate.opsForValue().increment(remoteHost);
        return remoteHost +"Number of visits"+increment.toString();
    }
}
Springboot service configuration file application yml:
server:
  port: 8080
  servlet:
    context-path: /counter
spring:
  redis:
    host: counterRedis
7.2 Dockerfile
FROM openjdk:8-jdk

COPY *.jar /counter.jar

CMD ["--server.port=8080"]

EXPOSE 8080

ENTRYPOINT ["java","-jar","/counter.jar"]
7.3 docker-compose.yml
version: "3.8"
services:
  itcokecounter:
    build: .
    image: itcokecounter
    depends_on:
      - counterRedis
    ports:
      - "8080:8080"
  counterRedis:
    image: "redis:6.0-alpine"
7.4 testing
Create a new counter folder on the Linux server and copy the following three files to it.

Then execute the following command to build:
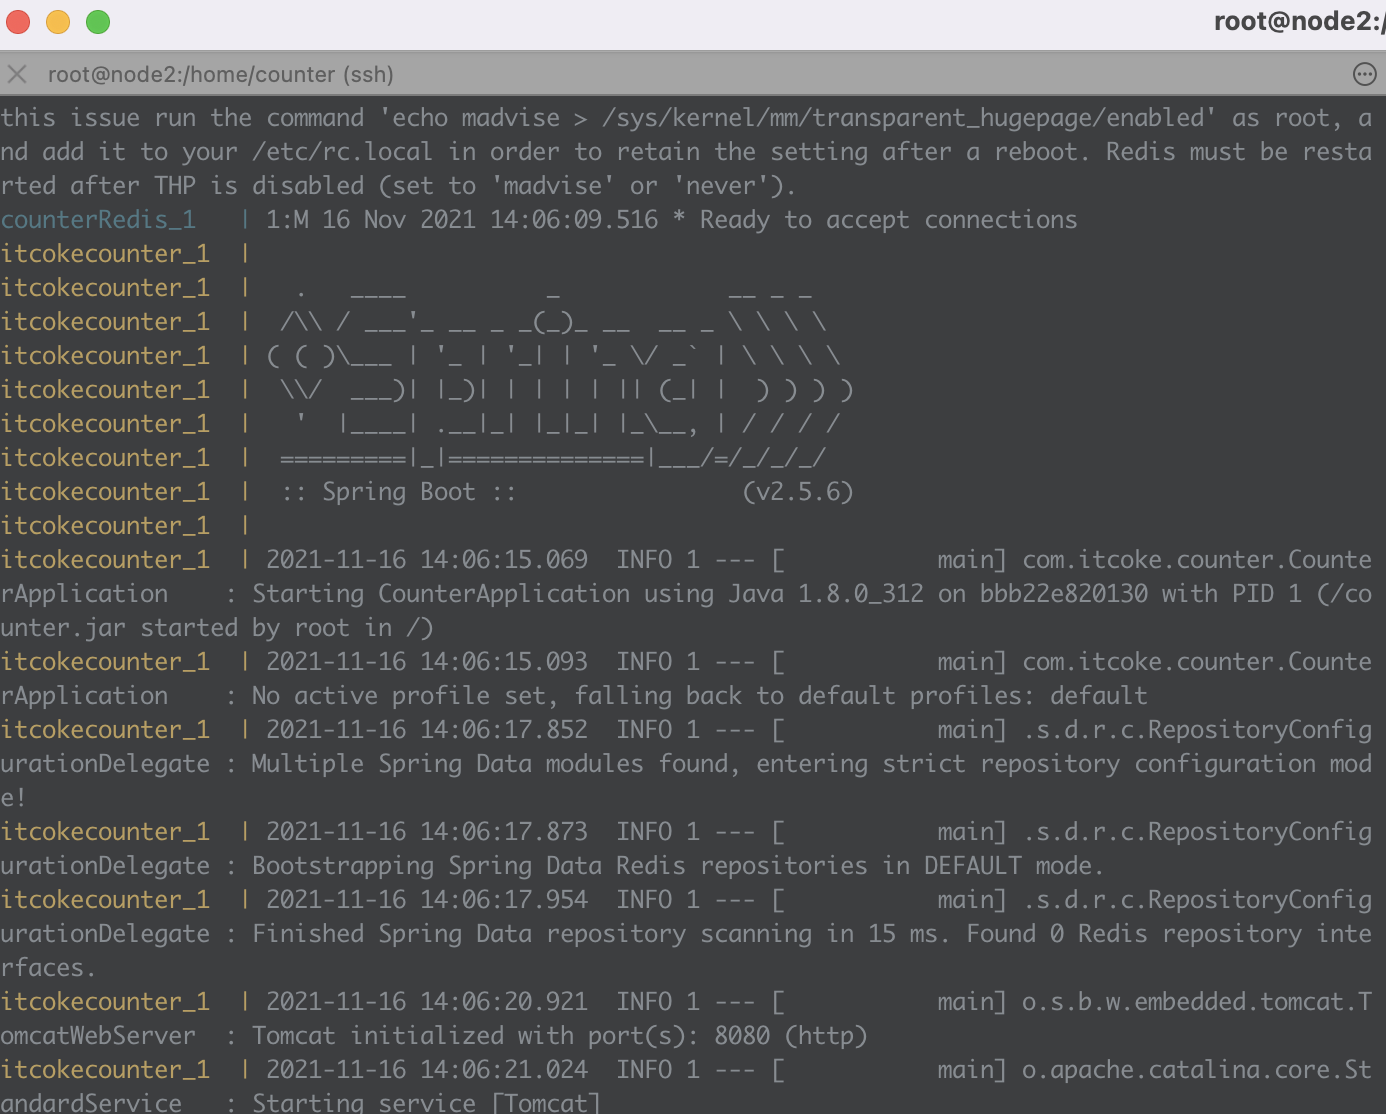
docker-compose up
After execution, the following startup success interface will appear:
Then we enter the web address in the browser:
http://{ip}:8080/counter/visit
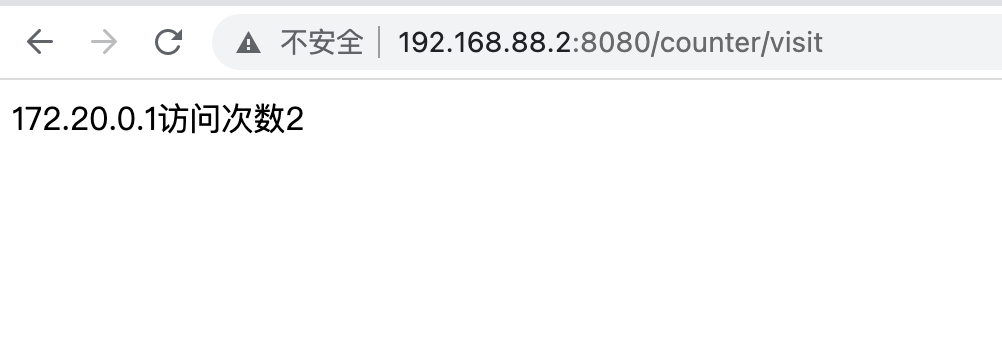
Each refresh will be added once.