docker network creation
Containers themselves cannot be networked with each other, but they can be interconnected by placing them in the same network segment.
Can pass
docker network create creates a network segment name
To create network segments, we can also use docker network ls to view network segments. By default, there will be three network segments when docker does not create network segments. These three built-in network segments cannot be interconnected. Therefore, if we want to build a new architecture, such as lamp and LNMP, we need to create a network, When the containers are started, these containers are placed on the created network, so as to realize container interworking.
We can create one manually, such as docker network create lamp. Then we can check the network card at this time.

You can see that a new network segment will appear in the network card segment, and it will be named at the beginning of docker. In the future, when creating a new network, their network segments are different, so as to realize the interworking between the same network and the isolation between different networks.
docker network allocation command
When we open an image, we can use
docker run -itd -p port number -- name -- network the assigned network depends on the image bash to run
Or you can enter the name of the network container assigned by docker connect in the running container to allocate the network
Self built image warehouse
There are three ways to obtain the image. One is to create the image by writing a script. The other is to pull the image through the docker hub official website. The data image of the official website is relatively complete. However, due to its own foreign website, the access time will be broken, pull failure, packet loss and other phenomena. The third is the practice of many domestic enterprises, that is, build a container warehouse, and then pull the self built images one by one, which can be downloaded by servers in the same network segment.
Here is a command:
docker run -itd -p port number - v where to mount: where to mount to the container image name
The advantages of this command are similar to nfs, but it is shared between the local machine and the container. The corresponding directory will be generated at the specified place. Any file or application will be placed in the local machine, and the mount point of the container on the other side can receive it
step
1)The first thing you need is to download registry It is a warehouse source. We can start it directly through the following command, and the system will automatically docker hub Download the image package.

docker run -itd -p 5000:5000 registry

2)After downloading, you can docker ps Check whether the image is started. If not, enter a

> docker run -itd -p 5000:5000 registry

For manual opening.

3)After opening, you need to write a file manually to make ip Address sharing

```powershell
vim /etc/docker/daemon.json
"insecure-registries": ["Local address:registry "Specified port number"]
"insecure-registries": ["192.168.53.123:5000"]
4) Restart the docker container and restart the registry image
systemctl restart docker
 Because it needs to be permanently persistent, it needs to be mounted
docker run -d -p 5000:5000 -v /root/data:/var/lib/registry/docker/registry/v2
5) After a series of operations, you can upload the image!
1. The image needs to be renamed in the form of ip address: port number / image name: label
2,
Example: docker push 192.168.53.123:5000/nginx:v1
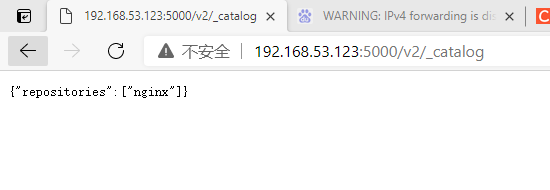
3. After uploading, use curl 192.168.53.123:5000/v2/_catalog to see if the upload is complete
{"repositories":["nginx"]}
4. You can also use the browser to enter the above web address for viewing
extend
Build compose
step
1)
> curl -L "https://github.com/docker/compose/releases/download/1.29.1/docker-compose-$(uname
> -s)-$(uname -m)" -o /usr/local/bin/docker-compose
This is a download command. You need to install it first
2)
> chmod +x /usr/local/bin/docker-compose
This is to increase the permissions of key configuration files
3)
> ln -s /usr/local/bin/docker-compose /usr/bin/docker-compose
This is an additional soft connection
4)mkdir composetest
5)cd composetest
vim app.py:
import time
import redisfrom flask import Flask
app = Flask(__name__)cache = redis.Redis(host='redis', port=6379)
def get_hit_count():
retries = 5
while True:
try:
return cache.incr('hits')
except redis.exceptions.ConnectionError as exc:
if retries == 0:
raise exc
retries -= 1
time.sleep(0.5)
@app.route('/')def hello():
count = get_hit_count()
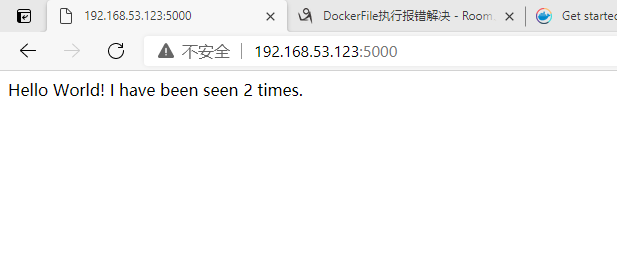
return 'Hello World! I have been seen {} times.\n'.format(count)
vim requirements.txt:
flask
redis
vim Dockerfile:
#syntax=docker/dockerfile:1
FROM python:3.7-alpine
WORKDIR /code
ENV FLASK_APP=app.py
ENV FLASK_RUN_HOST=0.0.0.0
RUN apk add --no-cache gcc musl-dev linux-headers
COPY requirements.txt requirements.txt
RUN pip install -r requirements.txt
EXPOSE 5000
COPY . .
CMD ["flask", "run"]
vim docker-compose.yml
version: "3.9"services:
web:
build: .
ports:
- "5000:5000"
redis:
image: "redis:alpine"
6) After creating a series of files, use the docker compose up - D command to complete the installation
7) Attention! Its default port is 5000. Please ensure that other port numbers do not conflict with 5000.
8) Then you can directly enter the local number: 5000 in the browser for access
9) Each refresh is counted
Command set
docker save -o export image
Docker load -- input < image import image
docker run -itd start / create
The network container name assigned by docker connect will reassign the assigned container to the network
Docker compose up - d start compose
docker search finds all keyword images of docker hub platform