Docker simple use tutorial
Author qin lang
Some materials refer to cloudman
What - what is a container?
Container is a lightweight, portable and self-contained software packaging technology, which enables applications to run in the same way almost anywhere. The container created and tested by developers on their notebooks can run on the virtual machine, physical server or public virtual machine of the production system without any modification.
Containers and virtual machines
When it comes to containers, we have to compare them with virtual machines, because both provide encapsulation and isolation for applications.
The container consists of two parts:
1 application itself
2 Dependence: for example, the library or other software required by the application
The container runs in the user space of the Host operating system and is isolated from other processes of the operating system. This is significantly different from virtual machines.
The goal of traditional virtualization technologies, such as VMware, KVM and Xen, is to create a complete virtual machine. In order to run the application, in addition to deploying the application itself and its dependencies (usually tens of MB), the entire operating system (tens of GB) must be installed.
Why - why do you need containers?
Why do I need containers? What problem does the container solve?
The short answer is: containers make software highly portable.
Problems solved by container
Let's take a look at the challenges facing today's software development?
Today's systems are architecturally more complex than they were a decade ago. In the past, almost all applications adopted three-tier architecture (Presentation/Application/Data), and the system was deployed to a limited number of physical servers (Web Server/Application Server/Database Server).
Today, developers usually use a variety of services (such as MQ, Cache, DB) to build and assemble applications, and applications are likely to be deployed to different environments, such as virtual servers, private clouds and public clouds.
On the one hand, applications contain a variety of services, which have their own libraries and software packages; On the other hand, there are many deployment environments, and services may need to be dynamically migrated to different environments at run time. This raises a question:
How can each service run smoothly in all deployment environments?
So we get the following matrix:
Various services and environments are arranged and combined to produce a large matrix. Developers need to consider different operating environments when writing code, while operation and maintenance personnel need to configure environments for different services and platforms. This is a difficult and arduous task for both of them.
How to solve this problem?
Smart technicians have found the answer from the traditional transportation industry.
Decades ago, the transportation industry faced similar problems.
In each transportation, the owner and the carrier will worry about the loss caused by different types of goods, such as several iron drums being pressed on a pile of bananas by mistake. On the other hand, the need to use different means of transportation also makes the whole process painful: the goods are loaded on the car, transported to the wharf, unloaded, then loaded on the ship, unloaded on the ship after landing, then loaded on the train, arrived at the destination, and finally unloaded. More than half of the time is spent on loading and unloading, and it is easy to damage the goods when moving up and down.
This is also an NxM matrix.
Fortunately, the invention of container solves this problem.
Any goods, whether piano or Porsche, are put into their respective containers. The container is sealed during the whole transportation process and will not be opened until it reaches the final destination. Standard containers can be efficiently handled, overlapped and transported over long distances. Modern cranes can automatically move containers between trucks, ships and trains. Container is known as the most important invention of transportation industry and world trade.
Docker applies the idea of container to software packaging and provides a container based standardized transportation system for the code. Docker can package any application and its dependencies into a lightweight, portable and self-contained container. Containers can run on almost all operating systems.
In fact, the English words corresponding to "Container" and "Container" are "Container".
"Container" is a common name in China. It may be because container is more abstract than container and more suitable for the field of software.
I personally think: in the thinking of foreigners, "Container" only means Container. Isn't Docker's Logo just a pile of containers?
Features of Docker
We can see how the container idea corresponds to various features of Docker.
The core components of Docker include:
Docker Client
Docker server - Docker daemon
Docker Image
Registry
Docker Container
Docker server
Docker daemon is a server component that runs as a Linux background service.
Docker daemon runs on Docker host and is responsible for creating, running and monitoring containers, building and storing images.
By default, Docker daemon can only respond to client requests from local hosts. If you want to allow remote client requests, you need to turn on TCP listening in the configuration file. The steps are as follows:
Edit the configuration file / etc / SYSTEMd / system / multi user target. wants/docker. Service, add - h after the environment variable ExecStart tcp://0.0.0.0 , allow client connections from any IP.
If you are using another operating system, the location of the configuration file may be different.
Restart Docker daemon.
The server IP is 192.168.56.102. The client can communicate with the remote server by adding the - H parameter to the command line.
info subcommand is used to view the information of Docker server.
Docker image
Docker can be mirrored as a read-only template through which docker containers can be created.
For example, an image may contain an Ubuntu operating system, an Apache HTTP Server, and a user developed Web application.
There are many ways to generate images:
You can create a mirror from scratch
You can also create and use ready-made images
You can also create a new image on an existing image
Docker container
Docker container is the running instance of docker image.
Users can start, stop, move or delete containers through CLI (docker) or API. It can be said that for application software, image is the construction and packaging stage of software life cycle, while container is the startup and running stage.
Registry
Registry is the repository where Docker images are stored. Registry is divided into private and public.
Docker Hub( https://hub.docker.com/ )It is the default Registry, maintained by docker company. There are tens of thousands of images on it, which users can download and use freely.
ECR AWS container storage location
The docker pull command can download images from Registry.
The docker run command downloads the image first (if not locally), and then starts the container.
Install Docker
yum -y install docker
Run the first container
When the environment is ready, run the first container immediately and execute the command:
docker run -d -p 80:80 httpd
The process can be simply described as follows:
- Download the httpd image from Docker Hub. Apache HTTP Server has been installed in the image.
- Start the httpd container and map port 80 of the container to port 80 of the host. The first 80 is the host port and the second 80 is the container port
The container startup process is as follows:
The Docker client executes the docker run command.
Docker daemon found that there is no httpd image locally.
daemon downloads the image from Docker Hub.
After downloading, the image httpd is saved locally.
Dock daemon starts the container.
Hello World - smallest image
Hello world is an official image provided by Docker, which is usually used to verify whether Docker is successfully installed.
docker pull hello-world
[root@ip-172-29-140-52 ~]# docker pull hello-world
Using default tag: latest
latest: Pulling from library/hello-world
0e03bdcc26d7: Pull complete
Digest: sha256:49a1c8800c94df04e9658809b006fd8a686cab8028d33cfba2cc049724254202
Status: Downloaded newer image for hello-world:latest
docker.io/library/hello-world:latest
Docker common commands
# Container information acquisition command
docker ps   			#Lists the currently running containers
docker ps -a 			#List all containers on the machine, both started and not started
docker images 			#List all mirrors on this machine
docker top container id			#Get the top information of the container
docker stats container id 		#Get container information
docker logs container id		#Get the output log of the container
docker logs -f container id 	#Get container logs in real time
docker inspect container ID		#View container information
docker history image ID 	#View the container's build history

# Container operation command
docker tag image	New name	for example	docker tag nginx:latest wuerp-nginx:latest #The newly typed bag will exist separately
docker run #Start container
            -i	Run the container in interactive mode, usually with -t Simultaneous use;
            -t	Reassign a pseudo input terminal to the container, usually with -i Simultaneous use;
            -d	Run the container in the background and return to the container ID;
docker cp File container id:/root #Put the file cp into the root directory of the container
docker cp container id:/root/wuerp.conf . #Put the container / root / wuerp The file of conf is copied locally
docker start container id		#Start the container and use it when the container stops
docker stop container id		#Stop the container and use it when the container starts
docker restart container id 	#Restart container
docker pause container id		#Pause container
docker unpause container id		#Remove pause container
docker rm container id			#Delete container
docker rmi image id 		#Delete mirror ID
 Tip delete all containers docker ps $(docker ps -a -q)
	  Delete container image docker rmi $(docker images)
docker rename Container name	New container name	#Rename the value of the container -- name attribute
docker exec -it container id /bin/bash	#Enter the container and use the / bin/bash interpreter
docker container update --restart=always container ID 		#Update some attributes of the container. For example, this updates the startup attribute of the container. When always docker is started, the container will be started automatically

#Container get upload command
docker login 			#Log in to the image warehouse 	 By default, you can log in to dockerhub and register one yourself
#How to log in to the company's ECR warehouse 	 aws ecr get-login-password --region cn-northwest-1 | docker login --username AWS --password-stdin
097364988641.dkr.ecr.cn-northwest-1.amazonaws.com.cn
docker logout			#Exit mirror warehouse
docker search image	   # Search container image in dockerhub
docker pull 			#Mirror warehouse/Mirroring: labels	#Pull image to local
docker push				#Push image to warehouse	docker push 097364988641.dkr.ecr.cn-northwest-1.amazonaws.com.cn/local_dotnet_core:latest	#Note that the name of the image is what the image warehouse is pushed to
Create a more complex docker container
docker run -it -p 8080:80 -v /root/2020-07-29:/root/log --name nginx --restart=always nginx
-p 8080:80 map the 8080 port of this machine to the 80 port of the container
-v /root/2020-07-29:/root/log mount the local / root/2020-07-29 folder to the container's / root/log
– name nginx give the container a name
– restart=always the container starts the policy, and the container will be restarted automatically
The last nginx is the name of Images. If not, it will be pulled from the dockerhub by default
docker image acceleration
sudo mkdir -p /etc/docker
sudo tee /etc/docker/daemon.json <<-'EOF'
{
  "registry-mirrors": ["https://352w7nbu.mirror.aliyuncs.com"]
}
EOF
sudo systemctl daemon-reload
sudo systemctl restart docker
docker image layering
base image
Linux operating system consists of kernel space and user space. As shown in the figure below:
[the external chain picture transfer fails. The source station may have anti-theft chain mechanism. It is recommended to save the picture and upload it directly (img-TnPAL5M2-1623205435987)(1E33BB6B44954BA992EE1172FF4F9F0C)]
rootfs
The kernel space is the kernel. When Linux starts, the bootfs file system will be loaded, and then bootfs will be unloaded.
The file system in user space is rootfs, which contains familiar directories such as / dev, /proc, /bin, etc.
For the base image, the underlying layer directly uses the Host kernel, and only needs to provide rootfs.
For a streamlined OS, rootfs can be very small, just including the most basic commands, tools and program libraries. Compared with other Linux distributions, rootfs of CentOS is already bloated, and alpine is less than 10MB.
In addition to rootfs, we usually install CentOS with many optional software, services, graphical desktop, etc. It's not surprising that we need several GB.
The base image provides the minimum installed Linux distribution.
The following is the content of the Dockerfile mirrored by CentOS:
FROM scratch
ADD centos-7-docker.tar.xz
CMD ["/bin/bash"]
The tar package added to the image by the ADD instruction in the second line is the rootfs of CentOS 7. When creating an image, the tar package will be automatically decompressed to the / directory to generate directories such as / dev, /porc, /bin, etc.
Note: you can view Dockerfile in the image description page of Docker Hub.
https://hub.docker.com/
The main difference between different Linux distributions is rootfs.
For example, Ubuntu 14.04 uses upstart management service and apt management package; CentOS 7 uses systemd and yum. These are differences in user space, and there is little difference in Linux kernel.
Therefore, Docker can support multiple Linux images at the same time and simulate multiple operating system environments.
Mirror layering
Docker supports the creation of new images by extending existing images.
In fact, 99% of the images in Docker Hub are built by installing and configuring the required software in the base image. For example, we now build a new Dockerfile image as follows:
FROM centos
RUN yum -y install wget
RUN yum -y install zip
CMD ["/bin/bash"]
① The new image no longer starts from scratch, but is built directly on the centos image.
② Install wget.
③ Install zip.
④ Run bash when the container starts.
[root@ip-172-29-140-52 ~]# docker build -t wuerp-test .
Sending build context to Docker daemon  465.7MB
Step 1/4 : FROM centos
latest: Pulling from library/centos
6910e5a164f7: Pull complete
Digest: sha256:4062bbdd1bb0801b0aa38e0f83dece70fb7a5e9bce223423a68de2d8b784b43b
Status: Downloaded newer image for centos:latest
 ---> 831691599b88
Step 2/4 : RUN yum -y install wget
 ---> Running in b6e2f927de4d
CentOS-8 - AppStream                            1.7 MB/s | 5.8 MB     00:03
CentOS-8 - Base                                 736 kB/s | 2.2 MB     00:03
CentOS-8 - Extras                               7.4 kB/s | 7.0 kB     00:00
Last metadata expiration check: 0:00:01 ago on Fri Jul 31 14:00:18 2020.
Dependencies resolved.
================================================================================
 Package                    Arch      Version                Repository    Size
================================================================================
Installing:
 wget                       x86_64    1.19.5-8.el8_1.1       AppStream    735 k
Installing dependencies:
 libpsl                     x86_64    0.20.2-5.el8           BaseOS        61 k
 publicsuffix-list-dafsa    noarch    20180723-1.el8         BaseOS        56 k

Transaction Summary
================================================================================
Install  3 Packages

Total download size: 852 k
Installed size: 3.0 M
Downloading Packages:
(1/3): publicsuffix-list-dafsa-20180723-1.el8.n 200 kB/s |  56 kB     00:00
(2/3): libpsl-0.20.2-5.el8.x86_64.rpm            96 kB/s |  61 kB     00:00
(3/3): wget-1.19.5-8.el8_1.1.x86_64.rpm         666 kB/s | 735 kB     00:01
--------------------------------------------------------------------------------
Total                                           343 kB/s | 852 kB     00:02
warning: /var/cache/dnf/AppStream-02e86d1c976ab532/packages/wget-1.19.5-8.el8_1.1.x86_64.rpm: Header V3 RSA/SHA256 Signature, key ID 8483c65d: NOKEY
CentOS-8 - AppStream                            1.6 MB/s | 1.6 kB     00:00
Importing GPG key 0x8483C65D:
 Userid     : "CentOS (CentOS Official Signing Key) <security@centos.org>"
 Fingerprint: 99DB 70FA E1D7 CE22 7FB6 4882 05B5 55B3 8483 C65D
 From       : /etc/pki/rpm-gpg/RPM-GPG-KEY-centosofficial
Key imported successfully
Running transaction check
Transaction check succeeded.
Running transaction test
Transaction test succeeded.
Running transaction
  Preparing        :                                                        1/1
  Installing       : publicsuffix-list-dafsa-20180723-1.el8.noarch          1/3
  Installing       : libpsl-0.20.2-5.el8.x86_64                             2/3
  Installing       : wget-1.19.5-8.el8_1.1.x86_64                           3/3
  Running scriptlet: wget-1.19.5-8.el8_1.1.x86_64                           3/3
  Verifying        : wget-1.19.5-8.el8_1.1.x86_64                           1/3
  Verifying        : libpsl-0.20.2-5.el8.x86_64                             2/3
  Verifying        : publicsuffix-list-dafsa-20180723-1.el8.noarch          3/3

Installed:
  libpsl-0.20.2-5.el8.x86_64     publicsuffix-list-dafsa-20180723-1.el8.noarch
  wget-1.19.5-8.el8_1.1.x86_64

Complete!
Removing intermediate container b6e2f927de4d
 ---> 15030461b7ce
Step 3/4 : RUN yum -y install zip
 ---> Running in 2739aa93af31
Last metadata expiration check: 0:00:06 ago on Fri Jul 31 14:00:18 2020.
Dependencies resolved.
================================================================================
 Package         Architecture     Version                Repository        Size
================================================================================
Installing:
 zip             x86_64           3.0-23.el8             BaseOS           270 k
Installing dependencies:
 unzip           x86_64           6.0-43.el8             BaseOS           195 k

Transaction Summary
================================================================================
Install  2 Packages

Total download size: 465 k
Installed size: 1.2 M
Downloading Packages:
(1/2): zip-3.0-23.el8.x86_64.rpm                289 kB/s | 270 kB     00:00
(2/2): unzip-6.0-43.el8.x86_64.rpm              170 kB/s | 195 kB     00:01
--------------------------------------------------------------------------------
Total                                           260 kB/s | 465 kB     00:01
Running transaction check
Transaction check succeeded.
Running transaction test
Transaction test succeeded.
Running transaction
  Preparing        :                                                        1/1
  Installing       : unzip-6.0-43.el8.x86_64                                1/2
  Installing       : zip-3.0-23.el8.x86_64                                  2/2
  Running scriptlet: zip-3.0-23.el8.x86_64                                  2/2
  Verifying        : unzip-6.0-43.el8.x86_64                                1/2
  Verifying        : zip-3.0-23.el8.x86_64                                  2/2

Installed:
  unzip-6.0-43.el8.x86_64                 zip-3.0-23.el8.x86_64

Complete!
Removing intermediate container 2739aa93af31
 ---> e6882e168358
Step 4/4 : CMD ["/bin/bash"]
 ---> Running in f62d45699df5
Removing intermediate container f62d45699df5
 ---> bb1e77a27181
Successfully built bb1e77a27181
Successfully tagged wuerp-test:latest
As you can see, the new image is generated by superimposing the base image layer by layer. Every time a software is installed, a layer is added to the existing image.
What kind of layered structure should Docker image adopt?
One of the biggest benefits is sharing resources.
For example, if multiple images are built from the same base image, the Docker Host only needs to save one base image on the disk; At the same time, only one base image needs to be loaded in memory to serve all containers. Moreover, each layer of the image can be shared, and we will discuss this feature in more detail later.
At this time, someone may ask: if multiple containers share a basic image, when a container modifies the contents of the basic image, such as the files under / etc, will the / etc of other containers also be modified?
The answer is no!
Modifications are limited to a single container.
This is the copy on write feature of the container we will learn next.
Writable container layer
When the container starts, a new writable layer is loaded on top of the image.
This layer is usually called "container layer", and those below "container layer" are called "mirror layer".
All changes to the container - whether adding, deleting, or modifying files, will only occur in the container layer.
Only the container layer is writable, and all mirror layers below the container layer are read-only.
Let's go into the details of the container layer.
The number of mirror layers may be large, and all mirror layers will be combined to form a unified file system. If there is a file with the same path in different layers, such as / A, the / A in the upper layer will overwrite the / A in the lower layer, that is, users can only access the file / A in the upper layer. In the container layer, the user sees a superimposed file system.
- Add file
When a file is created in a container, the new file is added to the container layer. - read file
When reading a file in the container, Docker will find the file in each image layer from top to bottom. Once found, open and read into memory. - Modify file
When modifying an existing file in the container, Docker will find the file in each image layer from top to bottom. Once found, copy it to the container layer immediately, and then modify it. - Delete file
When deleting a file in the container, Docker also looks for the file in the image layer from top to bottom. Once found, the deletion will be recorded in the container layer.
A copy of data is copied only when it needs to be modified. This feature is called copy on write. It can be seen that the container layer saves the changed part of the image and will not modify the image itself.
This explains the problem we raised earlier: the container layer records the modification of the image. All image layers are read-only and will not be modified by the container, so the image can be shared by multiple containers.
*Tips: build a large and infrequently changed content on the upper image layer. For example, install many software on the upper layer and place the configuration file below, but the configuration file may be changed frequently. If the configuration file is on the installation package, the md5 value of each layer is detected to change each time it is built, it will be rebuilt from the changed image layer
Practical docker use cases
Take keycloak and Mysql as examples
Docker installation MySQL
Create mysql configuration file
mkdir -p {conf,data,logs,backup}
vim $PWD/conf/my.cnf
[client]
default-character-set = utf8

[mysql]
default-character-set = utf8

[mysqld]
character_set_server = utf8
collation-server = utf8_bin
transaction_isolation = READ-COMMITTED
Start mysql image
docker run --name mysql --restart always -p 3306:3306 -e MYSQL_ROOT_PASSWORD=wuerp -v $PWD/data:/var/lib/mysql -v $PWD/logs:/logs -v $PWD/conf:/etc/mysql/conf.d -v $PWD/backup:/backup -itd mysql:5.7
- Start a container called mysql startup policy, which is always started
- -The p-mapped port maps the local 3306 to the 3306 of the container
- -Pass in the environment variable password here
- -v map $pwd/data to / var/lib/mysql and pwd in the current directory
- -v map $pwd/logs to / logs
- -v map $pwd/backup to / backup
- -itd puts the container in the background and returns the container id
- MySQL: image version used in 5.7
[root@ip-172-29-140-52 test]# docker run --name mysql --restart always  -p 3306:3306  -e MYSQL_ROOT_PASSWORD=wuerp -v $PWD/data:/var/lib/mysql  -v $PWD/logs:/logs -v $PWD/conf:/etc/mysql/conf.d  -v $PWD/backup:/backup -itd  mysql:5.7
Unable to find image 'mysql:5.7' locally
5.7: Pulling from library/mysql
6ec8c9369e08: Already exists
177e5de89054: Pull complete
ab6ccb86eb40: Pull complete
e1ee78841235: Pull complete
09cd86ccee56: Pull complete
78bea0594a44: Pull complete
caf5f529ae89: Pull complete
4e54a8bcf566: Pull complete
50c21ba6527b: Pull complete
68e74bb27b39: Pull complete
5f13eadfe747: Pull complete
Digest: sha256:97869b42772dac5b767f4e4692434fbd5e6b86bcb8695d4feafb52b59fe9ae24
Status: Downloaded newer image for mysql:5.7
ceb20e33681d239e0e9cde25d9a4eeb713354895f70c8447d2b423ced86b6203
[root@ip-172-29-140-52 test]# docker ps
CONTAINER ID        IMAGE               COMMAND                  CREATED             STATUS              PORTS                               NAMES
ceb20e33681d        mysql:5.7           "docker-entrypoint.s..."   3 seconds ago       Up 2 seconds        0.0.0.0:3306->3306/tcp, 33060/tcp   mysql
a4ce76b48985        nginx               "/docker-entrypoint...."   6 minutes ago       Up 6 minutes        80/tcp                              funny_lederberg
[root@ip-172-29-140-52 test]# docker exec -it mysql /bin/bash
root@ceb20e33681d:/# ls
backup	bin  boot  dev	docker-entrypoint-initdb.d  entrypoint.sh  etc	home  lib  lib64  logs	media  mnt  opt  proc  root  run  sbin	srv  sys  tmp  usr  var
root@ceb20e33681d:/# mysql -uroot -pwuerp
mysql: [Warning] Using a password on the command line interface can be insecure.
Welcome to the MySQL monitor.  Commands end with ; or \g.
Your MySQL connection id is 2
Server version: 5.7.31 MySQL Community Server (GPL)

Copyright (c) 2000, 2020, Oracle and/or its affiliates. All rights reserved.

Oracle is a registered trademark of Oracle Corporation and/or its
affiliates. Other names may be trademarks of their respective
owners.

Type 'help;' or '\h' for help. Type '\c' to clear the current input statement.

mysql> show databases;
+--------------------+
| Database           |
+--------------------+
| information_schema |
| mysql              |
| performance_schema |
| sys                |
+--------------------+
4 rows in set (0.00 sec)

mysql>
Successful access and mysql installation
Docker installation keycloak
# KEYCLOAK_USER user name
# KEYCLOAK_PASSWORD password
# DB_ADDR database address
# DB_PORT database port
# DB_DATABASE database name
# DB_USER database user
# DB_PASSWORD database password

docker run \
    -d \
    --name keycloak \
    -p 8080:8080 \
    -p 8443:8443 \
    -e KEYCLOAK_USER=admin \
    -e KEYCLOAK_PASSWORD=123456 \
    -e DB_ADDR=127.0.0.1 \
    -e DB_PORT=3306 \
    -e DB_DATABASE=keycloak \
    -e DB_USER=root \
    -e DB_PASSWORD=wuerp \
    jboss/keycloak:latest
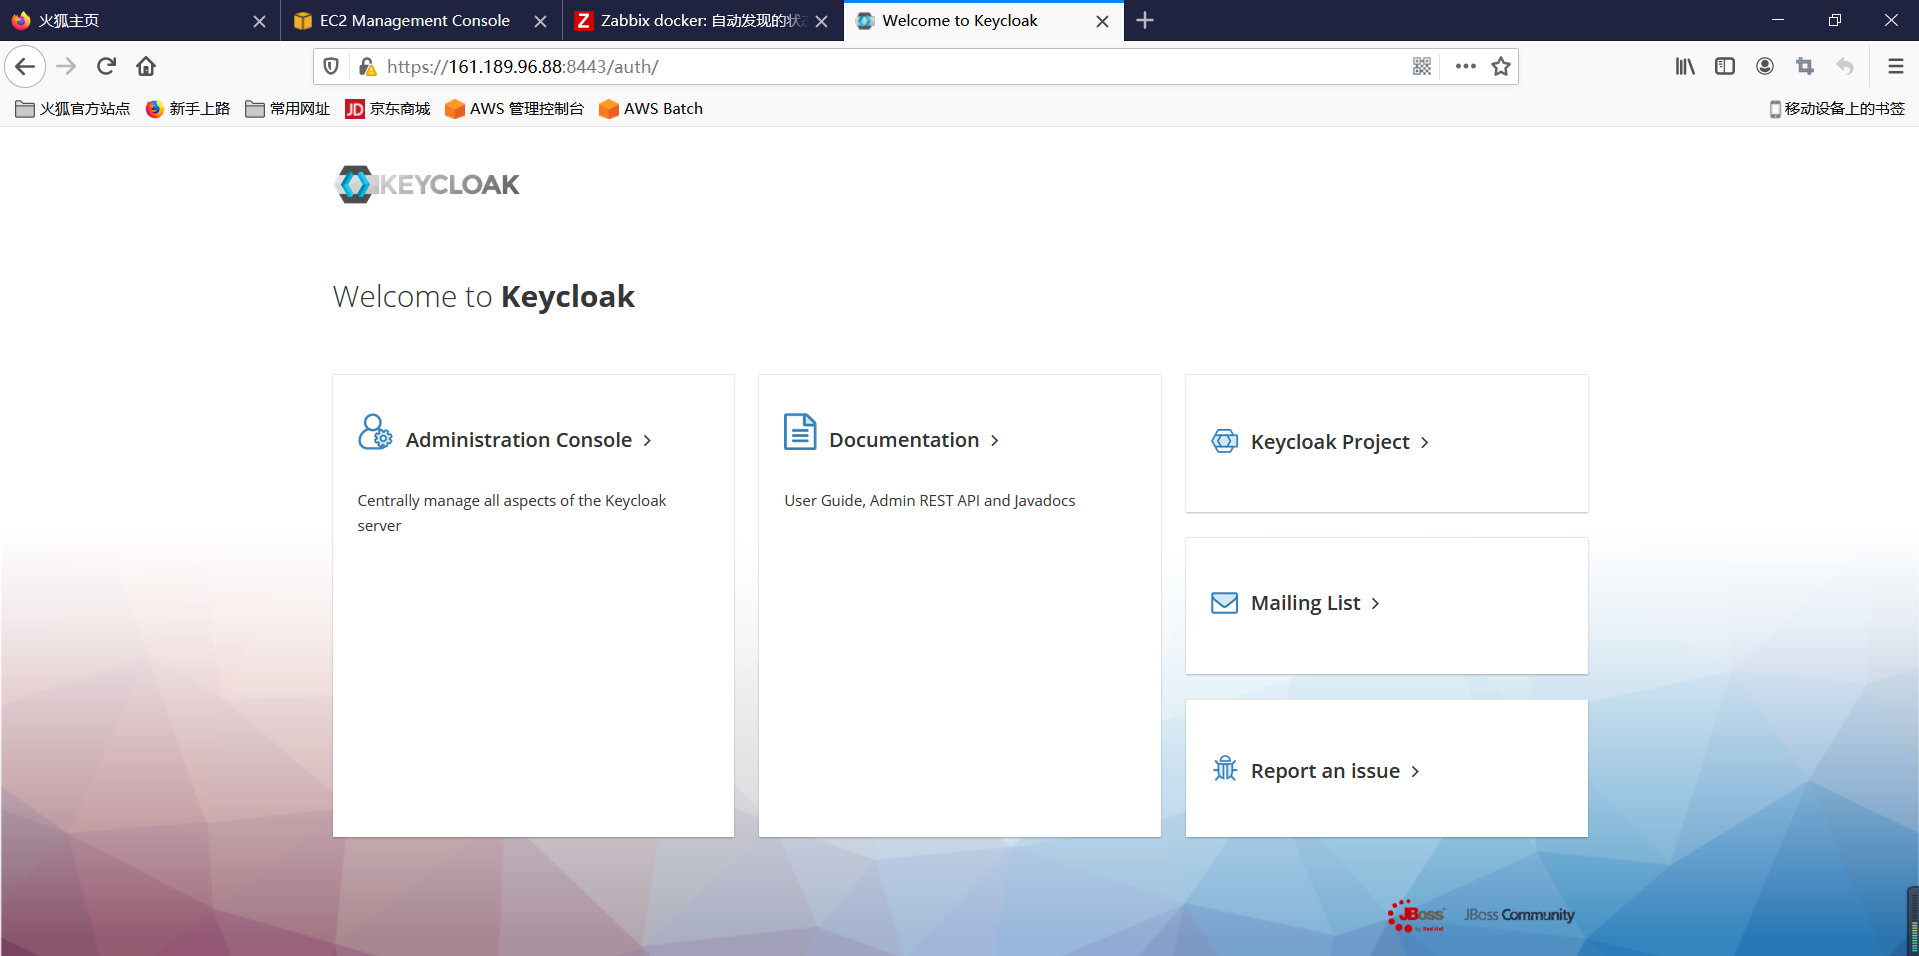
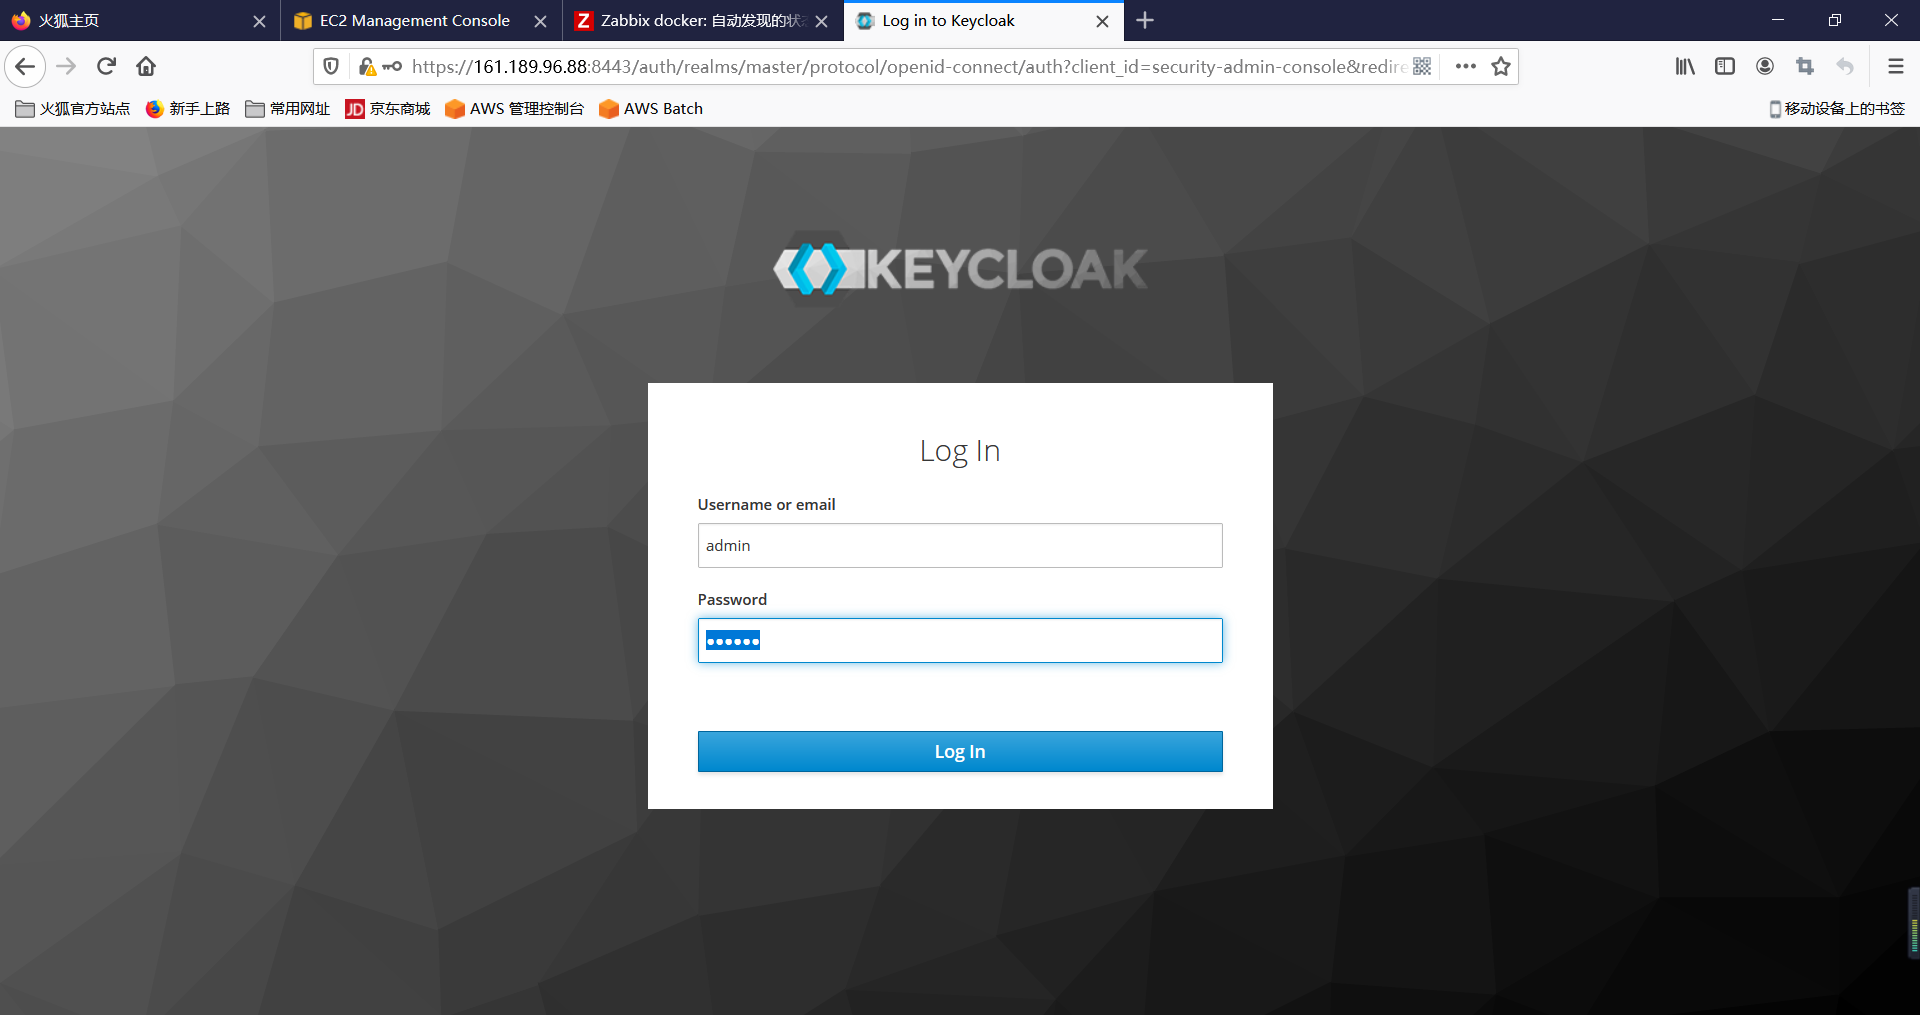
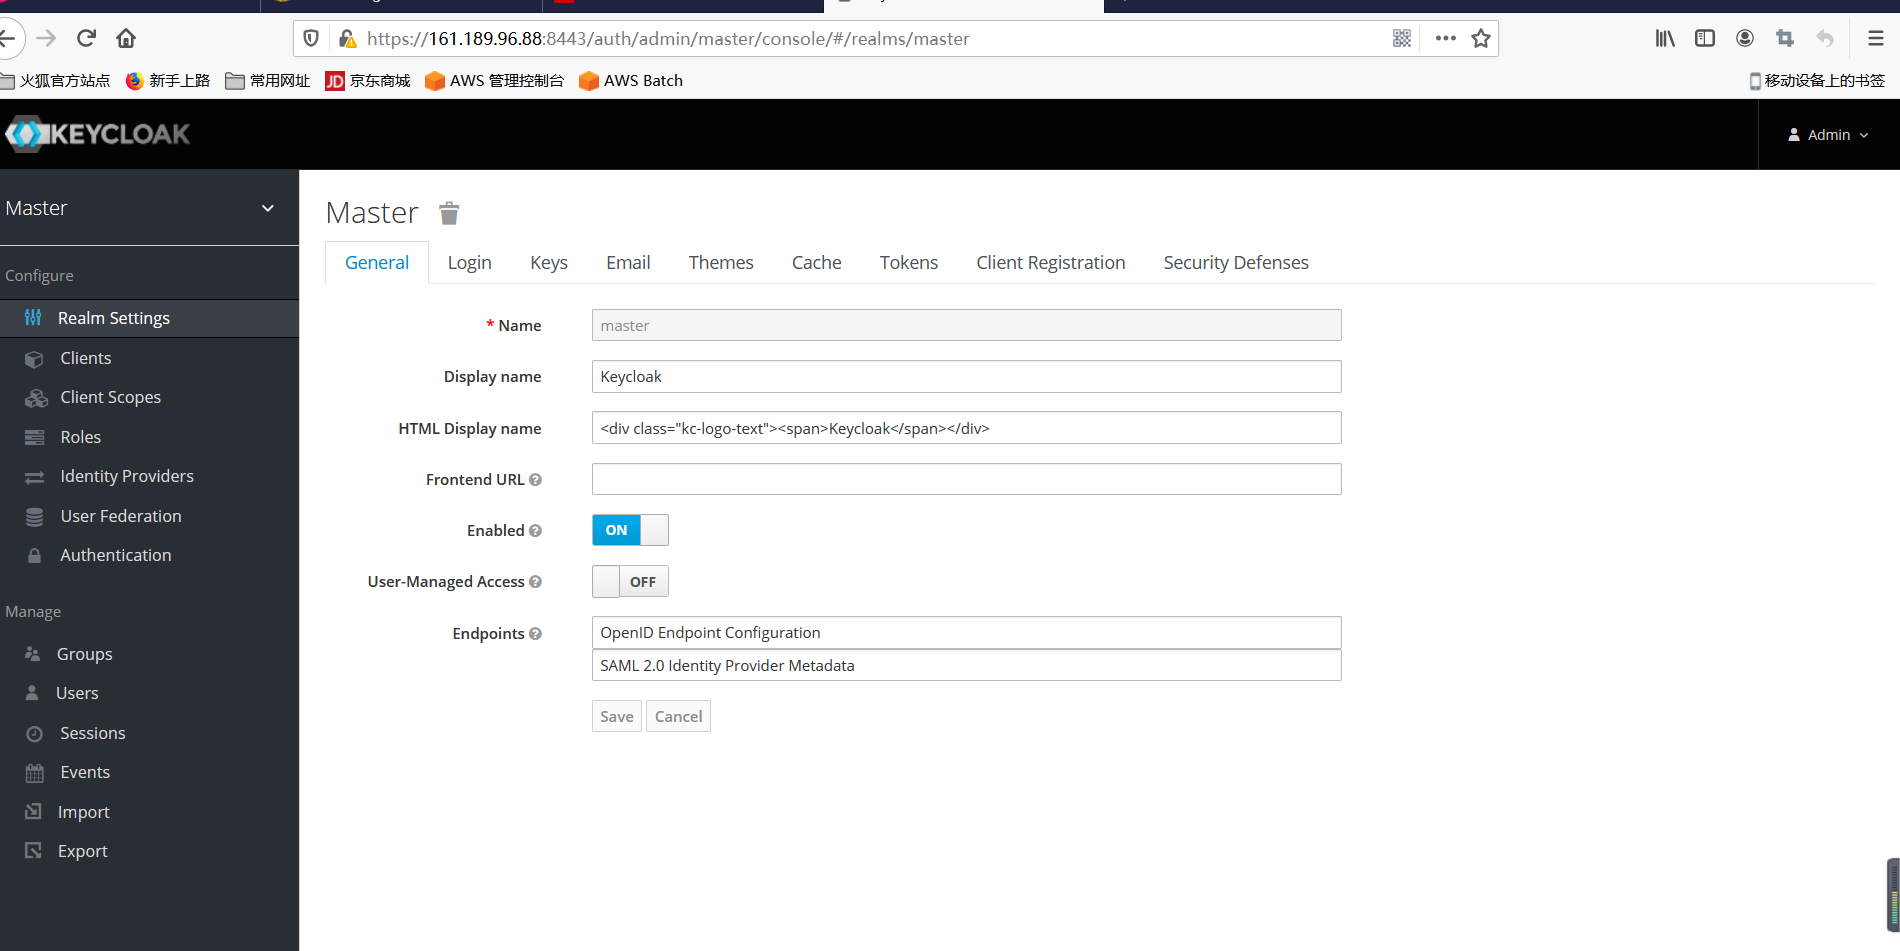
Access keycloak of https
Access the machine https://localhost:8443