1. Preface
The root file system is the first file system mounted after the Linux kernel is started. As described in the previous article, how to use busybox to make the root file system. This article introduces how to make the kernel find the file system after the root file system is successfully made, complete the mount, and enter the system command line terminal.
The root file system supports both network mount and local mount:
(1) If network mounting is adopted, set the path to / dev/nfs. NFS is a commonly used network file system under Linux. This way of mounting is generally in the system development stage to facilitate the modification of debugging code, that is, put the root file system on the PC, and the embedded development board is accessed to the PC through the network.
(2) Local mount is to let the kernel load the root file system from SD card, EMMC, CD and other devices, and set the device path to / dev/sda, / dev/ram and so on. Fill in the name of the specific equipment node. Local mount is generally used when the product is released. When the whole system is developed, copy the complete directory on the PC to the local storage device, and let the kernel load directly from the local. In this way, the startup speed will be much faster, and the file reading and writing will be much faster, so it will not be transmitted through the network. Local mounting is not convenient for debugging code. Generally, NFS is more convenient in the development stage.
The path settings mentioned above are set in uboot. Uboot has an environment variable specially used to pass parameters to the kernel. After the kernel is started, it will be executed according to the parameters passed by uboot.
The current development board is Tiny4412 of the arm of friendship. The kernel, uboot and cross compiler all use the files provided on the official CD.
If the kernel is set to NFS network mount, the setting format of uboot environment variable is as follows:
TINY4412 # setenv bootargs root=/dev/nfs nfsroot=192.168.10.11:/home/wbyq/work/rootfs ip=192.168.10.123:192.168.10.11:192.168.10.1:255.255.255.0::eth0:off init=/linuxrc console=ttySAC0 lcd=S702
TINY4412 # saveenv
TINY4412 # reset
2. NFS network mount
The premise is to make the root file system well before continuing this step. The current host adopts RedHat 6 3. This system is relatively old, but it has complete functions and runs smoothly. To mount NFS network, you need to set up the network of PC and the network of development board to ensure that they are in the same LAN. Current RedHat 6 3 the system runs in the VM virtual machine, and then configure the network.
The idea of NFS network mounting of development board:
- The PC starts the NFS server and configures the path of NFS share: share rootfs
- The development board acts as an NFS client to mount the directory shared by the PC and complete the access to the file system
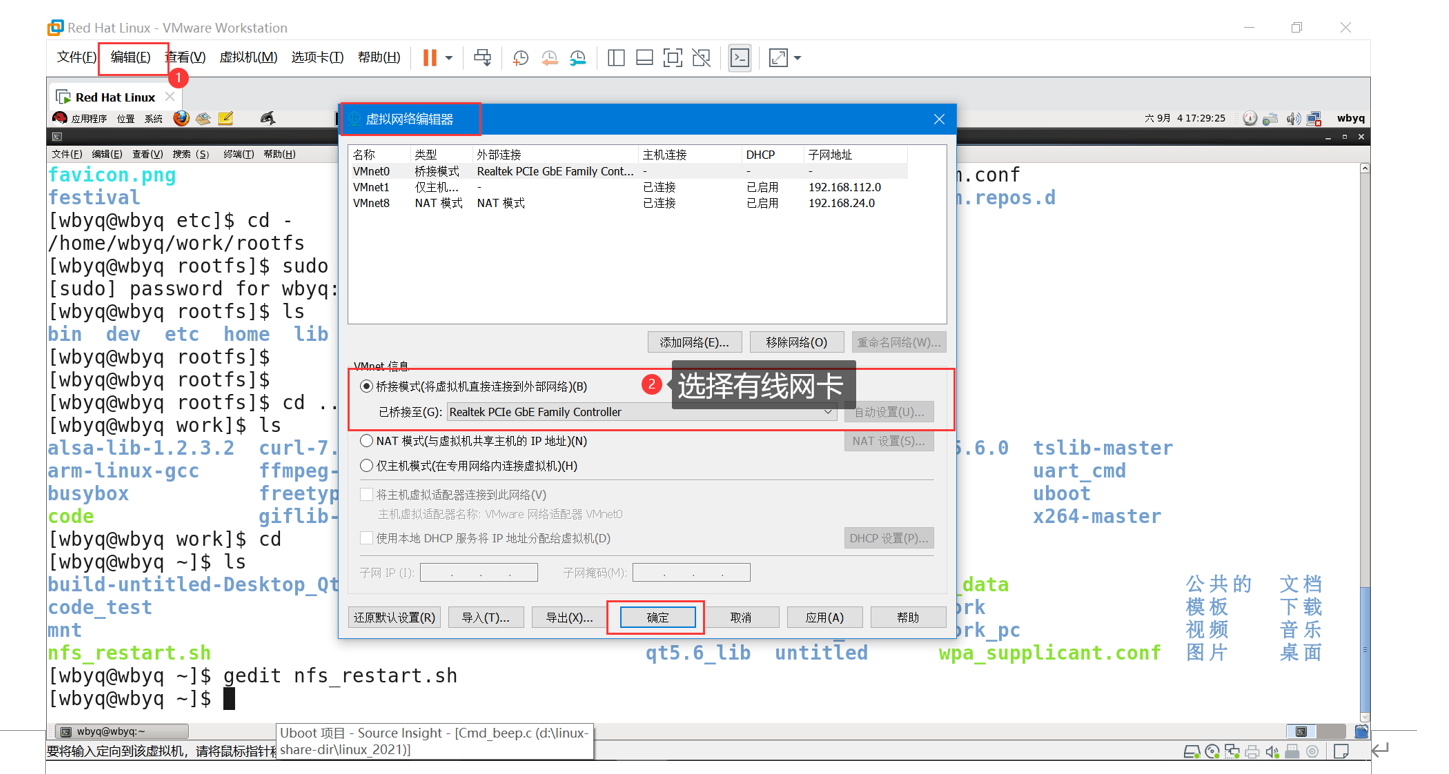
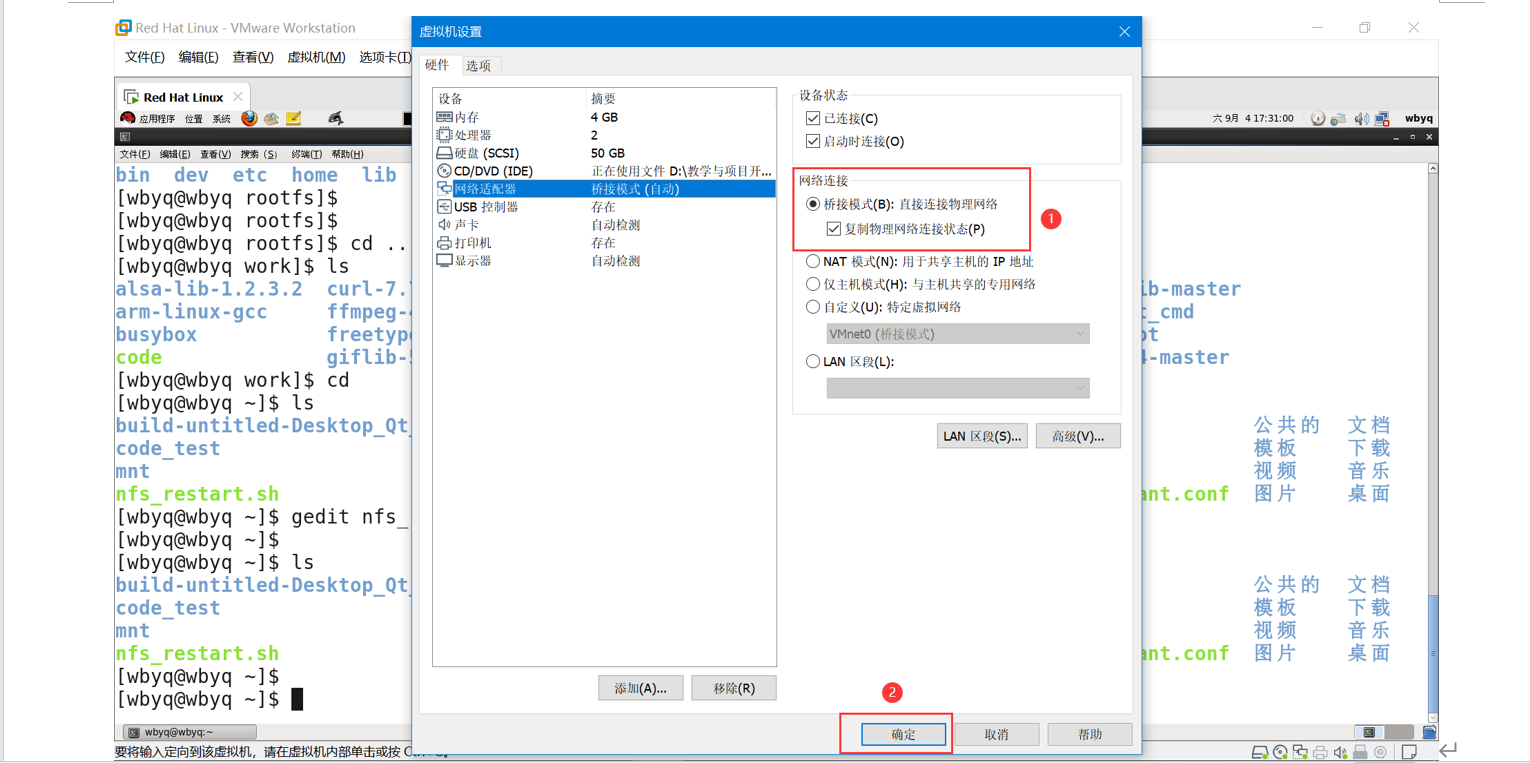
(1) Configure virtual machine network
(2) Configure PC NFS server
[wbyq@wbyq rootfs]$ sudo vim /etc/exports
/home/wbyq/work/rootfs *(insecure,rw,no_root_squash,sync)
Write a script to start the NFS server easily: it can be placed in the user directory
For example: nfs_restart.sh use the script to use the administrator's permission, and change the permission of the script to executable
service nfs restart   #Restart NFS server
service iptables stop #Turn off the firewall
ifconfig eth0 192.168.10.11  #Set IP address
View the system network card name: ifconfig
(3) Run the script to start the NFS server
[wbyq@wbyq ~]$ sudo ./nfs_restart.sh
[sudo] password for wbyq:
close NFS Daemons:                                        [fail]
close NFS mountd:                                           [fail]
close NFS quotas:                                           [fail]
close NFS Services:                                            [determine]
start-up NFS Services:                                            [determine]
turn off NFS Quota:                                            [determine]
start-up NFS mountd:                                           [determine]
Starting RPC idmapd:                                       [determine]
Starting RPC idmapd:                                       [determine]
start-up NFS Daemons:                                        [determine]
[wbyq@wbyq ~]$ sudo ./nfs_restart.sh
close NFS Daemons:                                        [determine]
close NFS mountd:                                           [determine]
close NFS quotas:                                           [determine]
close NFS Services:                                            [determine]
start-up NFS Services:                                            [determine]
turn off NFS Quota:                                            [determine]
start-up NFS mountd:                                           [determine]
Starting RPC idmapd:                                       [determine]
Starting RPC idmapd:                                       [determine]
start-up NFS Daemons:                                        [determine]
[wbyq@wbyq ~]$
(4) Set the environment variable of UBOOT
Enter into uboot From the command line, set the environment variable.
set bootargs root=/dev/nfs nfsroot=192.168.10.11:/home/wbyq/work/rootfs ip=192.168.10.123:192.168.10.11:192.168.10.1:255.255.255.0::eth0:off init=/linuxrc console=ttySAC0 lcd=S702

set bootargs root=/dev/nfs nfsroot=<server address>:<NFS Shared path> ip=<Development board IP>:<server address>:<gateway>:255.255.255.0::eth0:off init=/linuxrc console=ttySAC0 lcd=S702

Execution example:
TINY4412 # set bootargs root=/dev/nfs nfsroot=192.168.10.11:/home/wbyq/work/rootfs ip=192.168.10.123:192.168.10.11:192.168.10.1:255.255.255.0::eth0:off init=/linuxrc console=ttySAC0 lcd=S702
TINY4412 # save
TINY4412 # reset
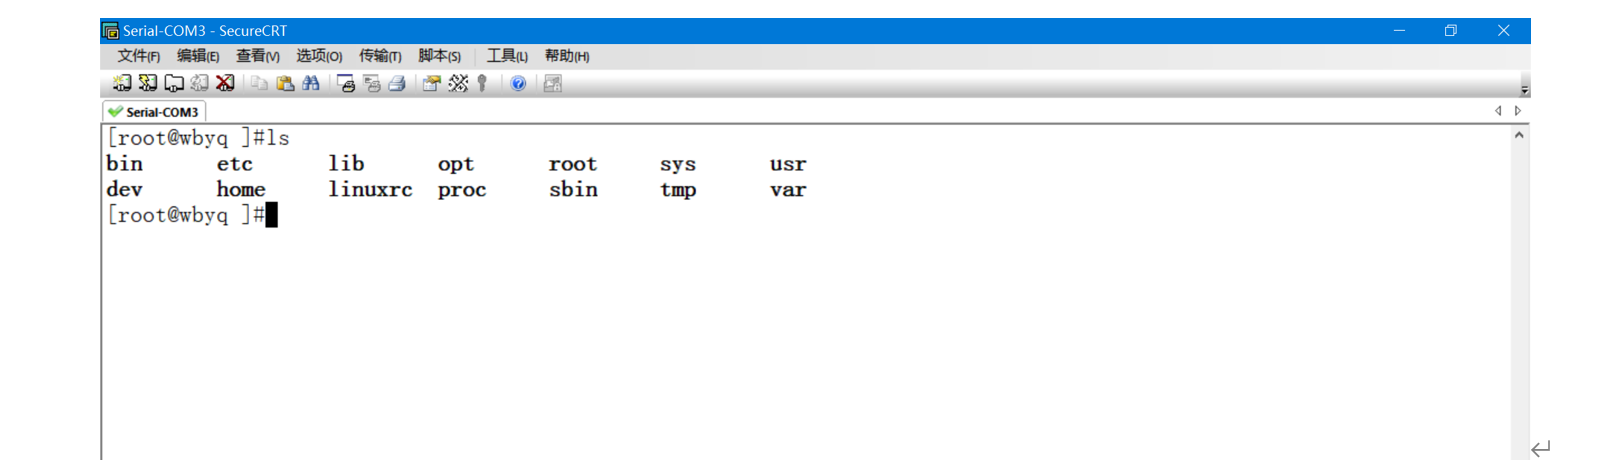
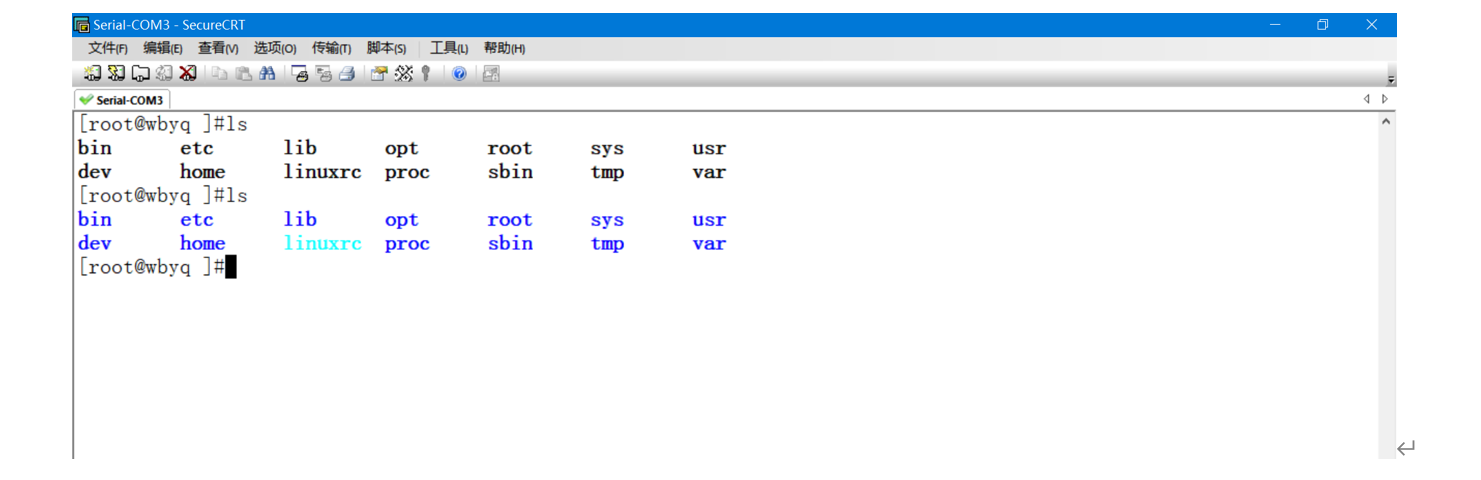
After restarting, the development board will normally enter the Linux command line: