We often see such a thing on the smart car.
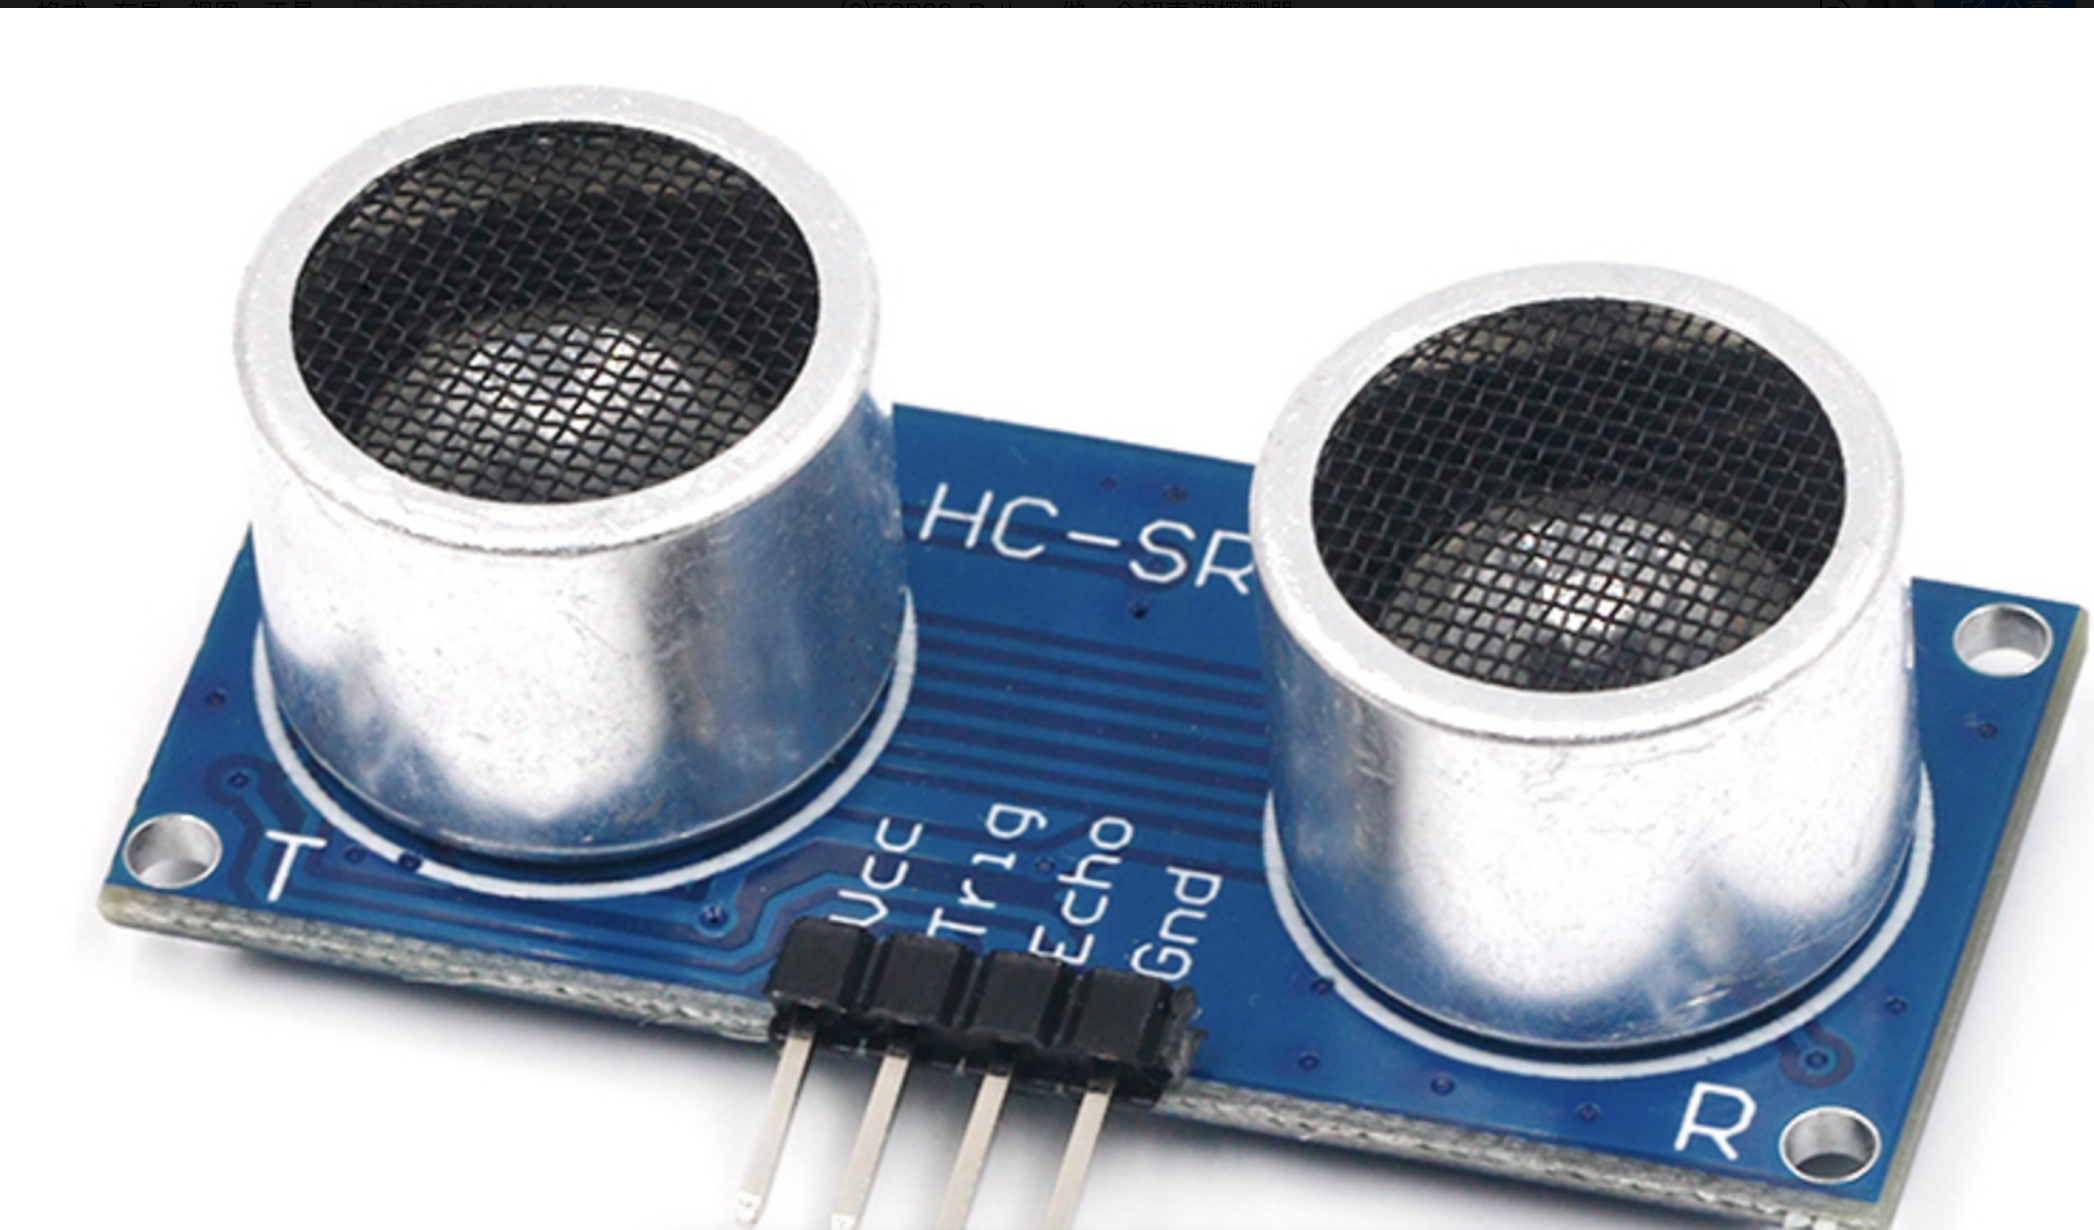
This thing is an ultrasonic ranging module with four pins: VCC, trig, echo and GND.
VCC: connected to VCC power supply, generally 5V, but now there are also 3.3V power supplies on the market
Trig: input a 10us high level to this pin to trigger ranging.
Echo: at the end of ranging, this pin will output a high level. After the width of the level is calculated, it is the distance of ranging
GND: grounding
Here is a calculation formula:
Ranging distance = (time of high level * sonic speed [340M/S] / 2)
In short, the implementation principle is that when we need to test the distance,
- Input the Trig to the high level of 10us, and then pull it down. Ranging starts.
- When Echo receives the signal, it will pull the level of the pin up.
- Calculate the time difference between step 1 and step 2.
- Insert the formula and calculate the distance (the time of sound speed is 340 meters per second, and the time of the first and second steps is US, so it needs to be calculated back with 10000)
Note that ultrasonic wave is a kind of wave, which is not 100%. As shown in the figure below, it sends a straight line.
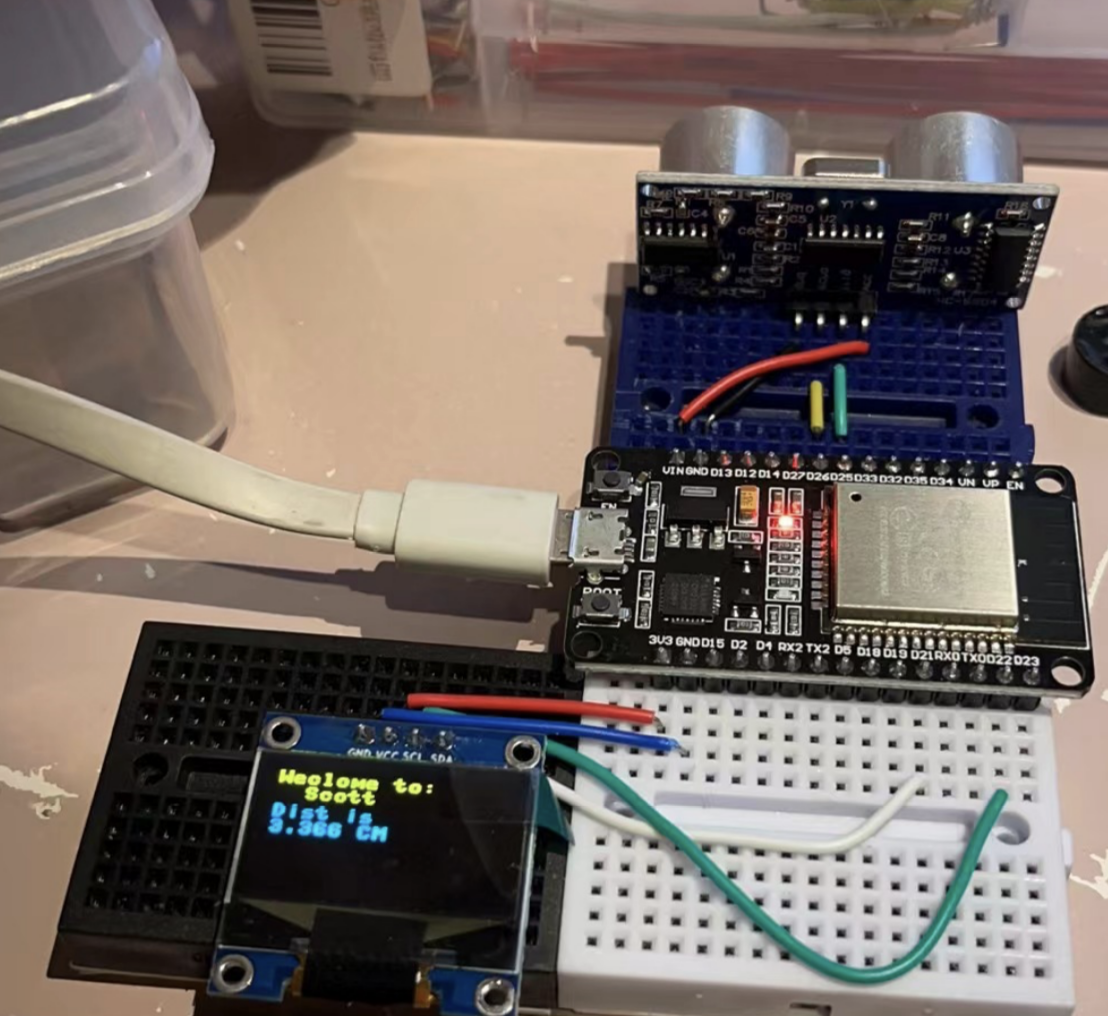
After understanding the principle, connect the sensor to the hardware, and then start writing code.
For the first implementation, we still use the native writing method.
from machine import Pin
import utime
class ORGHCSR04:
trig = None
echo = None
def __init__(self):
global trig, echo
trig = Pin(25, Pin.OUT)
echo = Pin(26, Pin.IN)
trig.off()
echo.off()
def start_scan(self):
while True:
self.start_hc()
utime.sleep_ms(800) # Here, the SLEEP time is set as required
print('>_<')
def start_hc(self):
global trig, echo
trig.on()
utime.sleep_us(10)
trig.off()
while echo.value() == 0 :
pass
start_us = utime.ticks_us()
while echo.value() == 1 :
pass
end_us = utime.ticks_us()
rang_us = utime.ticks_diff(end_us,start_us)/10000
dist = rang_us*340/2
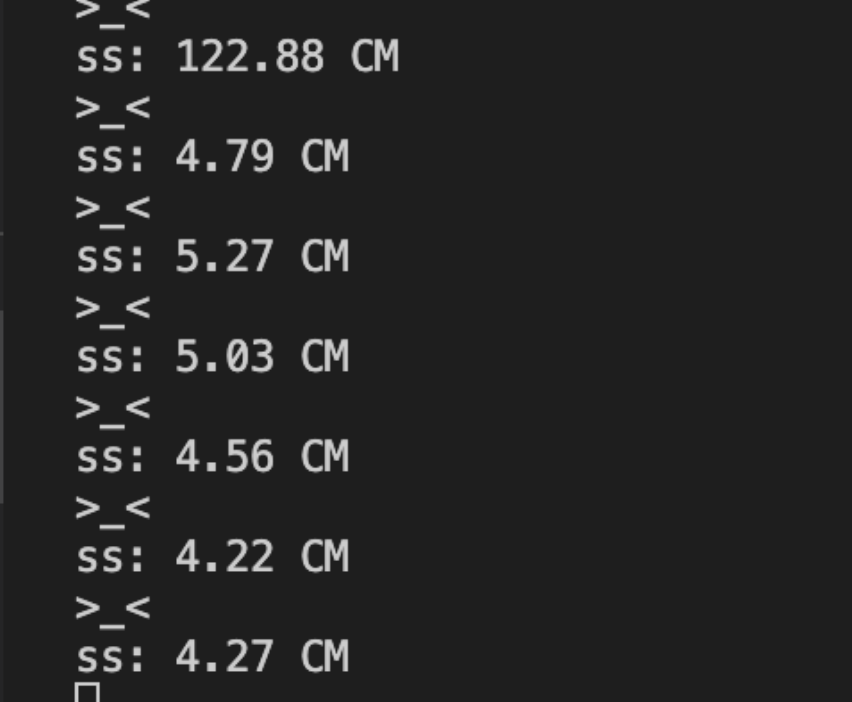
print("dist is: %0.2f CM" % dist)
After completion, burn it to the development board for testing
If you want to use HAAS, you first need to use board JSON
{
    "name": "haasedu",
    "version": "1.0.0",
    "io": {
        "hc_triger":{
          "type": "GPIO",
          "port": 25,
          "dir": "output",
          "pull": "pulldown"
        },
        "hc_echo":{
          "type": "GPIO",
          "port": 26,
          "dir": "input",
          "pull": "pulldown"
        }
    },
    "debugLevel": "ERROR",
    "repl": "disable"
  }
Haas implementation code is as follows
import utime
from driver import GPIO
class HAASHCSR04:
    triger_gpio = None
    echo_gpio = None
    def __init__(self):
        global triger_gpio, echo_gpio
        triger_gpio = GPIO()
        triger_gpio.open('hc_triger')
        triger_gpio.write(0)
        echo_gpio = GPIO()
        echo_gpio.open('hc_echo')
        echo_gpio.write(0)

    def start_scan(self):
        while True:
            self.start_hc()
            utime.sleep_ms(800) # Here, the SLEEP time is set as required

    def start_hc(self):
        global triger_gpio, echo_gpio
        triger_gpio.write(1)
        utime.sleep_us(10)
        triger_gpio.write(0)
        while(echo_gpio.read()==0):
            pass
        start_us = utime.ticks_us()

        while(echo_gpio.read()==1):
            pass
        end_us = utime.ticks_us()

        rang_us = utime.ticks_diff(end_us,start_us)/10000
        dist = rang_us*340/2
        print("dist is: %0.2f CM" % dist)
However, the output of the above code is output through print, which is not very spiritual. We have connected OLEDs before. Here we can also use OLEDs.
The effect is as follows. We can also plug in the previous traffic lights. Stop at the red light and go at the green light. ha-ha.