Misplaced Experience: ESP8266 NodeMCU
Preface
after Previous Project And later learning, I feel I can start a new project Liao.
So, I suddenly have an idea: beside me, there is not only an ESP8266-NodeMCU (a board that can be connected to the Internet), but also a DHT11 sensor to see if the data can go to the cloud. This is also an important direction for early learning. Then I started surfing the Internet to find information, inadvertently triggered my little loved classmates (emmm, may be touching by mistake, I ran out and was startled)All of a sudden, there was an idea that the temperature and humidity sensor could be connected to Mijia and Xiao Ai classmates. To toss, you just have to be afraid that you don't have an idea and you can toss around if you have one. Just do what you say.........
Droplet: The following is the main content of this article
1. Blinker
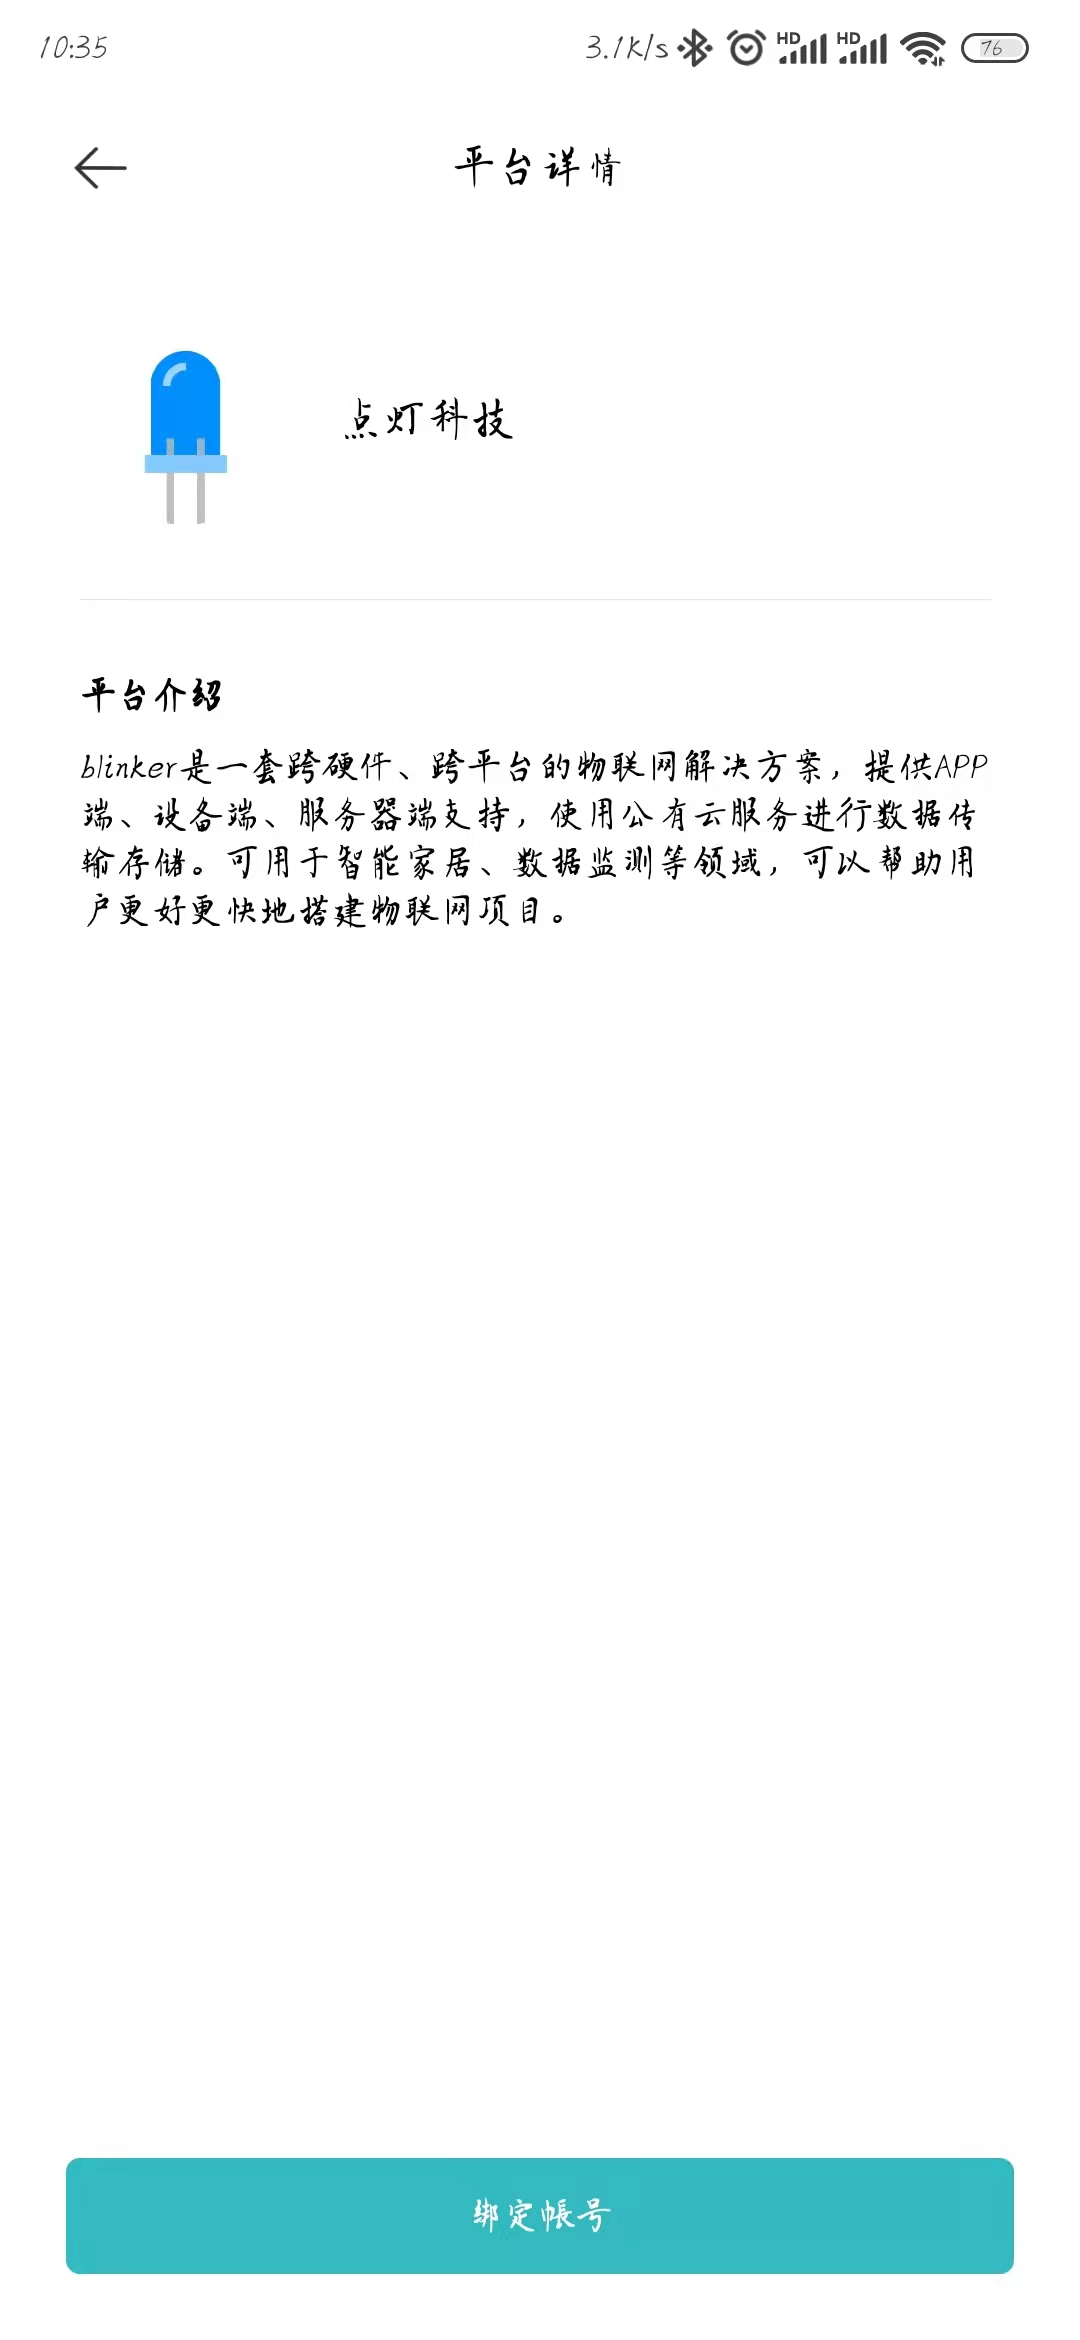
1. Blinker - Lighting Technology
Official website: Click me to transfer
Blinker is a professional and easy-to-use solution for the Internet of Things, providing sdk support for servers, applications and devices. The server side based on the high-performance asynchronous framework can host a large number of device connections, allowing device owners to easily manage devices. Simple and convenient applications, combined with sdk supported by multiple devices, allow developers to access devices within three minutes.There are three versions of lighting service, community version is open source and free, so you can experience the features and advantages of lighting scheme; cloud service version provides more value-added services and functions, and effectively reduces the project implementation costs of customers, so that customers can upgrade the Internet of Things faster; commercial version can be deployed independently to meet customers'more diverse needs;
Blinnker supports a variety of mainstream communication methods, such as Bluetooth, WiFi. Theoretically, any device that supports Bluetooth or WiFi can be connected with Blinnker. (_) (Big White Love)
Characteristic:
It is composed of server side, app side and device side, and can be deployed to almost all Internet of Things platforms.
app side supports ios, android
Device-side can be accessed by Bluetooth, WiFi, MQTT, etc., supporting development platforms such as Arduino, freeRTOS, mbed OS, Linux, etc.
Server-side can be deployed to Ali Cloud, Tencent Cloud, OneNET, Baidu Cloud, AWS, google cloud and other platforms
Through the interface layouts, the free version users can drag and drop the layout device control interface to create your Internet of Things device freely
With proprietary SDK s, professional users can use Blinker to develop their own products for commercial use
blinker scenarios:
Rapid development of the Internet of Things / Smart home / Wireless remote control project;
Mobile phone / Voice Assistant Control Device;
Bluetooth ble / LAN WiFi / Long-range MQTT Access equipment;
Device Link Interaction;
Data Acquisition Analysis / Data Visualization;
2. Task Start
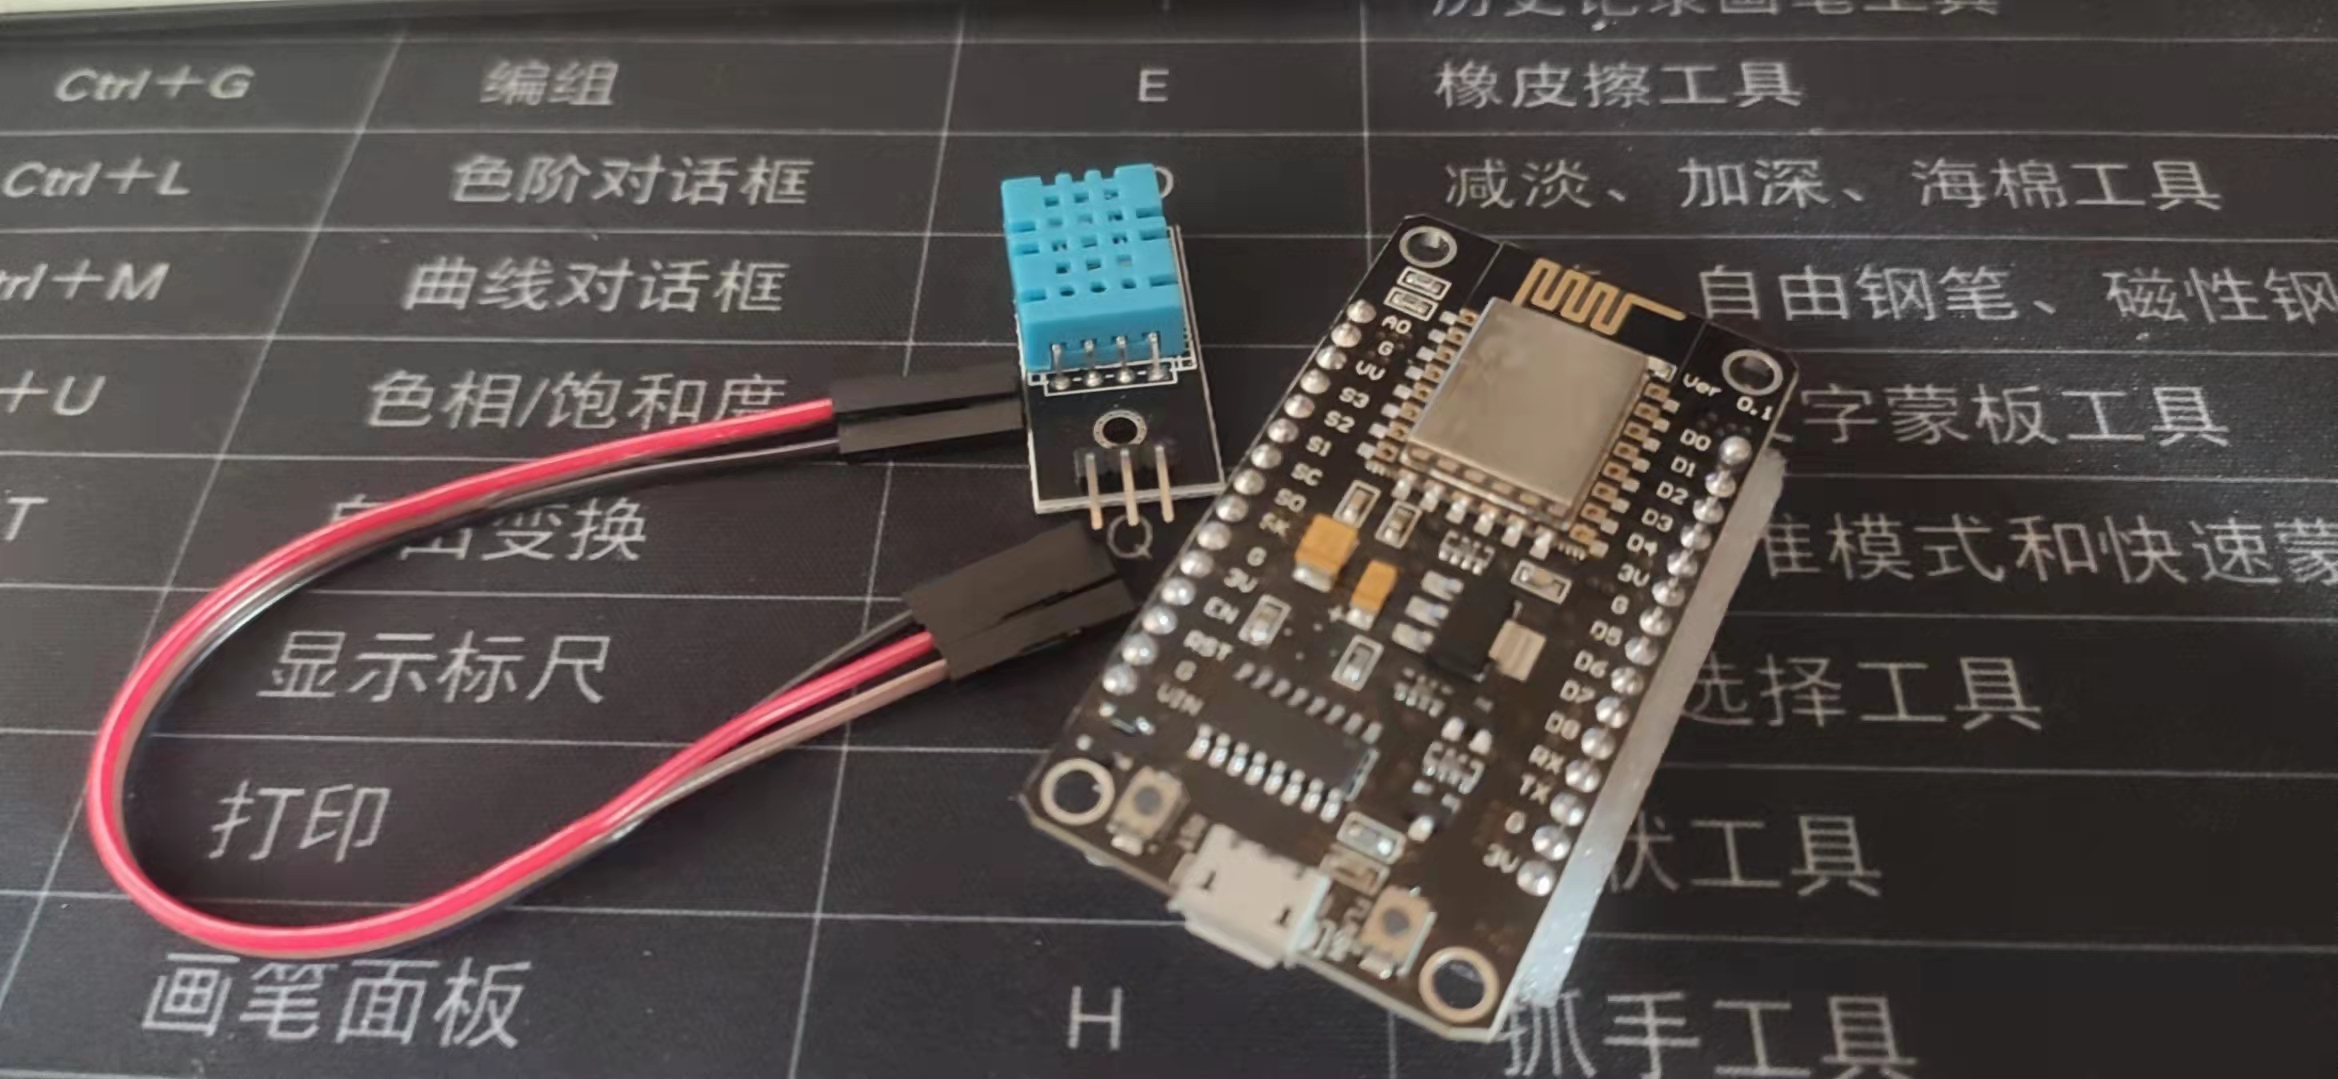
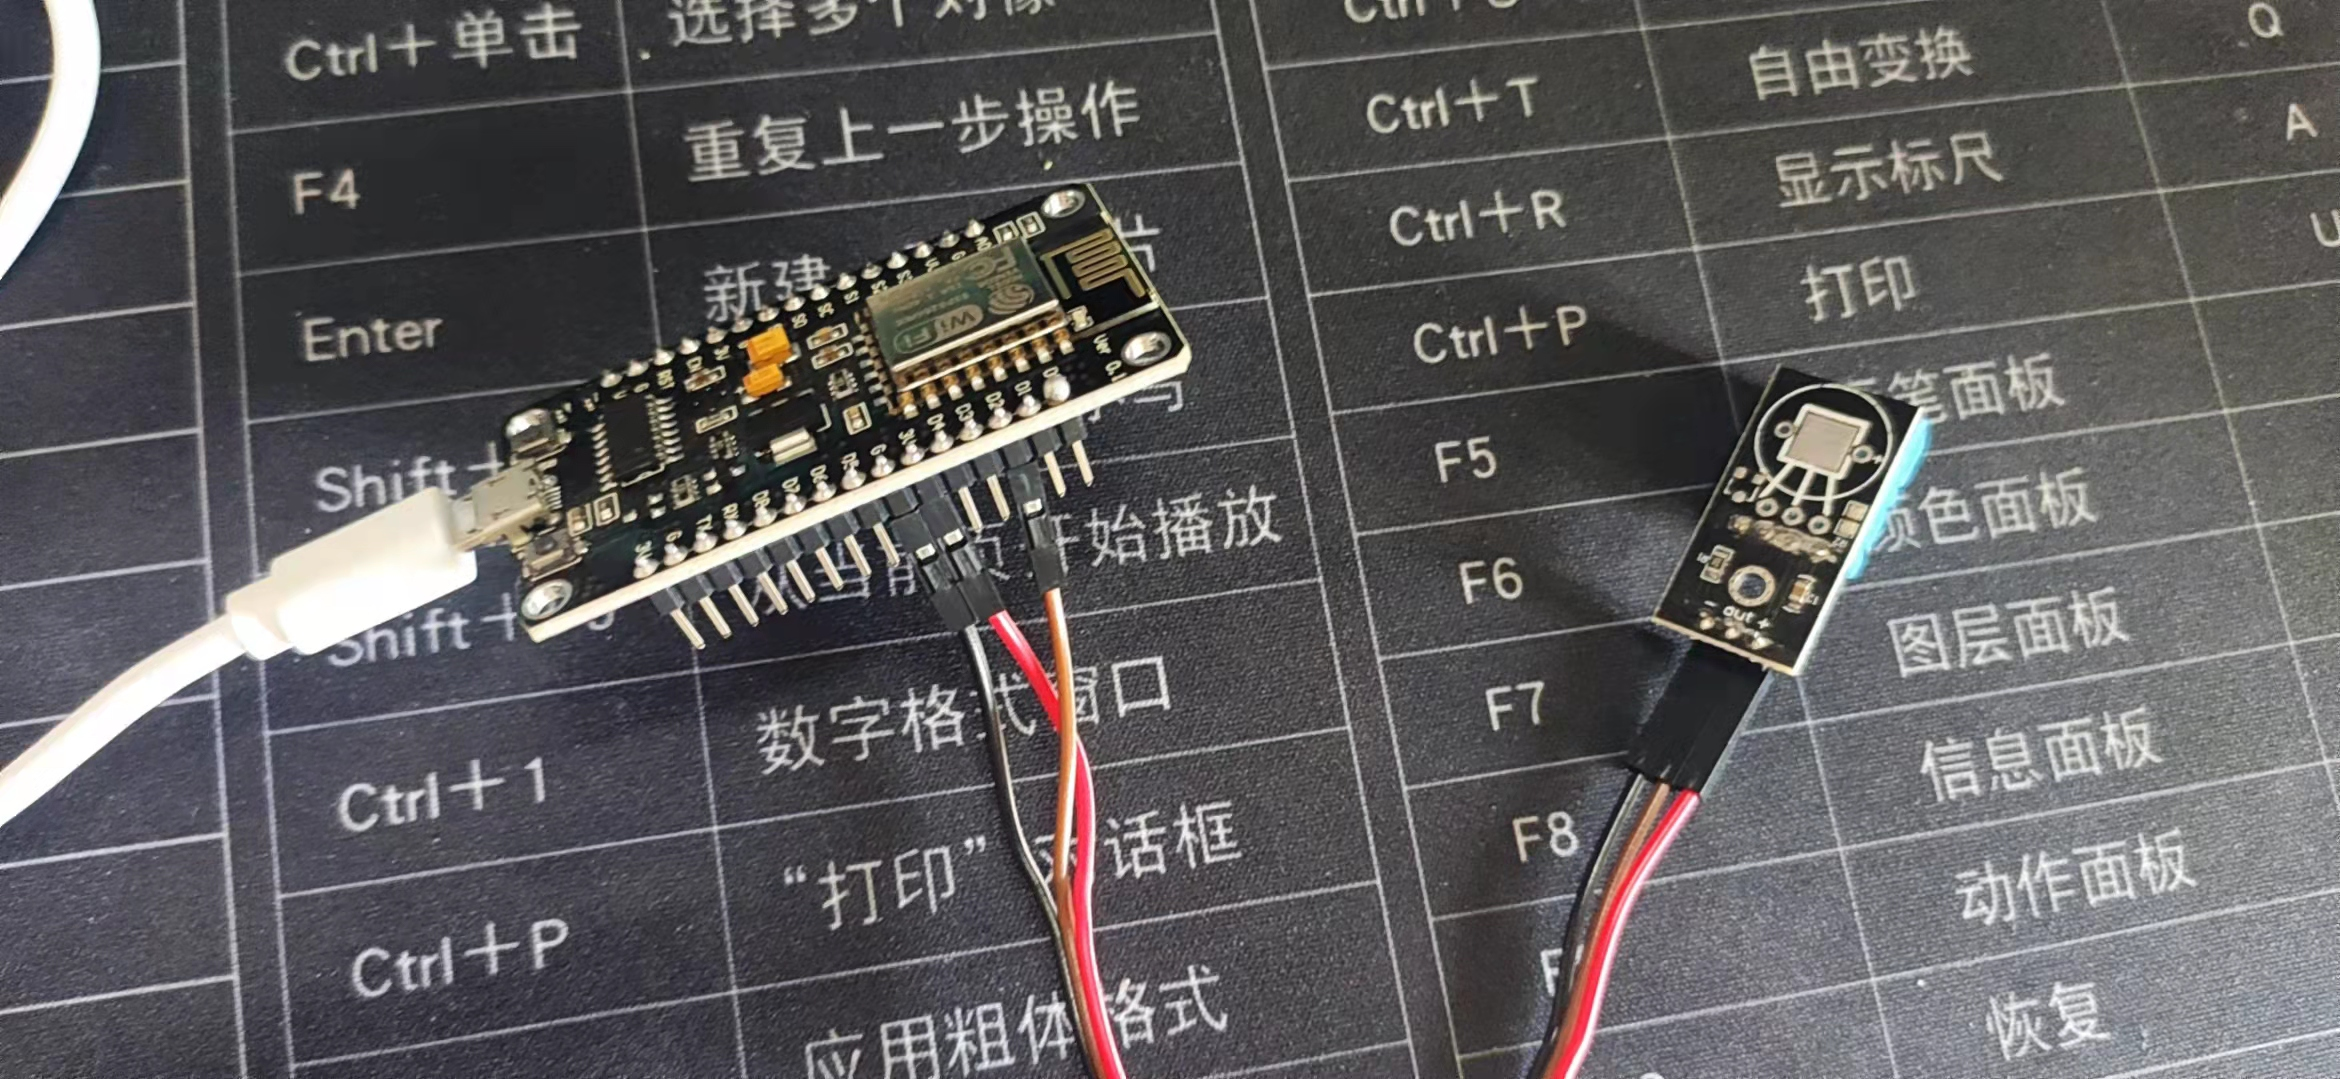
1. Experimental Materials
Old friend: ESP8266-NodeMCU board
Temperature and humidity sensor: DHT11
DuPont Line, usb Line
pc (Arduino IDE), mobile phone (install blinker_APP, Mi Jia, Xiao Ai classmates)
Close-up:
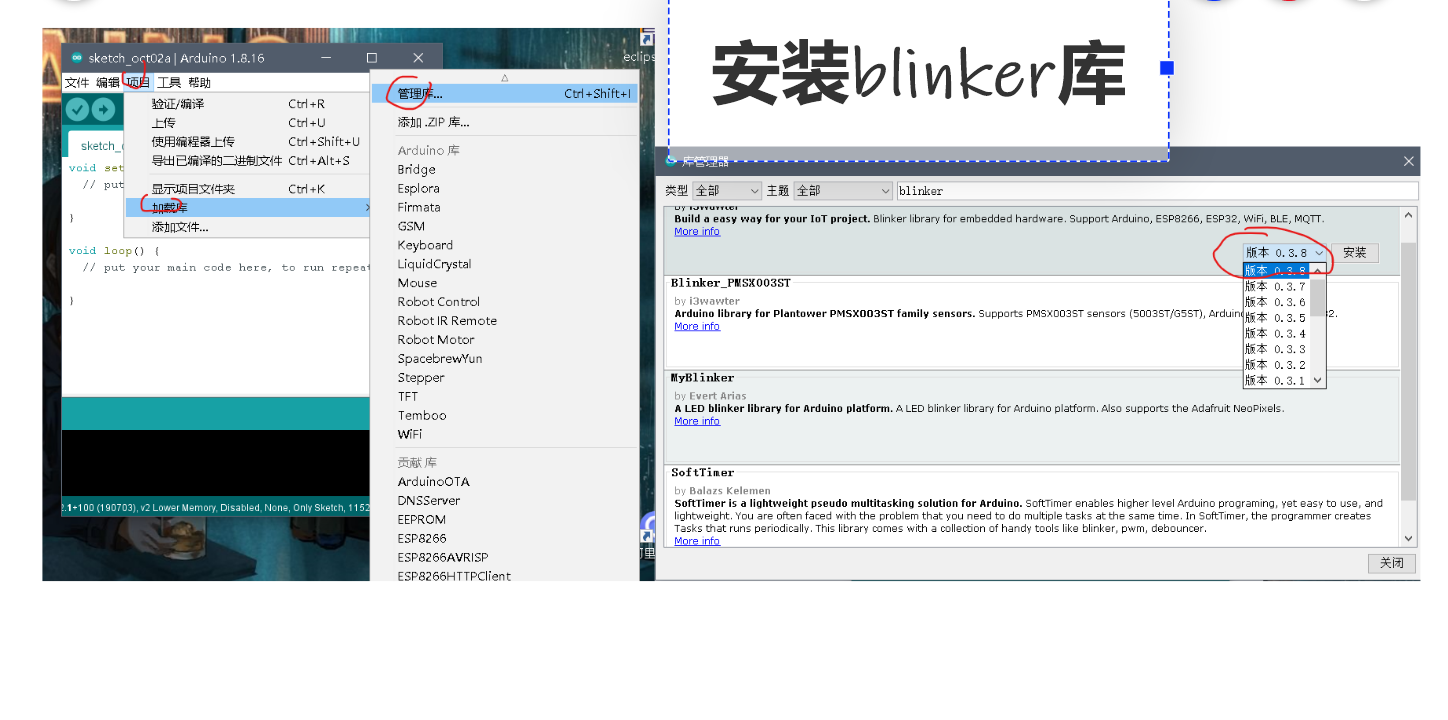
2. Install library files
Install blinker library files:
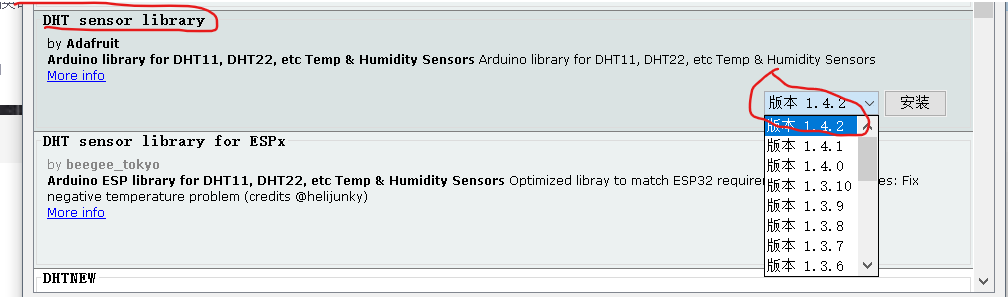
Install the DHT11 library file:
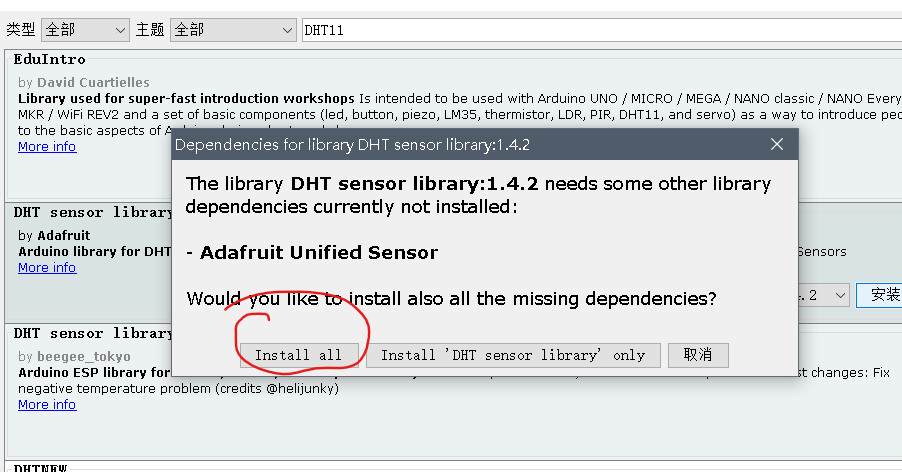
And install the required dependencies:
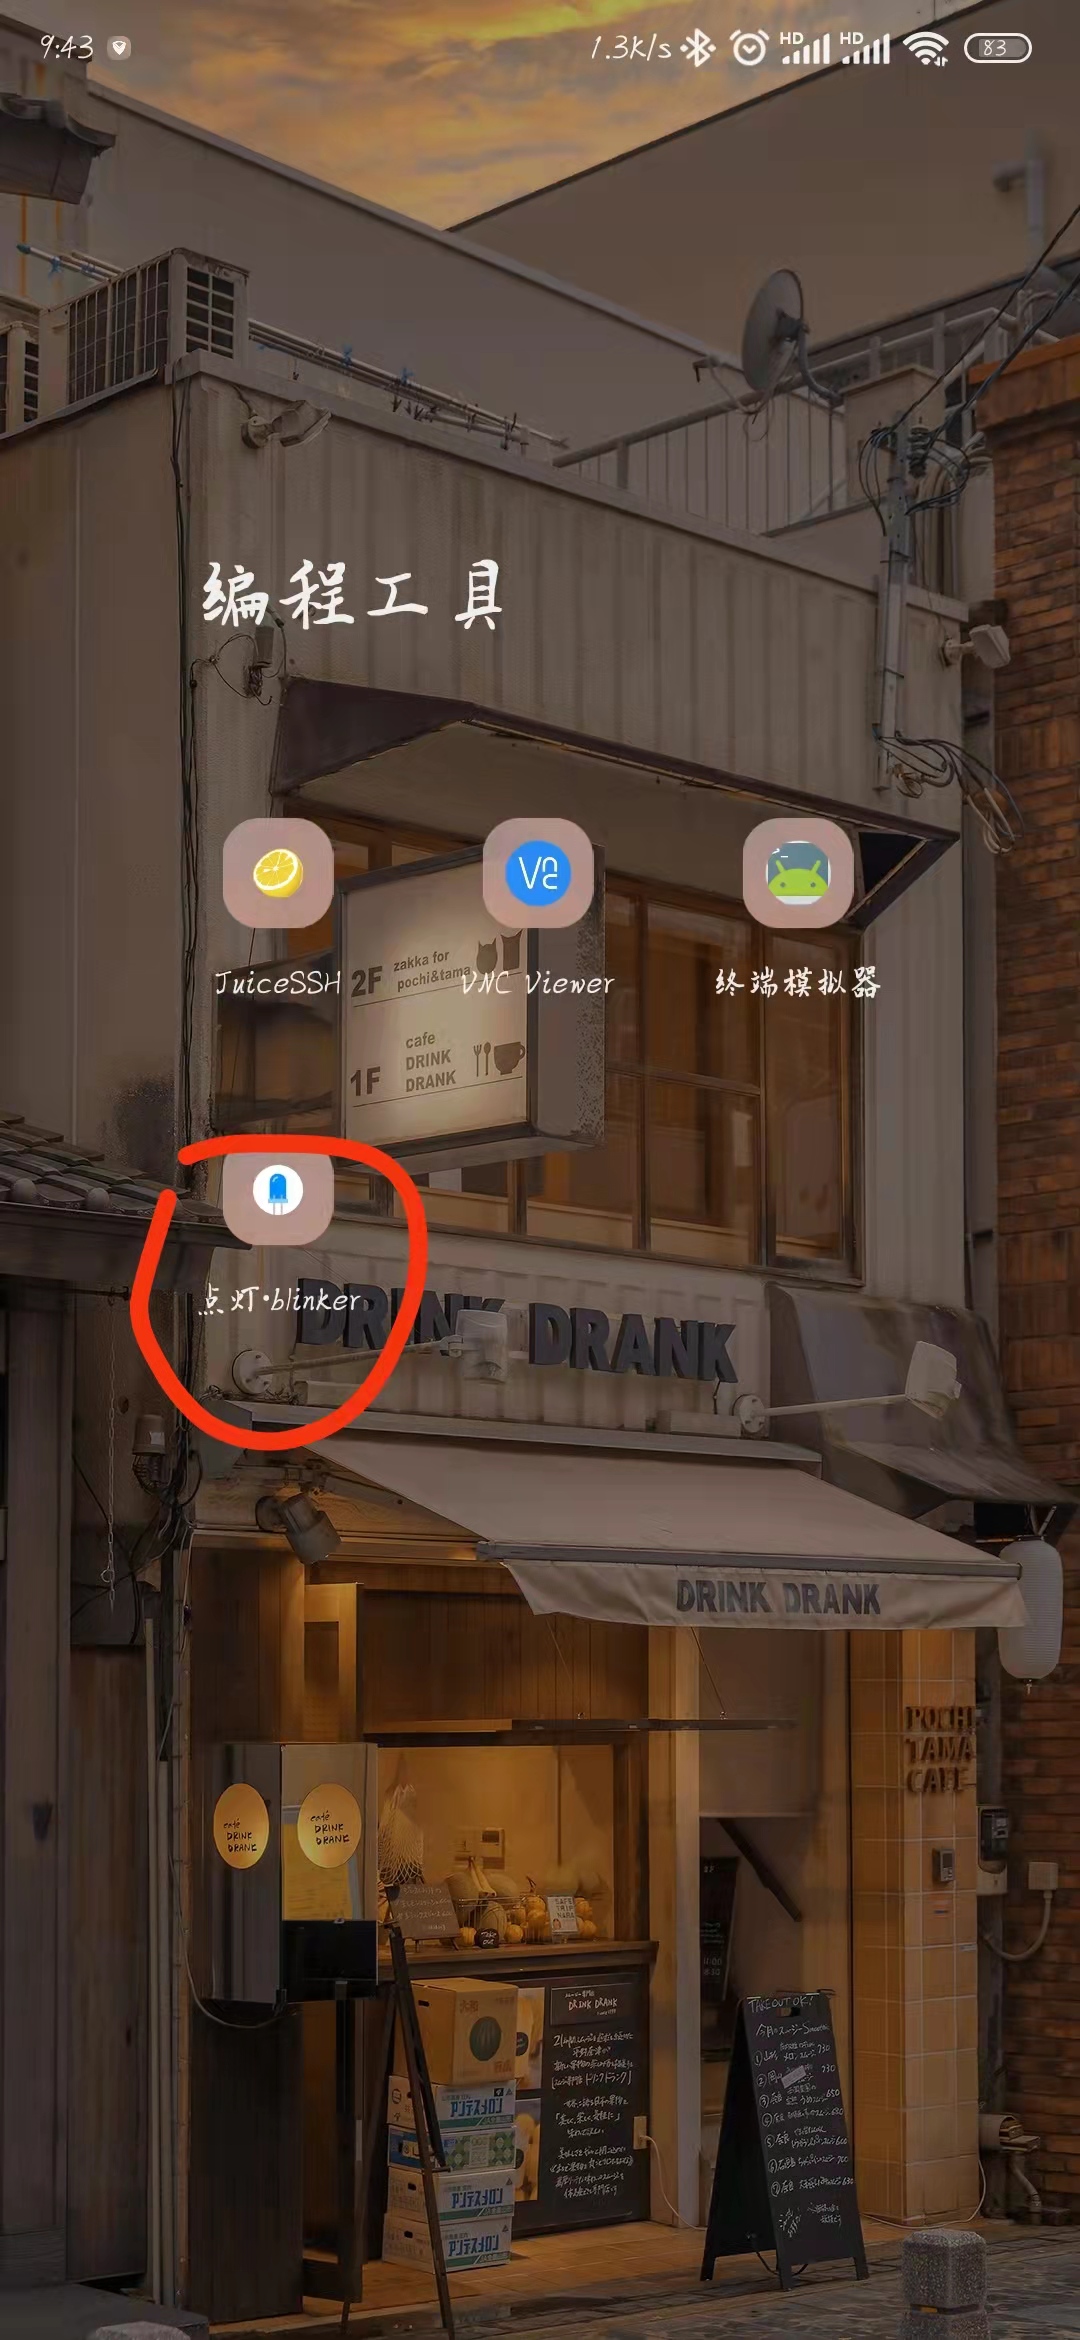
3. Install Blinker_APP and configure the device
Download: Blinker Official Download
PS: Download as you want
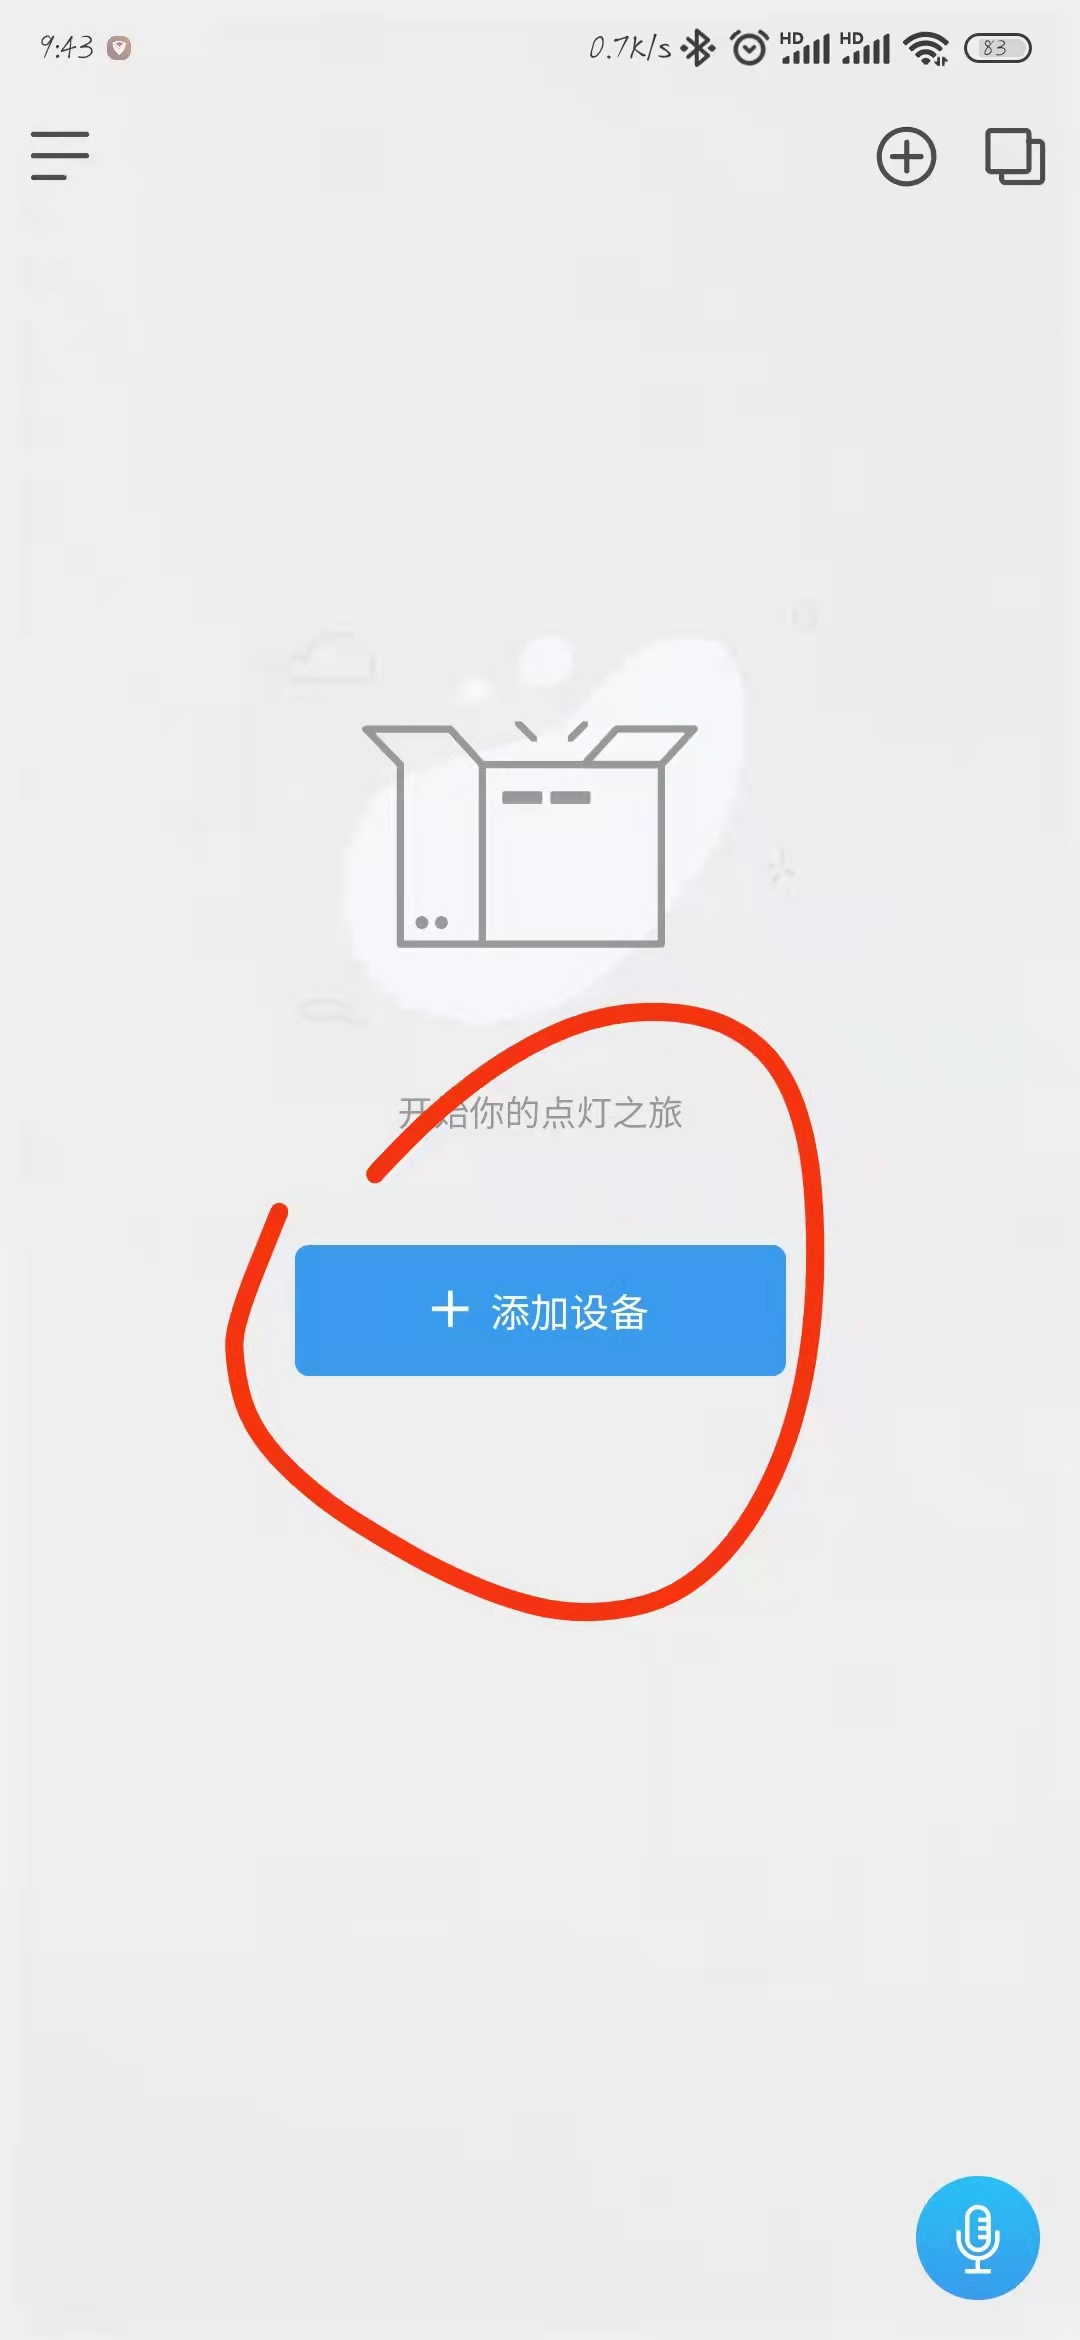
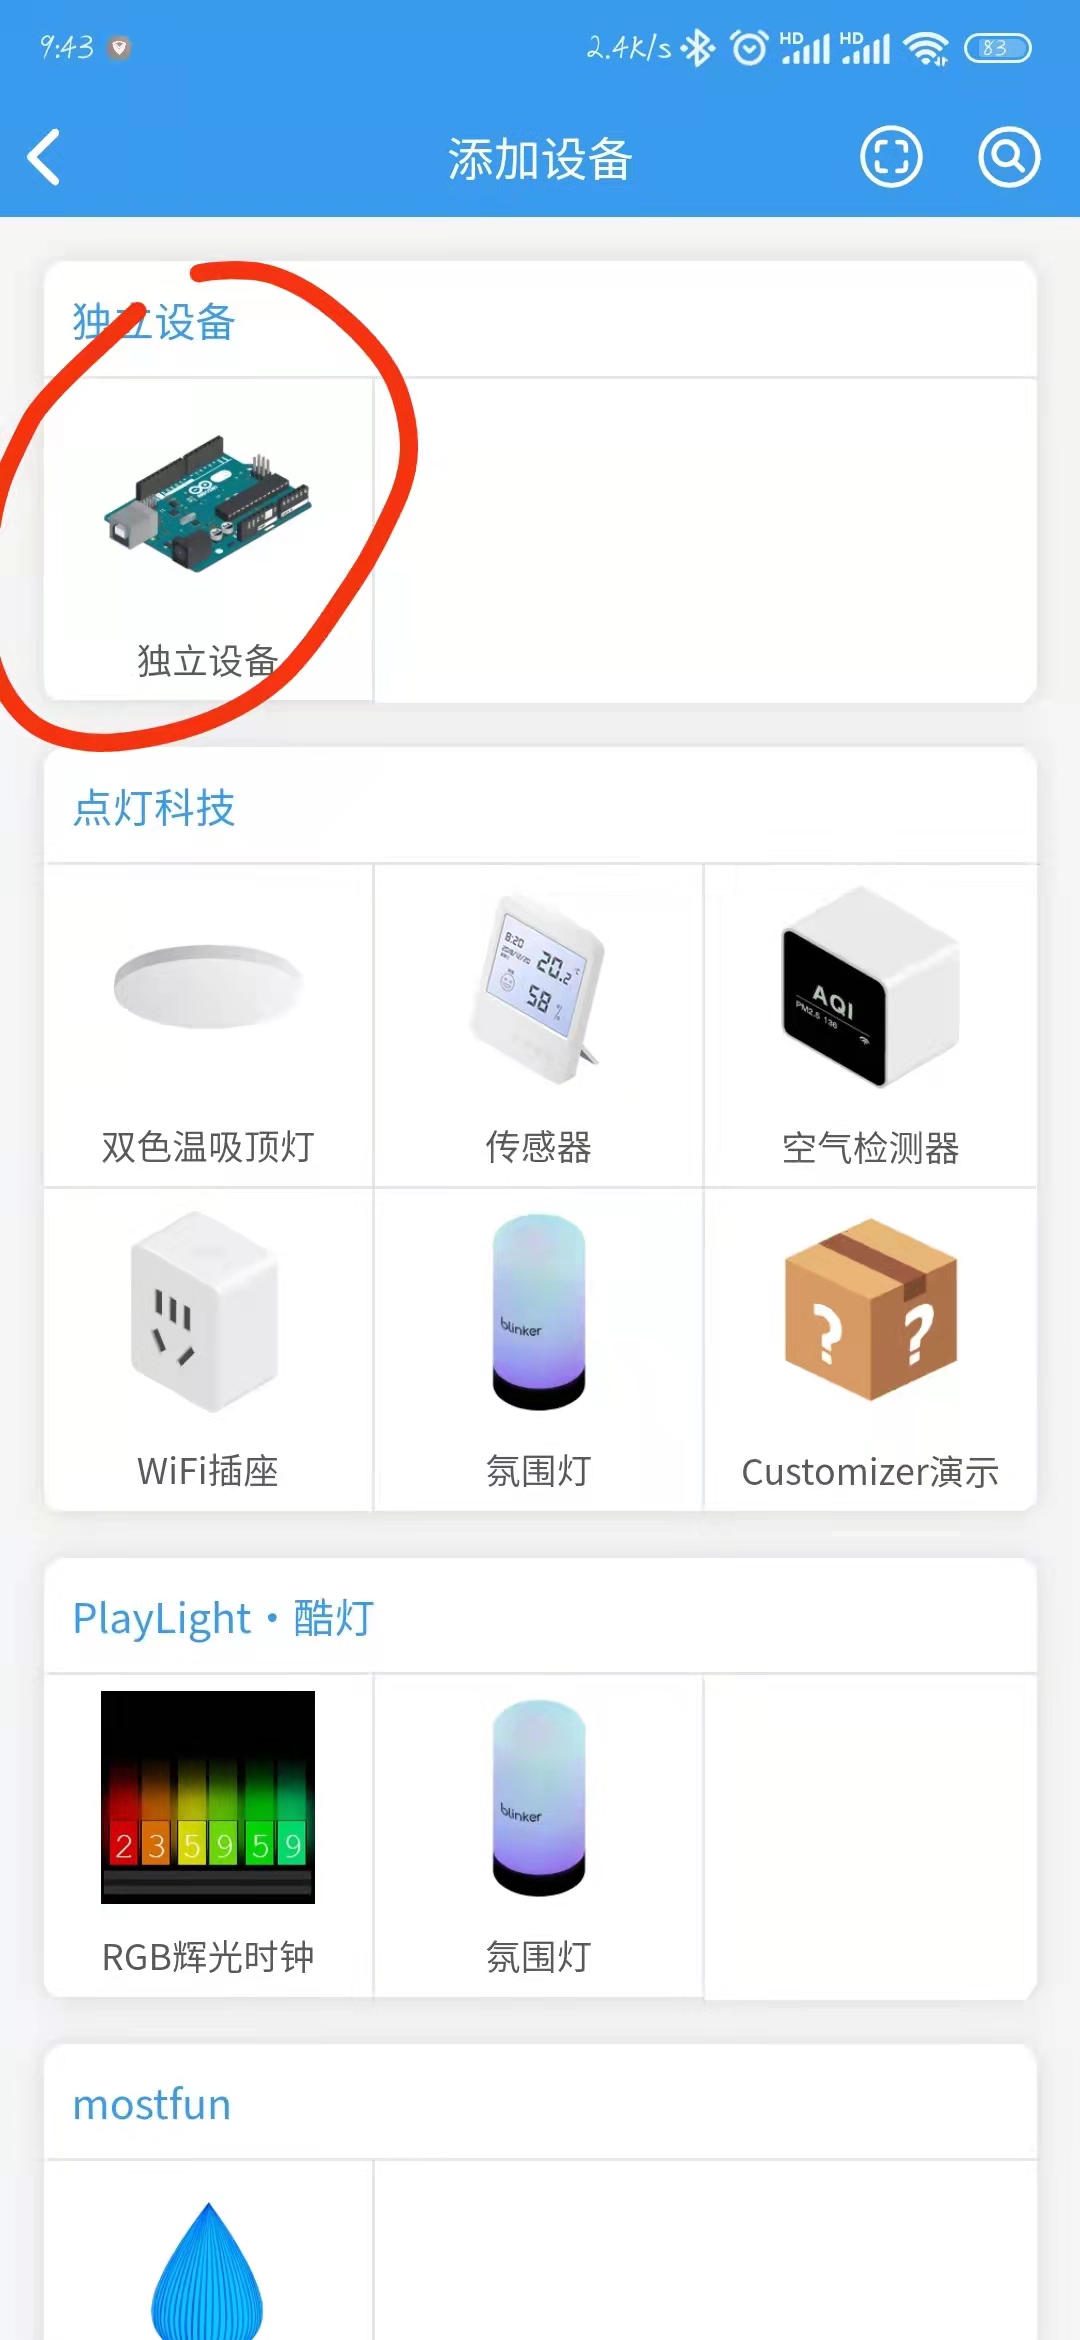
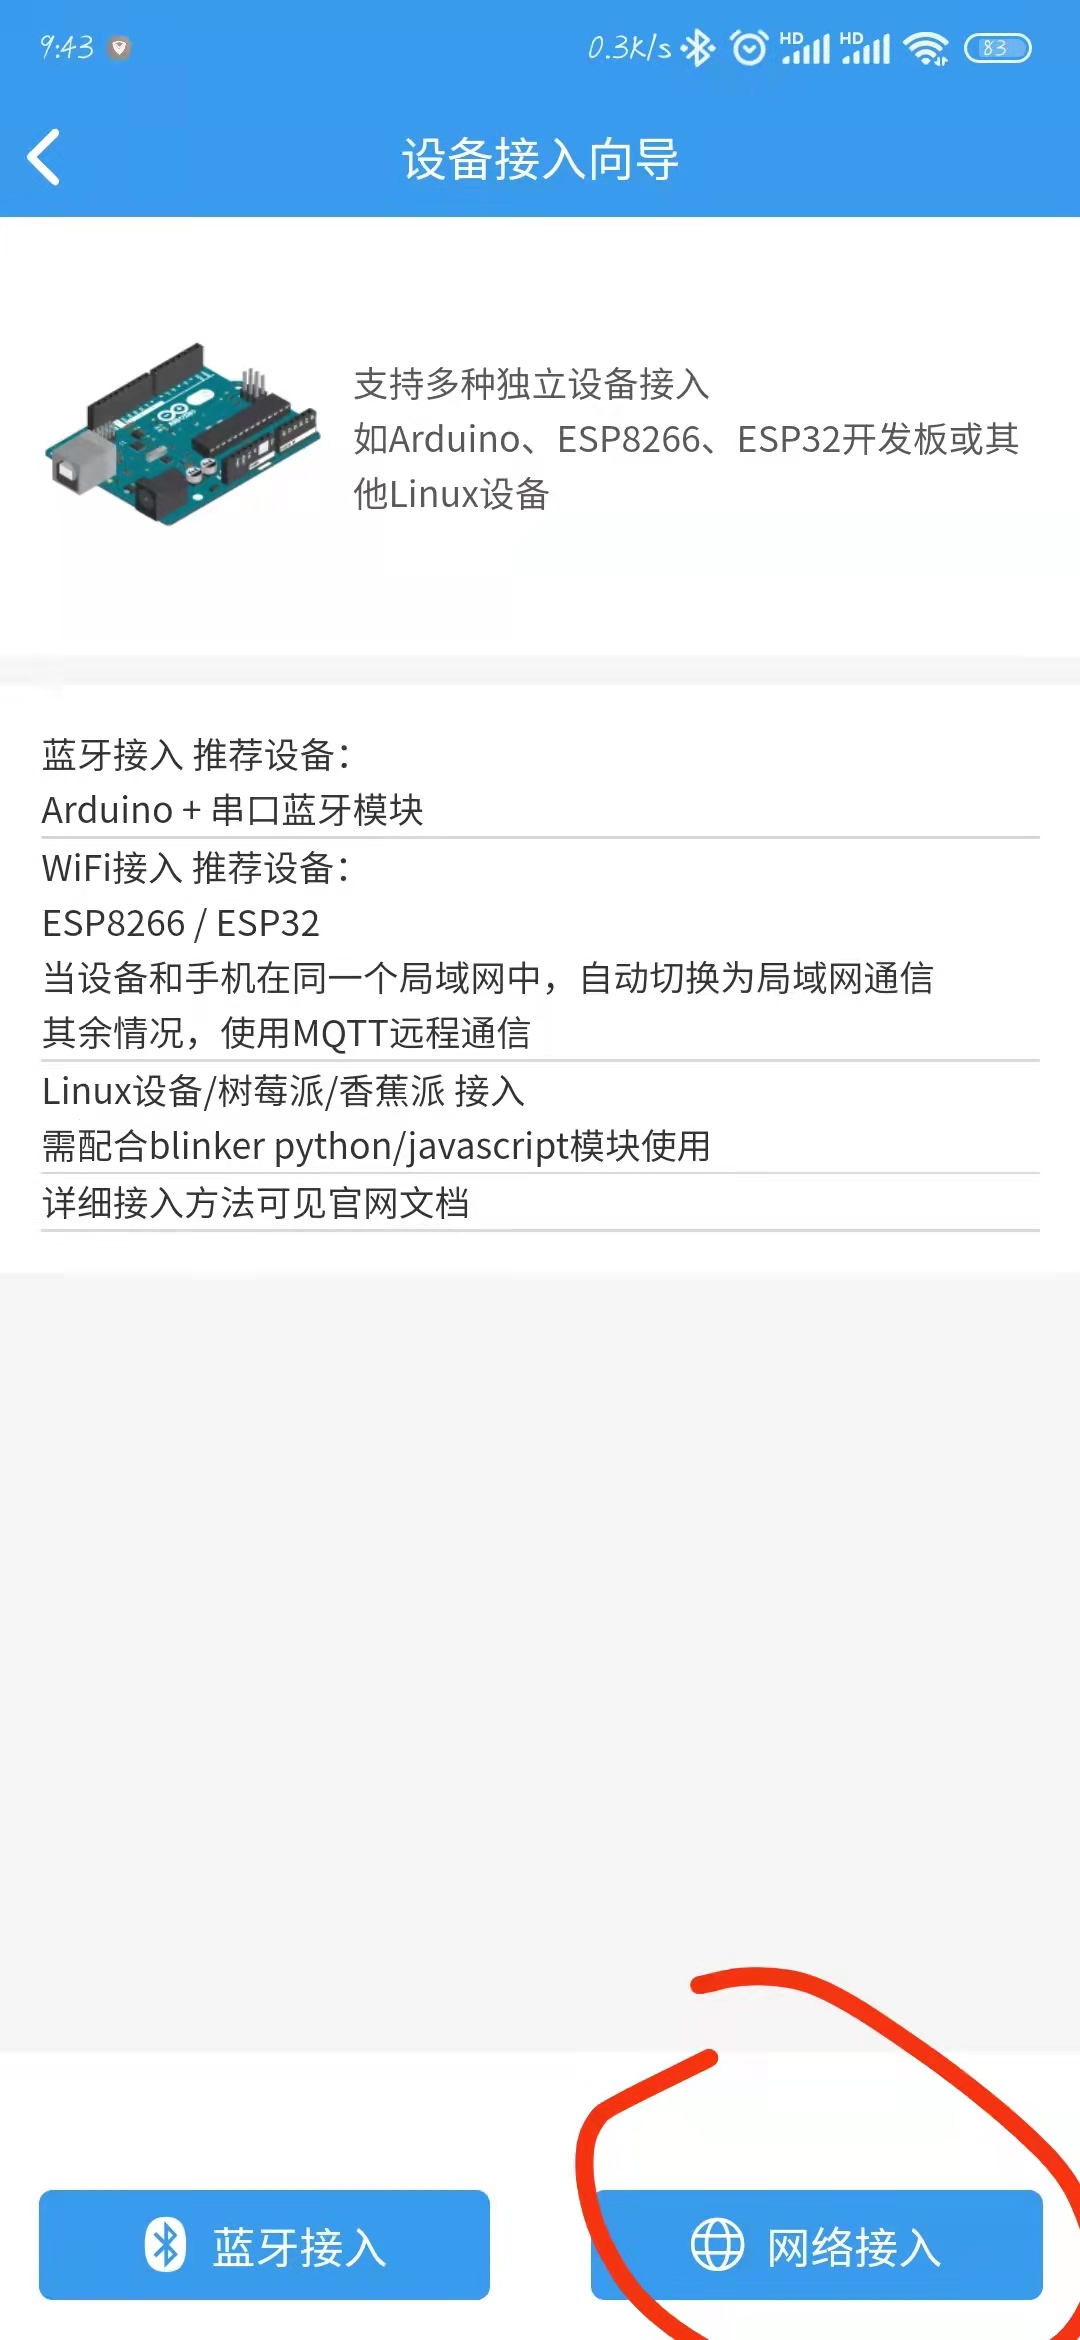
Register your account, log in, enter the interface, create a device, get the key
Operation as shown:
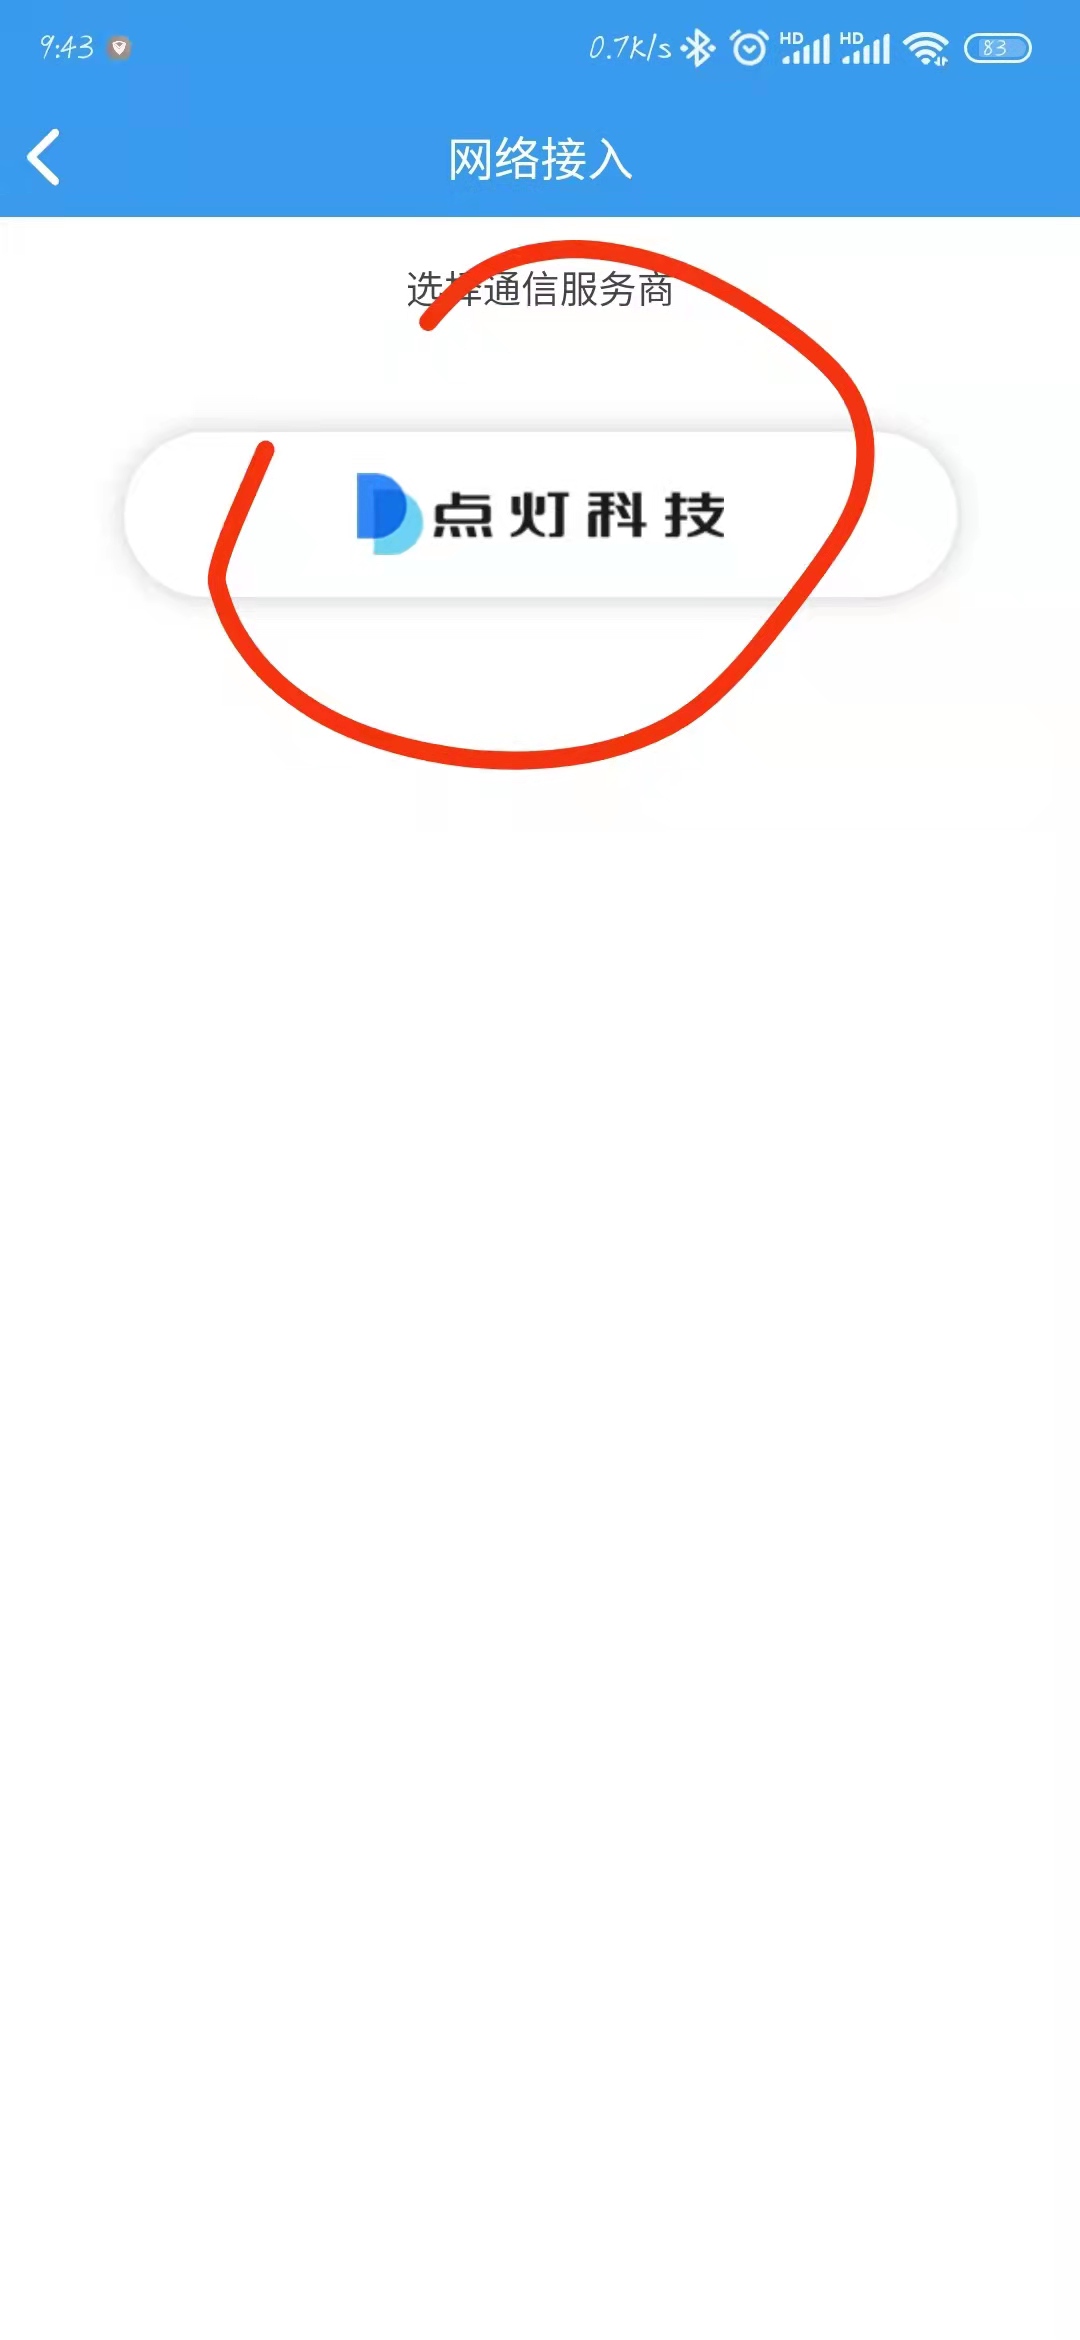
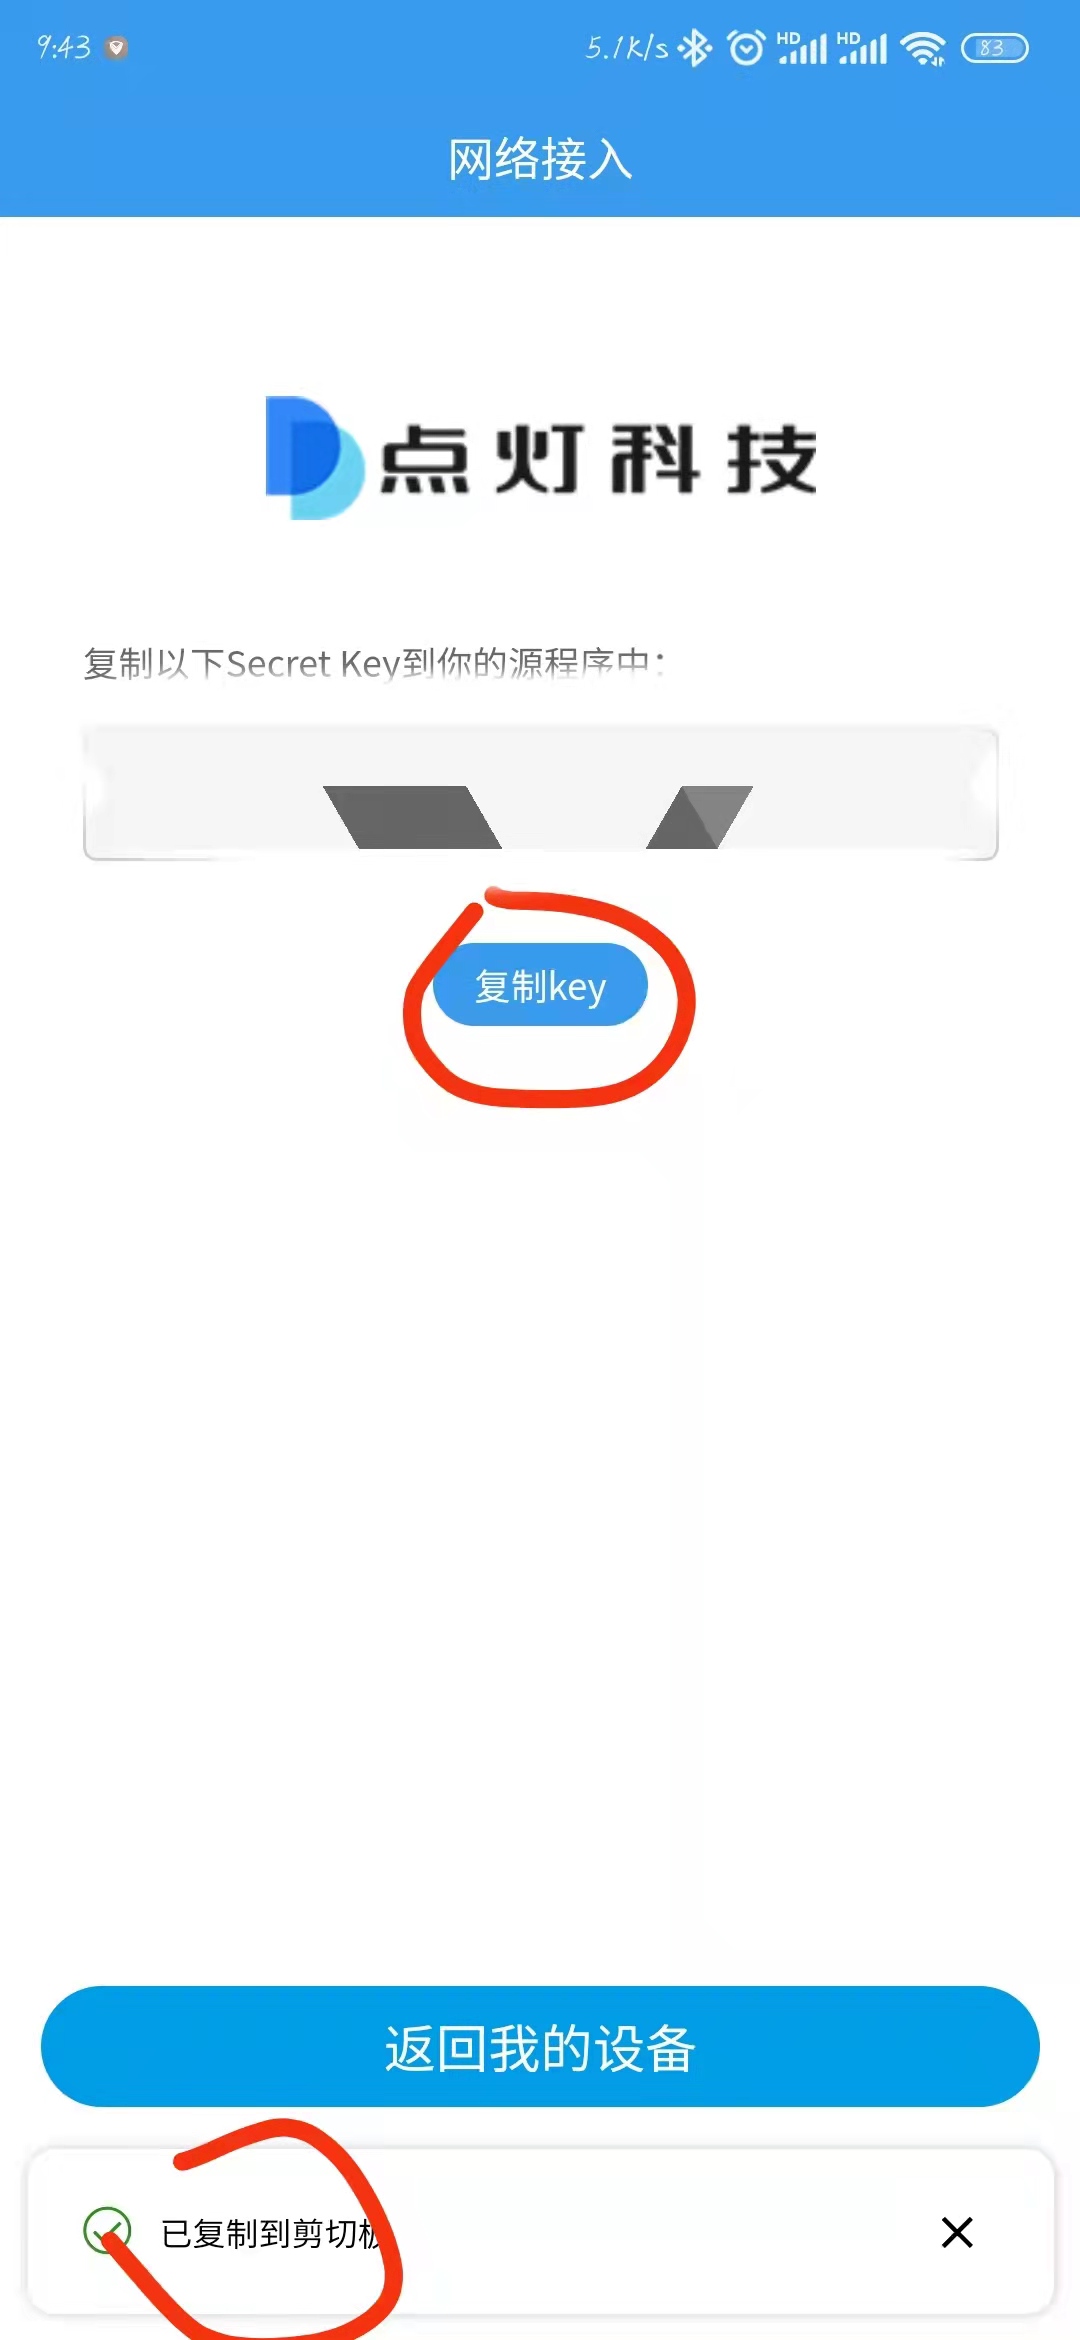
Get your key, remember to save it and use it later to access Blinker's
Then, don't walk away, click inside the device and create the component:
Selected Data Component
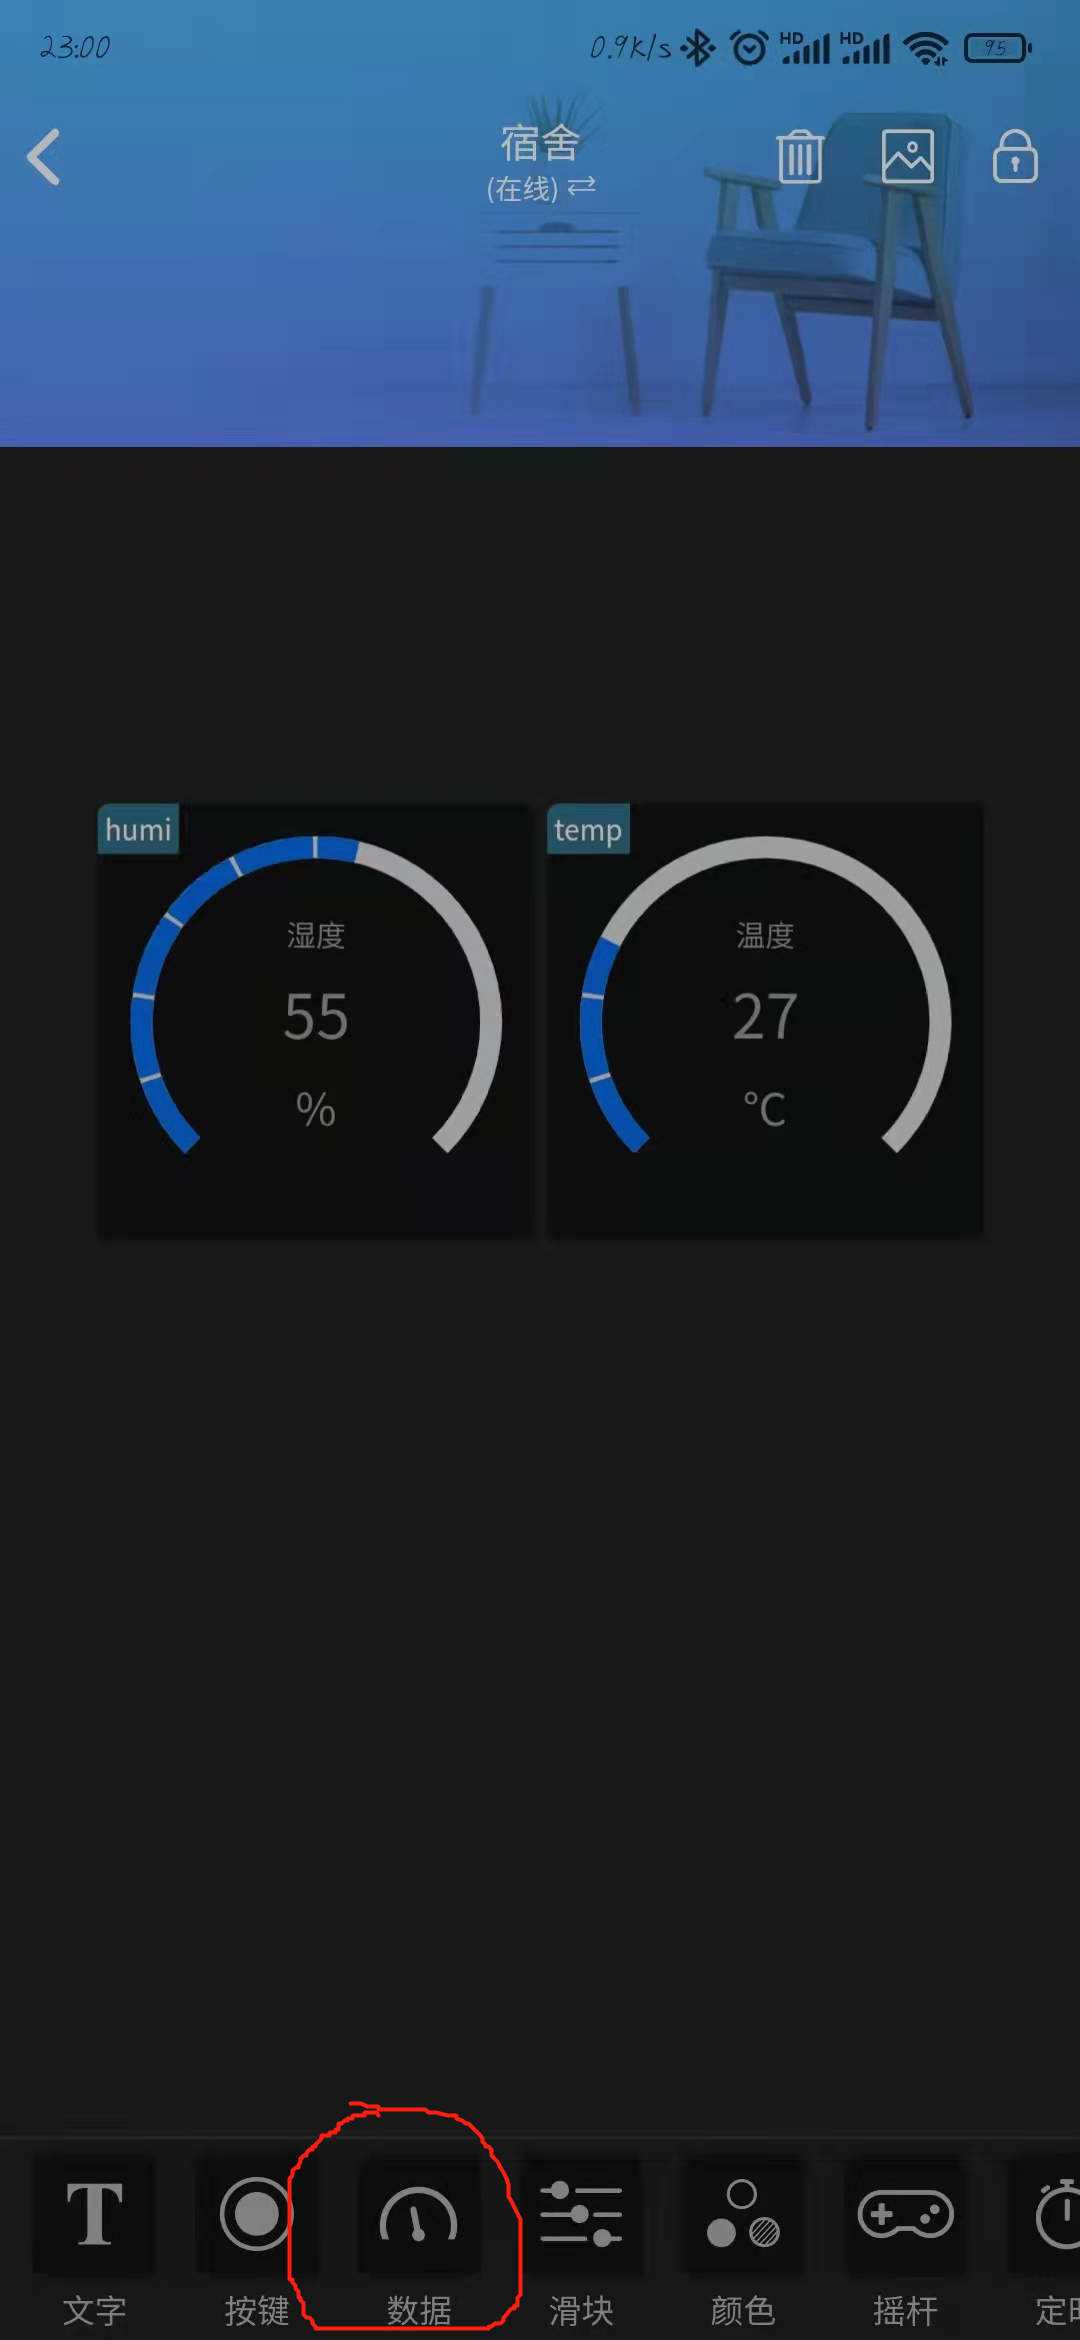
Component key names are important, so it is recommended to remember them for yourself and to dock them in code
Other styles, colors, and text can be set by themselves as appropriate
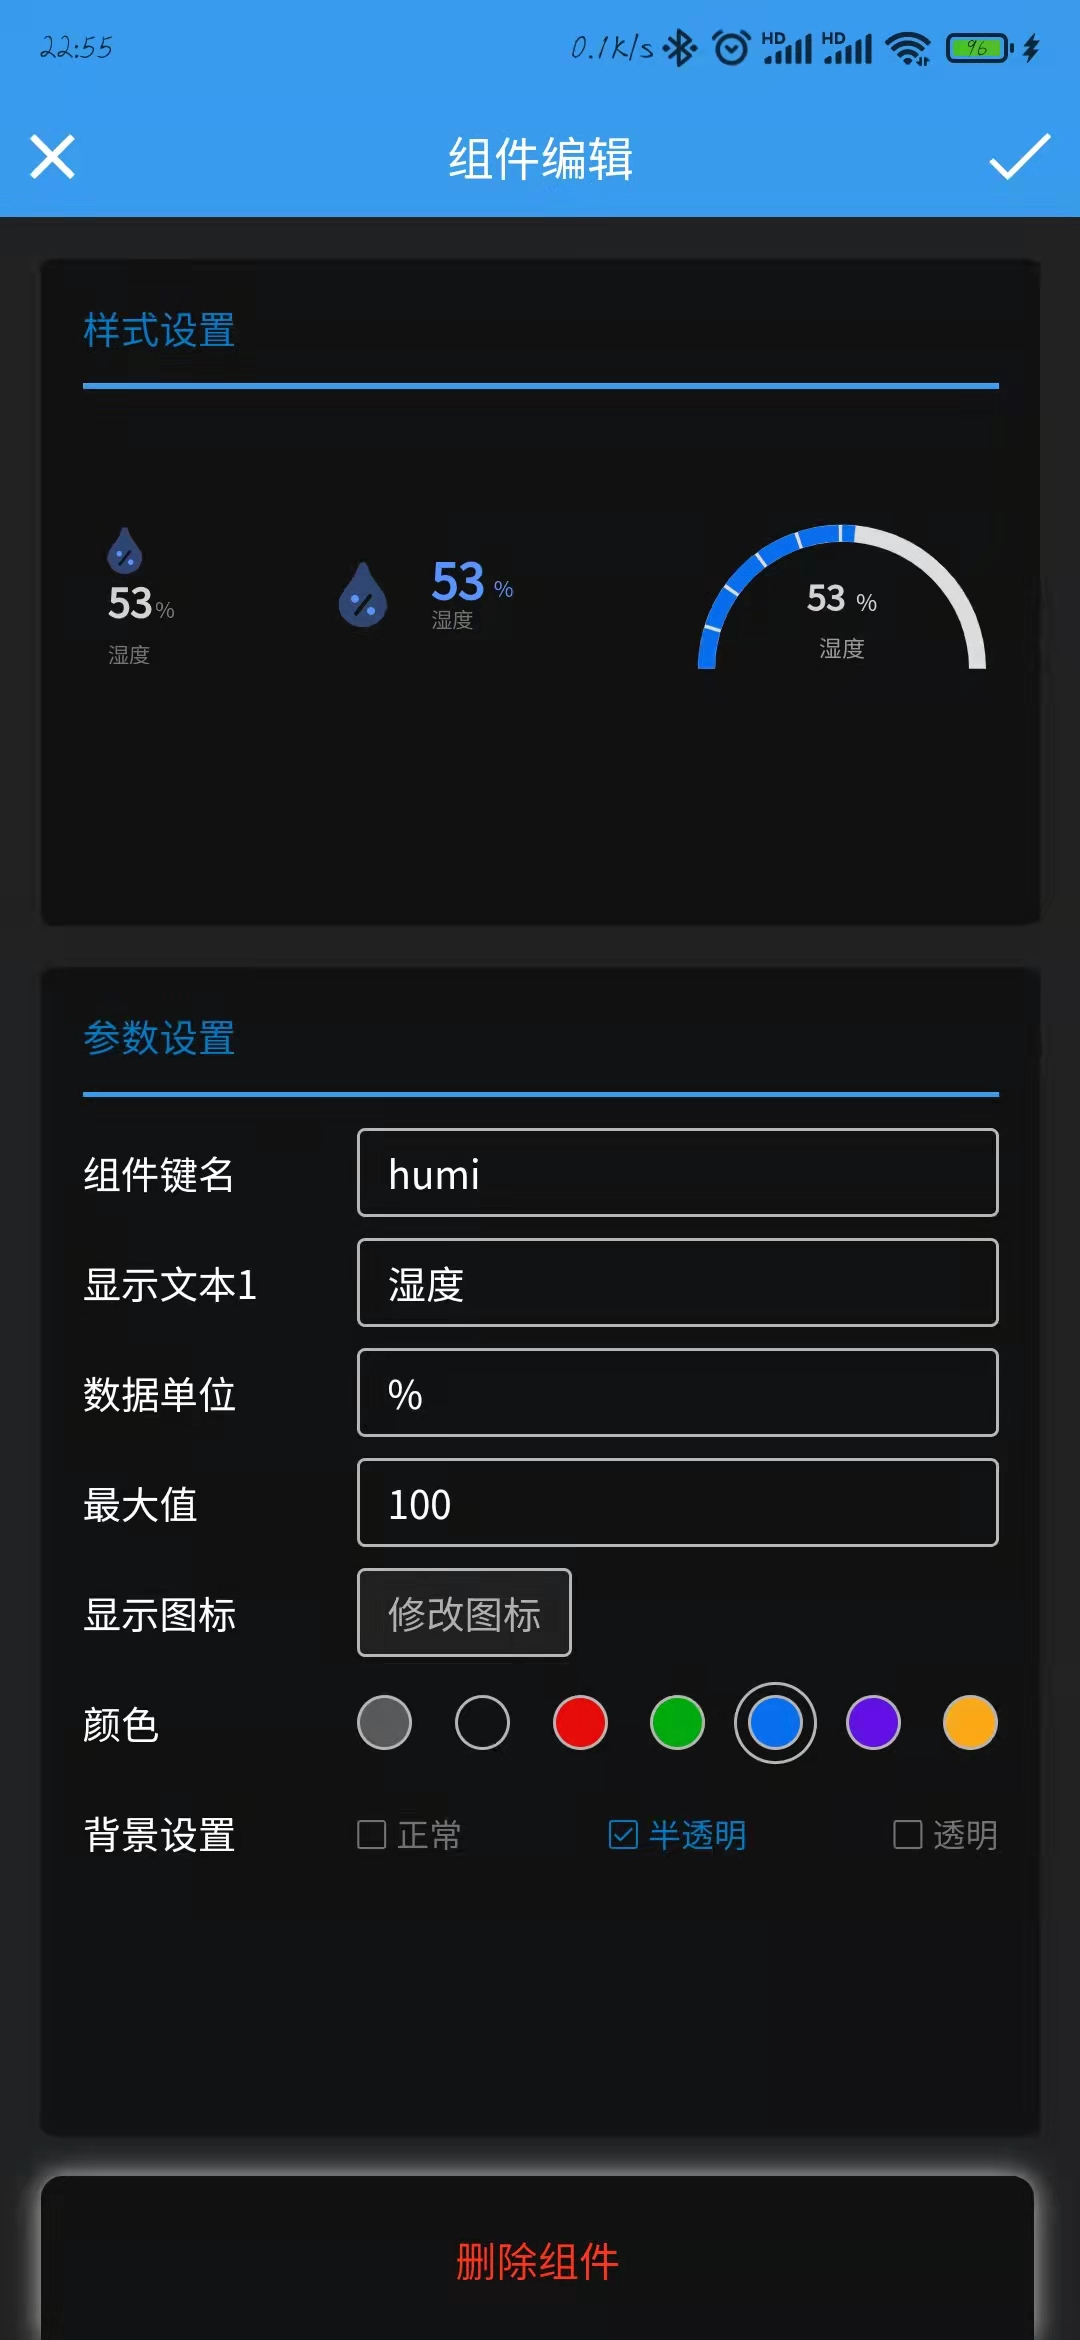
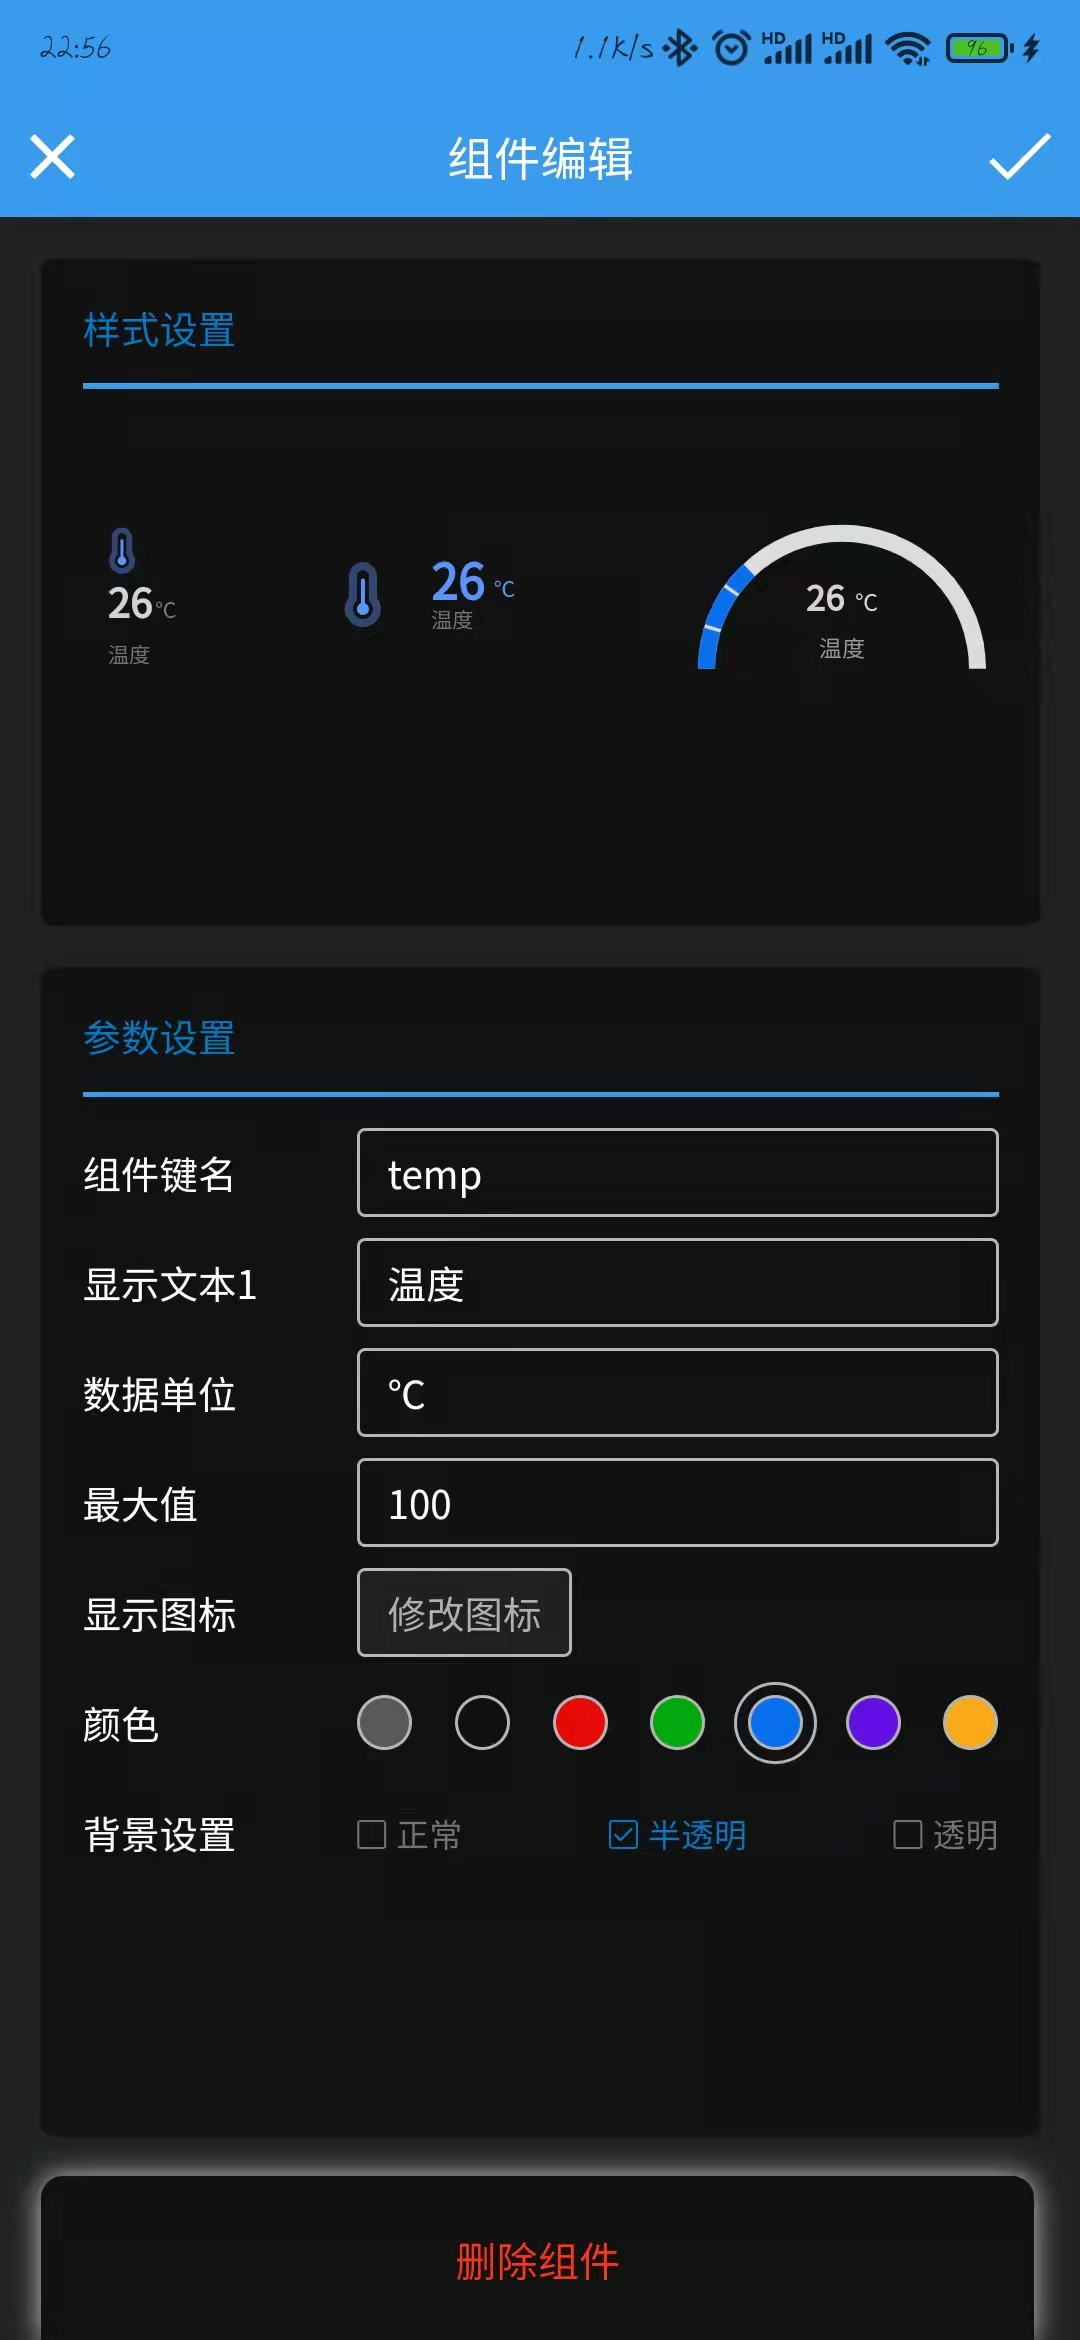
Exit after saving and be ready to enter the code part of the stress stimulus - =((__)
4. Code Links
First of all, of course, look at the data:
Blinker website: esp8266 & WiFi Help Document
Blinker: Docking Help Documents for Kids
Blinker website: Arduino support library help documentation
Blinker website: Arduino Starter Library Help Document
Basically finding the above help documents will solve most problems
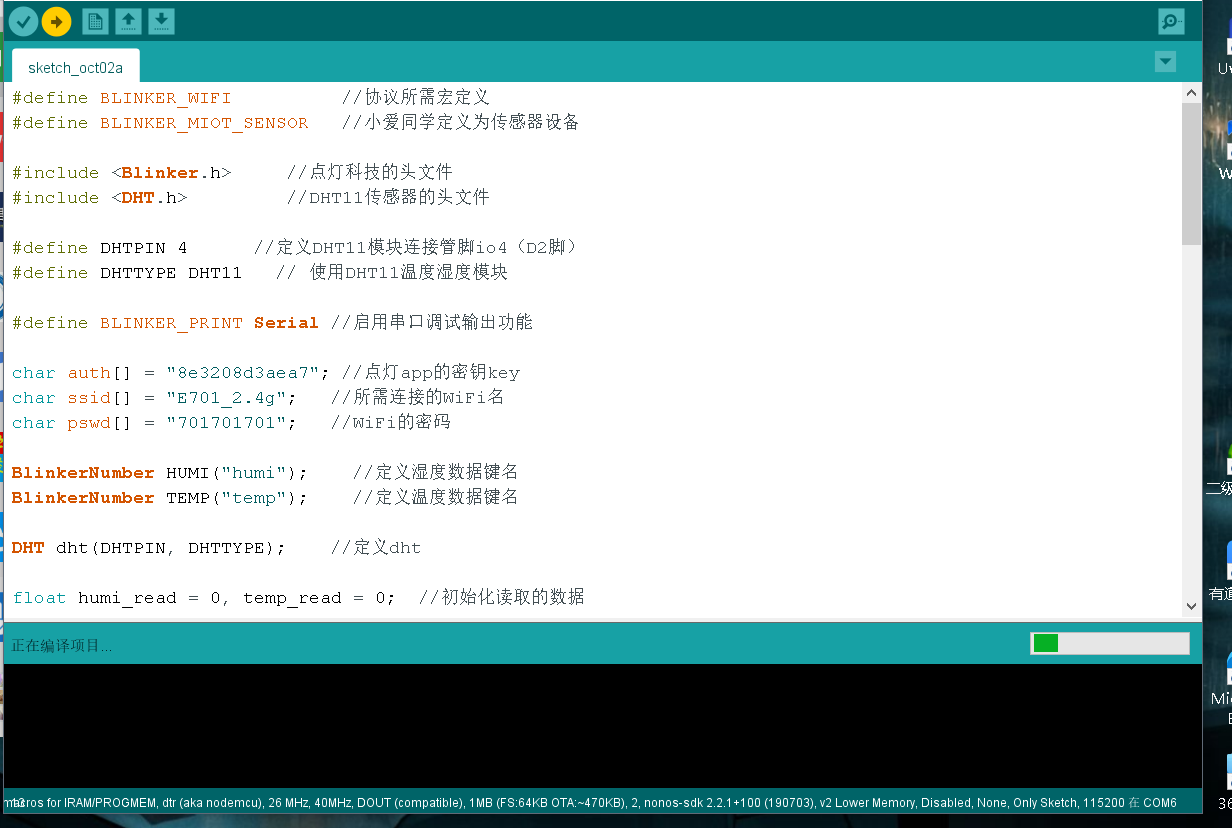
I pasted the code right here
#define BLINKER_WIFI //protocol required macro definition
#define BLINKER_MIOT_SENSOR //Little Love classmate defined as sensor device

#Include <Blinker.h>//Header file for Lighting Technologies
#Include <DHT.h> //DHT11 Sensor Header File

#define DHTPIN 4 //Define DHT11 module connection pin io4 (D2 pin)
#define DHTTYPE DHT11 // Use DHT11 Temperature and Humidity Module, of course you can replace it with another DHT

#define BLINKER_PRINT Serial //Enable serial debug output

char auth[] = "Own key"; //key to light app
char ssid[] = "WiFi name";   //WiFi name of desired connection
char pswd[] = "WiFi Password";   //WiFi password

BlinkerNumber HUMI("humi");    //Define humidity data key name
BlinkerNumber TEMP("temp");    //Define Temperature Data Key Name

DHT dht(DHTPIN, DHTTYPE);    //Define dht

float humi_read = 0, temp_read = 0;  //Initialize read data

void heartbeat()
{
    HUMI.print(humi_read);        //Return humidity data to blinkerapp
    TEMP.print(temp_read);        //Return temperature data to blinkerapp
}

void miotQuery(int32_t queryCode)      //Xiao Ai's voice command feedback
{
    BLINKER_LOG("MIOT Query codes: ", queryCode);

            int humi_read_int=humi_read;     //Convert float to int, integer
            BlinkerMIOT.humi(humi_read_int);     //Little Love Receiving Humidity
            BlinkerMIOT.temp(temp_read);      //Love Receiving Temperature
            BlinkerMIOT.print(); //Send the above properties, and make sure the function is called last

}

void setup()
{
    //Initialize serial port Serial, turn on debug output
    Serial.begin(115200);//baud rate
    BLINKER_DEBUG.stream(Serial);
    BLINKER_DEBUG.debugAll();

    Blinker.begin(auth, ssid, pswd);//WIFI Initialization Settings
    Blinker.attachHeartbeat(heartbeat);//Registering Callbacks
    dht.begin();
    BlinkerMIOT.attachQuery(miotQuery);//Registering Callbacks
}

void loop()
{
    Blinker.run();//Responsible for processing data received by blinker, each run will parse the data received by the device once. (This is important)

    float h = dht.readHumidity();//Reading humidity data collected by DHT11
    float t = dht.readTemperature();//Read temperature data collected by DHT11

    if (isnan(h) || isnan(t))//Determine whether the temperature and humidity values are empty
    {
        BLINKER_LOG("Failed to read sensor data");
    }
    else
    {
        BLINKER_LOG("Humidity: ", h, " %");//Print Output Debugging Information
        BLINKER_LOG("Temperature: ", t, " *C");
        humi_read = h;
        temp_read = t;
    }

    Blinker.delay(2000);//At least 2s delay here, or Little Love will return to the device offline
    //Delay function, which maintains the connection between devices and data receiving and processing during the delay
}
Wiring:
Burn into board:
After burning, if you have no problem connecting to the internet, app can see the device online (~)~
5. Join Mijia and Xiao Ai classmates
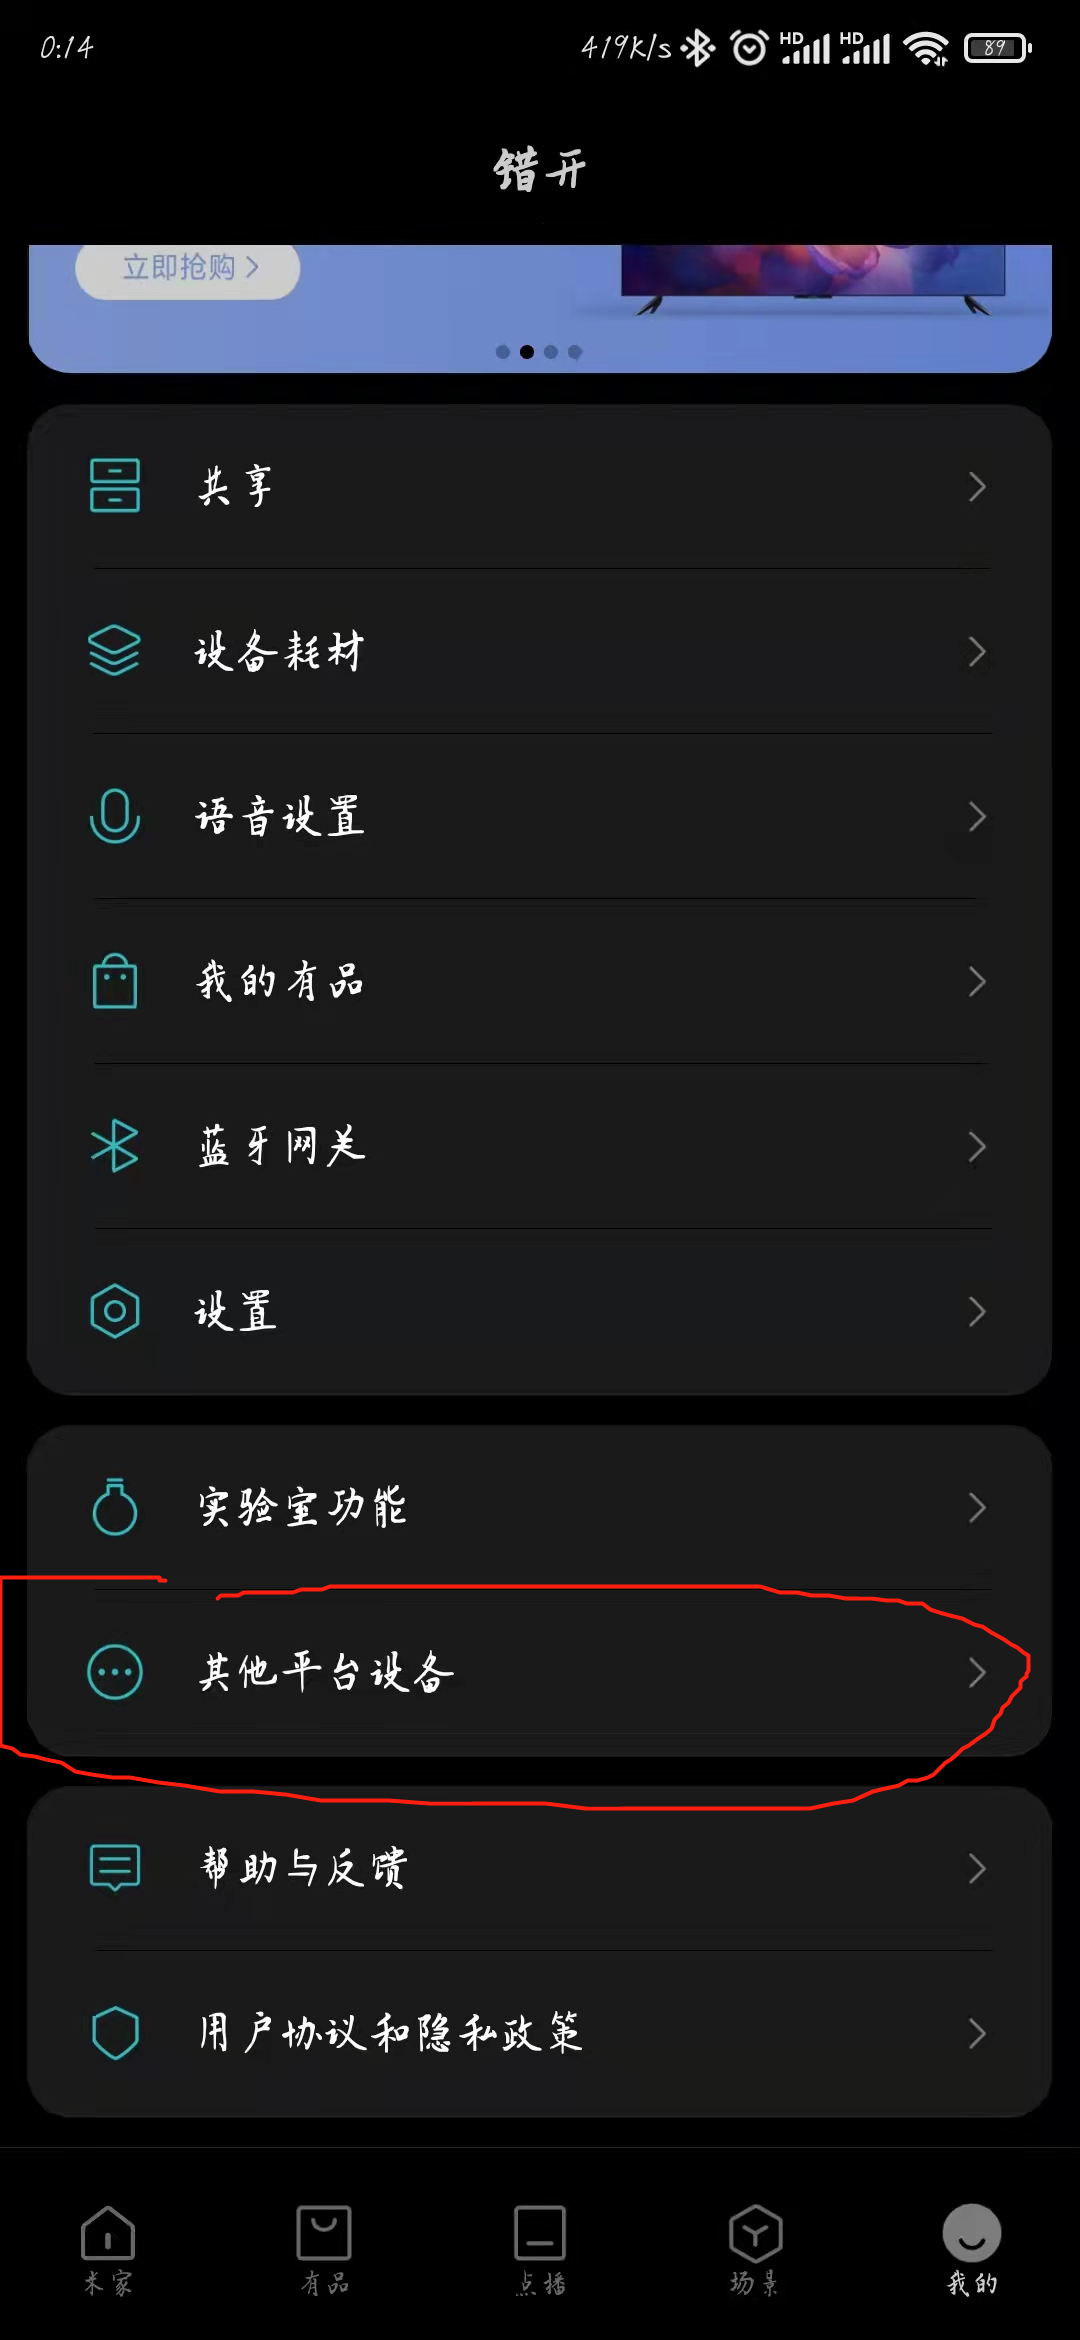
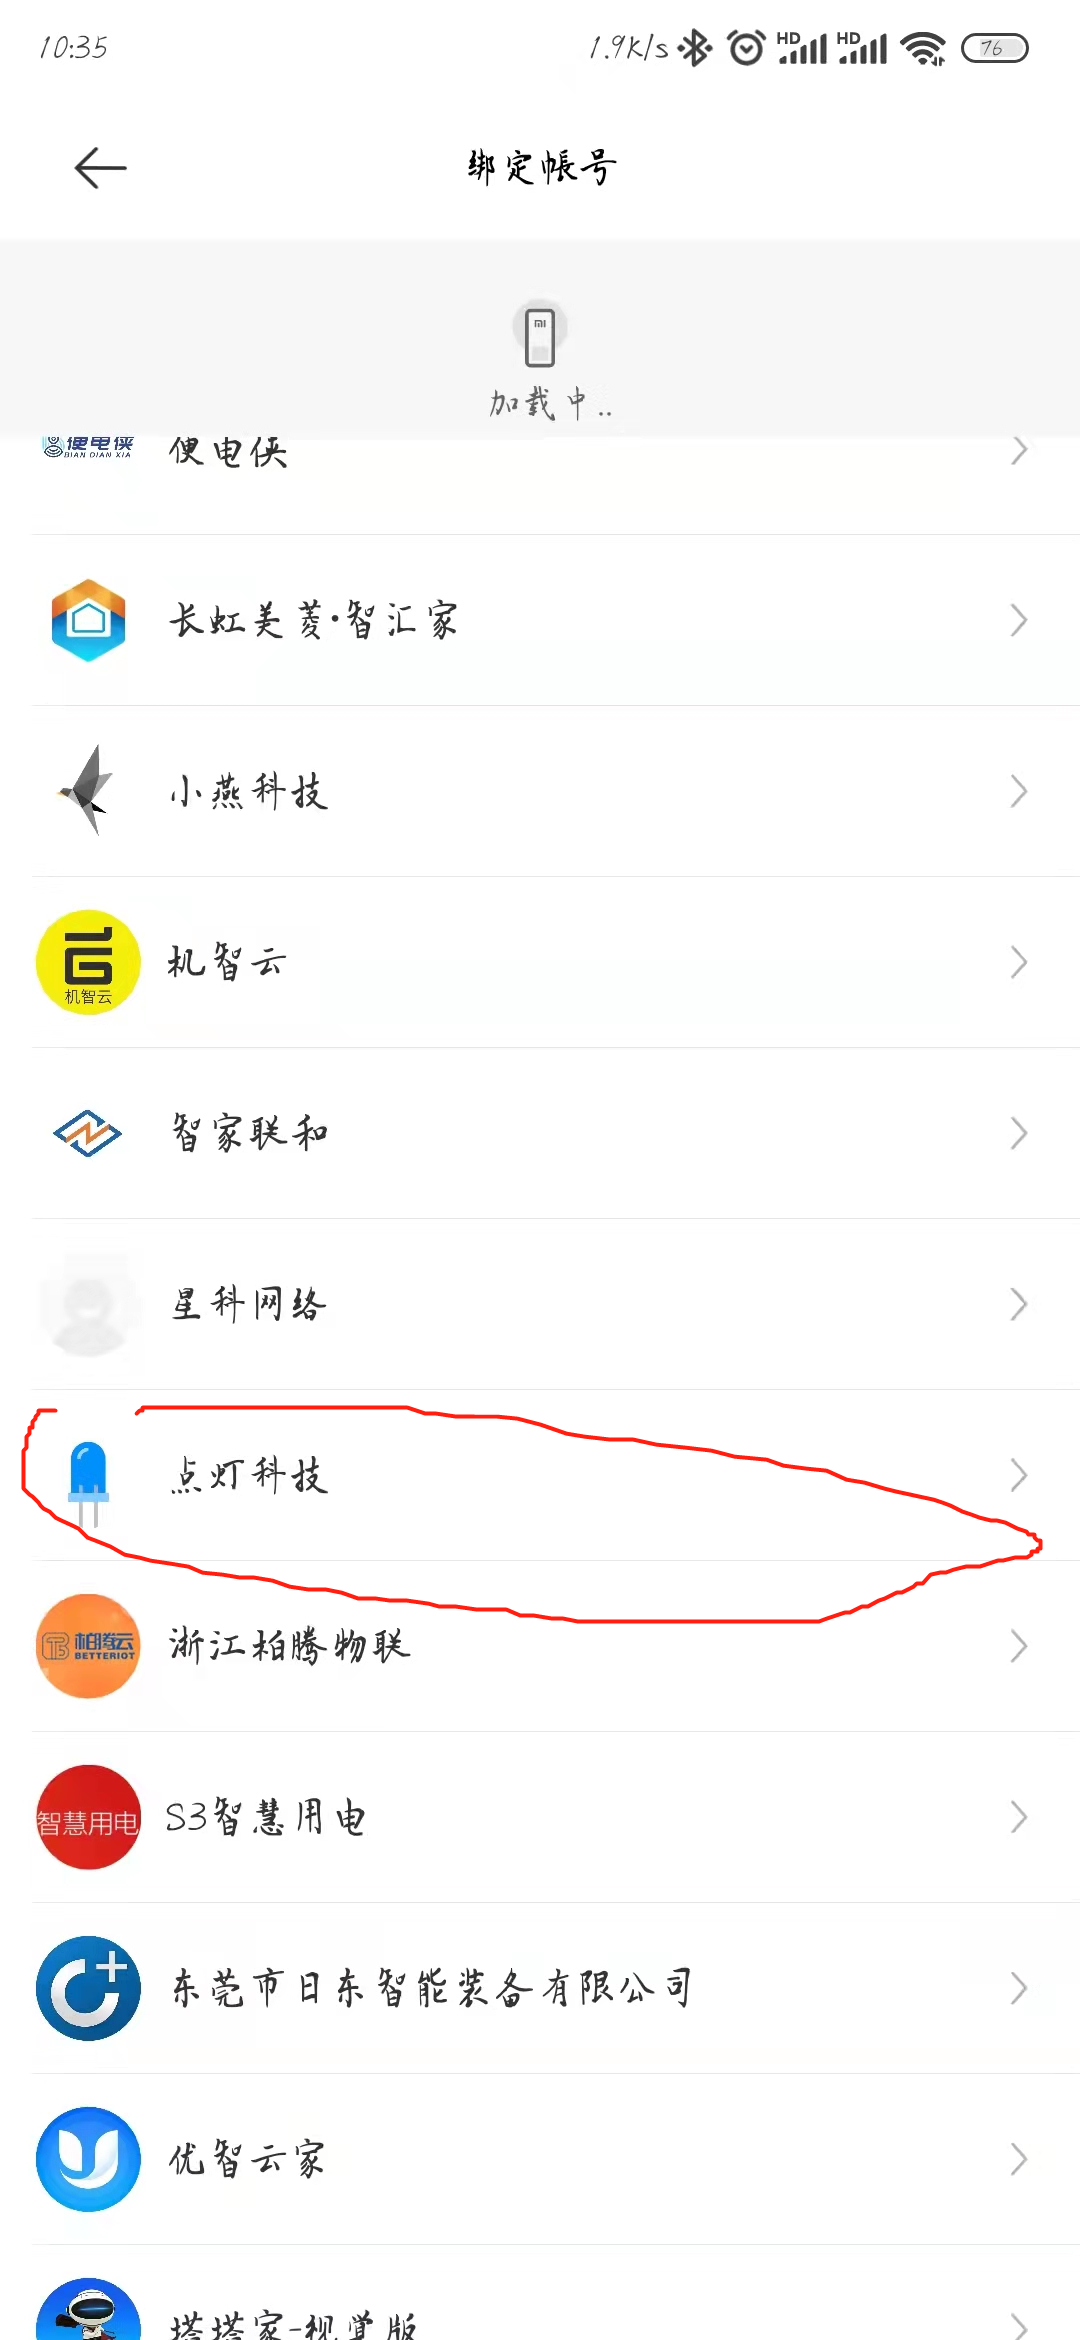
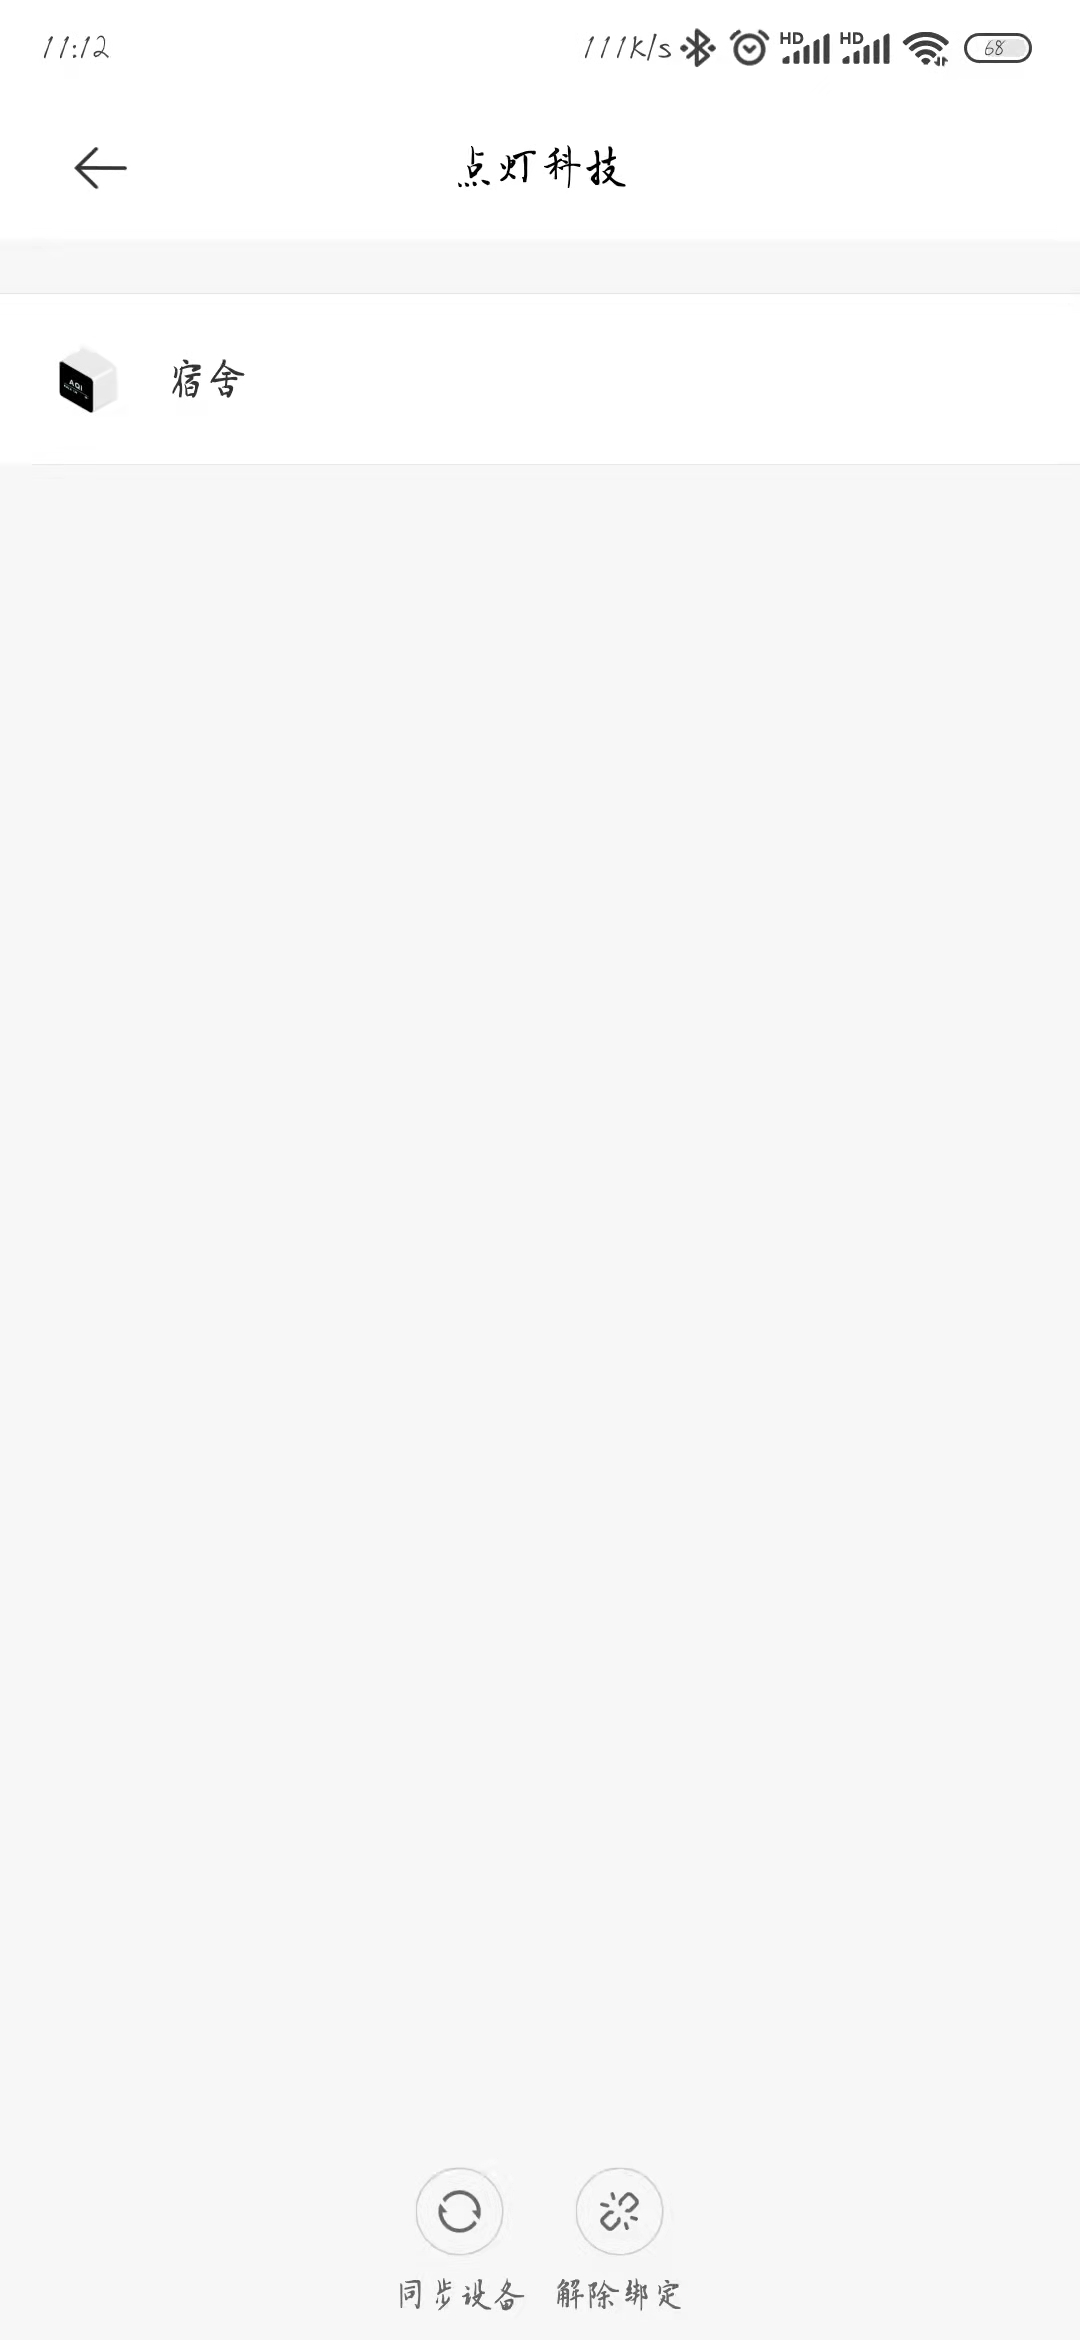
Enter Blinker's account password to bind
You can see the device
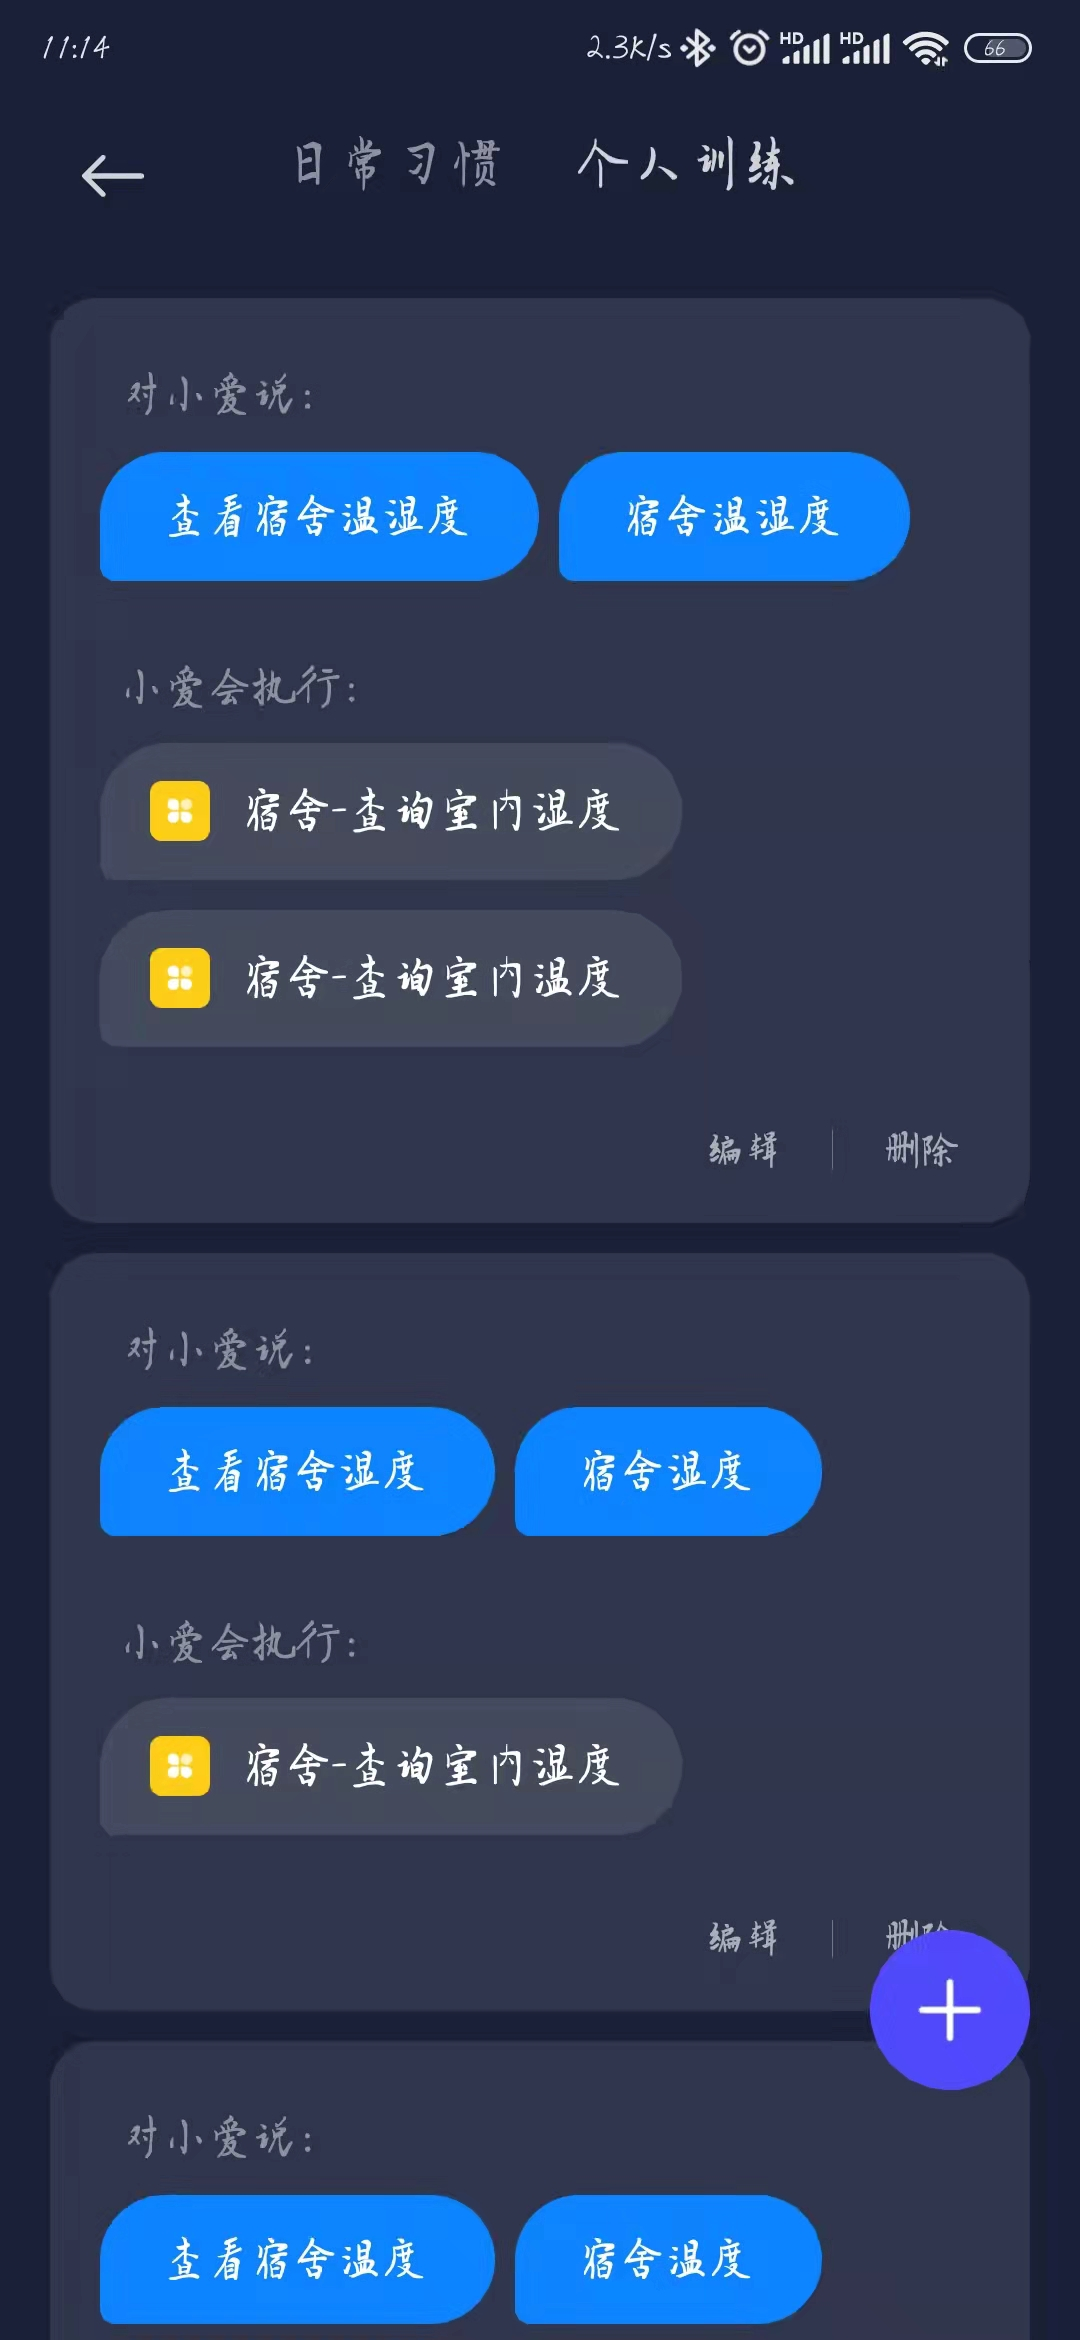
Then little love students can do training
3. Test results
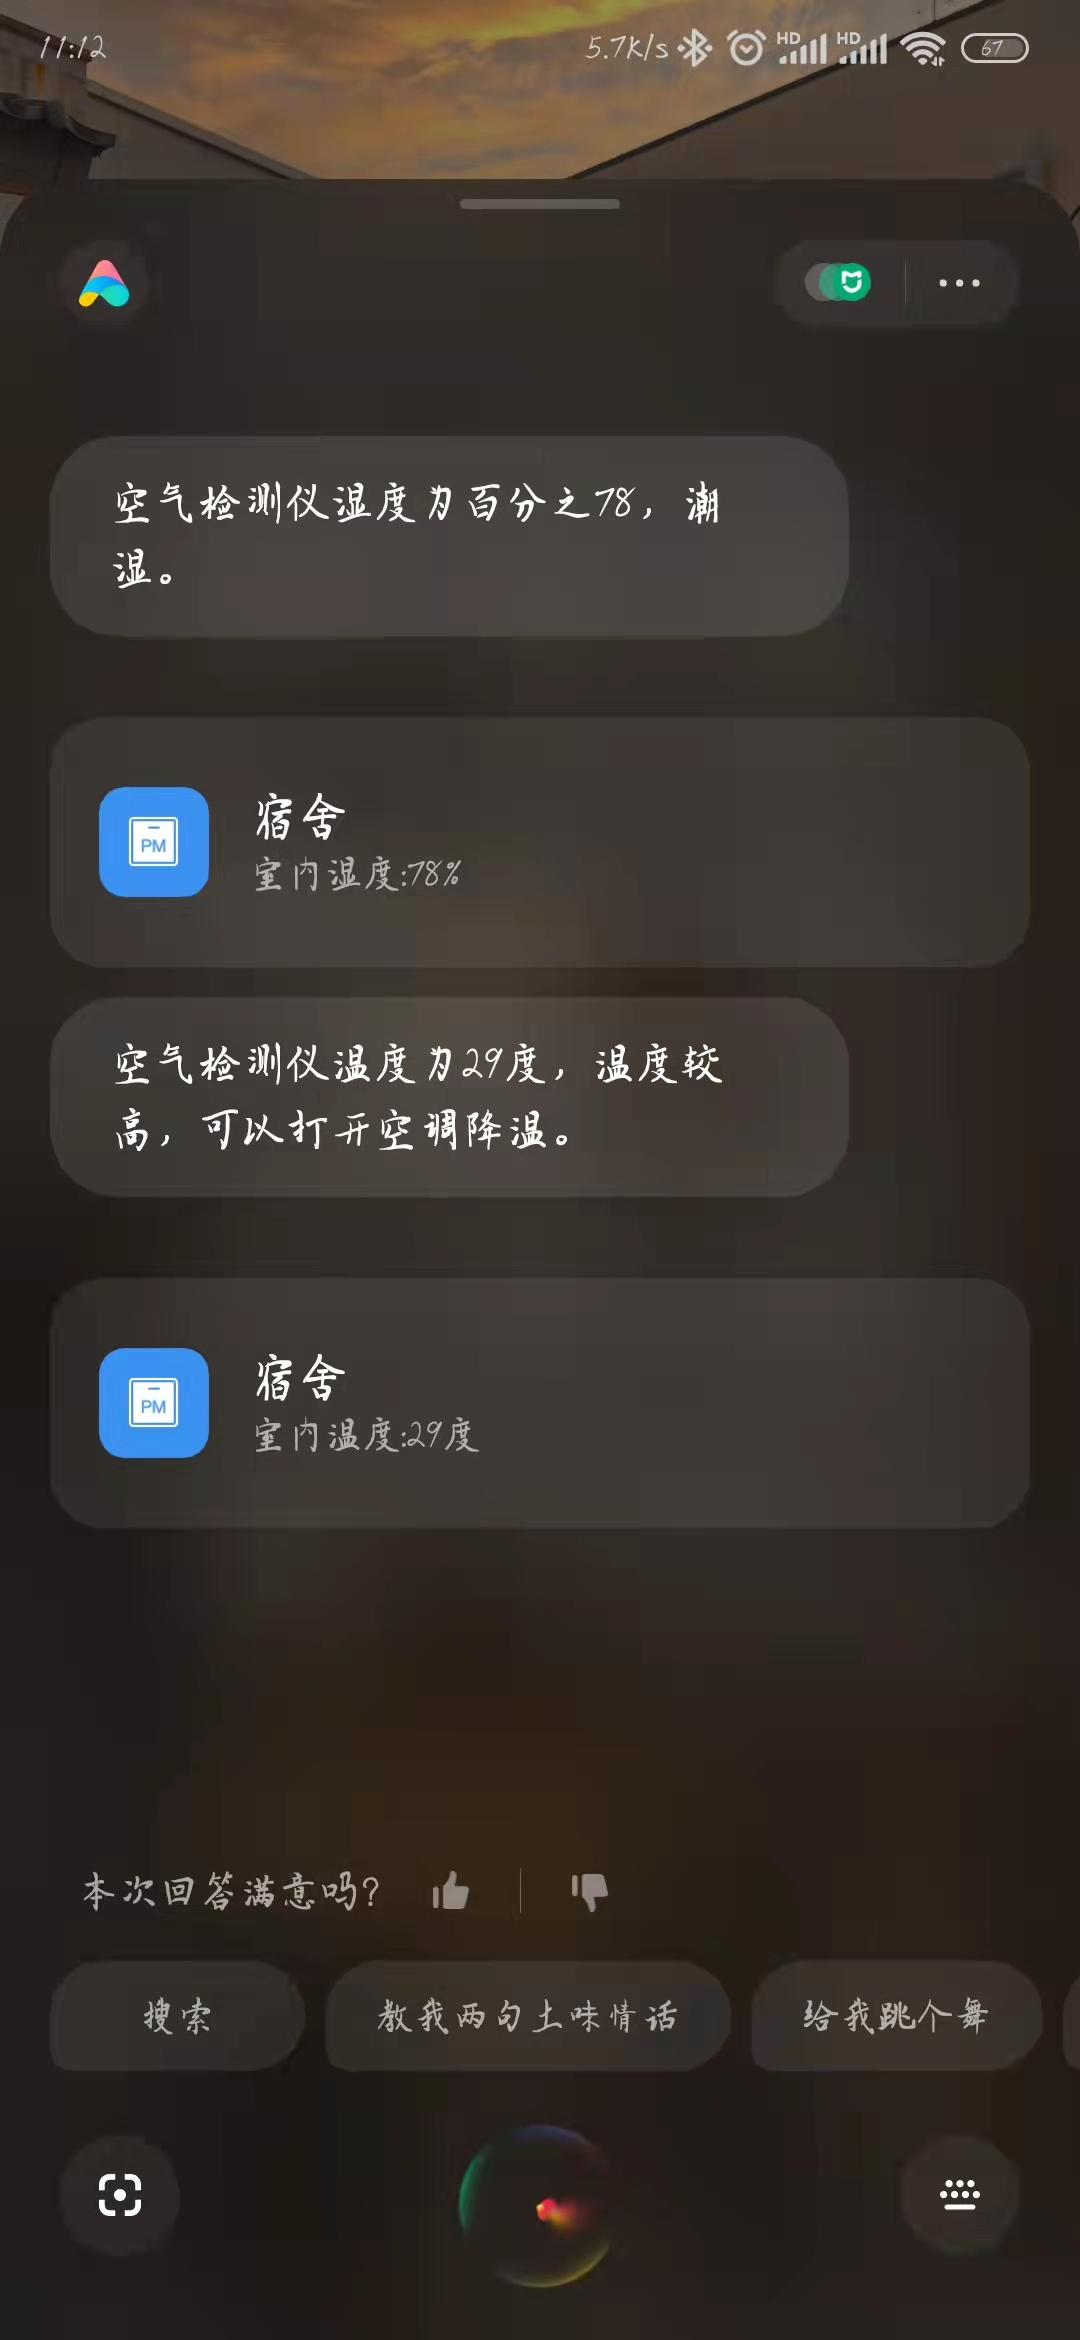
Click it to transfer: Xiao Ai Student Interactively Reads the Recording Screen of Temperature and Humidity in the Dormitory
PS:Blinker_APP data refresh is a bit problematic. Every time you re-click on the device to refresh the data, if you've been on that page, the data won't refresh dynamically, emmm
So you can add a debug component to refresh the data:
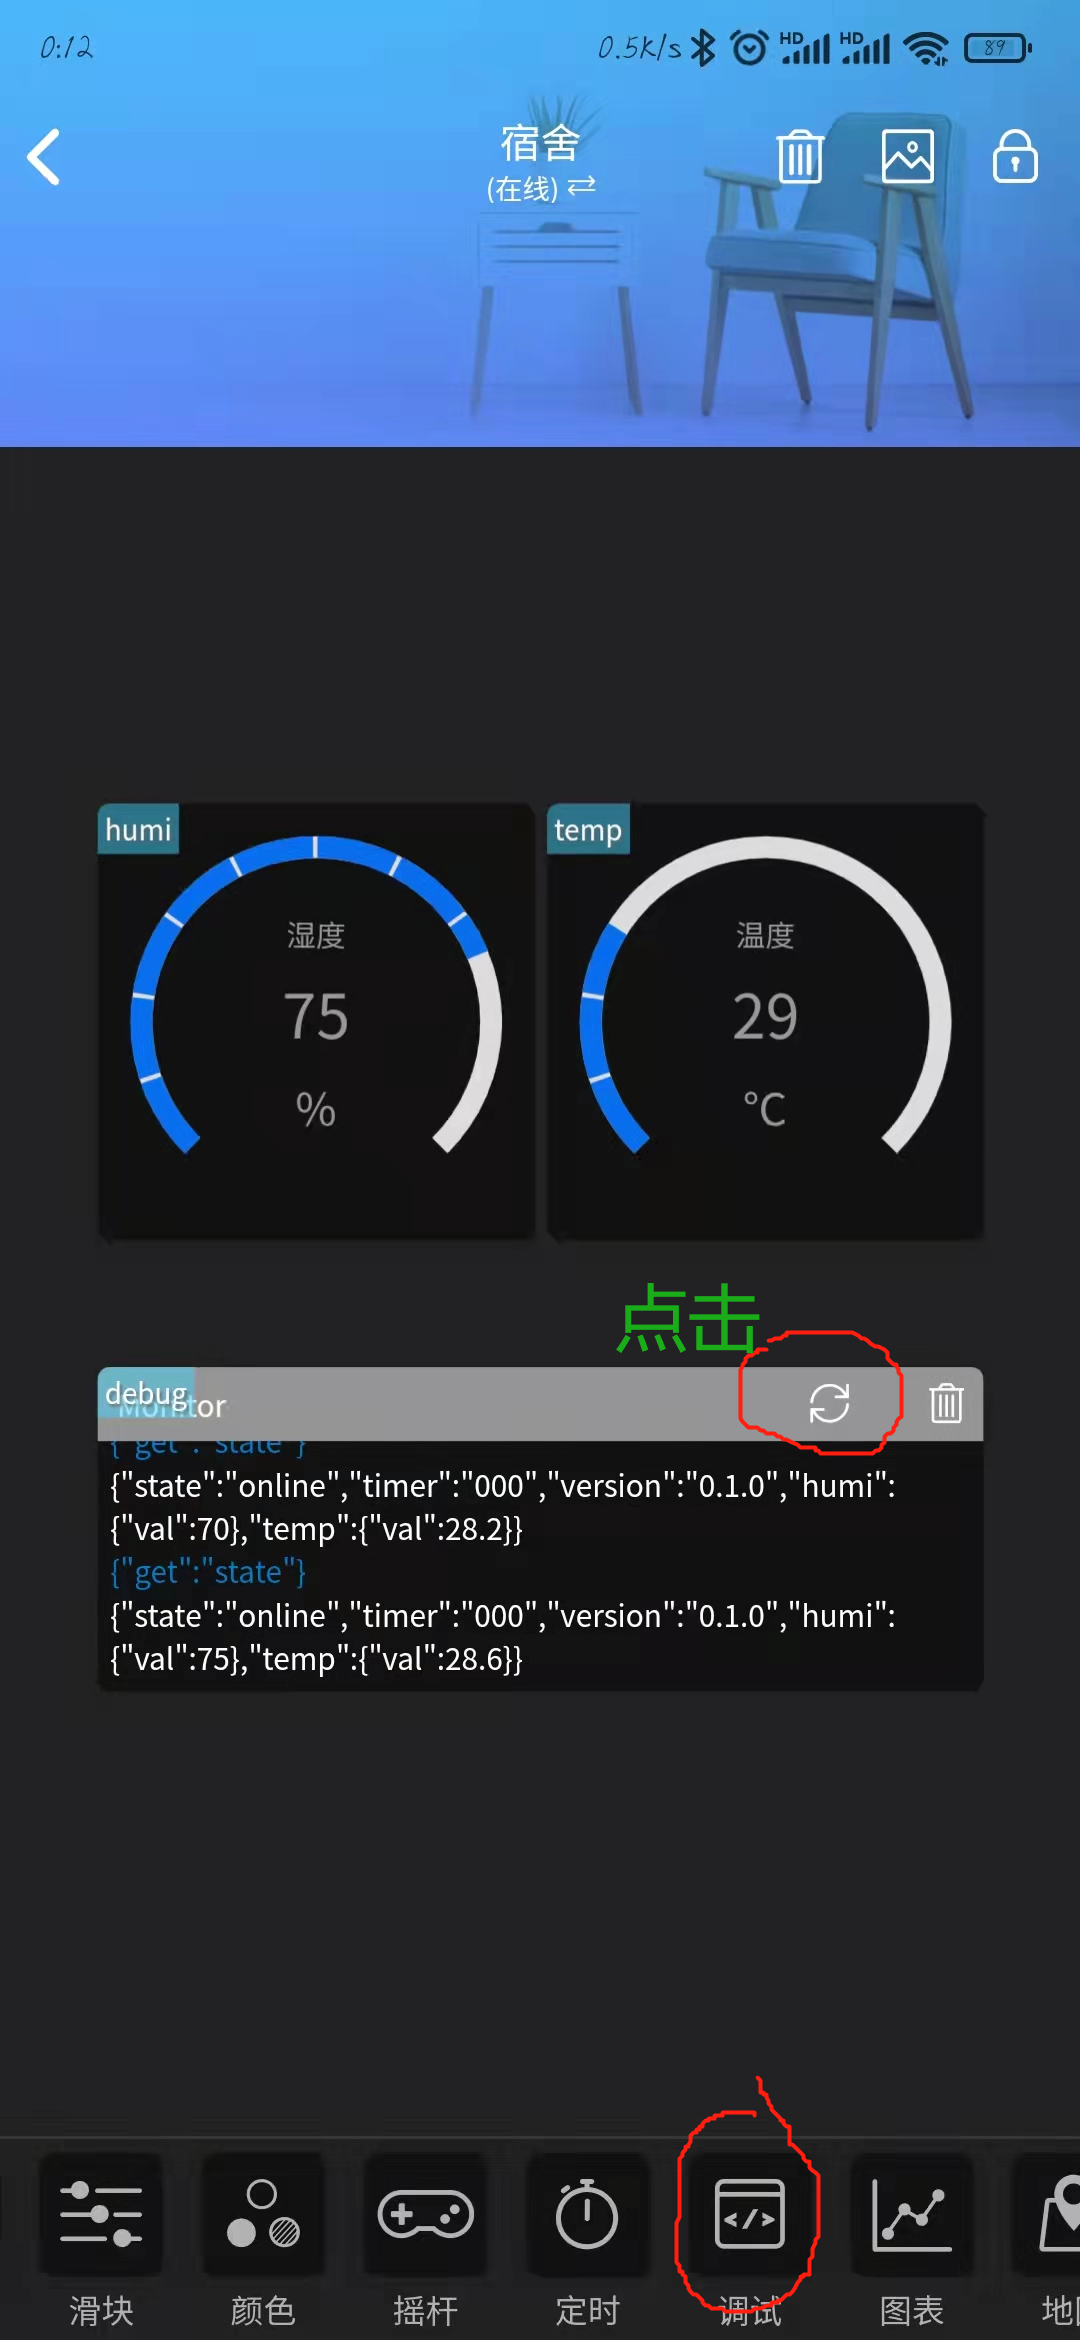
Manual refresh, emmm
No problem, Xiao Ai classmates data has been updated, the purpose is to achieve
summary
It's time to summarize:I have to say that the ESP8266-NodeMCU board is really convenient, more than 10 yuan, supporting WIFI, clicking, fragrant.
Blinker's app is also great, Xiao Bai feels friendly and has more features to explore.
If you have DHT11, you still feel the data is not accurate, so you can get a more expensive one if you have time (Pop, money is OK!)
OK, the next project is the story between ESP8266-NodeMCU+Infrared+Beautiful Air Conditioner, please wait until I get the Infrared Emission Module.
Bye, thank you!!!