Video files such as MP4 are transformed into gif dynamic pictures
Video files such as MP4 are transformed into gif dynamic pictures
ImageMagick image processing is a powerful, stable and free tool set and development package.
FFmpeg is a set of open source computer programs that can be used to record, convert digital audio and video, and convert them into streams.
Using FFmpeg, we can convert video to gif and every frame of video to picture. If we need to convert MP4 files to gif files, there are several ways:
- Direct use of FFmpeg to gif (the effect is not very good, it is impossible to add and delete frames, and each frame cannot be modified)
ffmpeg -y -i /home/yc/Desktop/01.mp4 1.gif
-i #input file
-y #If not, you will be asked
ffmpeg -ss 0  -r 15 -t 60 -y -i /home/yc/Desktop/01.mp4 -vf fps=15,scale=270:-1 1.gif
-y #If it is not covered, you will be asked
-ss #Start time (in milliseconds), without default 0
-s #Start time (in seconds), without default 0
-r #Frames per second, default 25
-t #The total interception time defaults to the end of video
-i #input file
-vf #Scaling does not scale by default
-
Use FFmpeg to export each frame in batch, modify and delete the picture by yourself. Use image magick (convert) to splice pictures into gif s.
-
Using ImageMagick(convert) to convert video to gif
convert '/home/yc/Desktop/01.mp4' -layers Optimize 1.gif
-layers #Convert layer Optimize default optimization

convert '/home/yc/Desktop/01.mp4' -fuzz 50% -layers Optimize 1.gif
-fuzz #Compressed image quality
Three ways: mass 2 > 3 > 1 speed 1 > 3 > 2
FFmpeg installation
sudo apt install ffmpeg
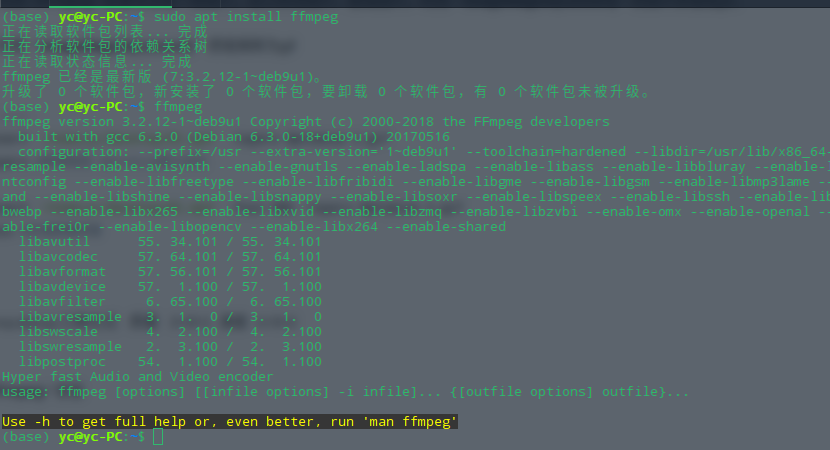
FFmpeg easy to use
#General parameters
 -i set input flow
-f set output format
-ss start time
#Video parameters
 -b set the video traffic (code rate), the default is 200Kbit/s
-r set the frame rate to 25 by default
-s sets the width and height of the screen
-aspect set the scale of the screen
-vn does not process video
-vcodec sets the video codec. If it is not set, it uses the same codec as the input stream
#Audio parameters
 -ar set sampling rate
-ac sets the number of channels of sound
-acodec sets the sound codec. If not, the same codec as the input stream will be used
-an does not process audio
#Video format conversion
ffmpeg -i input.avi output.mp4
ffmpeg -i input.mp4 output.ts
#Extract audio
ffmpeg -i tmp_in.mp4 -acodec copy -vn output.aac
ffmpeg -i tmp_in.mp4 -acodec aac -vn output.aac
#(- vn does not process video)
# Extract video
ffmpeg -i input.mp4 -vcodec copy -an output.mp4
#(- an does not process audio)
#Video clip
ffmpeg -ss 00:00:15 -t 00:00:05 -i input.mp4 -vcodec copy -acodec copy output.mp4
#-ss is the time to start cutting, - t is how much to cut. It's from the beginning, cut it for five seconds.
#Reduce the input 1920x1080 to 960x540 output
ffmpeg -i input.mp4 -vf scale=960:540 output.mp4
# If 540 is not written, it can be written as - 1, that is, scale=960:-1. ffmpeg will inform the zoom filter to keep the original aspect ratio when outputting.
convert installation
sudo apt install ImageMagick
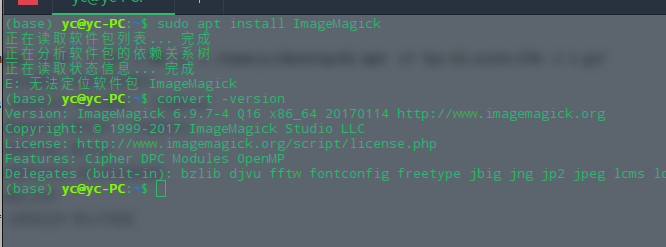
convert easy to use
#Convert image format, support JPG, BMP, PCX, GIF, PNG, TIFF, XPM, XWD and other types
convert xxx.jpg xxx.png   #How to convert jpeg to png
#change a picture's size
convert -resize 1024x768 xxx.jpg  xxx1.jpg  #Change the pixel of the image to 1024 * 768 (note the lowercase X between 1024 and 768)
convert -sample 50%x50% xxx.jpg  xxx1.jpg #Reduce the image to 50% * 50%
#Rotated image
convert -rotate 270 sky.jpg sky-final.jpg      #Rotate the image 270 degrees clockwise
#Add text to image
convert -fill black -pointsize 60 -font helvetica -draw 'text 10,80 "hello world ! " '
#xxx.jpg xxx1.jpg write hello world in 60 point black Helvetica font at 10,80 of the image!
#Bulk file format conversion
mogrify -path newdir -format png *.jpg
#This command converts all jpg files in the current file directory to png format, and stores them in the newdir directory. If the path parameter is not specified, the generated png image is saved in the current directory
Deep in series
Deepin tutorial: Introduction

