Because I didn't choose Linux for my undergraduate course, and I haven't used the Linux system since I was preparing for the competition and maintaining the research. This research 0 now records some environments for in-depth learning using the Linux system for the first time this week~
I
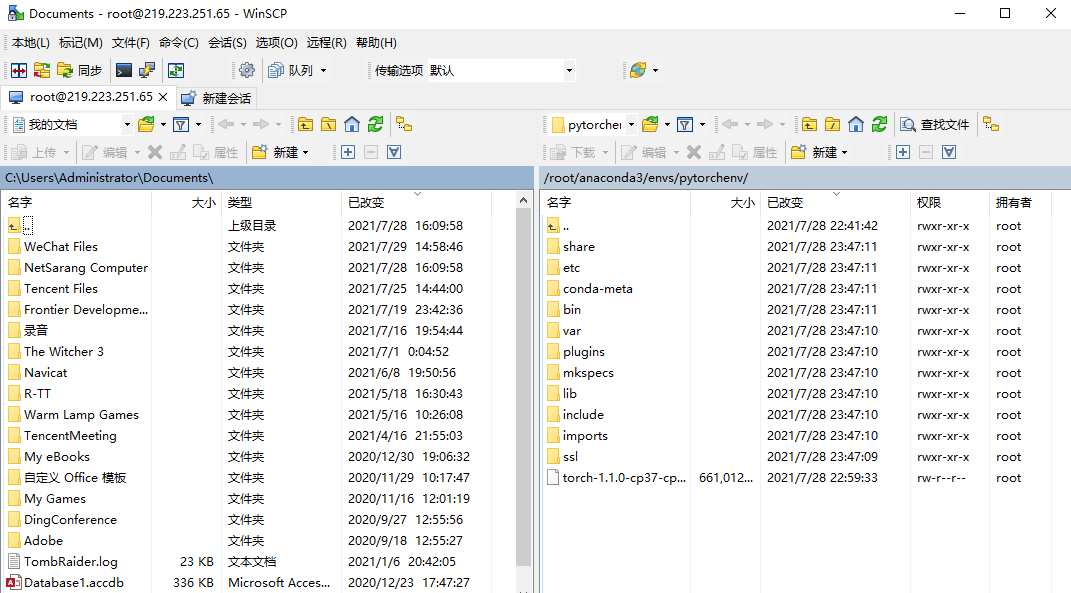
First, download the Xshell to operate the terminal. The download link and installation are very simple. Then download WinSCP, which can display the local files and the files on the remote Linux server at the left and right ends of the window respectively, and then carry out simple drag and drop operation (personally, it will make the operation closer to windows more comfortable)

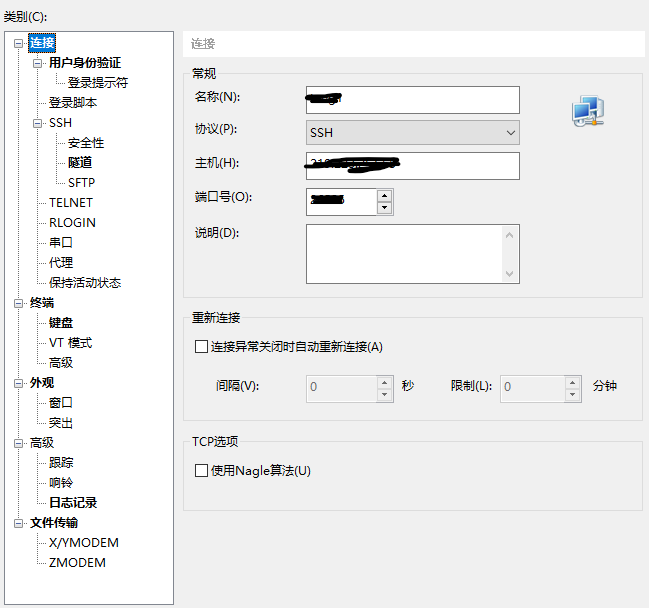
Open the installed Xshell and create a new session
Fill in the name casually. The host writes the IP of the remote server, and the port number writes the mapped port
After confirmation, you will pop out of the window, enter your user name and password, write your assigned user name and password, and you can connect to the Linux server

Then in xshell, select [tools] - [options] - [keyboard and mouse], and the [right button] is changed to [paste clipboard content]
In this way, you can select Copy and right-click to paste. The operation will be very convenient
II
Then upgrade OpenSSH to 8.1p1 in Xshell
- Download zlib compile install
wget http://zlib.net/zlib-1.2.11.tar.gz
tar xf zlib-1.2.11.tar.gz && cd zlib-1.2.11/
./configure && make && make install
At this time, an error message "unable to locally verify the issuer's authority" may appear when writing the first line of command to download. This is because wget needs security verification to download. We changed the order to:
wget --no-check-certificate http://zlib.net/zlib-1.2.11.tar.gz
It's OK. If there is an error in the subsequent download, the same is true
- Install OpenSSH
wget https://fastly.cdn.openbsd.org/pub/OpenBSD/OpenSSH/portable/openssh-8.1p1.tar.gz

tar xf openssh-8.1p1.tar.gz && cd openssh-8.1p1/
Backup startup scripts and configuration files
cp /etc/init.d/ssh /etc/init.d/ssh.old && cp -r /etc/ssh /etc/ssh.old
install
./configure --prefix=/usr --sysconfdir=/etc/ssh --with-md5-passwords --with-pam --with-zlib --with-privsep-path=/var/lib/sshd

make && make install
If this occurs, configure: error: * * * working libcrypto not found, check config The error of log is probably a problem with openssl
Go back to the previous folder cd
Download, compile and install OpenSSL again( https://www.openssl.org/source/ )
wget https://www.openssl.org/source/openssl-1.1.1c.tar.gz
tar zxf openssl-1.1.1c.tar.gz
cd openssl-1.1.1c

./configure
make
make install
mv /usr/bin/openssl /usr/bin/openssl.bak
mv /usr/include/openssl /usr/include/openssl.bak
ln -s /usr/local/ssl/bin/openssl /usr/bin/openssl
ln -s /usr/local/ssl/include/openssl /usr/include/openssl
echo "/usr/local/ssl/lib" >> /etc/ld.so.conf
ldconfig -v
After success, we go back to the folder of openssh-8.1p1 and restart/ configure
At this time, if an error is reported and pam is missing, we will go back to the previous folder and install pam devel
wget http://www.linux-pam.org/library/Linux-PAM-1.3.0.tar.gz
tar -zxvf Linux-PAM-1.3.0.tar.gz
cd Linux-PAM-1.3.0
./configure
make && make install
After success, go back to the folder of openssh-8.1p1 and restart/ configure, and then you can install it successfully
When you can view the version number, the upgrade is successful
ssh -V
openssl version

You can see that the version upgrade is successful
Update SSH reference: https://blog.csdn.net/SIMPLE1995/article/details/102537189
III
Install Anaconda3 and pytorch
Download on the mirror website https://mirrors.tuna.tsinghua.edu.cn/anaconda/archive/
Anaconda3-5.3.1-Linux-x86_64.sh
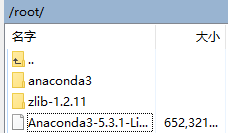
Then anaconda3-5.3.1-linux-x86_ Drag the 64.sh file to the Linux server
Then enter
bash Anaconda3-4.2.0-Linux-x86_64.sh
Install
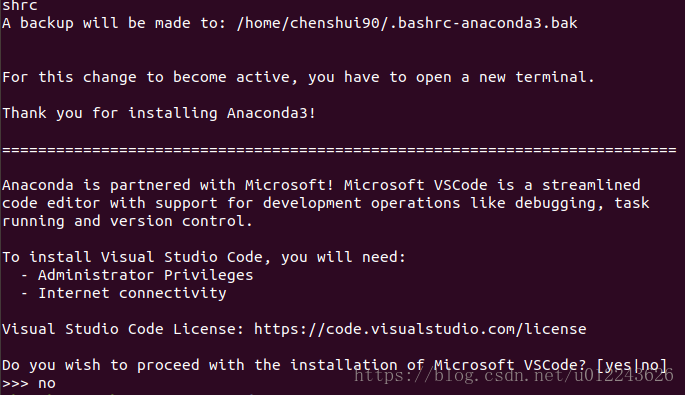
After one-way return + yes, the installation is completed

Then enter
conda create -n pytorchenv
The folder for creating the python environment should not be placed under the base. Otherwise, the error no module named 'conda' will be reported after entering conda due to the inconsistency of Python version after installing python
Then enter the pytorch environment
conda activate pytorchenv
At this point, the previous base will become pytorchenv

Then find the pytorch version corresponding to cuda version on the official website: https://pytorch.org/get-started/previous-versions/ Download
For example: torch-1.1.0-cp37-cp37m-linux_x86_64.whl
Also use WinSCP to drag to Under folder
Then install with pip
pip install torch-1.1.0-cp37-cp37m-linux_x86_64.whl
After installation, use pip to install torch vision
pip install torchvision
In this way, the installation of the deep learning environment is successful~
You can import the package after entering python to see whether the installation is successful