1, Environment installation and deployment
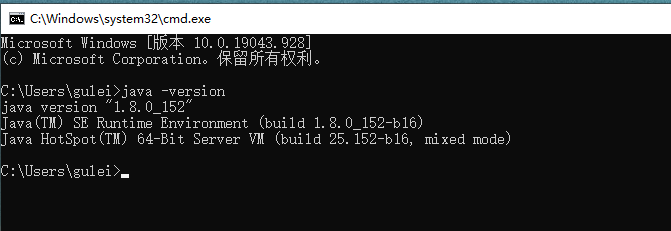
1. Install JDK
2. Configure environment variables
C:\Program Files\Java\jdk1.8.0_152\bin
3. Install and activate IDEA

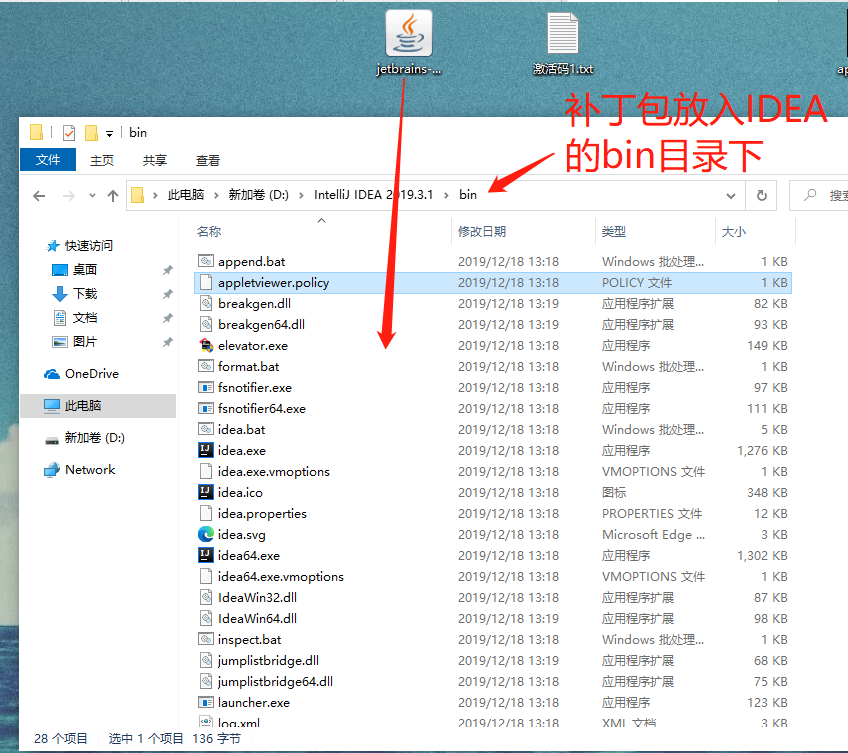
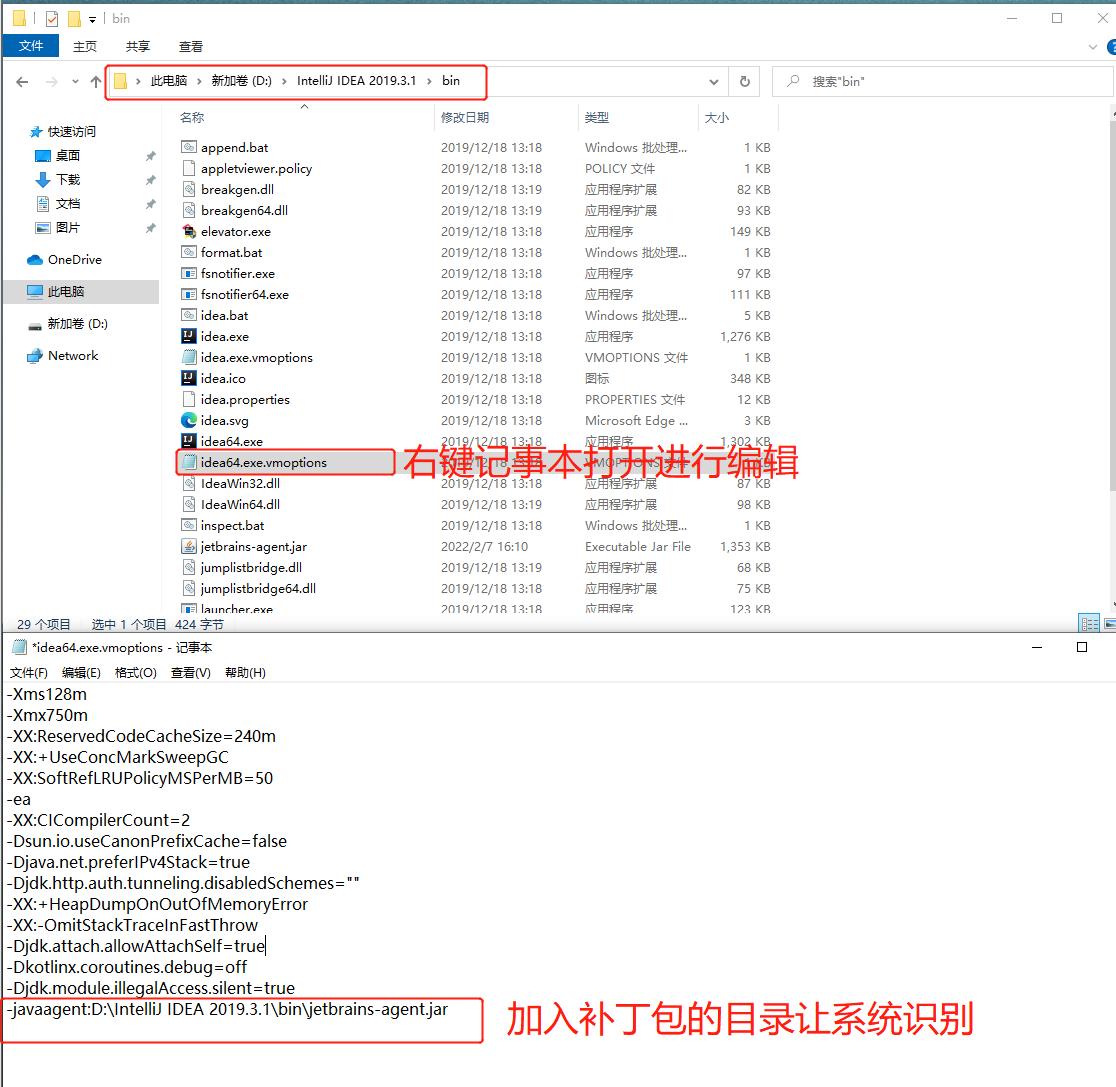
-javaagent:D:\IntelliJ IDEA\IntelliJ IDEA 2019.3.1\bin\jetbrains-agent.jar
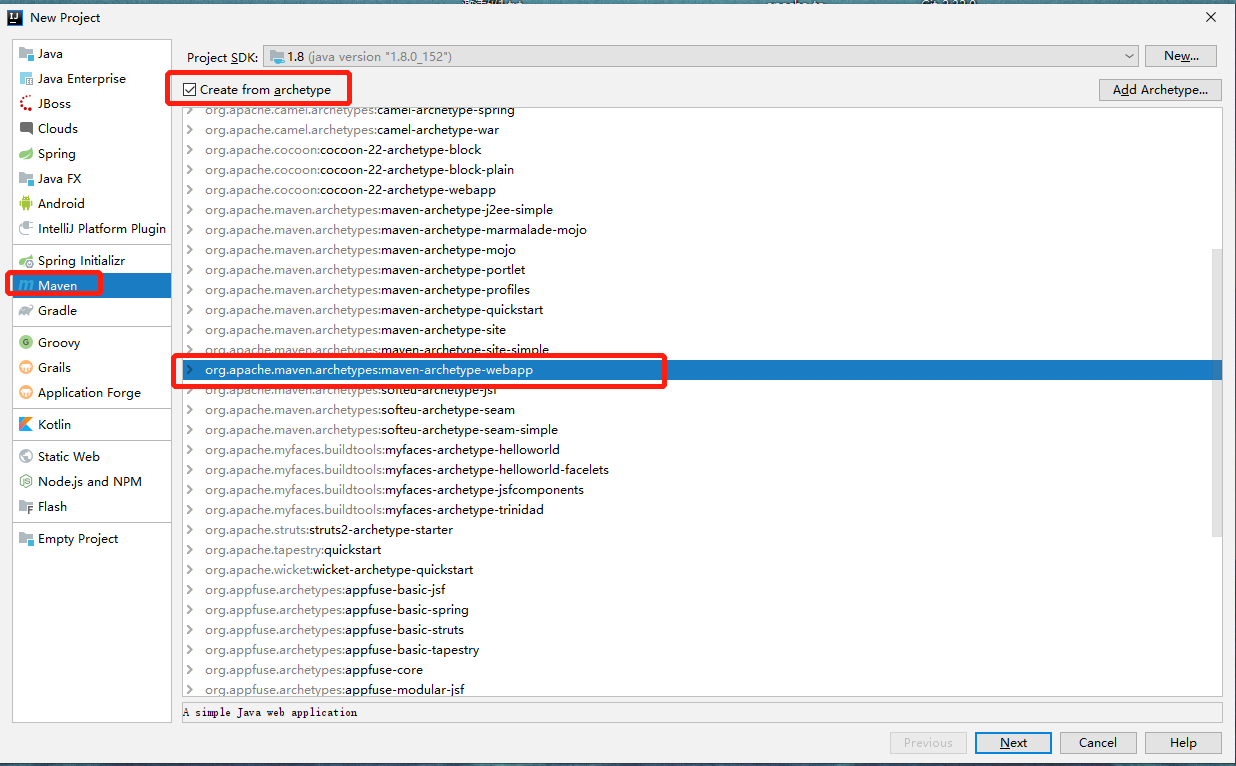
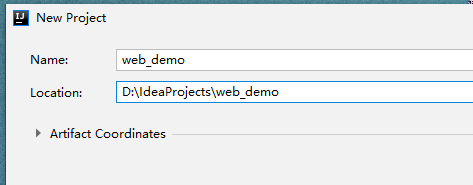
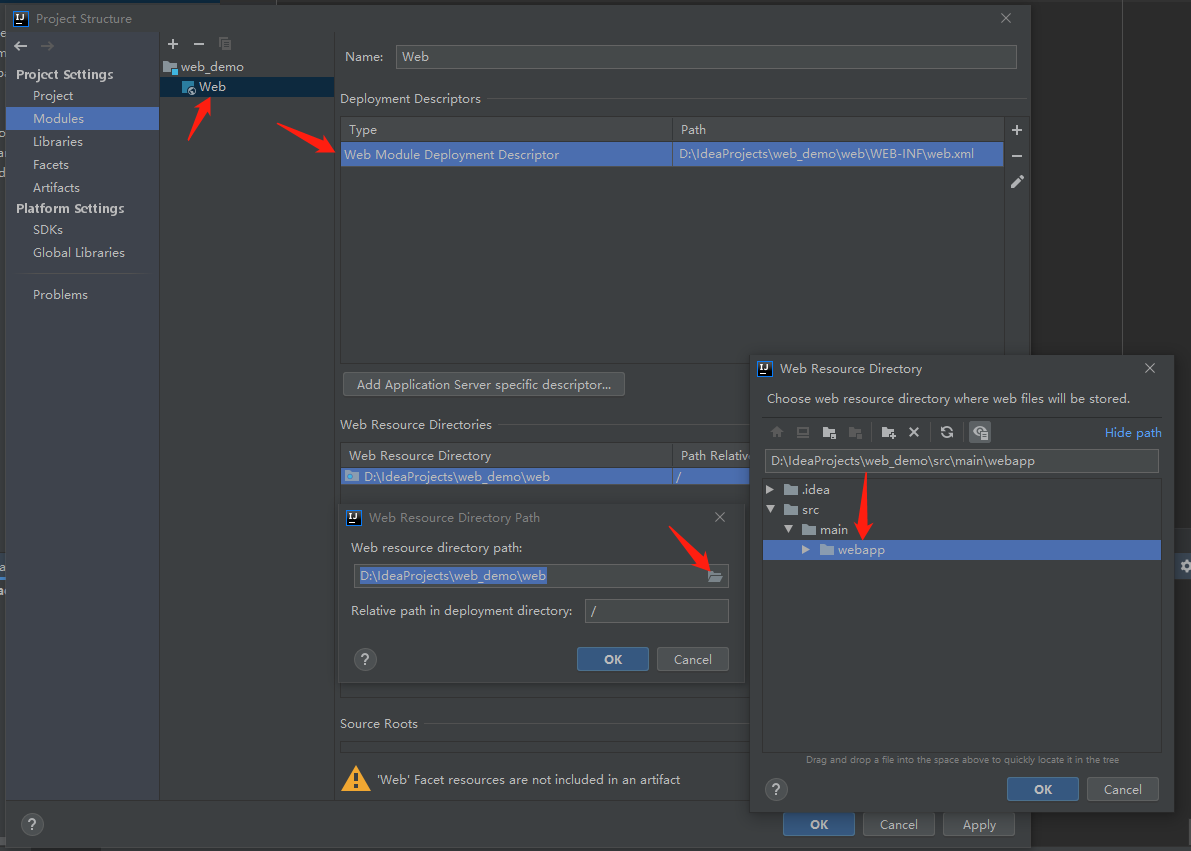
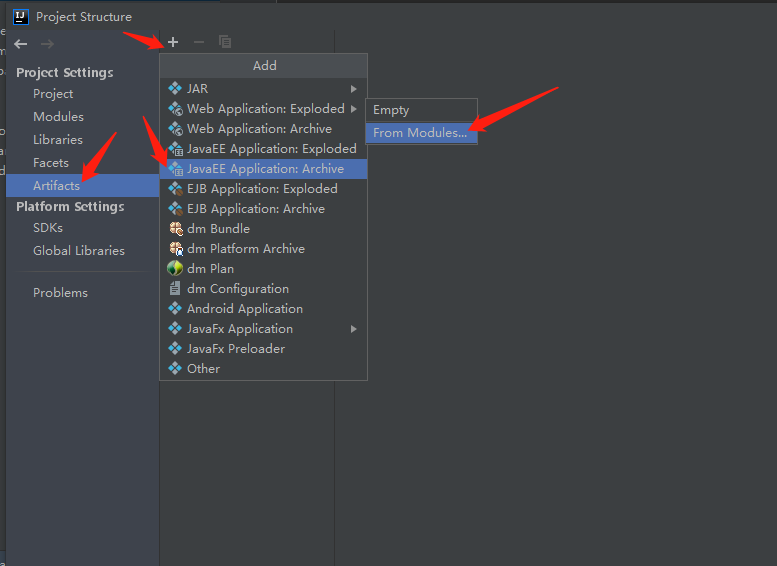
4. Build a web project
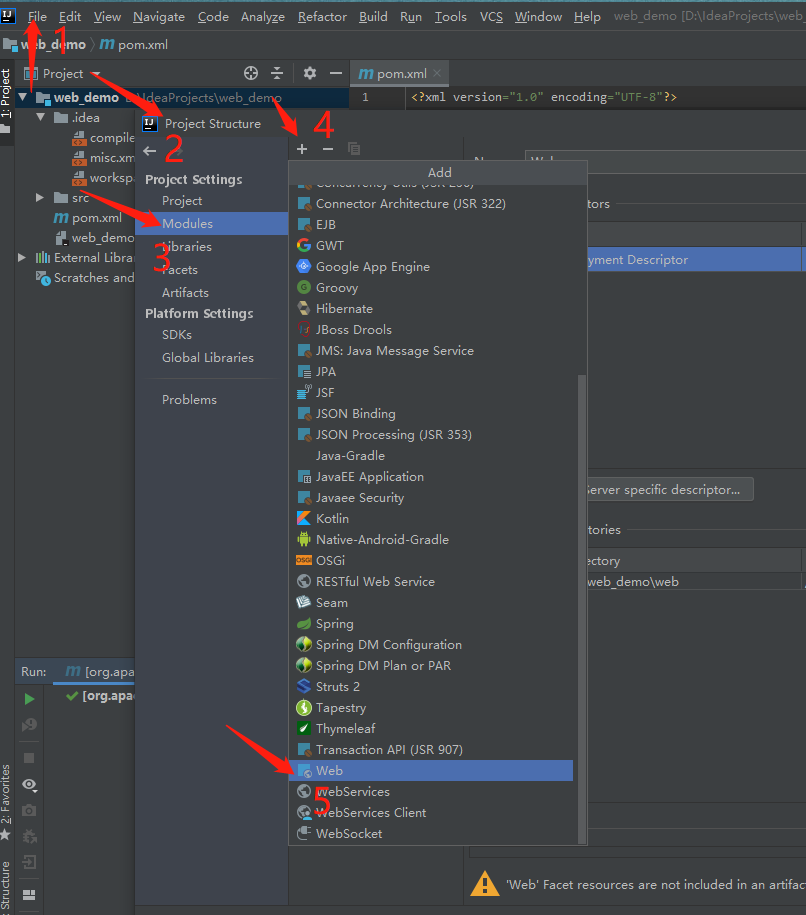
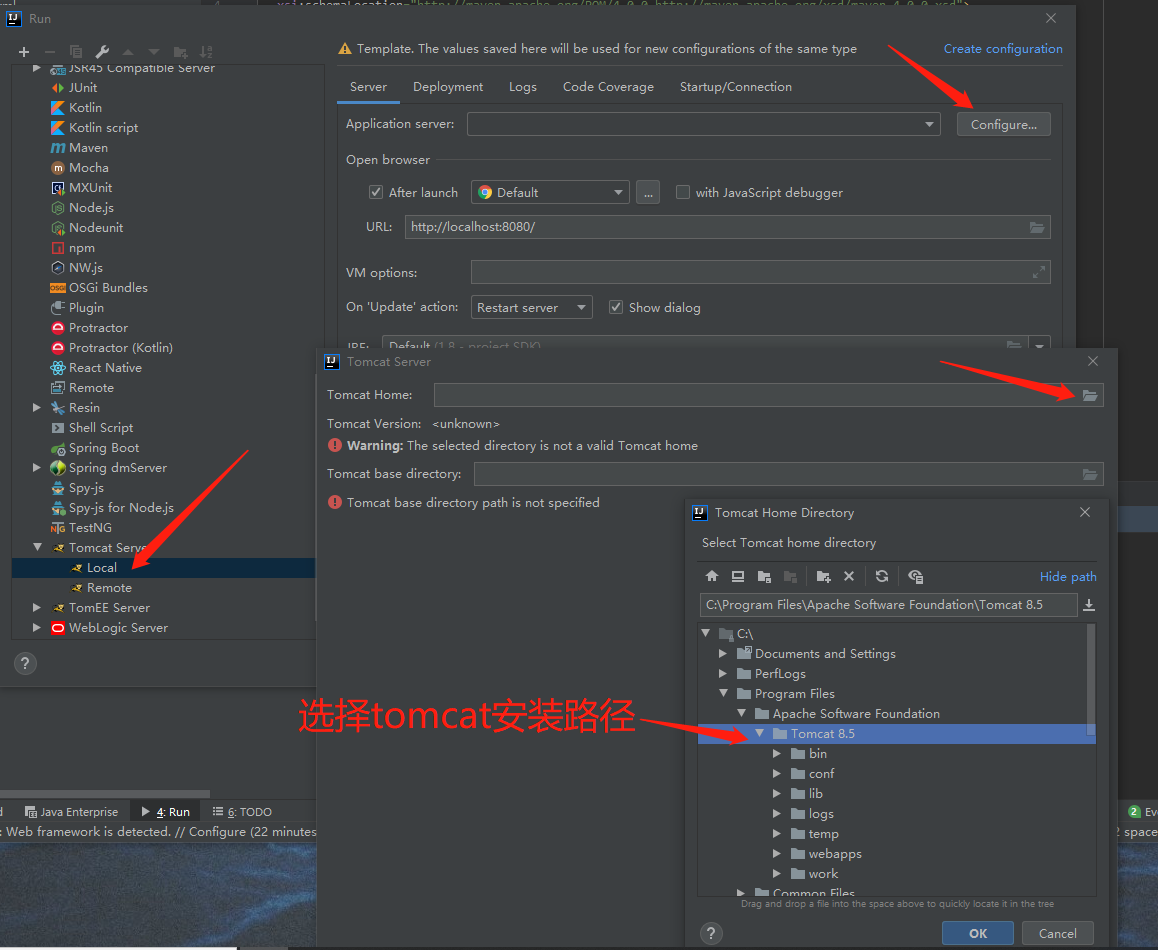
5. Install tomcat server
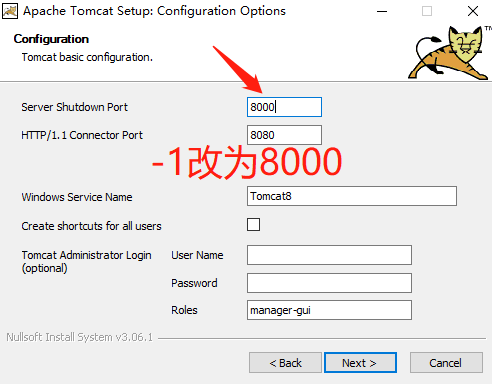
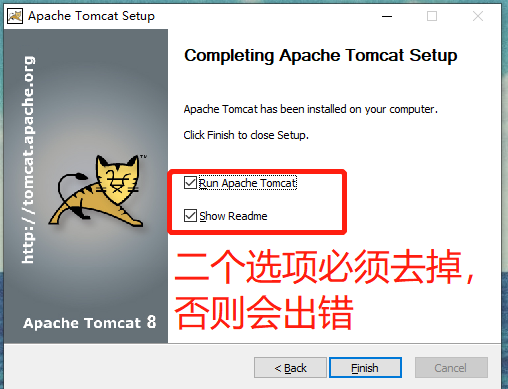
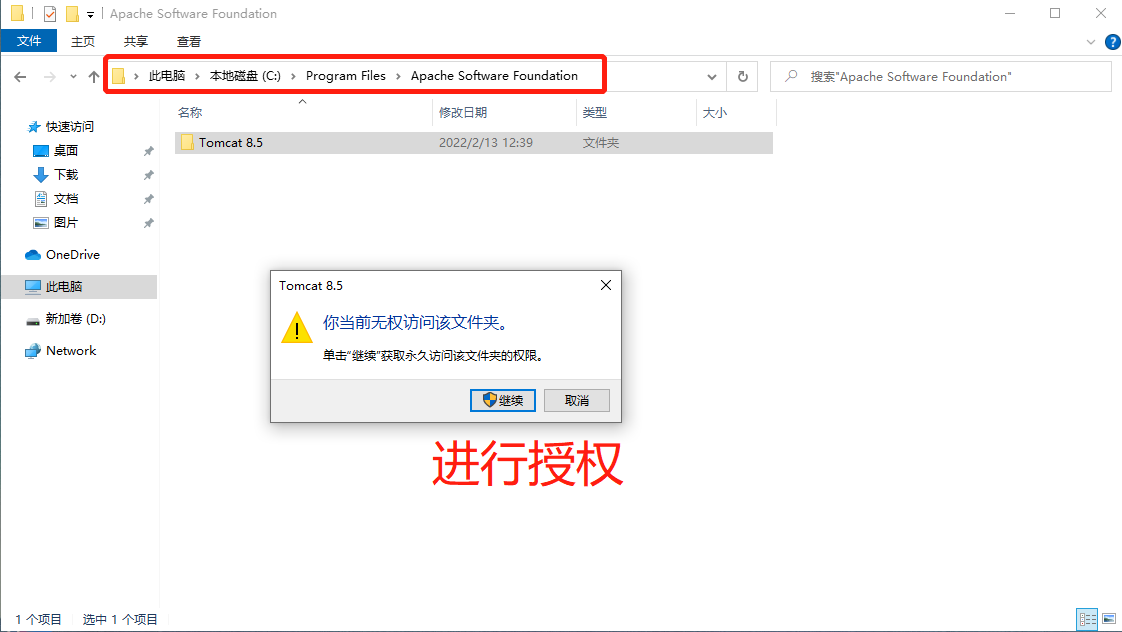
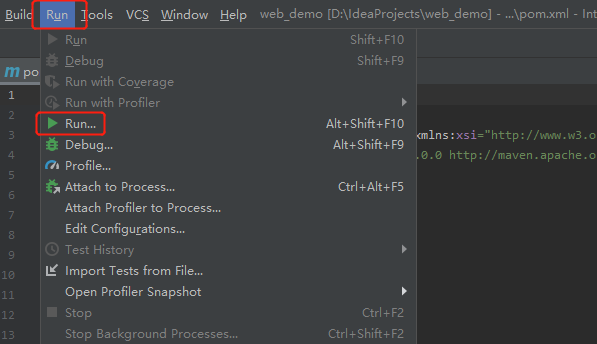
Configure the IDEA to recognize tomcat
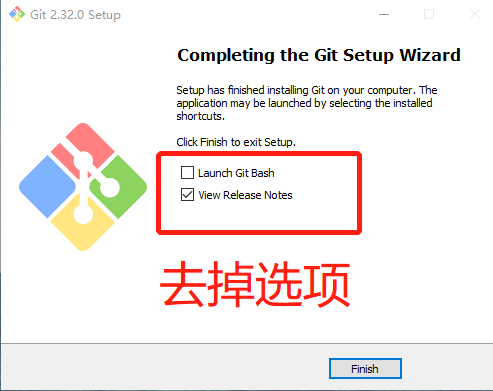
6. Install git and turn on version control

7. Gitlab warehouse construction
hostnamectl set-hostname gitlab && su

#Install dependent packages
yum install -y policycoreutils openssh-server openssh-clients.x86_64 postfix

#Start ssh service and set startup
systemctl start sshd && systemctl enable sshd

#Set postfix to start automatically and start
systemctl start postfix && systemctl enable postfix

rpm -ivh gitlab-ce-12.4.2-ce.0.el6.x86_64.rpm
Modify the gitlab access address and port. The default is 80. We change it to 82
vim /etc/gitlab/gitlab.rb

23 external_url 'http://192.168.8.20:82' 			 	# Set the access address as the local IP address
 1112 nginx['listen_port'] = 82						 	#The listening port is changed to 82, and the previous comments need to be cancelled


gitlab-ctl reconfigure
gitlab-ctl restart
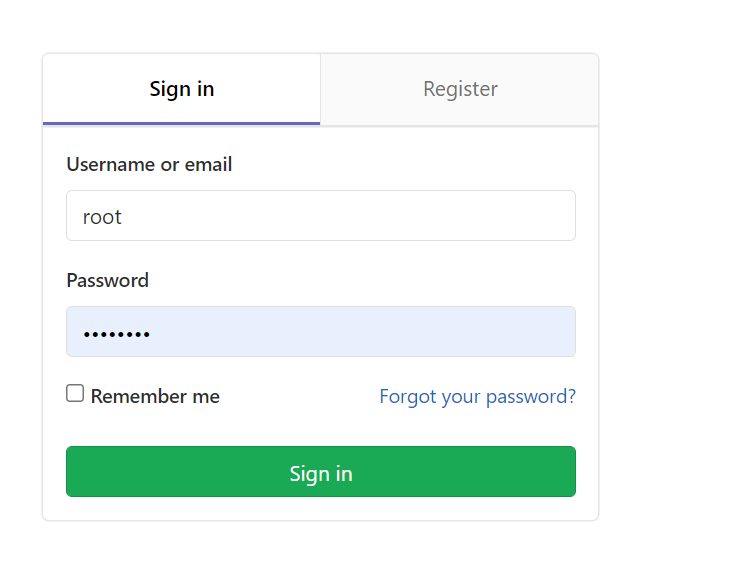
http://192.168.8.20:82 Visit Gitlab
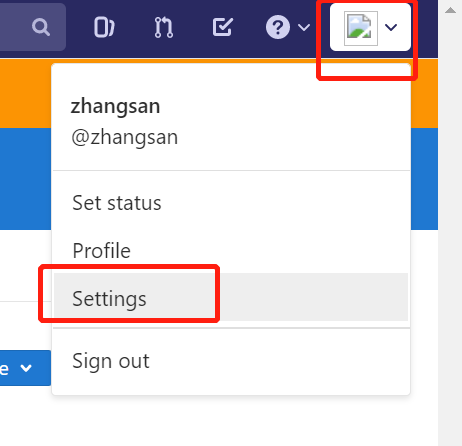
Modify the administrator root password. After modifying the password, log in
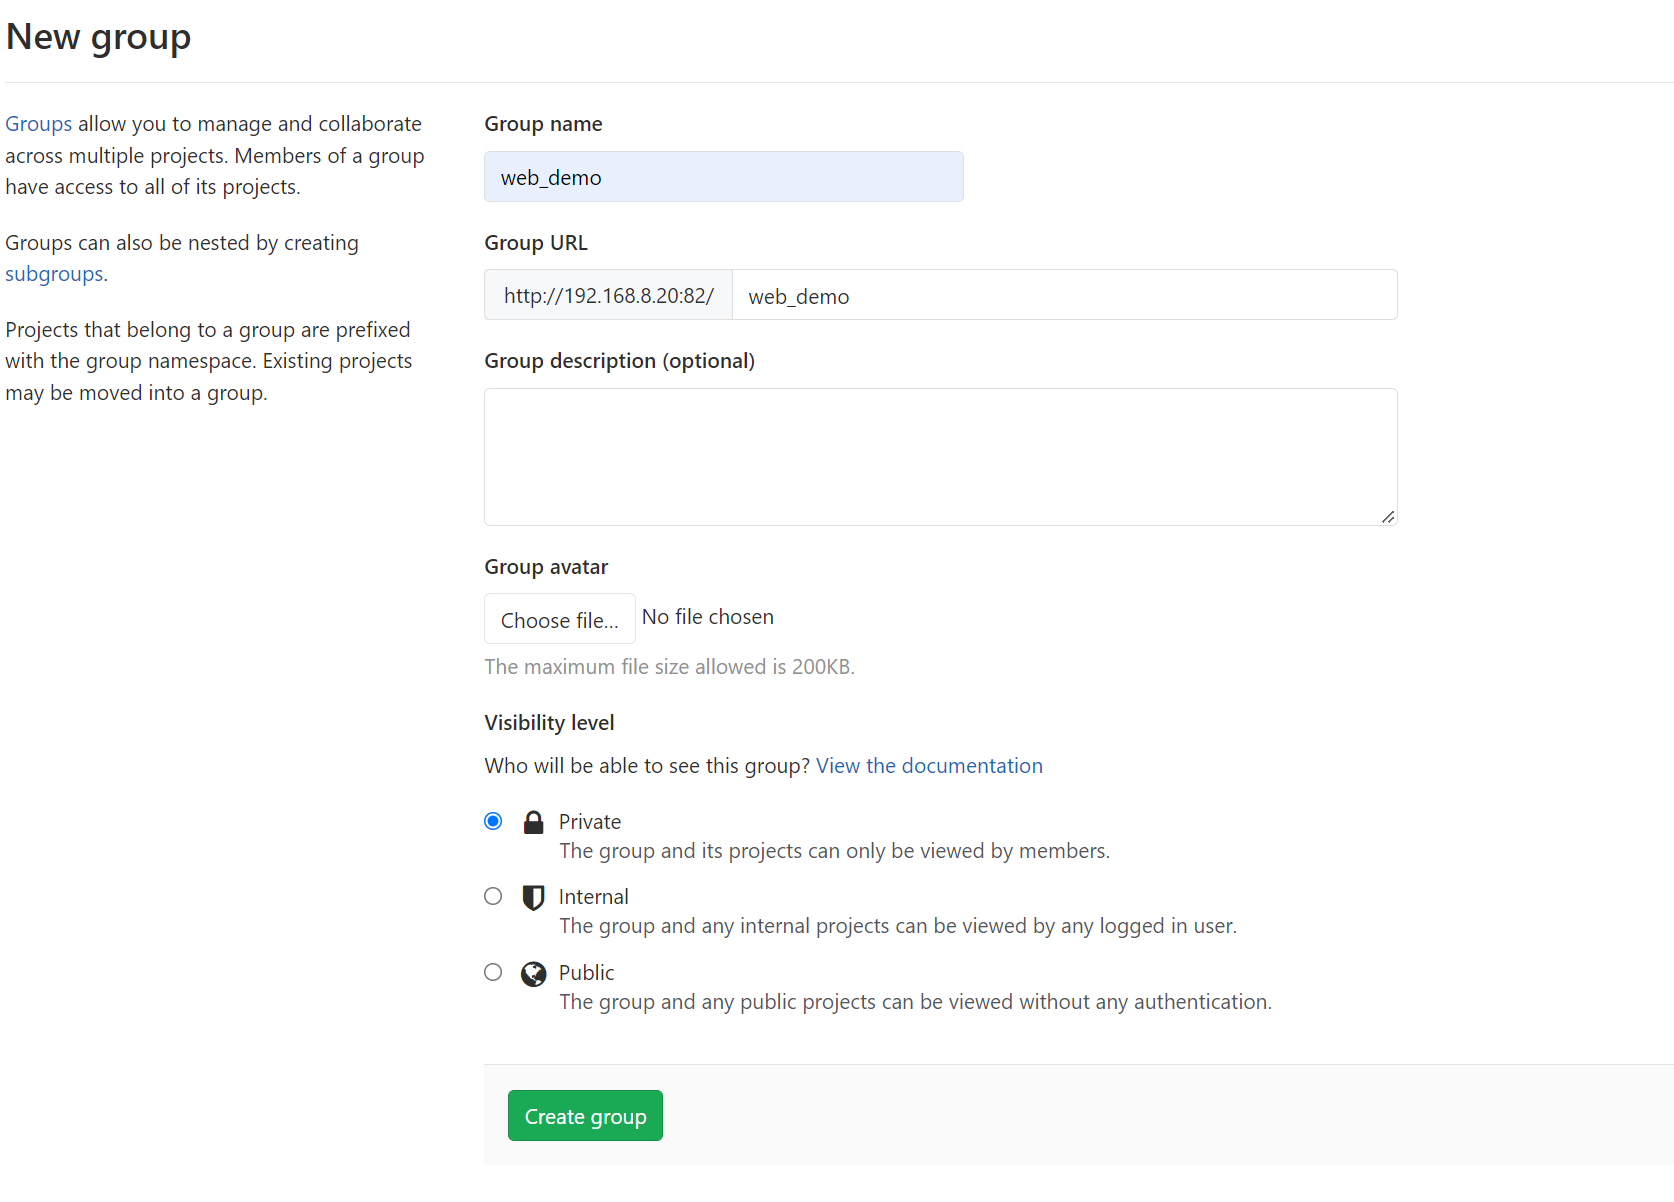
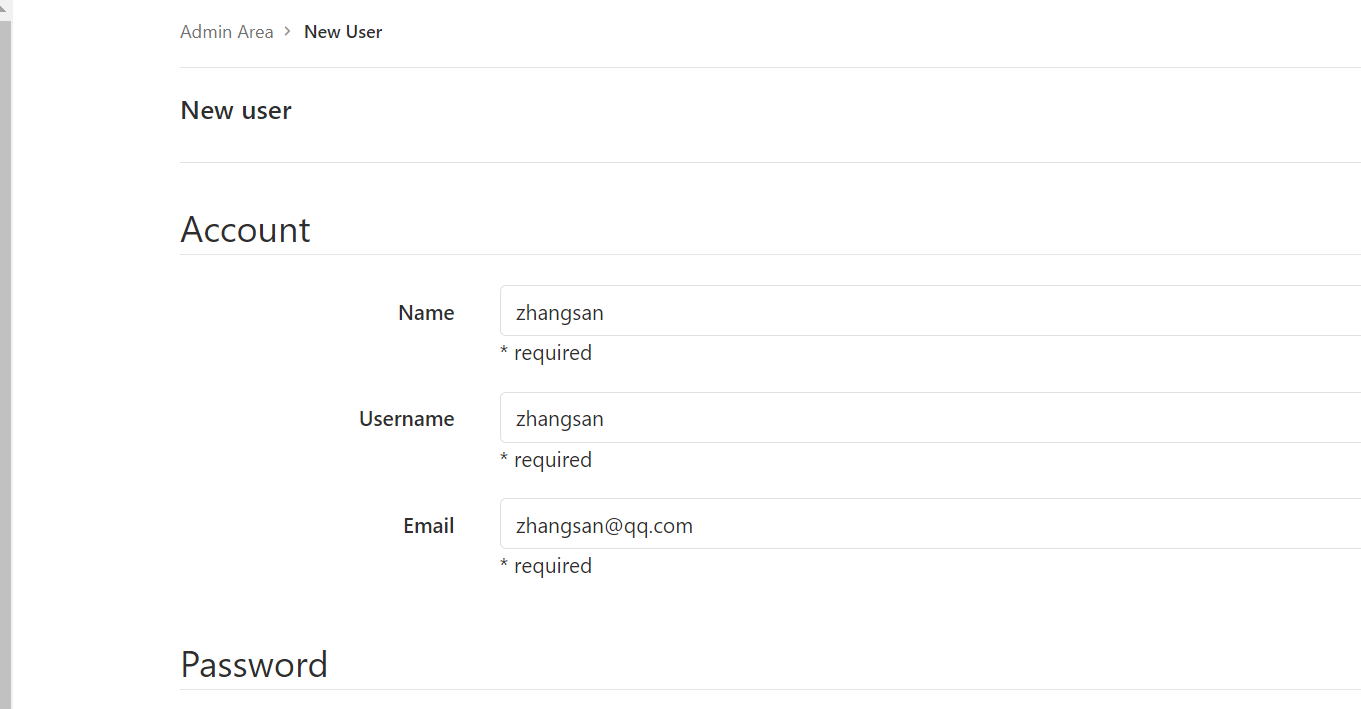
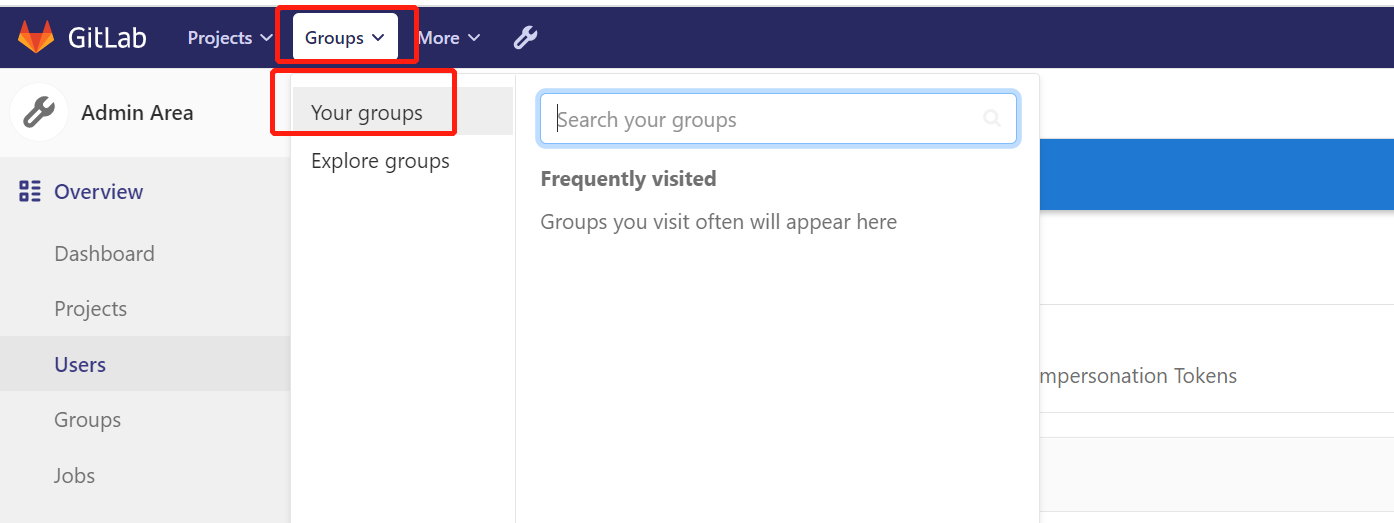
8. Add group, create user, create project
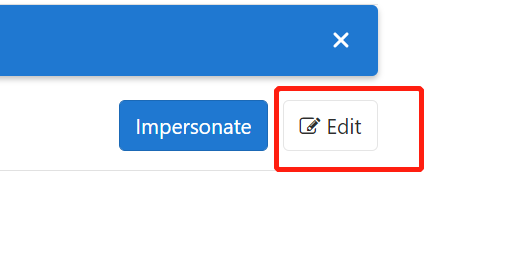
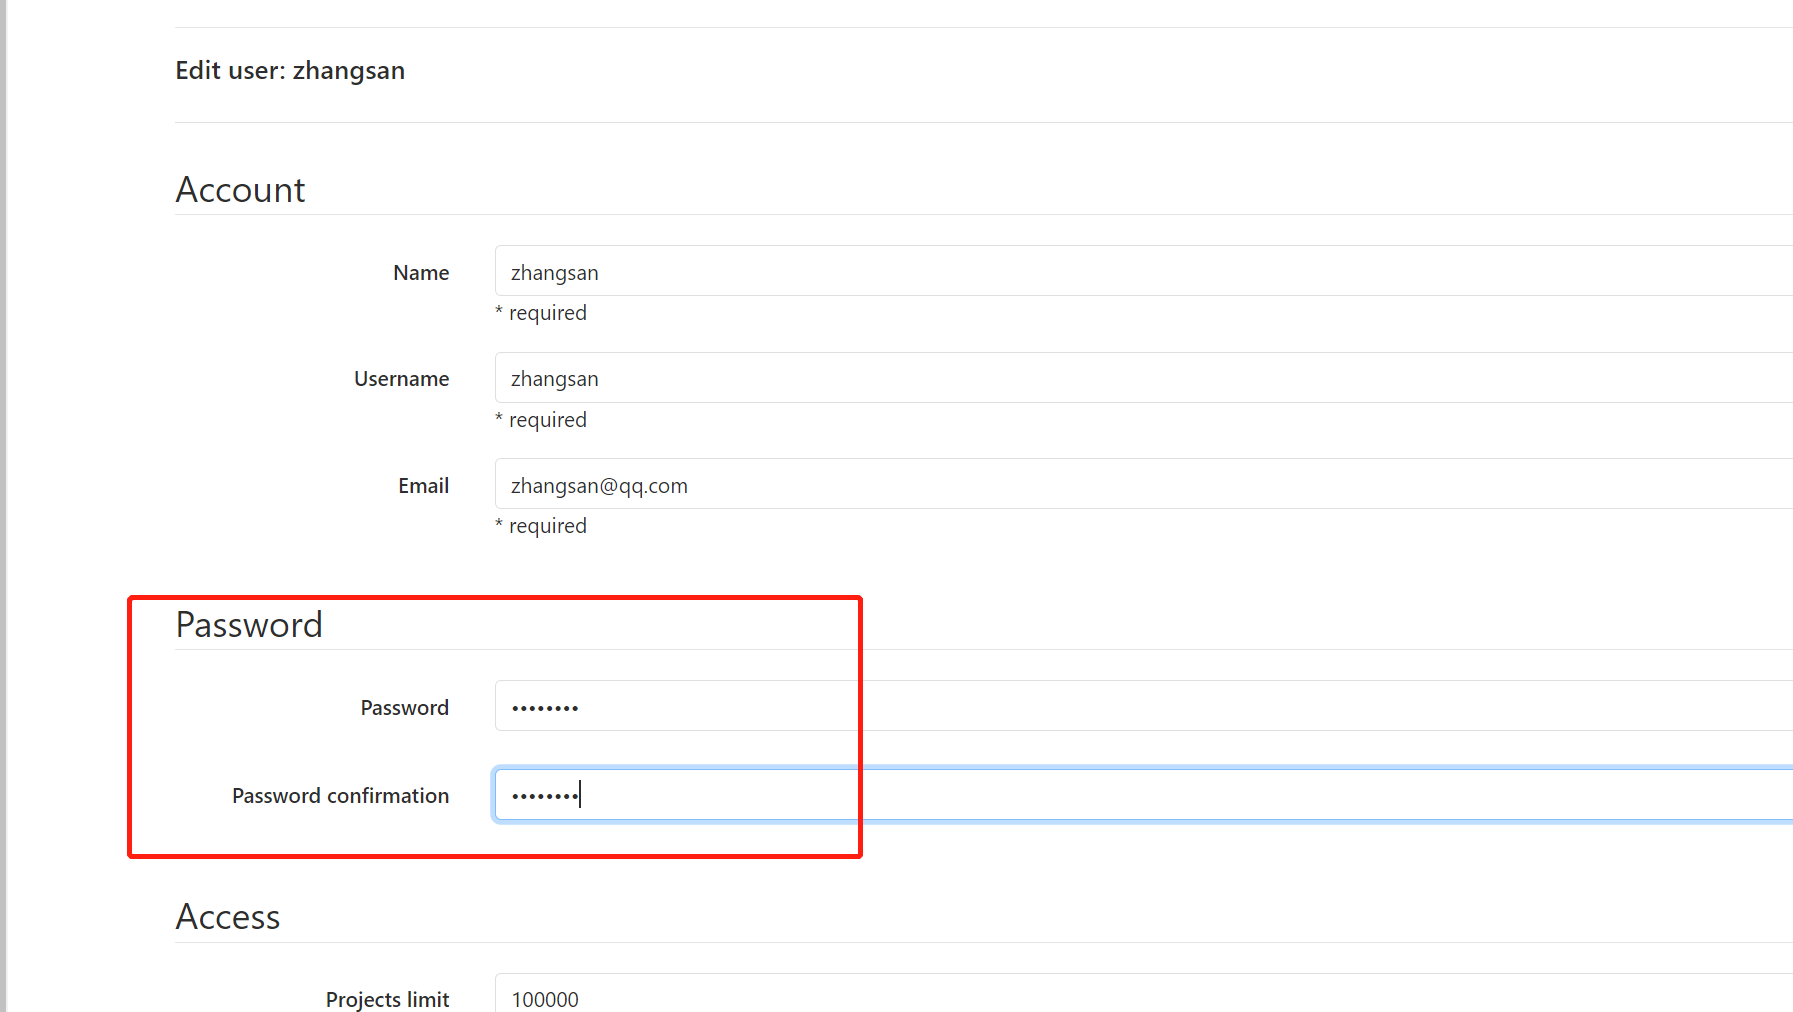
Create user
Add user to group

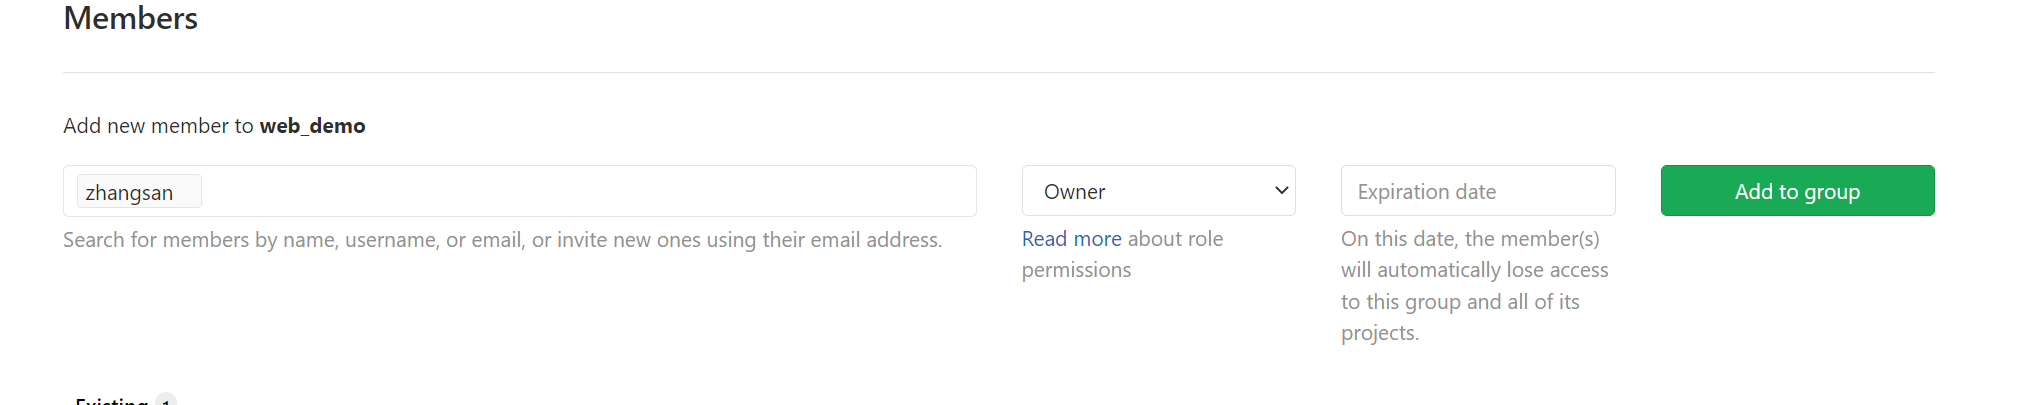
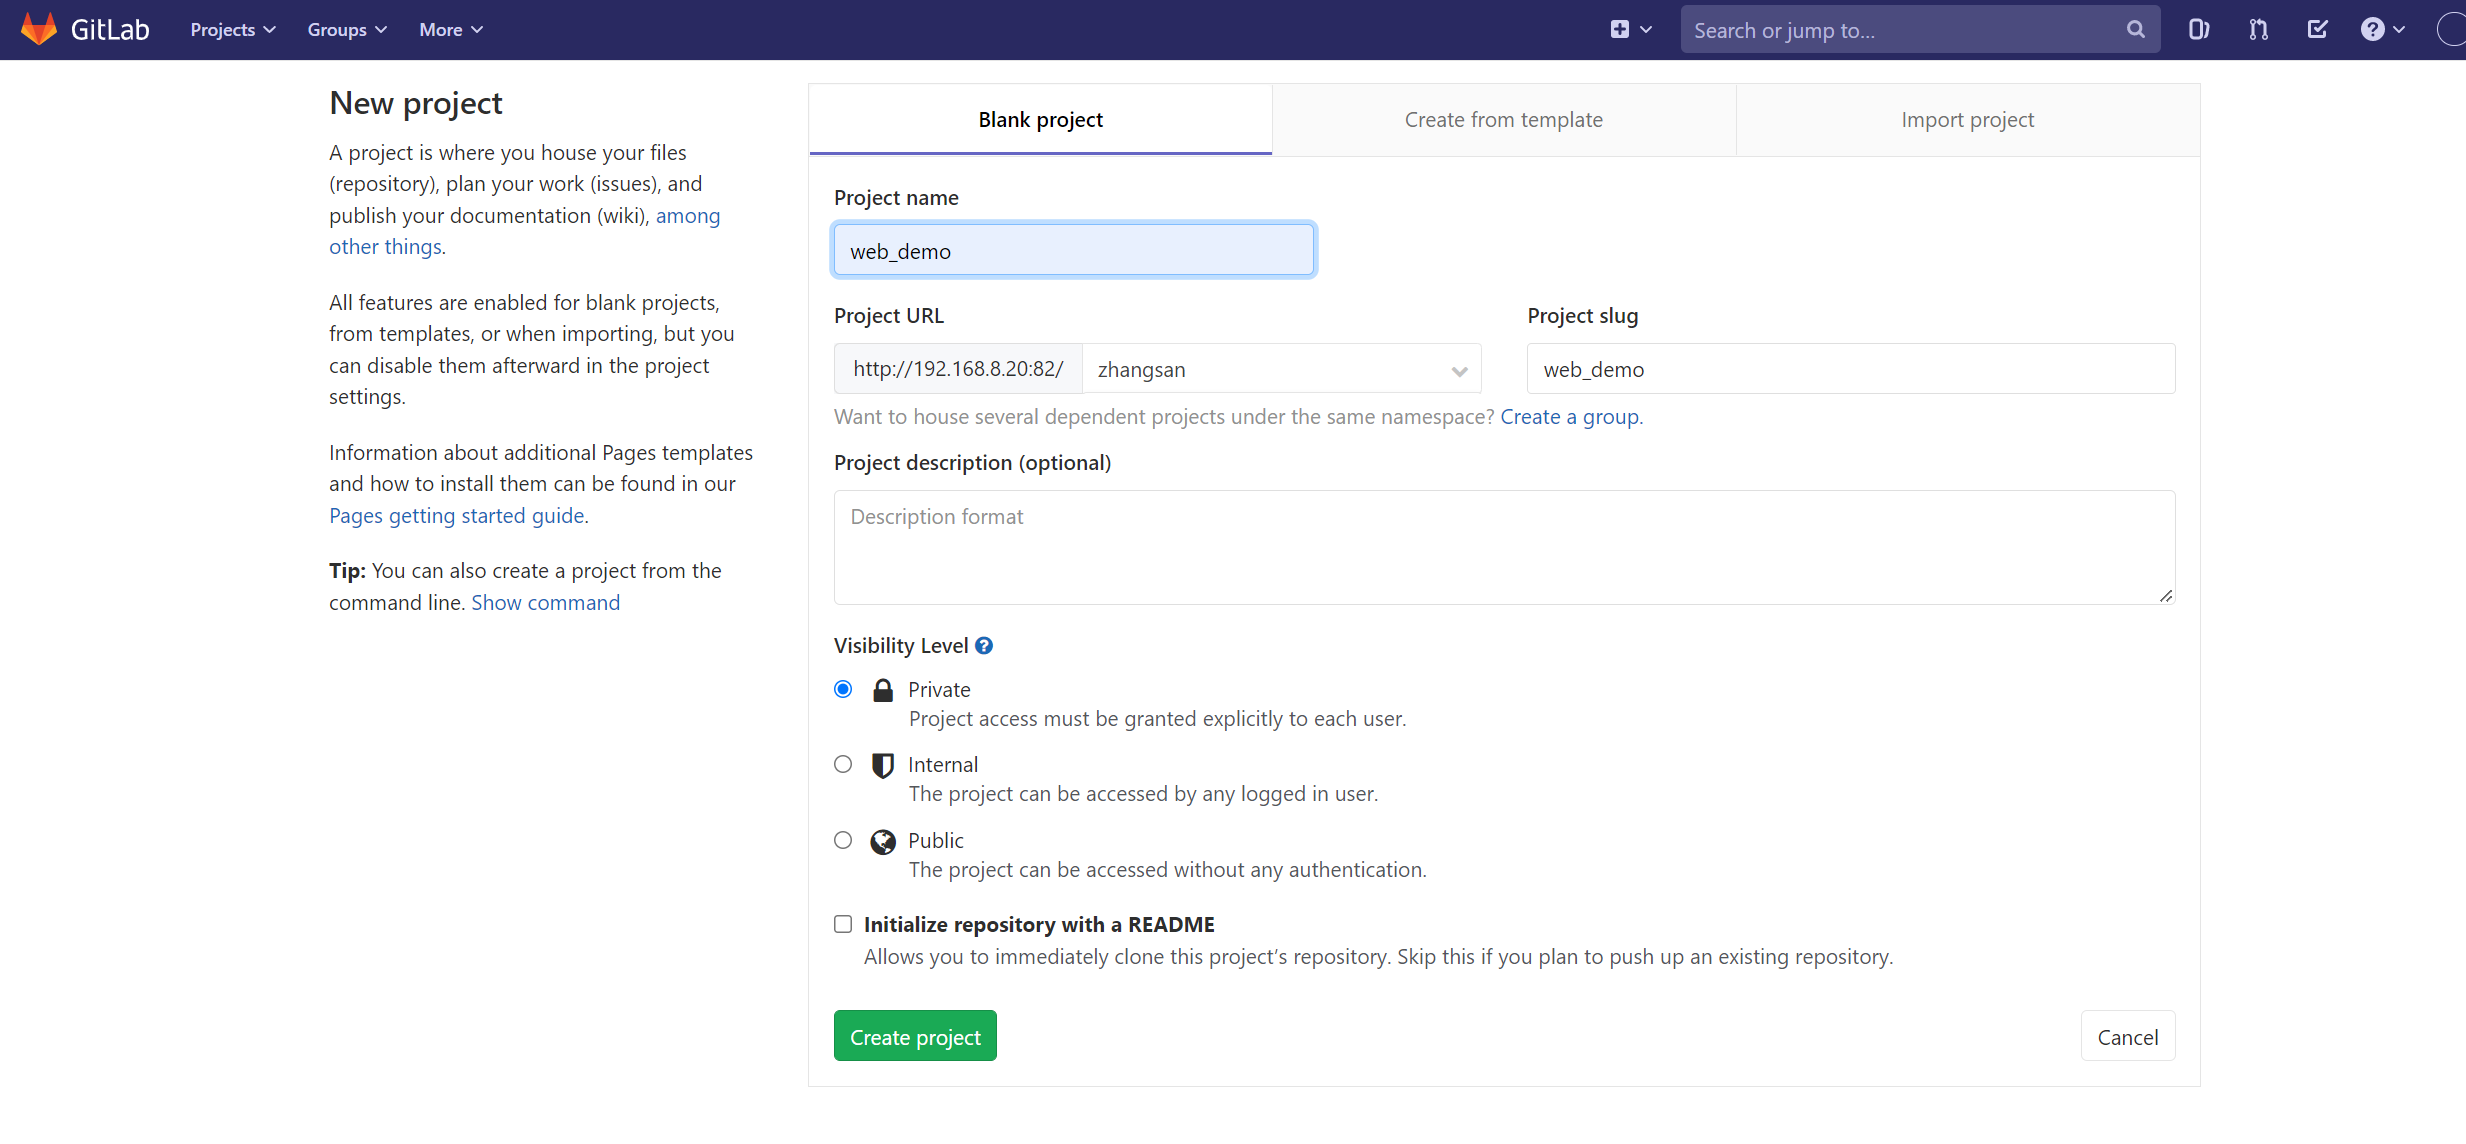
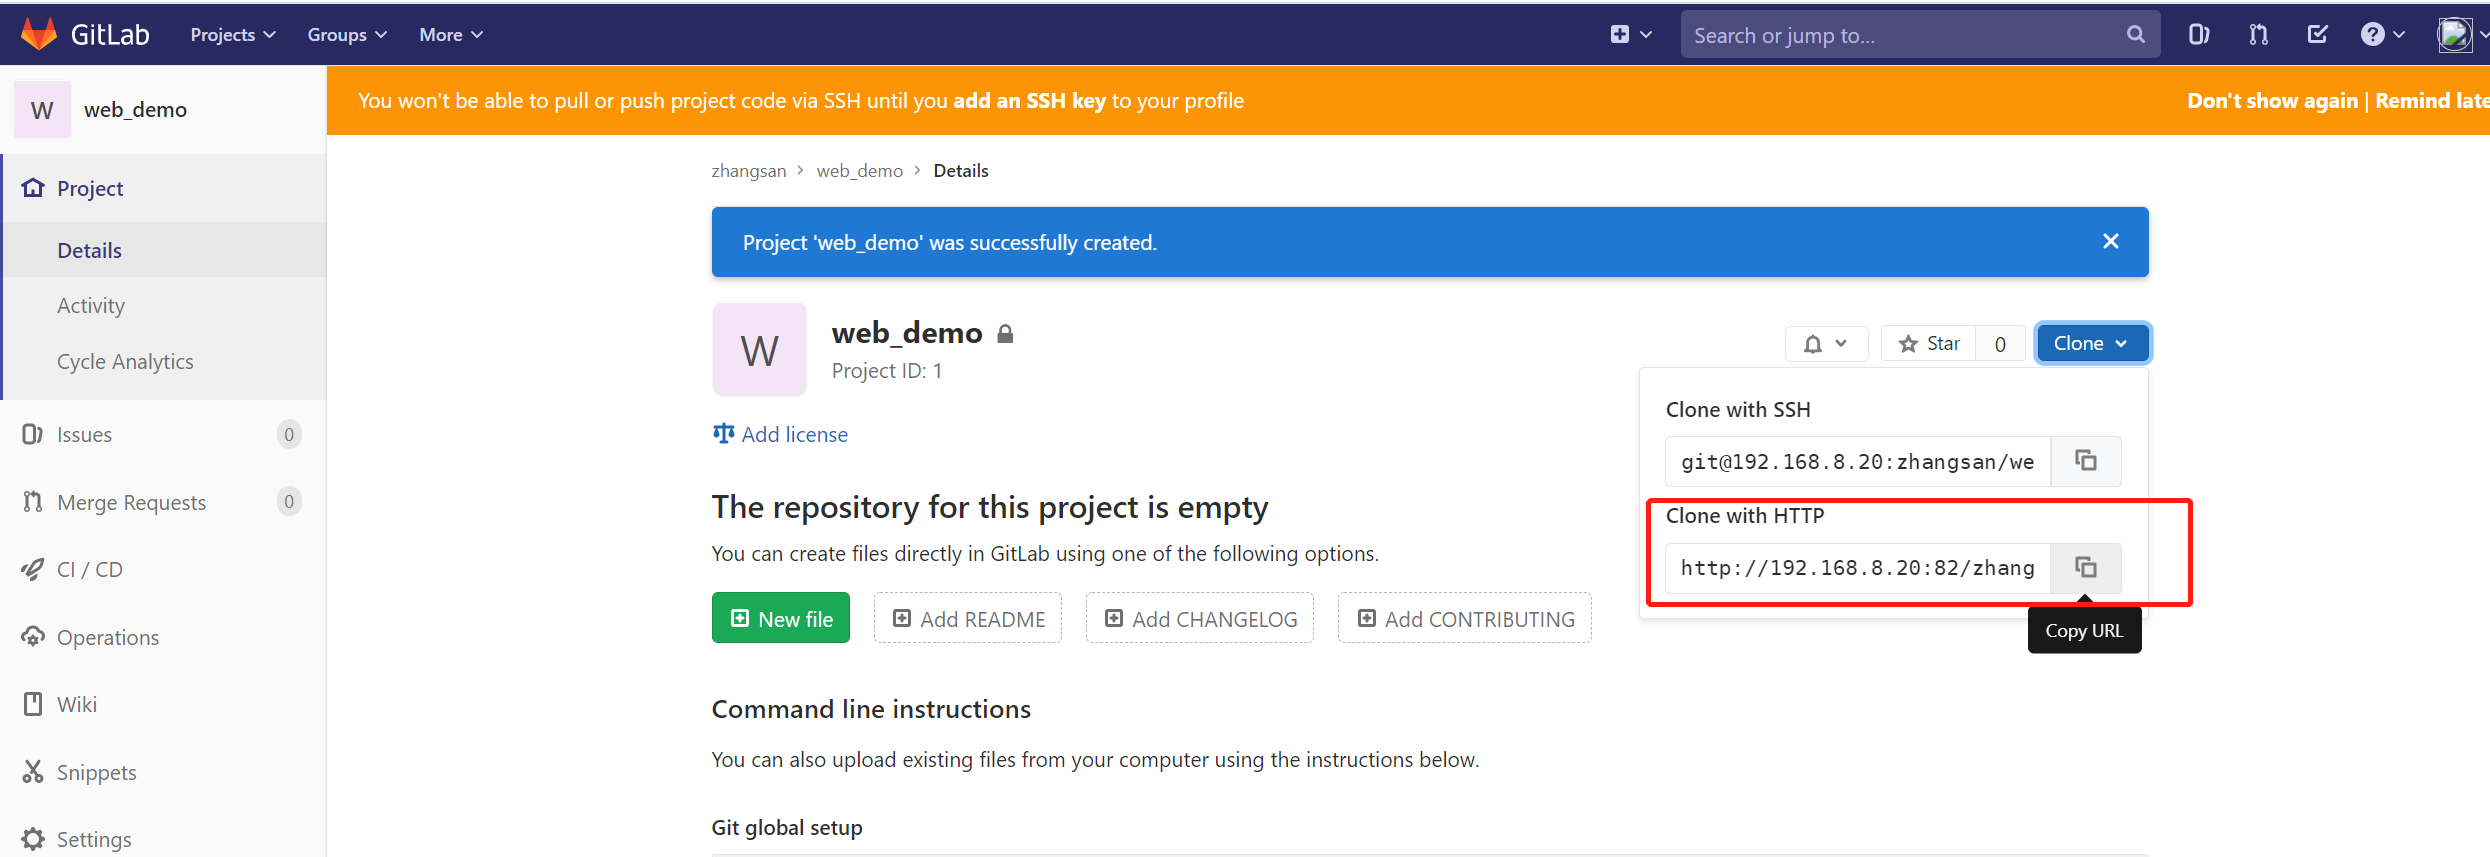
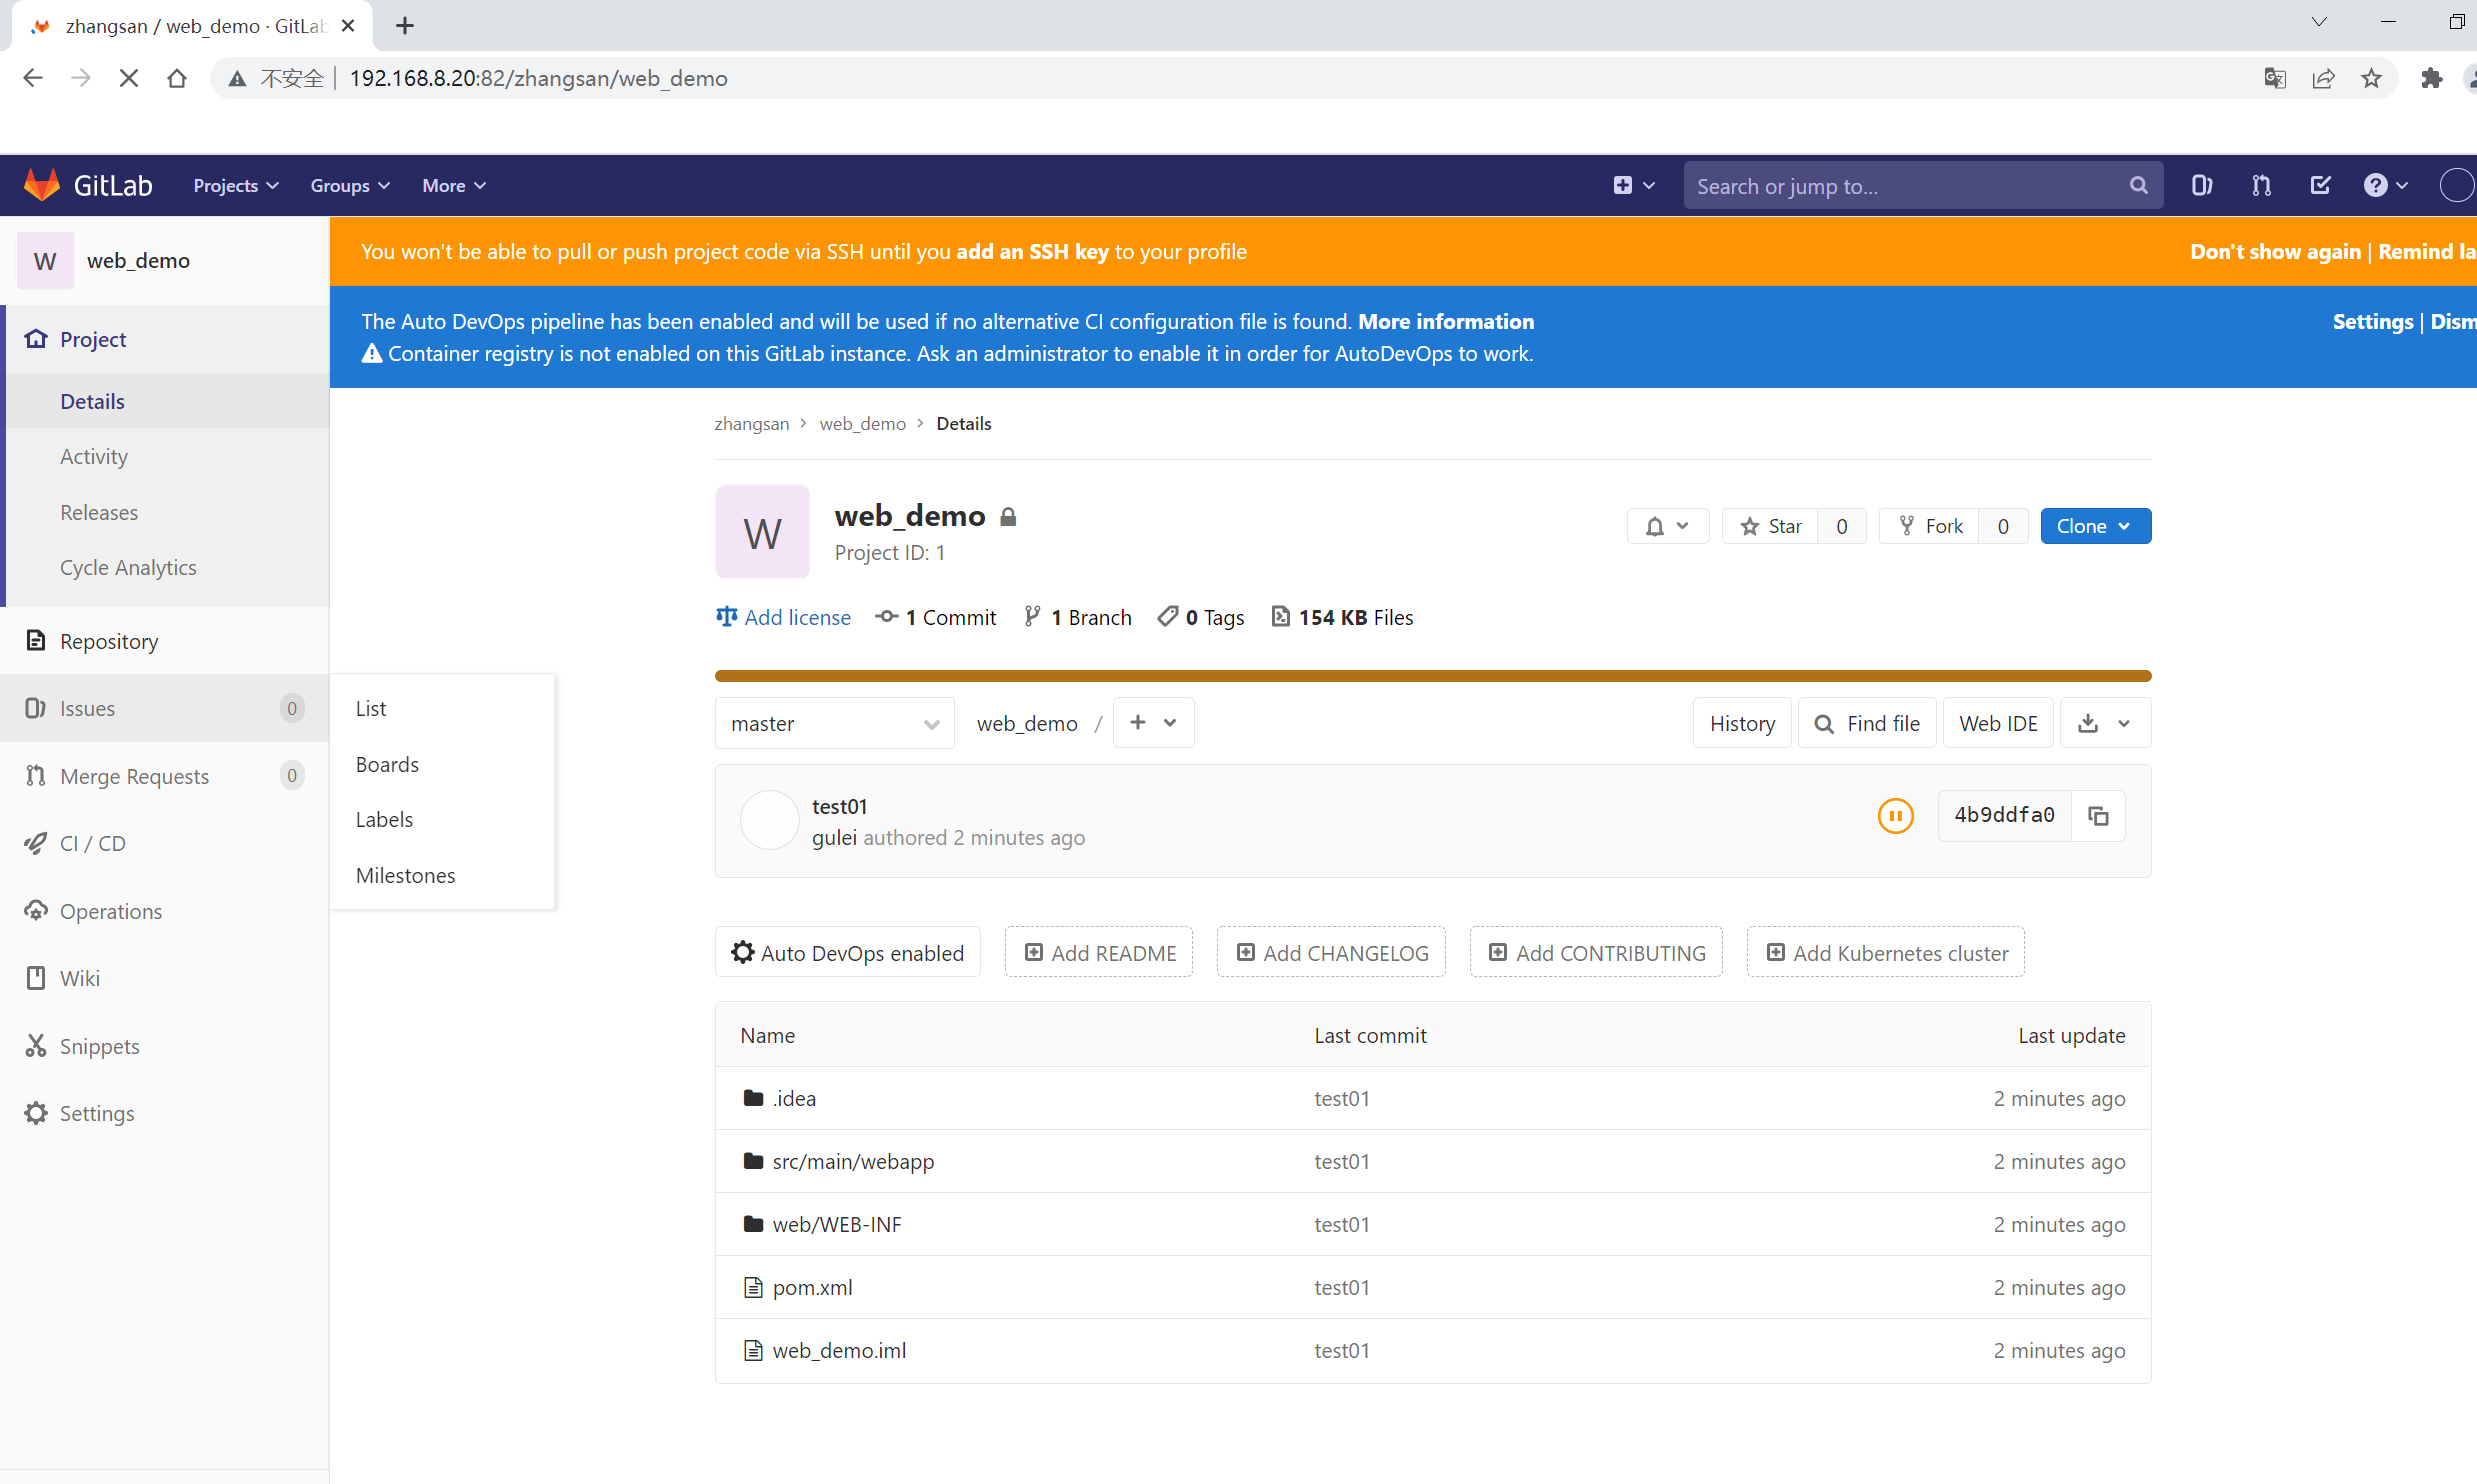
Log in as the zhangsan user you just created, and then create a new project in the user group
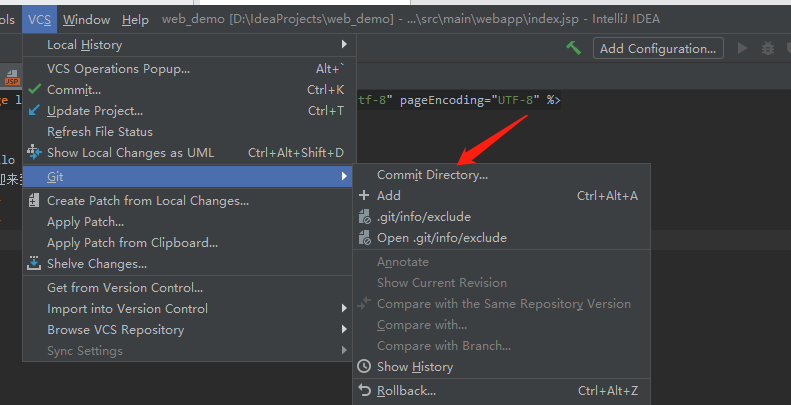
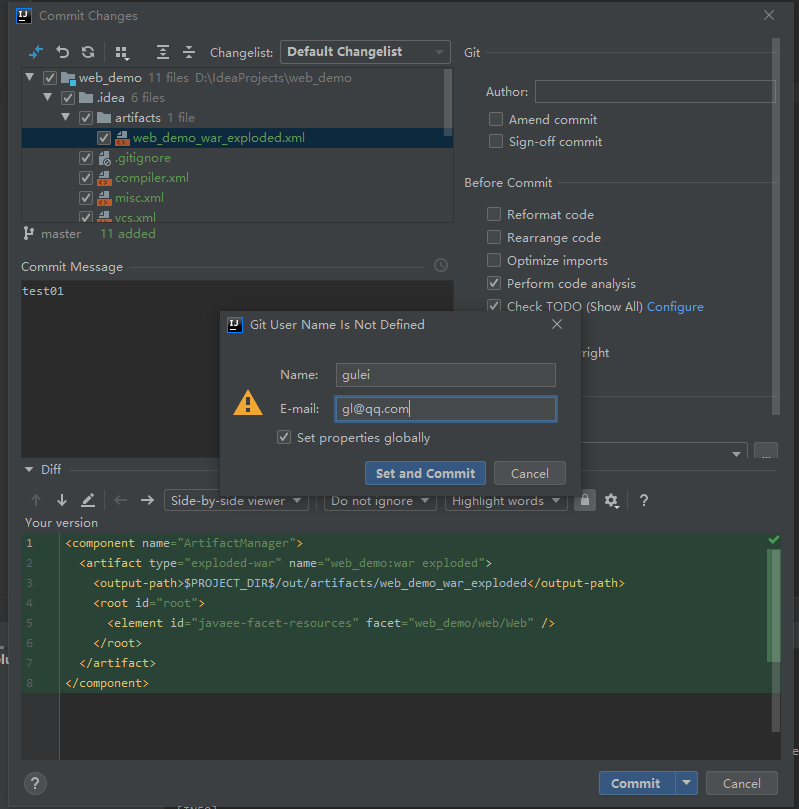
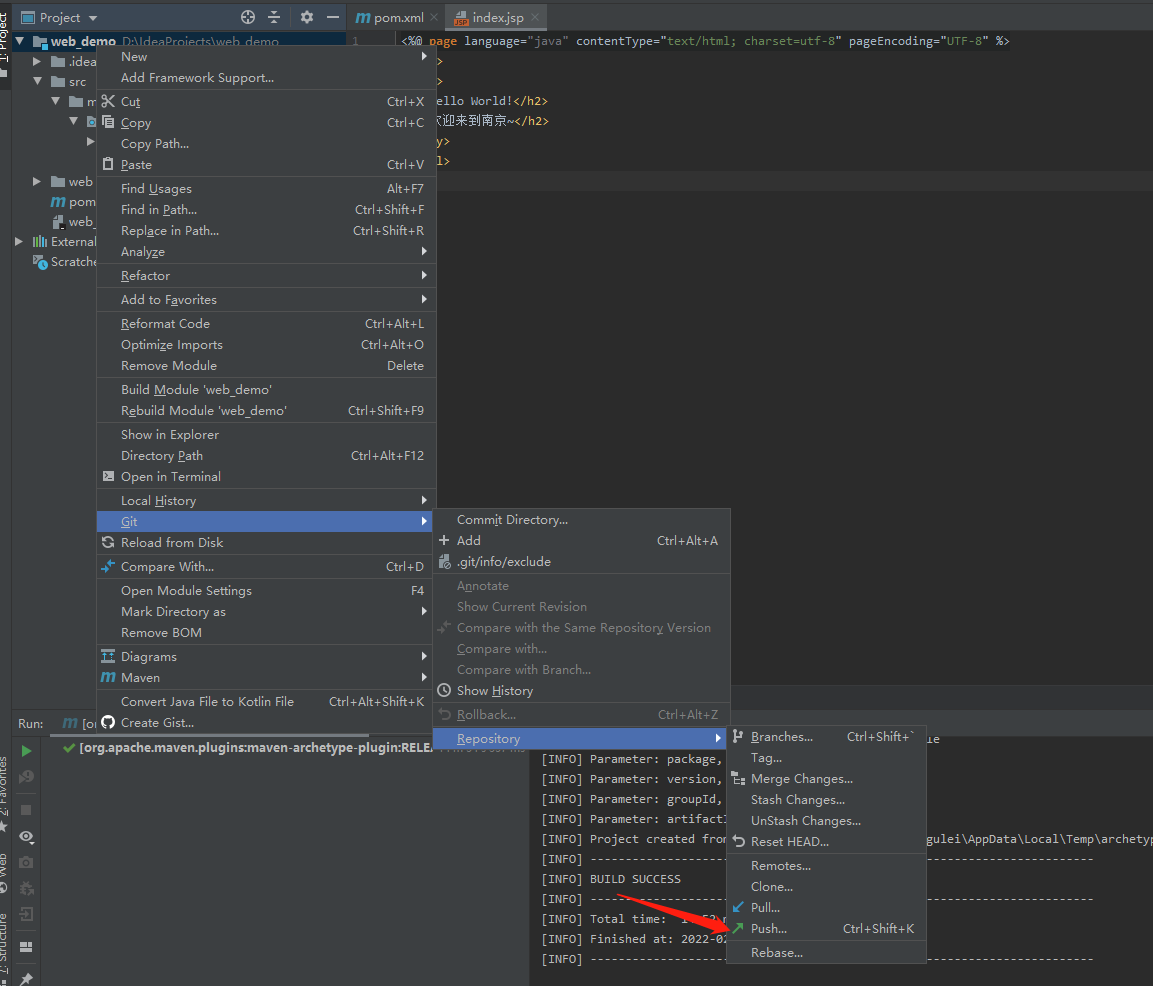
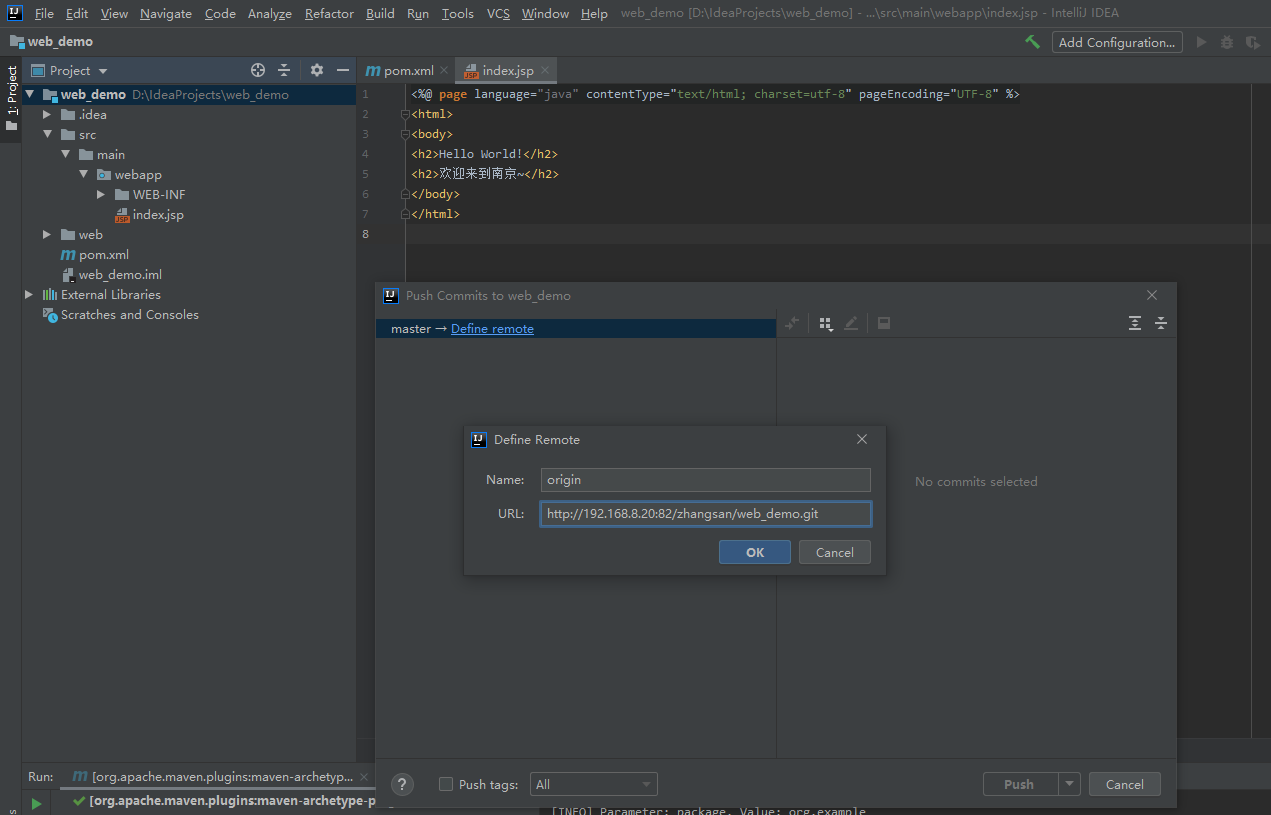
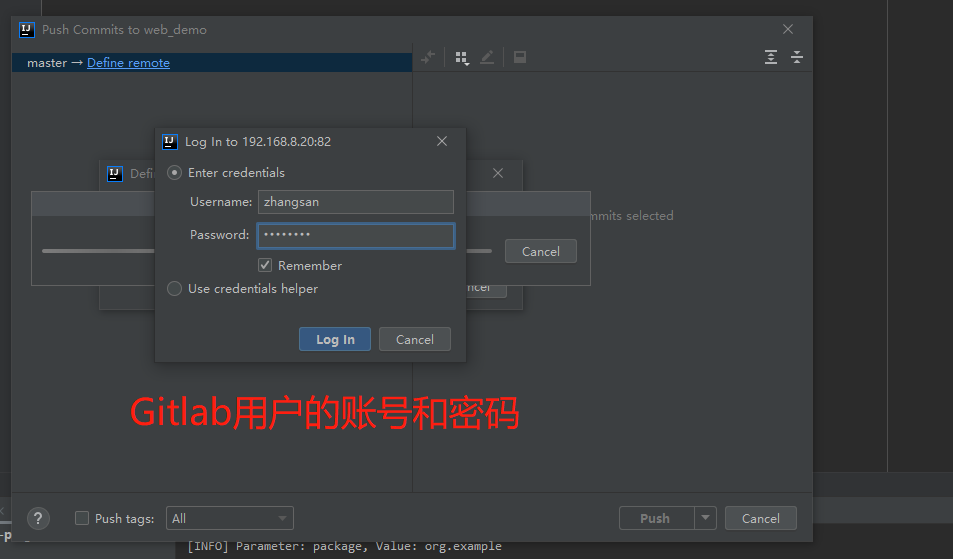
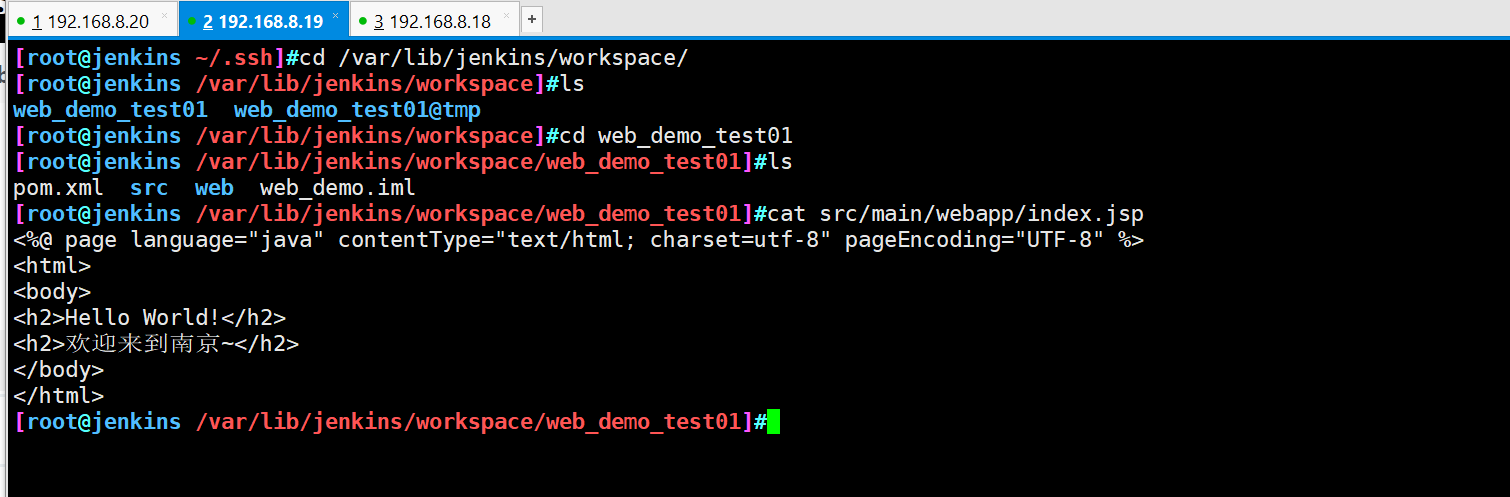
9. Upload the test source code to Gitlab warehouse
2, Jenkins installation
Jenkins needs to rely on JDK, so install jdk1 first 8. The installation directory is: / usr/lib/jvm
hostnamectl set-hostname jenkins && su
yum install java-1.8.0-openjdk* -y
rpm -ivh jenkins-2.277.4-1.1.noarch.rpm

vim /etc/sysconfig/jenkins

29 JENKINS_USER="root"
56 JENKINS_PORT="8888"

systemctl start jenkins
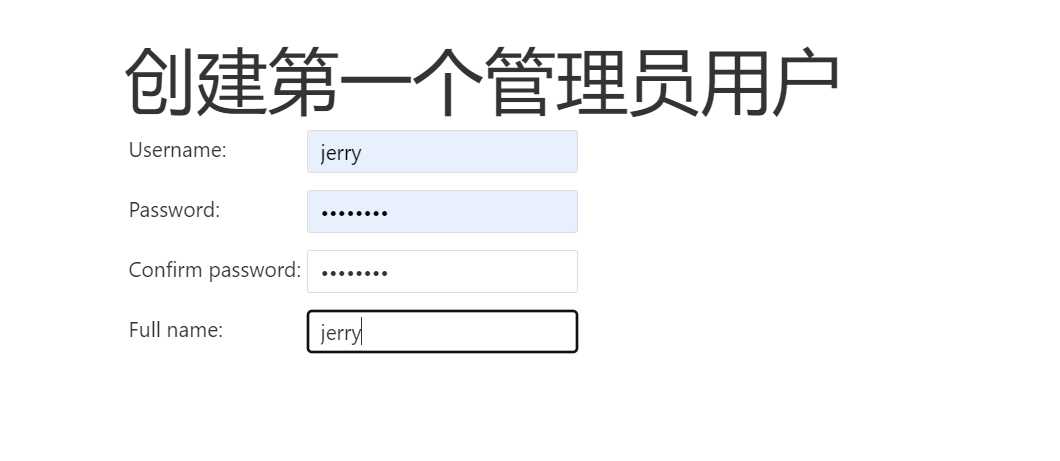
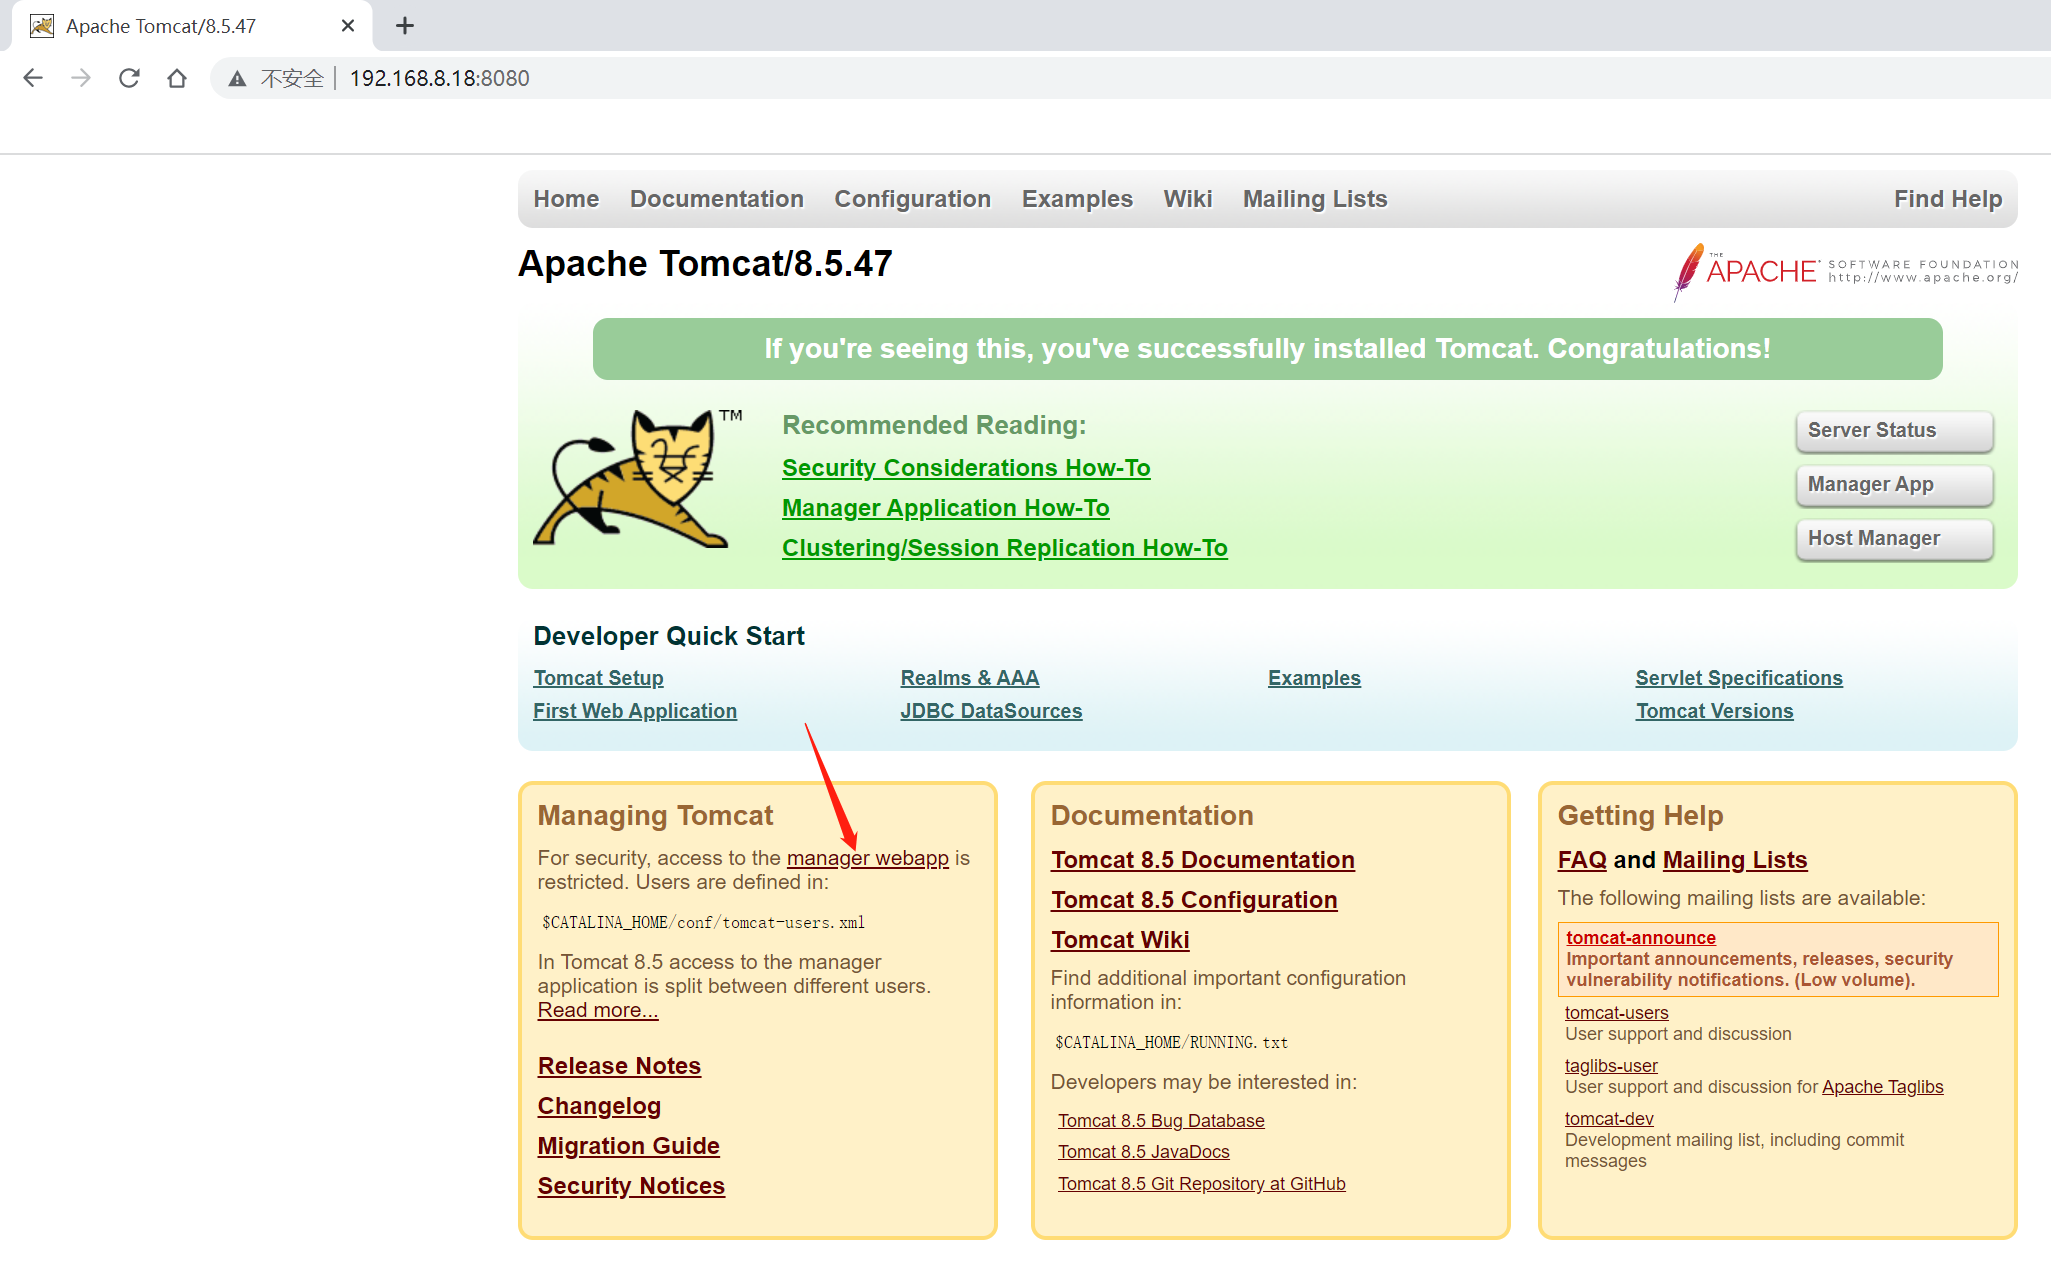
Open browser access http://192.168.8.19:8888
#Get Jenkins' password
cat /var/lib/jenkins/secrets/initialAdminPassword
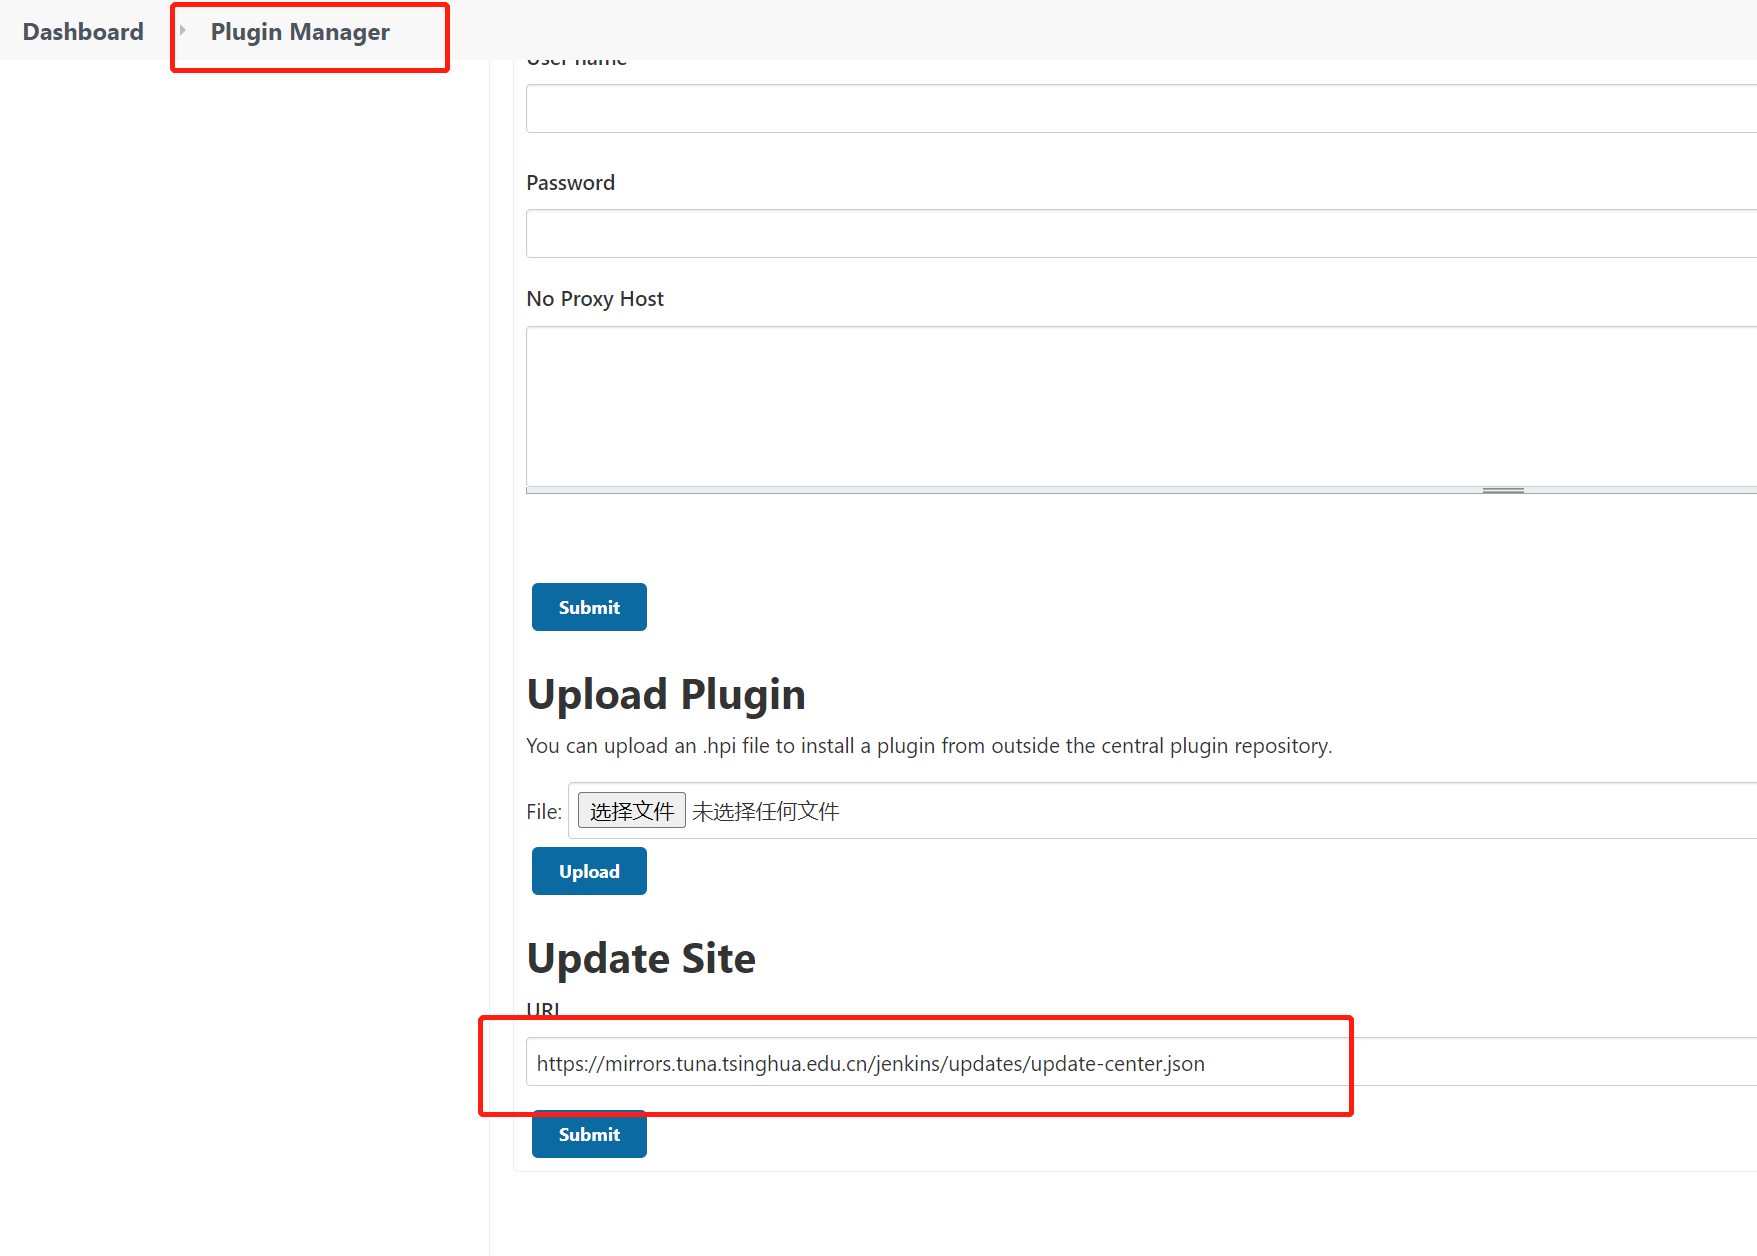
1. Modify plug-in address
cd /var/lib/jenkins/updates
sed -i 's/http:\/\/updates.jenkins- ci.org\/download/https:\/\/mirrors.tuna.tsinghua.edu.cn\/jenkins/g' default.json && sed -i 's/http:\/\/www.google.com/https:\/\/www.baidu.com/g' default.json
https://mirrors.tuna.tsinghua.edu.cn/jenkins/updates/update-center.json
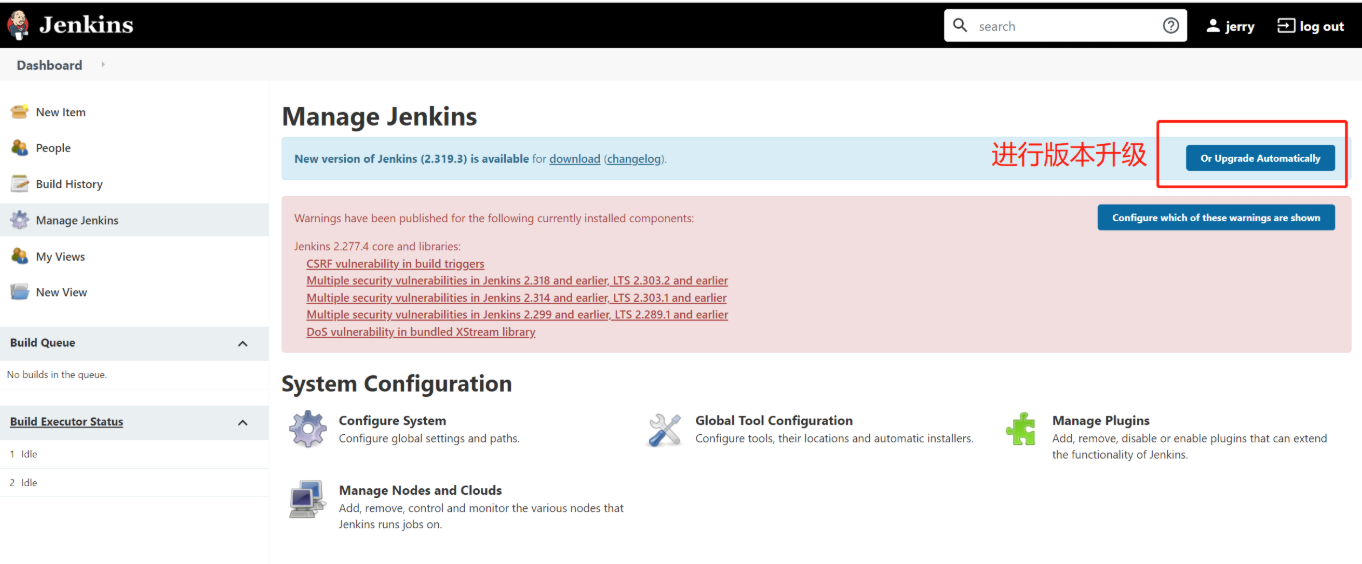
2. Install the plug-ins required by the project
After installation, you need to restart Jenkins
Chinese													  	#translate
Role-based Authorization Strategy						    #Manage Jenkins user permissions
Credentials Binding										   	#Voucher plug-in
Git														 	#Use Git tool to pull the project source code from Gitlab
Deploy to container										  	#Deploy the project to remote Tomcat
Maven Integration										  	#Build Maven project
Pipeline													#Create Pipeline project
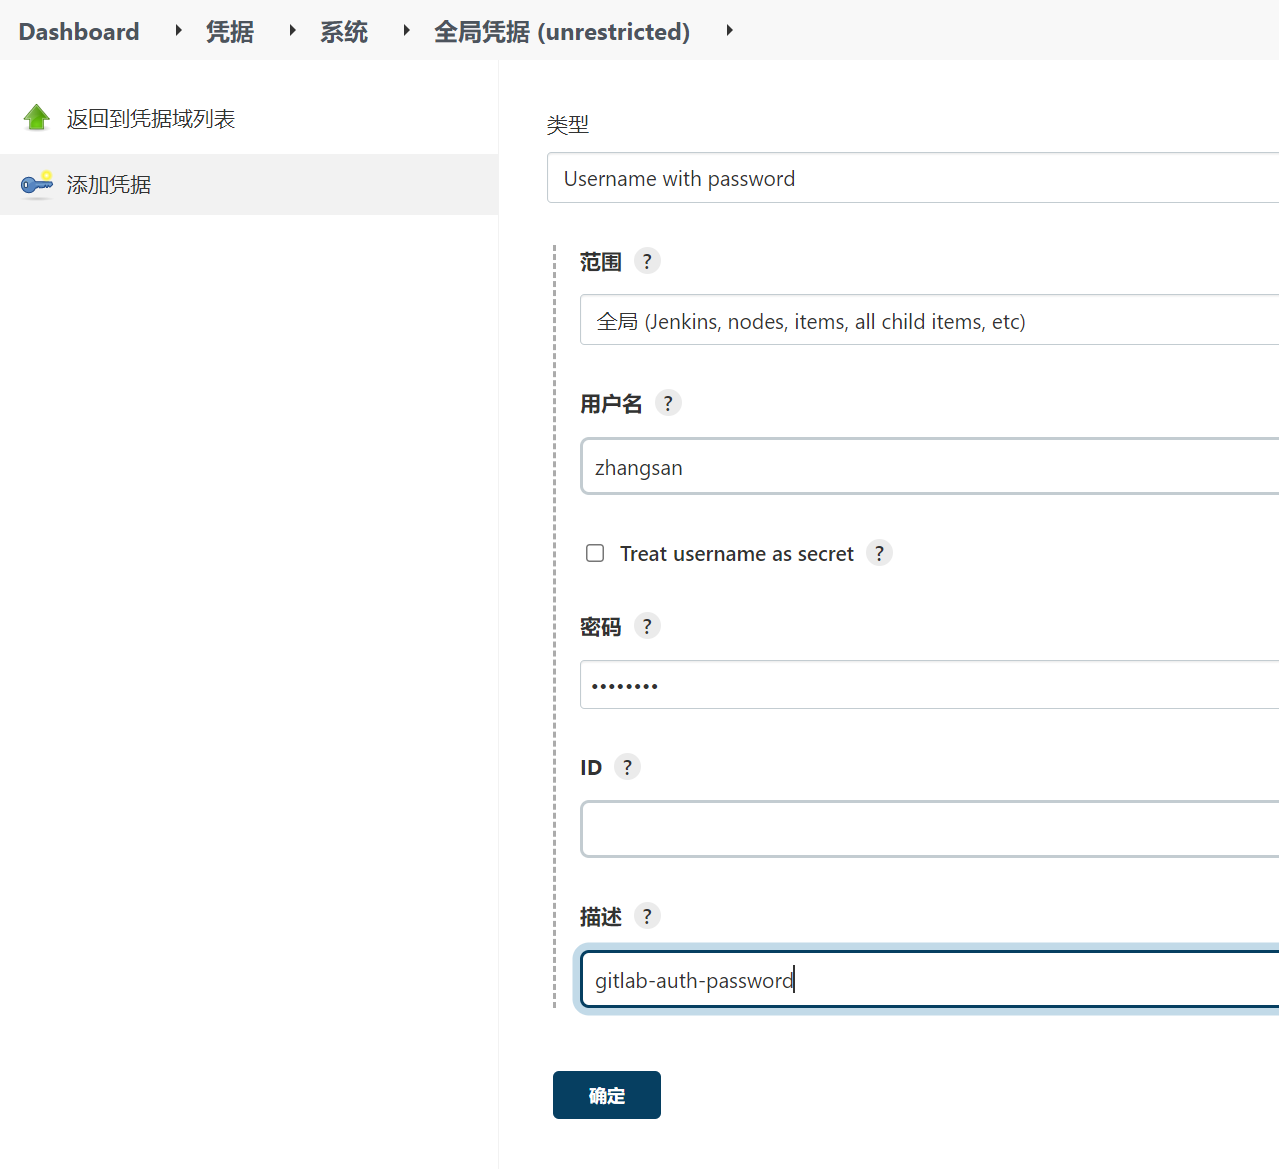
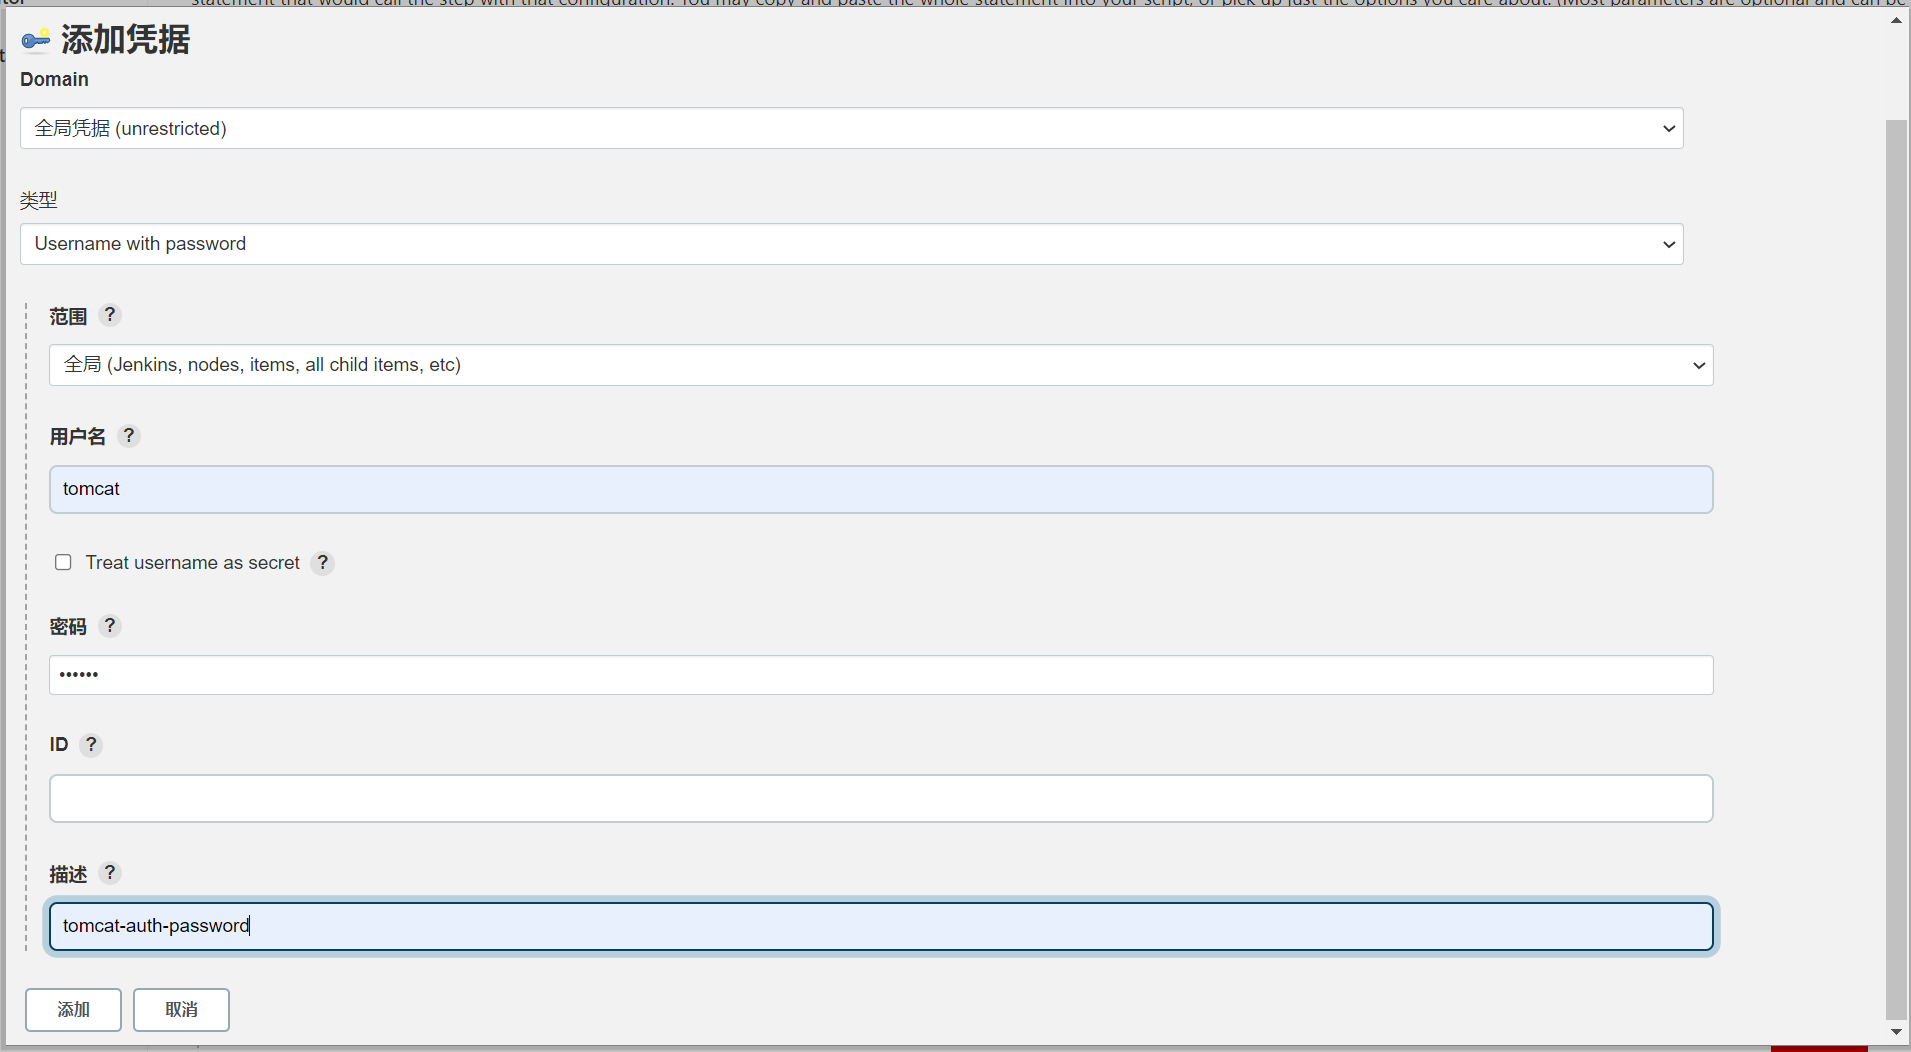
3. Add voucher
Install Git tool on Jenkins server
yum install git -y
git --version

- Username with password

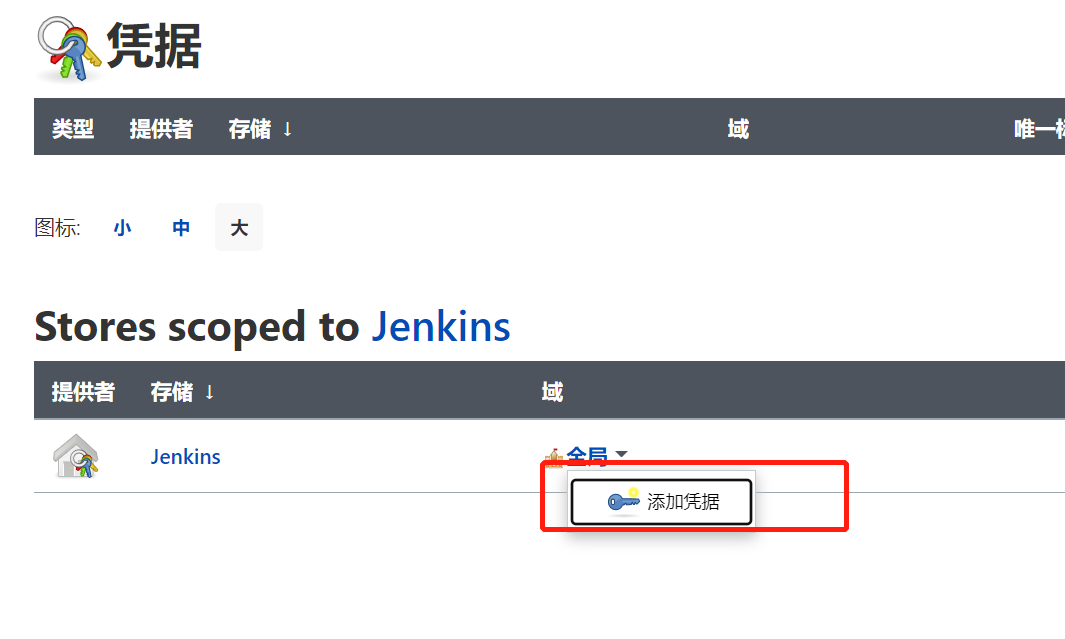
- SSH key type
Use the root user to generate the public key and private key in / root / The SSH / directory holds the public and private keys
ssh-keygen -t rsa
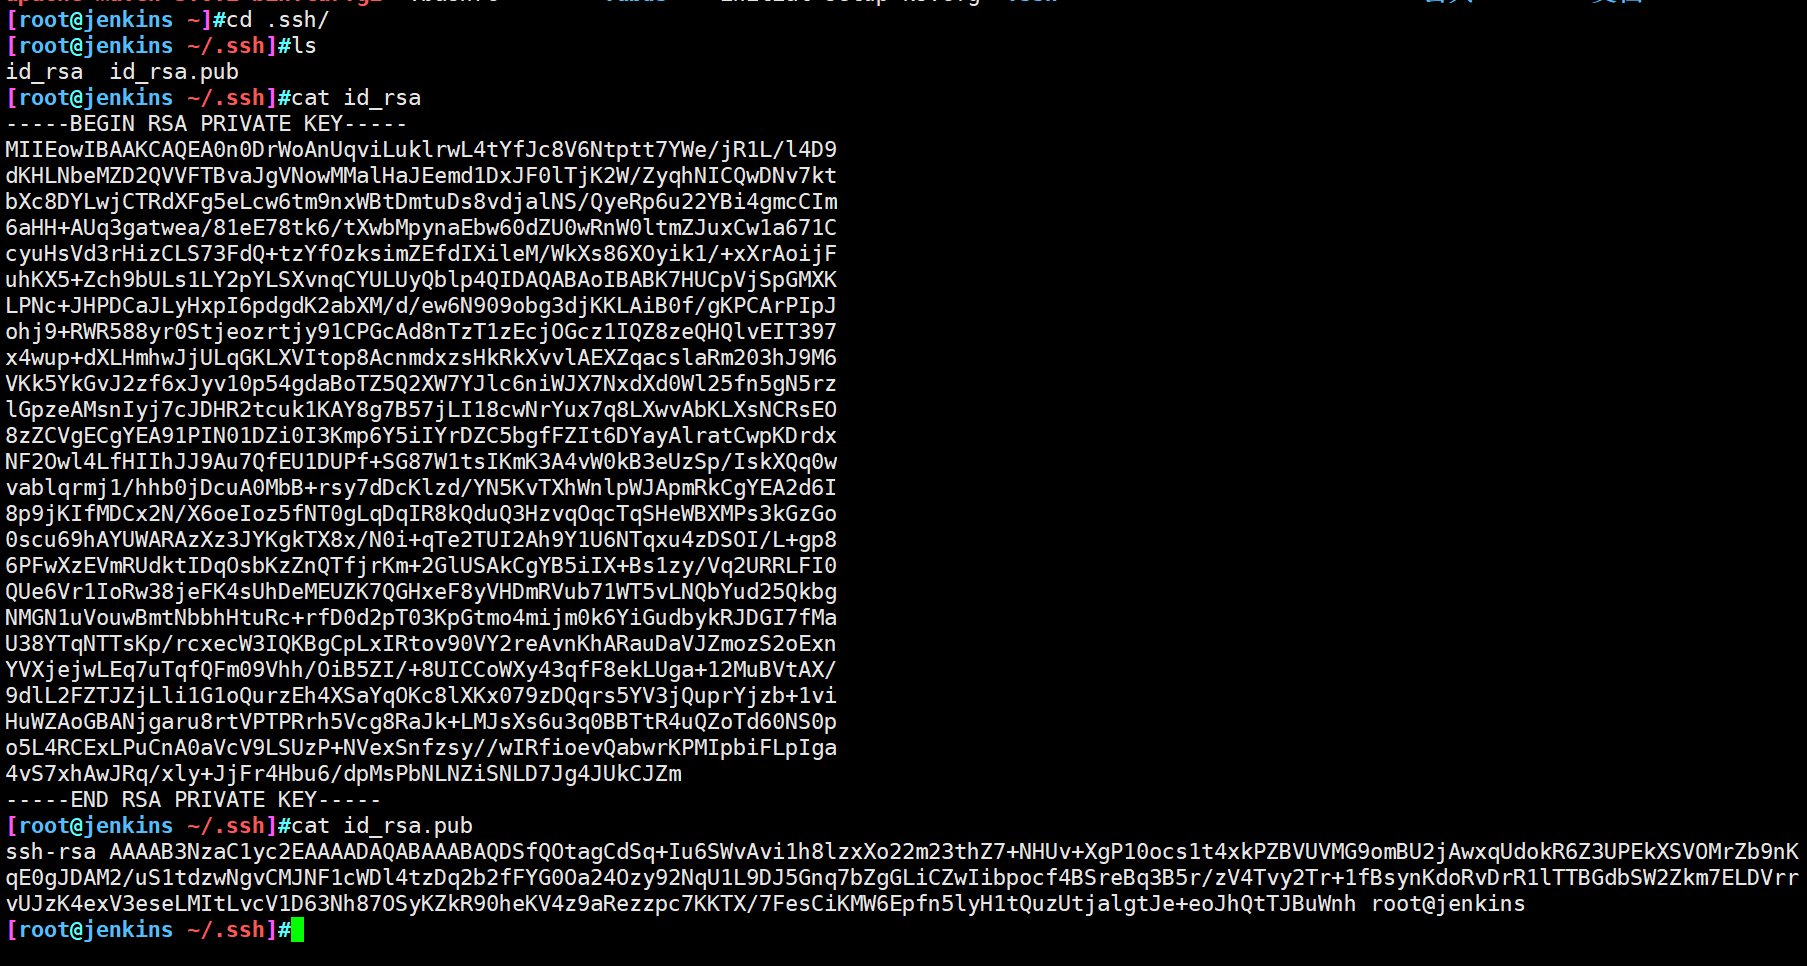
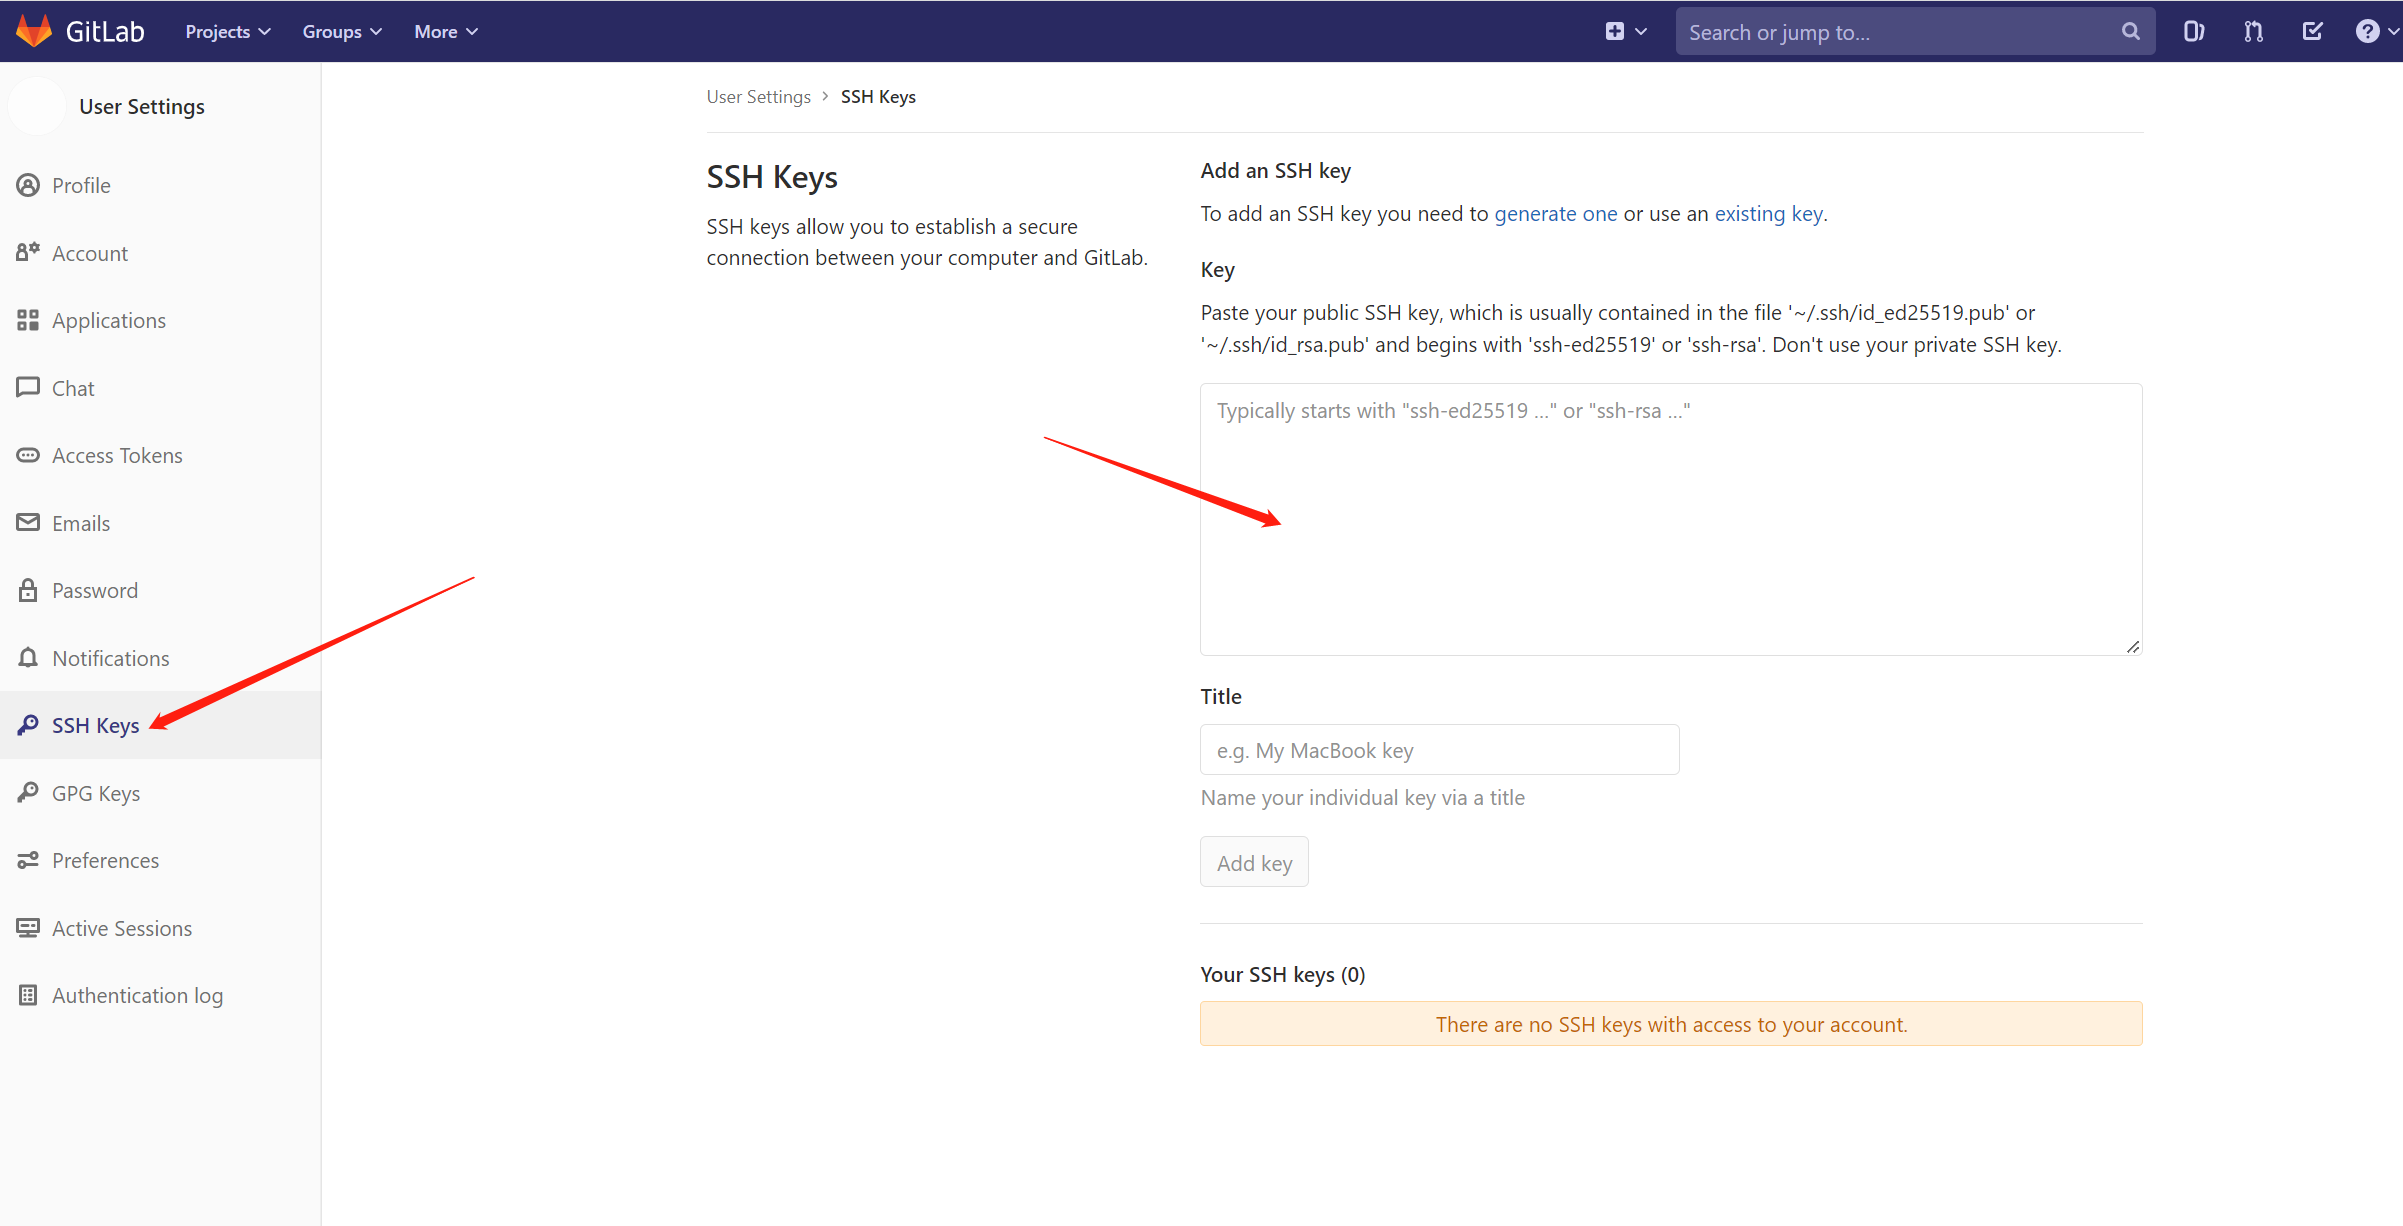
Put the generated public key in Gitlab
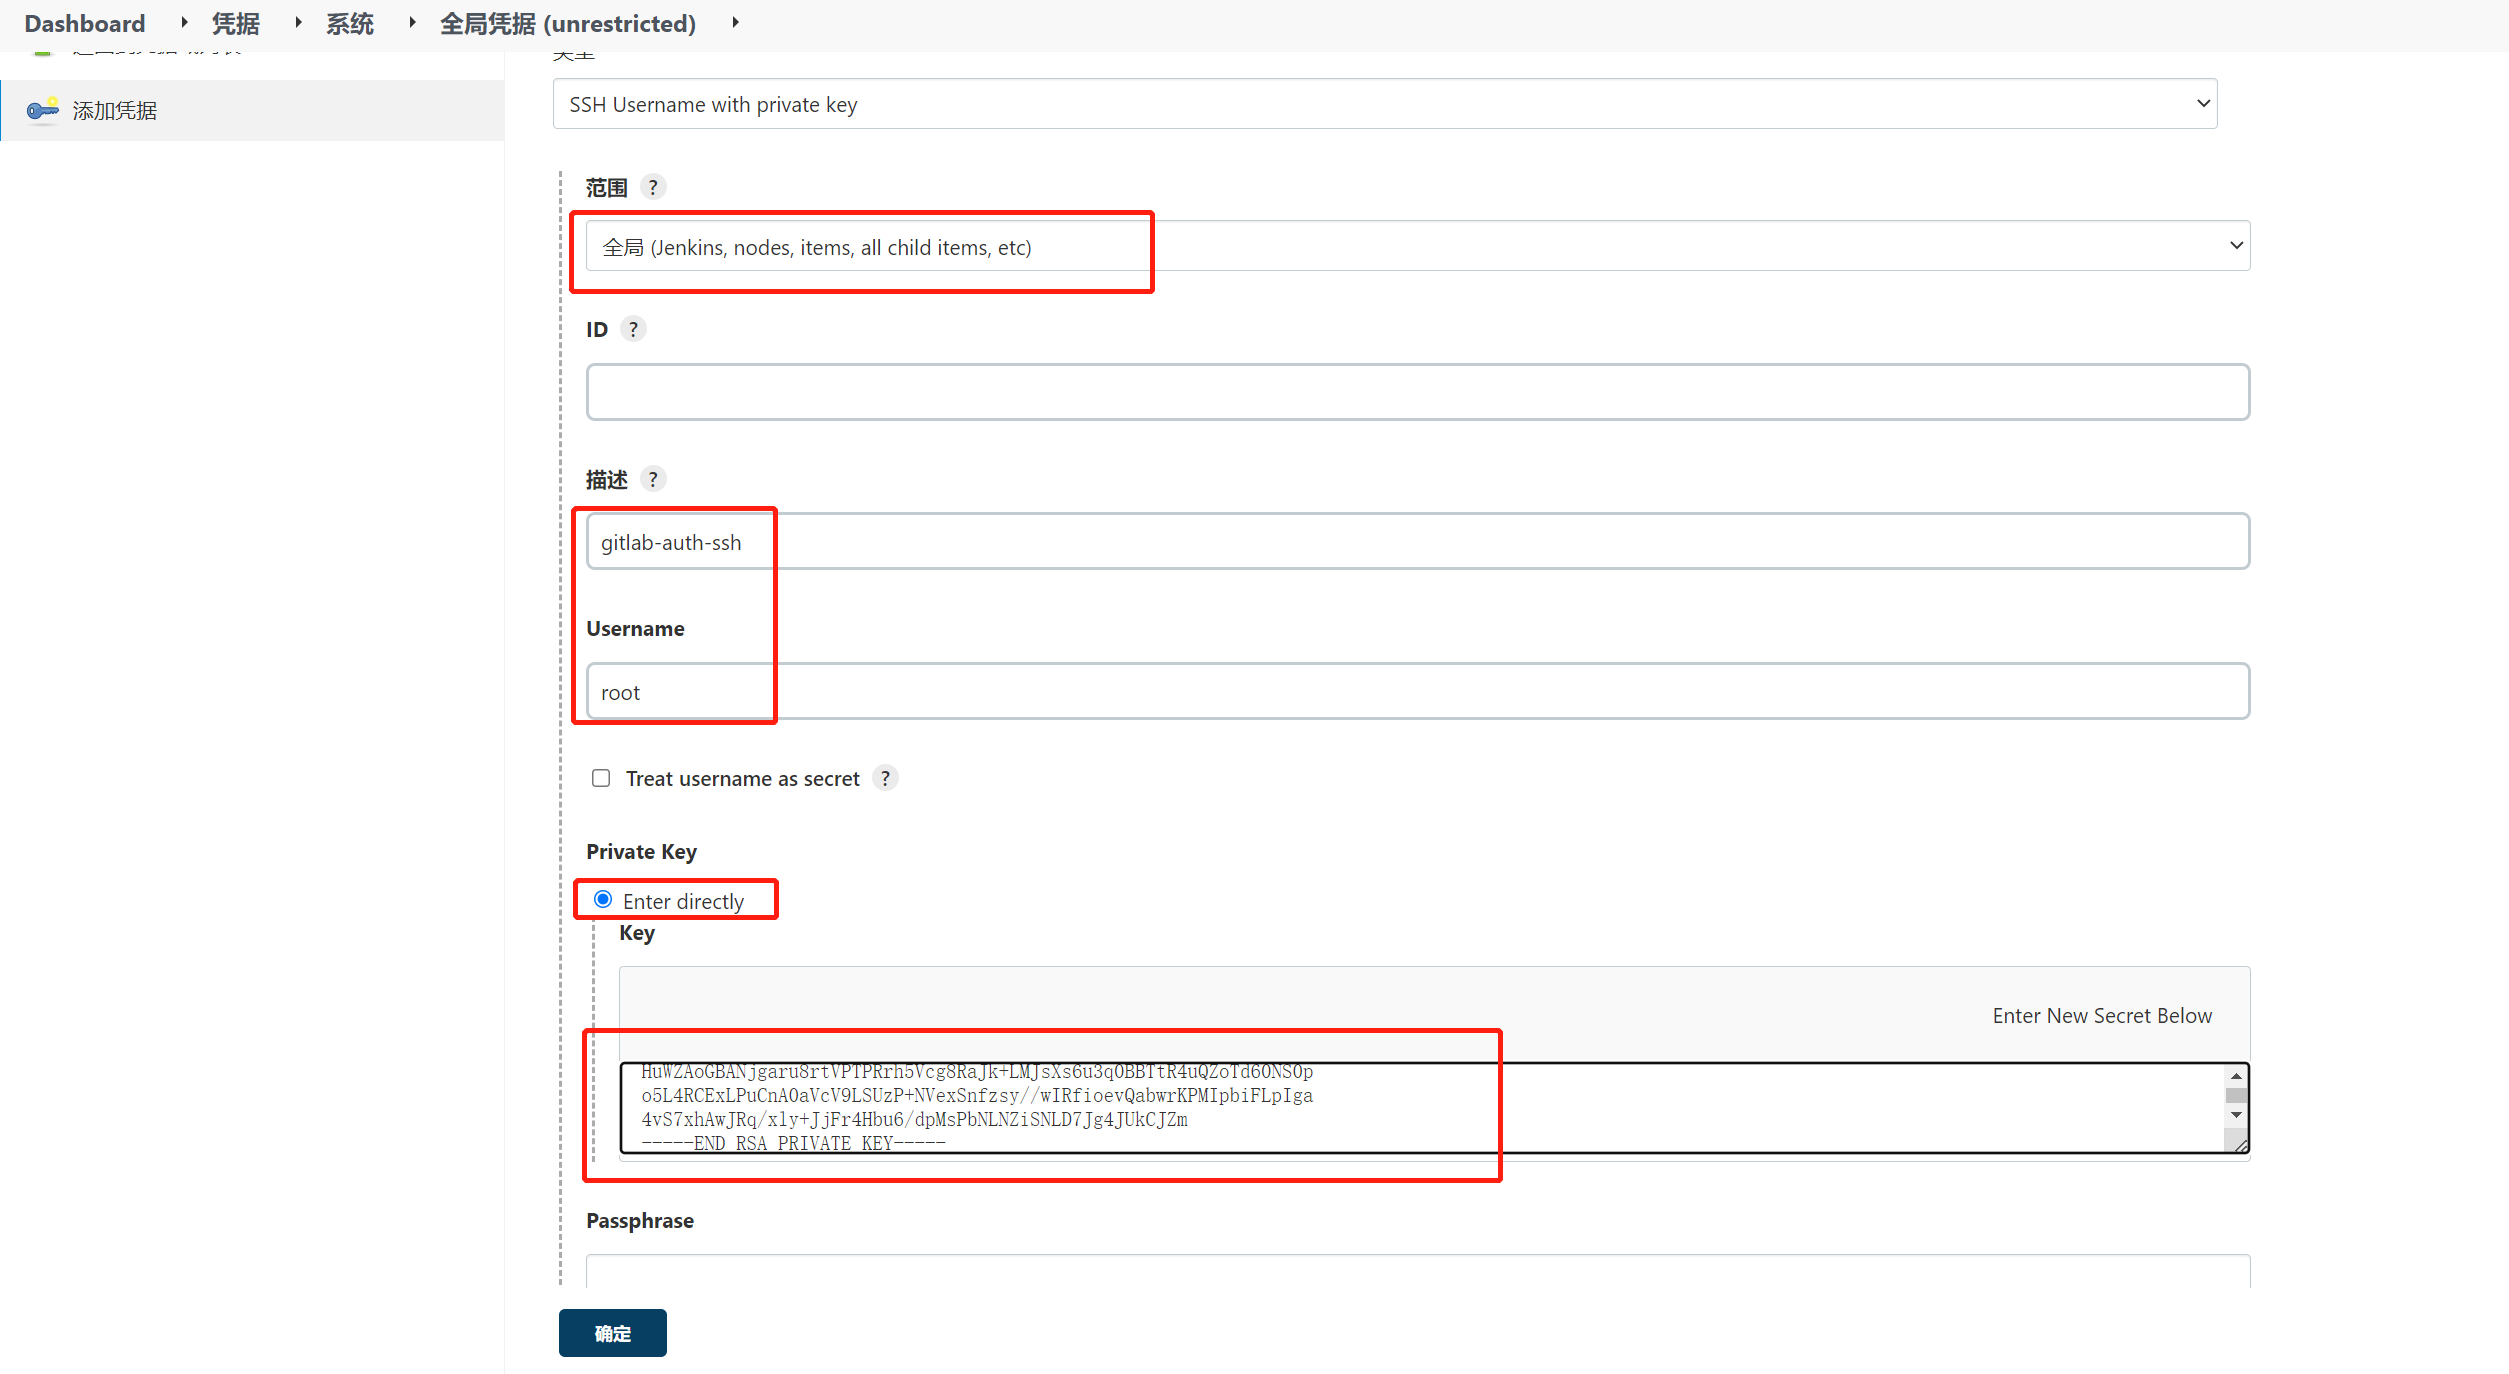
Add credentials in Jenkins and configure the private key
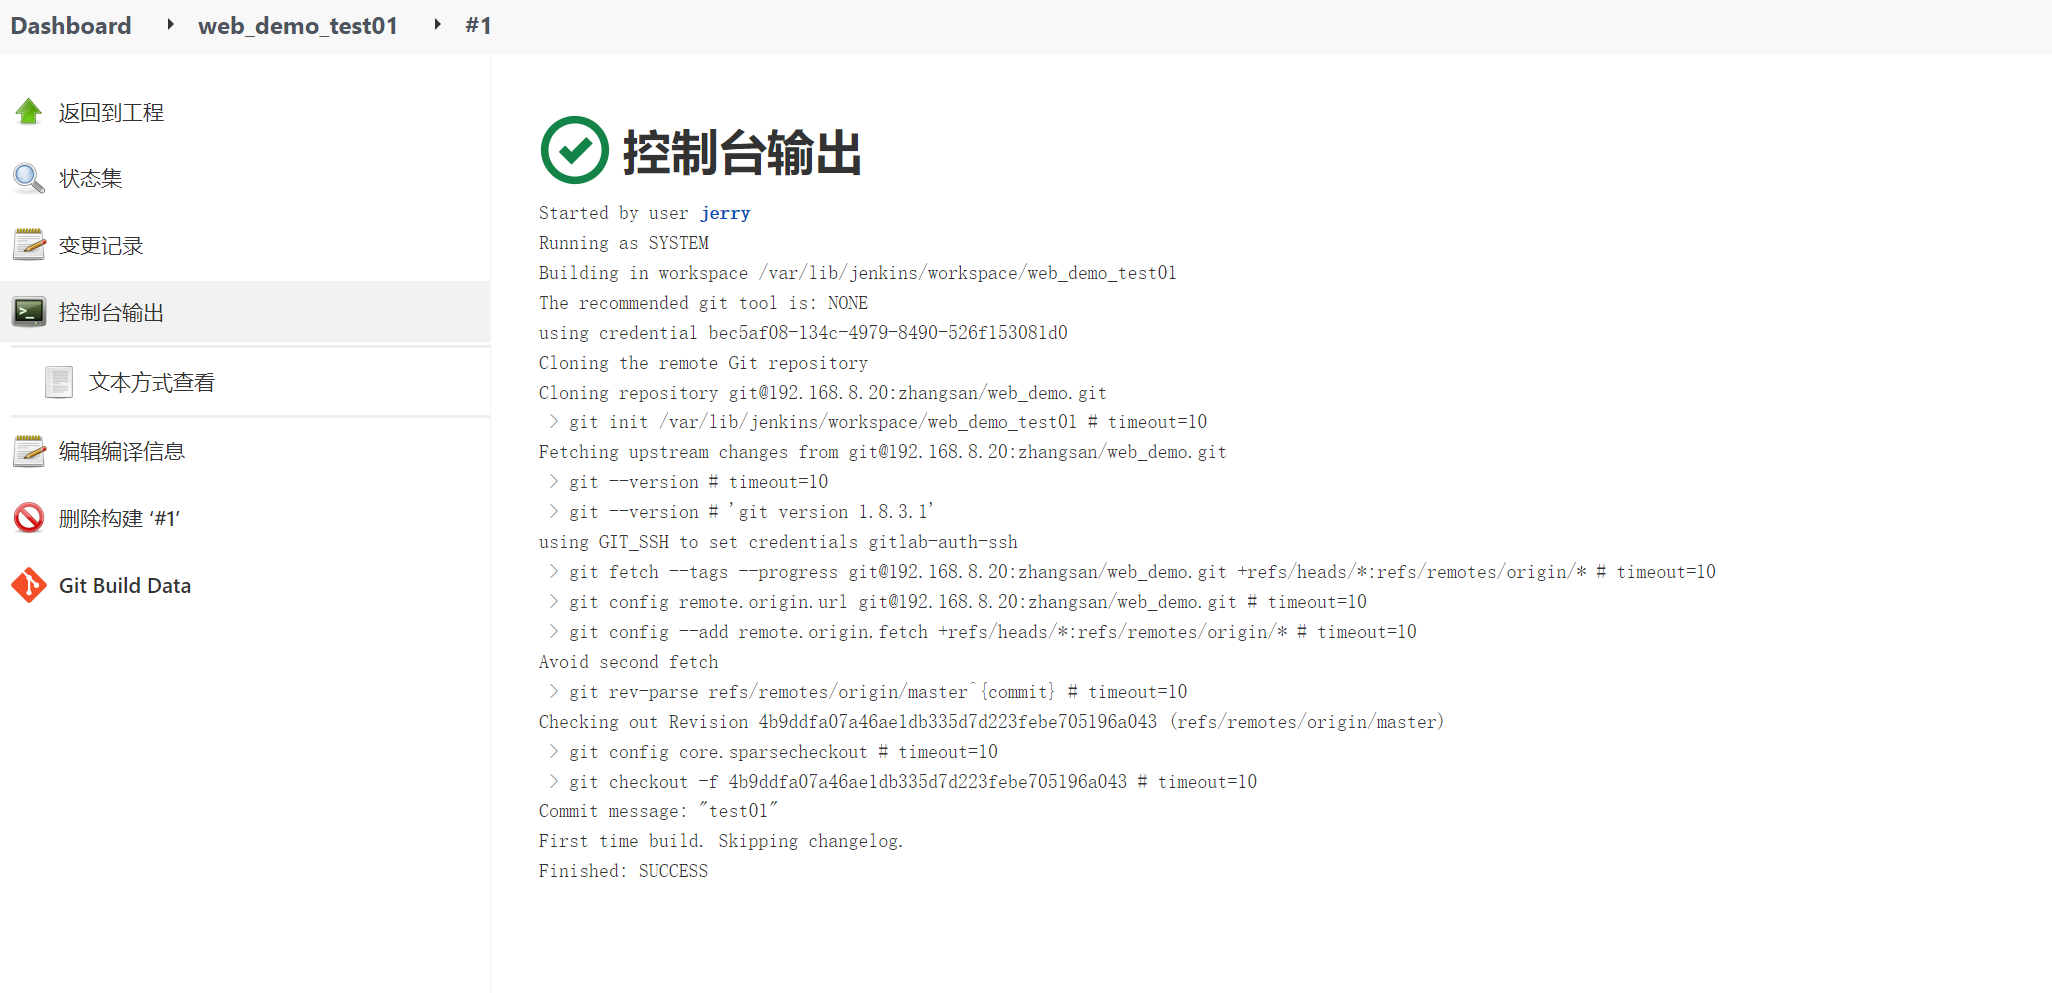
- Create a project to test whether the voucher is available
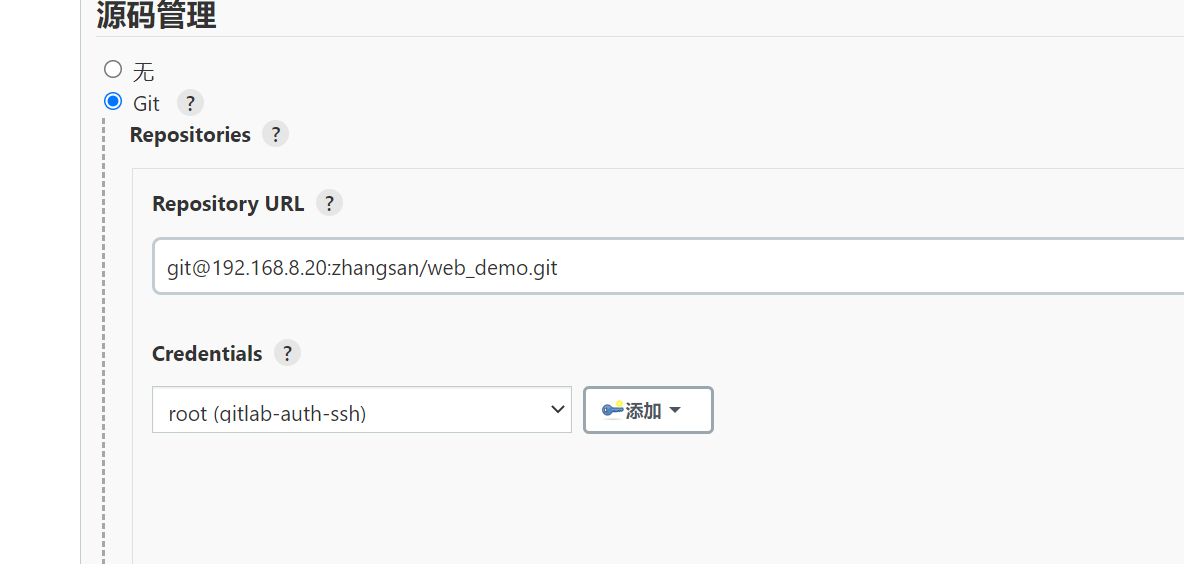
Use the form of key pair to form success
3, Installing and configuring Maven
1. Jenkins server installation maven
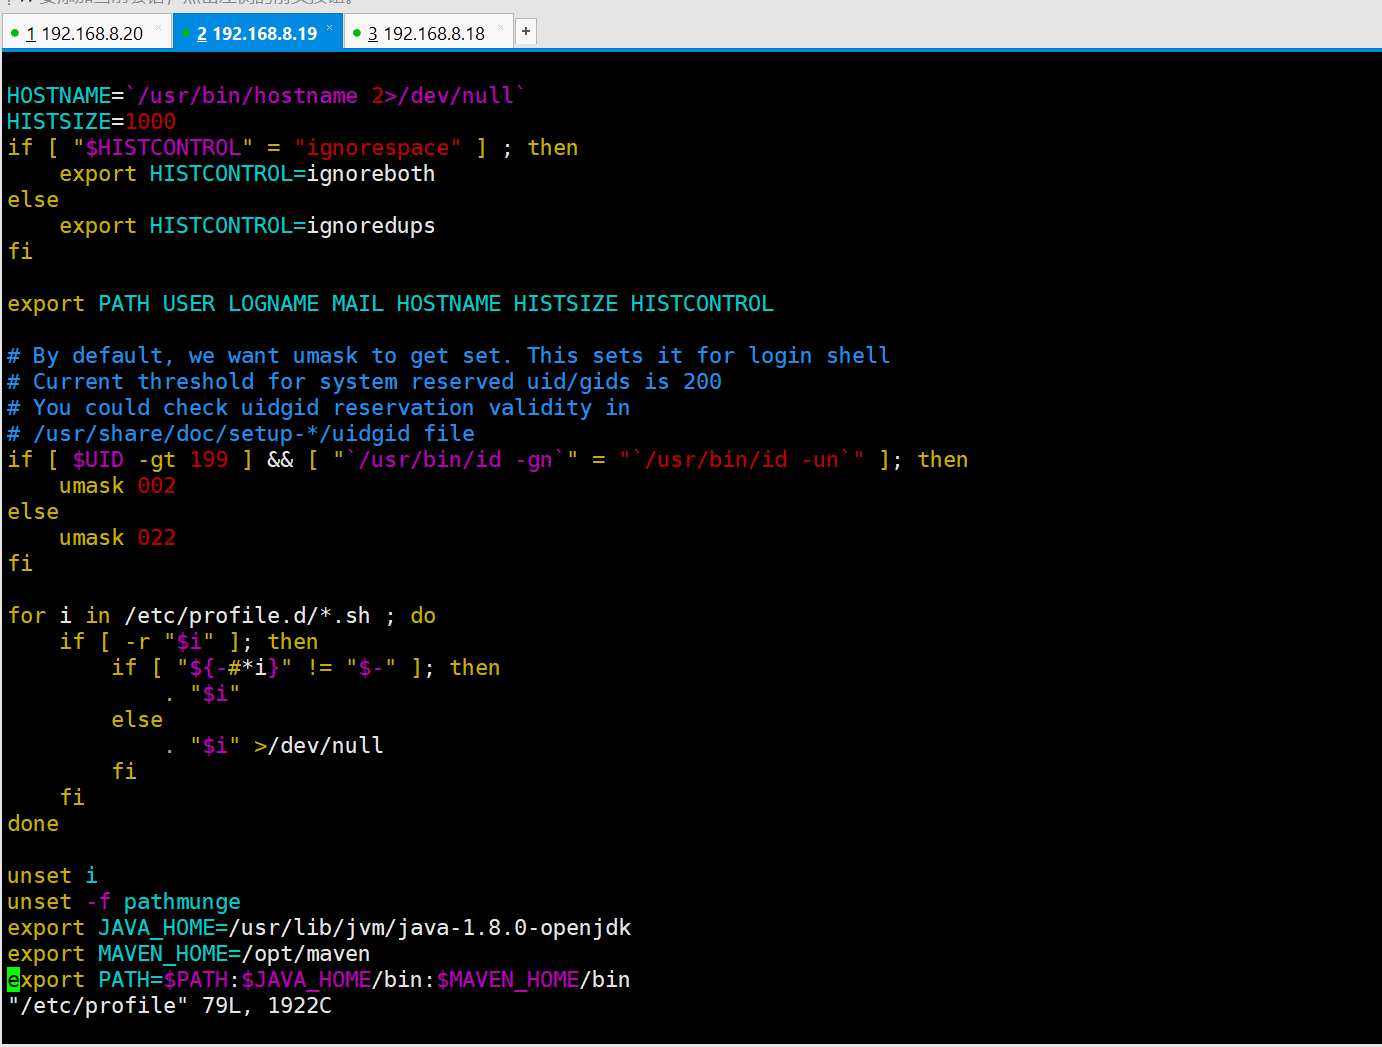
tar zxvf apache-maven-3.6.2-bin.tar.gz
mkdir -p /opt/maven
mv apache-maven-3.6.2/* /opt/maven

vim /etc/profile										#Configure environment variables, add at the end

export JAVA_HOME=/usr/lib/jvm/java-1.8.0-openjdk
export MAVEN_HOME=/opt/maven
export PATH=$PATH:$JAVA_HOME/bin:$MAVEN_HOME/bin

source /etc/profile

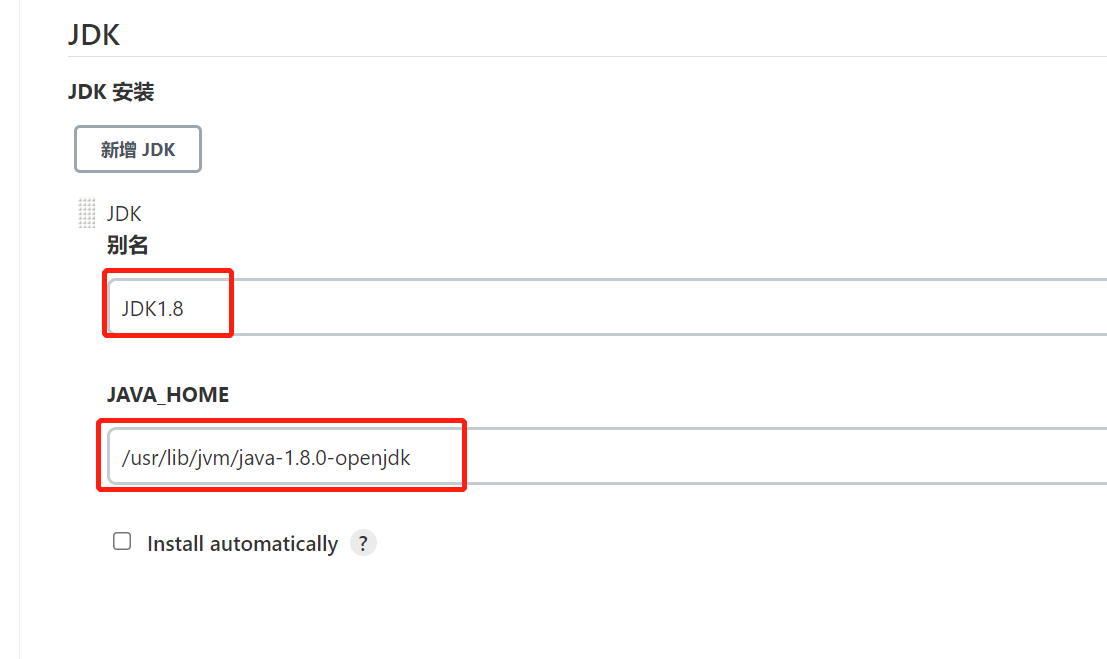
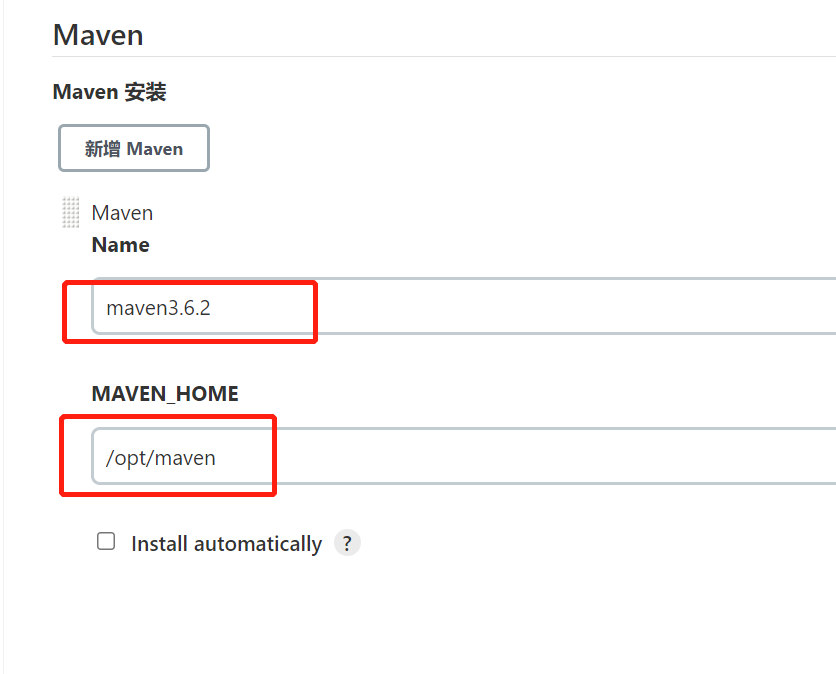
2. Configure JDK and Maven
JDK1.8
/usr/lib/jvm/java-1.8.0-openjdk
maven3.6.2
/opt/maven
3. Add Jenkins global variable

JAVA_HOME         	/usr/lib/jvm/java-1.8.0-openjdk
M2_HOME           	/opt/maven
PATH+EXTRA      	$M2_HOME/bin

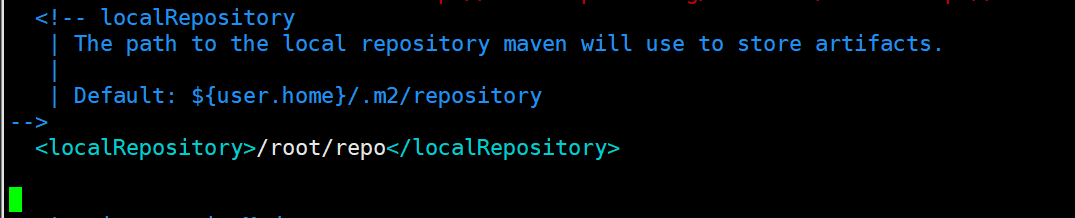
4. Modify Maven's configuration file
- Change the local warehouse in the configuration file to: / root/repo/
mkdir /root/repo
vim /opt/maven/conf/settings.xml

 54   <localRepository>/root/repo</localRepository>
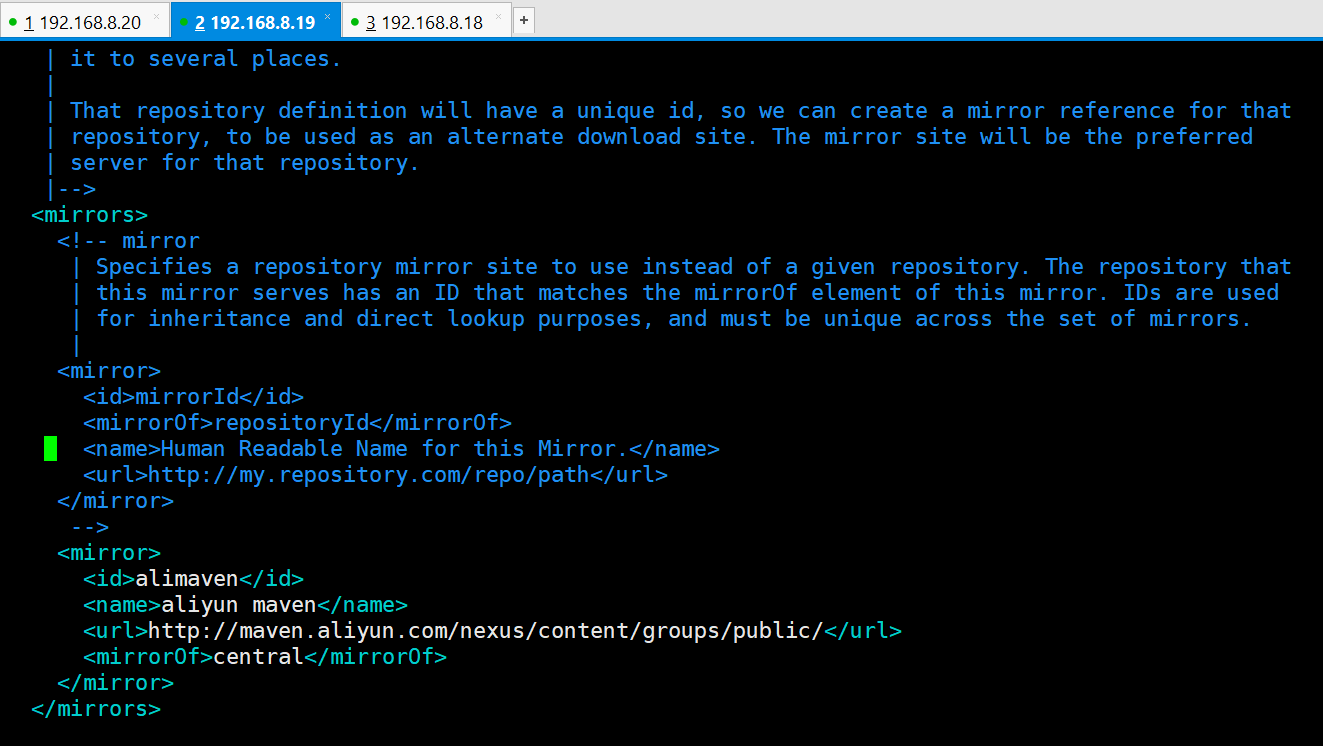
- Add alicloud private server address
<mirror>
      <id>alimaven</id>
      <name>aliyun maven</name>
      <url>http://maven.aliyun.com/nexus/content/groups/public/</url>
      <mirrorOf>central</mirrorOf>
    </mirror>
5. Test whether Maven is successfully configured
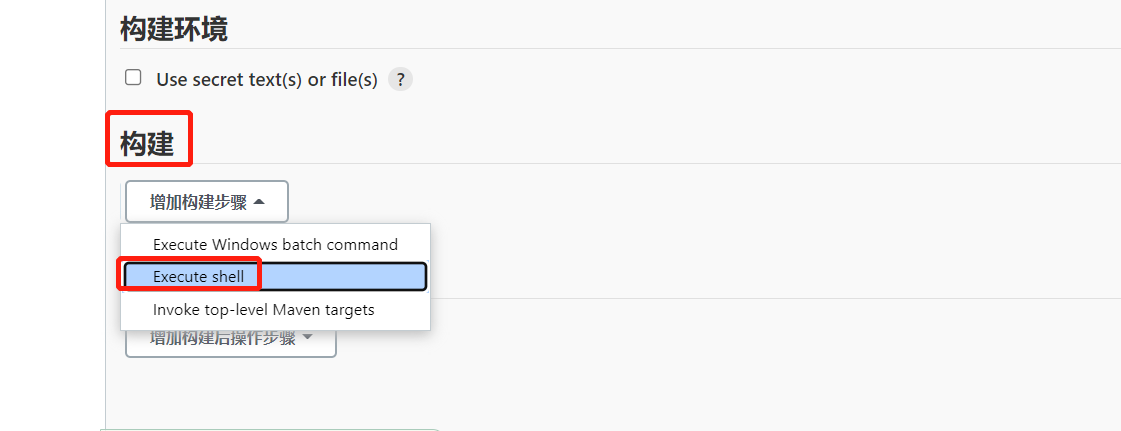
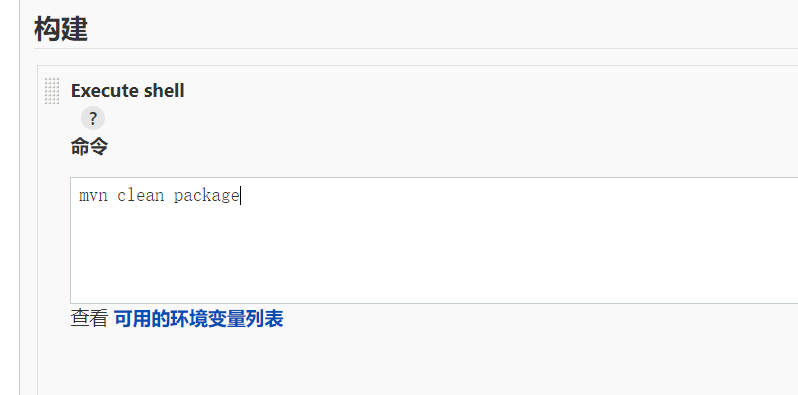
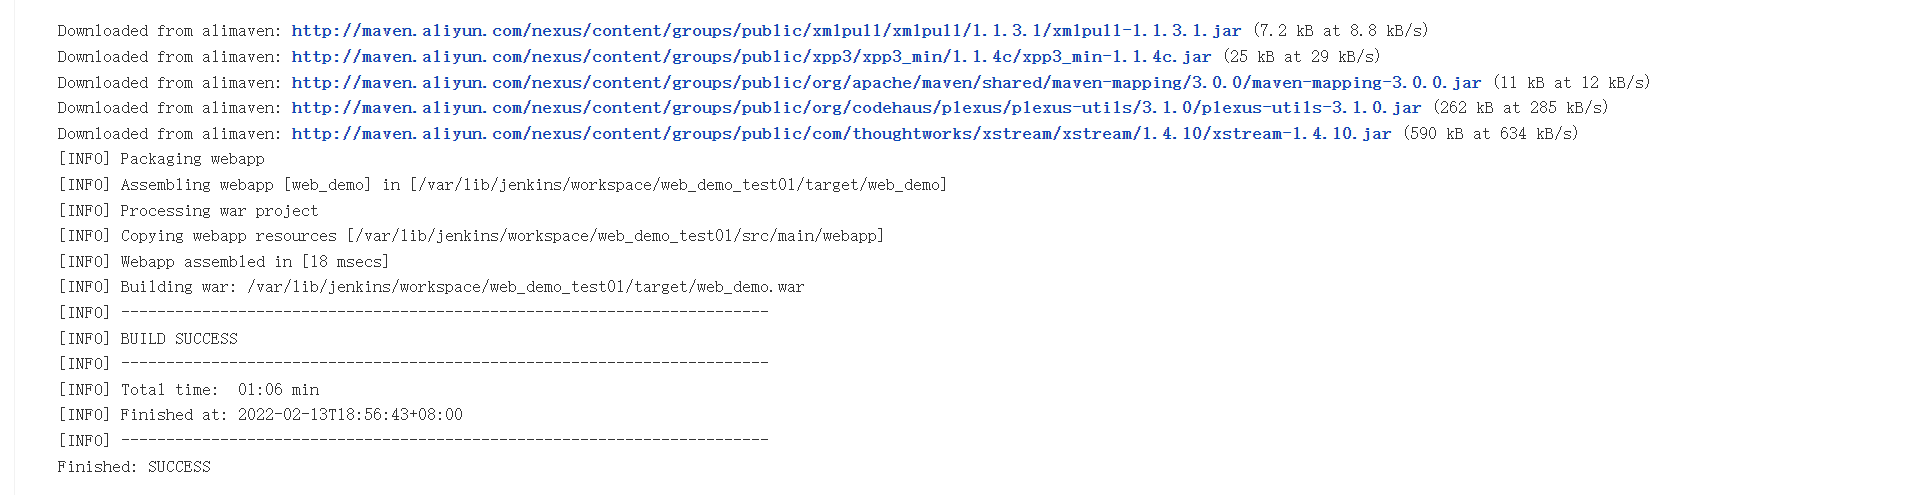
You can see that the project is packaged as war, which means that the maven environment configuration is successful
4, Installing and configuring Tomcat
1. Installation
yum install java-1.8.0-openjdk* -y
tar -xzf apache-tomcat-8.5.47.tar.gz
mkdir -p /opt/tomcat
mv /root/apache-tomcat-8.5.47/* /opt/tomcat
/opt/tomcat/bin/startup.sh
2. Configure Tomcat user role permissions
vim /opt/tomcat/conf/tomcat-users.xml

<role rolename="tomcat"/>
  <role rolename="role1"/>
  <role rolename="manager-script"/>
  <role rolename="manager-gui"/>
  <role rolename="manager-status"/>
  <role rolename="admin-gui"/>
  <role rolename="admin-script"/>
  <user username="tomcat" password="tomcat" roles="manager-gui,manager-script,tomcat,admin-gui,admin-script"/>

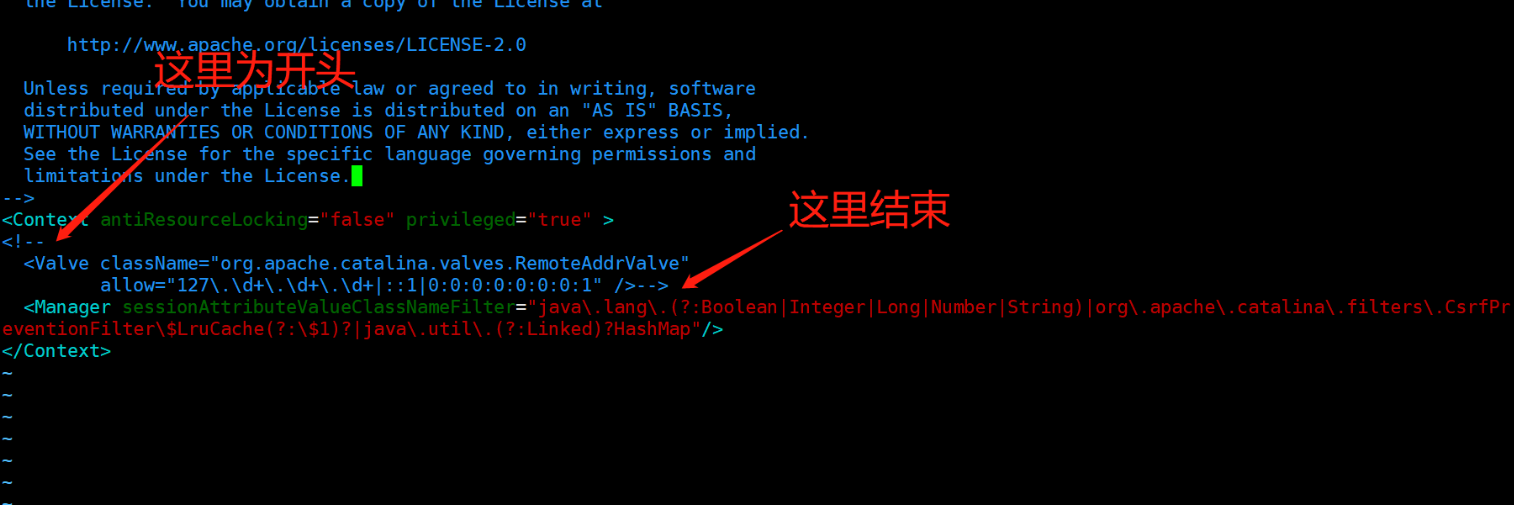
In order to log in to Tomcat for the user just configured, the following configuration needs to be modified. Remote access is not allowed by default. Now it needs to be commented out
#Turn on remote access
vim /opt/tomcat/webapps/manager/META-INF/context.xml

<!--
<Valve className="org.apache.catalina.valves.RemoteAddrValve" allow="127\.\d+\.\d+\.\d+|::1|0:0:0:0:0:0:0:1" />
-->
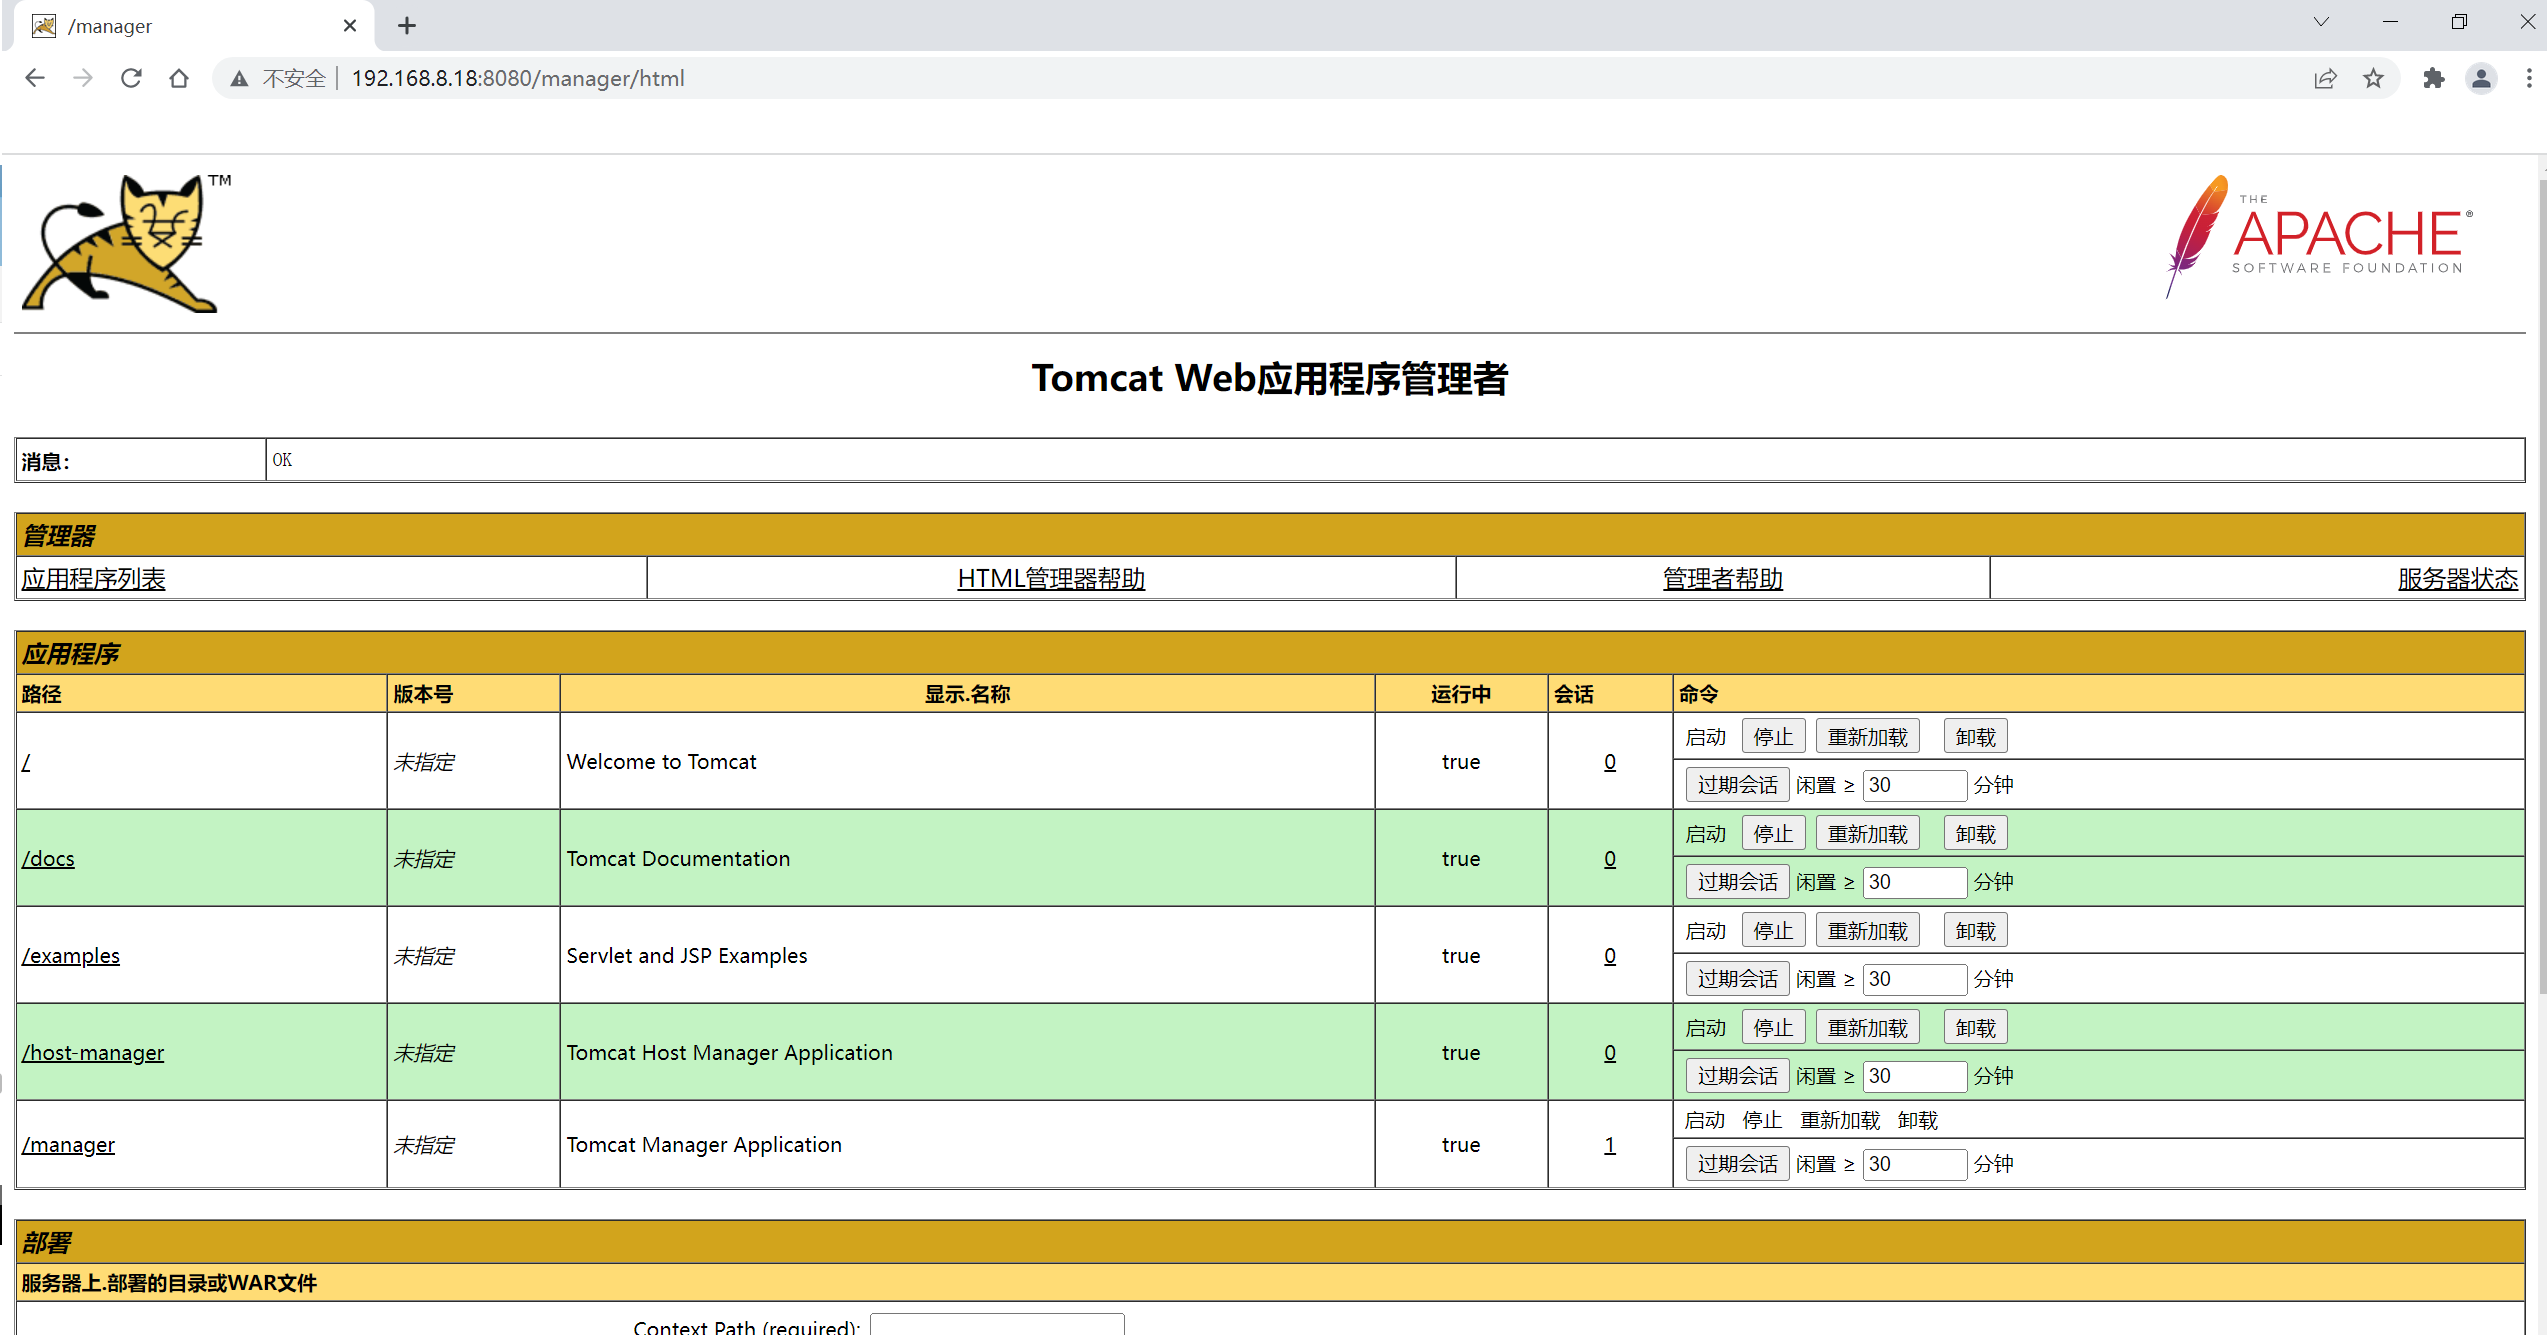
3. Restart Tomcat and access the test
/opt/tomcat/bin/shutdown.sh
/opt/tomcat/bin/startup.sh
5, Build Pipeline project
There are many types of automatic construction projects in Jenkins, including:
FreeStyle Project
Maven Project
Pipeline Project
Groovy Pipeline supports two syntaxes:
Declarative (declarative)
Scripted pipeline
Pipeline can also be created in two ways:
Enter the script directly in Jenkins's Web UI interface
By creating a Jenkins "le script file, put it into the project source code library
It is generally recommended to load Jenkins "le Pipeline" directly from source code control (SCM) in Jenkins
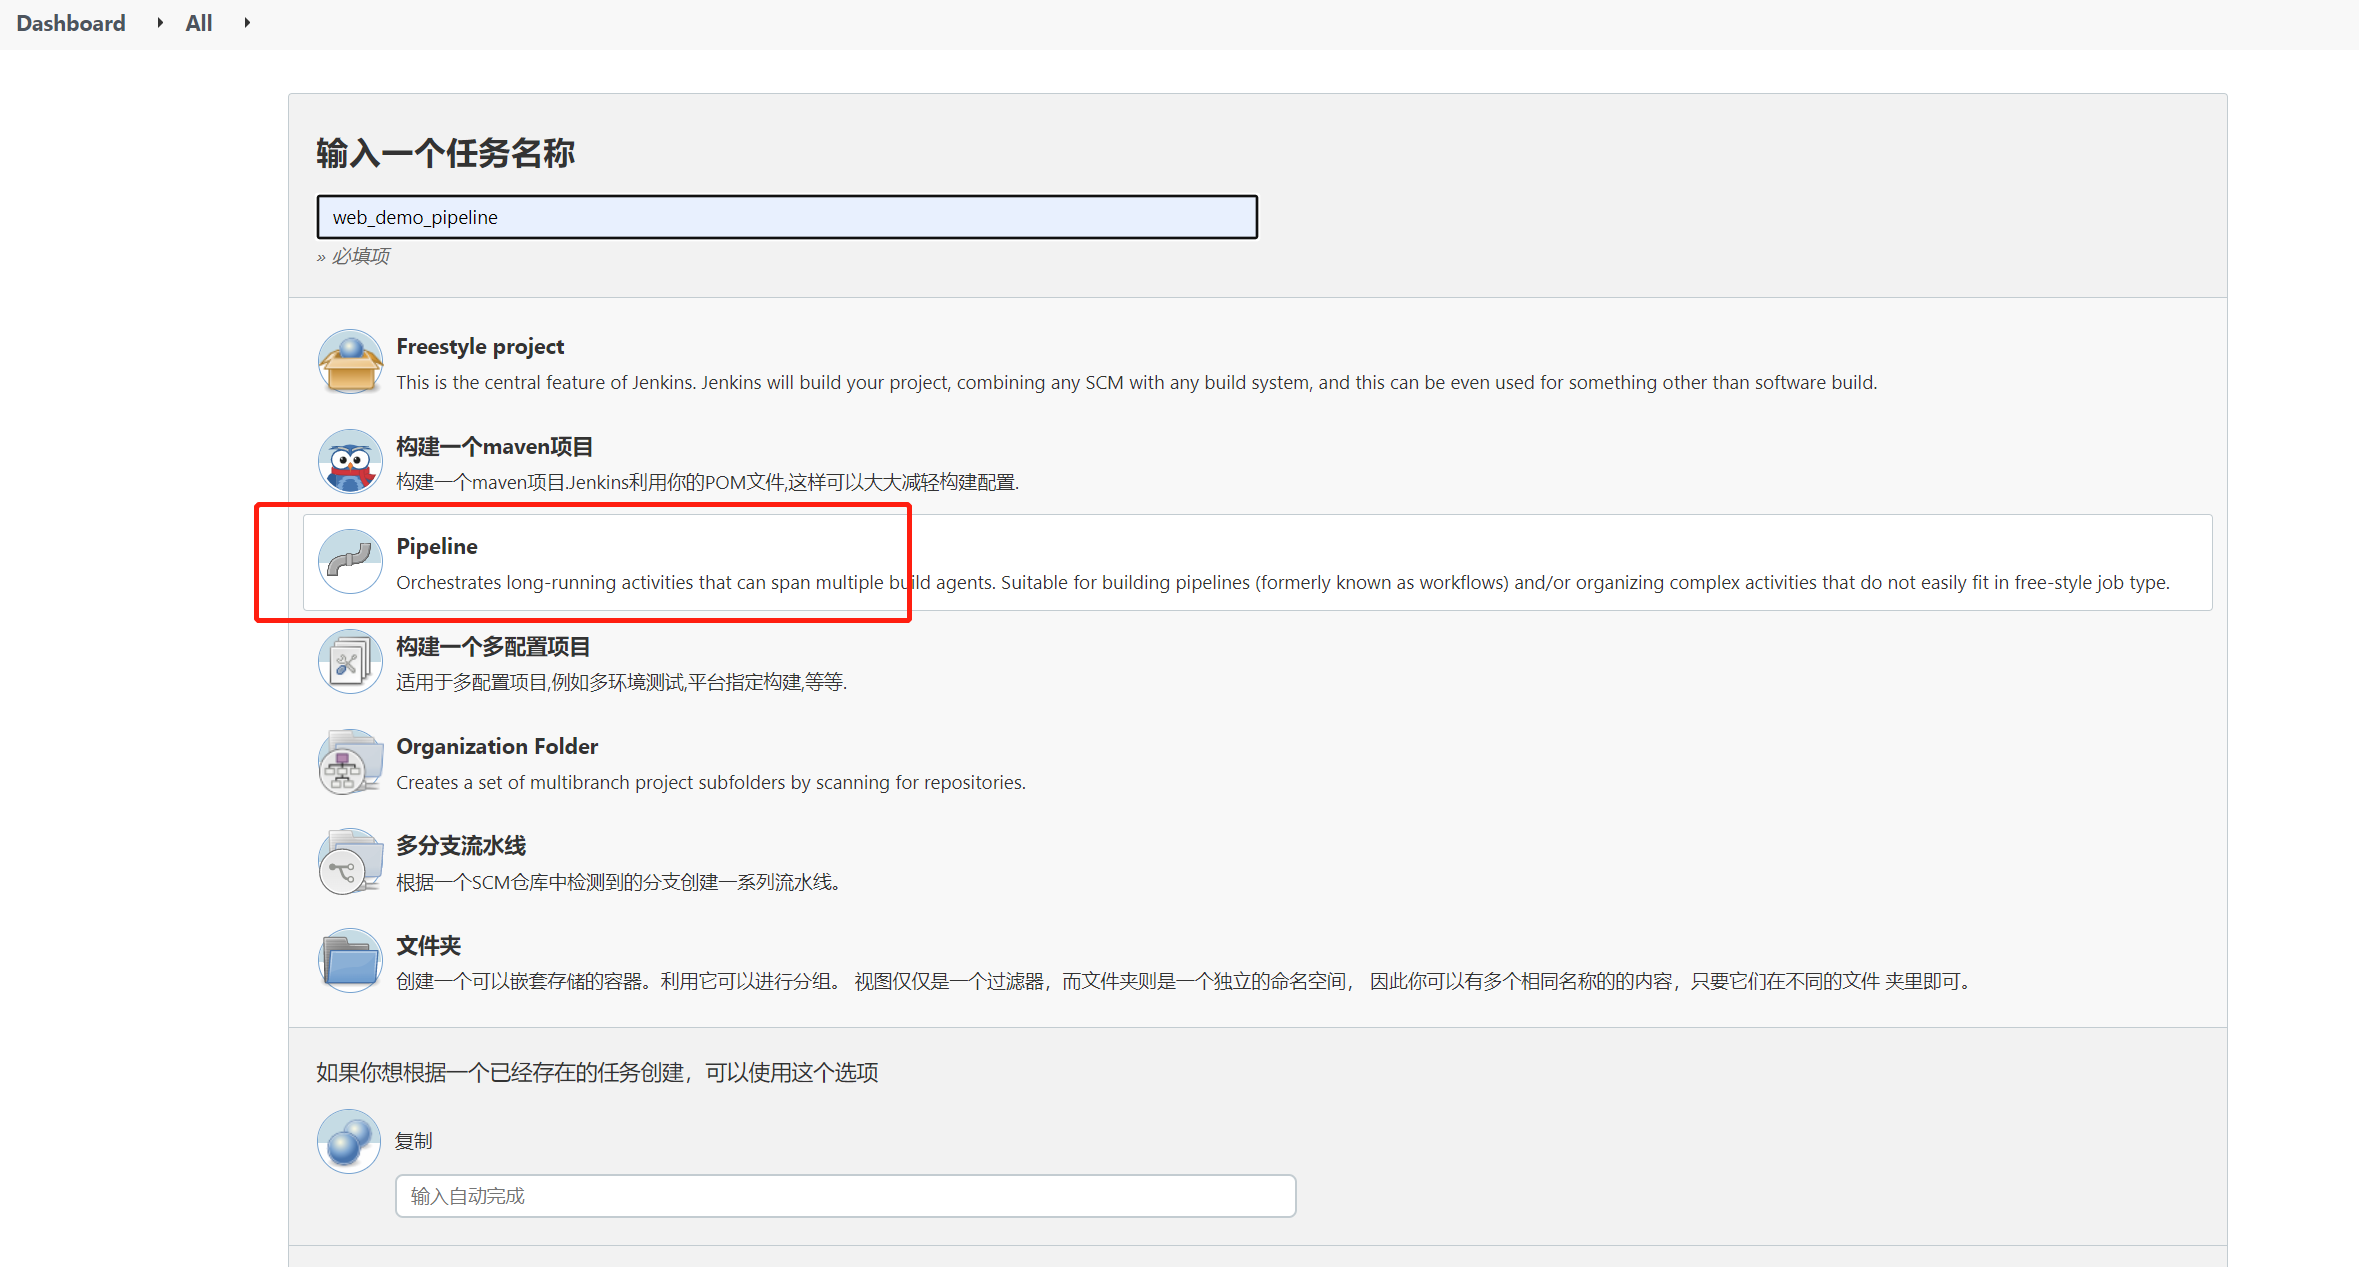
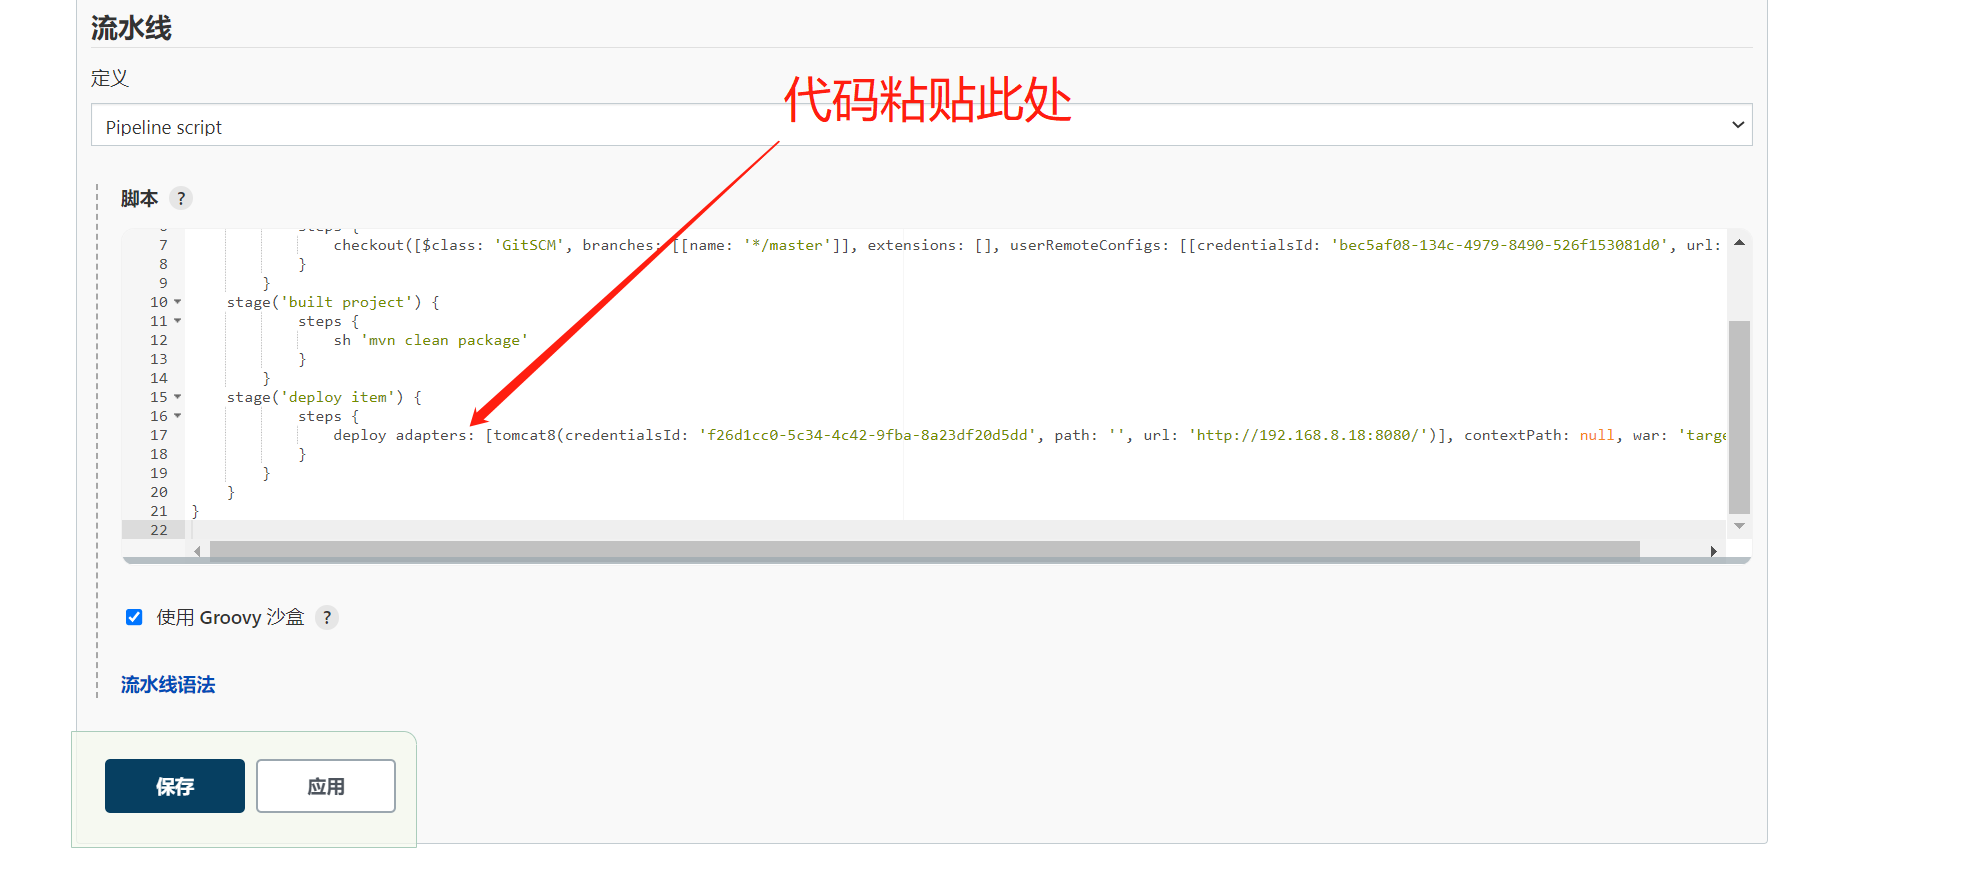
1. Create pipeline project
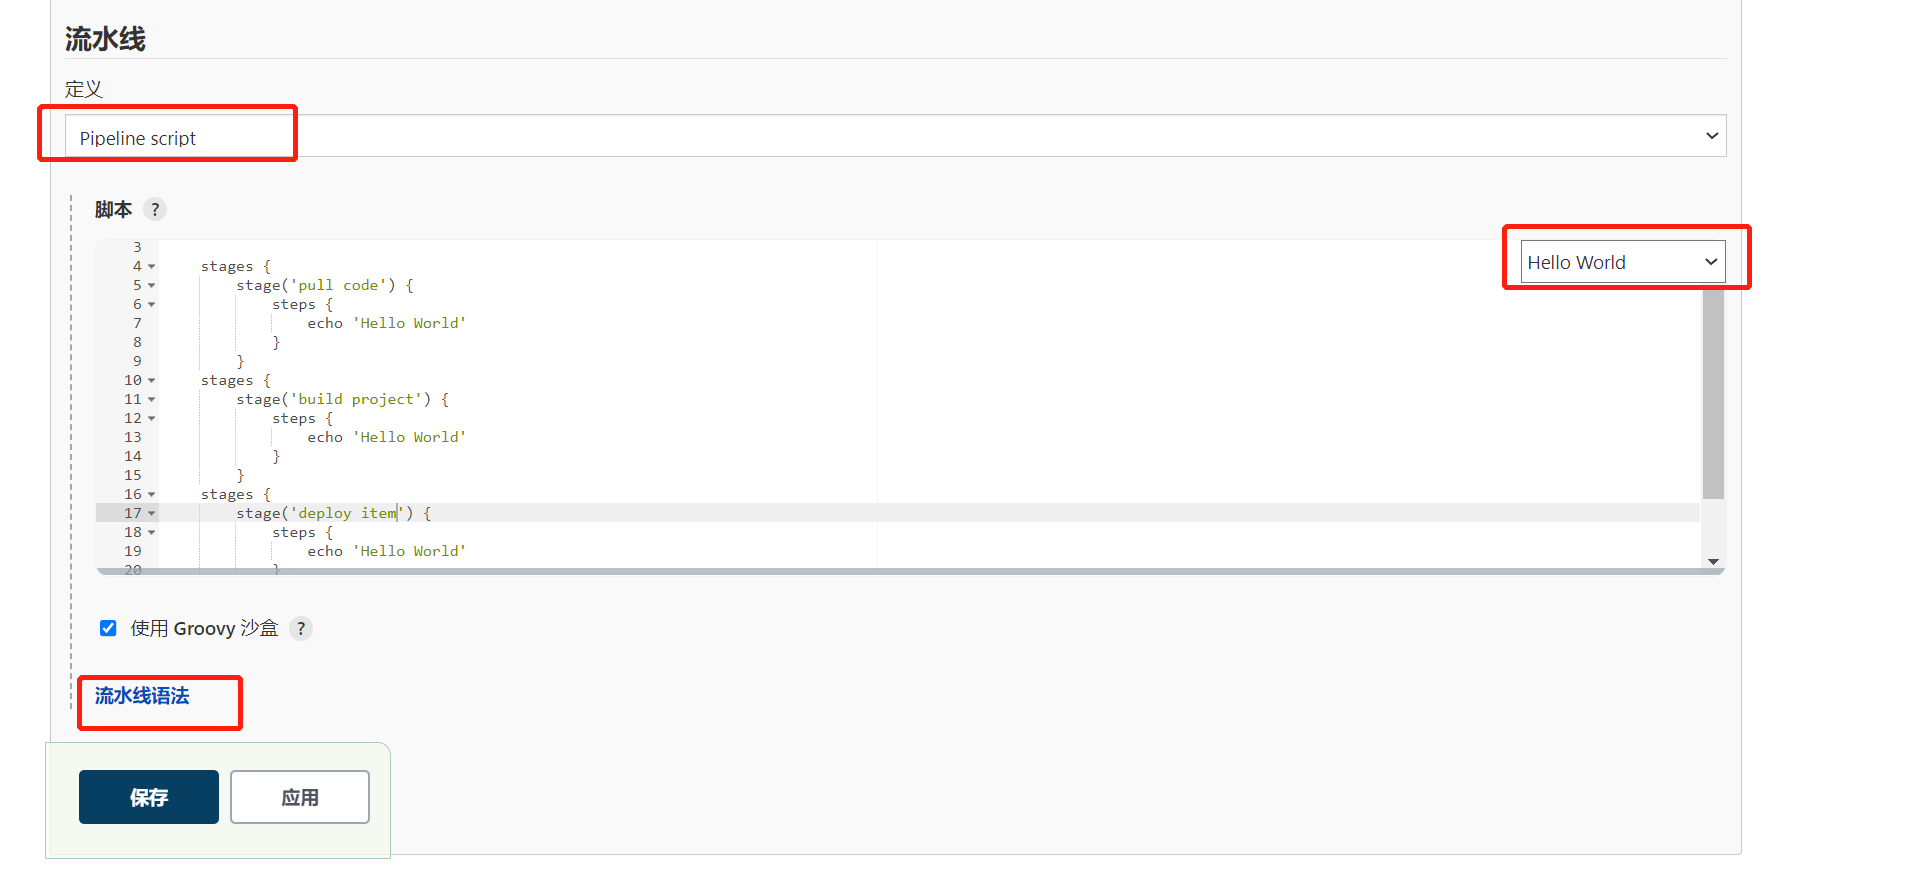
pipeline {
    agent any

    stages {
        stage('pull code') {
            steps {
                echo 'Hello World'
            }
        }
    stage('build project') {
            steps {
                echo 'Hello World'
            }
        }
    stage('deploy item') {
            steps {
                echo 'Hello World'
            }
        }
    }
}
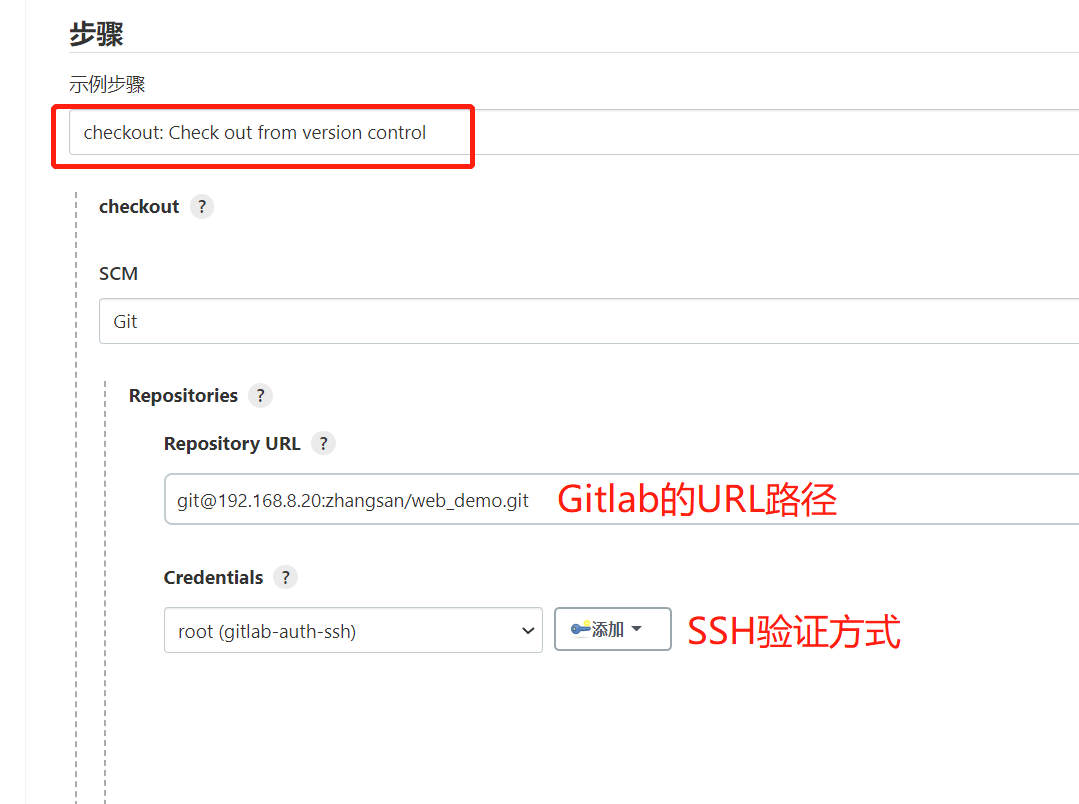
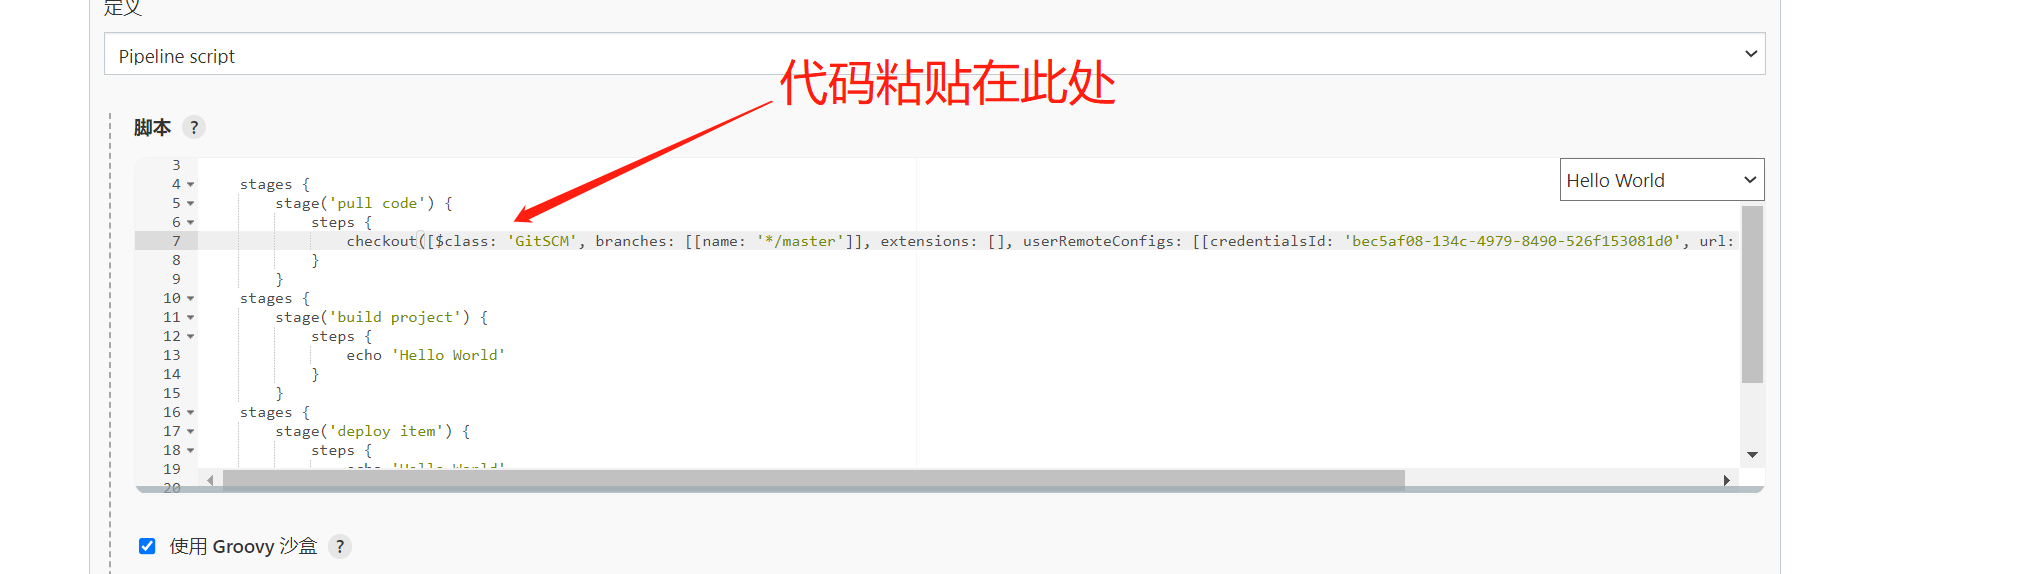
Generate pull code

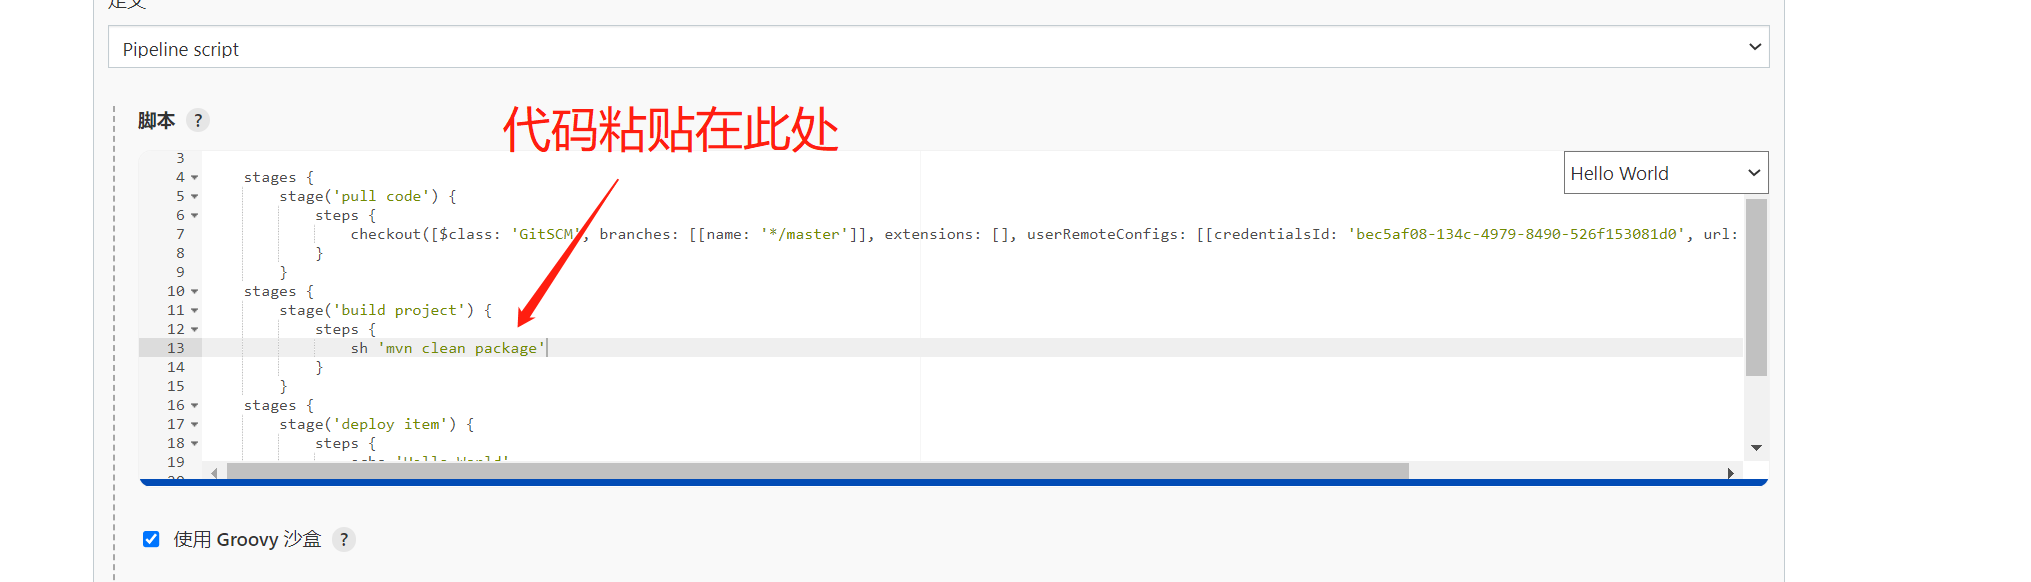
Generate compiled build code

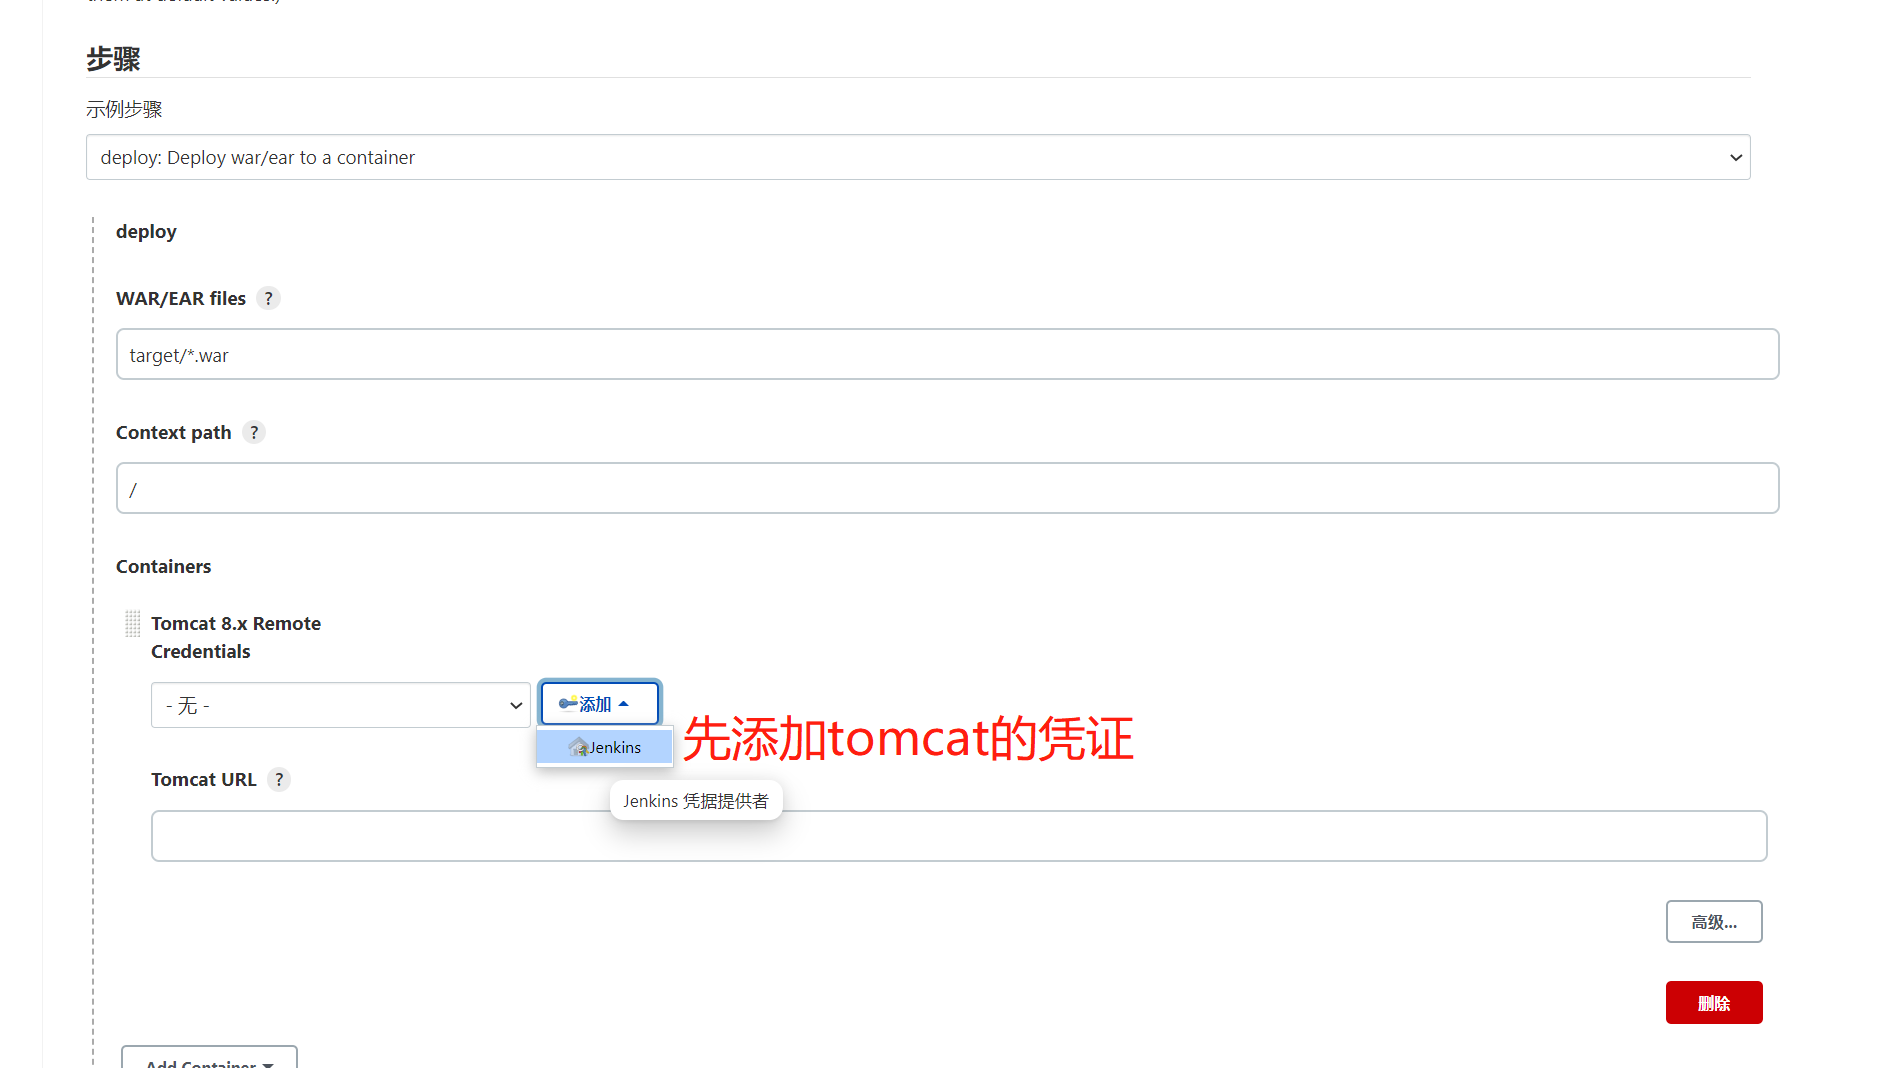
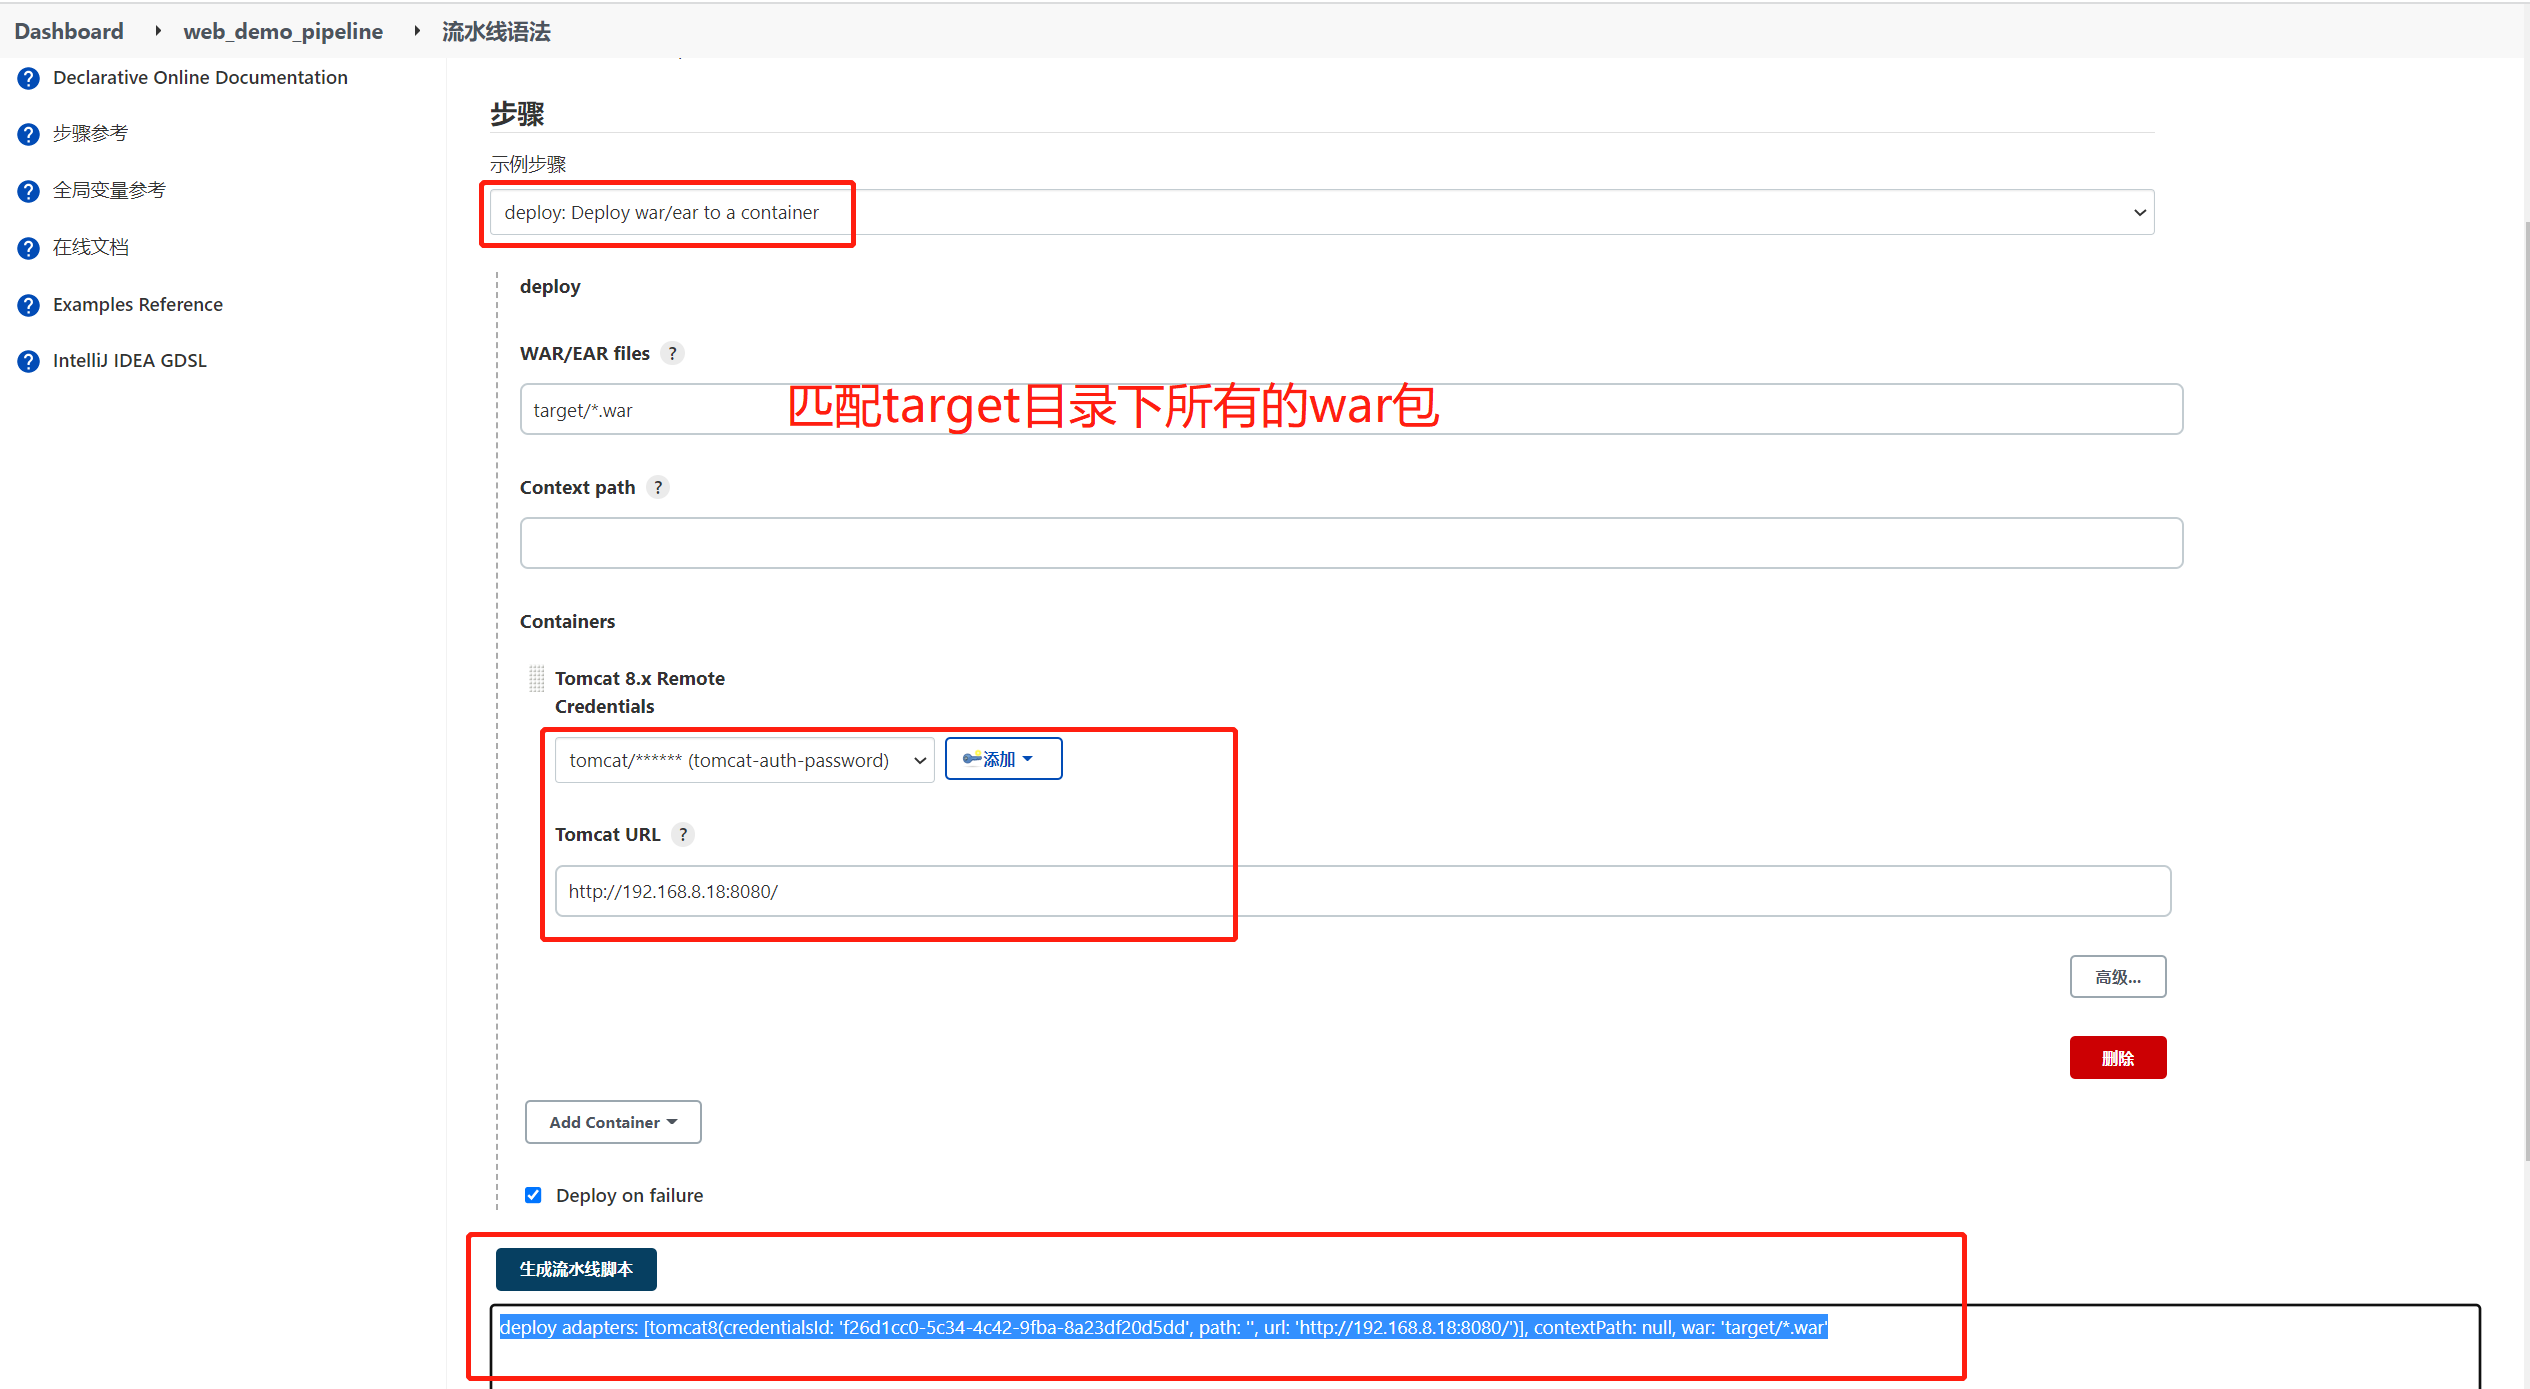
Generate deployment code (add credentials for tomcat)
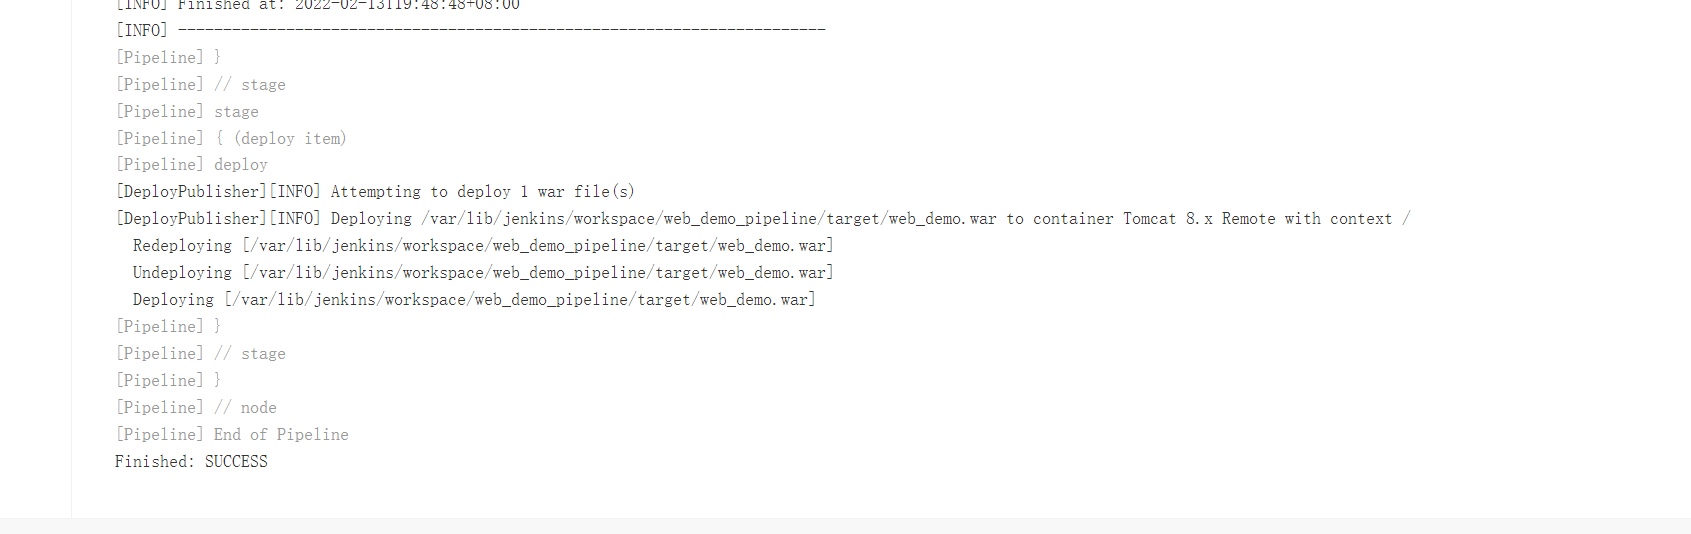
Build successful
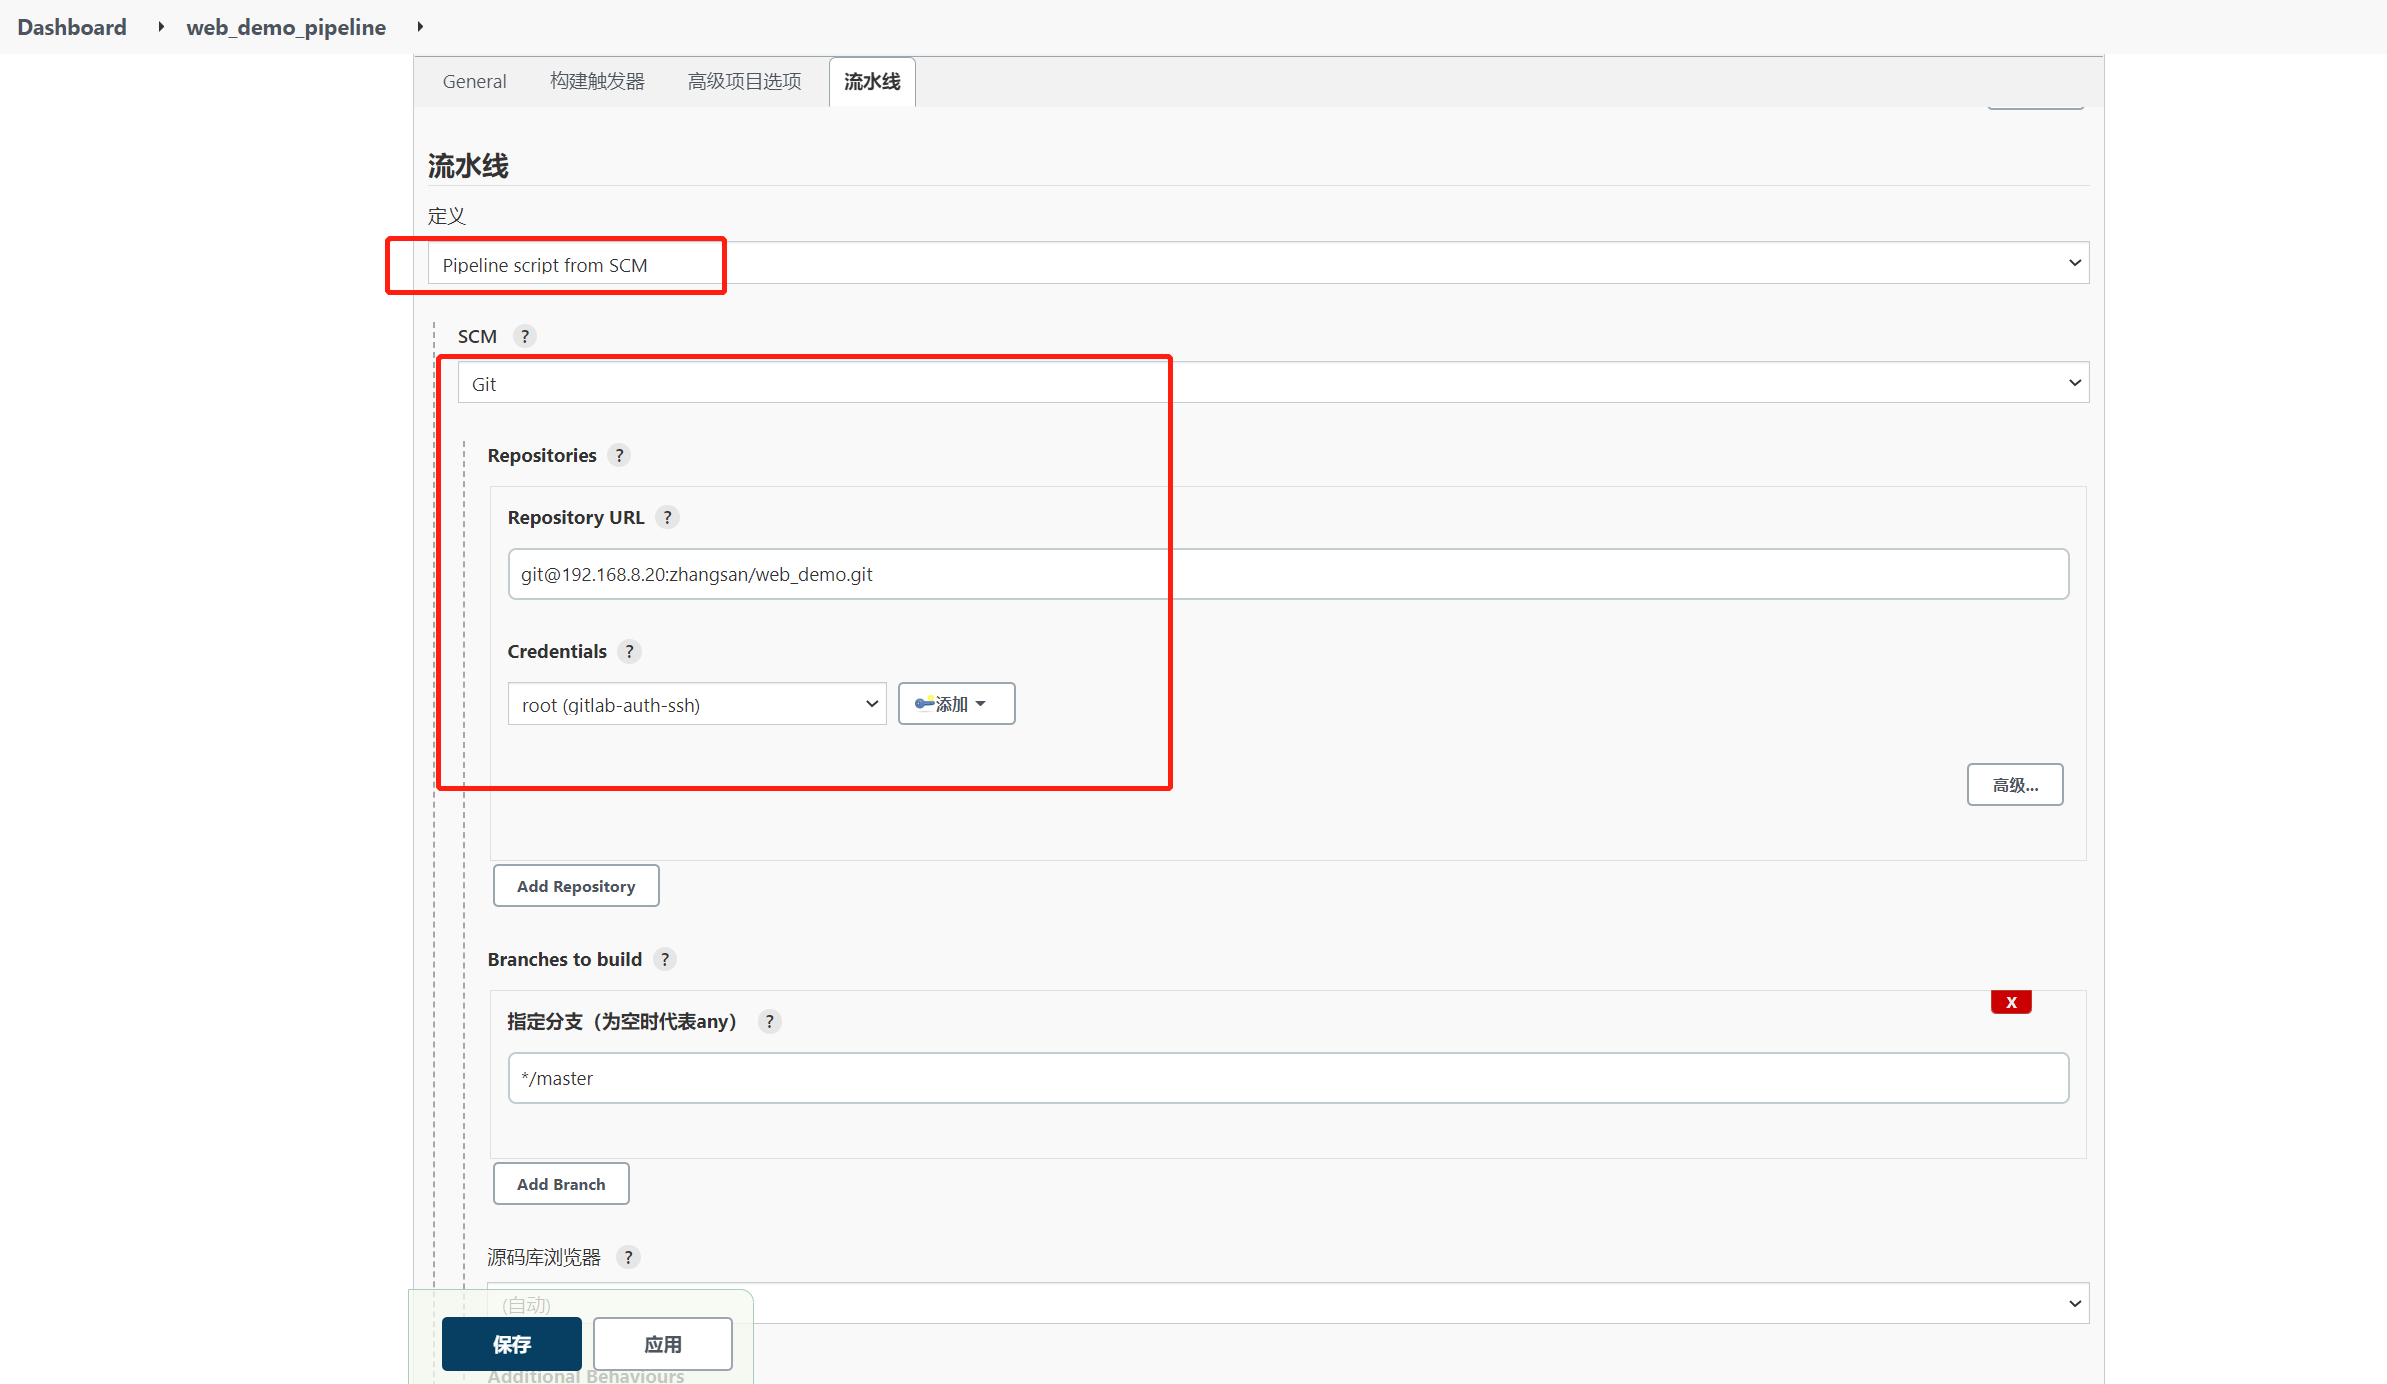
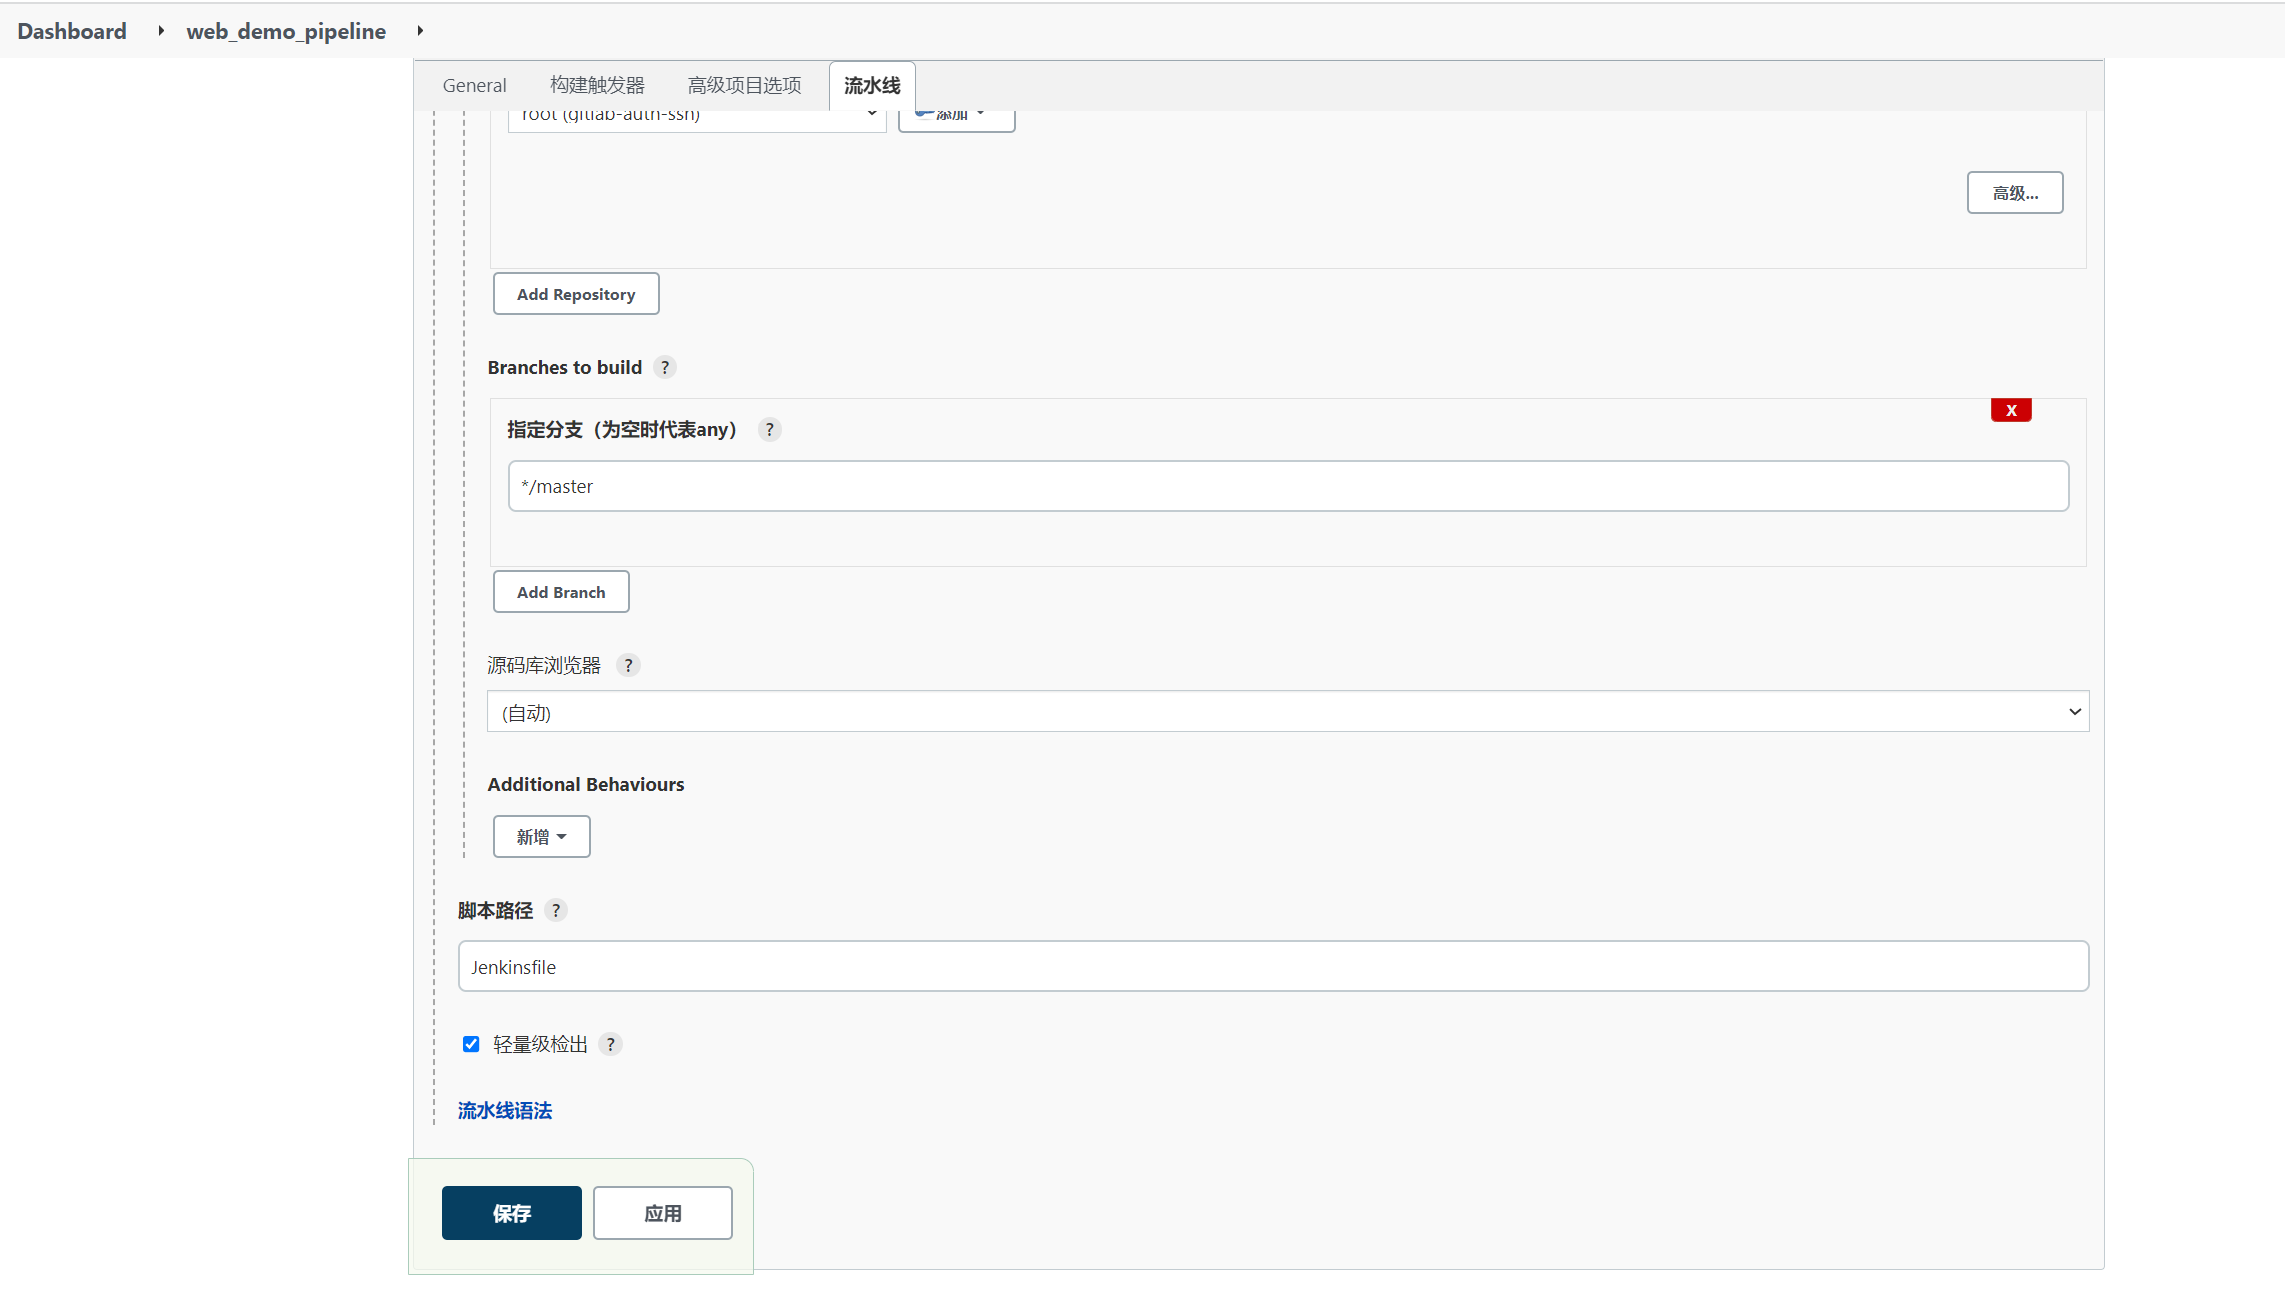
2. Pipeline Script from SCM
Because writing Pipeline code in Jenkins UI interface is inconvenient for script maintenance, and scripts are easy to be lost, Pipeline scripts can be put into the project (version control together)
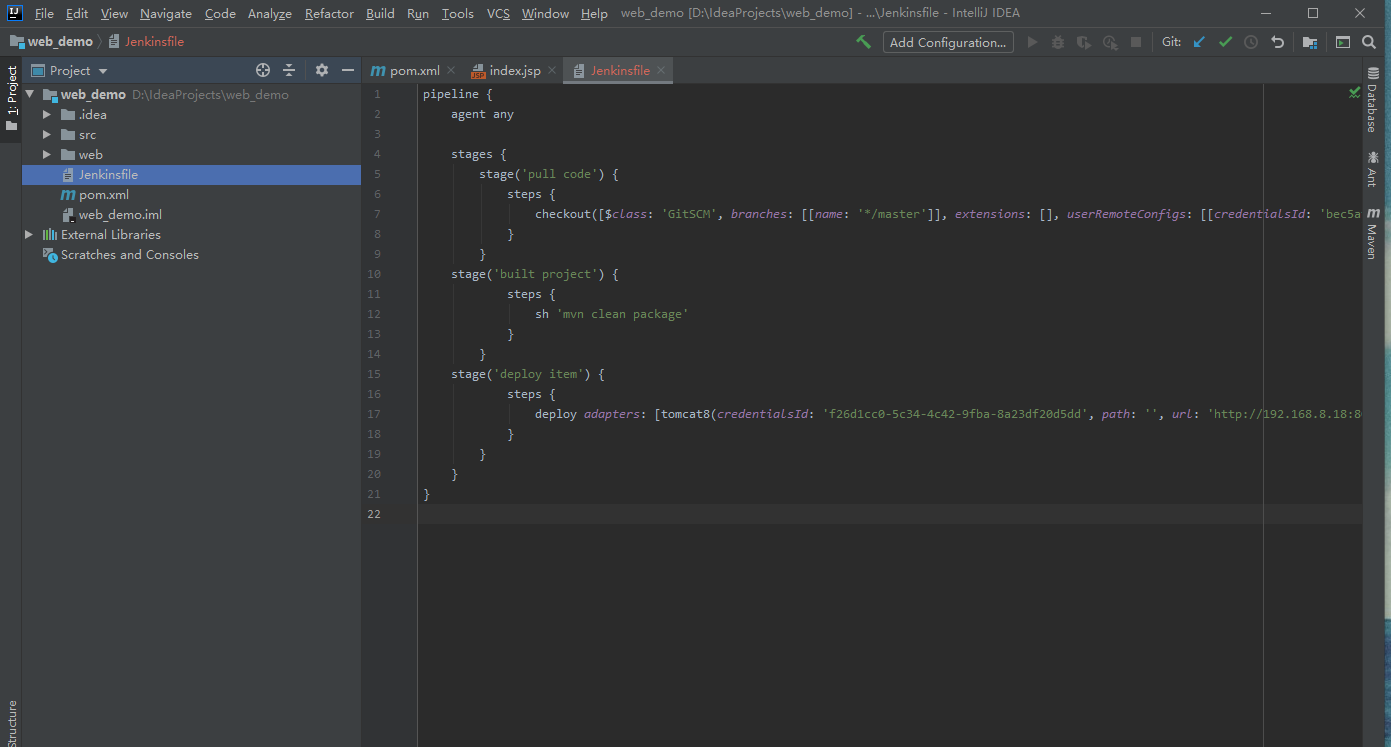
Create Jenkins "le" file in the root directory of the project and copy the script content into the file
It should be noted here that if the code changes color, there is a probability that it will not be recognized, resulting in construction failure~
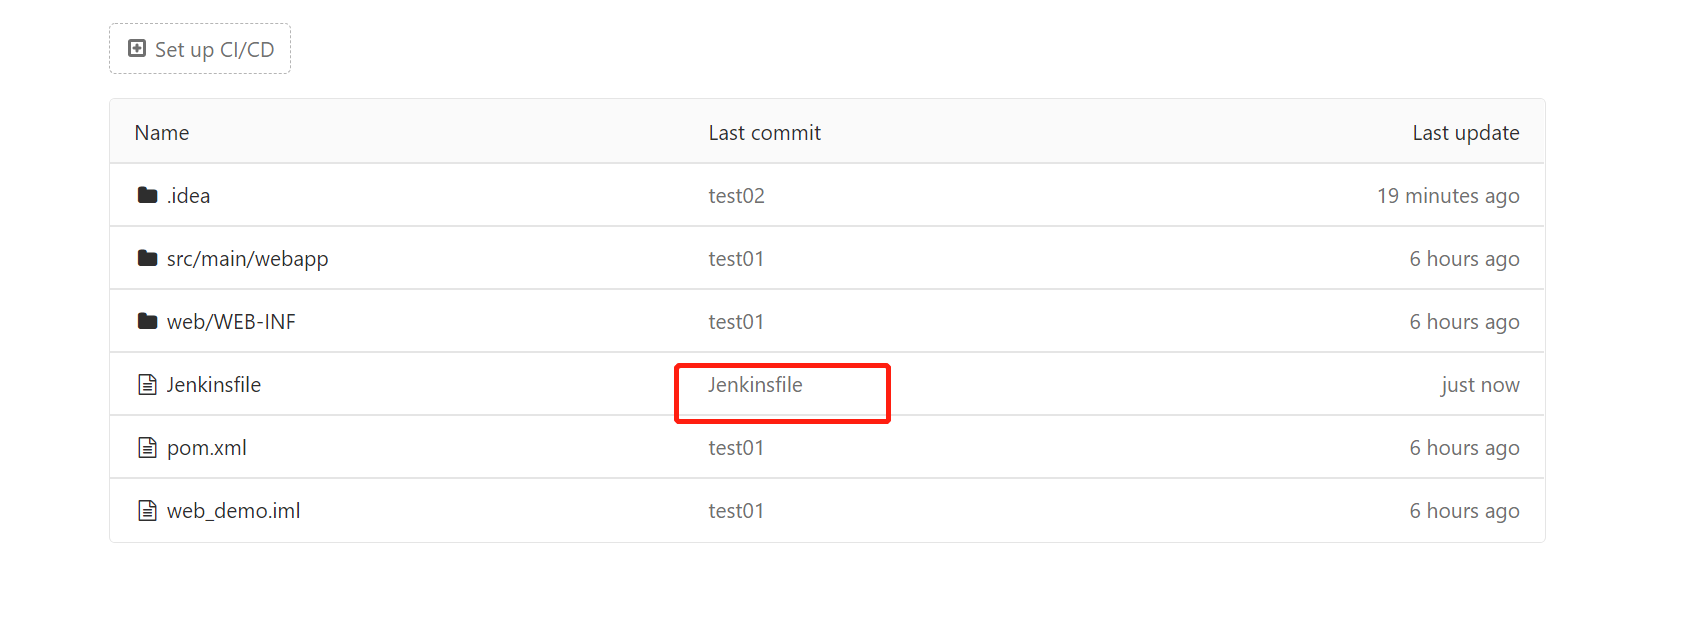
Then submit the code to the Jenkinsfile file
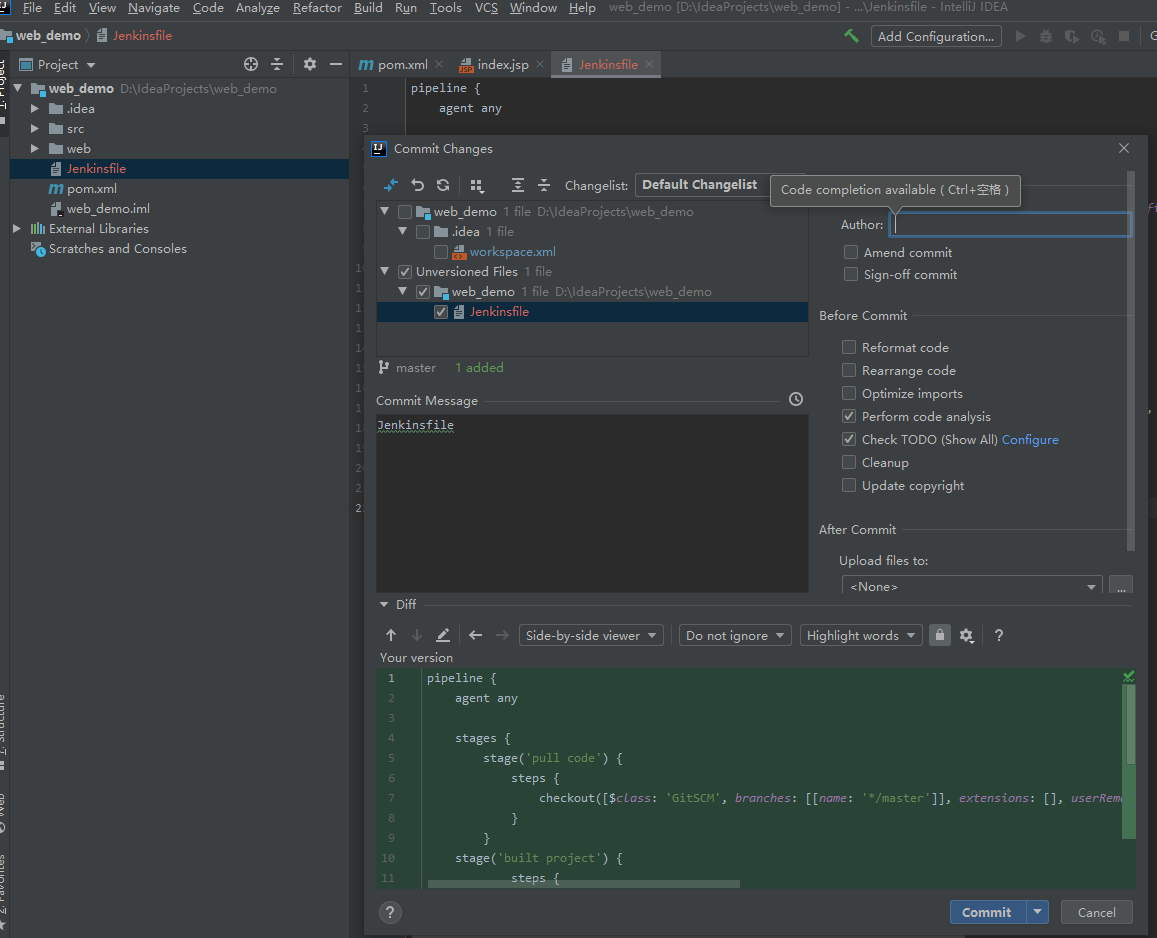
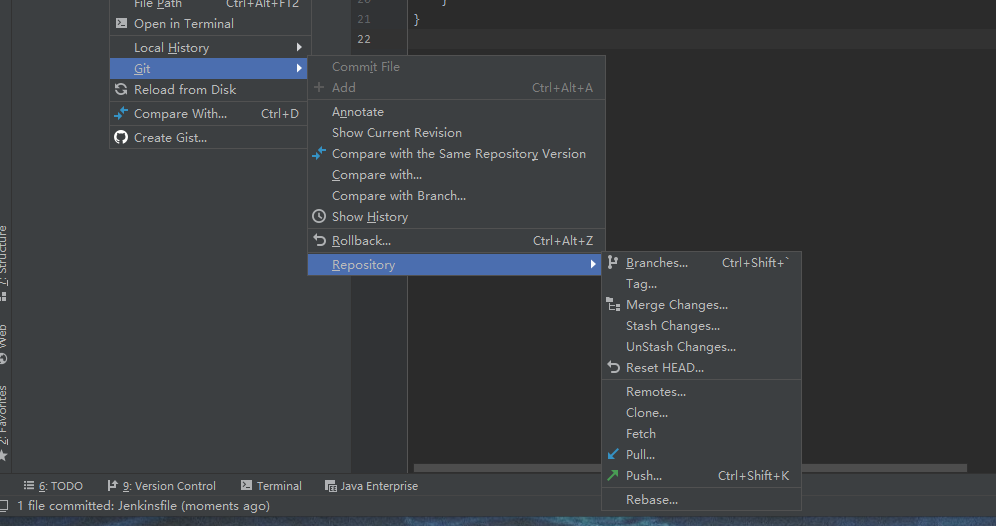
Go to Gitlab warehouse to check whether the submission is successful
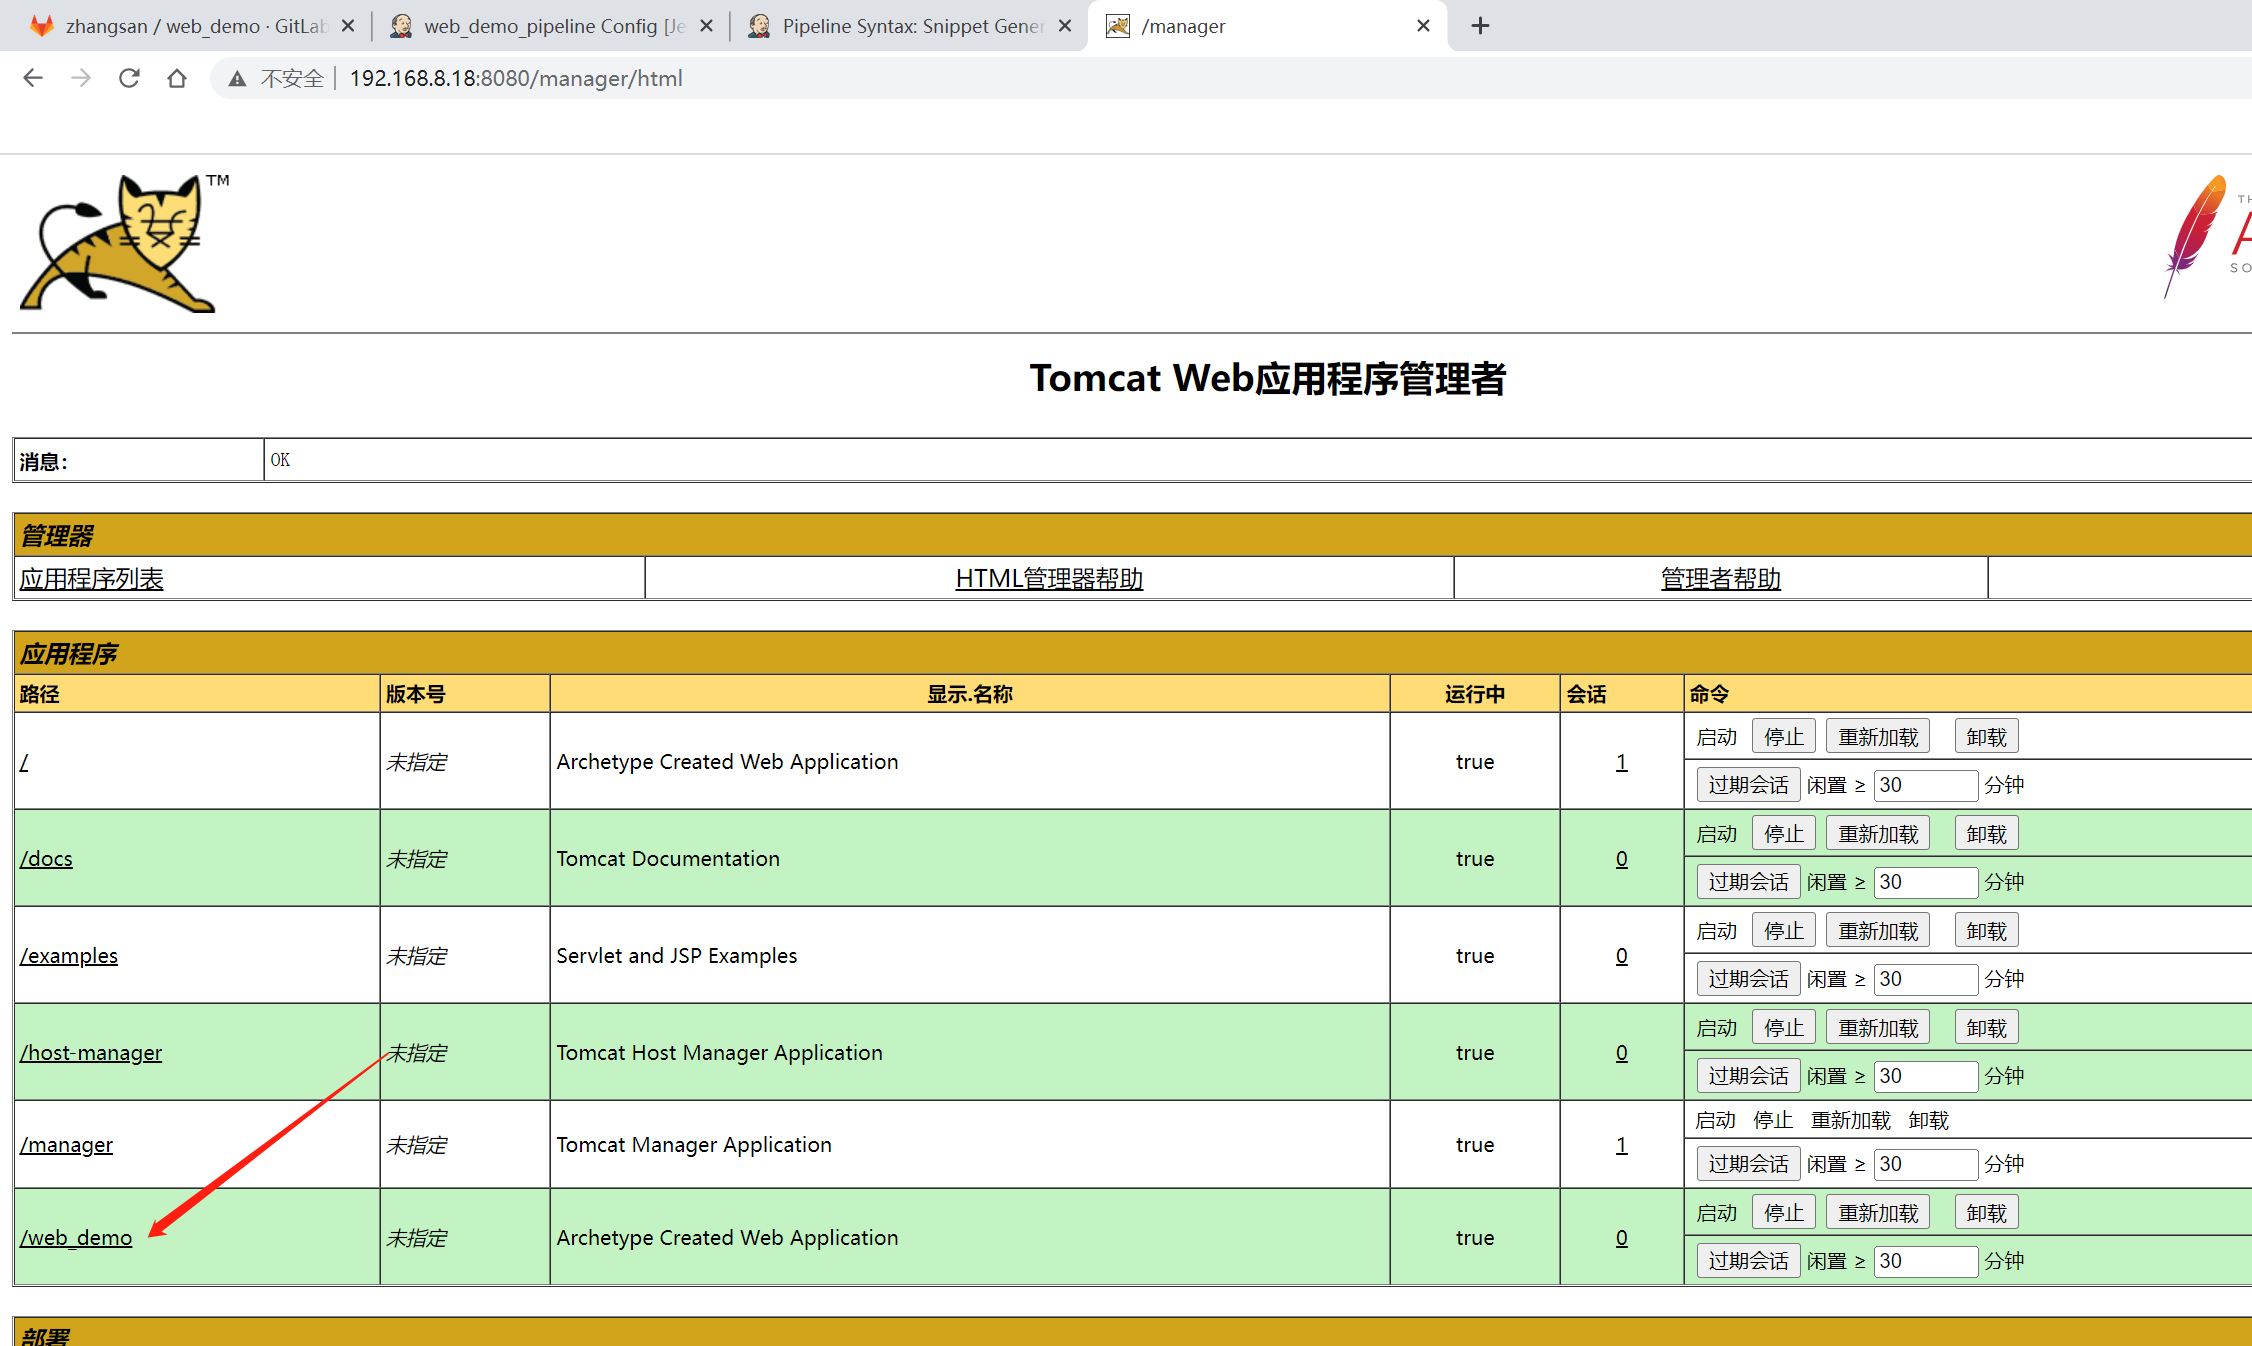
Reconfigure web_demo_pipeline project
Make changes to the code on the IDEA and resubmit
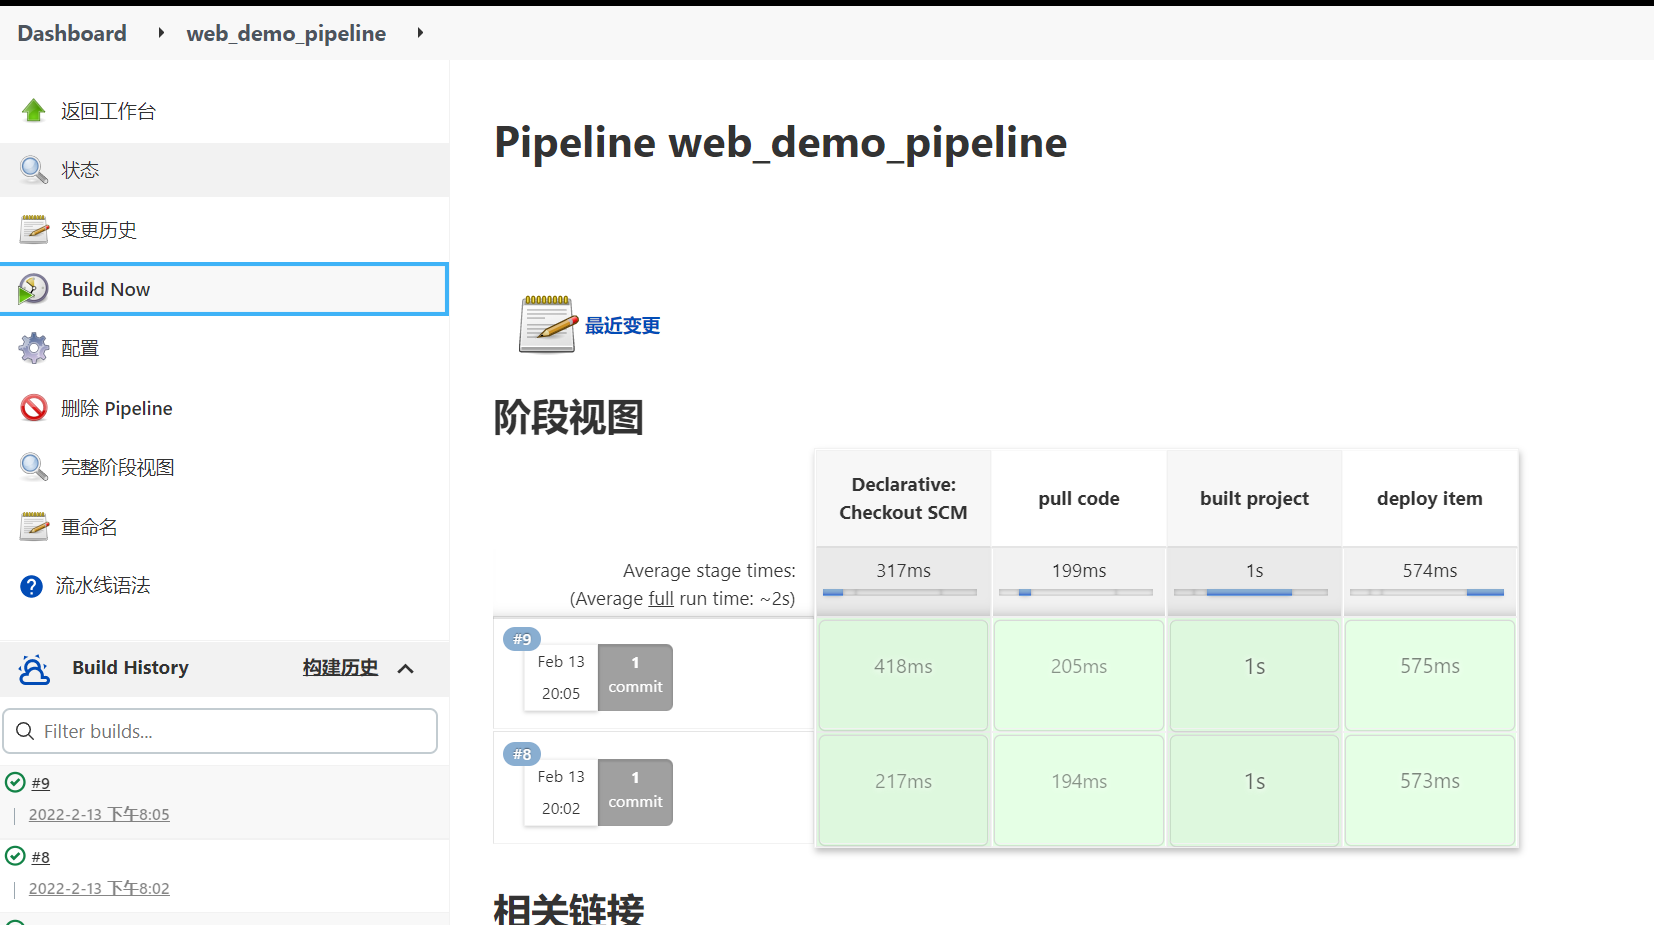
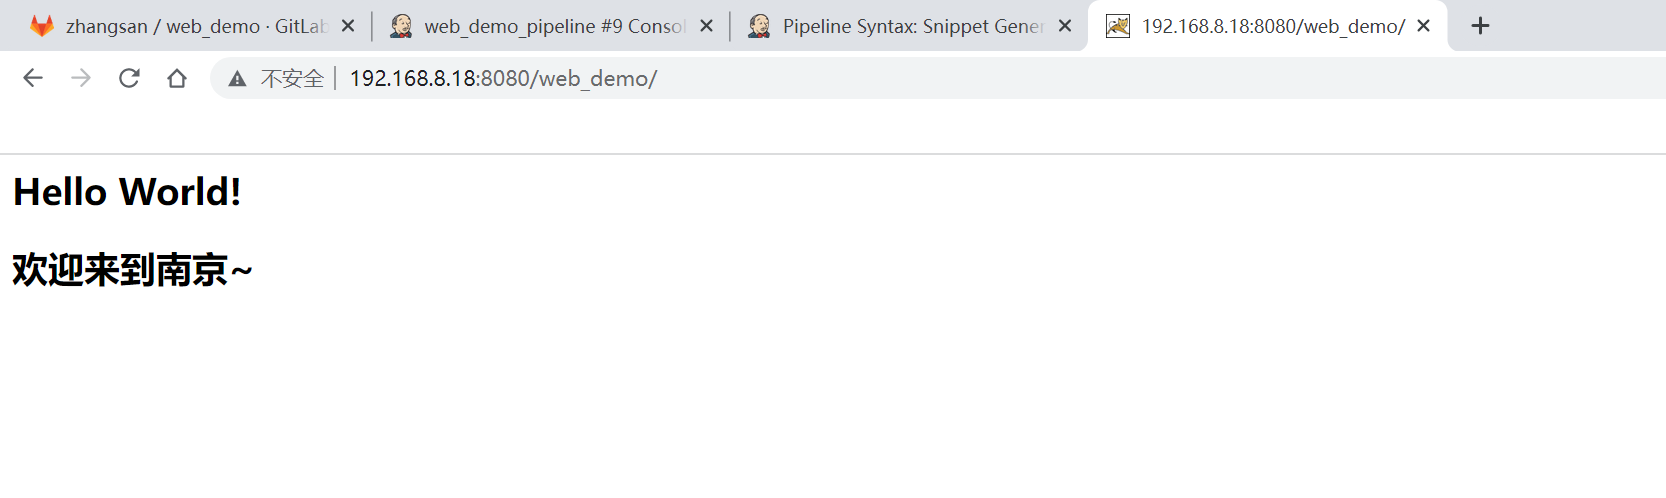
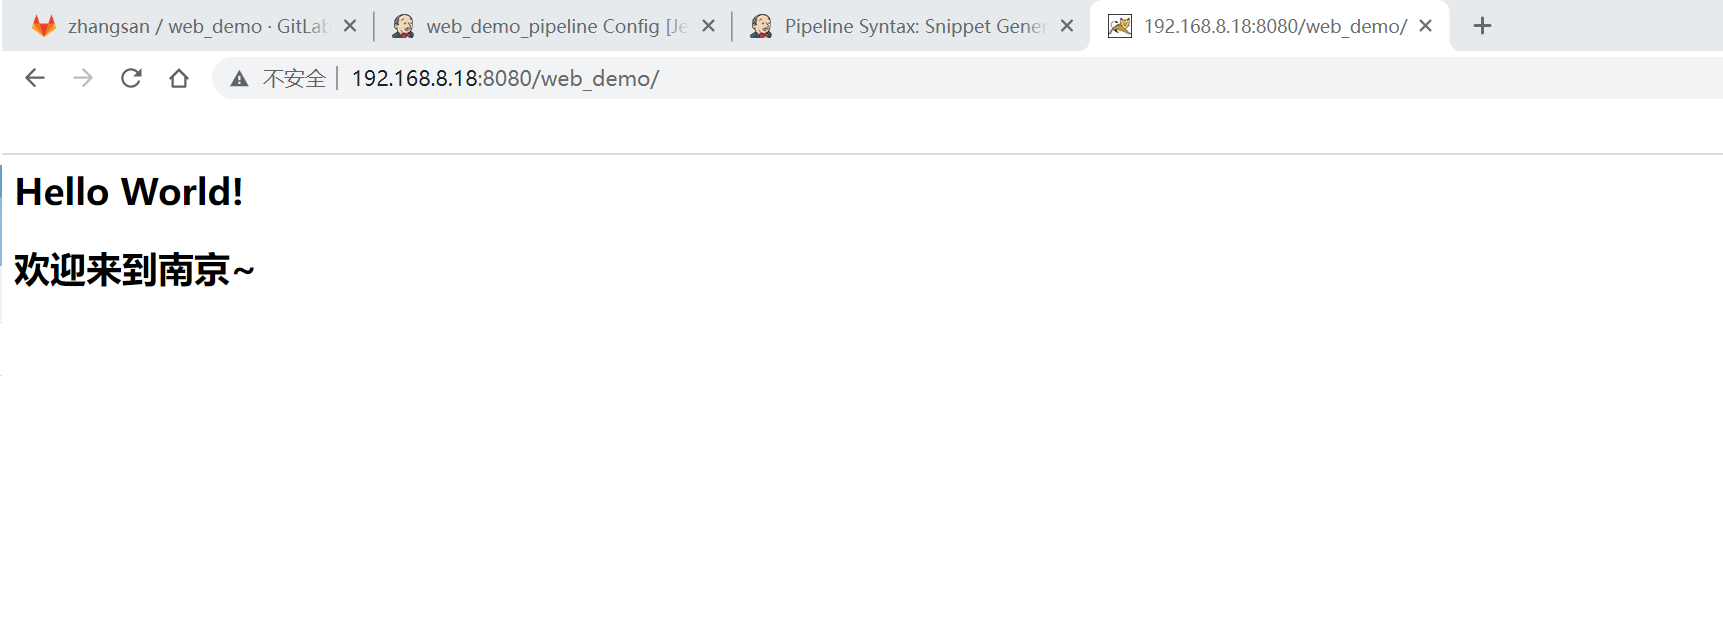
Build complete
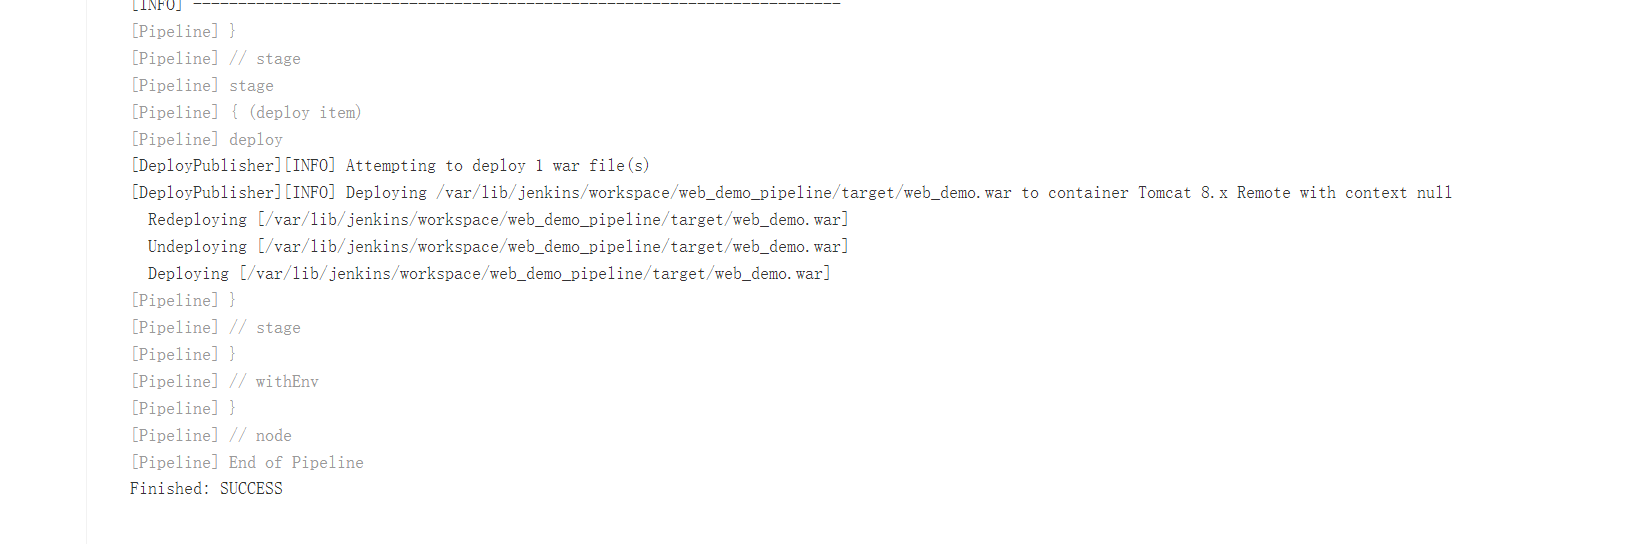
Visit Tomcat to view the release results. The following is the comparison between before and after