It is recommended to study official documents VUE2. Version 0 online document
1. About front and rear end separation
- The front-end html page calls the back-end restful API interface through ajax and interacts with json data
- The front-end server uses nginx/tomcat. The front-end / WEB server puts a series of static resources such as css, js, pictures, etc. the front-end server is responsible for controlling page reference, jump and routing
- The load pressure of the back-end server can be reduced because after separation; All http requests other than the interface are transferred to the front-end server
- Can quickly distinguish problems; Backend – > interface data error, data not submitted successfully, response timeout;
Front end - > page logic, jump error, browser compatibility problem, script error, page style problem - Even if the back-end service temporarily times out or goes down, the front-end page will be accessed normally
- nginx supports page hot deployment without restarting the server, and the front-end upgrade is more seamless
- Increase the maintainability and readability of the code; The interface can be shared completely. If there are mobile app related services, a large number of interfaces can be reused through some code reconstruction to improve development efficiency
- Deploy certificates in nginx. The external network uses https for access, and only ports 443 and 80 are open. All other ports are closed (to prevent hacker port scanning). The internal network uses http, and the performance and security are guaranteed
MVVM architecture
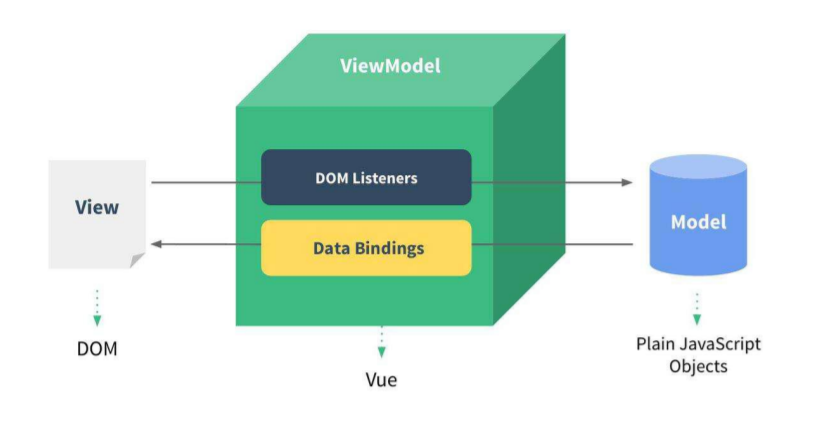
2. vue basic learning
A progressive framework for building user interfaces Unlike other large frameworks, Vue is designed to be applied layer by layer from bottom to top. Vue's core library; It only focuses on the view layer;
For basic learning, it is recommended to follow the official documents; - > VUE2. Version 0 online documentation
Previously, there were also notes on Vue basic introduction learning recorded in station B - > Learning Vue entry notes at station B
For example, the v-for instruction, I tried a double loop this time;
<!DOCTYPE html>
<html>
	<head>
		<meta charset="utf-8">
		<title></title>
		<!-- js deploy -->
		<script src="./js/vue.js"></script>
	</head>
	<body>
		<div id="demo">
			<table border="1">
				<th>number</th>
				<th>full name</th>
				<th>Age</th>
				<th>company ID</th>
				<th>department</th>
				<tr v-for="(u,index) in uus">
					<td>{{index+1}}</td>
					<td>{{u.name}}</td>
					<td>{{u.age}}</td>
					<td><span v-for="a in u.arr">{{a.id}}  </span></td>
					<td><span v-for="a in u.arr">{{a.part}}  </span></td>
				</tr>
			</table>
		</div>

		<script type="text/javascript">
			var demp = new Vue({
				el:'#demo',
				data:{
					uus:[
						{name:'Small Q',age:'20',arr:[{id:1,part:'Q Foundation'},{id:2,part:'QQ Foundation'}]},
						{name:'Small W',age:'22',arr:[{id:1,part:'W Foundation'}]},
						{name:'Small e',age:'23',arr:[{id:1,part:'E Foundation'}]}
					],

				}
			})
		</script>
	</body>
</html>
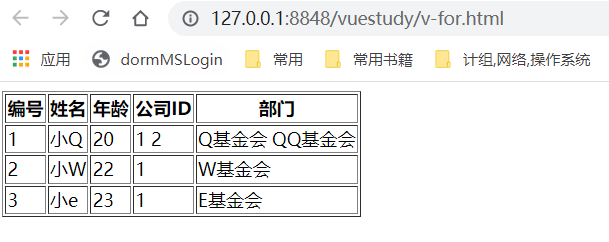
3. Vue cli construction project
vue cli is equivalent to scaffold, which is used to quickly generate a vue project template; Predefined directory structure and basic code;
The main functions include generating a unified directory structure; Local commissioning and project testing can be carried out; Hot deployment (timely update; avoid repeated server startup); Rapid integration and packaging;
Node.js is equivalent to JavaScript running on the server. Event driven I/O server JavaScript environment, based on Google V8 engine
npm is node JS package management tool for installing various nodes JS extension
JavaScript package management tool is also the world's largest software registry.
Here I put the last node js 16.11. Version 1 is uninstalled; Installed 13.14 Version of 0;
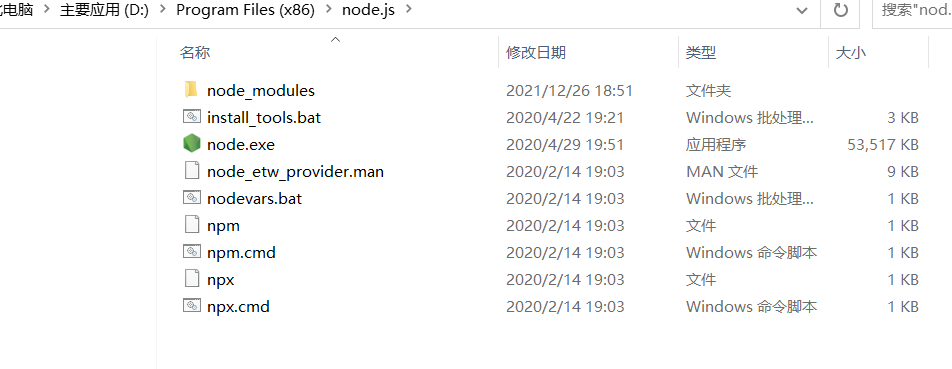
HBuilderX is the tool used to build Vue cli project this time; Please update HBuilderX to version 3 or above first;

Create basic vue projects; The words of this study; Only learning version 2;
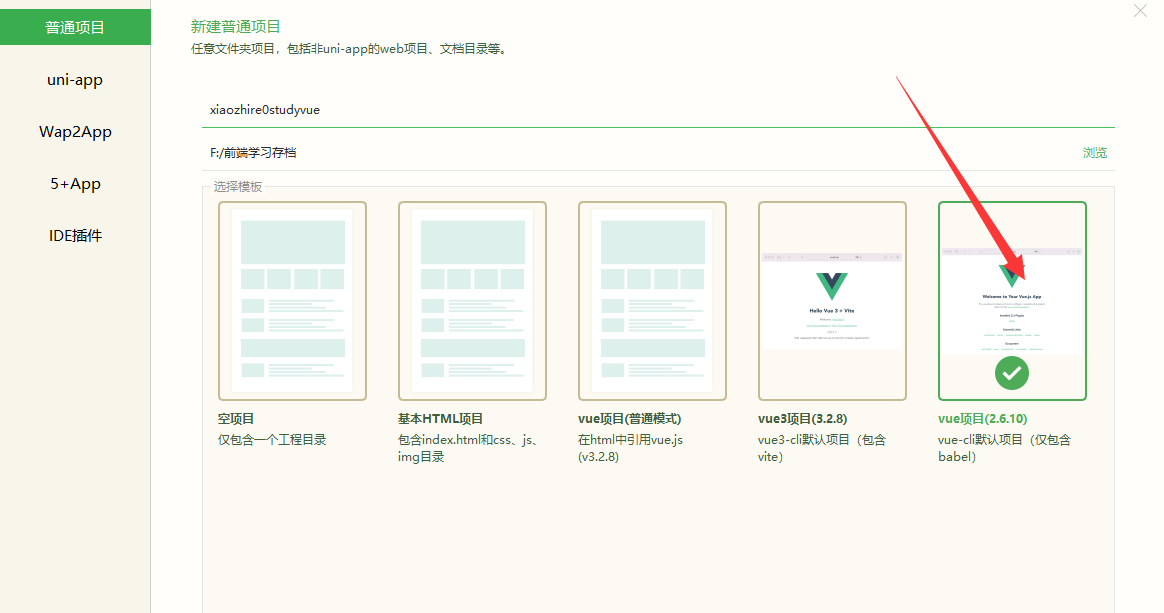
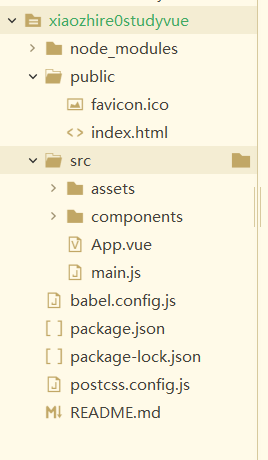
After selecting an item, click to open the terminal command window;
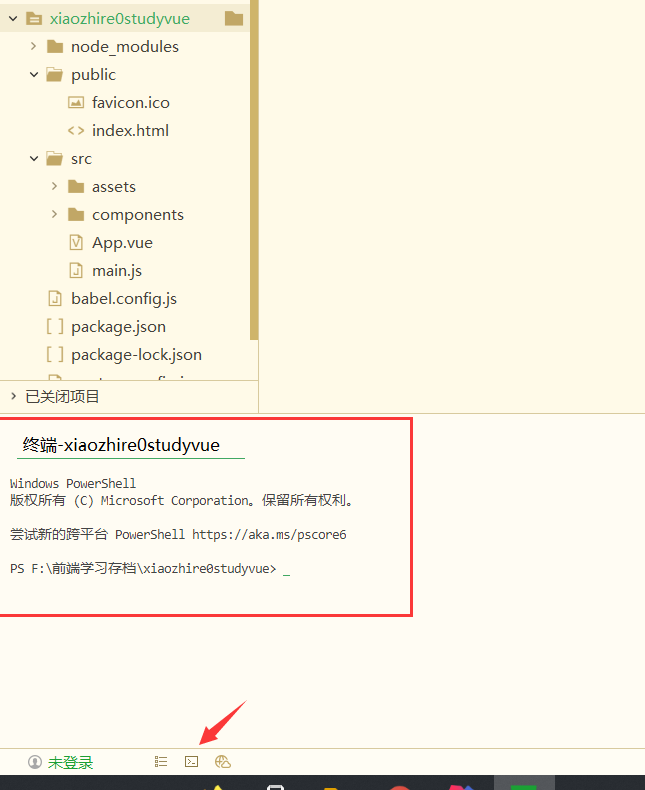
Enter the command npm run serve to run the local server of the project; In case of abnormality; You can go to the desktop first, right-click the HbuilderX tool, and select run as administrator
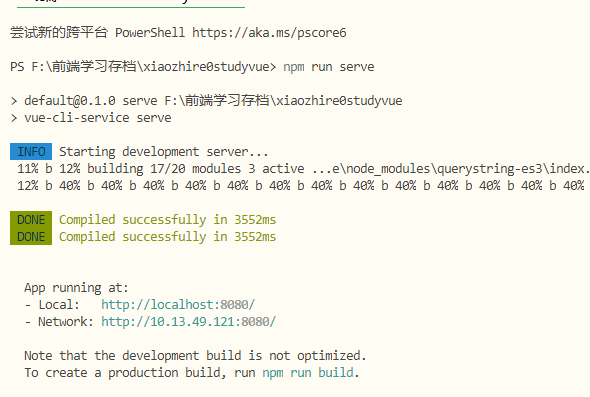
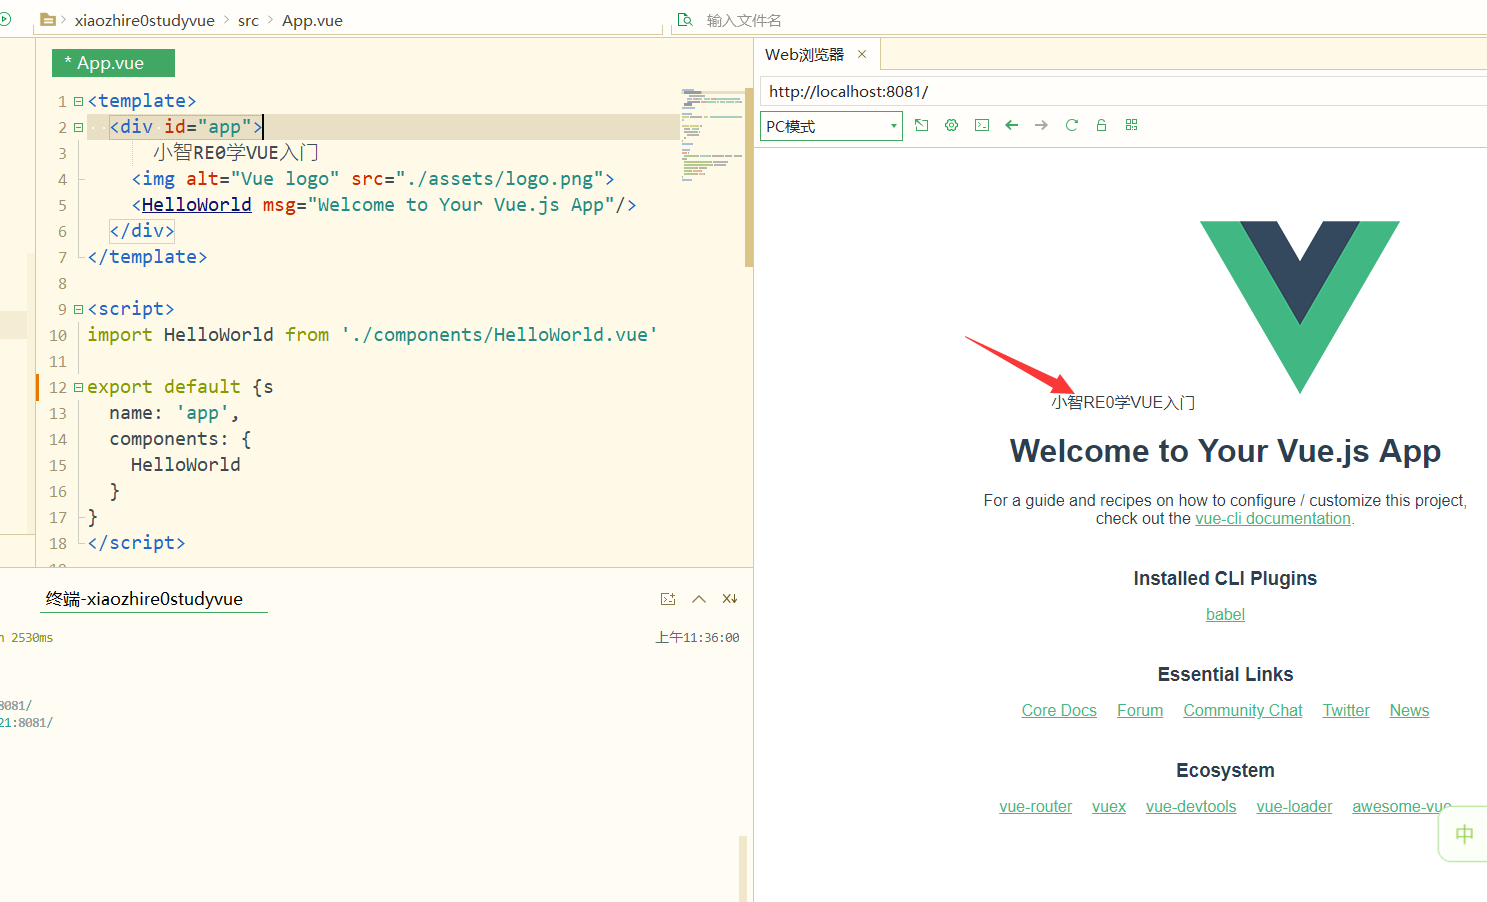
Access the generated link to open the page
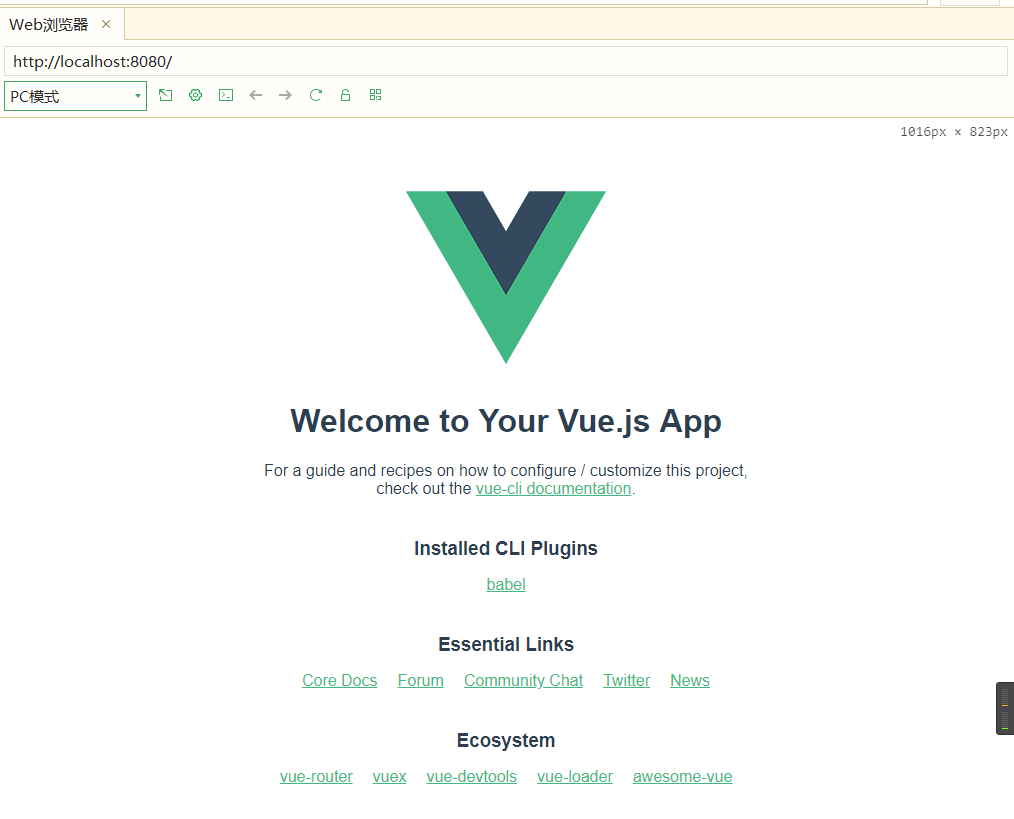
On app Update page information in Vue; Do not restart the server, save and update the code in time;
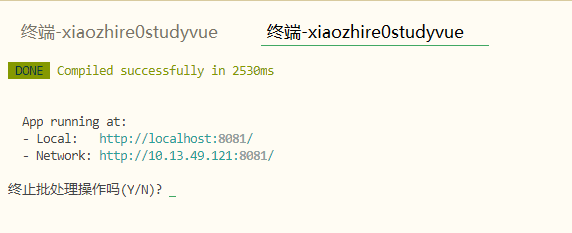
To stop the service; Ctrl+c in the terminal command window; Enter Y
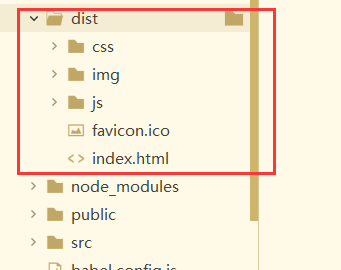
Enter npm run build in the command window to package the project;
Generate dist folder, i.e. packaged files;
4. Page routing
Download the routing plug-in package using the terminal command
npm install vue-router --save-dev
First, create a directory router under the src directory of the project to store routes; Directory view stores components (pages);
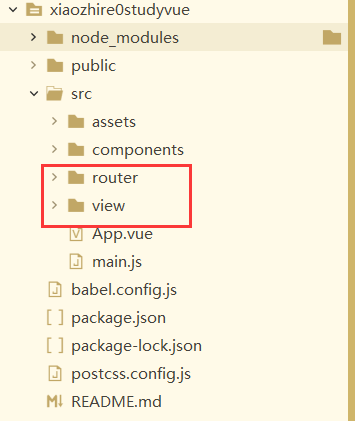
Create a simulated Login page and main page in the view directory
Login.vue
<template>
	<div>
		This is the simulated Login page
	</div>
</template>

<script>
</script>

<style>
</style>
Main.vue
<template>
	<div>
		This is the simulation main page
	</div>
</template>

<script>
</script>

<style>
</style>
Create index. In router directory js; Configure routing
import Vue from 'vue';
import router from 'vue-router'; /* Import route */
import login from '../view/Login.vue'; /* Import other pages */
import main from '../view/Main.vue'; /* Import other pages */
Vue.use(router)
/* Define component routing */
var rout = new router({
     routes: [
				{
                  path: '/login',
                  name: 'index',
                  component: login
                },
               {
                  path: '/main',
                  component: main
                  }
              ]
});
//Export route;
export default rout;
In main Configure import route in JS
import Vue from 'vue'
import App from './App.vue'
//Import route;
import router from './router'
//Use routing;
Vue.use(router);
Vue.config.productionTip = false

new Vue({
  render: h => h(App),
  router,
}).$mount('#app')
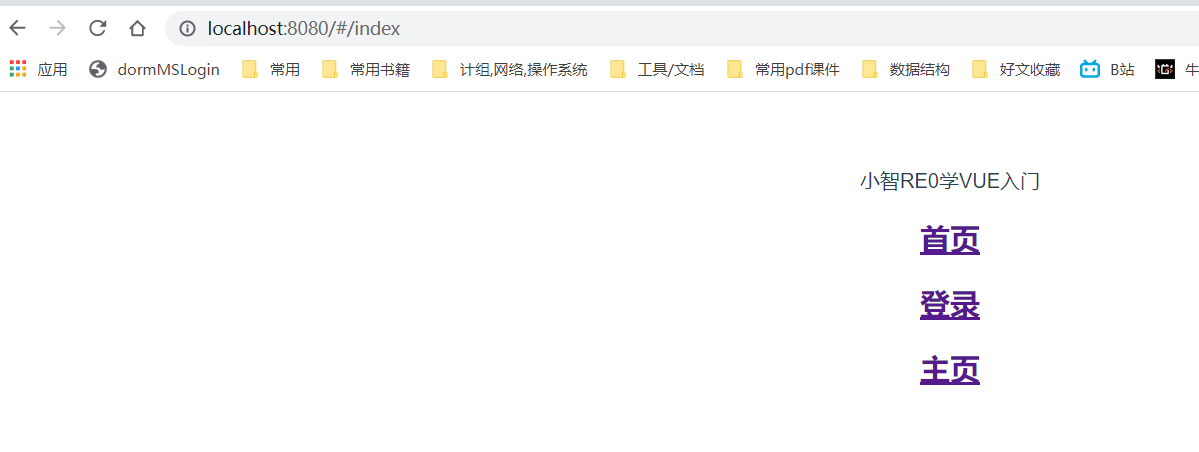
On app Configuring routing links in Vue
<template>
  <div id="app">
	  Xiao Zhi RE0 learn VUE introduction
	  <h2><router-link to="/index">home page</router-link></h2>
	  <h2><router-link to="/login">Sign in</router-link></h2>
	  <h2><router-link to="/main">homepage</router-link></h2>
	  <router-view/>
  </div>
</template>

<script>
import HelloWorld from './components/HelloWorld.vue'

export default {
  name: 'app',
  components: {
    HelloWorld
  }
}
</script>

<style>
#app {
  font-family: 'Avenir', Helvetica, Arial, sans-serif;
  -webkit-font-smoothing: antialiased;
  -moz-osx-font-smoothing: grayscale;
  text-align: center;
  color: #2c3e50;
  margin-top: 60px;
}
</style>
Start the server link;
Try using
5.ElementUI
Input the command at the terminal command; Install package
npm i element-ui -S
In main JS to import and use ElementUI components
//Import using ElementUI;
import ElementUI from 'element-ui';
import 'element-ui/lib/theme-chalk/index.css';
Vue.use(ElementUI);
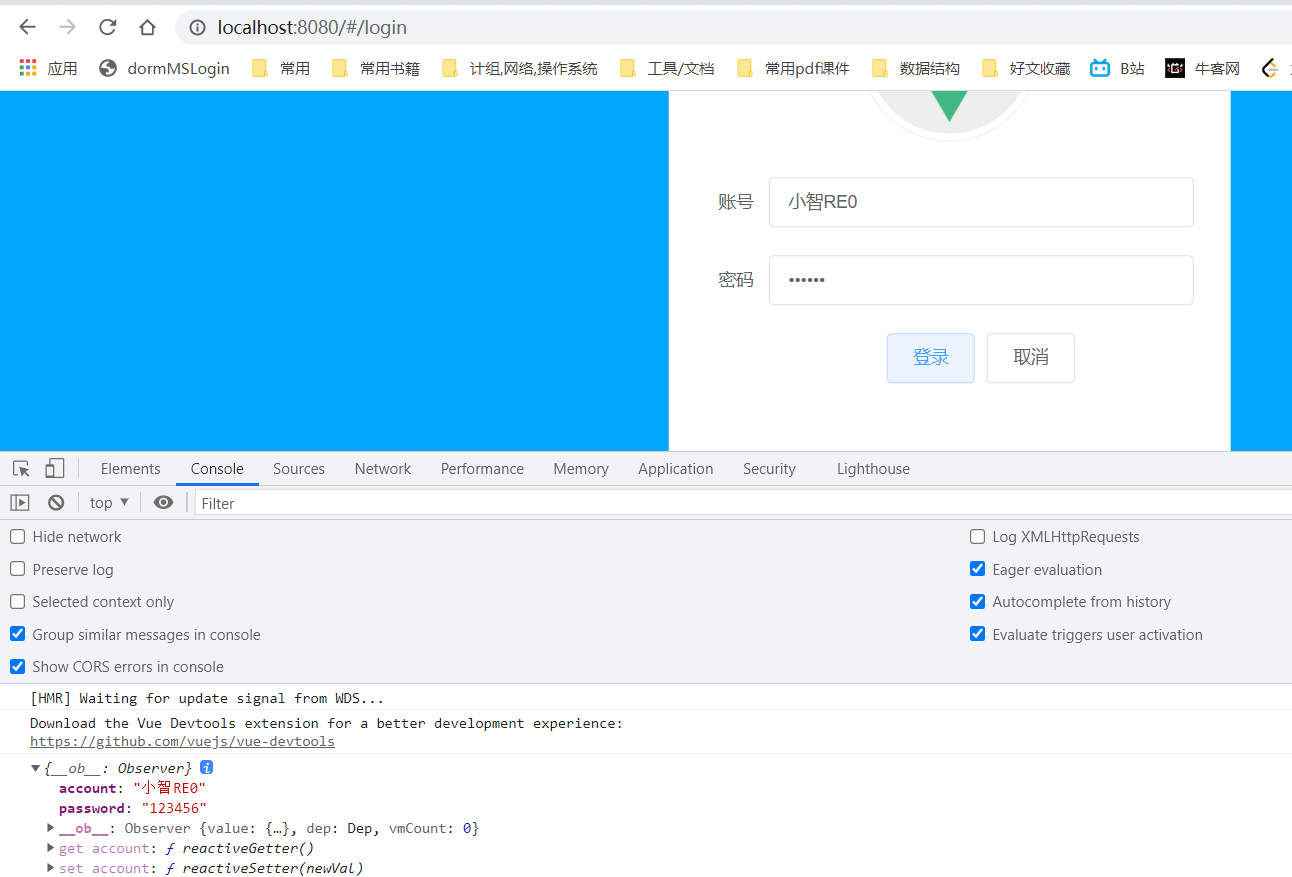
Try importing using on the login page
Login.vue
<template>
  <div class="login_container">
     <!-- Login box-->
     <div class="login_box">
          <!-- Avatar box-->
          <div class="img_box">
                <img src="../assets/logo.png" />
          </div>
        <div style="margin-top: 100px; padding-right: 30px;">
			<!-- login form -->
			 <el-form ref="form" :model="form" label-width="80px">
			   <el-form-item label="account number">
			     <el-input v-model="form.account"></el-input>
			   </el-form-item>
			   <el-form-item label="password">
			     <el-input type="password" v-model="form.password"></el-input>
			   </el-form-item>

			   <el-form-item>
			     <el-button type="primary" plain @click="login()">Sign in</el-button>
			     <el-button>cancel</el-button>
			   </el-form-item>
			 </el-form>
		</div>
     </div>
  </div>
</template>

<script>
	export default{
		data:function(){
			return{
				form:{
					account:"",
					password:""
				}
			}
		},
		methods:{
		  login(){
			  console.log(this.form)
		  }
		}
	}
</script>

<style>
  html,body,#app,.login_container{
    height: 100%;
    margin: 0px;
    padding: 0px;
  }

    .login_container{
      background-color: #00a7fa;
    }

    .login_box{
      width: 450px;
      height: 350px;
      background-color: #fff;
      border-radius: 10px;
      position: absolute;
      left: 50%;
      top: 50%;
      transform: translate(-50%,-50%);
    }

    .img_box{
       width: 130px;
       height: 130px;
       position: absolute;
       left: 50%;
       transform: translate(-50%,-50%);
       background-color: #fff;
       border-radius: 50%;
       padding: 5px;
       border: 1px solid #eee;
    }

    .img_box img{
         width: 100%;
         height: 100%;
         border-radius: 50%;
         background-color: #eee;
     }
</style>
Start using to see the effect
6.Axios asynchronous communication
Axios asynchronous communication can be regarded as Ajax learned before;
It is the network request Library of HTTP
Axios official website address
Installing the axios package using terminal commands
npm install axios
In main Import and use axios in JS; And globally configure the web address of the back-end server;
//Import and use axios;
import axios from 'axios';
//Set access background server address
axios.defaults.baseURL="http://127.0.0.1:5277/api/";
//Mount axios to
Vue.prototype.$http=axios;
It needs to be written in the js tag block of the login component page
<script>
	export default{
		data:function(){
			return{
				form:{
					account:"",
					password:""
				}
			}
		},
		methods:{
		  login(){
			  //console.log(this.form);
			  //Try to send axios request to the back end and get the response data;
			  this.$http.post("login/login",this.form).then(function(resp){
				  //Output echoed data;
				  console.log(resp);
			  })
		  }
		}
	}
</script>
Note that it should correspond to the path interface of the back end;
This involves cross domain issues;
/**
 * @author by @CSDN Xiaozhi RE0
 * @date 2021-12-27
 *
 */
@RestController
@RequestMapping(value = "/api/login")
public class LoginController {

    //Cross domain reception;
    @CrossOrigin("http://localhost:8080/")
    @RequestMapping(value = "/login")
    public String login(@RequestBody User user){
        System.out.println(user);
        return "Prompt for successful login";
    }
}
Start the front-end vue project; Start the back-end project;
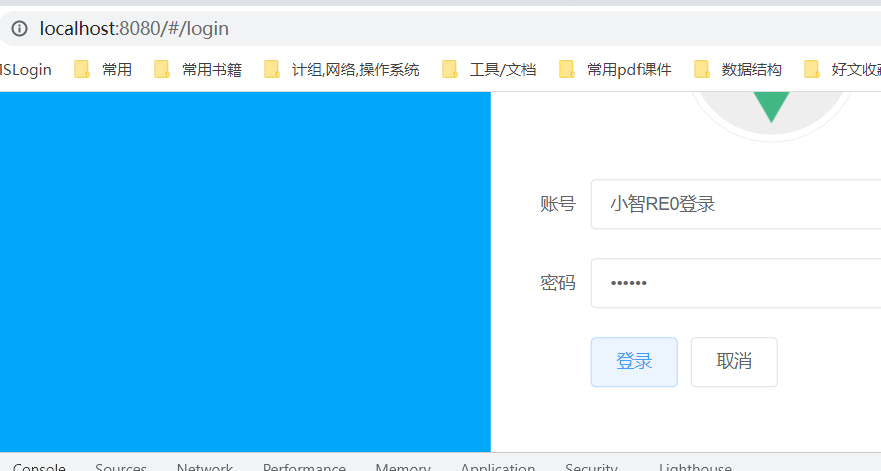
Passed data received

