1, Exclusive thought
1. Exclusivity:
If there is the same group of elements, we need to use the exclusive idea algorithm of loop if we want an element to implement a certain style
- Clear all elements (kill others)
- Style the current element (leave me alone)
- Note that the order cannot be reversed. Kill others first, and then set yourself
(1) Sample code
<button>Button 1</button>
    <button>Button 2</button>
    <button>Button 3</button>
    <button>Button 4</button>
    <button>Button 5</button>
    <script>
        // 1. Get all button elements
        var btns = document.getElementsByTagName('button');
        // btns gets every element in the pseudo array btns[i]
        for (var i = 0; i < btns.length; i++) {
            btns[i].onclick = function() {
                // (1) Let's remove all the button background colors and kill everyone
                for (var i = 0; i < btns.length; i++) {
                    btns[i].style.backgroundColor = '';
                }
                // (2) Then let the current element background color be pink, leaving me
                this.style.backgroundColor = 'pink';

            }
        }
    </script>

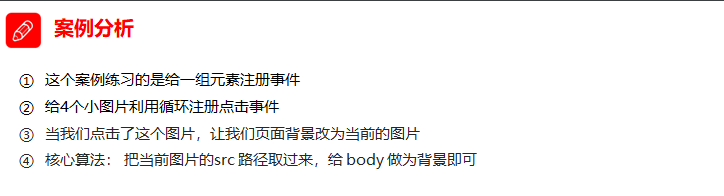
(2) Case: Baidu skin change

<body>
    <ul class="baidu">
        <li><img src="images/1.jpg"></li>
        <li><img src="images/2.jpg"></li>
        <li><img src="images/3.jpg"></li>
        <li><img src="images/4.jpg"></li>
    </ul>
    <script>
        // 1. Get element
        var imgs = document.querySelector('.baidu').querySelectorAll('img');
        // console.log(imgs);
        // 2. Circular registration event
        for (var i = 0; i < imgs.length; i++) {
            imgs[i].onclick = function() {
                // this.src is the path where we click images / 2 jpg
                // console.log(this.src);
                // Put this path this Just give SRC to the body
                document.body.style.backgroundImage = 'url(' + this.src + ')';
            }
        }
    </script>
</body>
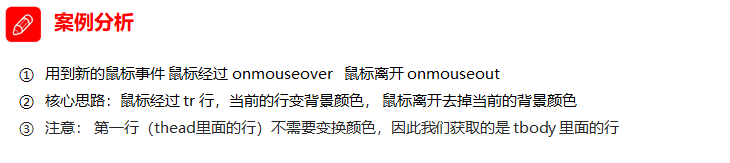
(3) Case: interlaced discoloration

<script>
        // 1. Get elements get all the lines in tbody
        var trs = document.querySelector('tbody').querySelectorAll('tr');
        // 2. Register events with circular binding
        for (var i = 0; i < trs.length; i++) {
            // 3. Mouse over event onmouseover
            trs[i].onmouseover = function() {
                    // console.log(11);
                    this.className = 'bg';
                }
                // 4. Mouse leaving event onmouseout
            trs[i].onmouseout = function() {
                this.className = '';
            }
        }
    </script>
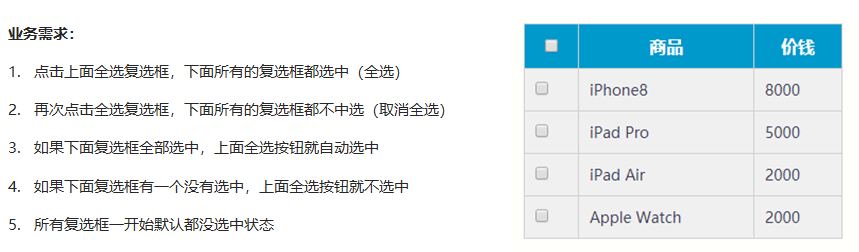
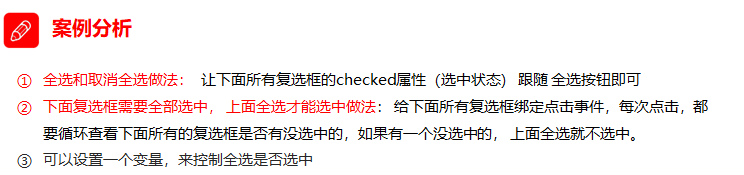
(4) Select all
<script>
        // 1. Select all and deselect all: let the checked attribute (selected status) of all the check boxes below follow the select all button
        // Get element

        var j_cbAll = document.getElementById('j_cbAll');
        var j_tbs = document.getElementById('j_tb').getElementsByTagName('input');
        // Select all button to register events
        j_cbAll.onclick = function() {
                // this.checked the selected status of the current check box
                console.log(this.checked);
                for (var i = 0; i < j_tbs.length; i++) {
                    j_tbs[i].checked = this.checked;
                }
         }
         // Register click events for all child checkboxes
        for (var i = 0; i < j_tbs.length; i++) {
            j_tbs[i].onclick = function() {
                // flag controls whether the select all button is selected
                var flag = true;
                // Each time you click the check box below, you will cycle to check whether all four small buttons are selected
                for (var i = 0; i < j_tbs.length; i++) {
                    if (!j_tbs[i].checked) {
                        flag = false;
                        break;
                    }
                }
                // Sets the status of the select all button
                j_cbAll.checked = flag;
            }
        }
    </script>
2. Custom attribute action
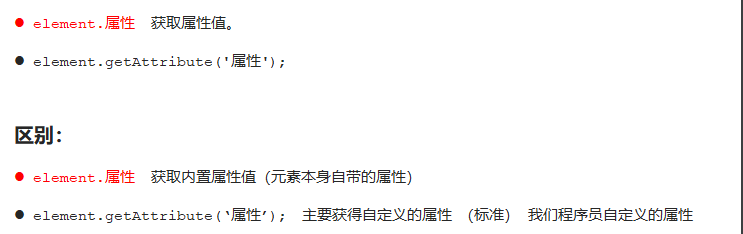
2.1. Get custom attribute value:
 <div id="demo" index="1" class="nav"></div>
    <script>
        var div = document.querySelector('div');
        // 1. Get the attribute value of the element
        // (1) element. attribute
        console.log(div.id);
        //(2) element.getAttribute('attribute ') get the meaning of getting attribute attribute. The attribute added by our programmers is called user-defined attribute index
        console.log(div.getAttribute('id'));
        console.log(div.getAttribute('index'));
	</script>
2.2. Set custom attribute value:
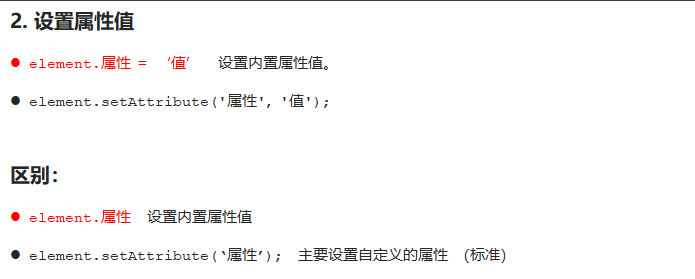
 // 2. Set element attribute value
        // (1) element. Attribute = 'value'
        div.id = 'test';
        div.className = 'navs';
        // (2) element.setAttribute('attribute ',' value '); Mainly for custom attributes
        div.setAttribute('index', 2);
        div.setAttribute('class', 'footer'); // class is special. What's written here is
2.3. Move out attribute

 // 3 remove the attribute removeattribute (attribute)
 div.removeAttribute('index');
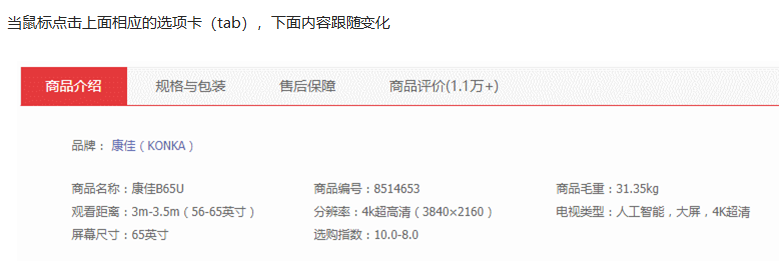
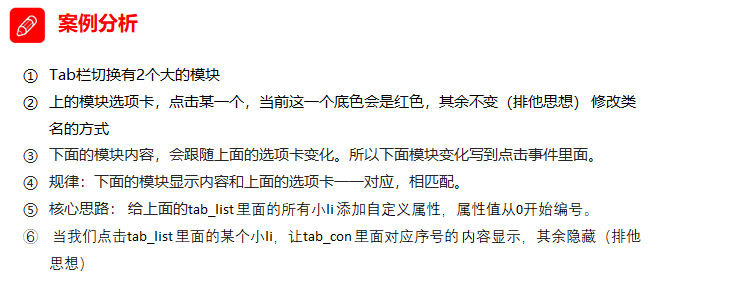
2.4. Case: tab column
<script>
        // Get element
        var tab_list = document.querySelector('.tab_list');
        var lis = tab_list.querySelectorAll('li');
        var items = document.querySelectorAll('.item');
        // for loop to bind click events to tabs
        for (var i = 0; i < lis.length; i++) {
            // Start setting index numbers for the five small li
            lis[i].setAttribute('index', i);
            lis[i].onclick = function() {
                // 1. On the module tab, the current background color will be red, and the rest will remain unchanged (exclusive thought)
                // Kill everyone else and clear the class
                for (var i = 0; i < lis.length; i++) {
                    lis[i].className = '';
                }
                // Leave me alone
                this.className = 'current';
                // 2. The following display content module
                var index = this.getAttribute('index');
                console.log(index);
                // Kill everyone and let the rest of the item s hide these div s
                for (var i = 0; i < items.length; i++) {
                    items[i].style.display = 'none';
                }
                // Leave me to display the corresponding item
                items[index].style.display = 'block';
            }
        }
    </script>
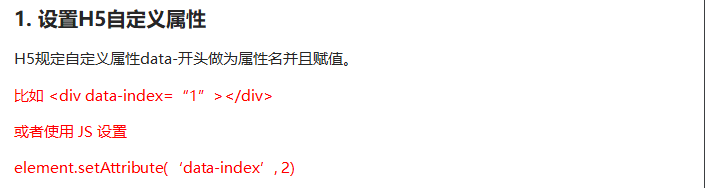
3. H5 custom attributes
- Custom attribute purpose: to save and use data. Some data can be saved to the page instead of the database.
- The custom attribute is obtained through getAttribute('attribute ').
- However, some custom attributes are easy to cause ambiguity, and it is not easy to judge whether they are built-in attributes or custom attributes of elements.
(1) H5 adds custom attributes to us:

(2) Code
<div getTime="20" data-index="2" data-list-name="andy"></div>
    <script>
        var div = document.querySelector('div');
        // console.log(div.getTime);
        console.log(div.getAttribute('getTime'));
        div.setAttribute('data-time', 20);
        console.log(div.getAttribute('data-index'));
        console.log(div.getAttribute('data-list-name'));
        // h5 is a new method to get custom attributes. It can only get the attributes beginning with data -
        // dataset is a collection containing all custom attributes starting with data
        console.log(div.dataset);
        console.log(div.dataset.index);
        console.log(div.dataset['index']);
        // If there are multiple - linked words in the custom attribute, we use the hump naming method when obtaining them
        console.log(div.dataset.listName);
        console.log(div.dataset['listName']);
    </script>
3. Node operation
3.1 nodes
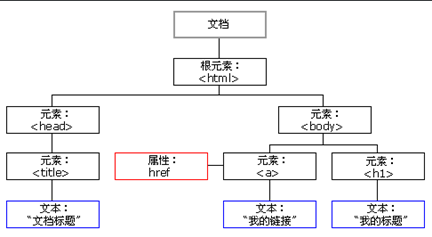
-
All contents in a web page are nodes (labels, attributes, text, comments, etc.), and nodes are represented by nodes in DOM
-
All nodes in the HTML DOM tree can be accessed through JavaScript, and all HTML elements (nodes) can be modified, created or deleted.
-
Generally, a node has at least three basic attributes: nodeType, nodeName, and nodeValue
3.2 node level:
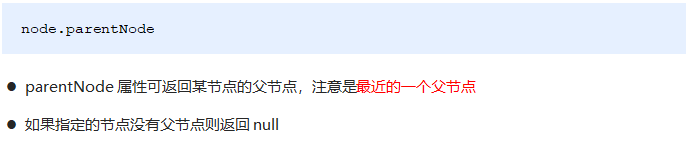
(1) Parent node
<div class="demo">
        <div class="box">
            <span class="erweima">×</span>
        </div>
    </div>
    <script>
        // 1. Parent node
        var erweima = document.querySelector('.erweima');
        // var box = document.querySelector('.box');
        // The result is the parent node closest to the element (parent). If the parent node cannot be found, it will return null
        console.log(erweima.parentNode);
    </script>
(2) Child node
<ul>
<li>I am li</li>
<li>I am li</li>
<li>I am li</li>
<li>I am li</li>
</ul>
<script>
// DOM provides methods (API s) to get
var ul = document.querySelector('ul');
var lis = ul.querySelectorAll('li');
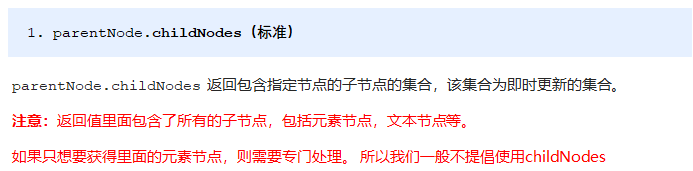
// 1. Child nodes all child nodes include element nodes, text nodes, etc
console.log(ul.childNodes);
console.log(ul.childNodes[0].nodeType);
console.log(ul.childNodes[1].nodeType);
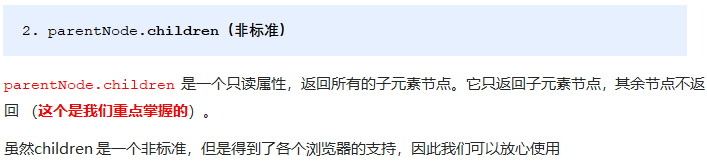
// 2. children's access to all sub element nodes is also commonly used in our actual development
console.log(ul.children);
</script>
- Get a child node

<ol>
<li>I am li1</li>
<li>I am li2</li>
<li>I am li3</li>
<li>I am li4</li>
<li>I am li5</li>
</ol>
<script>
var ol = document.querySelector('ol');
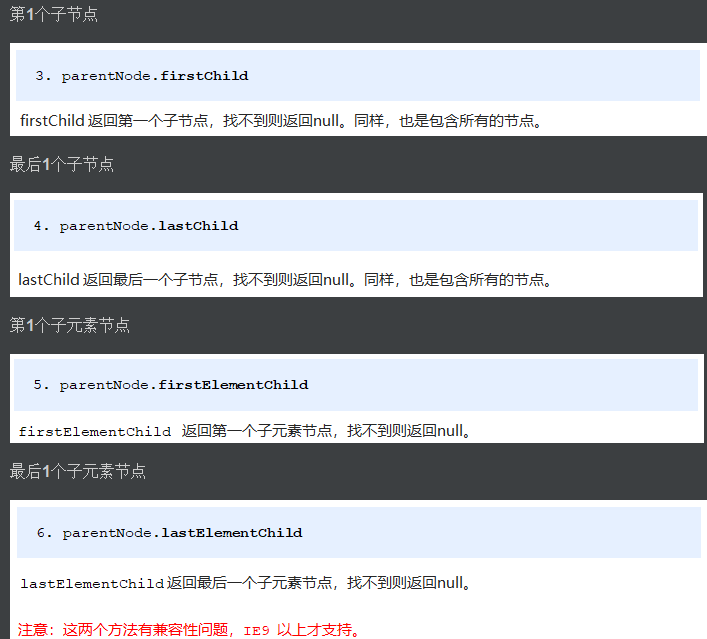
// 1. The first child node of firstchild is either a text node or an element node
console.log(ol.firstChild);
console.log(ol.lastChild);
// 2. firstElementChild returns the first child element node ie9 to support
console.log(ol.firstElementChild);
console.log(ol.lastElementChild);
// 3. The actual development method has no compatibility problem and returns the first child element
console.log(ol.children[0]);
console.log(ol.children[ol.children.length - 1]);
</script>
(3) Sibling node
<div>I am div</div>
    <span>I am span</span>
    <script>
        var div = document.querySelector('div');
        // 1. The next sibling node of nextsibling includes element node or text node, etc
        console.log(div.nextSibling);
        console.log(div.previousSibling);
        // 2. Nextlementsibling gets the next sibling element node
        console.log(div.nextElementSibling);
        console.log(div.previousElementSibling);
    </script>
(4) Create node

(5) Add node
<ul>
<li>123</li>
</ul>
<script>
// 1. Create node element node
var li = document.createElement('li');
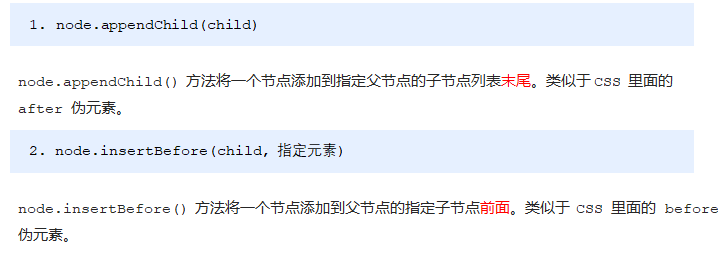
// 2. Add node AppendChild (child) node the parent child is the element appended to the child
var ul = document.querySelector('ul');
ul.appendChild(li);
// 3. Add node InsertBefore (child, specifies the element);
var lili = document.createElement('li');
ul.insertBefore(lili, ul.children[0]);
// 4. We want to add a new element to the page: 1 Create element 2 Add element
</script>
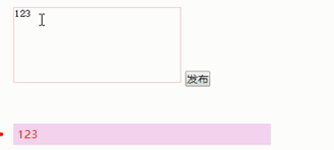
- Case: the simple version publishes a message and displays it
<body>
    <textarea name="" id=""></textarea>
    <button>release</button>
    <ul>

    </ul>
    <script>
        // 1. Get element
        var btn = document.querySelector('button');
        var text = document.querySelector('textarea');
        var ul = document.querySelector('ul');
        // 2. Registration event
        btn.onclick = function() {
            if (text.value == '') {
                alert('You have not entered anything');
                return false;
            } else {
                // console.log(text.value);
                // (1) Create element
                var li = document.createElement('li');
                // There must be li before assignment
                li.innerHTML = text.value;
                // (2) Add element
                // ul.appendChild(li);
                ul.insertBefore(li, ul.children[0]);
            }
        }
    </script>
</body>
Non original, knowledge porter on the network.