catalogue
1, Building a private warehouse in harbor
1. Upload dock compose and set permissions
3. Install harbor-offline-installer-v1.2.2
4. Configure the Harbo parameter file
6. View Harbor boot images and containers
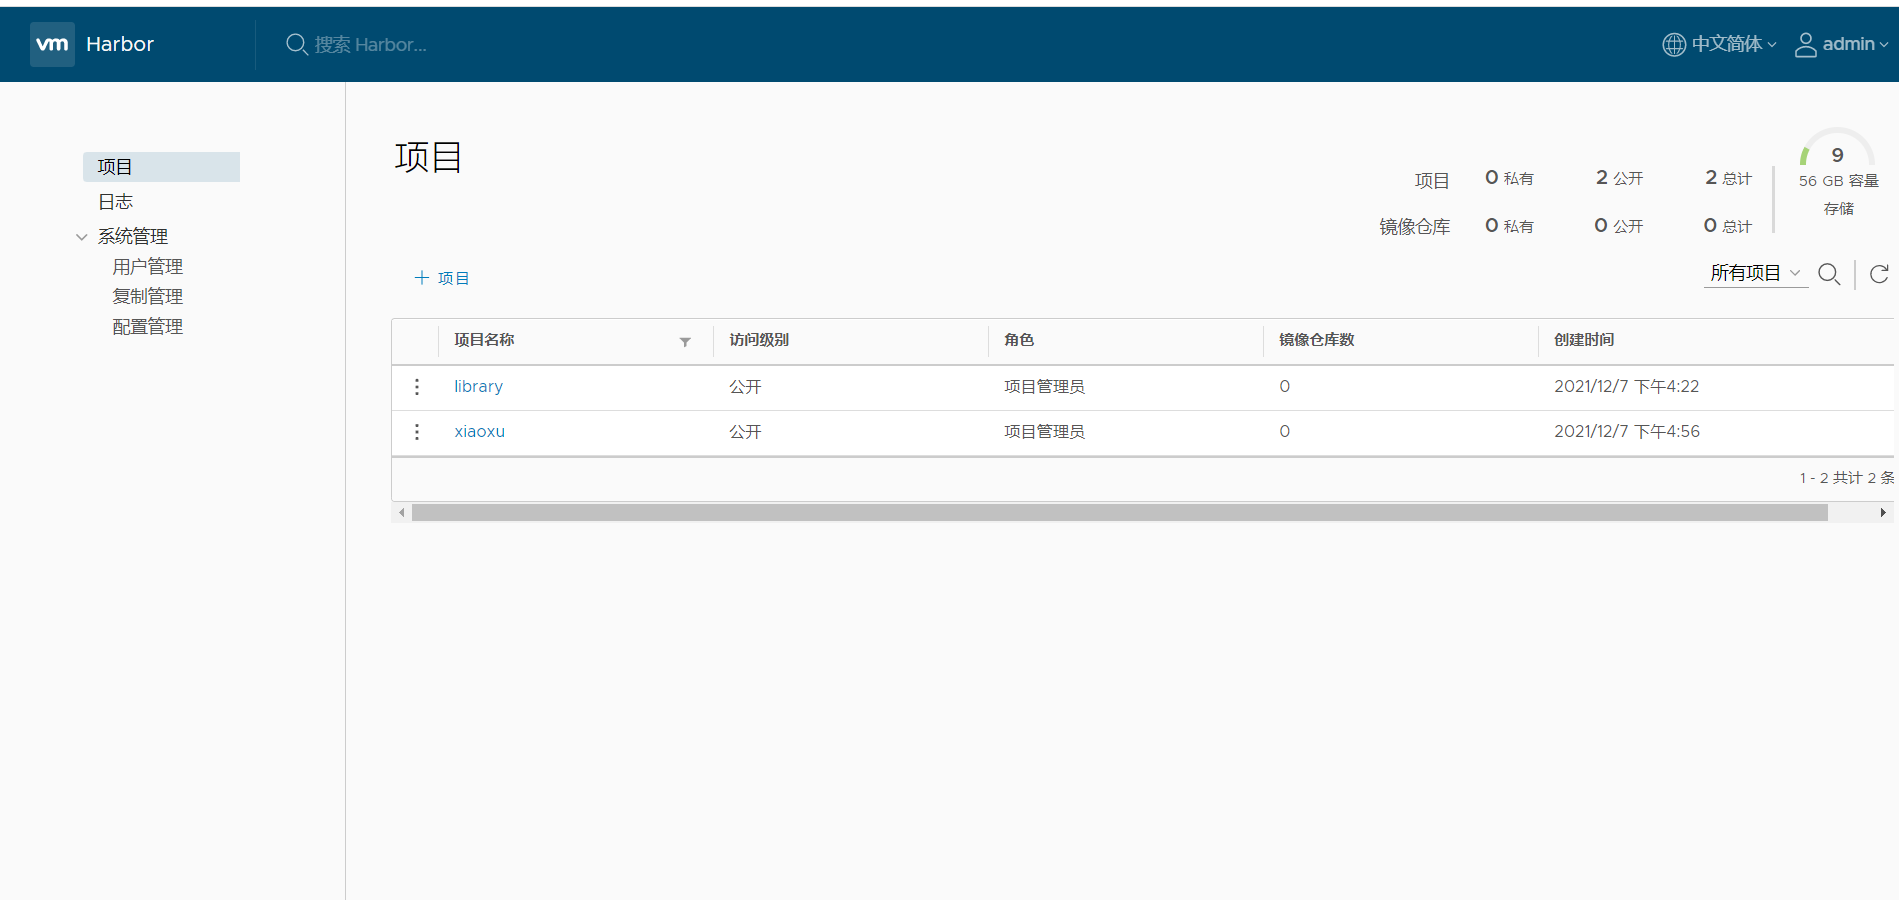
7. Create project in UI interface
8. Test warehouse function locally
9. On the client, upload the image
3, Maintenance management Harbor
1. Stop the existing Harbor instance
2. Modify the configuration file Harbor.cfg
3. Run the prepare script to populate the configuration
2. Operate on the client to delete the previously labeled image
3. Test whether the new user created can be used
4. Remove Harbor service container and all data
1, Introduction to harbor
Mirror based replication strategy; Support LDAP/AD domain and connect to the domain through VPN; Image deletion and garbage collection; Image UI, convenient; Audit, this function is rarely used. Generally, ELK is used to collect and analyze logs in enterprises; RESTful API
1, Building a private warehouse in harbor
1. Upload dock compose and set permissions
[root@harbor ~]# cd /usr/local/bin/
[root@harbor bin]# rz  -e
[root@harbor bin]# ls
docker-compose
[root@harbor bin]# chmod +x docker-compose
3. Install harbor-offline-installer-v1.2.2
[root@harbor bin]# cd /usr/local/
[root@harbor local]# rz -e
[root@harbor local]# tar zxvf harbor-offline-installer-v1.2.2.tgz
4. Configure the Harbo parameter file
[root@harbor local]# vim /usr/local/harbor/harbor.cfg

#Modify the fifth line
hostname = 192.168.29.77
5. Start Harbor
[root@harbor local]# cd /usr/local/harbor/
[root@harbor harbor]# ls
[root@harbor harbor]# sh install.sh
6. View Harbor boot images and containers
(1) View mirror
docker images
(2) Check whether the service container is open
cd /usr/local/harbor/
docker-compose ps
7. Create project in UI interface
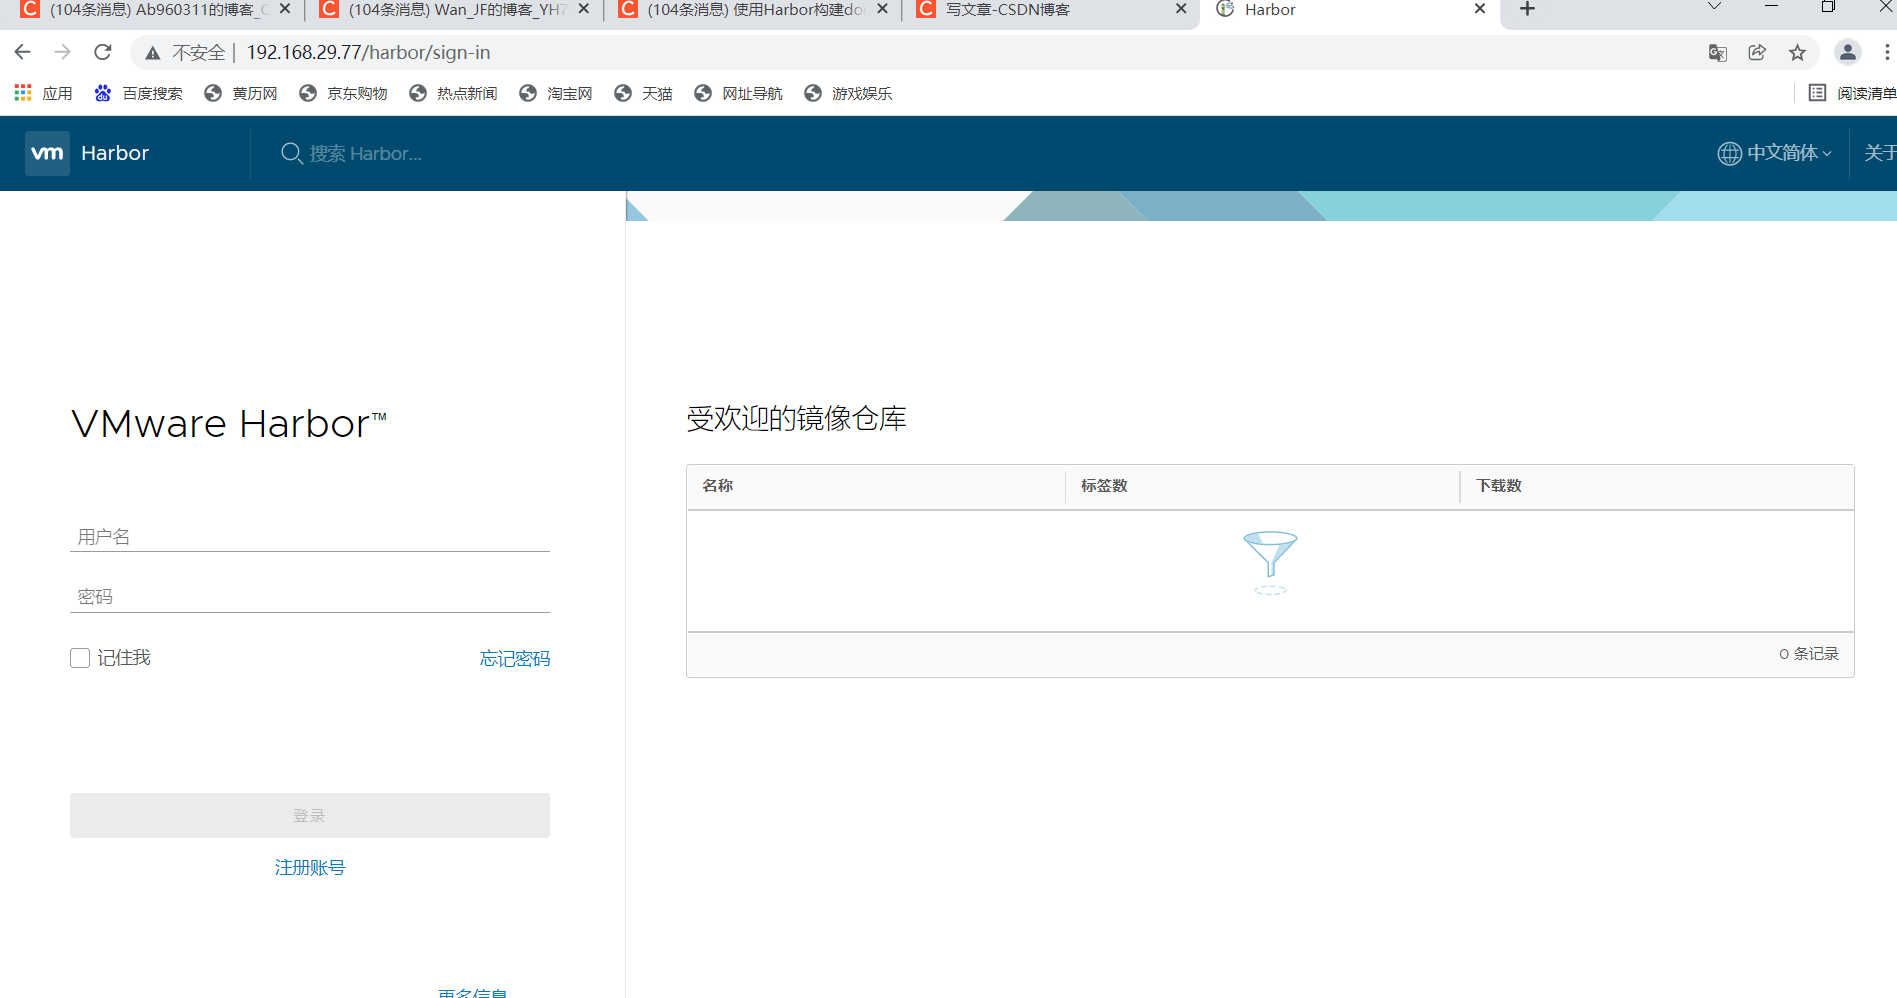
Browser access http://192.168.32.15 , the default administrator user name and password is admin/Harbor12345.
Interface after login:
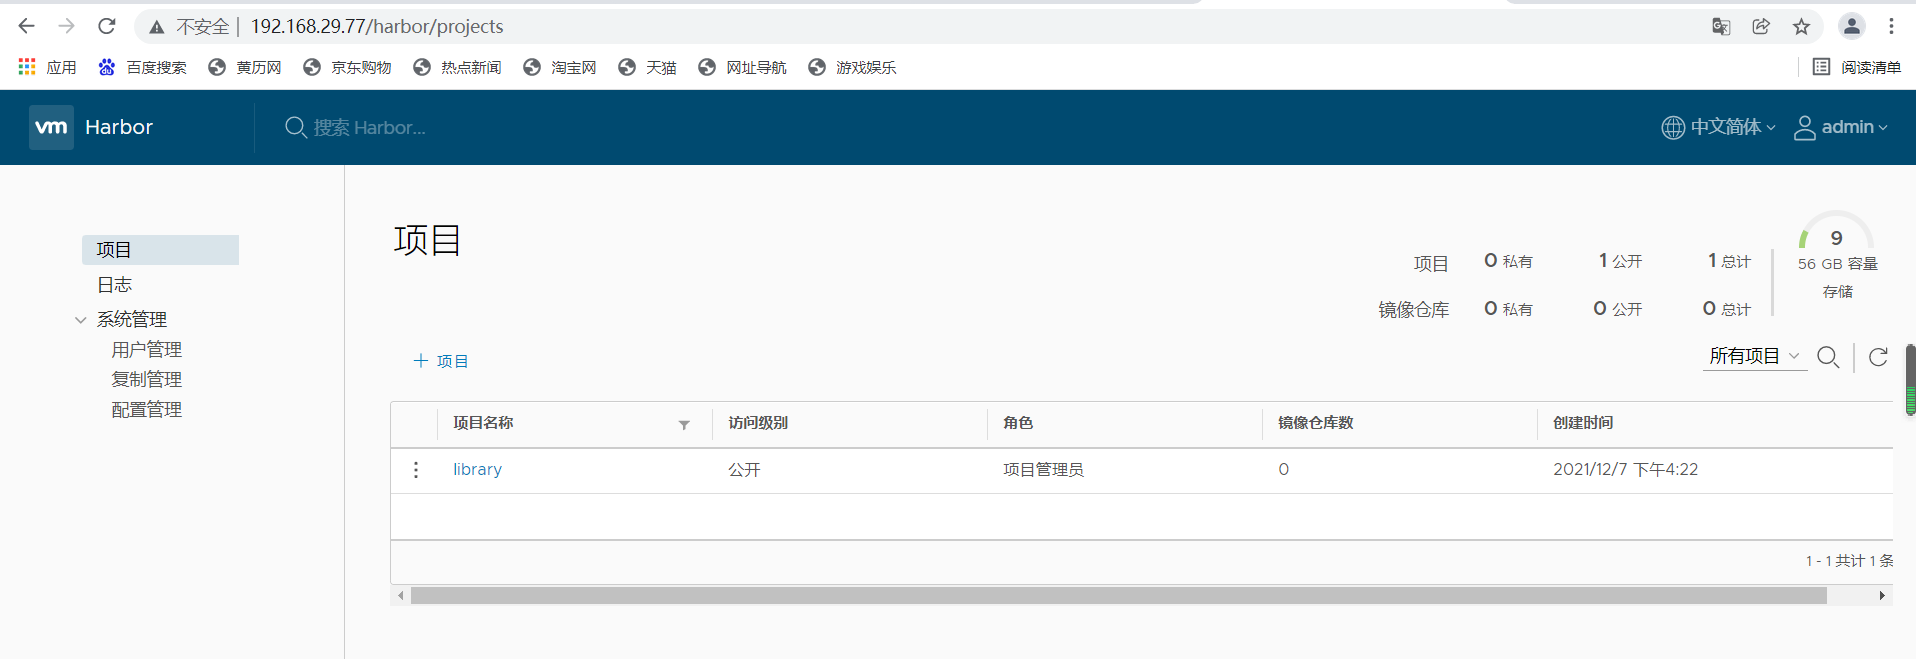
add item
8. Test warehouse function locally
At this time, you can use the Docker command to log in and push the image locally through 127.0.0.1. By default, the Register server listens on port 80.
(1) Log in to the local private warehouse
docker login -u admin -p Harbor12345 http://127.0.0.1
(2) Download the image for testing
docker pull nginx
(3) Image labeling
docker tag nginx 127.0.0.1/test_items/centos:nginx_v1
docker images
(4) Upload image to Harbor
docker push 127.0.0.1/test_items/centos:nginx_v1
9. On the client, upload the image
The above operations are performed locally on the Harbor server. If other clients upload images to Harbor, the following error will be reported. The reason for this problem is that HTTPS is used by default for Docker Registry interaction, but HTTP service is used by default for building private images. Therefore, the following errors occur when interacting with private images.
(1) Error phenomenon
docker login -u admin -p Harbor12345 http://192.168.29.77
(2) Solution
vim /usr/lib/systemd/system/docker.service
#Where to modify the content
......
ExecStart=/usr/bin/dockerd -H fd:// --insecure-registry 192.168.29.33 --containerd=/run/containerd/containerd.sock
......

#Restart service
systemctl daemon-reload
systemctl restart docker

#Log in again
docker login -u admin -p Harbor12345 http://192.168.29.33
(3) Upload image
#Download tomcat image
docker pull tomcat
docker images
#Label
docker tag tomcat 192.168.32.15/test_items/centos:tomcat_v1
#Upload to local warehouse
docker push 192.168.32.15/test_items/centos:tomcat_v1
3, Maintenance management Harbor
Harbor can use docker compose to manage harbor. Some useful commands are shown below and must be run in the same directory as docker-compose.yml.
Steps to modify the options required for the Harbor.cfg configuration file: to change the Harbor configuration file, first stop the existing Harbor instance and update Harbor.cfg; Then run the prepare script to populate the configuration; Finally, recreate and start the instance of Harbour.
1. Stop the existing Harbor instance
cd /usr/local/harbor/
docker-compose down -v
2. Modify the configuration file Harbor.cfg
cd /usr/local/harbor/
vim harbor.cfg
3. Run the prepare script to populate the configuration
cd /usr/local/harbor/
./prepare
4. Restart service
cd /usr/local/harbor/
docker-compose up -d
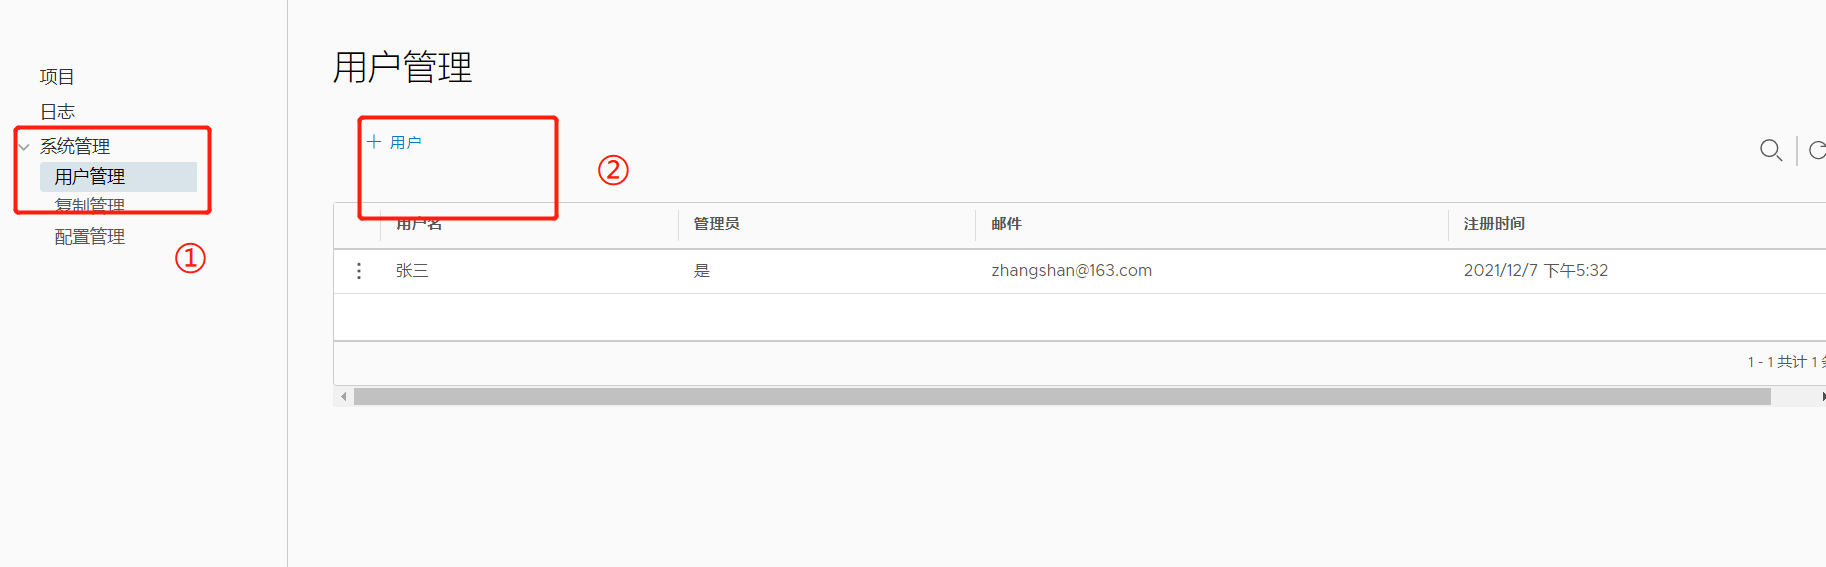
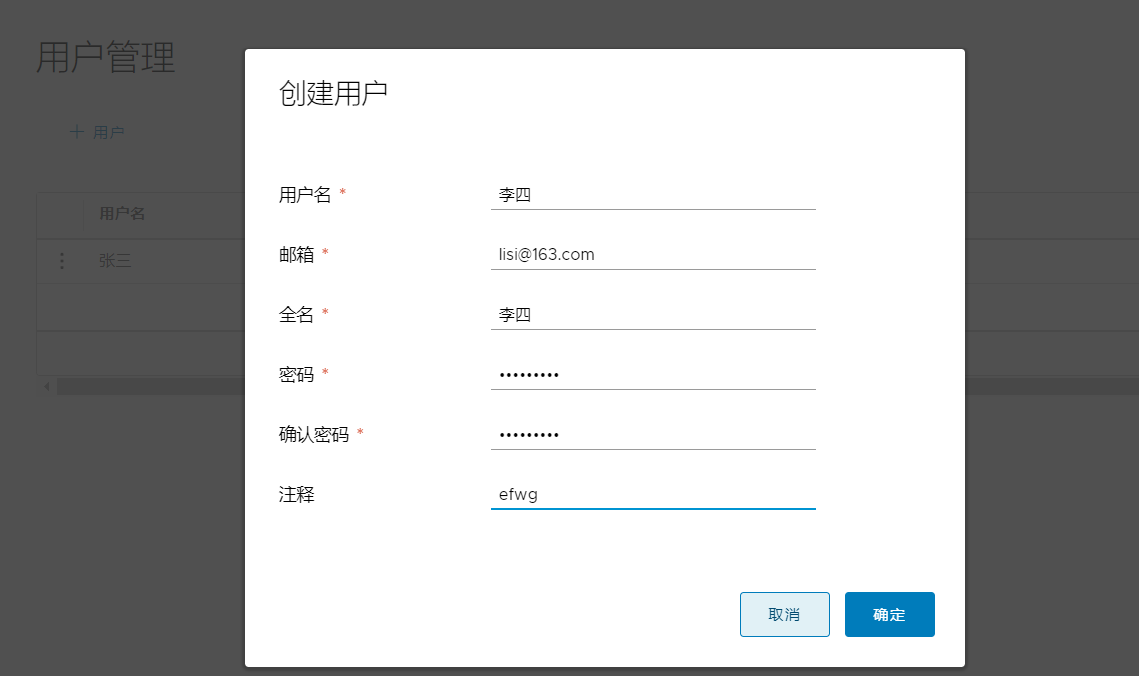
4, Create Harbor user
1. Create a new user
2. Operate on the client to delete the previously labeled image
docker rmi 192.168.29.77/test_items/centos:tomcat_v1
3. Test whether the new user created can be used
#Logout login
docker logout 192.168.29.77
#Log in to the private warehouse with the newly created user and password
docker login 192.168.29.77
Username: zhangsan
Password:                 #Input password
#View image (before downloading)
docker images
#Download Image from private warehouse
docker pull 192.168.29.77/test_items/centos:nginx_v1
#View image (after download)
docker images
4. Remove Harbor service container and all data
Remove the Harbor service container while retaining the mirrored data / database
1) Operate on Harbor server
cd /usr/local/harbor/
docker-compose down -v
(2) To redeploy, you need to remove all data of harbor service container, persistent data, such as image. The database is in the / data / directory of the host, and the log is in the / var/log/Harbor / directory of the host.