Tell us the steps of building your own. Follow the steps step by step, and you should be able to build it successfully
1. Things to be prepared and technology stack applied
| name | address | remarks |
|---|---|---|
| Alibaba cloud server | https://www.aliyun.com/activity/ambassador/share-gift?userCode=43qpsekg | Buy on demand |
| Java | Required for blog service operation | |
| docker | I use it to install MySQL | |
| halo | https://halo.run/ | Open source blog system |
| pagoda | https://www.bt.cn/?invite_code=MV96cHlqbnU= | The server builds a deployment platform and uses this tool to configure nginx reverse proxy |
2. ECs and environment preparation
2.1 purchasing servers
I bought a dual core 4G server for new users of double 11 before, but if I just build a blog, I don't need such good performance. It's enough to buy a single core 2G. This is a configuration I think is OK, or I can configure what I want.
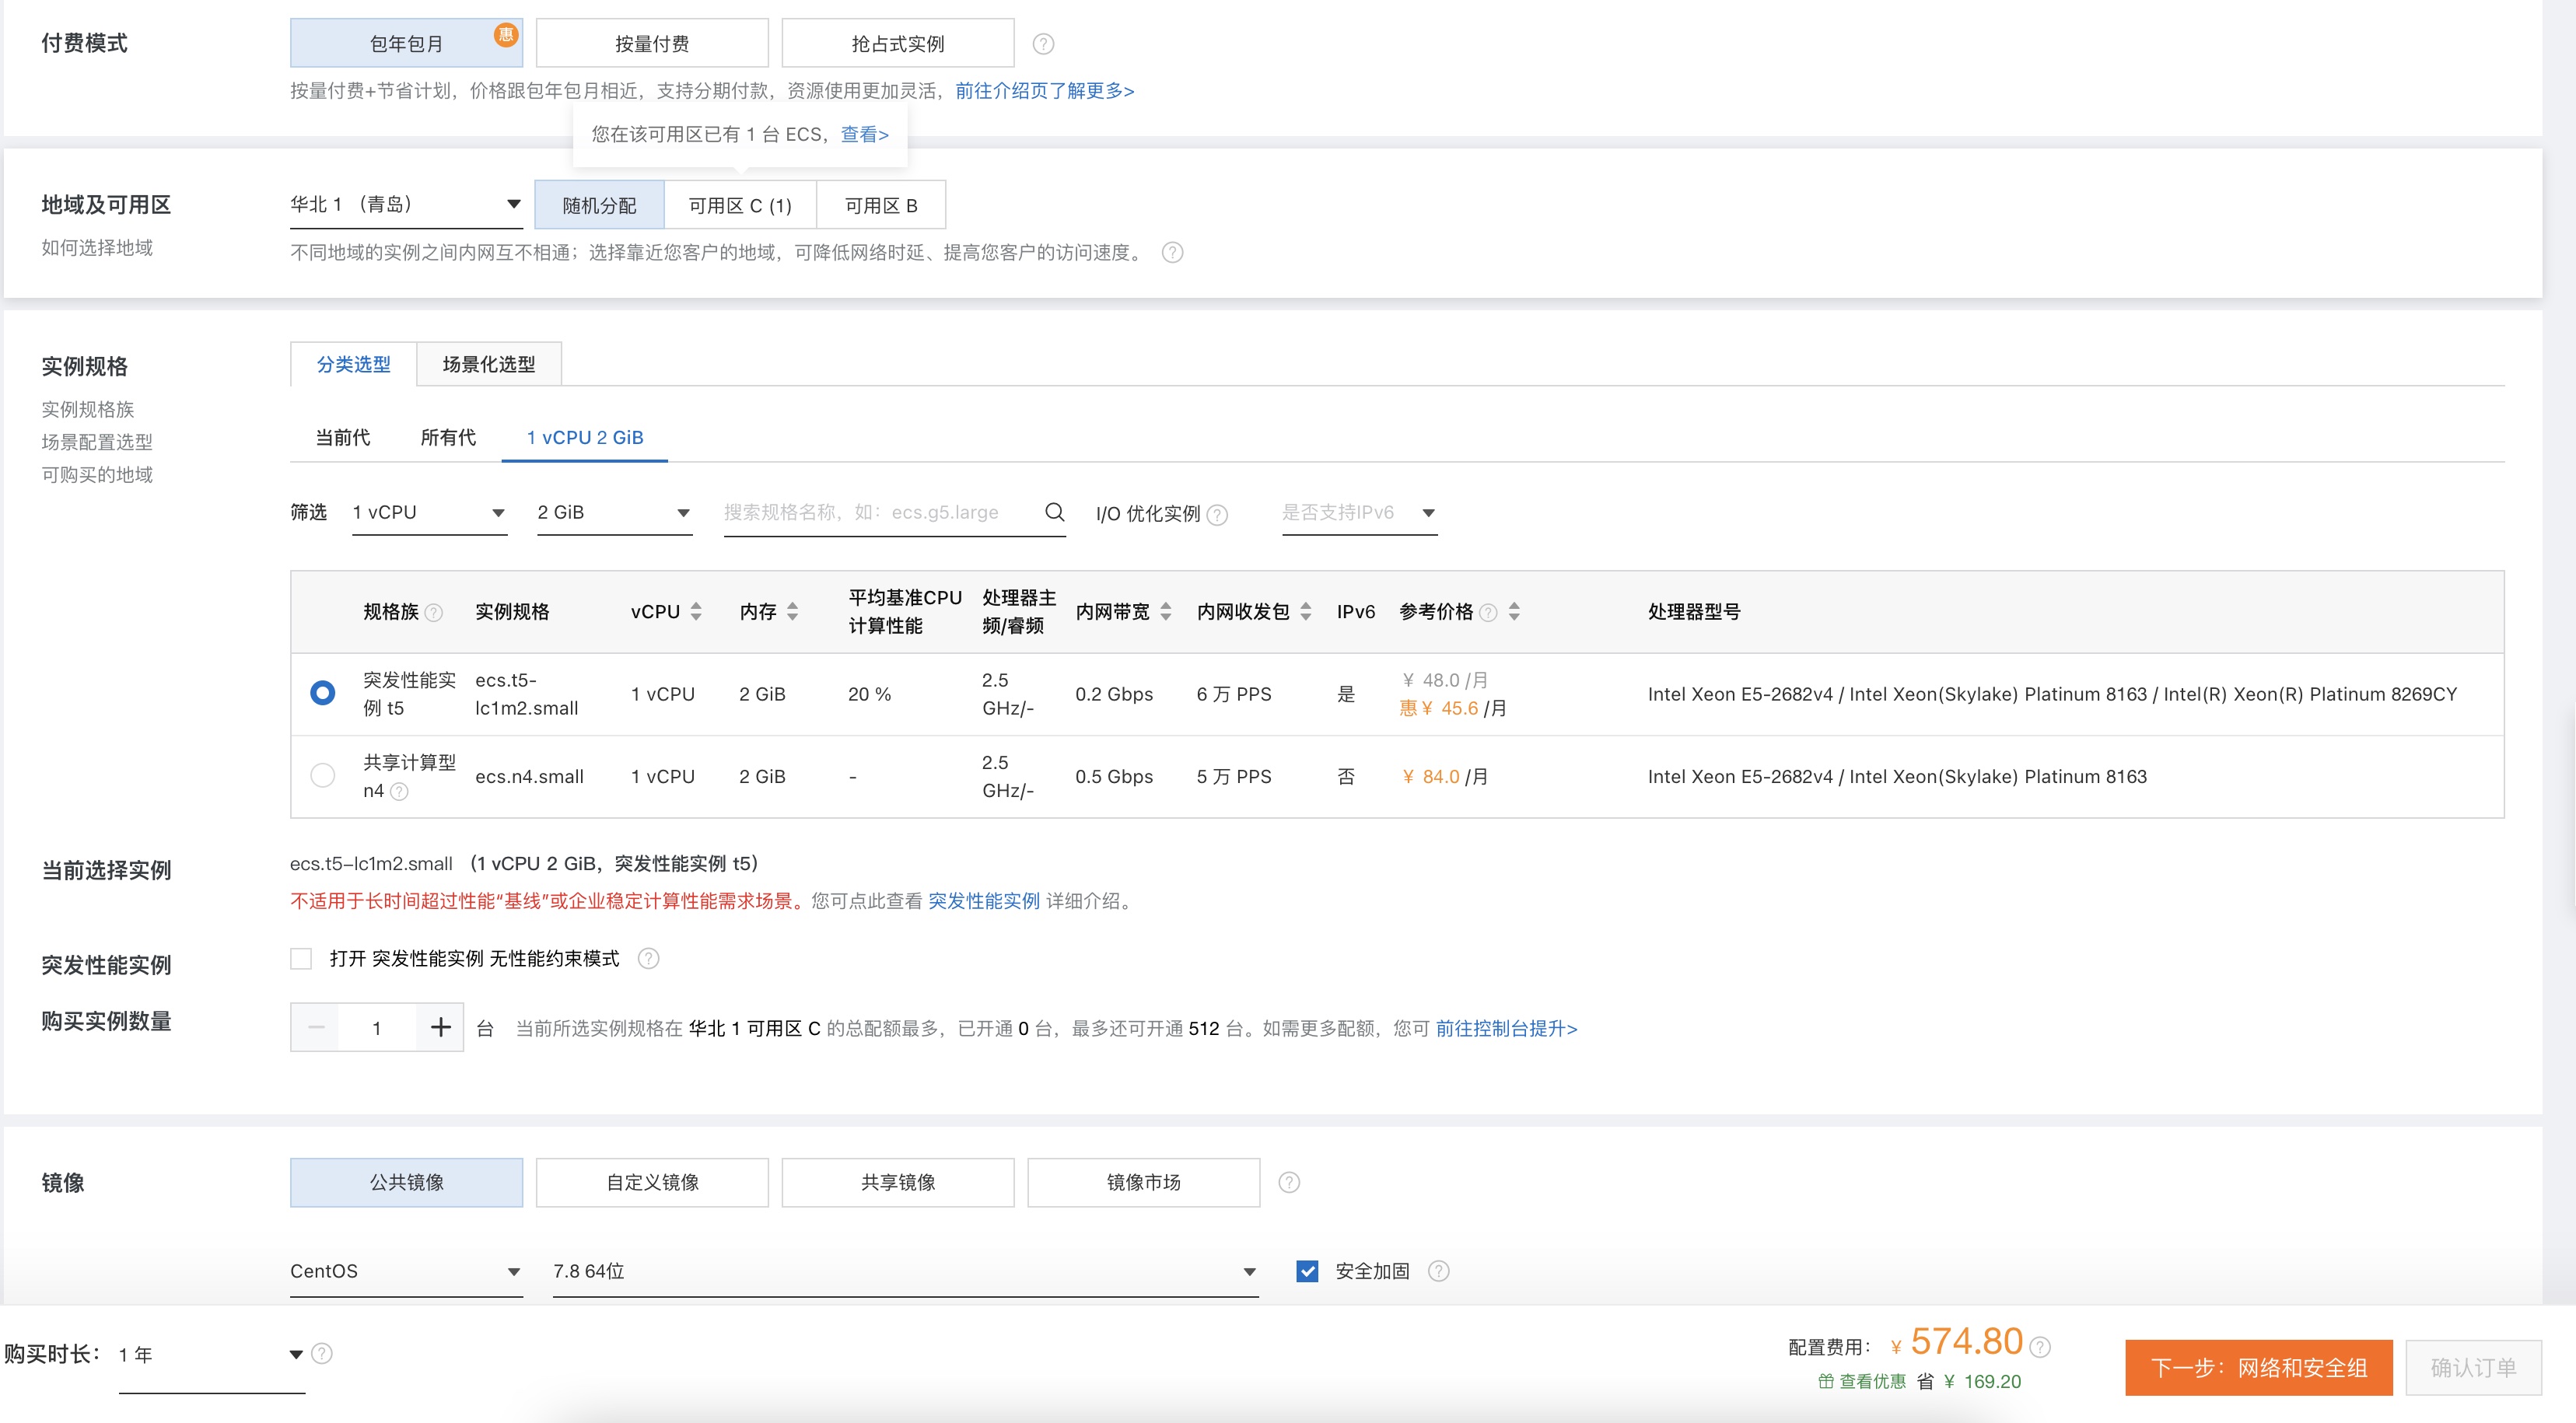
The system selects centos7 8. Selection of general server standards. It is relatively stable. If the figure is fresh, you can choose another Linux version.
2.1 installing the Java environment
Let's see what's in version 11
yum search java-11-openjdk
Select version installation
yum install java-11-openjdk-devel.x86_64
Directory where the jdk is installed
/usr/lib/jvm/java-11-openjdk-xxx
3.docker download and MySQL database preparation
3.1 installing docker
Install the package first
sudo yum update
sudo yum install -y yum-utils \
device-mapper-presistent-data \
lvm2
Install a stable version of docker from yum
sudo yum-config-manager
–add-repo
https://download.docker.com/linux/centos/docker-ce.repo
Confirm that the docker starts normally
sudo systemctl start docker
3.2 docker modifying image source
Because the image source is foreign by default, it is slow to pull in China. We can configure the domestic image source. I use Netease.
| Warehouse name | link |
|---|---|
| Docker official China | https://registry.docker-cn.com |
| Netease | http://hub-mirror.c.163.com |
| China University of science and technology | https://docker.mirrors.ustc.edu.cn |
| Alibaba cloud | HTTPS: / / < your ID > mirror. aliyuncs. com |
Modify / etc / docker / daemon JSON file
sudo vim /etc/docker/daemon.json
Modify profile
{
  "registry-mirrors": ["http://hub-mirror.c.163.com"]
}
Validate profile
sudo systemctl daemon-reload
Restart docker
sudo service docker restart
Test whether the configuration is successful
docker search nginx
3.3 installing MySQL under docker
We can search the available MySQL versions
docker search mysql
You can pull the MySQL image and the latest or selected one. However, in order to deploy successfully, you'd better choose a stable version. I use 5.7.34
docker pull mysql:5.7.34
Run MySQL container
docker run -itd --name mysql-test -p 3306:3306 -e MYSQL_ROOT_PASSWORD=123456 mysql
Map the 3306 port of the container to the 3306 port of the host machine, set the password to 123456, and recommend a password with higher security... This is too simple and risky
Enter container
docker exec -it mysql bash
Log in and enter the password you just set
mysql -u root -p
Create database
create database halodb character set utf8mb4 collate utf8mb4_bin;
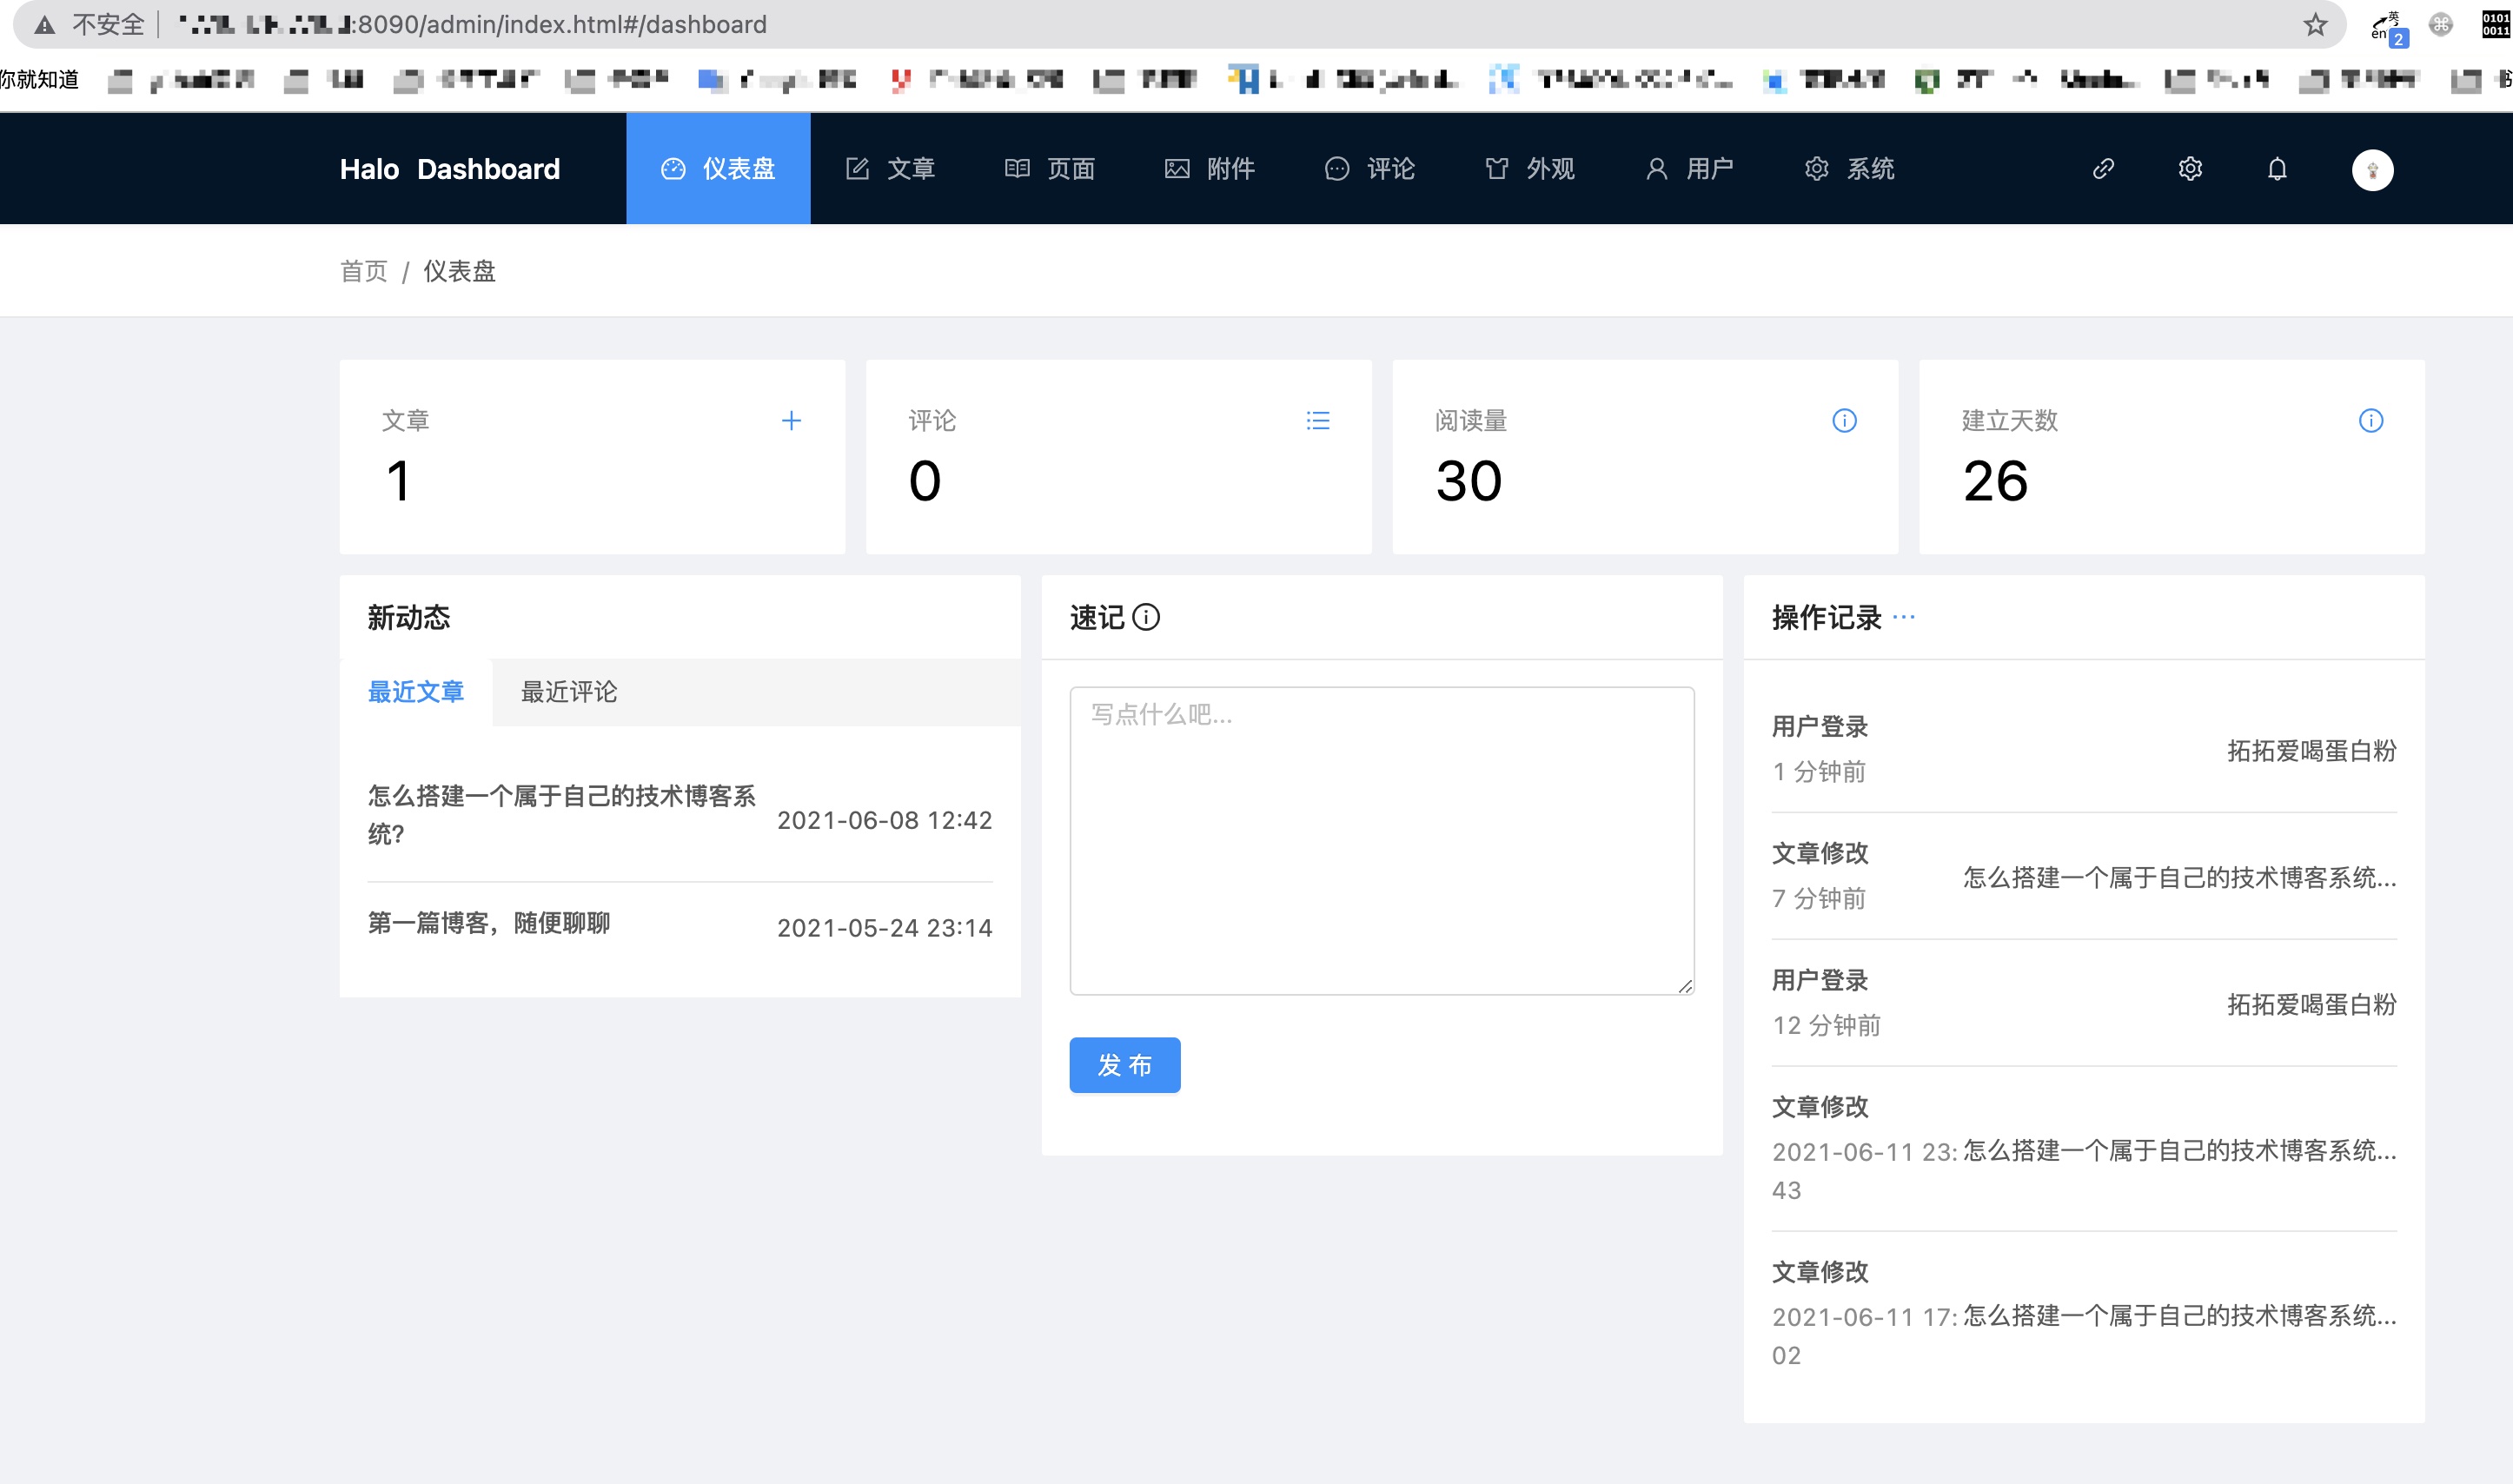
4.halo blog system
Installation tutorial under halo official centos system
Generally, it is knocked once, and there is no pit step by step.
In step 6, edit the yml configuration file and put our MySQL configuration into it.
MySQL configuration of Hello
Then delete the H2 default configuration in yml, otherwise an error will be reported during startup.
At this time, you can access it by using the public domain name: halo port number (manual dog head)
5. Domain name and filing
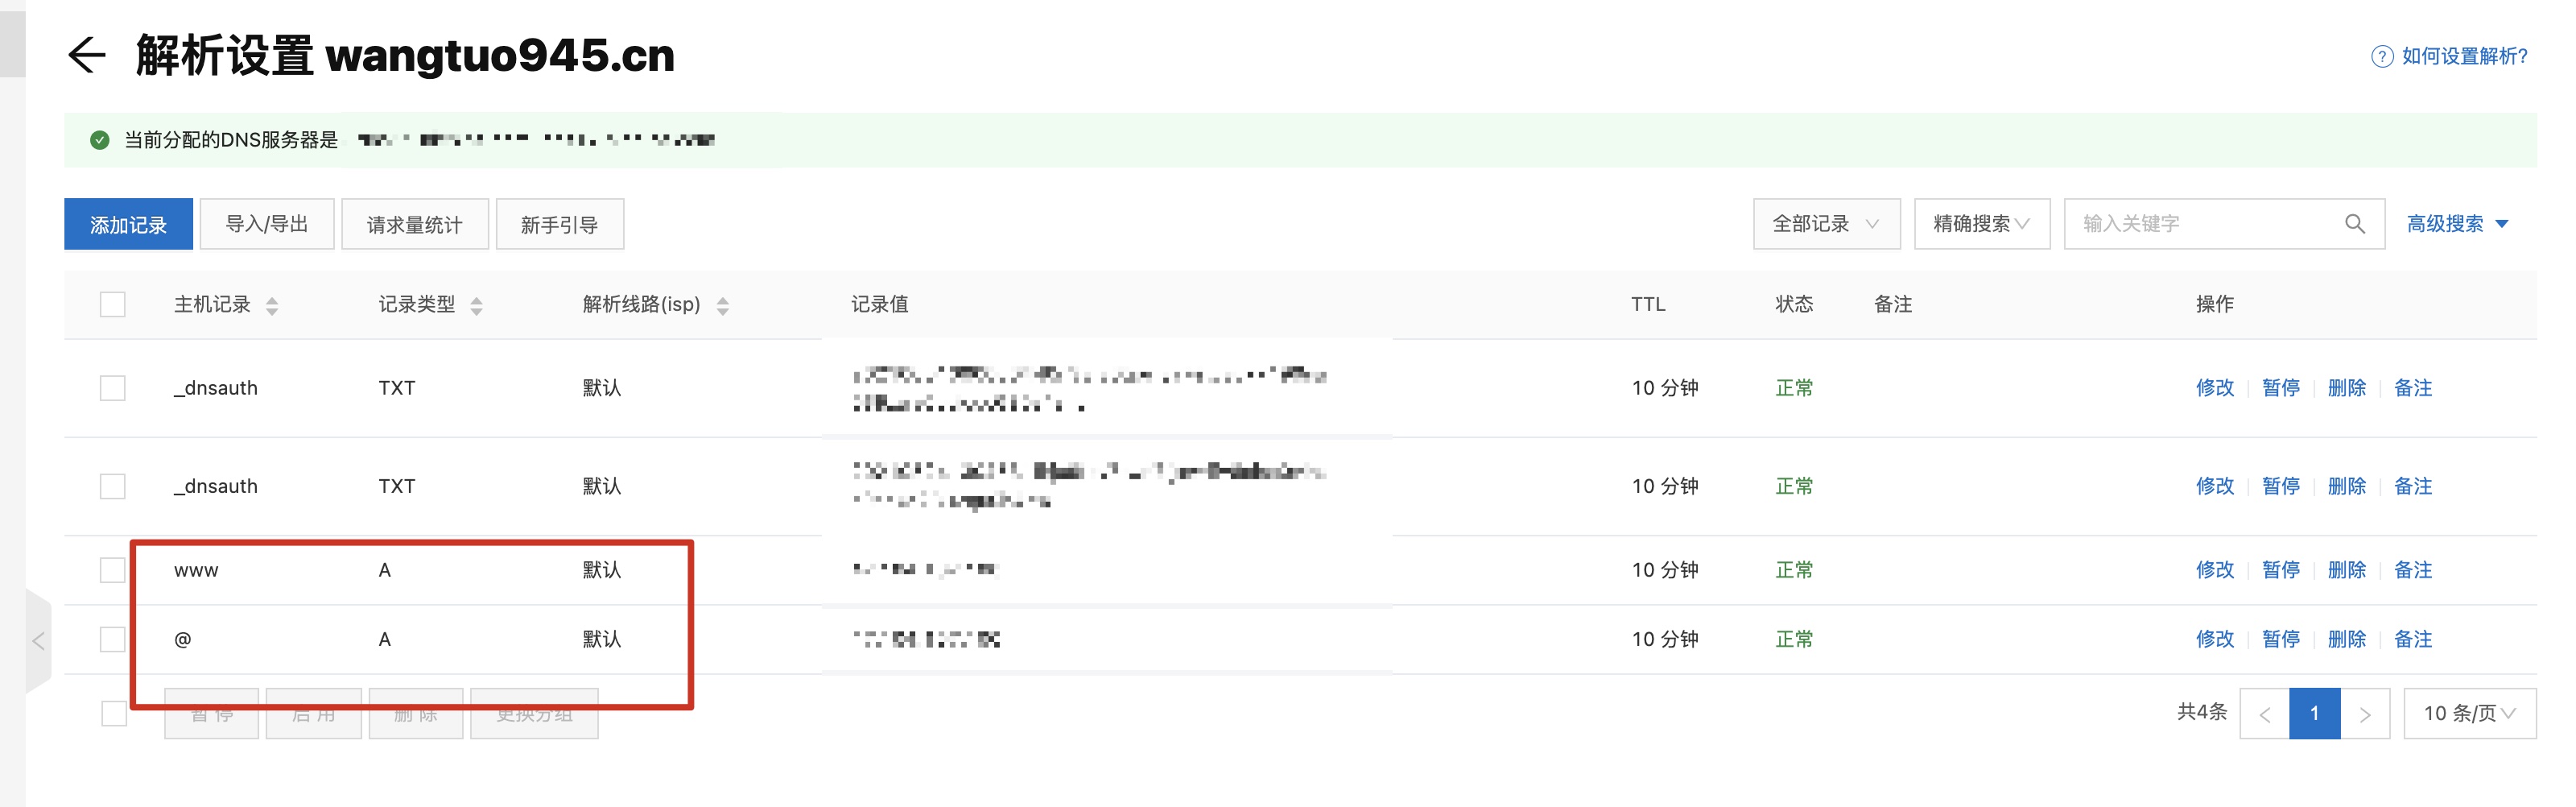
5.1 purchase domain name
Alibaba cloud domain name purchase
Generally, the domain name can be resolved by suffix and www
5.2 filing
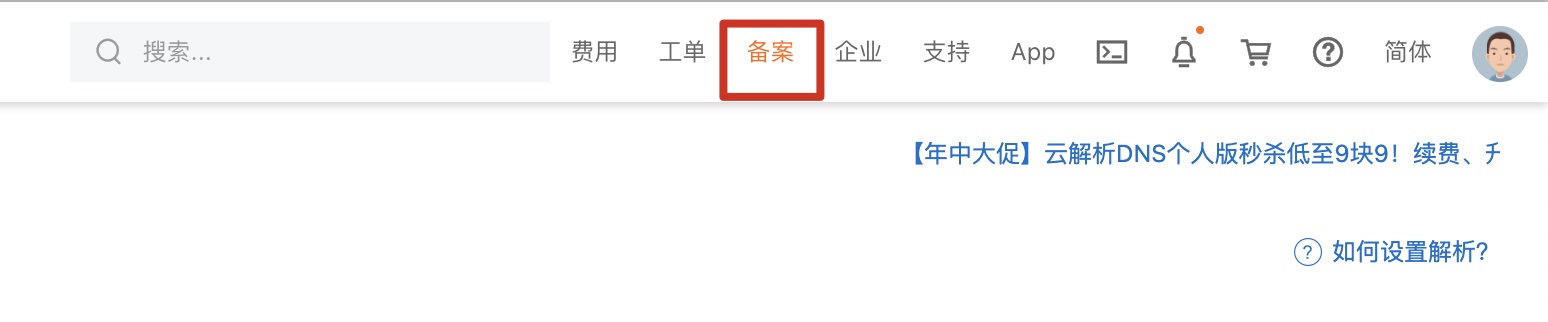
Fill in the information truthfully, and then set more words in the website name, so as not to repeat as much as possible. Otherwise, alicloud customer service will call you to think about another one immediately.
5.3 certificates
You can apply for free services directly from alicloud
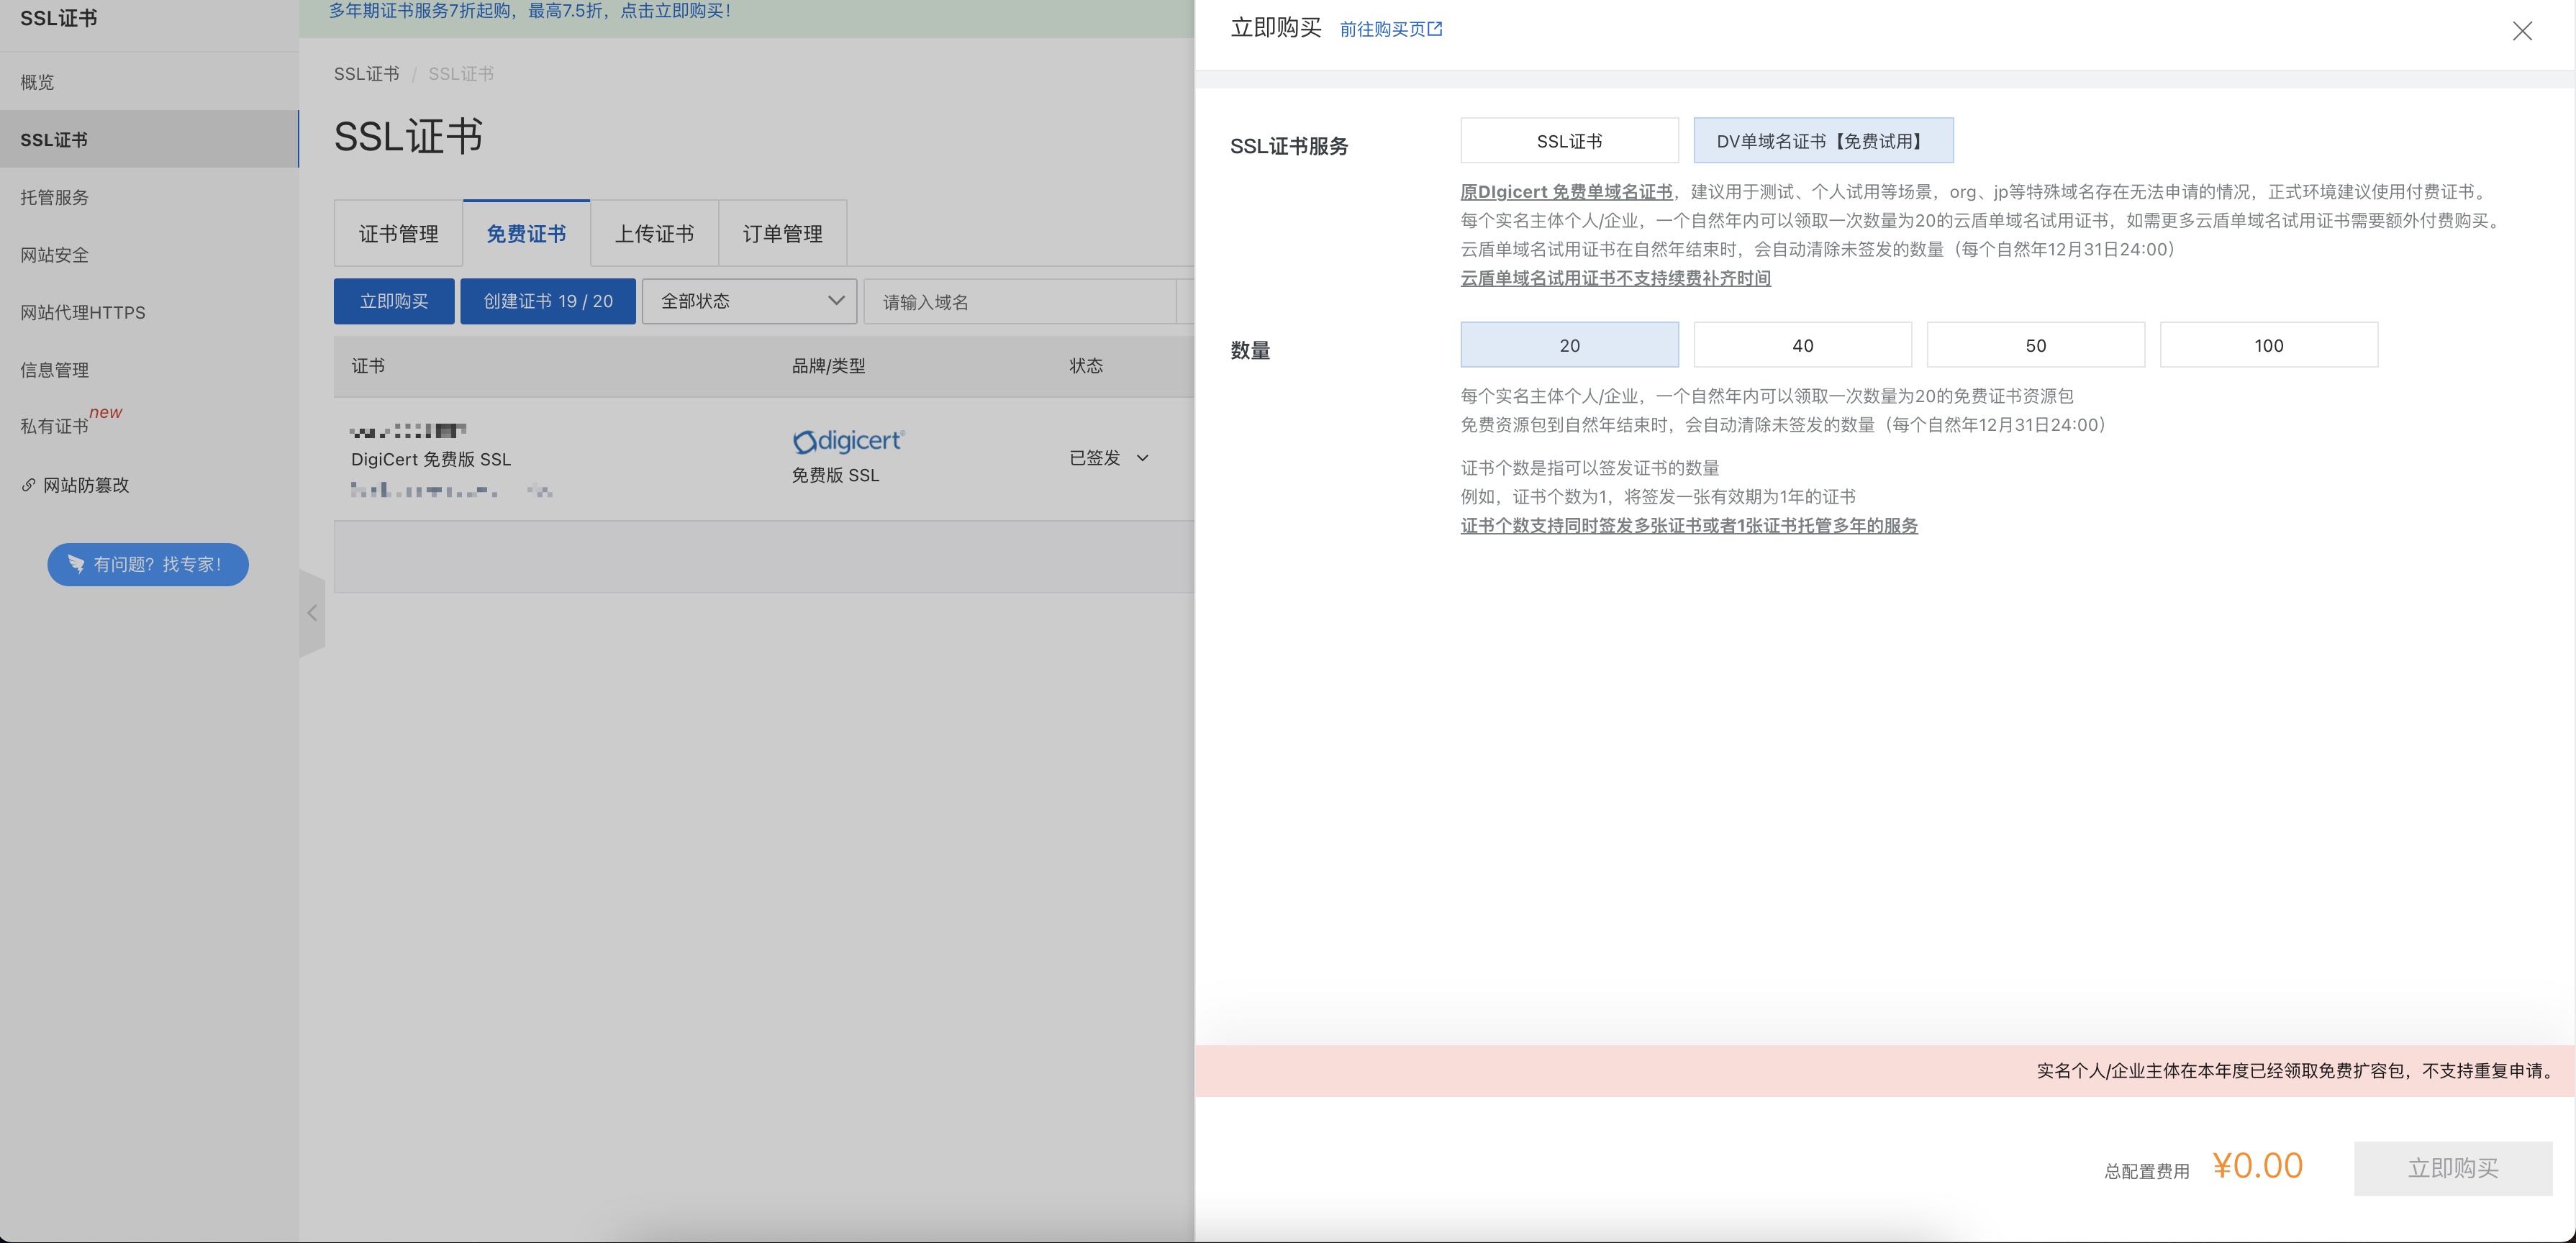
Click buy now and you will get a zip package. After decompression, you will get pem files and key file
6. Reverse proxy settings
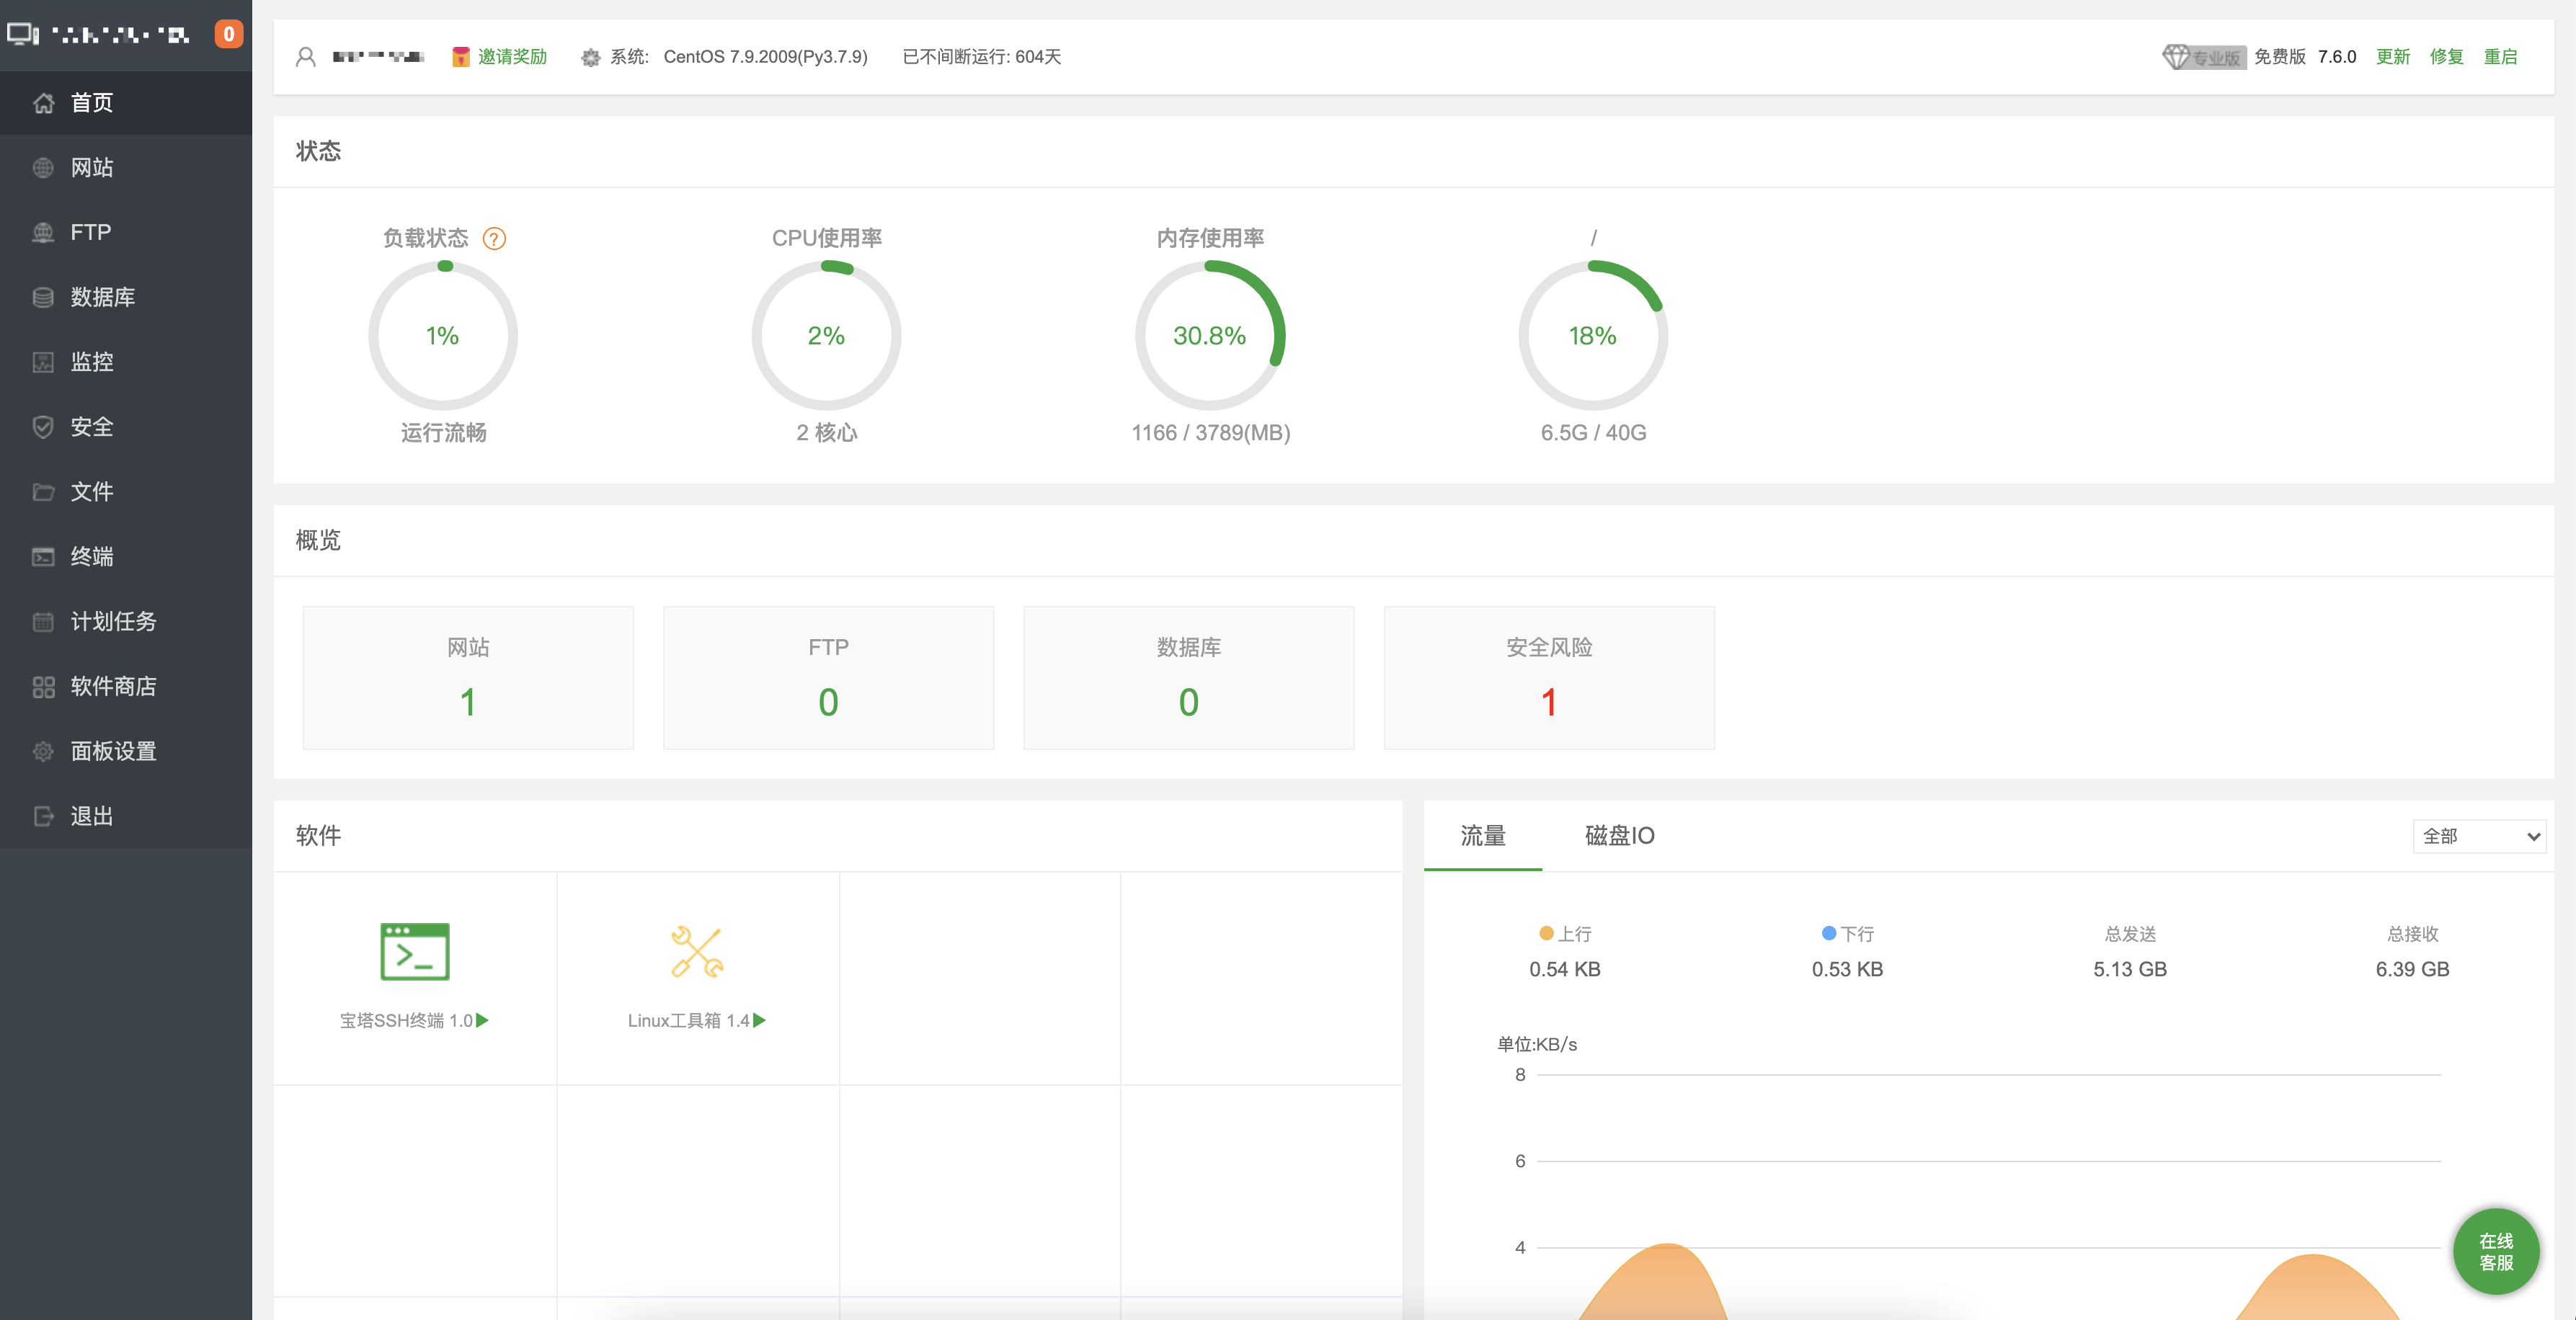
6.1 pagoda installation
I directly use pagoda installation, a free operation and maintenance management tool, and the charging function is more advanced. But the free version is enough.
Pagoda server panel
Installation command:
yum install -y wget && wget -O install.sh http://download.bt.cn/install/install_6.0.sh && sh install.sh
Detailed installation details and function introduction
After installation, a string of contents will pop up:
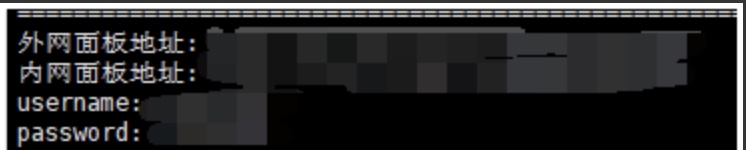
Remember this
Copy the Internet panel address to the browser for access. Then enter the username and password just now, and you can access it.
It is recommended that the pop-up window for installing software should be closed. We can manually download what we want in the pagoda's software store.
6.2 firewall settings
Click Security in the left navigation to see the firewall. We need to release the port of halo service. The default is 8090.
6.3 nginx settings
Click the software store in the left navigation to search nginx. Select quick install and the installation will be completed in a few minutes.
Click the left navigation website to add a website. Just fill in the resolved domain name, which is generally like this:
- www.wangtuo945.cn
- wangtuo945.cn
Set nginx profile:
Give me a copy for reference
upstream halo {
    server 127.0.0.1:8090;
}
server
{
    listen 80;
	listen 443 ssl http2;
    server_name wangtuo945.cn www.wangtuo945.cn;
    index index.php index.html index.htm default.php default.htm default.html;
    root /xxx/xxx/wangtuo945.cn;

    #SSL-START SSL related configuration, please do not delete or modify the 404 rule with comments in the next line
    #error_page 404/404.html;
    #HTTP_TO_HTTPS_START
    if ($server_port !~ 443){
        rewrite ^(/.*)$ https://$host$1 permanent;
    }
    #HTTP_TO_HTTPS_END
    ssl_certificate    /www/server/panel/vhost/cert/wangtuo945.cn/fullchain.pem;
    ssl_certificate_key    /www/server/panel/vhost/cert/wangtuo945.cn/privkey.pem;
    ssl_protocols TLSv1.1 TLSv1.2;
    ssl_ciphers EECDH+CHACHA20:EECDH+CHACHA20-draft:EECDH+AES128:RSA+AES128:EECDH+AES256:RSA+AES256:EECDH+3DES:RSA+3DES:!MD5;
    ssl_prefer_server_ciphers on;
    ssl_session_cache shared:SSL:10m;
    ssl_session_timeout 10m;
    add_header Strict-Transport-Security "max-age=31536000";
    error_page 497  https://$host$request_uri;

    #SSL-END

    #ERROR-PAGE-START error page configuration, which can be annotated, deleted or modified
    #error_page 404 /404.html;
    #error_page 502 /502.html;
    #ERROR-PAGE-END

    #Php-info-start PHP reference configuration, which can be commented or modified
    include enable-php-00.conf;
    #PHP-INFO-END

    #REWRITE-START URL Rewrite Rule reference. After modification, the pseudo static rule set in the panel will become invalid
    include /www/server/panel/vhost/rewrite/wangtuo945.cn.conf;
    #REWRITE-END

    #Forbidden files or directories
    location ~ ^/(\.user.ini|\.htaccess|\.git|\.svn|\.project|LICENSE|README.md)
    {
        return 404;
    }

    #One click application SSL certificate authentication directory related settings
    location ~ \.well-known{
        allow all;
    }

    location ~ .*\.(gif|jpg|jpeg|png|bmp|swf)$
    {
        expires      30d;
        error_log /dev/null;
        access_log /dev/null;
        proxy_pass http://halo;
    }

    location ~ .*\.(js|css)?$
    {
        expires      12h;
        error_log /dev/null;
        access_log /dev/null;
        proxy_pass http://halo;
    }

    location / {
        proxy_set_header HOST $host;
        proxy_set_header X-Forwarded-Proto $scheme;
        proxy_set_header X-Real-IP $remote_addr;
        proxy_set_header X-Forwarded-For $proxy_add_x_forwarded_for;
		    proxy_pass http://halo;
    }
    access_log  /www/wwwlogs/wangtuo945.cn.log;
    error_log  /www/wwwlogs/wangtuo945.cn.error.log;
}
Remember to go to the blog background of halo and change your website address from IP to domain name.
6.4 setting up SSL
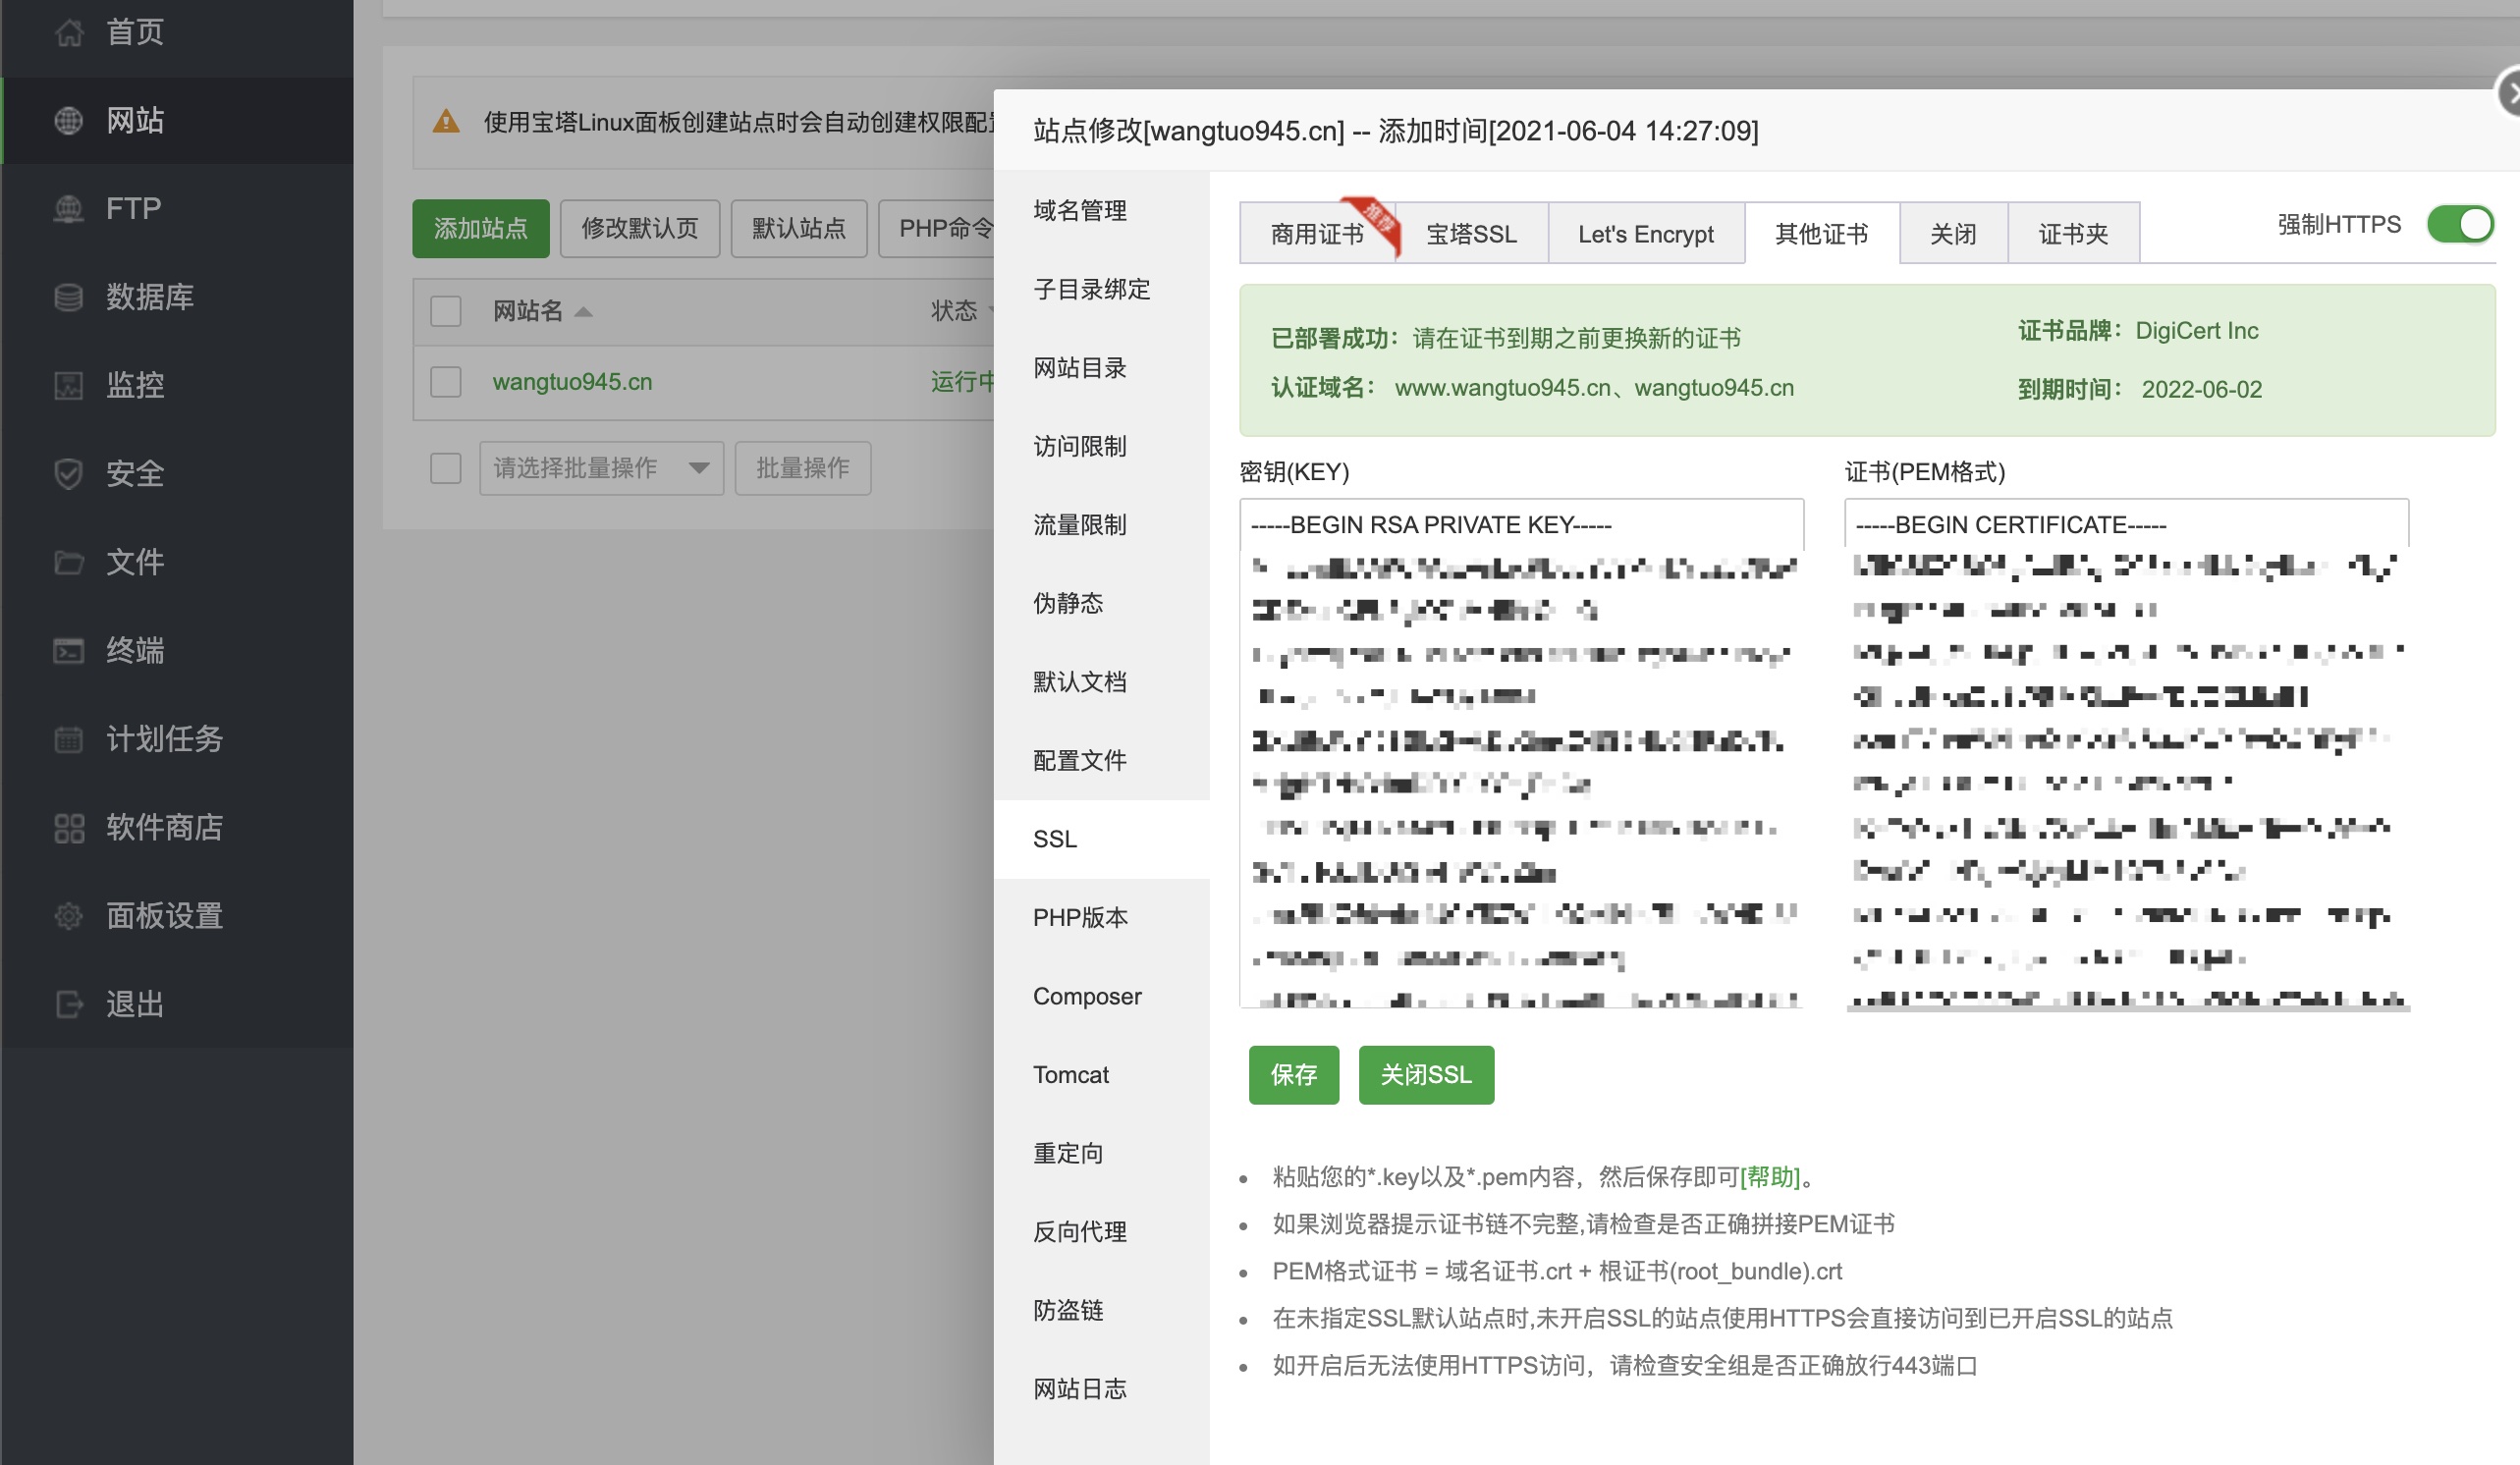
Open the pem and key file contents of the certificate applied in 5.3 with a document editor and paste the contents here.
The construction of the blog website can be almost completed. If there is a problem, you can contact it by private letter in time~