Apache Dolphin Scheduler
Component introduction
Distributed and extensible visual DAG workflow task scheduling system. It is committed to solving the complex dependencies in the data processing process, so that the scheduling system can be used out of the box in the data processing process.
Official website: https://dolphinscheduler.apache.org/en-us/
Github : https://github.com/apache/incubator-dolphinscheduler
Deployment environment
- CDH test environment
- 6 machines
- Gateway node deployment worker
- CM node deploys master and monitors web
- Hive & spark gateway has been deployed on the gateway node
- Platform version
- CDH5.16.2
- Dolphin Scheduler 1.2.0
- Basic software
- PostgreSQL or MySql store metadata
Front end deployment
Installation package download
https://dolphinscheduler.apache.org/en-us/docs/release/download.html
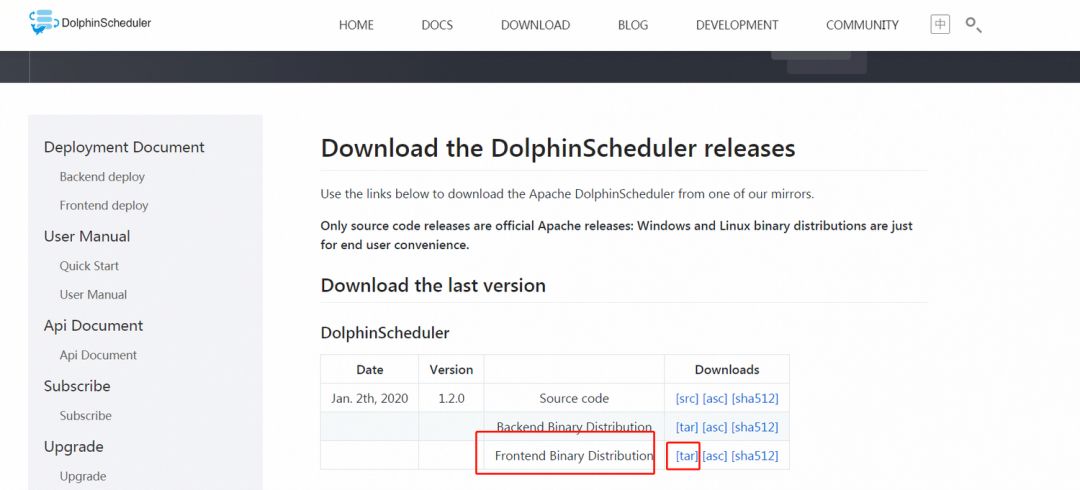
- Create the deployment folder / opt/ds, upload the tar package to the directory, and unzip it
# create deploy dir
mkdir -p /opt/ds/ds-ui;
# decompression
tar -zxvf apache-dolphinscheduler-incubating-1.2.1-SNAPSHOT-dolphinscheduler-front-bin.tar.gz -C /opt/ds/;
mv apache-dolphinscheduler-incubating-1.2.1-SNAPSHOT-dolphinscheduler-front-bin ds-1.2.0-ui;


Select Automated Deployment
- Check the yum source. This is the development environment. You need to use an agent for the Internet and install nginx
- Enter the ds-1.2.0-ui directory and execute the install-dolphin scheduler-ui.sh installation script
- Modify the front-end port to 8886 to prevent conflict with Hue port
- Modify the ip address of API server
- Modify API server port
- Select centos7 installation

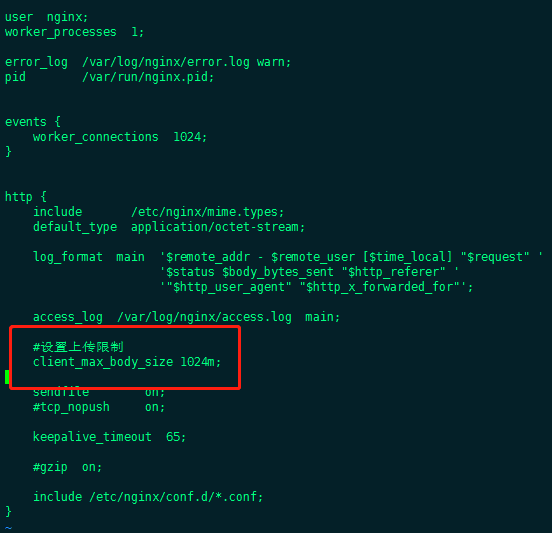
Modify nginx upload size parameter
- Add nginx configuration client_max_body_size 1024m;
- Restart nginx
- This step must be done, otherwise the resource is too large to upload to the resource center
vi /etc/nginx/nginx.conf

# add param
client_max_body_size 1024m;

# restart nginx
systemctl restart nginx
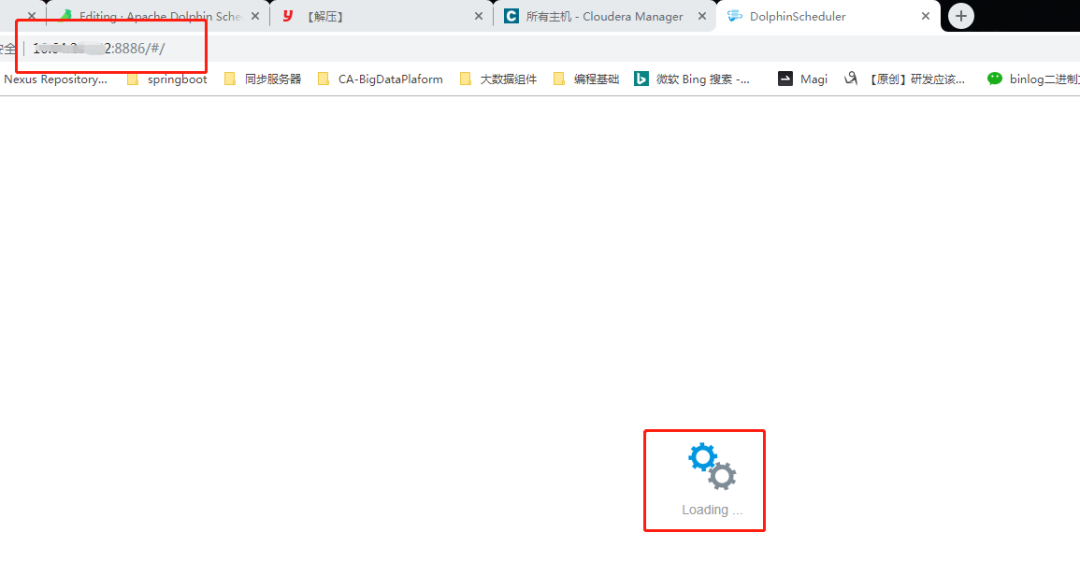
Visit the 8888 (customized as 8886) port on the front-end page, the loading page appears, and the front-end web installation is completed
Back end deployment
preparation
Download installation package
https://dolphinscheduler.apache.org/en-us/docs/release/download.html
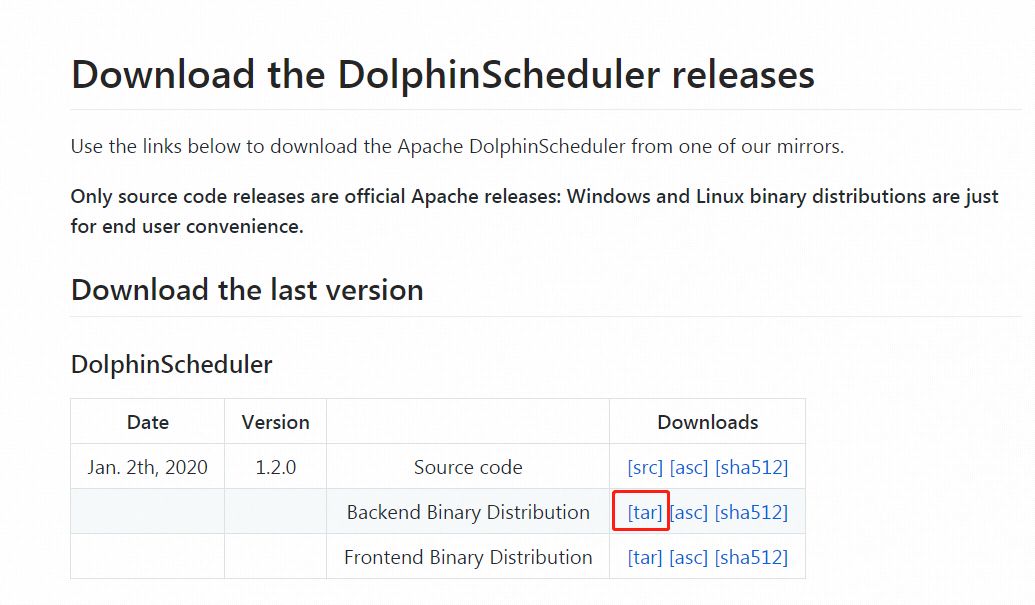
Upload the tar package to / opt/ds and decompress it
tar -zxvf apache-dolphinscheduler-incubating-1.2.1-SNAPSHOT-dolphinscheduler-backend-bin.tar.gz -C /opt/ds/;
mv apache-dolphinscheduler-incubating-1.2.1-SNAPSHOT-dolphinscheduler-backend-bin ds-1.2.0-backend;


Create deployment user
- Create deployment user and set password (all deployment machines)
- Hang the deployment user under the hadoop group and use hdfs as the resource center
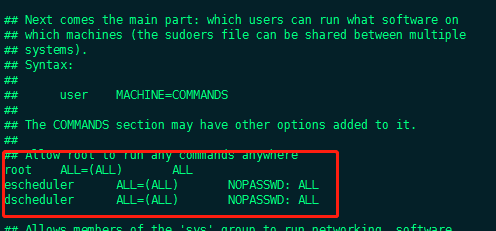
- Configure sudo security free
# add user dscheduler
useradd dscheduler;
# modify user password
passwd dscheduler;
# add sudo
vi /etc/sudoers;
dscheduler      ALL=(ALL)       NOPASSWD: ALL
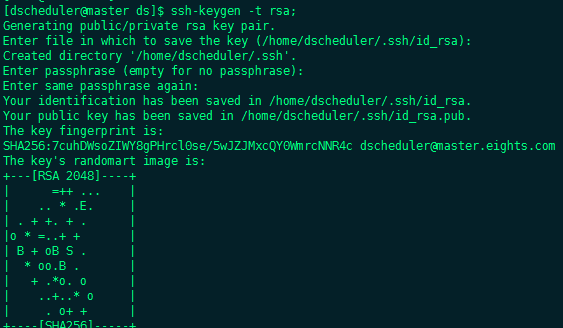
- Switch to the deployment user and configure the machine secret free login. The pseudo distribution needs to configure the machine secret free login
su dscheduler;
ssh-keygen -t rsa;
#Configure mutual security free and stand-alone security free, and [hostname] configure the machine hosts that need security free
ssh-copy-id -i ~/.ssh/id_rsa.pub dscheduler@[hostname];

database initialized
- mysql entering CDH cluster
- mysql -uroot -p
- The default database is pg. mysql needs to add the mysql connector java package to the lib directory
- Execute the database initialization command and set the access account password
CREATE DATABASE dscheduler DEFAULT CHARACTER SET utf8 DEFAULT COLLATE utf8_general_ci;
GRANT ALL PRIVILEGES ON dscheduler.* TO 'dscheduler'@'%' IDENTIFIED BY 'xxxx';
GRANT ALL PRIVILEGES ON dscheduler.* TO 'dscheduler'@'localhost' IDENTIFIED BY 'xxxx';
FLUSH PRIVILEGES;


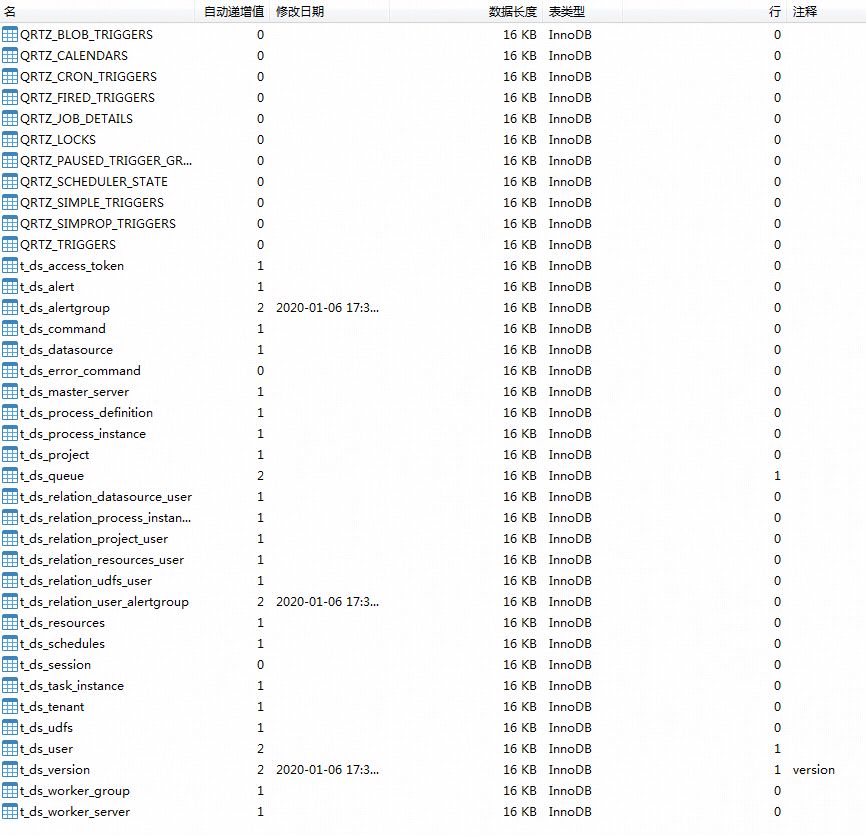
- Create tables and import basic data
- Modify the application-dao.properties file in the conf directory
- Comment out pg and use mysql
- Add the MySQL connector java package to the lib directory


- implement script Under directory create-dolphinscheduler.sh
Configure environment variables
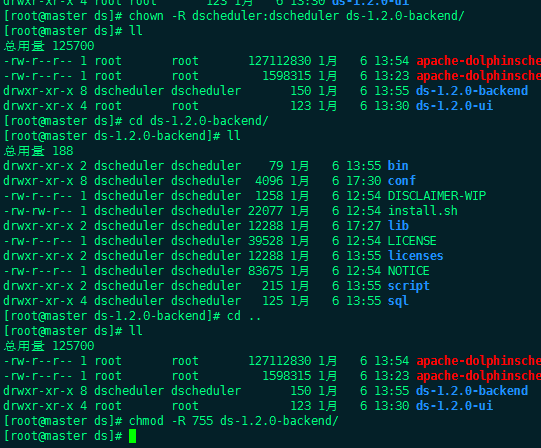
- Modify directory permissions
chown -R dscheduler:dscheduler ds-1.2.0-backend/;
chmod -R 755 ds-1.2.0-backend/;
- Modify the. Dolphin scheduler in the conf/env directory_ Env.sh file
- Spark task component in ds-1.2.0 can only submit tasks of spark 1
- SPARK_ HOME1&SPARK_ Home2 is configured as the spark2 home of the cluster
- You can also comment out SPARK_HOME1
- Flink is not deployed in the cluster and the parameters are not modified
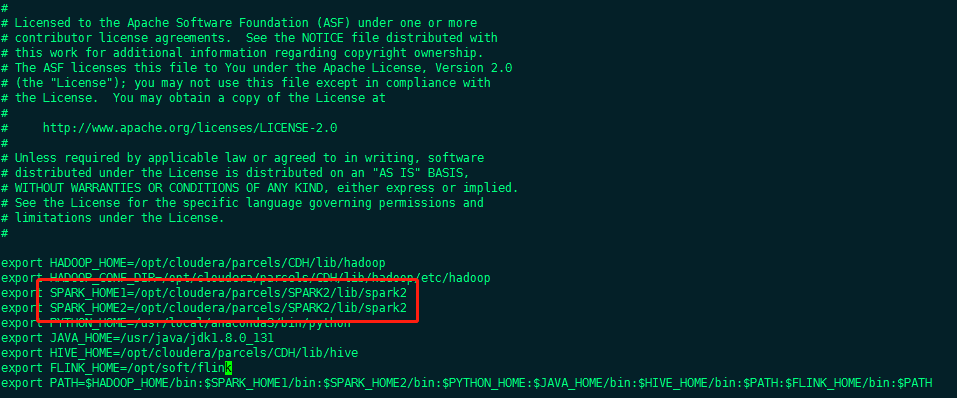
- Link the jdk soft link to / bin/java
ln -s /usr/java/jdk1.8.0_131/bin/java /usr/bin/java

- Modify the configuration of install.sh according to the cluster itself
- Attention parameters
- installPath - where to install ds, such as: / opt / ds agent
- zkQuorum - it must be ip:2181. Remember to bring the 2181 port
- deployUser - the deployment user needs permission to operate HDFS
- To use HDFS as the resource center, in the case of HA, you need to copy the core-site.xml file and hdfs-site.xml file of the cluster to the conf directory
- Attention parameters
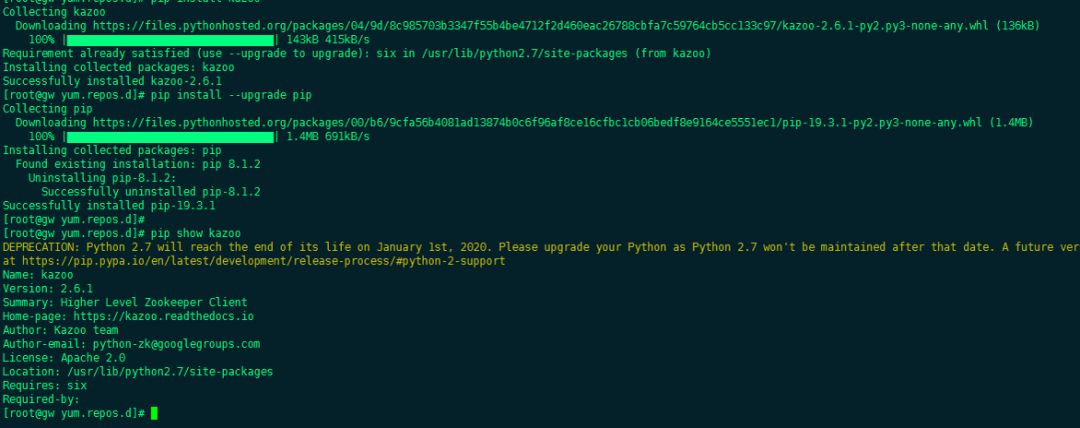
Deploy and install kazoo
- Installing zk tools for python
- The CDH cluster defaults to Python 2.7
yum -y install python-pip;
pip install kazoo;
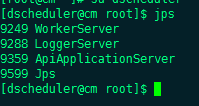
- Execute the install script, sh install.sh
- Use jps on the worker and master machines to check whether the service is started

- Access front end
- User name admin
- Password dolphin scheduler 123
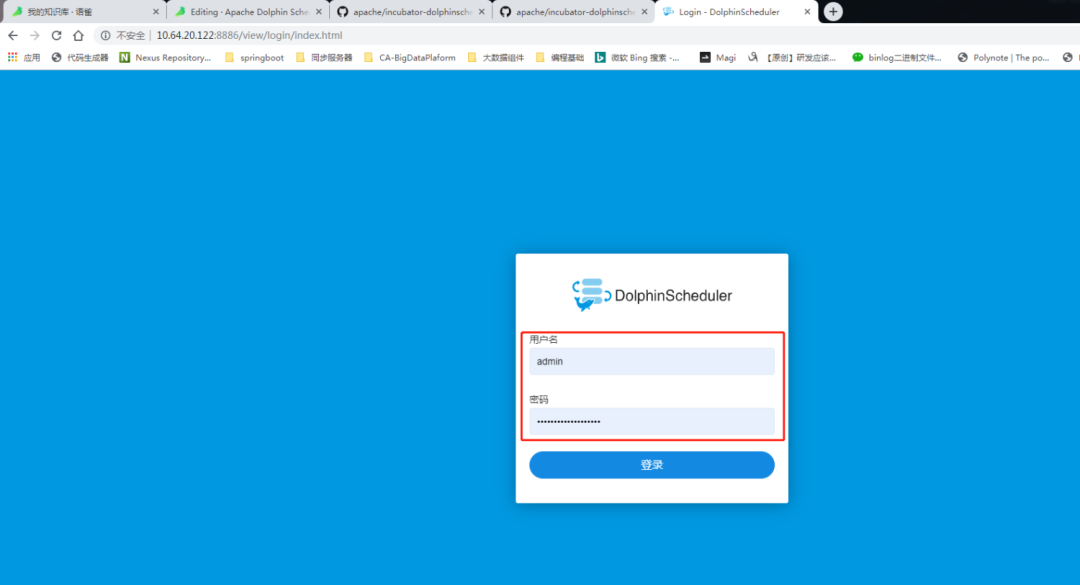
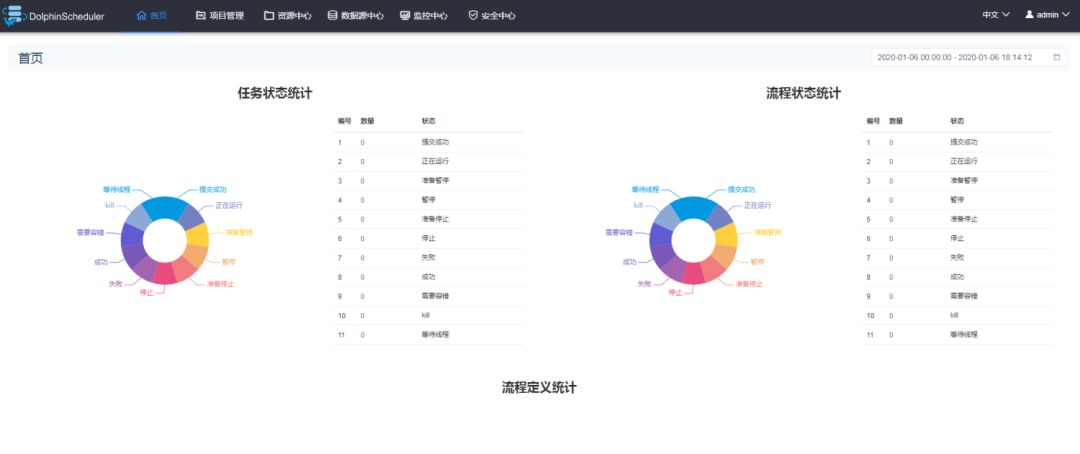
- dolphin scheduler 1.2.0 deployment completed
DAG test
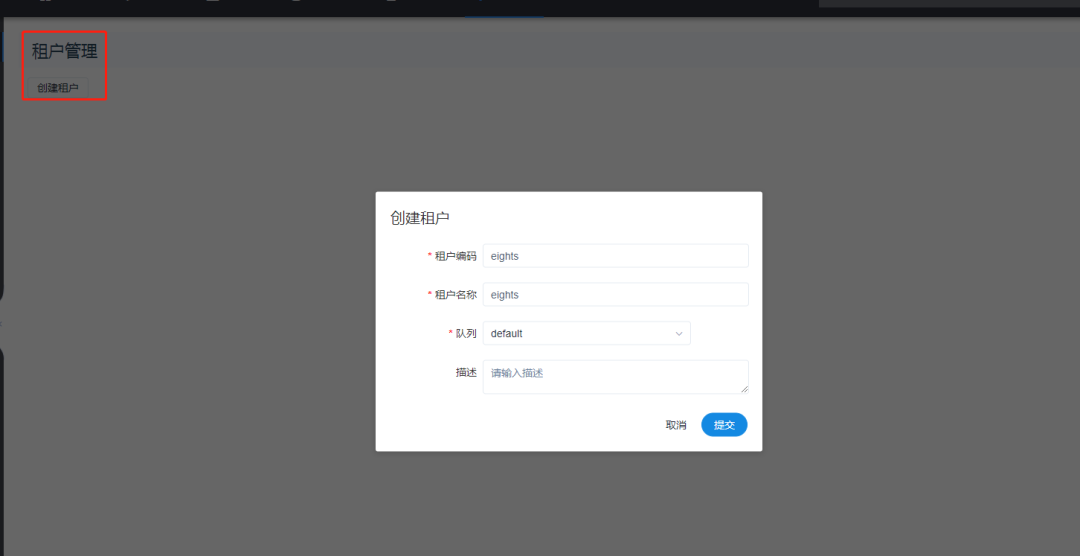
- Create tenant
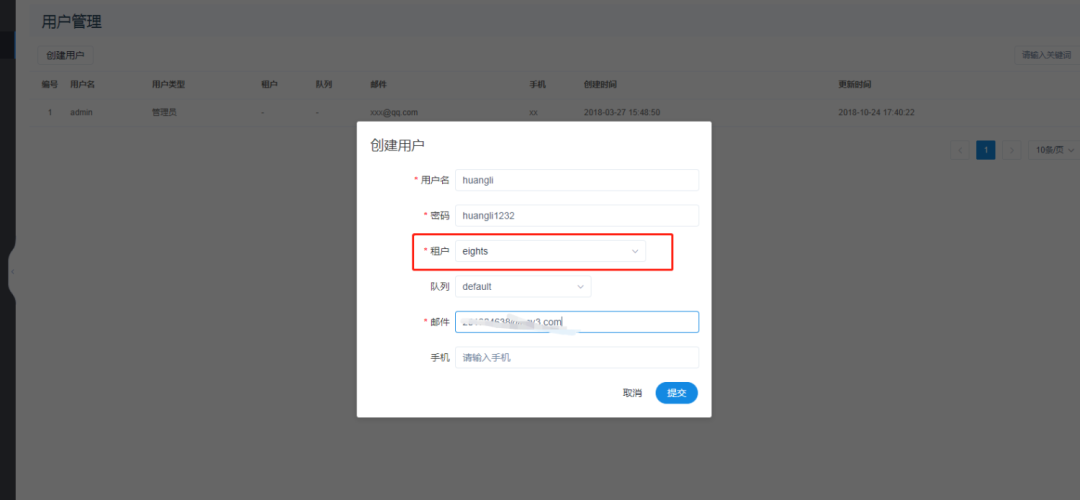
- Create user
- If there is a problem with tenant creation, check whether content center is enabled
- New project and new workflow
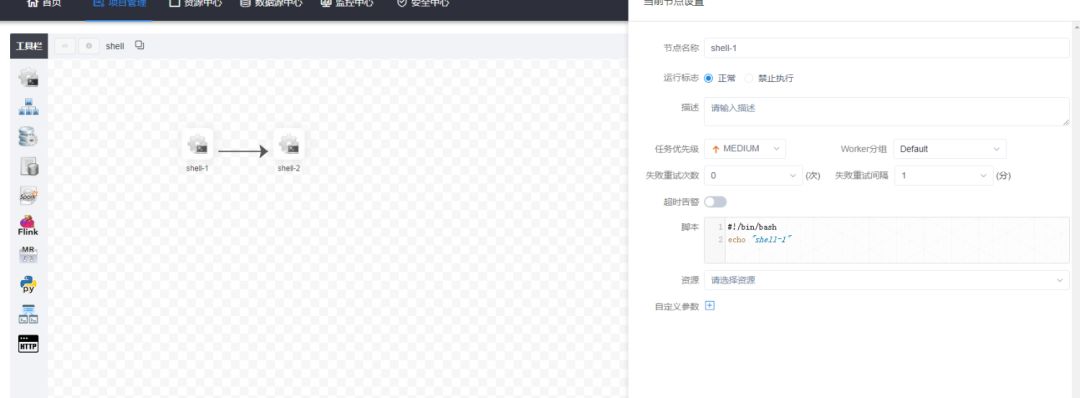
- Run the workflow to view the execution results
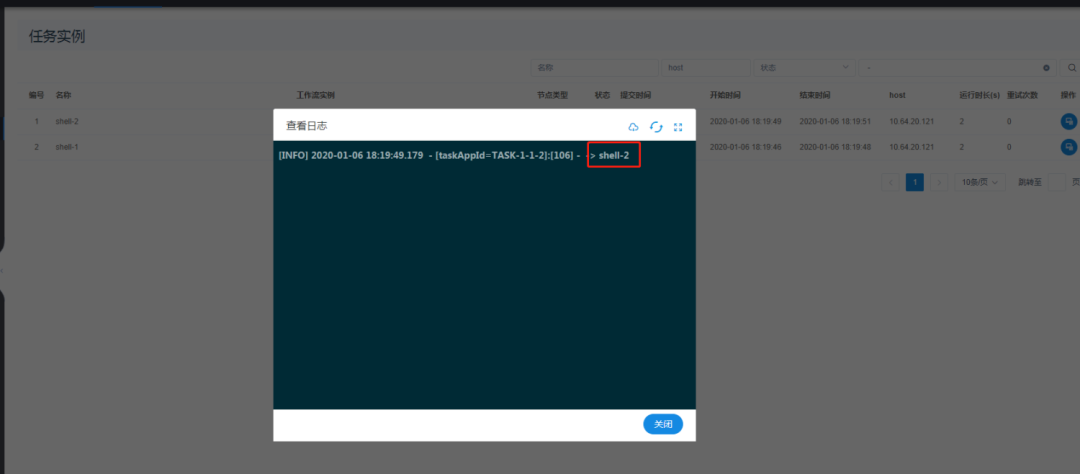
- So far, the Dolphin Scheduler 1.2.0 dag demo test is completed