Code words are not easy, and helpful classmates hope to be able to pay attention to my WeChat official account: Code program life, thank you! Code self use and self access.

Take you to realize a screen recording function with JavaScript. OBS studio is easy to use, but JavaScript is also easy to use. Now, we use JavaScript to realize our screen recording function
First, create an HTML file containing the record button and a video component.
<!DOCTYPE html>
<html>
  <head>
    <title>Parcel Sandbox</title>
    <meta charset="UTF-8" />
  </head>
  <body>
    <video class="video" width="600px" controls></video>
    <button class="record-btn">Recording</button>

    <script src="./index.js"></script>
  </body>
</html>
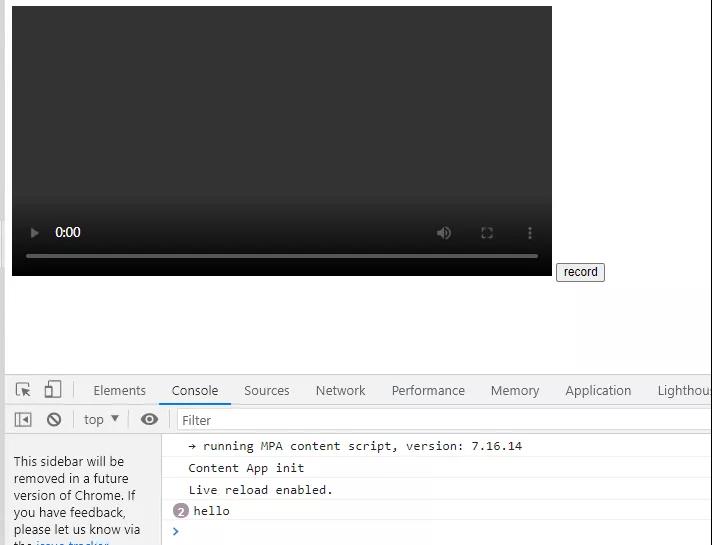
Then, after creating index.js, listen for the click of the button.
let btn = document.querySelector(".record-btn");

btn.addEventListener("click", function () {
  console.log("hello");
});
Open the html file in the browser and click the button. We can see the printed hello on the console.
Now remove the print and replace it with the following.
let btn = document.querySelector(".record-btn");

btn.addEventListener("click", async function () {
  let stream = await navigator.mediaDevices.getDisplayMedia({
    video: true
  });
});
Now click the button to pop up the screen selection box:
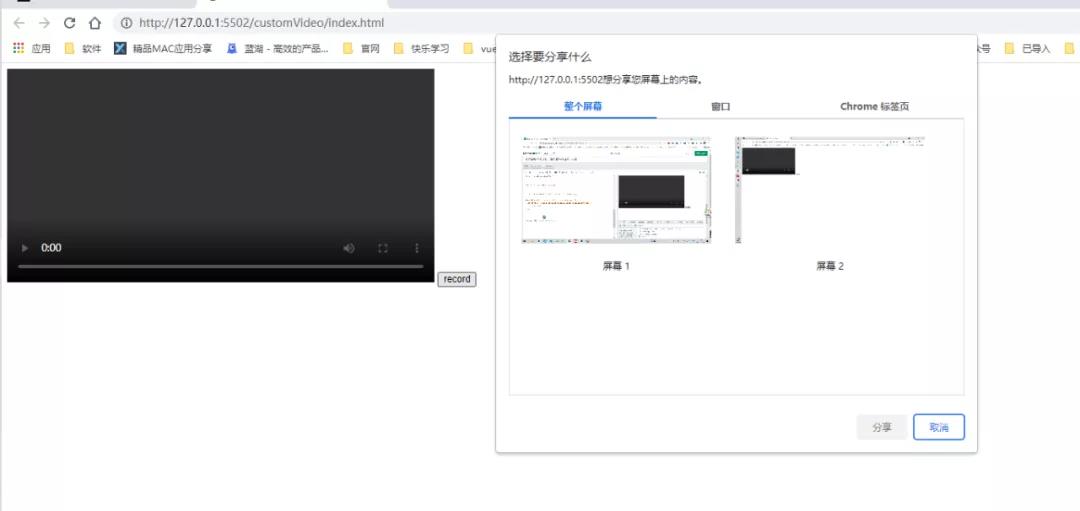
Because two screens are used here, two choices will appear.
Now you may think that selecting a screen and clicking share will start recording. No, it's a little more complicated than we thought. We're going to use MediaRecorder to record our videos.
let btn = document.querySelector(".record-btn")

btn.addEventListener("click", async function () {
  let stream = await navigator.mediaDevices.getDisplayMedia({
    video: true
  })

  // Need better browser support
  const mime = MediaRecorder.isTypeSupported("video/webm; codecs=vp9")
             ? "video/webm; codecs=vp9"
             : "video/webm"
    let mediaRecorder = new MediaRecorder(stream, {
        mimeType: mime
    })
    // It must be started manually
    mediaRecorder.start()
})
When our screen is recorded, the mediaRecorder will provide us with partitioned data, which we need to store in a variable.
let btn = document.querySelector(".record-btn")

btn.addEventListener("click", async function () {
  let stream = await navigator.mediaDevices.getDisplayMedia({
    video: true
  })

  // Need better browser support
  const mime = MediaRecorder.isTypeSupported("video/webm; codecs=vp9")
             ? "video/webm; codecs=vp9"
             : "video/webm"
    let mediaRecorder = new MediaRecorder(stream, {
        mimeType: mime
    })

    let chunks = []
    mediaRecorder.addEventListener('dataavailable', function(e) {
        chunks.push(e.data)
    })

    // It must be started manually
    mediaRecorder.start()
})
Now, when we click the stop sharing button and want to play the recorded video in our video element, we can do this:
let btn = document.querySelector(".record-btn")

btn.addEventListener("click", async function () {
  let stream = await navigator.mediaDevices.getDisplayMedia({
    video: true
  })

  // Need better browser support
  const mime = MediaRecorder.isTypeSupported("video/webm; codecs=vp9")
             ? "video/webm; codecs=vp9"
             : "video/webm"
    let mediaRecorder = new MediaRecorder(stream, {
        mimeType: mime
    })

    let chunks = []
    mediaRecorder.addEventListener('dataavailable', function(e) {
        chunks.push(e.data)
    })

     mediaRecorder.addEventListener('stop', function(){
          let blob = new Blob(chunks, {
              type: chunks[0].type
          })

          let video = document.querySelector(".video")
          video.src = URL.createObjectURL(blob)
      })


    // It must be started manually
    mediaRecorder.start()
})
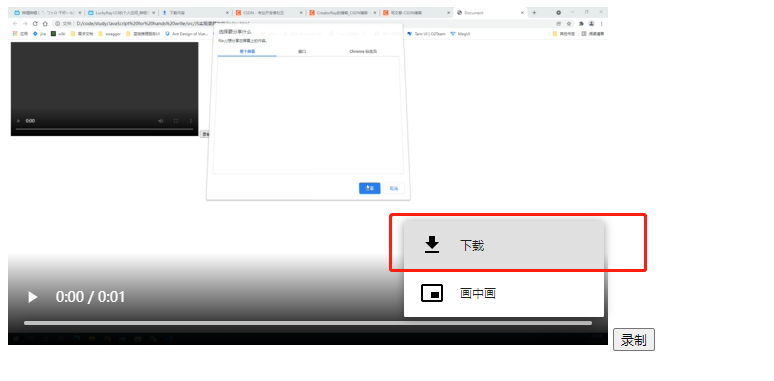
Now it can be basically completed. You can download the recorded video automatically under the touch up, for example:
let btn = document.querySelector(".record-btn")

btn.addEventListener("click", async function () {
  let stream = await navigator.mediaDevices.getDisplayMedia({
    video: true
  })

  // Need better browser support
  const mime = MediaRecorder.isTypeSupported("video/webm; codecs=vp9")
             ? "video/webm; codecs=vp9"
             : "video/webm"
    let mediaRecorder = new MediaRecorder(stream, {
        mimeType: mime
    })

    let chunks = []
    mediaRecorder.addEventListener('dataavailable', function(e) {
        chunks.push(e.data)
    })

   mediaRecorder.addEventListener('stop', function(){
      let blob = new Blob(chunks, {
          type: chunks[0].type
      })
      let url = URL.createObjectURL(blob)

      let video = document.querySelector("video")
      video.src = url

      let a = document.createElement('a')
      a.href = url
      a.download = 'video.webm'
      a.click()
  })


    // It must be started manually
    mediaRecorder.start()
})
For wechat applet course design and completion design needs, contact personal QQ: 505417246
Concerned about the following WeChat official account, you can receive WeChat small programs, Vue, TypeScript, front-end, uni-app, full stack, Nodejs, Python and other actual combat learning materials.
The latest and most comprehensive knowledge summary and project source code will be released to WeChat official account for the first time. Please pay more attention to them. Thank you.
After the official account, reply to the front interview questions, collect a large number of front-end interview questions, and gather pdf information.