Kotlin has become the official language of Android, and I believe it will be used more and more widely in the future. But only Android Studio 3.0 can support Kotlin. How can we use Kotlin to develop Android projects in versions below 3.0? This requires the installation of the kotlin plug-in.
Kotlin resources:
Official website: http://kotlinlang.org/docs/reference/
Chinese Documents: https://github.com/huanglizhuo/kotlin-in-chinese
Official Courses: http://kotlinlang.org/docs/tutorials/kotlin-android.html
First, we create a new project to search for kotlin in File | Settings | Plugins | Install JetBrains plugin, then download and install the kotlin plugin:
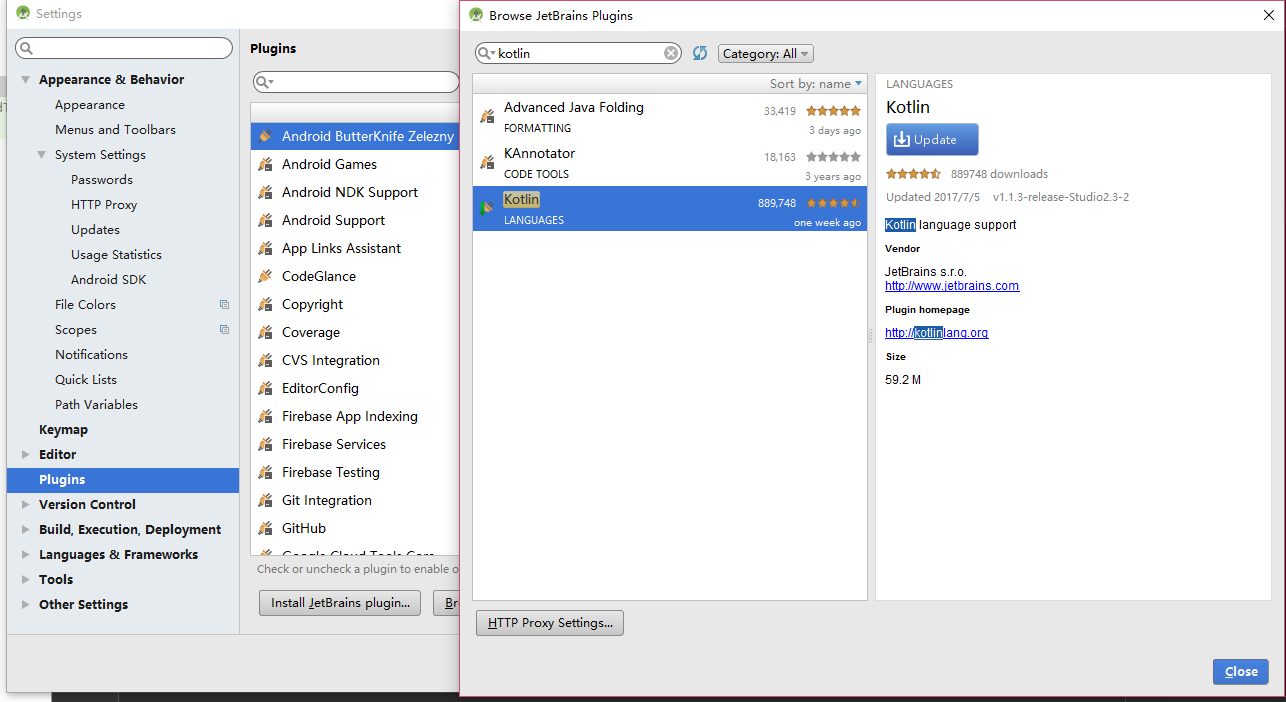
Here, I installed it before, so I need to update it.
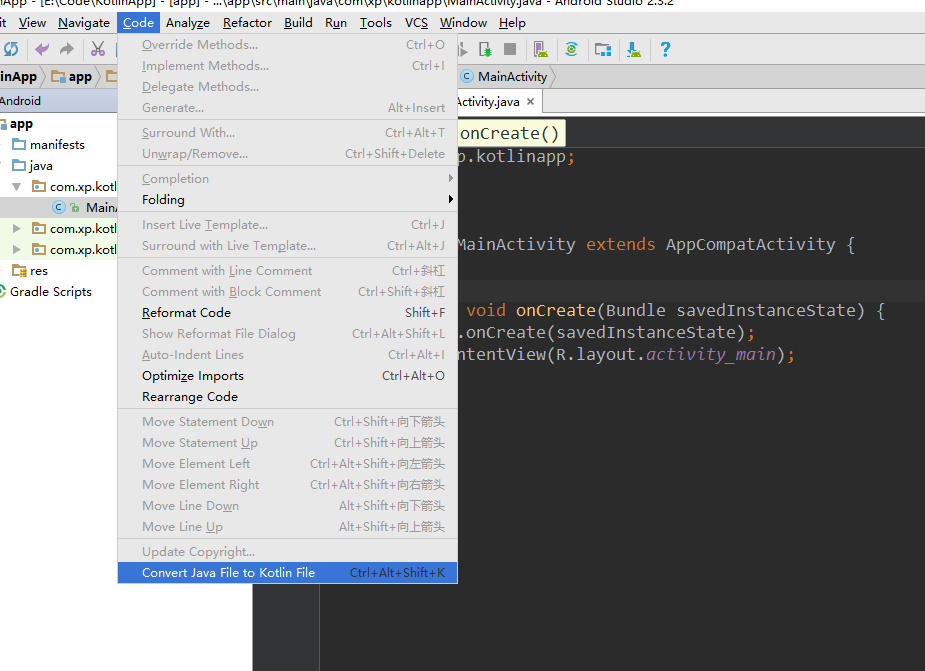
After the plug-in is installed, clicking on code has an option Convert Java File to Kotlin File:
After clicking, the MainActivity will be converted into a kotlin file:
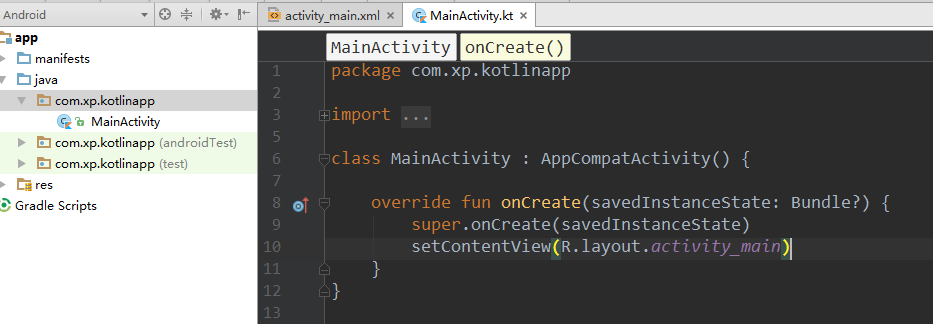
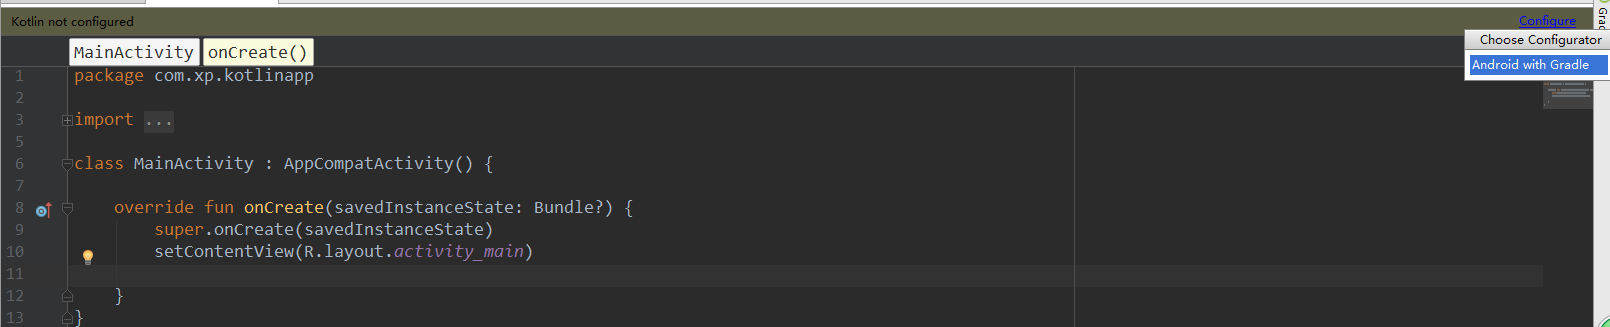
This is the MainActivity after converting to kotlin. If you start editing MainActivity, Studio will prompt you that you haven't configured kotlin yet:
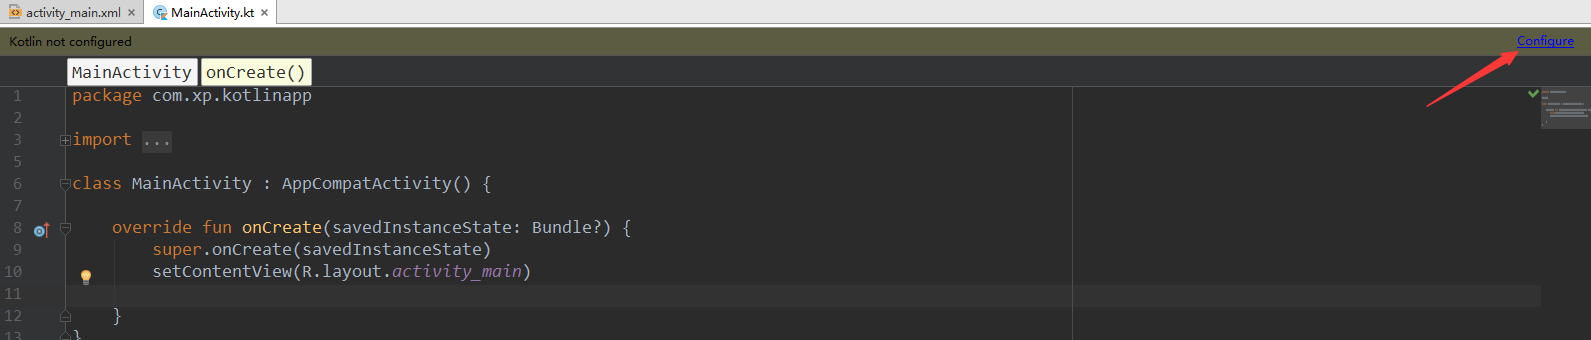
You can click on Configure in the upper right corner and studio will automatically configure kotlin in gradle.
After clicking, a selection box appears, where you can select the modules and versions to configure kotlin:
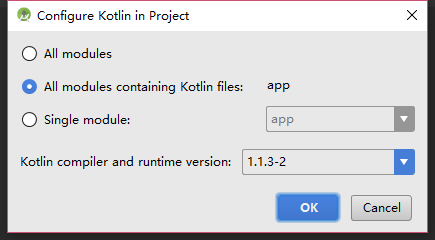
Just click on the default. Then we'll go and see what's added to gradle.
You can also add in gradle manually:
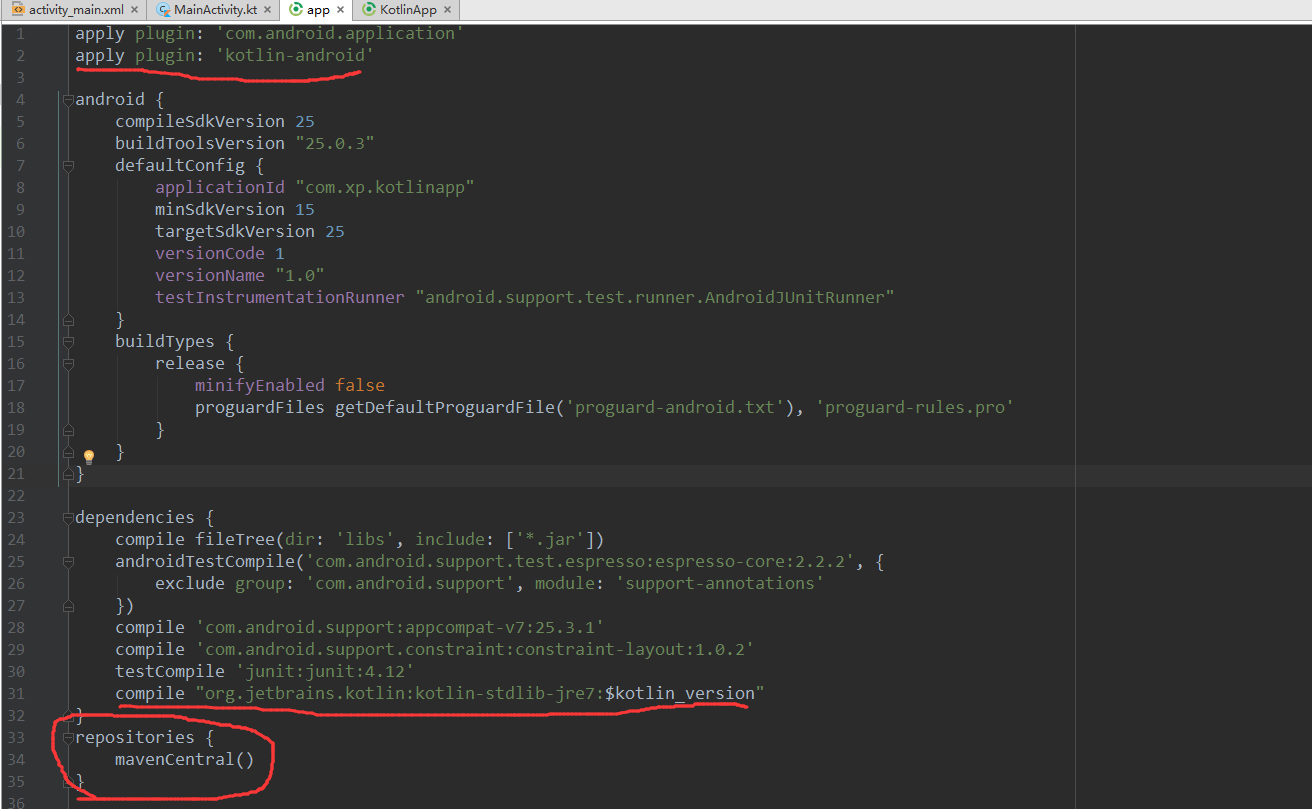
The build.gradle code in app:
apply plugin: 'com.android.application'
apply plugin: 'kotlin-android'
android {
compileSdkVersion 25
buildToolsVersion "25.0.3"
defaultConfig {
applicationId "com.xp.kotlinapp"
minSdkVersion 15
targetSdkVersion 25
versionCode 1
versionName "1.0"
testInstrumentationRunner "android.support.test.runner.AndroidJUnitRunner"
}
buildTypes {
release {
minifyEnabled false
proguardFiles getDefaultProguardFile('proguard-android.txt'), 'proguard-rules.pro'
}
}
}
dependencies {
compile fileTree(dir: 'libs', include: ['*.jar'])
androidTestCompile('com.android.support.test.espresso:espresso-core:2.2.2', {
exclude group: 'com.android.support', module: 'support-annotations'
})
compile 'com.android.support:appcompat-v7:25.3.1'
compile 'com.android.support.constraint:constraint-layout:1.0.2'
testCompile 'junit:junit:4.12'
compile "org.jetbrains.kotlin:kotlin-stdlib-jre7:$kotlin_version"
}
repositories {
mavenCentral()
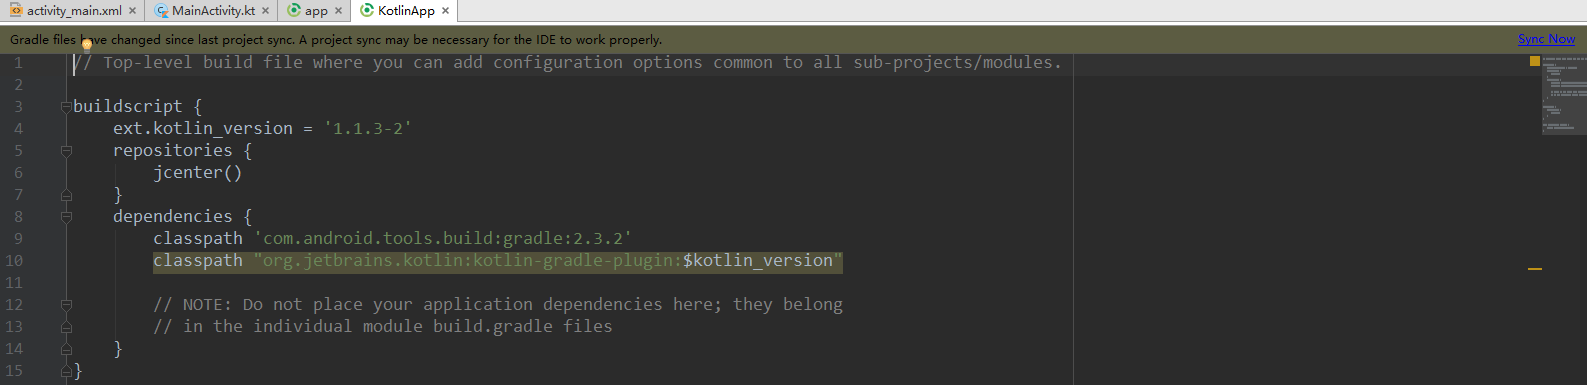
}The build.gradle code for the project:
// Top-level build file where you can add configuration options common to all sub-projects/modules.

buildscript {
    ext.kotlin_version = '1.1.3-2'
    repositories {
        jcenter()
    }
    dependencies {
        classpath 'com.android.tools.build:gradle:2.3.2'
        classpath "org.jetbrains.kotlin:kotlin-gradle-plugin:$kotlin_version"

        // NOTE: Do not place your application dependencies here; they belong
        // in the individual module build.gradle files
    }
}

allprojects {
    repositories {
        jcenter()
    }
}

task clean(type: Delete) {
    delete rootProject.buildDir
}
The main thing is to add application plug-ins and dependencies. At this point, we just need to click Sync Now. At this time, we can use kotlin to develop projects, but kotlin also has extension plug-ins to make our development more convenient is kotlin-android-extensions.( Official introduction)
Add it to moudle's build.gradle file
apply plugin: 'kotlin-android-extensions'
Main functions: control import, support Activity extension methods and attributes.
After adding kotlin-android-extensions, write it down.
Layout file:
<?xml version="1.0" encoding="utf-8"?>
<android.support.constraint.ConstraintLayout xmlns:android="http://schemas.android.com/apk/res/android"
    xmlns:app="http://schemas.android.com/apk/res-auto"
    xmlns:tools="http://schemas.android.com/tools"
    android:layout_width="match_parent"
    android:layout_height="match_parent"
    tools:context="com.xp.kotlinapp.MainActivity">

    <TextView
        android:id="@+id/textView"
        android:layout_width="wrap_content"
        android:layout_height="wrap_content"
        app:layout_constraintBottom_toBottomOf="parent"
        app:layout_constraintLeft_toLeftOf="parent"
        app:layout_constraintRight_toRightOf="parent"
        app:layout_constraintTop_toTopOf="parent" />

</android.support.constraint.ConstraintLayout>
In Activity:
import android.support.v7.app.AppCompatActivity
import android.os.Bundle
import android.widget.Toast
import kotlinx.android.synthetic.main.activity_main.*

class MainActivity : AppCompatActivity() {

    override fun onCreate(savedInstanceState: Bundle?) {
        super.onCreate(savedInstanceState)
        setContentView(R.layout.activity_main)
        textView.text = "hello kotlin!"

        textView.setOnClickListener {
            Toast.makeText(this,"hello kotlin!",Toast.LENGTH_SHORT).show()
        }
    }
}
Operation effect:
Does it feel like the code is very simple, in fact, kotlin has a library, adding it will make our code simpler, that is anko (? Official introduction)
If you want to use kotlin to develop the whole project, this library is essential, then go to know it for yourself.