IDEA2020 create a jsp +Servlet+Tomcat web project
Part I java environment variable configuration & servlet environment configuration
java 11 download address https://www.oracle.com/java/technologies/downloads/#java11-windows
Tomcat download address https://tomcat.apache.org/
JAVA part
There are many tutorials for java jdk installation and environment variable configuration. The next steps are briefly described here
Download install
Assume that the jdk installation directory is E:\basic\javajdk11
(there should be directories such as \ JRE; \ lib under the installation directory)
In computer environment variable configuration
Create a new system variable "Java_Home" value "E:\basic\javajdk11"
Path NEW
%Java_Home%\bin;%Java_Home%\jre\bin;
System variable added variable CLASSPATH
"Variable value" is ".;% Java_Home%\bin;%Java_Home%\lib\dt.jar;%Java_Home%\lib\tools.jar", "OK"
tomcat section
- Download the latest version of Tomcat: http://tomcat.apache.org/ .
- Create Catalina_ The home environment variable points to these directories
Briefly describe the next step
(suppose Apache tomacat is directly extracted in the E:\tomcat directory)
In computer environment variable configuration
New CATALINA_HOME system environment variable, CATALINA_HOME = E:\tomcat\apache-tomcat-8.5.38
New CATALINA_BASE system environment variable, CATALINA_BASE = E:\tomcat\apache-tomcat-8.5.38
Modify Path and add after Path
%CATALINA_HOME%\lib
%CATALINA_HOME%\bin
Open startup Bat start
tomcat__ Acquiescence__ The startup port is 8080. Now use the browser to access and enter http://localhost:8080/ The default access is Tomcat / webapps / root / index XXX file
If the access is successful, the configuration is successful
Run shutdown Bat can be turned off
Part II IDEA establishment project
New blank item
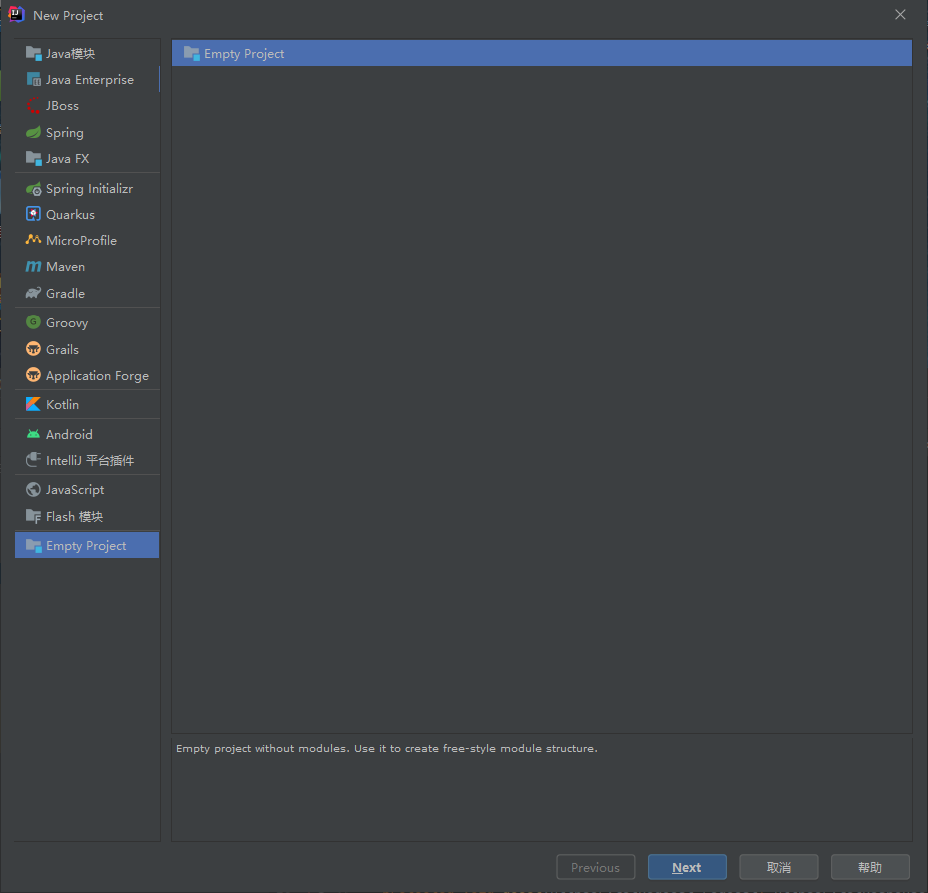
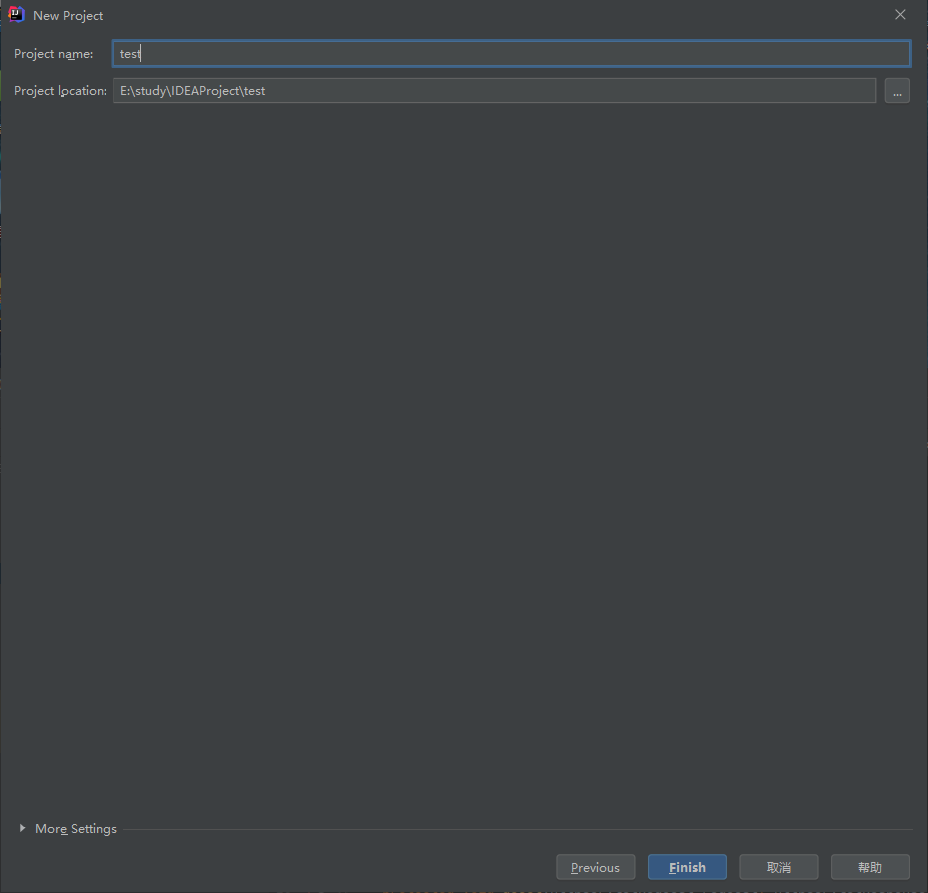
After entering, jump out of the creation module and do not create
Top left corner - file - project structure - set SDK and project language level (corresponding to each other), as shown in the figure

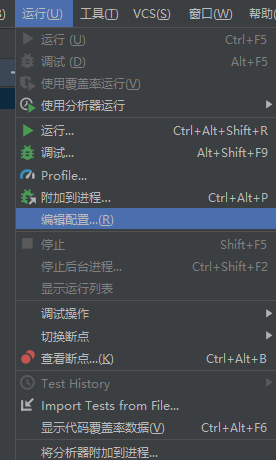
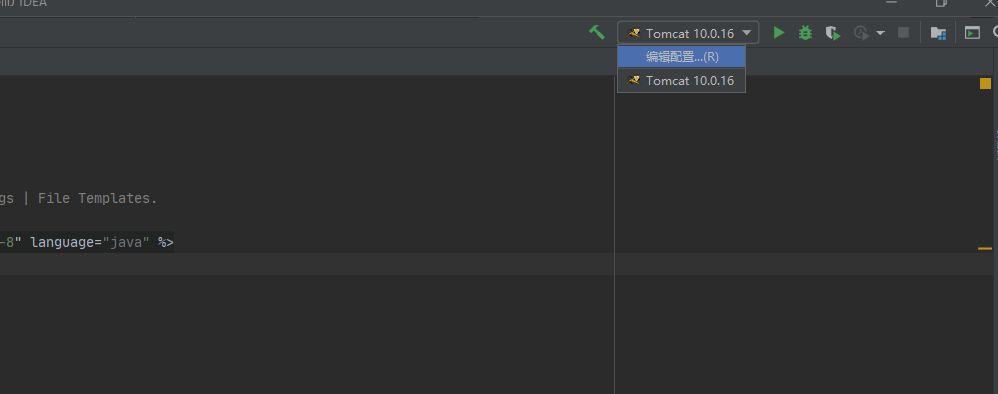
Top - run - edit configuration
Top left corner plus sign
Find tomcat server and select local
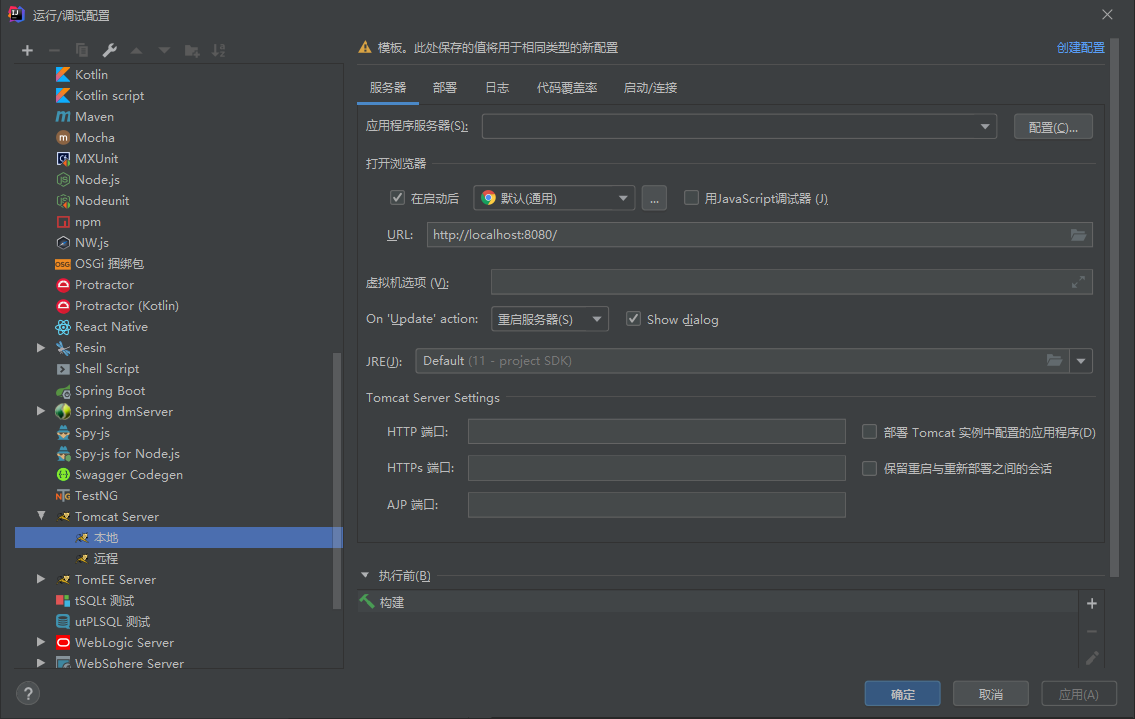
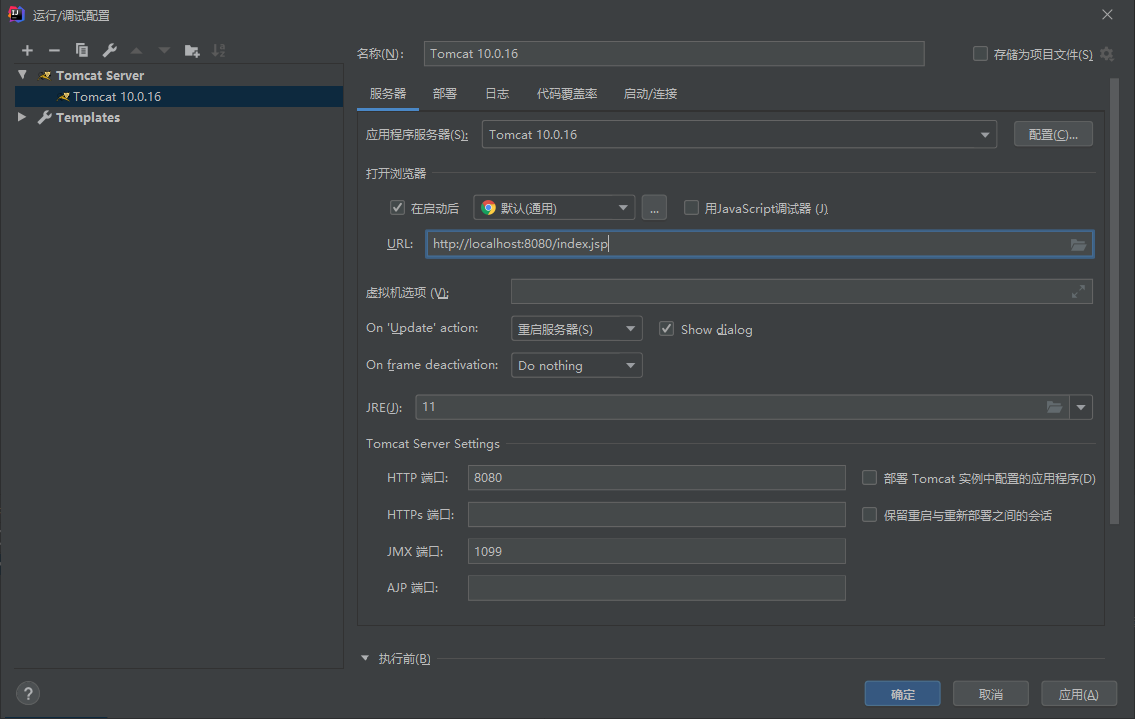
Set the same JRE and URL as the previous PART I
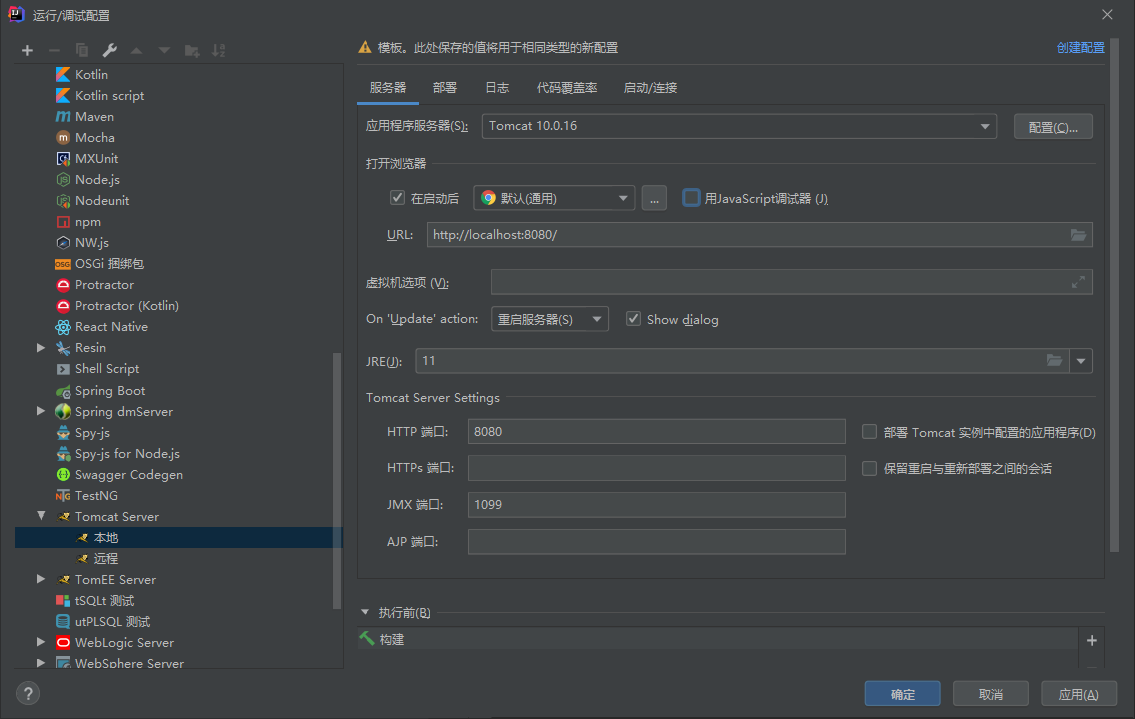
confirm
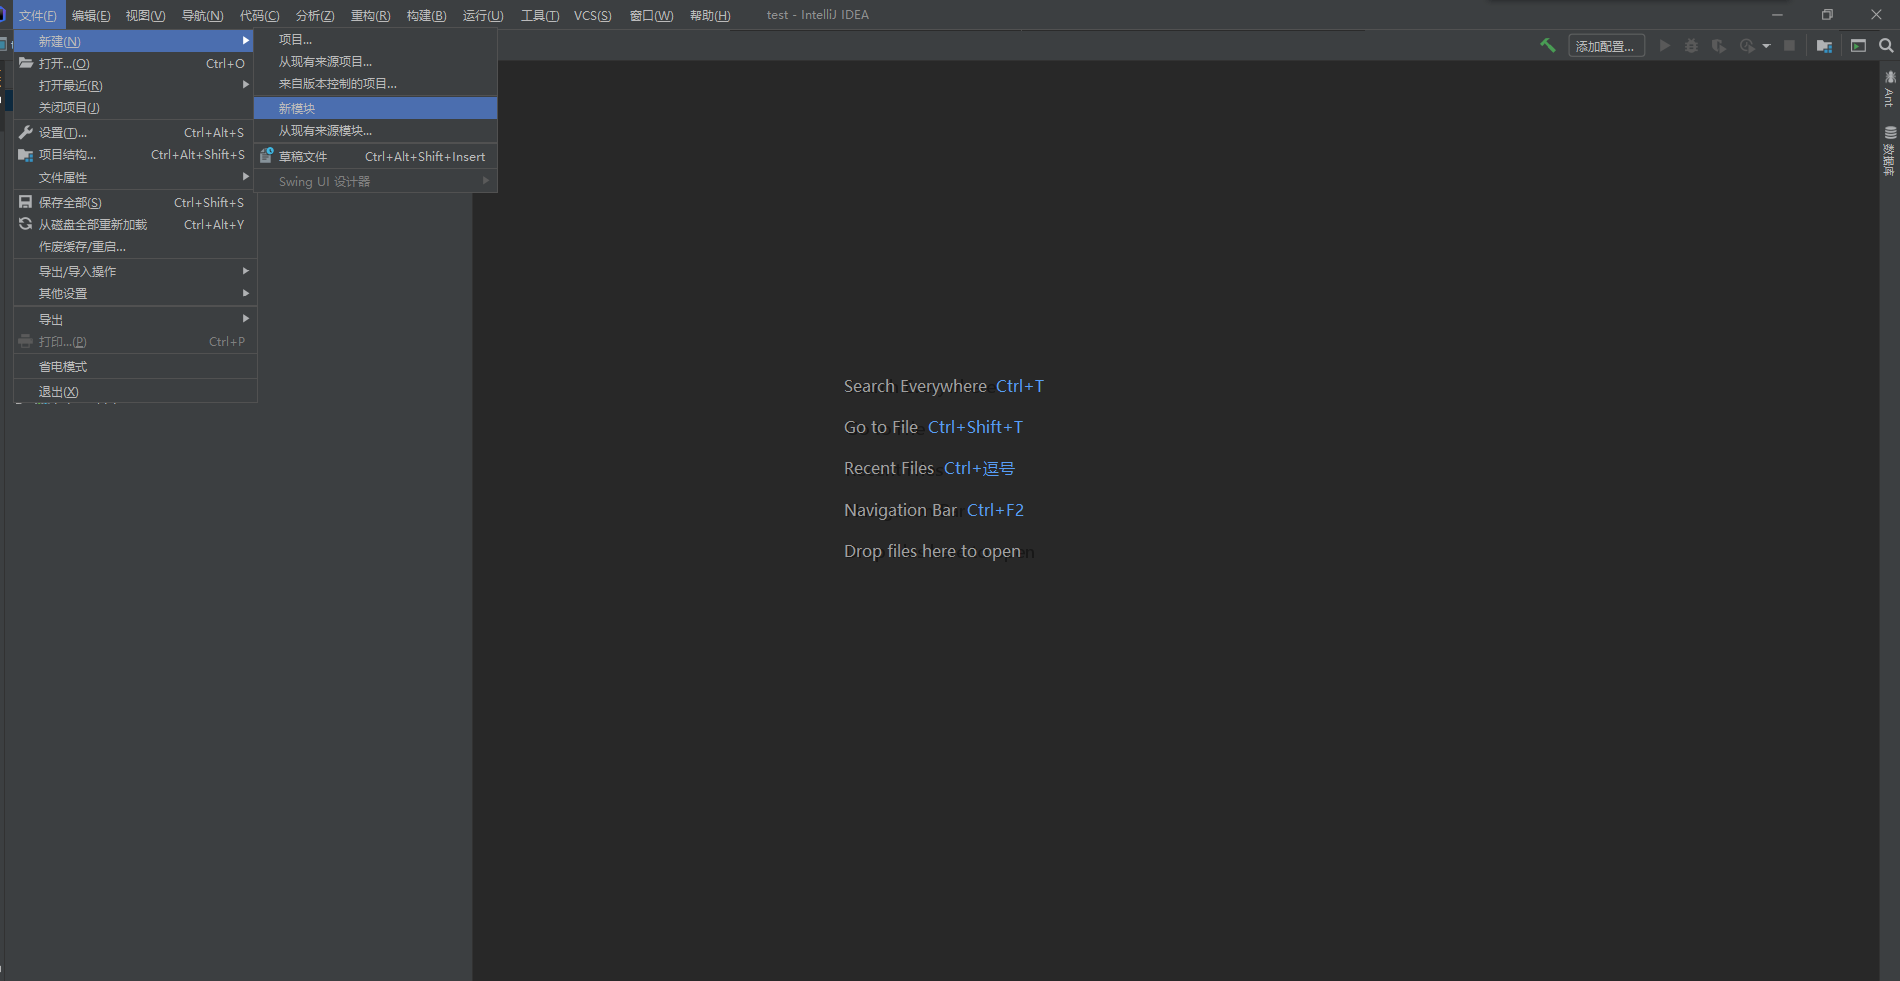
Top left - file - create a new module
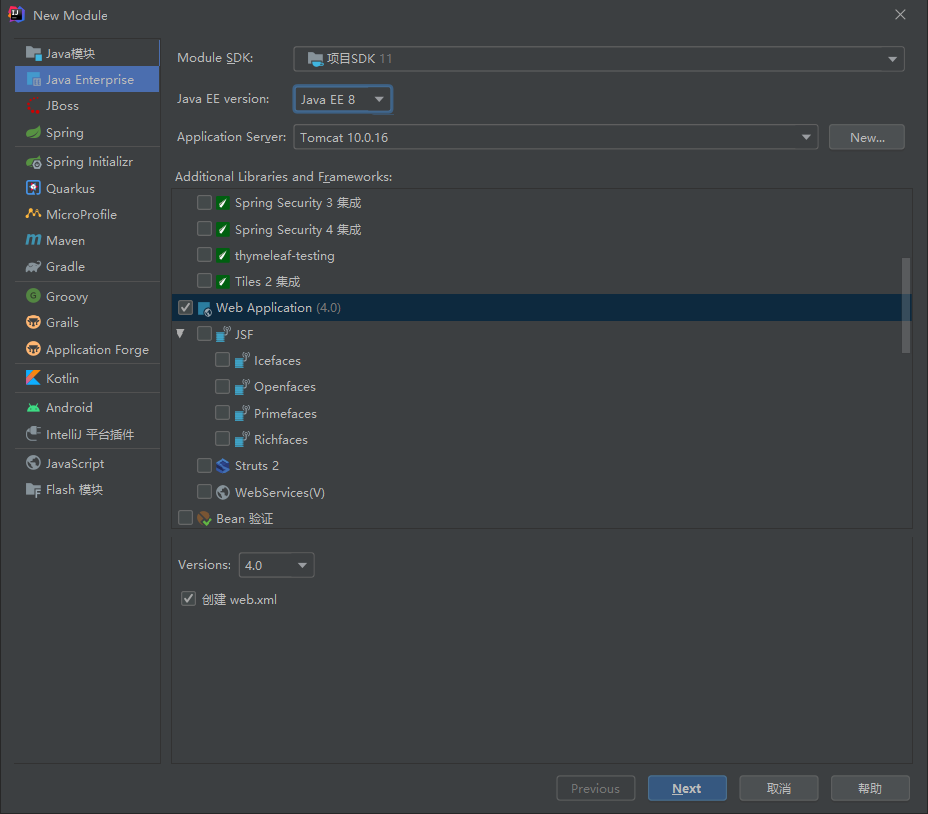
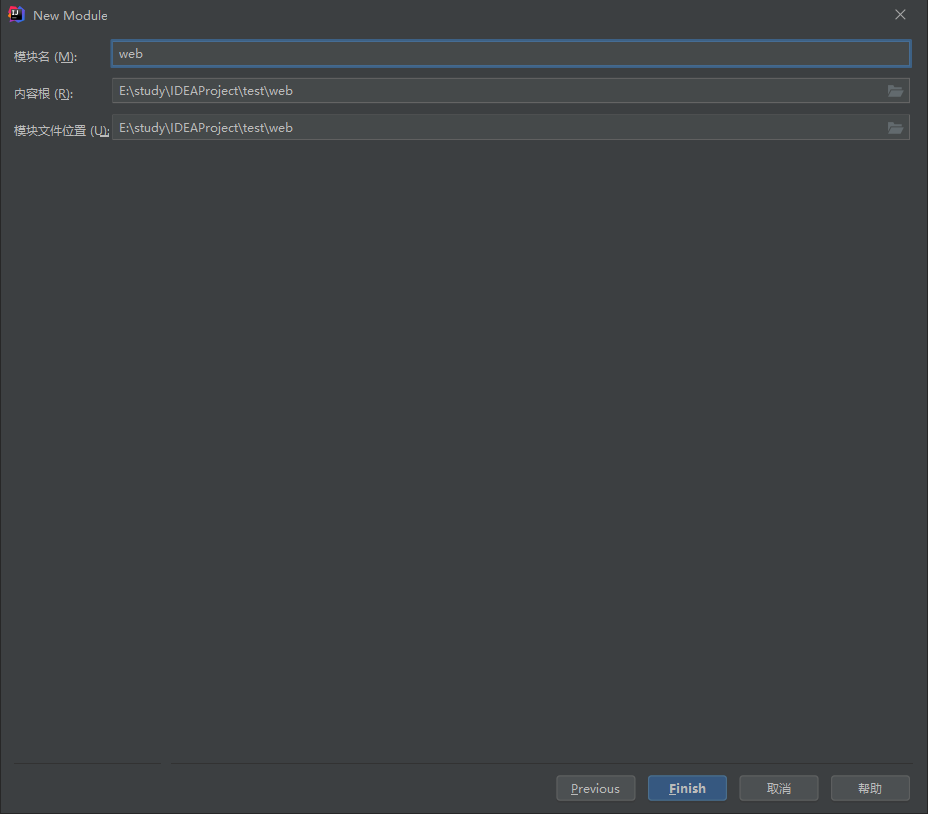
As shown in the figure, select web application. Remember to look at the interface corresponding to the application server and your tomcat and after creation
Part III tomcat setup and servlet testing
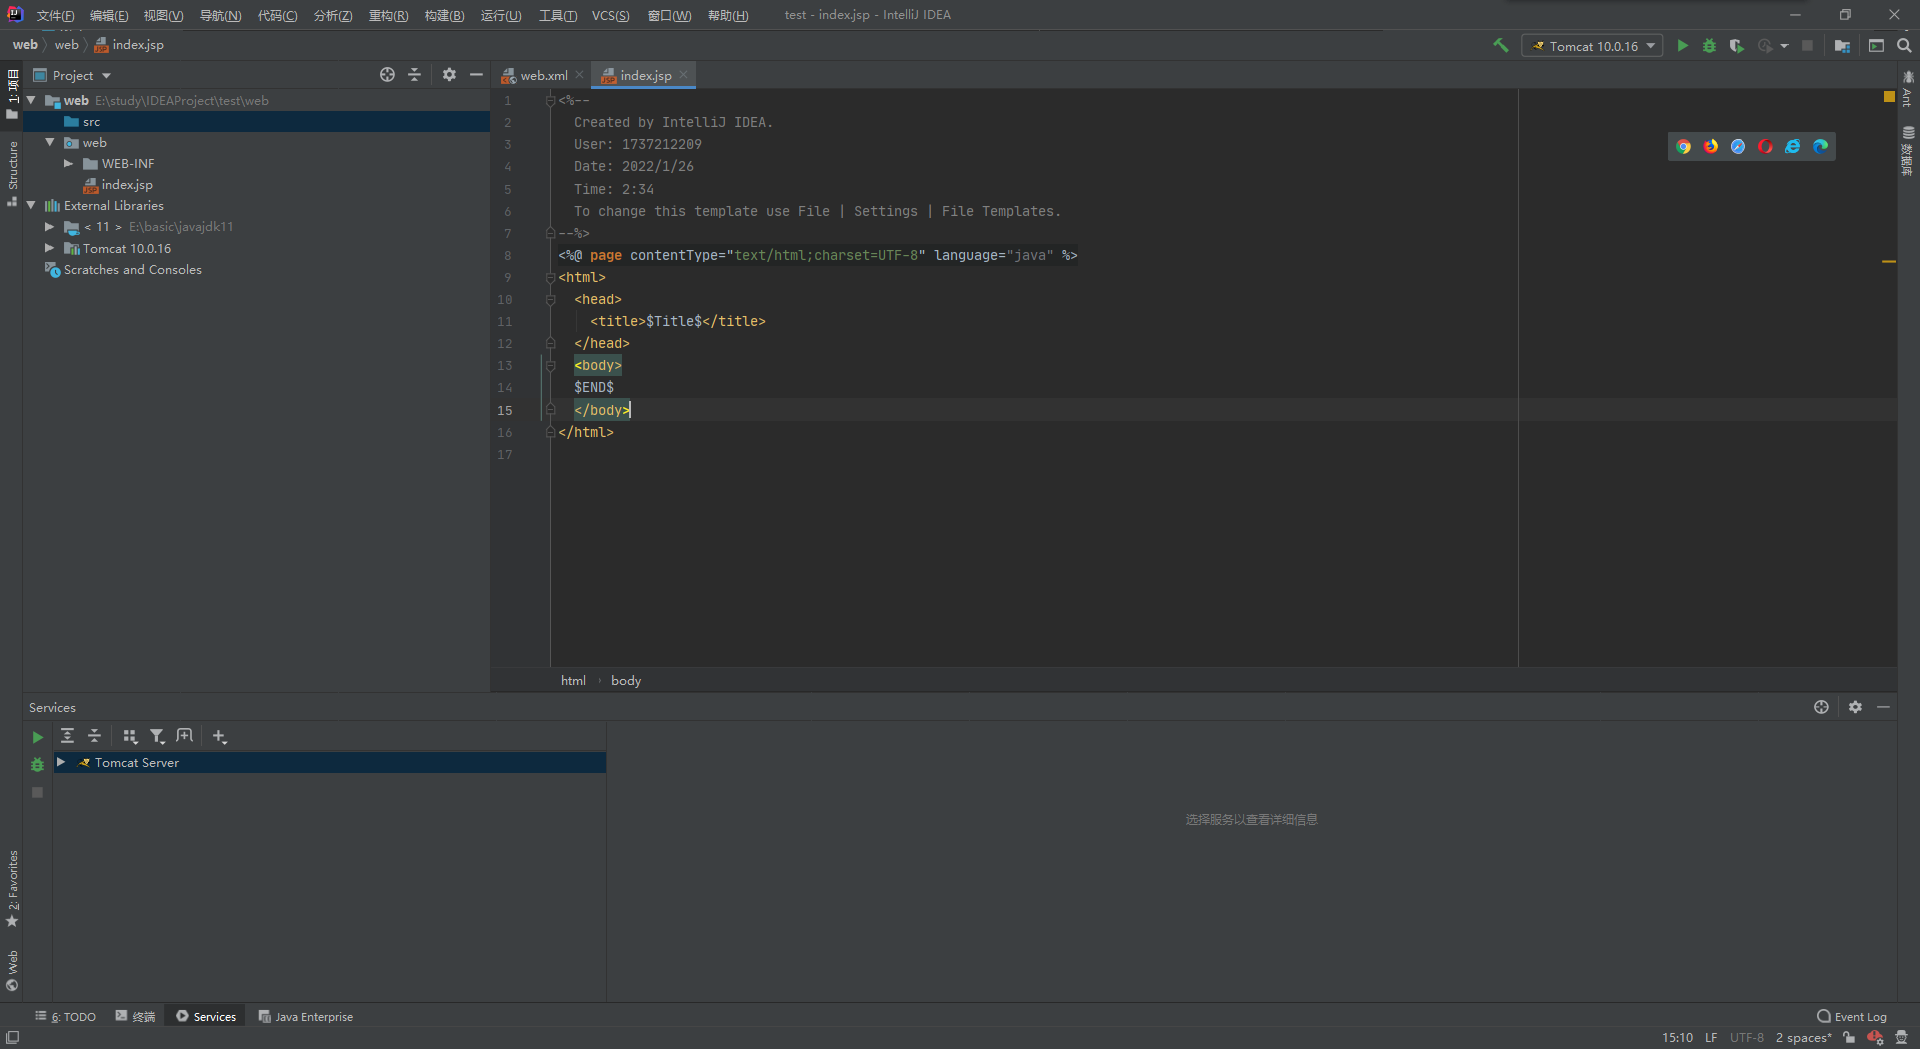
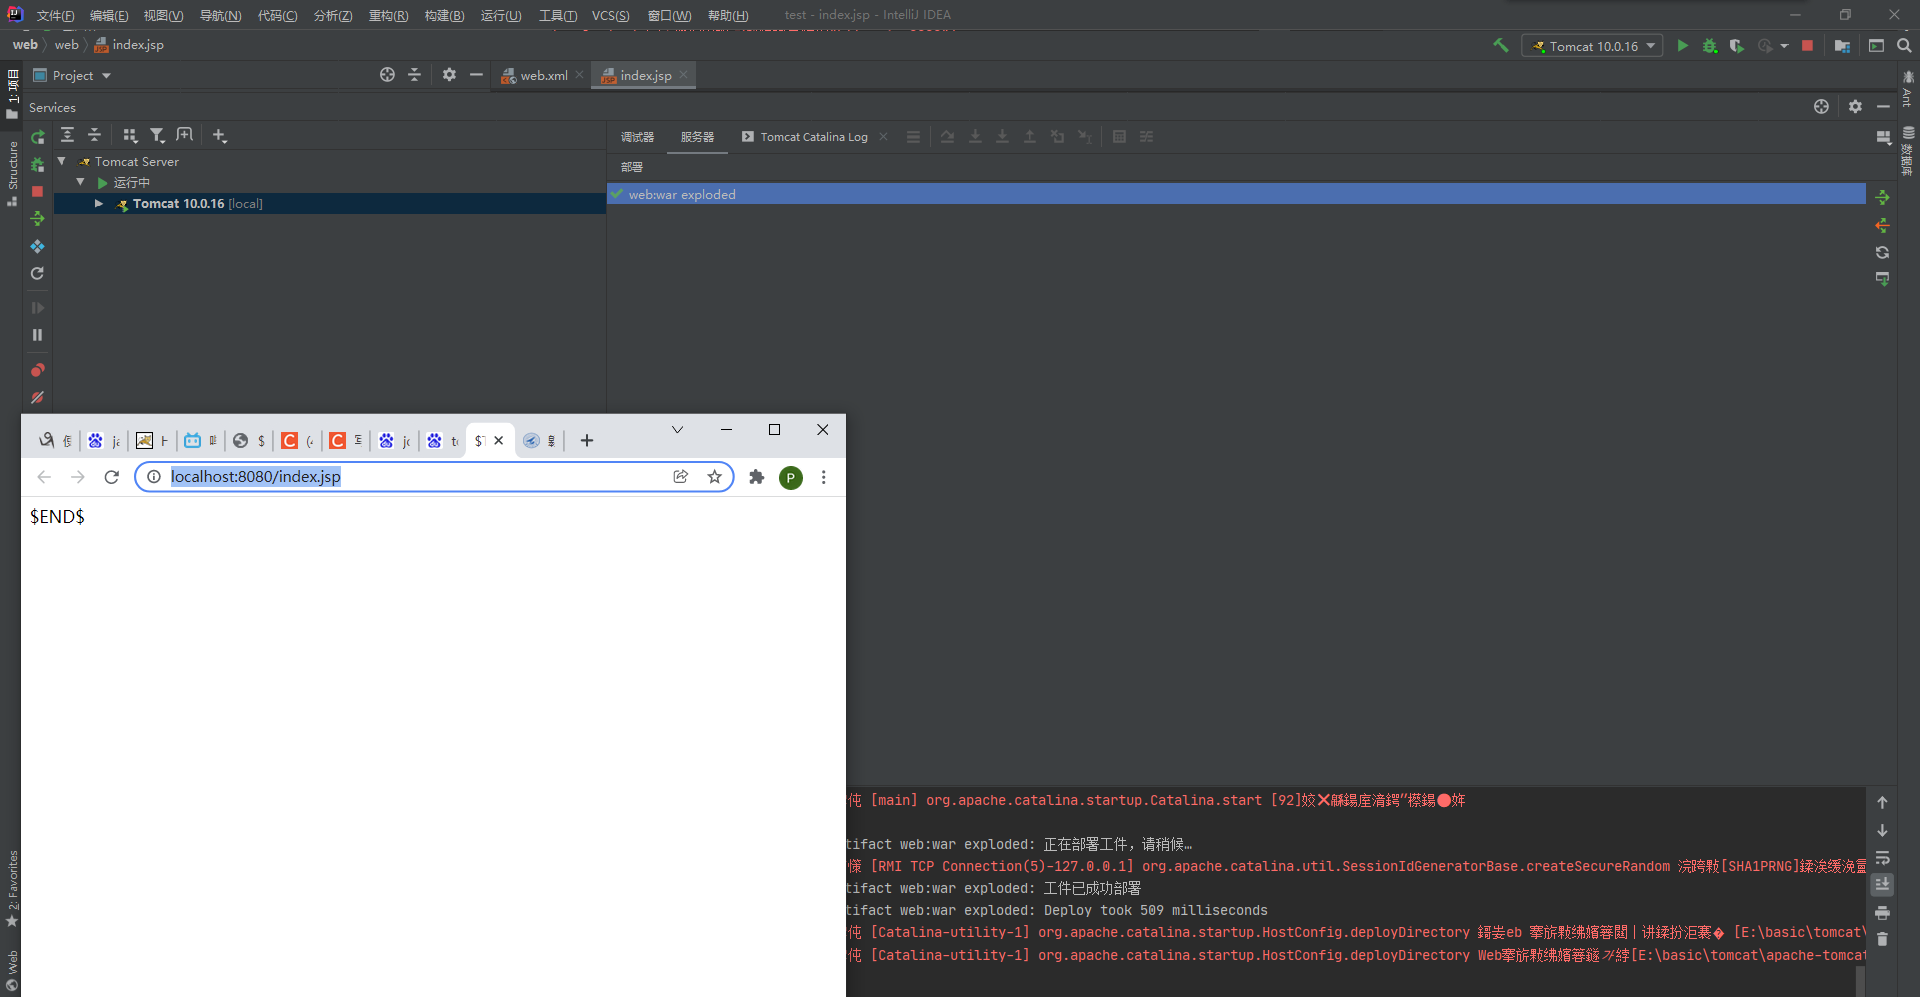
To ensure that after F5 debugging or running, open the web page and default to index jsp
You also need to change the tomcat settings
Change the url address and application context as shown in the figure
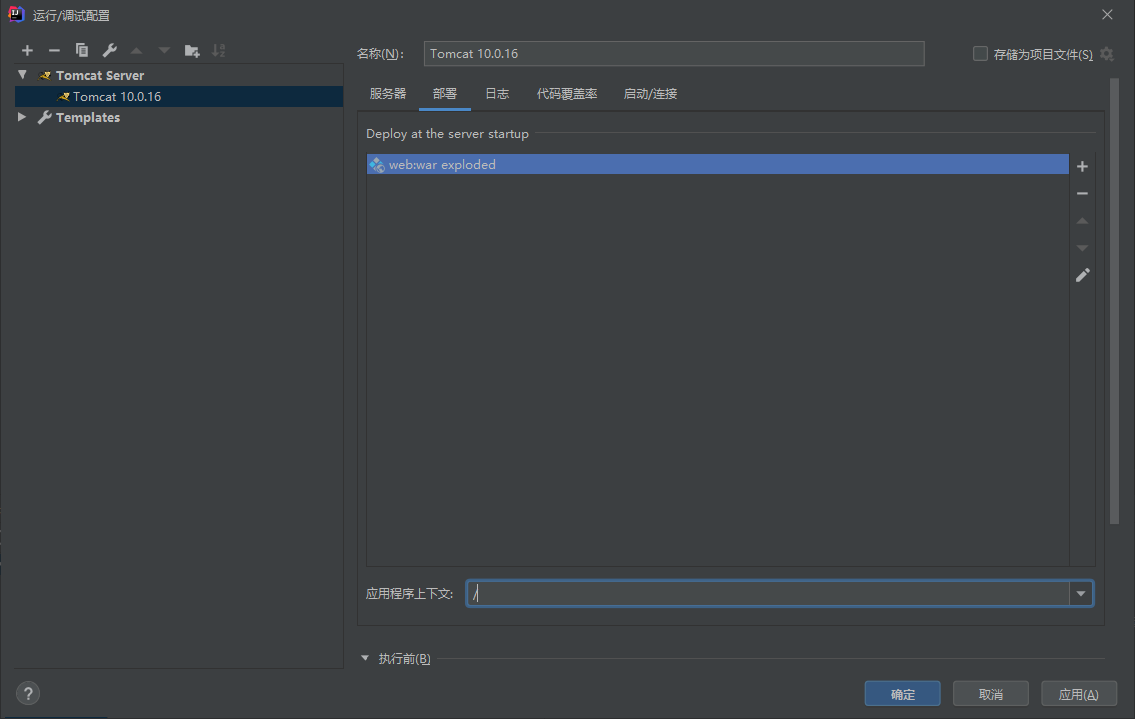
Application - OK
f5 runs successfully as follows (the red ink part of debugging is a log, not an error)
src create com Servlet package
Create a new servlet, as shown in the figure below
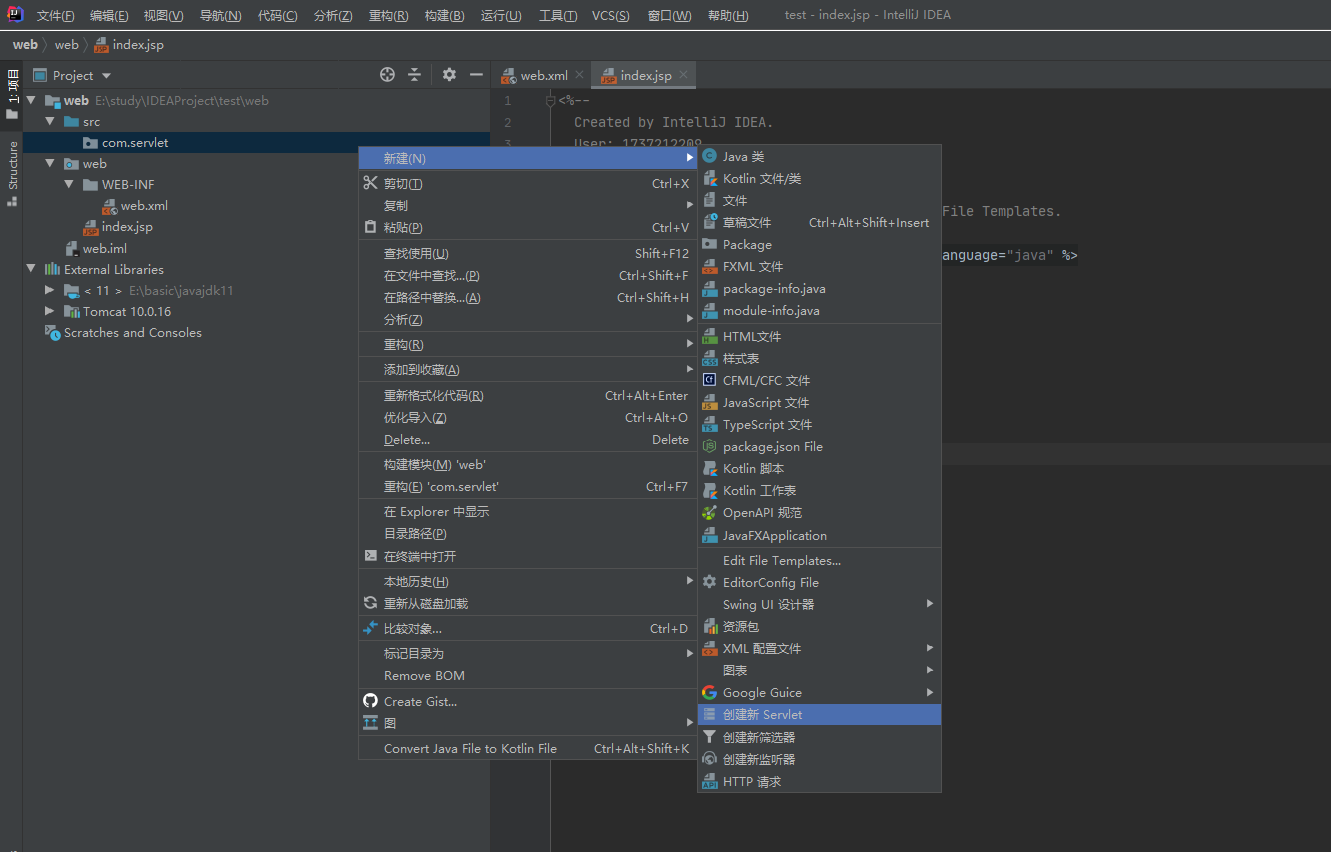
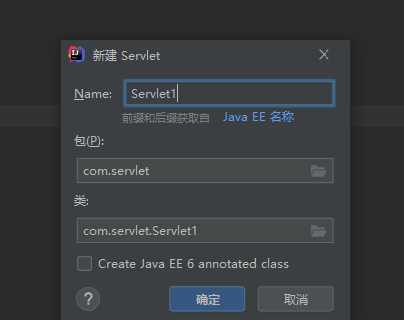
determine
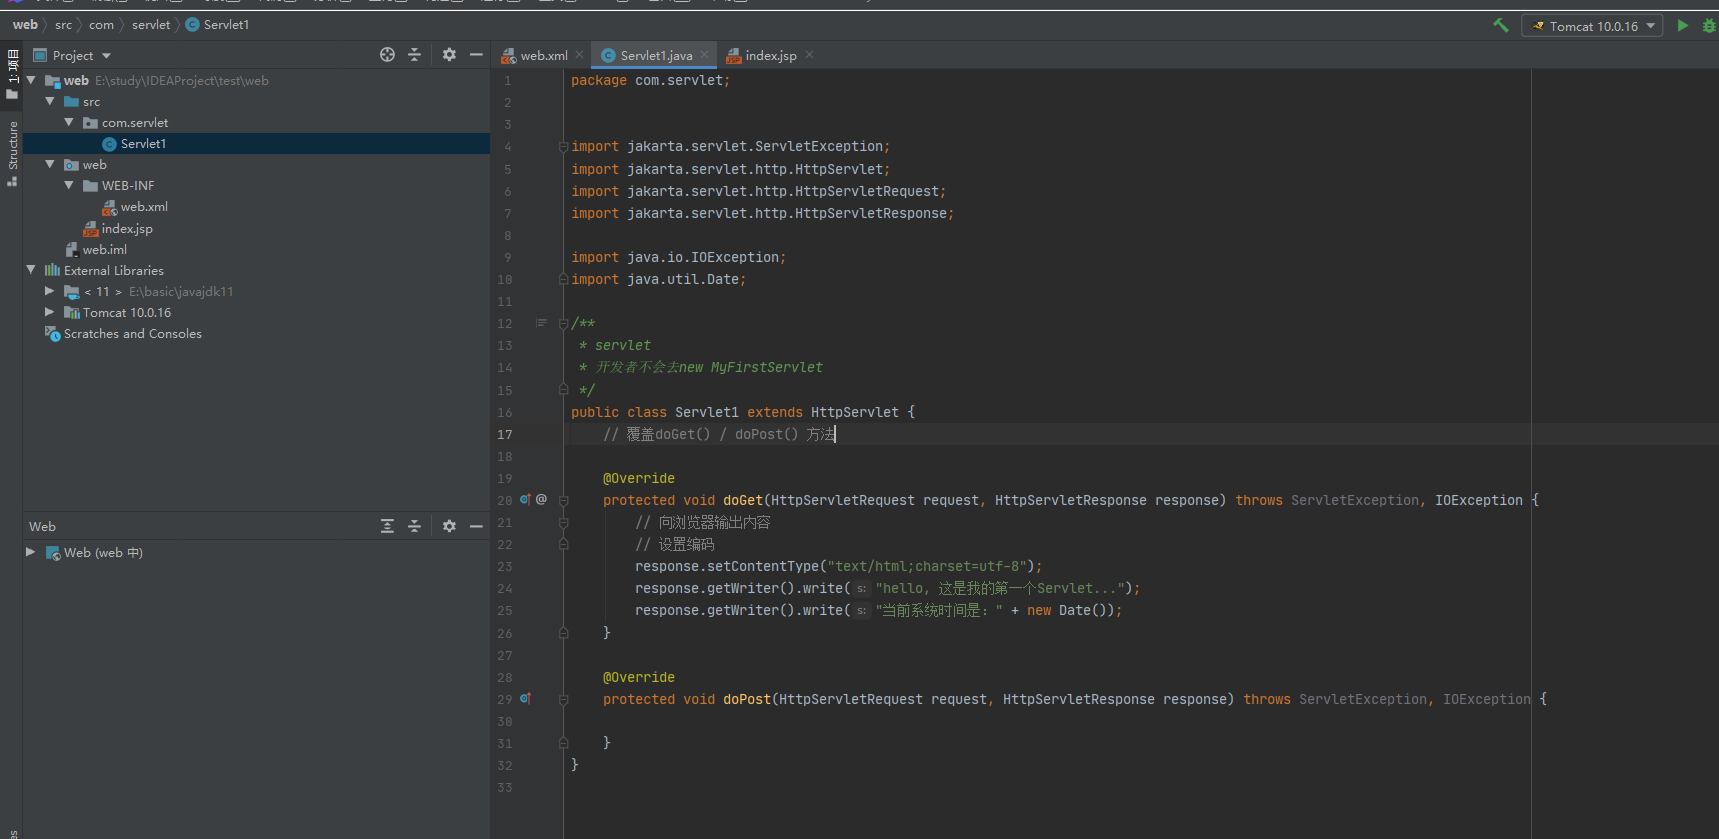
Edit servlet content
(note here that the imported package should come from tomcat, otherwise an error will be reported in the later test. Here is the package introduced by alt+enter. It's ok to look at the package imported from Tomcat)
package com.servlet;


import jakarta.servlet.ServletException;
import jakarta.servlet.http.HttpServlet;
import jakarta.servlet.http.HttpServletRequest;
import jakarta.servlet.http.HttpServletResponse;

import java.io.IOException;
import java.util.Date;

/**
 * servlet
 * Developers will not go to new MyFirstServlet
 */
public class Servlet1 extends HttpServlet {
    // Override doGet() / doPost() methods

    @Override
    protected void doGet(HttpServletRequest request, HttpServletResponse response) throws ServletException, IOException {
        // Output content to browser
        // Set code
        response.setContentType("text/html;charset=utf-8");
        response.getWriter().write("hello, This is my first Servlet...");
        response.getWriter().write("The current system time is:" + new Date());
    }

    @Override
    protected void doPost(HttpServletRequest request, HttpServletResponse response) throws ServletException, IOException {

    }
}
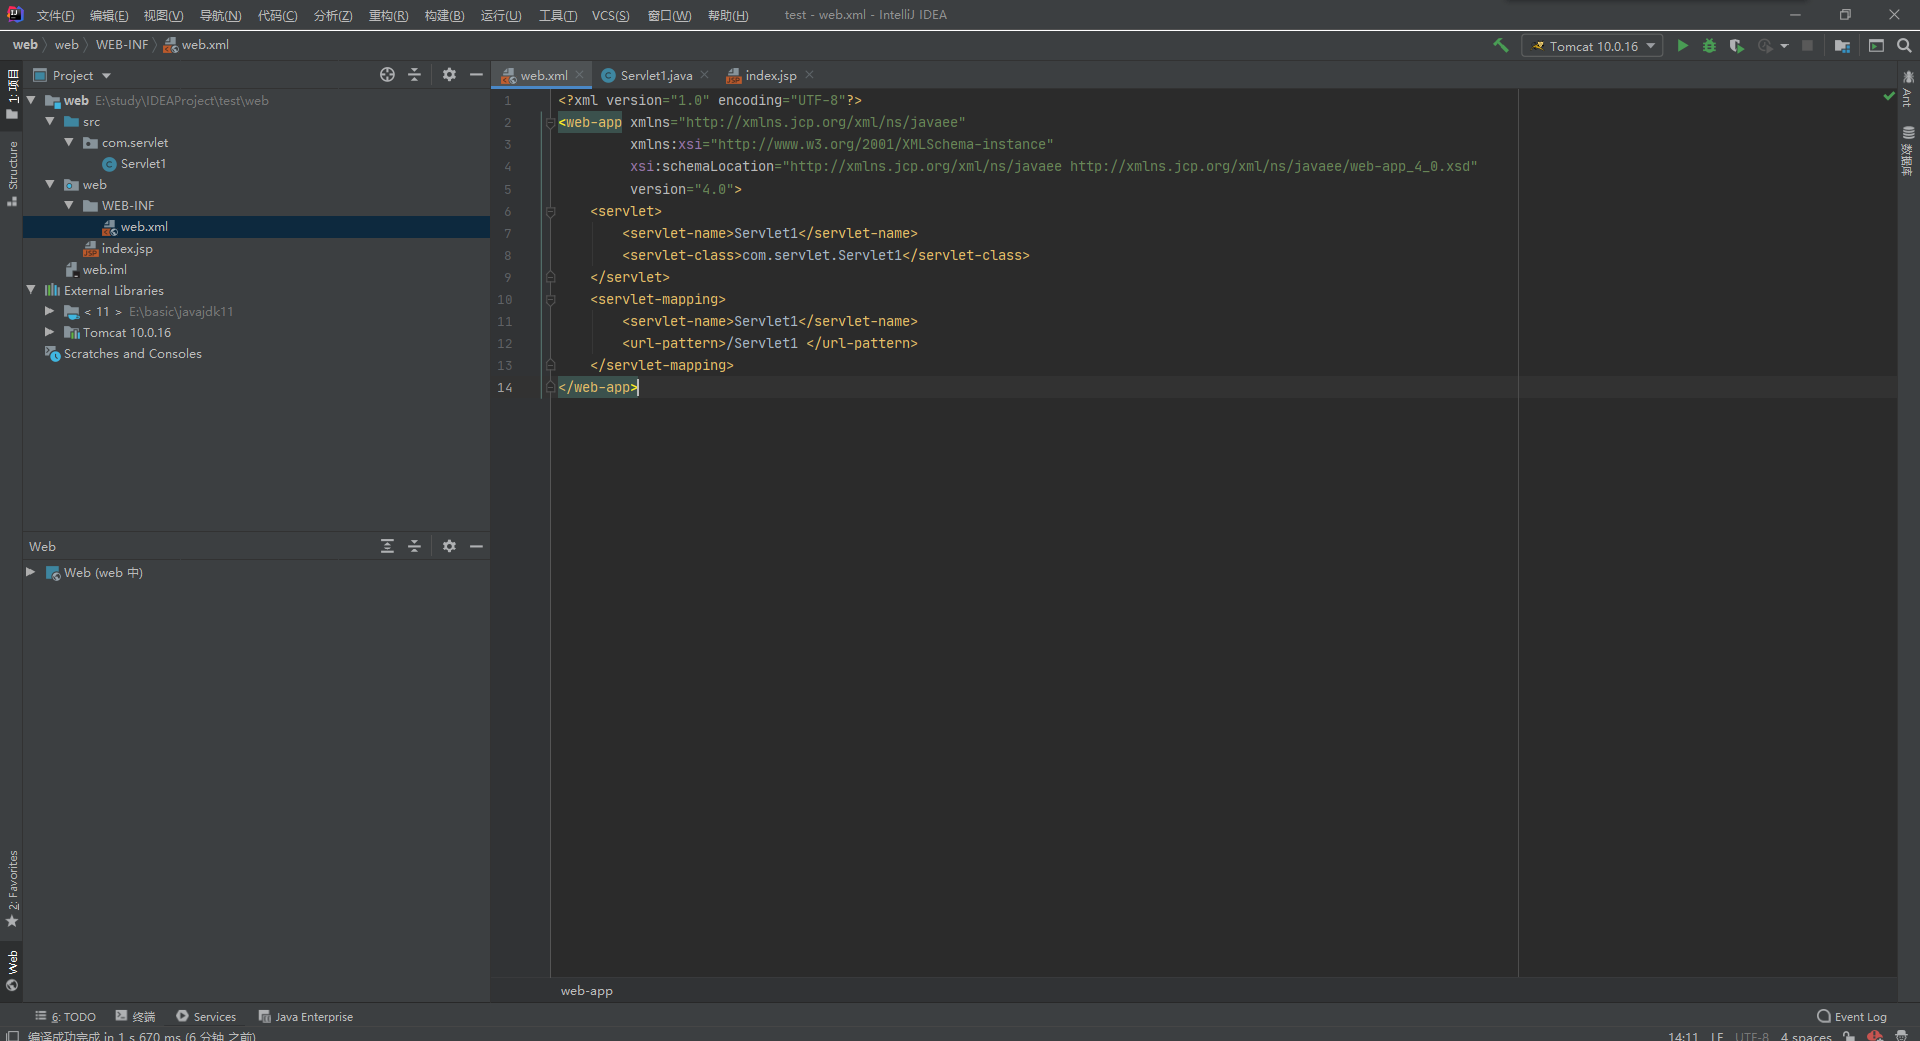
On the web Match the previous URL for servlet in XML
stay
<servlet-mapping>

</servlet-mapping>
Add serlet and url configuration in (if not, enter it yourself)
    <servlet-mapping>
        <servlet-name>Servlet1</servlet-name>
        <url-pattern>/Servlet1 </url-pattern>
    </servlet-mapping>
test
After running, enter the / Servlet1 page
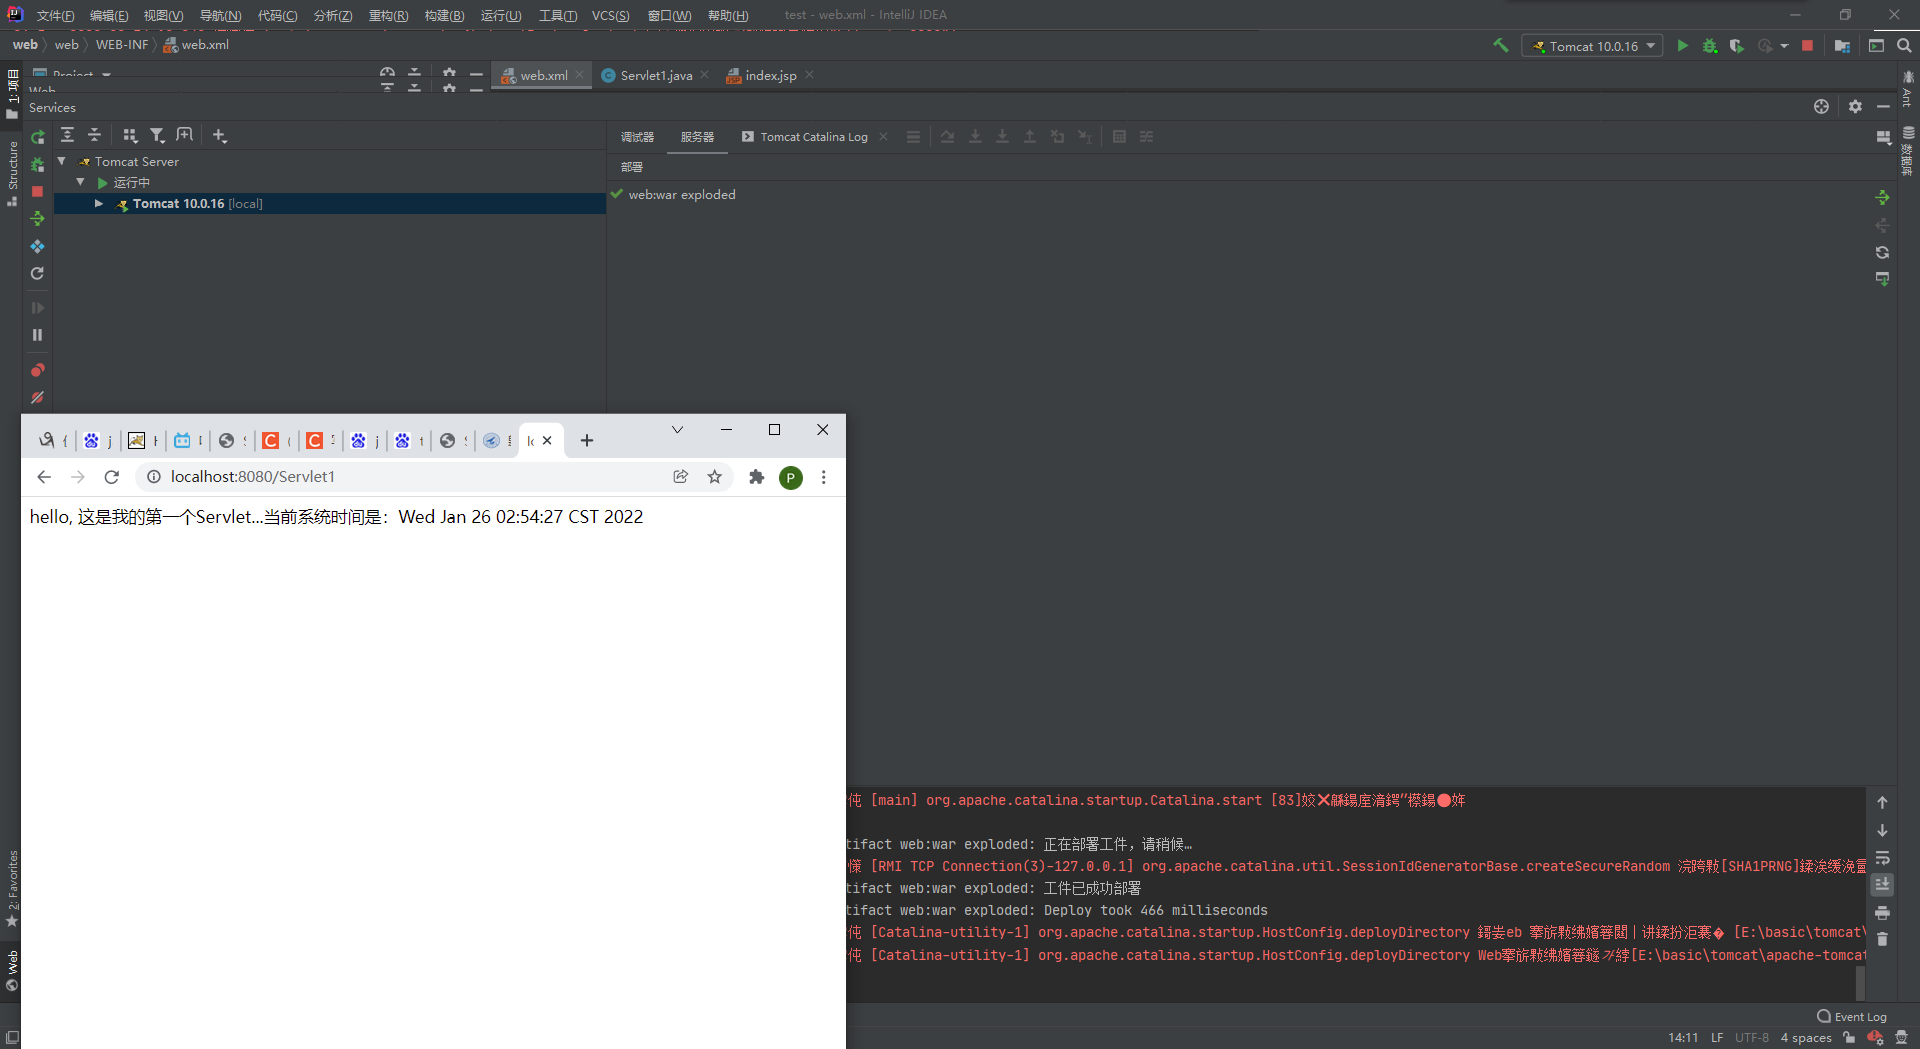
success