Recently, I saw several articles related to Jetpack MVVM, which made me want to get into this mess. I came into contact with Jetpack's set of development tools in the second half of 2017, and have since taken it as the main framework for development. During this period of use, I stepped on some pits and accumulated some experience. In order to promote it to other projects, I specially encapsulated a library. Of course, the components provided by Jetpack have been relatively perfect, and my work can only be regarded as icing on the cake. Let me introduce how I use Jetpack MVVM in the project.
1. Rising stars and eclipsed MVP
MVP is very powerful, and it is or used to be the preferred development framework for many large companies. However, compared with today's MVVM, the former MVP mode has many inconveniences in use, which inevitably eclipses it.
First of all, when writing client code using MVP, you have to write a lot of interfaces and classes. In general MVP mode, we need to define the methods to be implemented by Model, View and Presenter through the interface; Then, you need to write three more classes to implement the logic of the above three interfaces. In other words, generally, in order to implement the logic of an interface, you need to write at least six class files.
Secondly, Presenter is bloated. The Presenter is responsible for the interaction between the View and the Model layer. The result of the request and the interaction logic with the View layer are completed in the Presenter. In many frameworks, in order to solve the strong reference relationship between the View and Model layers, a Handler is defined in the Presenter to pass information by message. This makes the code too template, adding a lot of code that has nothing to do with the specific business logic. In addition, if the Handler is used as a message passing bridge, because the UI update occurs in the main thread again, it may lead to excessive message accumulation in the main thread.
How does MVVM do that? The following figure roughly illustrates Jetpack MVVM. In fact, the MVVM core provided by Jetpack has only two functions: ViewModel and LiveData. ViewModel is mainly used to request data information through the Model, and then pass the information to the View layer through LiveData as a bridge for information interaction. From the perspective of the number of classes, you only need to write three class files to implement a page with MVVM.
[external link picture transfer failed. The source station may have anti-theft chain mechanism. It is recommended to save the picture and upload it directly (IMG slubtyuv-1630047345620)( https://user-gold-cdn.xitu.io/2020/5/23/1723f994e6d3766f?imageView2/0/w/1280/h/960/ignore -error/1)]
What about LiveData as an intermediary for the interaction between ViewModel and View layer? You just need to think of it as an ordinary variable. It internally caches our data. It will notify all observers of data changes when you modify the data. Therefore, LiveData does not have the problem of message congestion like Handler.
In addition, using LiveData can also solve the problems of frequent page refresh and refresh timing. For example, a page in the background will be retained in LiveData after monitoring data changes through EventBus, and then refresh the UI at one time when the page returns to the foreground. In this way, the page in the background can not refresh the UI many times, and the refresh time can be controlled.
If you are not familiar with MVP, MVVM and other architecture models, or you want to know the implementation principle of LiveData and ViewModel, you can refer to my previous articles (for more technical articles, and can pay attention to my official account [Code Brick]):
- One article explains Android Application Architecture MVC, MVP, MVVM and componentization
- Unveiling the mystery of ViewModel's life cycle control
- Unveiling the mystery of LiveData's notification mechanism
2. Project practice of Jetpack MVVM
The MVVM provided by Jetpack is powerful enough, and many people will think that there is no need to further encapsulate it. Because of this, MVVM presents many strange attitudes in the process of practical application. For example, MVVM and MVP are mixed together, the chaotic data interaction format between ViewModel and View layer, a pile of LiveData listed in ViewModel, and so on. In fact, through simple encapsulation, we can better promote and apply MVVM in the project. I develop Android-VMLib The purpose of this framework is also here.
2.1 reject the hodgepodge, a Clean MVVM framework
First of all, as an MVVM framework, Android vmlib does not do much. I have not integrated it with various network frameworks. It can be said to be a very clean framework. So far, its dependencies are as follows,
[external chain picture transfer failed. The source station may have anti-theft chain mechanism. It is recommended to save the picture and upload it directly (img-8meftifq-1630047345622)( https://user-gold-cdn.xitu.io/2020/5/23/1723f98801e1d134?imageView2/0/w/1280/h/960/ignore -error/1)]
That is, in addition to the image compression library I wrote Compressor And a tool class library Android-utils In addition, introducing it will not introduce more libraries for your project. For EventBus, we will not introduce any class libraries for you except a package provided in the project. As for Youmeng, we just inject some event tracking methods into the top View layer, and we won't force you to add Youmeng dependencies to the project. In other words, except for the two required libraries, others are optional. The main purpose of the framework is to empower, and whether it is to be applied in the project depends entirely on the user.
Well, let's introduce this class library and the correct posture of using MVVM in detail.
2.2 ambiguous relationship between MVVM and Databinding
When it comes to MVVM, you can't get around Databinding I have also learned about many MVVM frameworks before, and many of them take data binding as a necessary scheme for the project. In fact, there is no half dime relationship between MVVM and Databinding.
Data binding provides two-way binding function, so many frameworks directly inject ViewModel into xml. I personally dislike this practice. It may be that getting up early and Databinding is immature often leads to inexplicable compilation errors XXX Br not found and can't find variable. When using Databinding, I use it more to get the control and complete the assignment in the code. In addition, the code in xml lacks a compile time check mechanism. For example, when you assign an int type to a String type in xml, it will not report an error during compilation. In addition, the business logic that can be completed in xml is limited. A three-dimensional operator?: The code width limit has been exceeded. Many times you have to put part of your business in Java code and part of your code in xml. When a problem occurs, it increases the difficulty of troubleshooting. I remember that there was a problem that the UI was not refreshed in time when Databinding was used in the project. Due to the age, I can't remember the specific reasons. Finally, using Databinding may slow down the compilation of the project. If the project is small, it may not be a problem, but it is undoubtedly worse for a large project with more than 100 modules.
As far as a framework is concerned, what Android vmlib does on Databinding is enabling. We provide you with the ability to apply data binding, and we also provide you with a scheme to completely exclude data binding. Taking Activity as an example, we provide two abstract classes: BaseActivity and CommonActivity. If you want to use Databinding in the project, copy the following classes to pass in the Databinding class of the layout and ViewModel, and then obtain and use the control through binding:
class MainActivity : CommonActivity<MainViewModel, ActivityMainBinding>() {

    override fun getLayoutResId(): Int = R.layout.activity_main

    override fun doCreateView(savedInstanceState: Bundle?) {
       // Get control through binding
       setSupportActionBar(binding.toolbar)
    }
}
If you don't want to use Databinding in the project, you can inherit BaseActivity like the following class, and then get the control through the traditional findViewById and use it:
class ContainerActivity : BaseActivity<EmptyViewModel> {

    override fun getLayoutResId(): Int = R.layout.vmlib_activity_container

    override fun doCreateView(savedInstanceState: Bundle?) {
        // Get the control through findViewById
        // Alternatively, after introducing kotlin Android extensions, you can use the control directly through id
    }
}
As you can see, I use data binding more as ButterKinfe. I specifically provide the ability not to include data binding, which is another consideration - after using kotlin Android extensions, you can use it directly in the code through the id of the control. If you just want to get the control through Databinding, there is no need to use Databinding. For students who really like the data binding function of data binding, they can personalize the encapsulation layer on Android vmlib. Of course, I'm not rejecting data binding. Data binding is a good design concept, but I still hold a wait-and-see attitude towards its wide application to the project.
2.3 unified data interaction format
Students with back-end development experience may know that in the back-end code, we usually divide the code into DAO, Service and controller layers according to the level. When data interaction is carried out between each layer, it is necessary to uniformly encapsulate the data interaction format. The data format should also be encapsulated during the interaction between the back-end and the front-end. We extend it to MVVM. Obviously, a layer of data packaging should also be carried out when interacting between ViewModel layer and View layer. Here is a piece of code I saw,
final private SingleLiveEvent<String> toast;
final private SingleLiveEvent<Boolean> loading;

public ApartmentProjectViewModel() {
    toast = new SingleLiveEvent<>();
    loading = new SingleLiveEvent<>();
}

public SingleLiveEvent<String> getToast() {
    return toast;
}

public SingleLiveEvent<Boolean> getLoading() {
    return loading;
}

public void requestData() {
    loading.setValue(true);
    ApartmentProjectRepository.getInstance().requestDetail(projectId, new Business.ResultListener<ProjectDetailBean>() {
        @Override
        public void onFailure(BusinessResponse businessResponse, ProjectDetailBean projectDetailBean, String s) {
            toast.setValue(s);
            loading.setValue(false);
        }

        @Override
        public void onSuccess(BusinessResponse businessResponse, ProjectDetailBean projectDetailBean, String s) {
            data.postValue(dealProjectBean(projectDetailBean));
            loading.setValue(false);
        }
    });
}
Here, in order to notify the View layer of the loading status of data, a Boolean type LiveData is defined for interaction. In this way, you need to maintain one more variable, which makes the code not concise enough. In fact, through the specification of data interaction format, we can accomplish this task more gracefully.
In Android vmlib, we use custom enumeration to represent the state of data,
public enum Status {
    // success
    SUCCESS(0),
    // fail
    FAILED(1),
    // Loading
    LOADING(2);

    public final int id;

    Status(int id) {
        this.id = id;
    }
}
Then, the error information, data results, data status and reserved fields are packaged into a Resource object as a fixed data interaction format,
public final class Resources<T> {
    // state
    public final Status status;
    // data
    public final T data;
    // Status, success or error code and message
    public final String code;
    public final String message;
    // Reserved field
    public final Long udf1;
    public final Double udf2;
    public final Boolean udf3;
    public final String udf4;
    public final Object udf5;

    // ...
}
Explain the function of the reserved fields here: they are mainly used as supplementary data descriptions. For example, when paging, if the View layer wants to get not only the real data, but also the current page number, you can insert the page number information into the udf1 field. Above, I only provide a general choice for different types of basic data types. For example, integer only provides Long type, and floating-point only provides Double type. In addition, we also provide an unconstrained type udf5
In addition to the encapsulation of data interaction format, Android vmlib also provides shortcut methods for interactive format. As shown in the figure below,
[external chain picture transfer failed. The source station may have anti-theft chain mechanism. It is recommended to save the picture and upload it directly (img-bqfxhjeh-1630047345622)( https://user-gold-cdn.xitu.io/2020/5/23/1723f99e54a89a43?imageView2/0/w/1280/h/960/ignore -error/1)]
So, what will the code look like after using Resource?
// View layer code
class MainActivity : CommonActivity<MainViewModel, ActivityMainBinding>() {

    override fun getLayoutResId(): Int = R.layout.activity_main

    override fun doCreateView(savedInstanceState: Bundle?) {
        addSubscriptions()
        vm.startLoad()
    }

    private fun addSubscriptions() {
        vm.getObservable(String::class.java).observe(this, Observer {
            when(it!!.status) {
                Status.SUCCESS -> { ToastUtils.showShort(it.data) }
                Status.FAILED -> { ToastUtils.showShort(it.message) }
                Status.LOADING -> {/* temp do nothing */ }
                else -> {/* temp do nothing */ }
            }
        })
    }
}

// ViewModel layer code
class MainViewModel(application: Application) : BaseViewModel(application) {

    fun startLoad() {
        getObservable(String::class.java).value = Resources.loading()
        ARouter.getInstance().navigation(MainDataService::class.java)
            ?.loadData(object : OnGetMainDataListener{
                override fun onGetData() {
                    getObservable(String::class.java).value = Resources.loading()
                }
            })
    }
}
After encapsulating the data interaction format, is the code much simpler? As for making your code more concise, Android vmlib also provides you with other methods. Please continue to read.
2.4 further simplify the code and optimize the ubiquitous LiveData
Previously, when using ViewModel+LiveData, in order to interact with data, I needed to define a LiveData for each variable, so the code became like this. I even saw in some students that 10 + LiveData are defined in a ViewModel This makes the code very ugly,
public class ApartmentProjectViewModel extends ViewModel {

    final private MutableLiveData<ProjectDetailBean> data;
    final private SingleLiveEvent<String> toast;
    final private SingleLiveEvent<Boolean> submit;
    final private SingleLiveEvent<Boolean> loading;

    public ApartmentProjectViewModel() {
        data = new MutableLiveData<>();
        toast = new SingleLiveEvent<>();
        submit = new SingleLiveEvent<>();
        loading = new SingleLiveEvent<>();
    }

    // ...
}
Later, one of my colleagues suggested that I consider how to organize LiveData. After continuous promotion and evolution, this solution has been relatively perfect - that is, the LiveData of a single instance is managed uniformly through HashMap. Later, in order to further simplify the code of the ViewModel layer, I entrusted this part of the work to a Holder. So the following solutions are basically formed,
public class BaseViewModel extends AndroidViewModel {

    private LiveDataHolder holder = new LiveDataHolder();

    // Get a LiveData object by the data type to be passed
    public <T> MutableLiveData<Resources<T>> getObservable(Class<T> dataType) {
        return holder.getLiveData(dataType, false);
    }
}
The Holder here is implemented as follows,
public class LiveDataHolder<T> {

    private Map<Class, SingleLiveEvent> map = new HashMap<>();

    public MutableLiveData<Resources<T>> getLiveData(Class<T> dataType, boolean single) {
        SingleLiveEvent<Resources<T>> liveData = map.get(dataType);
        if (liveData == null) {
            liveData = new SingleLiveEvent<>(single);
            map.put(dataType, liveData);
        }
        return liveData;
    }
}
The principle is simple. After using this scheme, your code will become as concise and elegant as below,
// ViewModel layer
class EyepetizerViewModel(application: Application) : BaseViewModel(application) {

    private var eyepetizerService: EyepetizerService = ARouter.getInstance().navigation(EyepetizerService::class.java)

    private var nextPageUrl: String? = null

    fun requestFirstPage() {
        getObservable(HomeBean::class.java).value = Resources.loading()
        eyepetizerService.getFirstHomePage(null, object : OnGetHomeBeansListener {
            override fun onError(errorCode: String, errorMsg: String) {
                getObservable(HomeBean::class.java).value = Resources.failed(errorCode, errorMsg)
            }

            override fun onGetHomeBean(homeBean: HomeBean) {
                nextPageUrl = homeBean.nextPageUrl
                getObservable(HomeBean::class.java).value = Resources.success(homeBean)
                // Request another page
                requestNextPage()
            }
        })
    }

    fun requestNextPage() {
        eyepetizerService.getMoreHomePage(nextPageUrl, object : OnGetHomeBeansListener {
            override fun onError(errorCode: String, errorMsg: String) {
                getObservable(HomeBean::class.java).value = Resources.failed(errorCode, errorMsg)
            }

            override fun onGetHomeBean(homeBean: HomeBean) {
                nextPageUrl = homeBean.nextPageUrl
                getObservable(HomeBean::class.java).value = Resources.success(homeBean)
            }
        })
    }
}

// View layer
class EyepetizerActivity : CommonActivity<EyepetizerViewModel, ActivityEyepetizerBinding>() {

    private lateinit var adapter: HomeAdapter
    private var loading : Boolean = false

    override fun getLayoutResId() = R.layout.activity_eyepetizer

    override fun doCreateView(savedInstanceState: Bundle?) {
        addSubscriptions()
        vm.requestFirstPage()
    }

    private fun addSubscriptions() {
        vm.getObservable(HomeBean::class.java).observe(this, Observer { resources ->
            loading = false
            when (resources!!.status) {
                Status.SUCCESS -> {
                    L.d(resources.data)
                    val list = mutableListOf<Item>()
                    resources.data.issueList.forEach {
                        it.itemList.forEach { item ->
                            if (item.data.cover != null
                                && item.data.author != null
                            ) list.add(item)
                        }
                    }
                    adapter.addData(list)
                }
                Status.FAILED -> {/* temp do nothing */ }
                Status.LOADING -> {/* temp do nothing */ }
                else -> {/* temp do nothing */ }
            }
        })
    }

    // ...
}
Here, we use getObservable(HomeBean::class.java) to obtain a LiveData < homebean > that interacts between the ViewModel and the View layer, and then transfer data through it. The advantage of this processing method is that you don't need to define LiveData everywhere in your code. Treat the Holder as a LiveData pool. You can directly obtain it from the Holder when you need data interaction.
Some students may wonder if the application scenario is limited by using Class as the only tag to obtain LiveData from the "pool"? Android vmlib has considered this problem, and the stepping on the pit section below will explain it to you.
2.5 shared ViewModel, the configuration can be simpler
If multiple viewmodels are shared among fragments of the same Activity, how to obtain them?
If you do not use Android vmlib, you only need to obtain the ViewModel through Activity in the Fragment,
ViewModelProviders.of(getActivity()).get(vmClass)
After using Android vmlib, this process can become more concise - just declare an annotation on the Fragment. For example,
@FragmentConfiguration(shareViewModel = true)
class SecondFragment : BaseFragment<SharedViewModel>() {

    override fun getLayoutResId(): Int = R.layout.fragment_second

    override fun doCreateView(savedInstanceState: Bundle?) {
        L.d(vm)
        // Get and display shared value from MainFragment
        tv.text = vm.shareValue
        btn_post.setOnClickListener {
            Bus.get().post(SimpleEvent("MSG#00001"))
        }
    }
}
Android vmlib will read the annotation of your Fragment and obtain the value of shareViewModel field, and decide whether to use Activity or Fragment to obtain ViewModel, so as to realize the sharing of ViewModel. Is it more concise?
2.6 another advantage of Android vmlib is its powerful tool support
I've seen a lot of frameworks. They usually package some commonly used tool classes and frameworks for users to use. In contrast to Android vmlib, we support tool classes as separate projects. The purpose is, 1) It is hoped that the tool class itself can get rid of its dependence on the framework and be applied to various projects independently; 2). As a separate module, it is optimized separately to continuously improve the function.
So far, tool class library Android-Utils 22 independent tool classes have been provided, involving various functions from IO, resource reading, image processing, animation to runtime permission acquisition. I will explain this library in a later article.
[external chain picture transfer failed. The source station may have anti-theft chain mechanism. It is recommended to save the picture and upload it directly (img-55k2hijn-1630047345624)( https://user-gold-cdn.xitu.io/2020/5/23/1723f9a7ba5a6530?imageView2/0/w/1280/h/960/ignore -error/1)]
It should be noted that the library refers to many other class libraries in the development process. Of course, we have also developed our own characteristic tool classes, such as runtime permission acquisition, attribute acquisition in topic, string splicing and so on.
3. Jetpack MVVM stepping on the pit record and Android vmlib solution
3.1 repeatedly notify that those who should not have come are coming
This part involves the implementation principle of ViewModel. If you haven't understood its principle, you can refer to it Unveiling the mystery of ViewModel's life cycle control A text to understand.
Taking my example code in this project as an example, SharedViewModel is shared between mainframe and SecondFragment. In the mainframe, we insert a value into LiveData. Then we jump to the SecondFragment and receive the notification of this value again when we come back from the SecondFragment.
[external chain picture transfer failed. The source station may have anti-theft chain mechanism. It is recommended to save the picture and upload it directly (img-a5zsdlc1-1630047345624)( https://user-gold-cdn.xitu.io/2020/5/23/1723f9af07c379dc?imageView2/0/w/1280/h/960/ignore -error/1)]
Most of the time, we only want to notify the data change once when we call LiveData#setValue(). At this point, we can SingleLiveEvent Solve this problem. The principle of this class is not difficult. It only manages notifications through AtomicBoolean. Currently, notifications are only made when setValue() is called. This solves many problems of page notification after coming back from the background.
In andord vmlib, when you get LiveData from the "pool" through getObservable(), you can get this type of event through the method with single parameter,
// SingleLiveEvent is used here by specifying single as true
vm.getObservable(String::class.java, FLAG_1, true).observe(this, Observer {
    toast("#1.1: " + it!!.data)
    L.d("#1.1: " + it.data)
})
Problems in using SingleLiveEvent,
-
When obtaining LiveData from the "pool", it will only determine whether the LiveData is of SingleLiveEvent type according to the parameters obtained for the first time. That is, when you first use VM Getobservable (string:: class.java, flag_1, true) obtains LiveData, and then through VM Getobservable (string:: class. Java, flag_1) gets the same LiveData
-
SingleLiveEvent itself has a problem: when there are multiple observers, it can only notify one of them, and you can't determine which one is notified. This is related to the design principle of SingleLiveEvent, because it notifies the state through the atomic Boolean tag. After notifying an observer, the state is modified. In addition, the registered observers will be put into the Map and then iterated by the iterator for notification, so the order of notification cannot be determined (the order of pits after hash cannot be determined).
3.2 nature and duties of livedata
LiveData is essentially equivalent to the data itself, and its job is data caching.
reference resources Unveiling the mystery of LiveData's notification mechanism The implementation principle is that an Object of type Object named data is defined inside LiveData. We assign a value to this Object when we call setValue(). The clever thing about LiveData is that it uses the lifecycle callback of lifecycle owner to notify the observer of the results when the lifecycle changes. If you are not familiar with these features of LiveData, you are prone to some problems during coding.
Taking the article as an example, it contains two main parts: title and content, both of which are of type String. This makes it impossible to judge whether the content of the article or the title of the article has changed when we listen through getobservable (class < T > datatype). Therefore, in addition to getobservable (class < T > datatype), we also added getobservable (class < T > datatype, int Flag) method to obtain LiveData in BaseViewModel. You can understand it this way - when specifying different flags, we will get LiveData from different "pools", so we get different LiveData objects.
public <T> MutableLiveData<Resources<T>> getObservable(Class<T> dataType) {
    return holder.getLiveData(dataType, false);
}

public <T> MutableLiveData<Resources<T>> getObservable(Class<T> dataType, int flag) {
    return holder.getLiveData(dataType, flag, false);
}
Some students may think of using the reserved field of the previously encapsulated Resource object to specify whether the title or content of the article changes. I strongly advise you not to do so! Because, as we said above, LiveData and Data itself should be one-to-one. The result of this processing is that the title and content of the article are set on the same object, and only one cache is maintained in memory. The consequence is that when the page is in the background, if you update the title of the article first and then the content of the article, only the Data of the article will be retained in the cache at this time. When your page comes back from the background, the title cannot be updated to the UI. It should also be noted that if a Data is divided into the first half and the second half, you cannot overwrite the modified contents of the first half when modifying the second half, which will cause the modified results of the first half to not be updated to the UI. This is not Android vmlib's fault. It's easy to fall into this pit if you don't understand the essence and job of LiveData.
3.3 data recovery problem, version difference of ViewModel
stay Unveiling the mystery of ViewModel's life cycle control In this article, I analyzed the problem that I can't get cached results from ViewModel. This is because early viewmodels achieved lifecycle control through empty fragments. Therefore, when the page is killed in the background, the Fragment is destroyed, resulting in that the ViewModel obtained again is not the same object as the previous ViewModel. In later versions, another solution was adopted for the state recovery problem of ViewModel. The following is the difference between the two versions of class libraries (the first is the earlier version and the second is the recent version),
[external chain picture transfer failed. The source station may have anti-theft chain mechanism. It is recommended to save the picture and upload it directly (img-c6koamlt-1630047345625)( https://user-gold-cdn.xitu.io/2020/5/23/1723f9b679bf9b3c?imageView2/0/w/1280/h/960/ignore -error/1)]
[the external chain image transfer fails. The source station may have an anti-theft chain mechanism. It is recommended to save the image and upload it directly (img-twaidrv1-1630047345626)( https://user-gold-cdn.xitu.io/2020/5/23/1723f9b901114bc0?imageView2/0/w/1280/h/960/ignore -error/1)]
The recent version abandoned the previous Fragment solution and saved the ViewModel data through savedstate instead. The problem mentioned here again is to remind you to pay attention to the selected version of the library and the problems in the earlier version when developing, so as to avoid the pit in advance.
summary
This article introduces Android-VMLib And some problems encountered in the process of using MVVM. If you encounter other problems in the process of use, you can communicate with the author.
The address of this library is github.com/Shouheng88/... . The library was originally developed to improve the efficiency of personal development and avoid copying a code every time a new project was started. In addition to MVVM, the project also adds examples of component-based and service-oriented architecture. You can refer to the source code if you are interested.
From last year to now, I mainly maintain three libraries, in addition to the above tool class libraries AndroidUtils In addition, there is a UI library AndroidUIX , but it's not mature enough. In addition to improving the efficiency of my personal development, I open it to help more individual developers improve their development efficiency. After all, now, 996, layoffs, 35 years old... Programmers have been "ambushed". I also want to open up a new way to make a living for myself and other developers. This is my original intention and my goal. If you are interested, you can also join us 😃
Thanks for reading ~
last
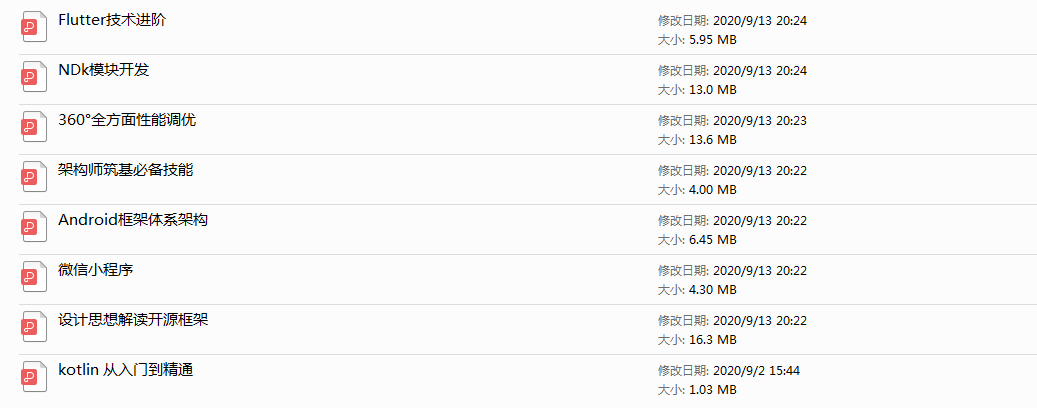
In accordance with international practice, I would like to share with you a set of very useful advanced Android materials: the most complete Android Development Notes in the whole network.
The whole note has 8 modules, 729 knowledge points, 3382 pages and 660000 words. It can be said that it covers the most cutting-edge technical points of Android development and the technologies valued by Alibaba, Tencent, byte and other large manufacturers.
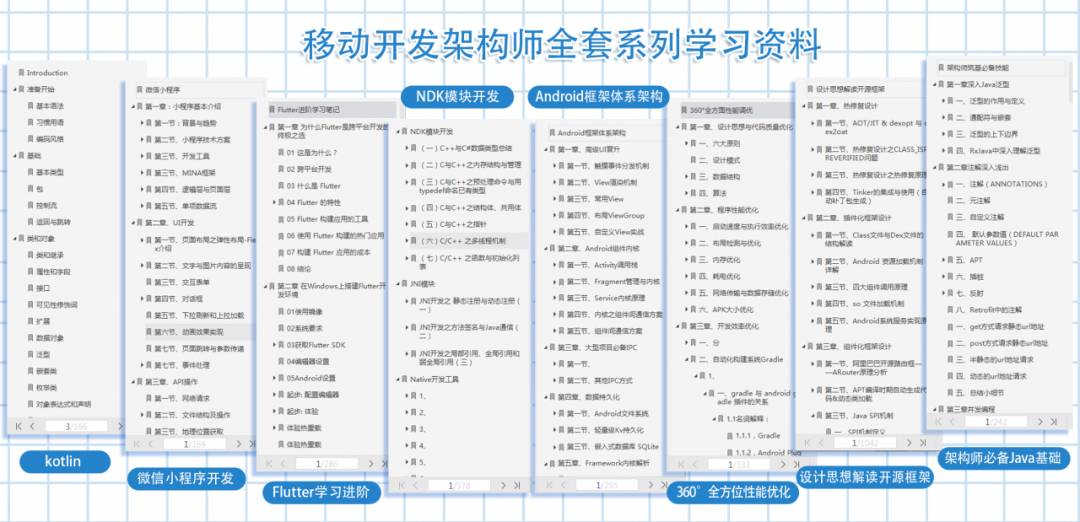
Because it contains enough content, this note can be used not only as learning materials, but also as a reference book.
If you need to know a certain knowledge point, whether it is Shift+F search or search by directory, you can find the content you want as quickly as possible.
Compared with the fragmented content we usually watch, the knowledge points of this note are more systematic, easier to understand and remember, and are arranged in strict accordance with the whole knowledge system.
(1) Essential Java foundation for Architects
1. Deep understanding of Java generics
2. Notes in simple terms
3. Concurrent programming
4. Data transmission and serialization
5. Principles of Java virtual machine
6. High efficiency IO
......

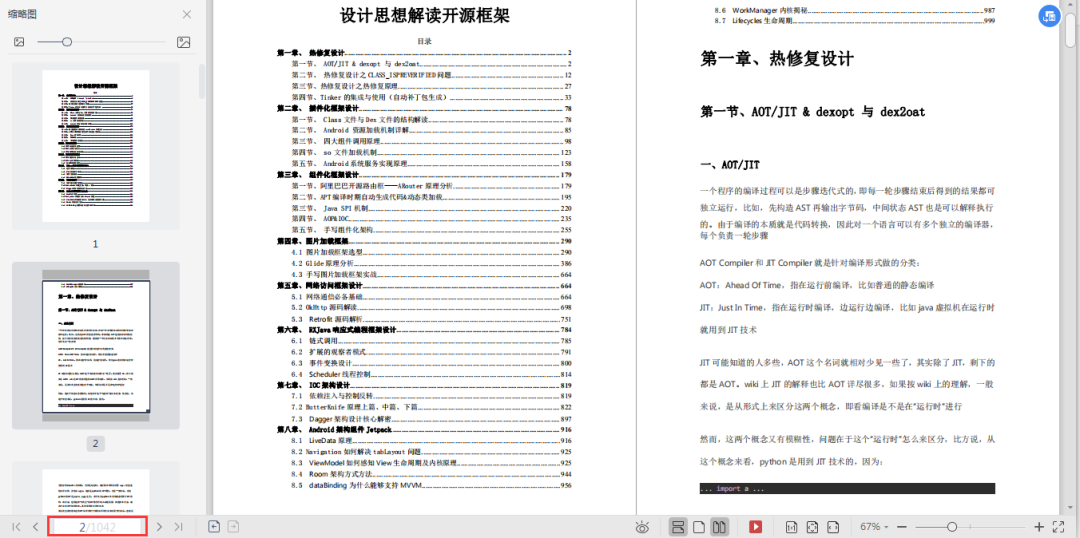
(2) Interpretation of open source framework based on design ideas
1. Thermal repair design
2. Plug in framework design
3. Component framework design
4. Picture loading frame
5. Design of network access framework
6. Design of RXJava responsive programming framework
......
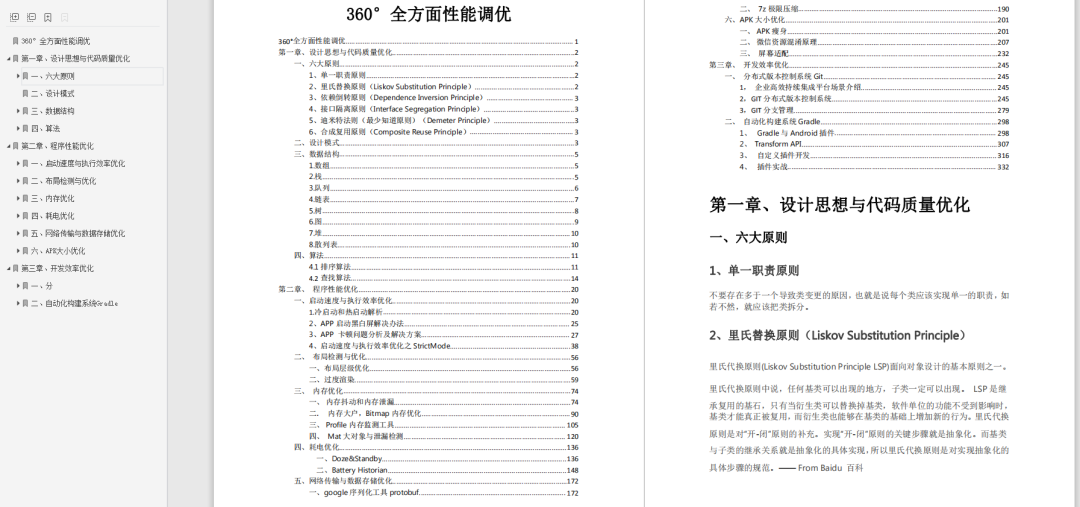
(3) 360 ° performance optimization
1. Design idea and code quality optimization
2. Program performance optimization
- Optimization of startup speed and execution efficiency
- Layout detection and optimization
- Memory optimization
- Power consumption optimization
- Network transmission and data storage optimization
- APK size optimization
3. Development efficiency optimization
- Distributed version control system Git
- Automated build system Gradle
......
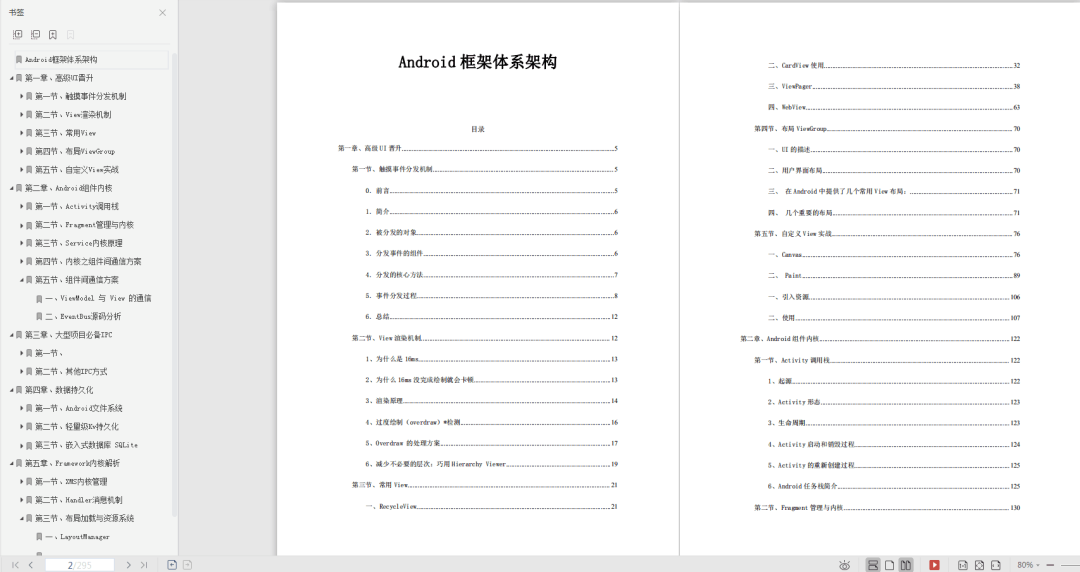
(4) Android framework architecture
1. Advanced UI promotion
2. Android kernel components
3. Necessary IPC for large projects
4. Data persistence and serialization
5. Framework kernel parsing
......
(5) NDK module development
1. Introduction to C/C + + for NDK development
2. JNI module development
3. Linux Programming
4. Bottom image processing
5. Audio and video development
6. Machine learning
......

(6) Fluent advanced learning
1. Overview of Flutter cross platform development
2. Construction of fluent development environment in Windows
3. Write your first fluent app
4. Introduction to the fluent dart language system
......

(7) Wechat applet development
1. Applet overview and introduction
2. Applet UI development
3. API operation
4. Shopping mall project practice
......

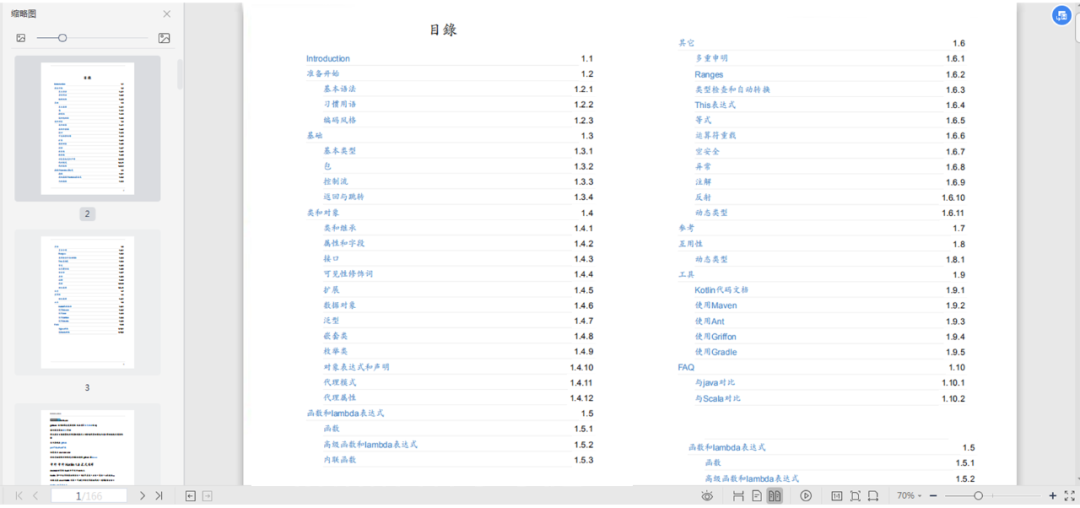
(8) kotlin from introduction to mastery
1. Ready to start
2. Foundation
3. Classes and objects
4. Functions and lambda expressions
5. Other
......
Well, this information will be introduced to you. If you need detailed documents, you can scan the QR code below on wechat to get them~
