Original reference: https://blog.csdn.net/u010763324/article/details/122678528
Apache Tomcat Is an open source Web server and Java servlet container. It is the most popular choice in the world for building Java-based websites and applications.
Tomcat is lightweight, easy to use, and has a robust extended ecosystem.
1. Install Java
Tomcat 9 requires Java SE 8 or a newer version to be installed on the system. This article installs java1.8
sudo apt update

sudo apt install openjdk-1.8-jdk

java -version

2. Create a System User
Running Tomcat as root has a security risk. We will create a system user and user group.
Its home directory is/opt/tomcat. We will use this user to run the Tomcat service. To do this, type the following command:
sudo useradd -m -U -d /opt/tomcat -s /bin/false tomcat
3. Download Tomcat
The Tomcat binary distribution is available for download on the Tomcat download page.
Just as I was writing, the latest Tomcat version was 9.0.58. Before proceeding to the next step, check the Tomcat 9 download page to see if an updated version is available for download.
Download the Tomcat zip file to the / tmp directory using wget
VERSION=9.0.58

wget https://www-eu.apache.org/dist/tomcat/tomcat-9/v${VERSION}/bin/apache-tomcat-${VERSION}.tar.gz -P /tmp


Once the download is complete, unzip tar File to/opt/tomcat Catalog:
sudo tar -xf /tmp/apache-tomcat-${VERSION}.tar.gz -C /opt/tomcat/
Tomcat Security patches and new features are updated regularly. To better upgrade versions and updates, we will create a symbolic link called latest,point Tomcat Install directory.
sudo ln -s /opt/tomcat/apache-tomcat-${VERSION} /opt/tomcat/latest
Later, when upgrading Tomcat When unzipping the new version, and modifying the symbolic link, point to it.
Previously created system users must tomcat The installation directory has access. Modify directory attribution to users and groups tomcat:
sudo chown -R tomcat: /opt/tomcat
stay Tomcat bin Directory shell The script must be executable:
sudo sh -c 'chmod +x /opt/tomcat/latest/bin/*.sh'These scripts will be used to start, stop, and other pairs of Tomcat Administrative operations.
4. Create SystemD Cell File
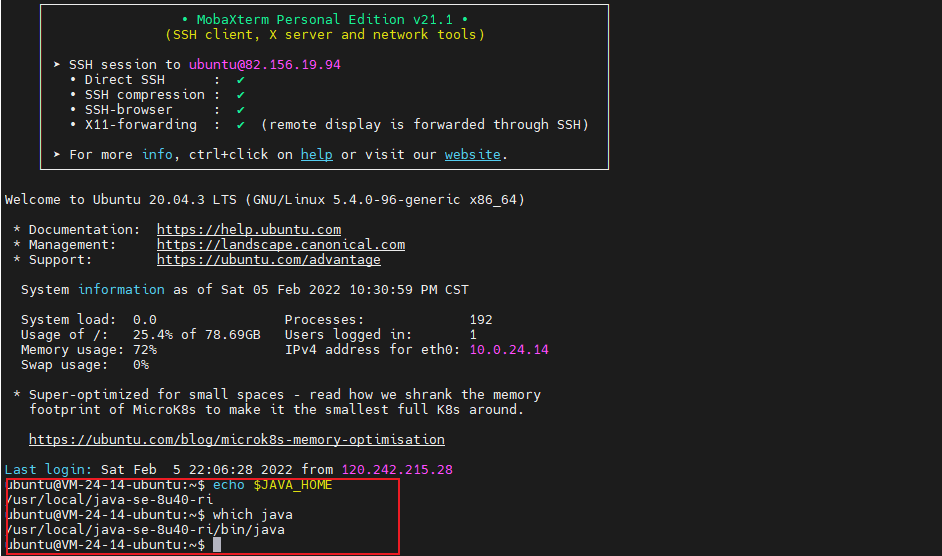
View the java installation path
which java


or


echo $JAVA_HOME
We'll run the Tomcat server as a service instead of using a shell script to start and stop it.
Open your text editor and create a Tomcat in the / etc/systemd/system/directory. Service cell file.
sudo nano /etc/systemd/system/tomcat.service
Paste the following configuration file:
[Unit]
Description=Tomcat 9 servlet container
After=network.target
[Service]
Type=forking
User=tomcat
Group=tomcat
Environment="JAVA_HOME=/usr/local/java-se-8u40-ri"
Environment="JAVA_OPTS=-Djava.security.egd=file:///dev/urandom -Djava.awt.headless=true"
Environment="CATALINA_BASE=/opt/tomcat/latest"
Environment="CATALINA_HOME=/opt/tomcat/latest"
Environment="CATALINA_PID=/opt/tomcat/latest/temp/tomcat.pid"
Environment="CATALINA_OPTS=-Xms512M -Xmx1024M -server -XX:+UseParallelGC"
ExecStart=/opt/tomcat/latest/bin/startup.sh
ExecStop=/opt/tomcat/latest/bin/shutdown.sh
[Install]
WantedBy=multi-user.target
Save and close the file, notifying systemd that a new cell file exists
sudo systemctl daemon-reload

sudo systemctl enable --now tomcat


sudo systemctl status tomcat

Common Commands
sudo systemctl start tomcat

sudo systemctl stop tomcat

sudo systemctl restart tomcat
5. Configuring firewalls
If your server is firewalled and you want to access your Tomcat from outside, you need to open port 8080.
Use the following command to open the necessary ports:
sudo ufw allow 8080/tcp
Typically, when running Tomcat in a production environment, you should use a load balancing or reverse proxy server. This is a best practice to only allow access to port `8080'from your local network.
Accessed through ip:port at this time
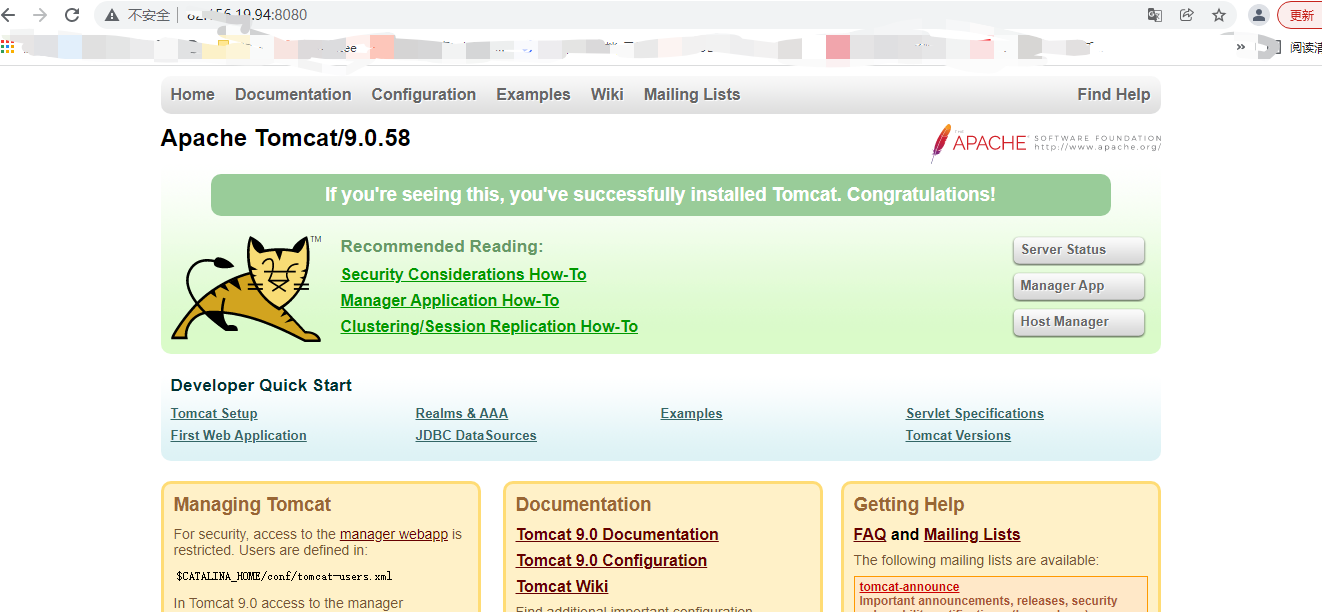
6. Configure Tomcat Web page management interface
At this point, you should access Tomcat through a browser on port 8080. The Web page management interface is not accessible because we have not created a user yet.
Tomcat users and roles are defined in tomcat-users.xml. This file is a template with comments and examples showing how to create a user and role.
In this example, we will create a user "admin-gui" and "manager-gui" role. This "admin-gui" role allows users to access/host-manager/htmlURL to create,
Delete and other management of virtual hosts. This "manager-gui" role allows users to deploy and undeploy web applications without restarting the entire container through the/host-manager/html interface.
Open tomcat-users.xml file to create a new user, like the following:
sudo nano /opt/tomcat/latest/conf/tomcat-users.xml
<tomcat-users>

<!--
Comments
-->

<role rolename="admin-gui"/>

<role rolename="manager-gui"/>

<user username="admin" password="admin_password" roles="admin-gui,manager-gui"/>

</tomcat-users>
Make sure you modify your username and password more securely.
By default, the Tomcat Web page management interface is configured to access Manager and Host Manager applications only from localhost. To access the web interface from a remote IP, you need to remove these restrictions.
This may pose some security risks, which we do not recommend in production systems.
To have access to the web interface from anywhere, open the two configured files, comment or remove the commented sections.
sudo nano /opt/tomcat/latest/webapps/manager/META-INF/context.xml
For Host Manager:
sudo nano /opt/tomcat/latest/webapps/host-manager/META-INF/context.xml
<Context antiResourceLocking="false" privileged="true" >

<!--
<Valve className="org.apache.catalina.valves.RemoteAddrValve"
allow="127\.\d+\.\d+\.\d+|::1|0:0:0:0:0:0:0:1" />
-->

</Context>
If you only want to access the web interface from the specified IP, do not comment on this paragraph, but add your public IP address.
Suppose you have a public IP of 41.41.41.41 and you want to allow access to the web interface from that IP:
<Context antiResourceLocking="false" privileged="true" >

<Valve className="org.apache.catalina.valves.RemoteAddrValve"

allow="127\.\d+\.\d+\.\d+|::1|0:0:0:0:0:0:0:1|41.41.41.41" />

</Context>
The list of allowed IPs is separated by |. You can add a simple IP address or use a regular expression.
Once completed, restart the Tomcat service for the application to take effect:
sudo systemctl restart tomcat