Equipment to be prepared:
| Raspberry pie 4B (here I choose the 8G memory version) |
| Keyboard and mouse (there must be a keyboard, and the mouse can be used after Ubuntu Mate is installed) |
| Monitor (HDMI screen is recommended here, I use https://www.waveshare.net/wiki/7inch_HDMI_LCD_(C) (screen below) |
| 16G/32G SD card (32G is recommended because the latest image file of Ubuntu Mate20.04 is up to 5GB) |
| Card reader (USB2.0 or 3.0 can be used, and 3.0 is recommended here, which is faster) |
Software to be prepared:
| SD Card Formatter (download it from the official website and use it to format SD card) |
| Win32DiskImager (used to burn image files in SD card) |
| Putty (for PC opportunity raspberry pie connected through Ethernet port) |
| MobaXterm (raspberry pie can be remotely controlled through this software) |
| FileZilla Cilent (file transfer between PC and raspberry pie can be realized through this software) |
After preparing the above equipment and software, start the installation:
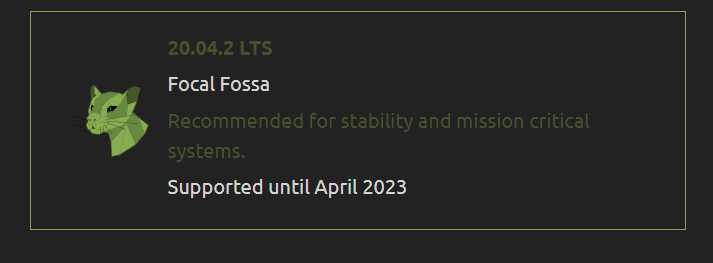
1. Download Ubuntu mate20 from the official website of raspberry pie 04, link: https://ubuntu-mate.org/ Note that although the image compressed file is downloaded, it is recommended not to interrupt and download it at one go. Select the corresponding Ubuntu mate20.0 according to the 4B memory of raspberry pie in your hand 04, I chose the version of the puma head:
Click in and choose the download method. Here I choose direct download:
Then click the link in the figure below to start downloading the compressed file. The compressed file size here is 1.12G and 5G + after decompression. All hard disks with a disk space of more than 10G must be selected for storage, and do not decompress directly to the U disk.

If you don't want to go to the official website to download, my baidu online disk link:
Link: https://pan.baidu.com/s/1uzzoXoDsx35z6eTdAYp1qg
Extraction code: 5678
--Sharing from Baidu online disk super member V3
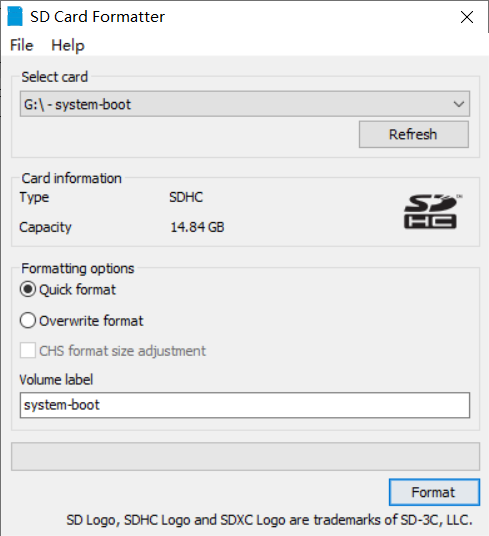
2. Unzip the image file, format the SD card first, use the SD Card Formatter and click Fomat to complete the format of the SD card. After formatting:
Use Win32DiskImager to burn the image file in the SD card. Note that you must remember the download path and decompression path of the image compressed file. Click write to directly burn the decompressed image file into the SD card. Next, insert the SD card into the SD card slot of raspberry pie.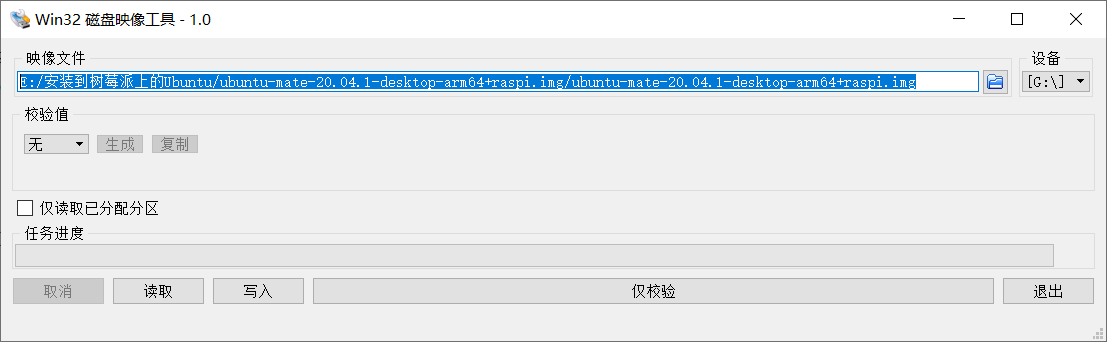
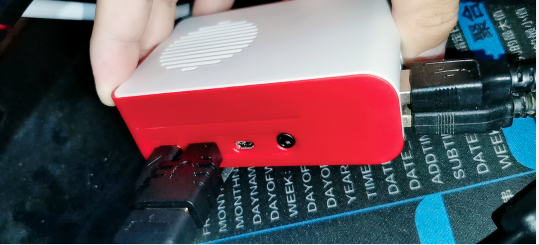
3. Next, power on the raspberry pie and start it. Note that if you buy a domestic LCD screen, the raspberry pie cannot be recognized by yourself, so when plugging the HDMI cable, be sure to plug it into the HDMI mini port closest to the power port. In this way, communicate with the screen manufacturer and modify the corresponding configuration file config Txt to achieve full screen display. The first one on the left is the TypeC interface, The 5V3A power supply provided by the store is used here (it's not a special power supply for raspberry pie. It's expensive. I didn't buy it). Here, it must be noted that the output power of the power supply is about 5V3A, and those above 15W can be used normally. If it is less than the rated power, raspberry pie may not start normally, or it may get stuck after startup. Even if it is started normally, it may get stuck in the later configuration. It is strongly recommended to give it to the tree Berry pie buys a small box not because it looks good, but because there is a cooling fan in the general supporting box. If there is no cooling fan, it is easy to get stuck or die due to overheating of the system when running Ubuntu Mate or using ROS OpenCV.
4. The next thing to do is to enter the system. There is no need to repeat it here. Just follow the operation guidelines. Remember to select the region, select China, and use Chinese. Then follow the operation all the way to next. Remember to give your raspberry pie a name and set a password. The password is not recommended to be too complex. After configuring here, The system can enter the interface after waiting for a while. Here, be careful not to use the system's software & update to replace the source file. This will not succeed and will cause the system to get stuck in one place. Next, for the correct steps, use Ctrl+Alt+T to open the terminal:
sudo su
When you enter the root mode, you must enter the root mode. After many tests, you can successfully change the source to the domestic software source only when you enter the root mode. Here, explain why you need to change the source, because the default server used by Ubuntu Mate or the path to download various software is the server in Europe, This will cause the download to be particularly slow, so we need to change the source and replace the source with a domestic source, so that it will be much faster when installing the software. At present, the source flows to Tsinghua source, China University of science and technology source, Ali source and other sources. Here I use the source of China University of science and technology. The next steps are as follows:
The following instructions are used to enter the / etc/apt path. First, copy the original source file, because if the source change fails, you can continue to use the original source file
cd /etc/apt
sudo cp sources.list sources_init.list
If the / etc/apt path cannot be found, the following instructions can be used:
sudo nano sources.list
Here's why you don't use the gedit and vim editors, because Ubuntu mate20 04 does not have these two editors at first. If installed, it also uses foreign sources. Therefore, we use the above instructions for editing here:
#Here are the original sources List file, that is, before changing the source
deb http://cn.archive.ubuntu.com/ focal main restricted universe multiverse
deb-src http://cn.archive.ubuntu.com/ focal restricted #Added by software-properties
deb http://ports.ubuntu.com/ubuntu-ports/ focal-security main restricted universe multiverse
deb-src http://cn.archive.ubuntu.com/ focal-security main restricted universe #Added by software-properties
deb http://cn.archive.ubuntu.com/ focal-updates main restricted universe multiverse
deb-src http://cn.archive.ubuntu.com/ focal-updates main restricted universe #Added by software-properties
deb http://cn.archive.ubuntu.com/ focal main universe restricted multiverse
After the source change, I chose the source of China University of science and technology, because the source of China University of science and technology is easy to play:
# I annotated the source code warehouse. If necessary, I can cancel the annotation and add and modify the following code
deb https://mirrors.ustc.edu.cn/ubuntu-ports/ focal main restricted universe multiverse
# deb-src https://mirrors.ustc.edu.cn/ubuntu-ports/ focal main restricted universe multiverse
deb https://mirrors.ustc.edu.cn/ubuntu-ports/ focal-updates main restricted universe multiverse
# deb-src https://mirrors.ustc.edu.cn/ubuntu-ports/ focal-updates main restricted universe multiverse
deb https://mirrors.ustc.edu.cn/ubuntu-ports/ focal-backports main restricted universe multiverse
# deb-src https://mirrors.ustc.edu.cn/ubuntu-ports/ focal-backports main restricted universe multiverse
deb https://mirrors.ustc.edu.cn/ubuntu-ports/ focal-security main restricted universe multiverse
# deb-src https://mirrors.ustc.edu.cn/ubuntu-ports/ focal-security main restricted universe multiverse
After the source is changed, remember to save it, and then you can start updating. Here, I am used to using the following two instructions:
sudo apt-get update
sudo apt-get upgrade
After entering the first instruction and waiting for a long time, enter the second instruction. After waiting for a longer time, you can configure the basic environment, such as installing vim and gedit editors:
sudo apt-get install vim

sudo apt-get install gedit
After installation, you can use these two editors for editing. The next step is to link the remote login. Later