1. Install virtual machines
Don't repeat here
2. Configuring yum sources
Install epel source
[root@localhost ~]# yum -y install epel-releaseInstall webtatic source
[root@localhost ~]# rpm -Uvh http://mirror.webtatic.com/yum/el7/webtatic-release.rpmConfigure zabbix source
vim /etc/yum.repos.d/zabbix.repo
[zabbix]
name=zabbix
baseurl=http://repo.zabbix.com/zabbix/3.2/rhel/7/x86_64/
enabled=1
gpgcheck=0
Empty yum cache, rebuild yum cache
[root@localhost ~]# yum clean all
[root@localhost ~]# yum repolist
[root@localhost ~]# yum makecache
3. Upgrade PHP Version
Since the zabbix3.2 version requires php version 5.6 or higher to support, the php version installed by default centos is 5.3.3, so the php version needs to be upgraded.
1. View the current version of php
[root@localhost ~]# php -v2. Remove the currently installed version of php
[root@localhost ~]# yum remove php*3. Install php5.6
[root@localhost ~]# yum install -y php56w php56w-devel php56w-common php56w-mysql php56w-pdo php56w-opacache php56w-xml php56w-gd php56w-bcmath php56w-mbstring

[root@localhost ~]# php -v
PHP 5.6.30 (cli) (built: Jan 19 2017 22:50:24)
Copyright (c) 1997-2016 The PHP Group
Zend Engine v2.6.0, Copyright (c) 1998-2016 Zend Technologies
4. Install mariadb and edit mariadb configuration file
1. Install mariadb
[root@localhost ~]# yum install -y mariadb-server mariadb-libs mariadb-devel2. Edit/etc/my.cnf.d/server.cnf, add the following to prevent Chinese scrambling
[root@localhost ~]# vim /etc/my.cnf.d/server.cnf
[mysqld]
#Set character set to utf8
character-set-server = utf8
collation-server = utf8_bin
skip-character-set-client-handshake
skip-external-locking
symbolic-links=0
innodb_buffer_pool_size = 2048M
innodb_log_file_size = 512M
sort_buffer_size = 2M
innodb_additional_mem_pool_size = 30M
innodb_log_buffer_size = 8M
key_buffer_size = 16M
log-bin=mysql-bin
expire_logs_days = 7
server-id=1001
innodb_data_file_path = ibdata1:1G
#Let each table file of innodb be stored separately
innodb_file_per_table
3. Start mariadb service and set up startup auto-start
[root@localhost ~]# systemctl start mariadb
[root@localhost ~]# systemctl status mariadb
[root@localhost ~]# systemctl enable mariadb
4. Set mysql service root password
[root@localhost ~]# mysqladmin -uroot password root5. Create database and user authorization
[root@localhost ~]# mysql -uroot -proot

MariaDB [(none)]> create database zabbix character set utf8;
Query OK, 1 row affected (0.00 sec)

MariaDB [(none)]> grant all privileges on zabbix.* to zabbix@'localhost' identified by 'zabbix';
Query OK, 0 rows affected (0.02 sec)

MariaDB [(none)]> grant all privileges on zabbix.* to zabbix@'192.168.159.%' identified by 'zabbix';
Query OK, 0 rows affected (0.00 sec)

MariaDB [(none)]> flush privileges;
Query OK, 0 rows affected (0.00 sec)

MariaDB [(none)]> exit
Bye
5. Installation of zabbix
1. yum install zabbix
[root@localhost ~]# yum install -y zabbix-agent zabbix-get zabbix-java-gateway zabbix-proxy zabbix-proxy-mysql zabbix-release zabbix-sender zabbix-server zabbix-server-mysql zabbix-web zabbix-web-mysql
#Since a plugin for zabbix-server-pgsql is installed by default when ZABBIX is installed, we must remove this plugin before ZABBIX can connect to mariadb by default, otherwise ZABBIX will connect to PgSQL by default
[root@localhost ~]# yum remove -y zabbix-server-pgsql
2. Unzip sql import file
[root@localhost ~]# cd /usr/share/doc/zabbix-server-mysql-3.2.7/

[root@localhost zabbix-server-mysql-3.2.7]# ls
AUTHORS  ChangeLog  COPYING  create.sql.gz  NEWS  README

[root@localhost zabbix-server-mysql-3.2.7]# gunzip create.sql.gz

[root@localhost zabbix-server-mysql-3.2.7]# ls
AUTHORS  ChangeLog  COPYING  create.sql  NEWS  README
3. Import sql file into mariadb
[root@localhost zabbix-server-mysql-3.2.4]# mysql -uzabbix -pzabbix

mysql> use zabbix;
Database changed

mysql> source /usr/share/doc/zabbix-server-mysql-3.2.7/create.sql ;

mysql> show tables;

mysql> exit;
3. Edit/etc/zabbix/zabbix_server.conf
vim /etc/zabbix/zabbix_server.conf
DBPassword=zabbix
4. Create the desired directory
mkdir /etc/zabbix/alertscripts /etc/zabbix/externalscripts5. Start zabbix service
[root@localhost ~]# setenforce 0
[root@localhost ~]# getenforce
Permissive
[root@localhost ~]# systemctl restart zabbix-server
[root@localhost ~]# systemctl status zabbix-server
[root@localhost ~]# systemctl enable zabbix-server
6. Configure the apache service and start it
1. Edit/etc/httpd/conf/httpd.conf to modify the following
vim /etc/httpd/conf/httpd.conf
ServerName localhost:80
2. Start the httpd service and start it automatically
[root@localhost ~]# systemctl start httpd
[root@localhost ~]# systemctl enable httpd
3. Other Configurations
Stop it iptables
[root@localhost ~]# service iptables stop
iptables: Setting chains to policy ACCEPT: filter          [  OK  ]
iptables: Flushing firewall rules:                         [  OK  ]
iptables: Unloading modules:                               [  OK  ]

#If there is a requirement that the firewall cannot be stopped, the http and https services need to be released
[root@localhost ~]# firewall-cmd --permanent --add-service=http
success
[root@localhost ~]# firewall-cmd --permanent --add-service=https
success
[root@localhost ~]# firewall-cmd --reload
success
[root@localhost ~]# firewall-cmd --list-all
public (active)
  target: default
  icmp-block-inversion: no
  interfaces: ens33 ens37
  sources:
  services: dhcpv6-client http https ssh
  ports:
  protocols:
  masquerade: no
  forward-ports:
  sourceports:
  icmp-blocks:
  rich rules:

//take/usr/share/Directory zabbix Copy directory to/var/www/html/Catalog
cp -r /usr/share/zabbix /var/www/html/
7. Open and continue configuring zabbix in browser
1. Open in browser http://192.168.159.253/zabbix 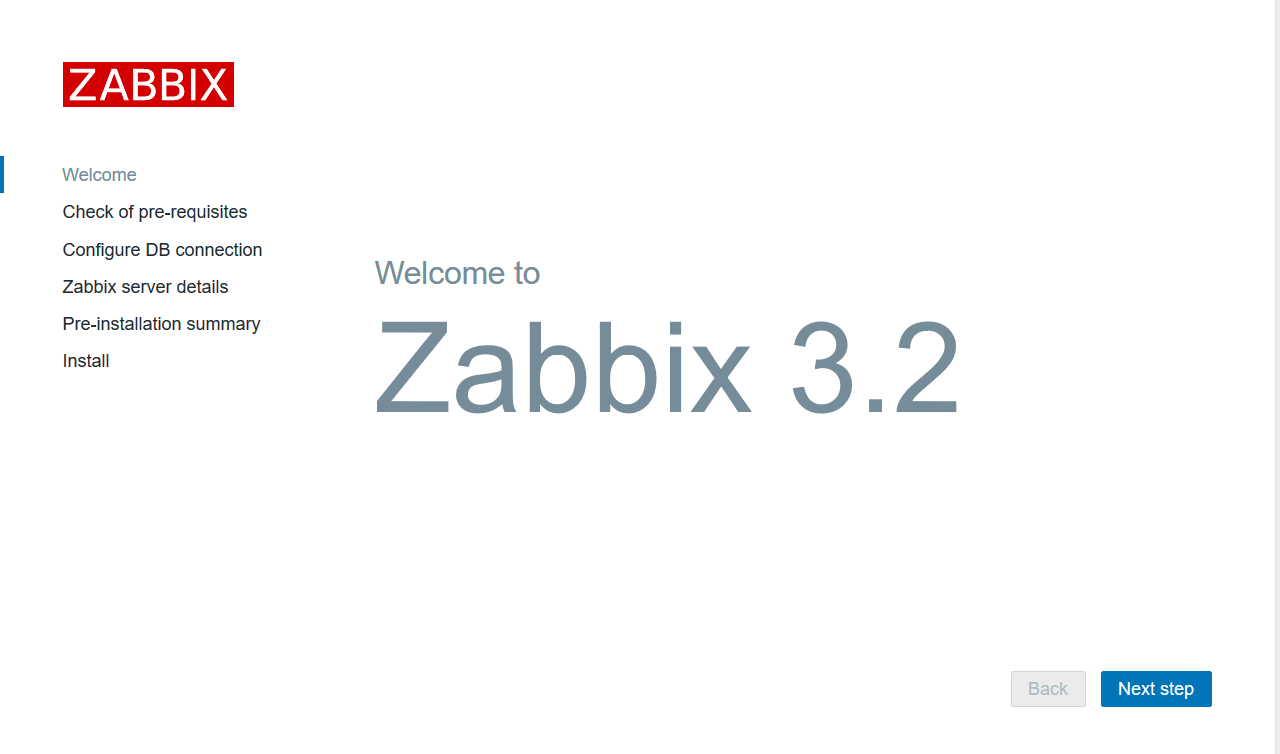
2. Click Next, this page is the parameter detection of php. If it fails, it will be modified until it passes. Modify it in php.ini, remember to restart httpd when it is finished 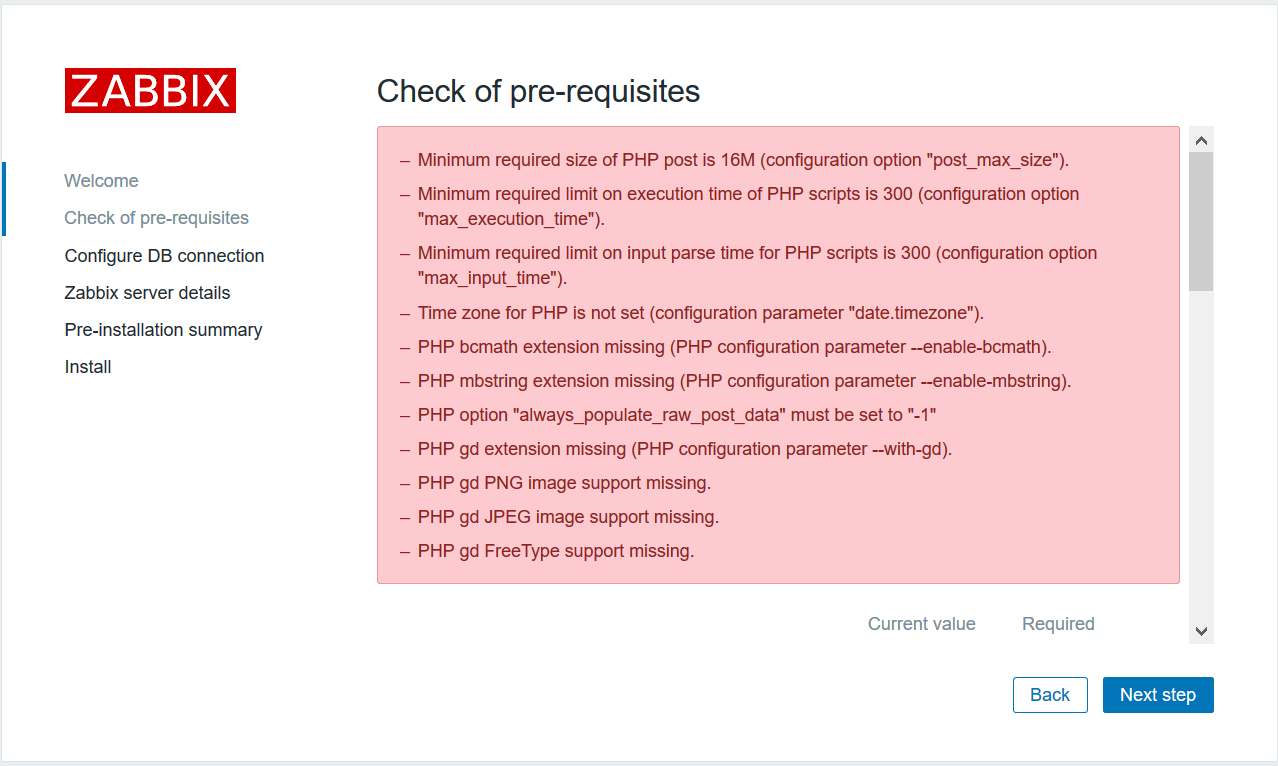
3. Modify php configuration file
[root@localhost ~]# vim /etc/php.ini
post_max_size = 16M
max_execution_time = 300
max_input_time = 300
date.timezone = Asia/Shanghai
bcmath.scale = 1
always_populate_raw_post_data = -1
#Save to exit after modifying the above parameters
4. Click back and click next check again 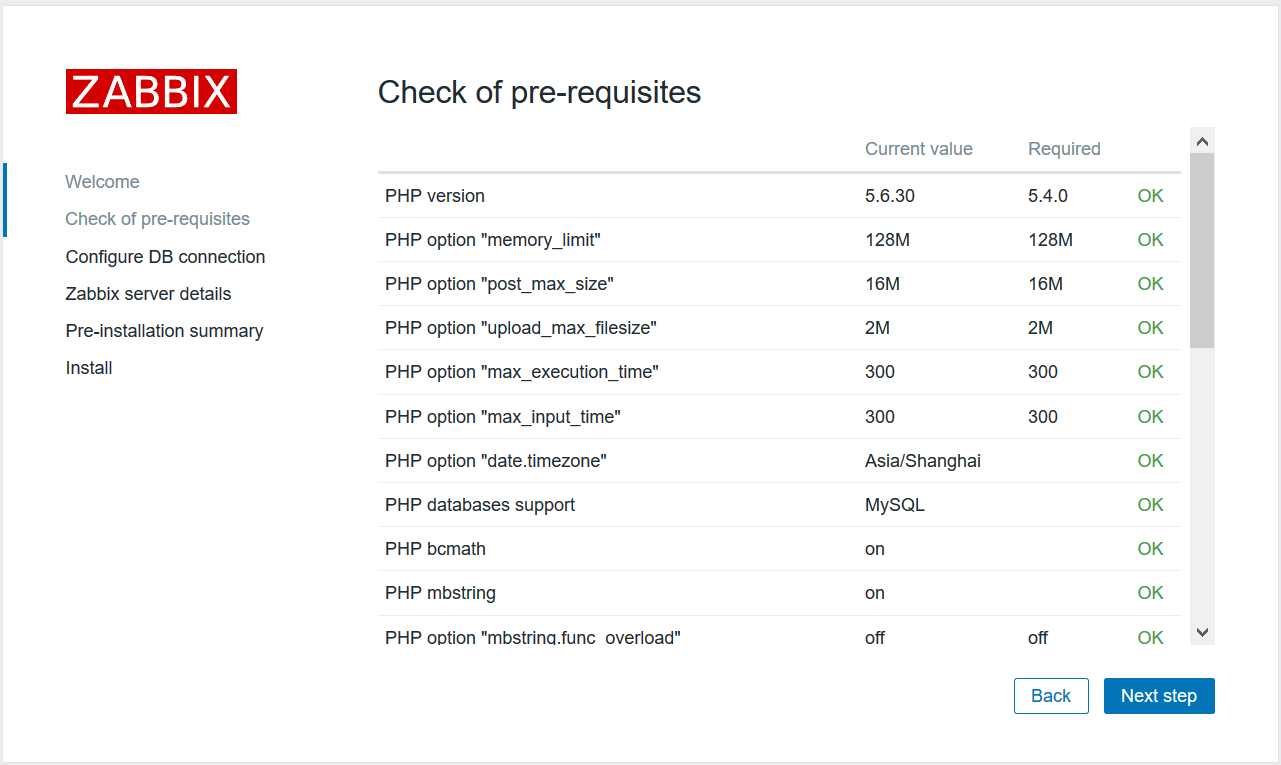
5. Click Next, mysql database detection, user name and password fill in the zabbix just created 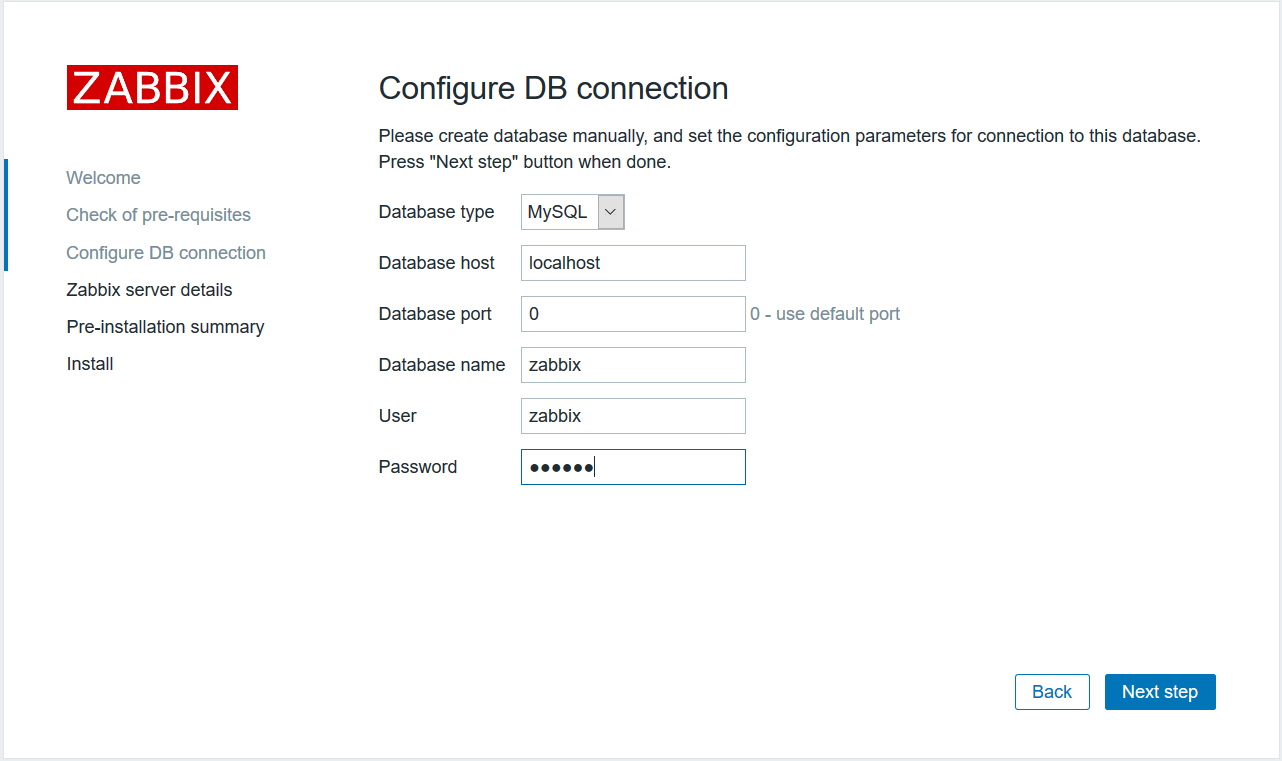
6. Click Next to leave this page as default 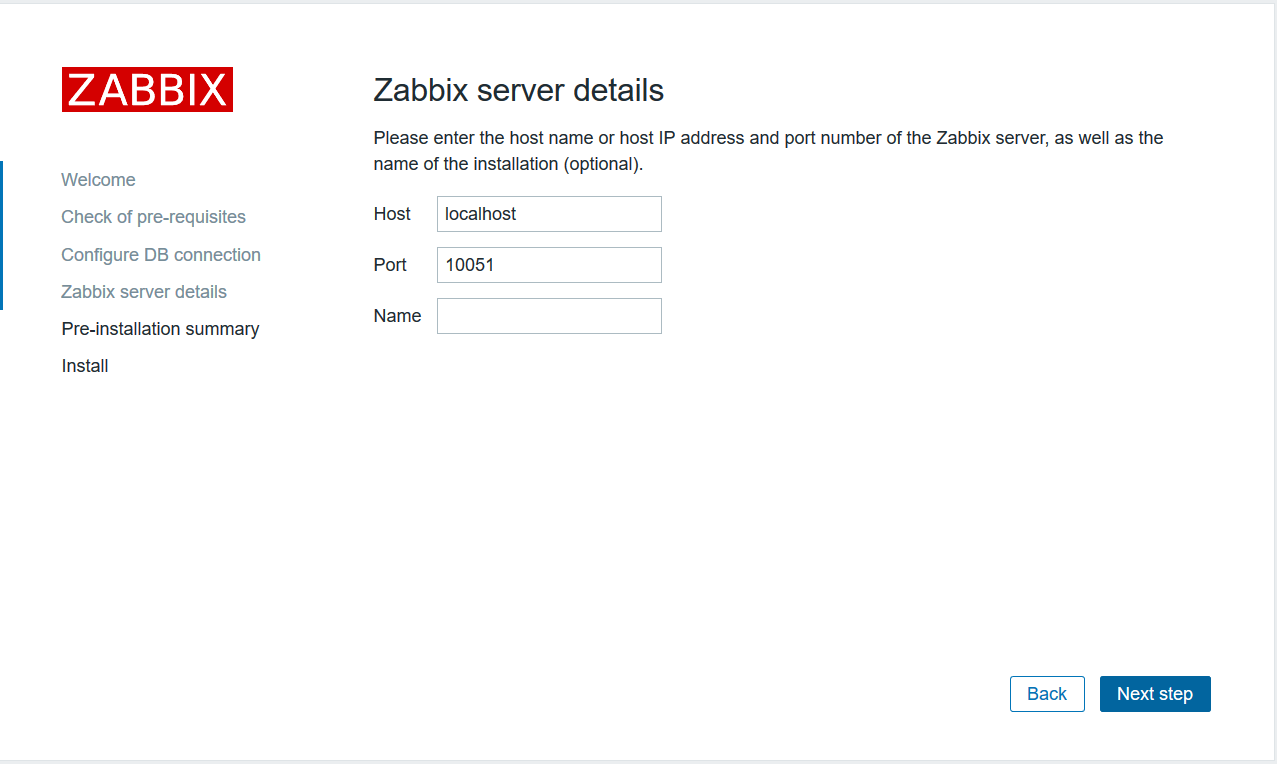
7. Overview of Information 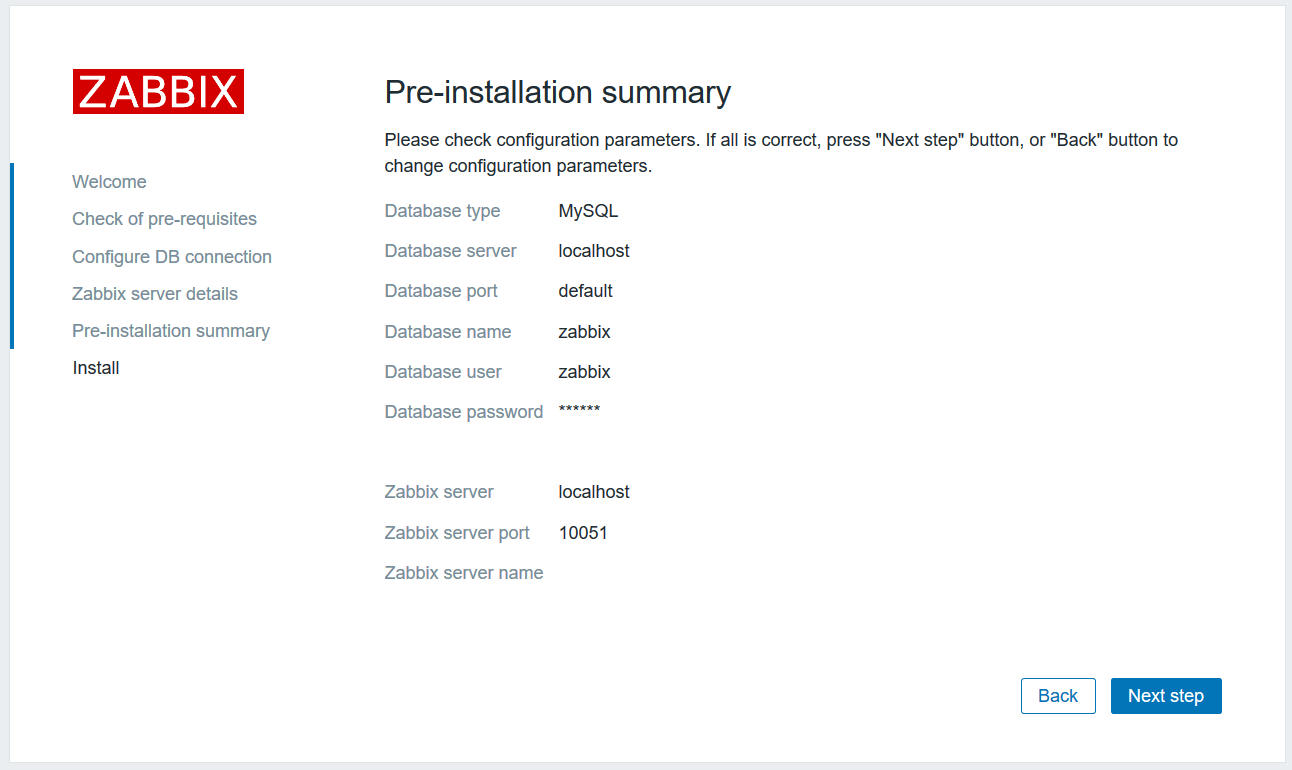
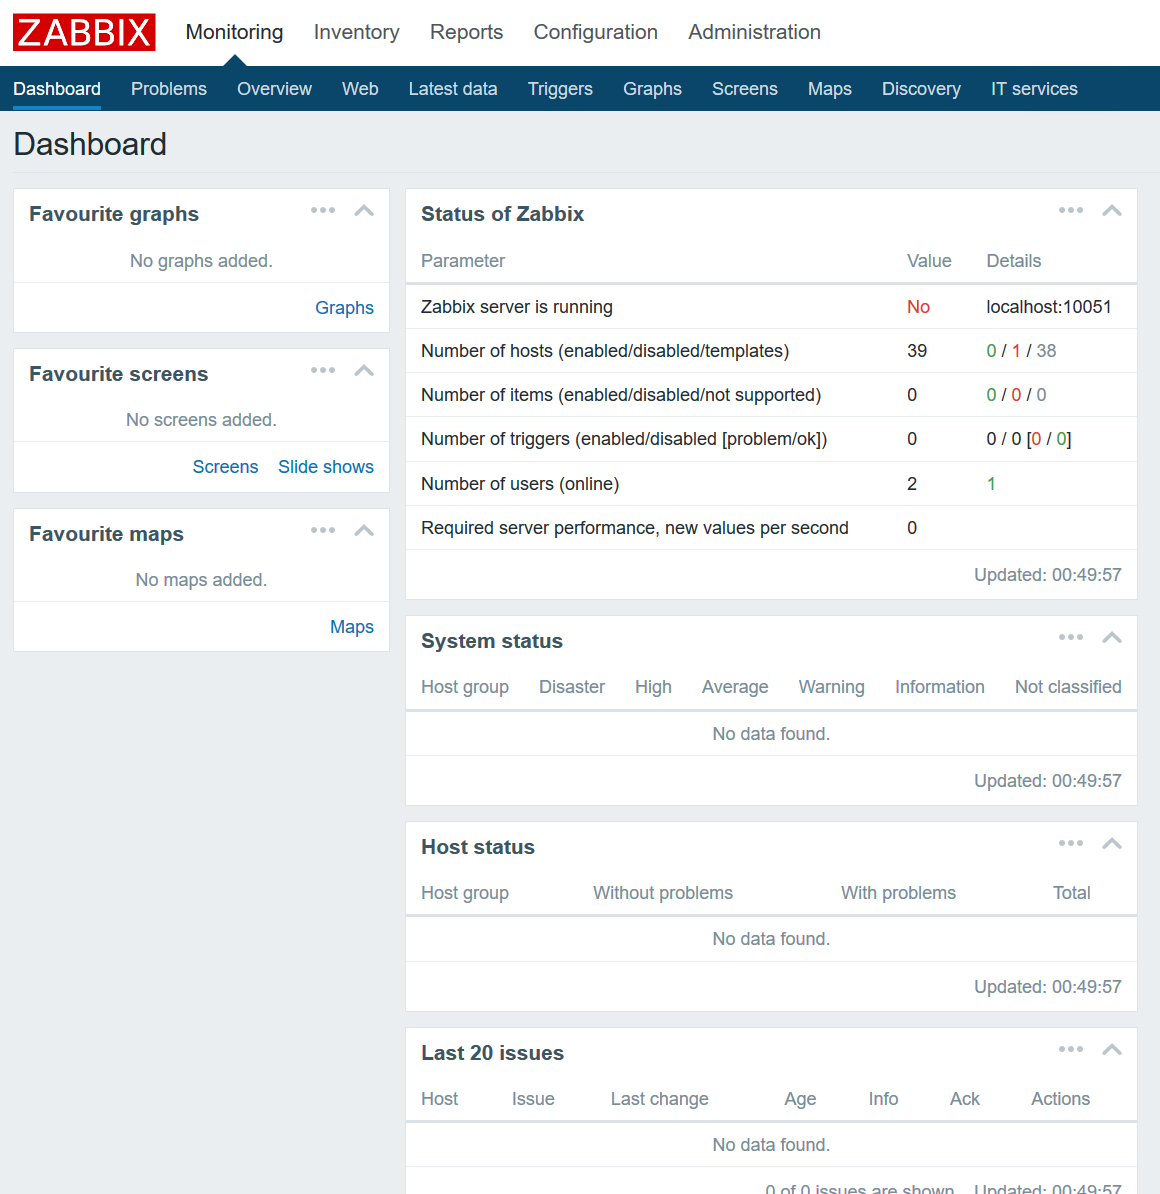
8. After installation, click finish to complete the installation. 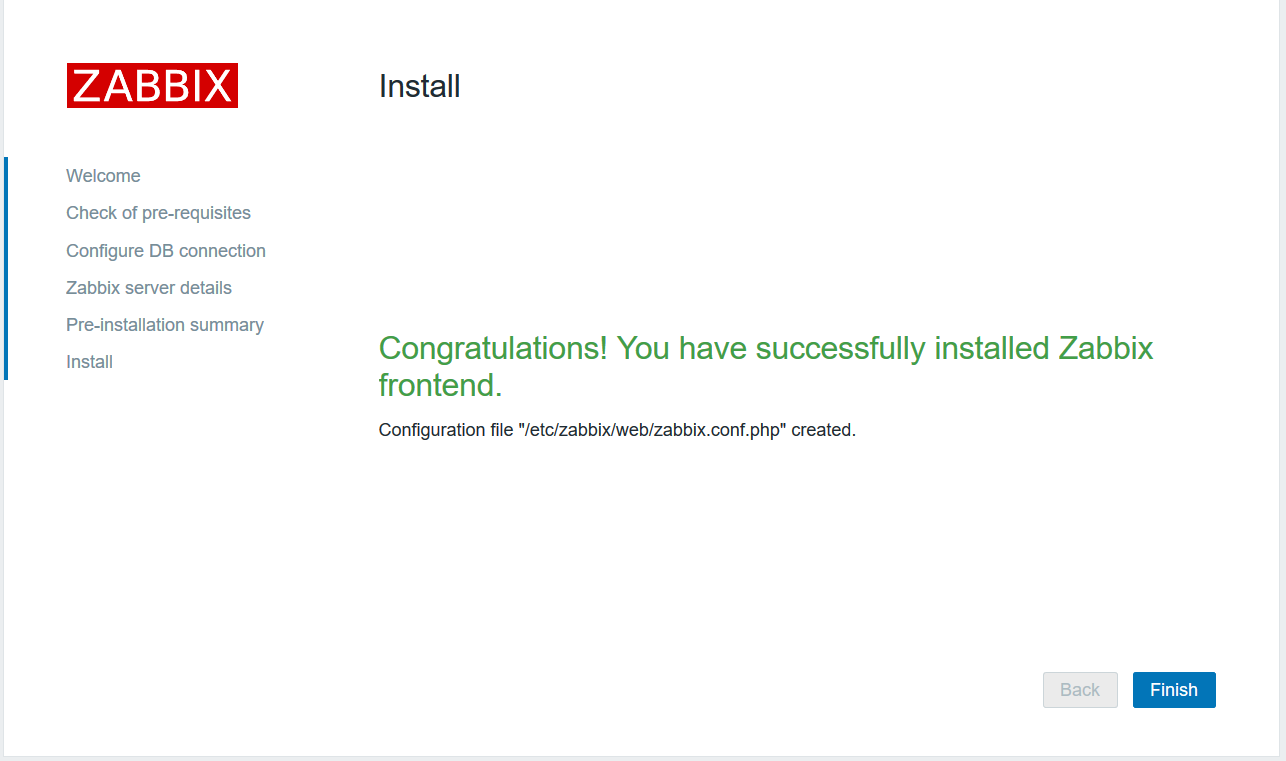
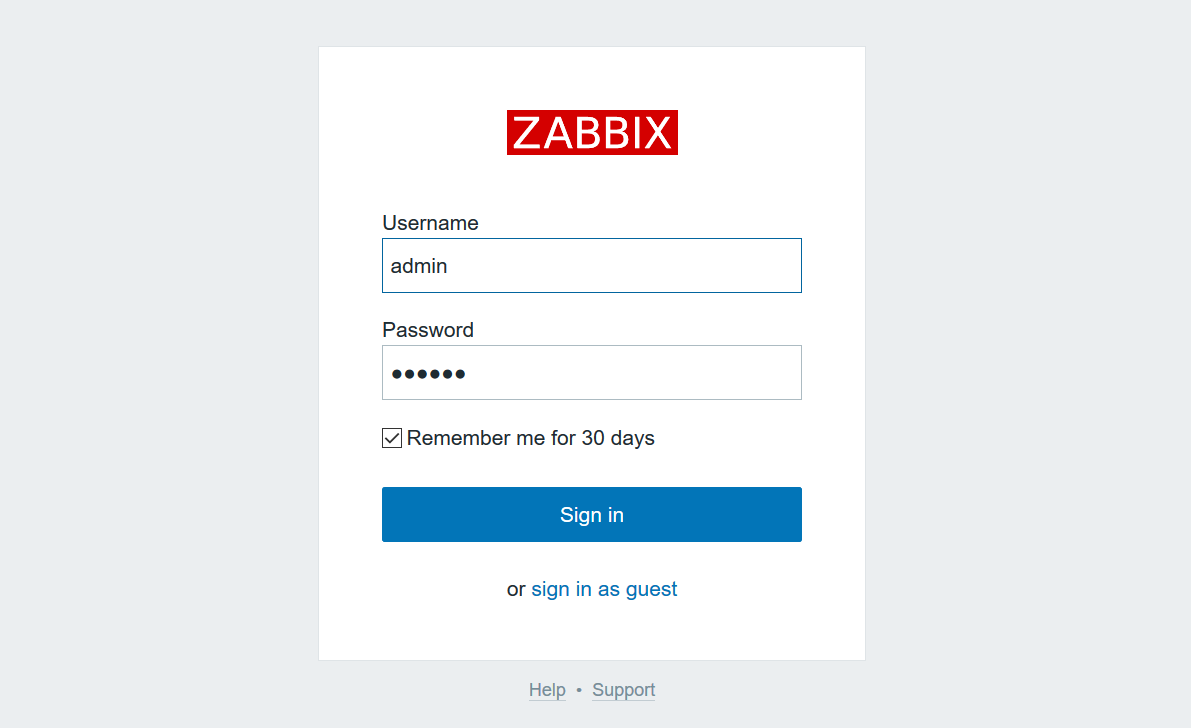
9. Log on, default username password is admin/zabbix