This tutorial system environment: Windows10
You can refer to the installation tutorials under other systems IPFS official documents
Step 1
Press the windows key + R, enter powershell, click Run, and open the PS terminal.
Step 2
Download and install the go IPFs terminal in PS through the following command
cd ~\   #Move to system root
wget https://dist.ipfs.io/go-ipfs/v0.8.0/go-ipfs_v0.8.0_windows-amd64.zip -Outfile go-ipfs_v0.8.0.zip # download the latest version of go IPFs (compressed package format)
Expand-Archive -Path go-ipfs_v0.8.0.zip -DestinationPath ~\Apps\go-ipfs_v0.8.0  #Unzip this file
cd ~\Apps\go-ipfs_v0.8.0\go-ipfs    #Move to the directory you just extracted
.\ipfs.exe --version    #Test whether the program in this directory can be used. Under normal circumstances, the following output will be obtained
# > ipfs version 0.8.0
pwd    #View the current path, copy and add the output path to the system environment variable
# > Path
# > ----
# > C:\Users\[Username]\Apps\go-ipfs_v0.8.0\go-ipfs
Step 3
Copy and add the directory just output from the pwd command to the system environment variable, then exit the PS terminal, start the traditional cmd terminal through Windows+R, and type in the cmd terminal
cd ~
ipfs --version  #Under normal circumstances, the version information of the next line will be output
# > ipfs version 0.8.0
Step 4
ipfs initialization
ipfs init #Initialize the ipfs warehouse. Normally, you will get the following output
# > initializing ipfs node at /Users/jbenet/.ipfs
# > generating 2048-bit RSA keypair...done
# >Peer identity: [a string of hash values]
# > to get started, enter:
# >
# >IPFs cat / IPFs / [same hash value as above] / readme
At this point, if you type ipfs cat /ipfs / [hash value above] / readme, you will get the following output
Hello and Welcome to IPFS!
██╗██████╗ ███████╗███████╗
██║██╔══██╗██╔════╝██╔════╝
██║██████╔╝█████╗  ███████╗
██║██╔═══╝ ██╔══╝  ╚════██║
██║██║     ██║     ███████║
╚═╝╚═╝     ╚═╝     ╚══════╝
If you see this, you have successfully installed
IPFS and are now interfacing with the ipfs merkledag!
 -------------------------------------------------------
| Warning:                                              |
|   This is alpha software. use at your own discretion! |
|   Much is missing or lacking polish. There are bugs.  |
|   Not yet secure. Read the security notes for more.   |
 -------------------------------------------------------
Check out some of the other files in this directory:
  ./about
  ./help
  ./quick-start     <-- usage examples
  ./readme          <-- this file
  ./security-notes
At this time, ipfs has been initialized.
Step 5
Access IPFS node
After installing IPFS, before uploading and downloading files using IPFS, the local computer must be connected to the IPFS network. The specific method is to complete it in cmd or PS through the following command:
ipfs daemon
If you successfully access the network, you will get the following output:
Initializing daemon...
go-ipfs version: 0.8.0
Repo version: 11
System version: amd64/windows
Golang version: go1.15.8
Swarm listening on /ip4/127.0.0.1/tcp/4001
[...](Many similar lines will be output here Swarm Output of)
API server listening on /ip4/127.0.0.1/tcp/5001
WebUI: http://127.0.0.1:5001/webui
Gateway (readonly) server listening on /ip4/127.0.0.1/tcp/8080
Daemon is ready
At this time, the machine has successfully connected to the IPFS network and can happily upload and download files using IPFS.
Step 6 IPFS desktop
IPFS desktop version can easily upload and download files through the graphical operation interface. The download link of Windows desktop version is here.
Download links for other system versions are here.
Since the operation of the desktop version is relatively stupid, I believe that the great gods who come into contact with IPFS will operate by themselves, which will not be repeated in this article.
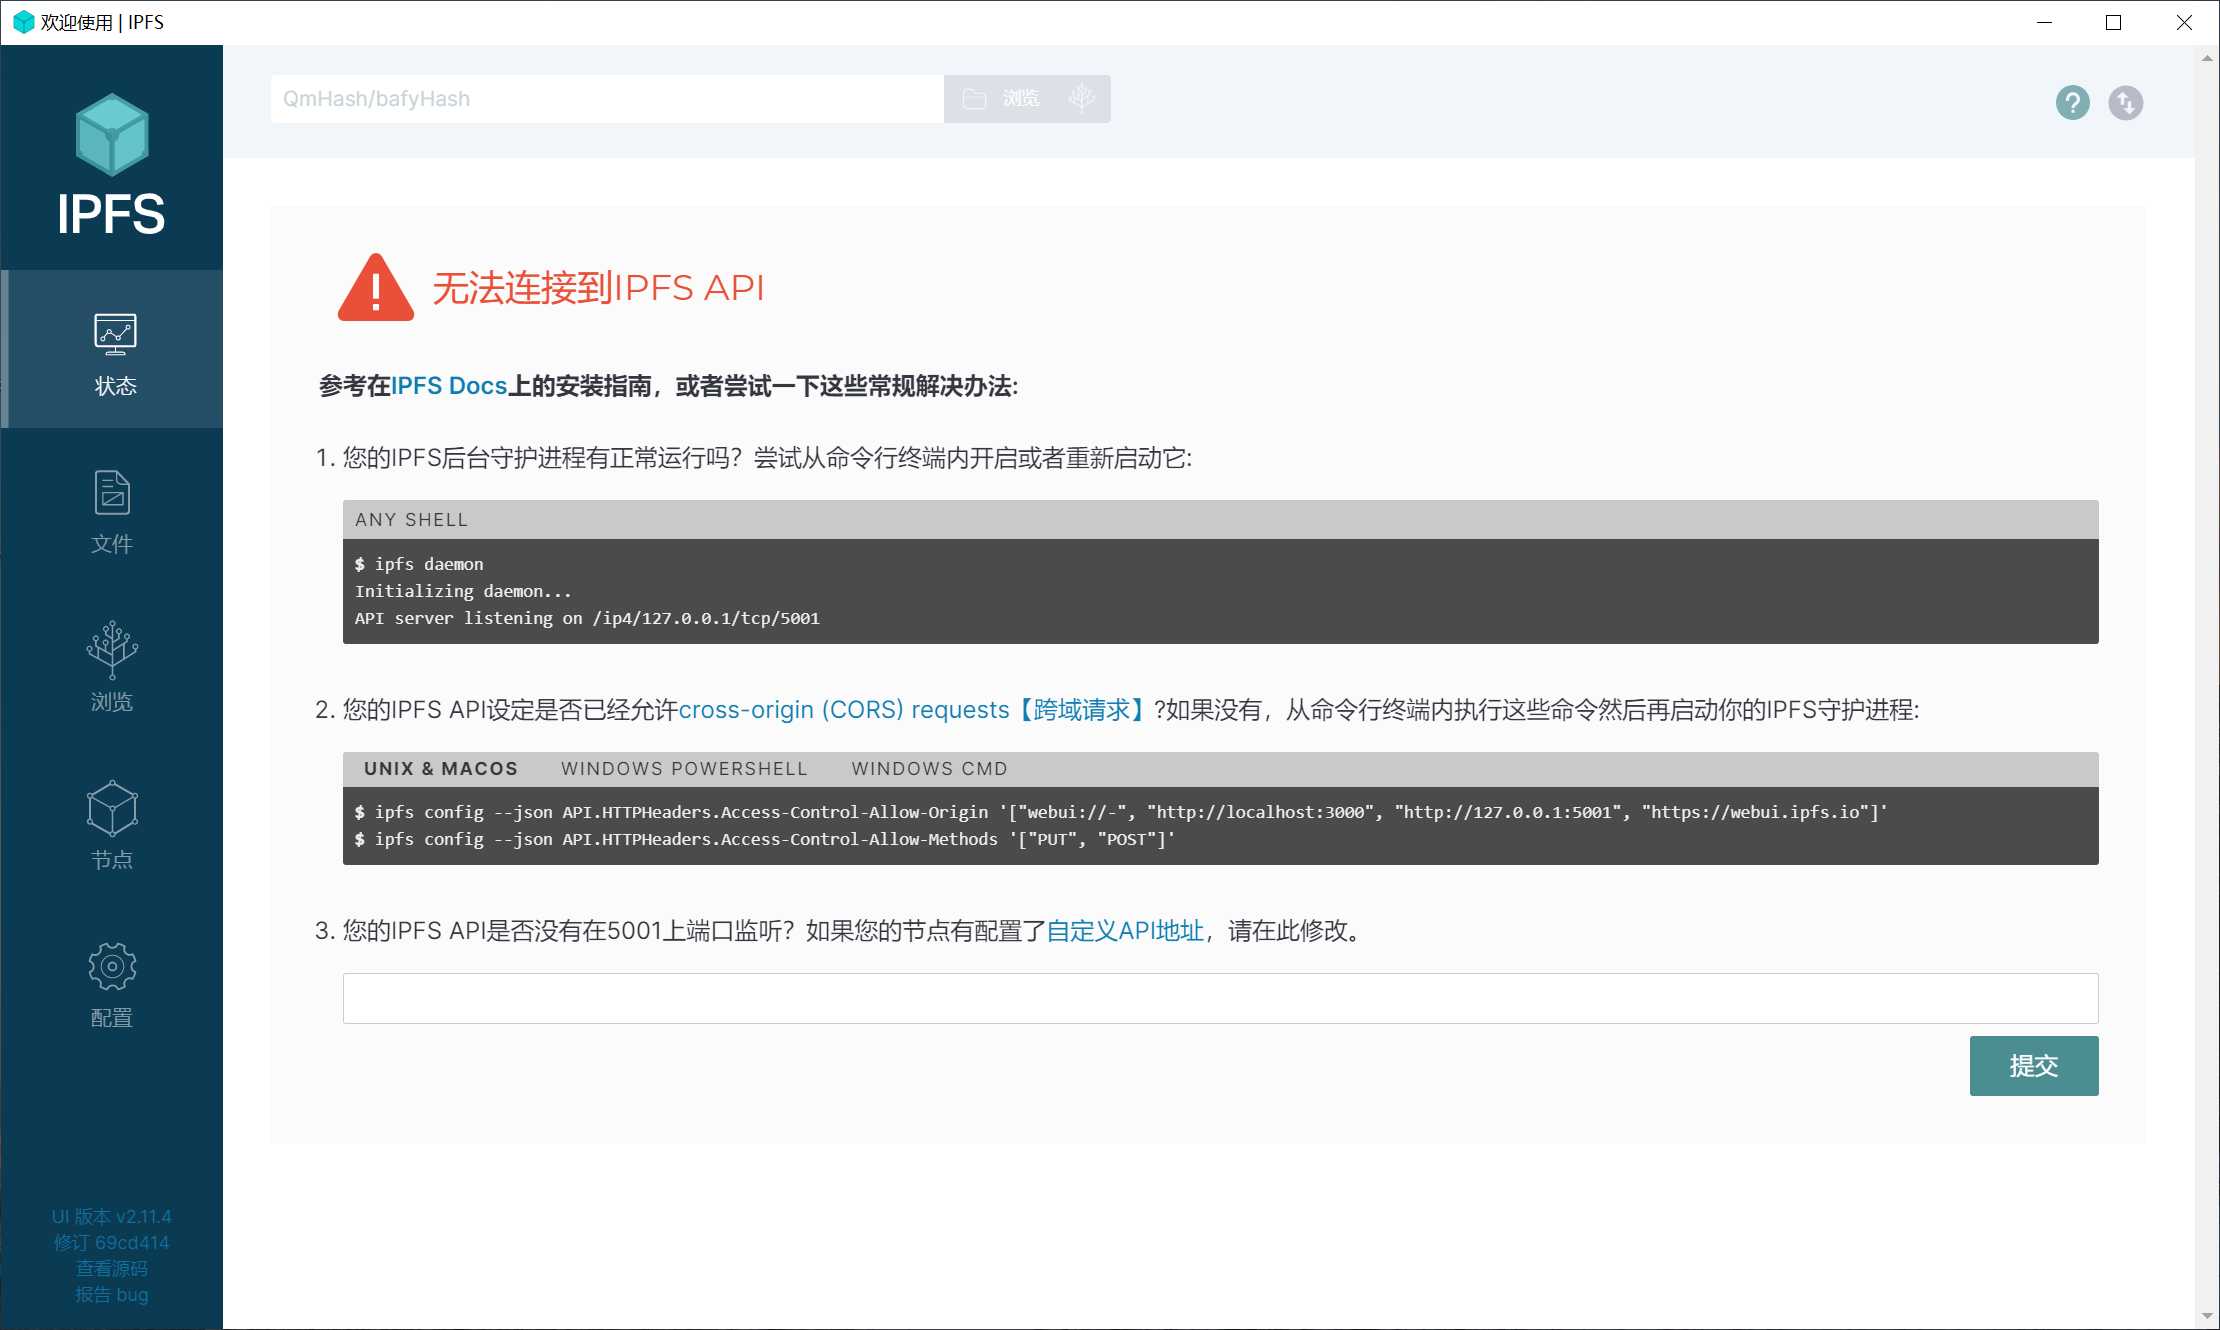
However, it is worth mentioning that if you use the desktop version, you do not need to perform ipfs init or ipfs daemon, because these operations will be completed by the desktop application. In addition, the author found in practice that the connection is slow after the IPFS Desktop version is started. If you double-click the desktop icon of IPFS Desktop and see the following interface, please don't worry. This is probably due to the slow network, which doesn't really require you to manually enter ipfs daemon on the command line.

Of course, if you get stuck on the above interface and stay for a long time (e.g. 5min), you can first check whether the local network connection is normal (for example, whether you can use foreign search engines). However, in fact, the domestic Internet does not shield the IPFS network. If it is really stuck in this interface, you can reread this tutorial and check whether each step is performed correctly. You can also read IPFS Official documents For help (this document needs to be viewed over the wall).
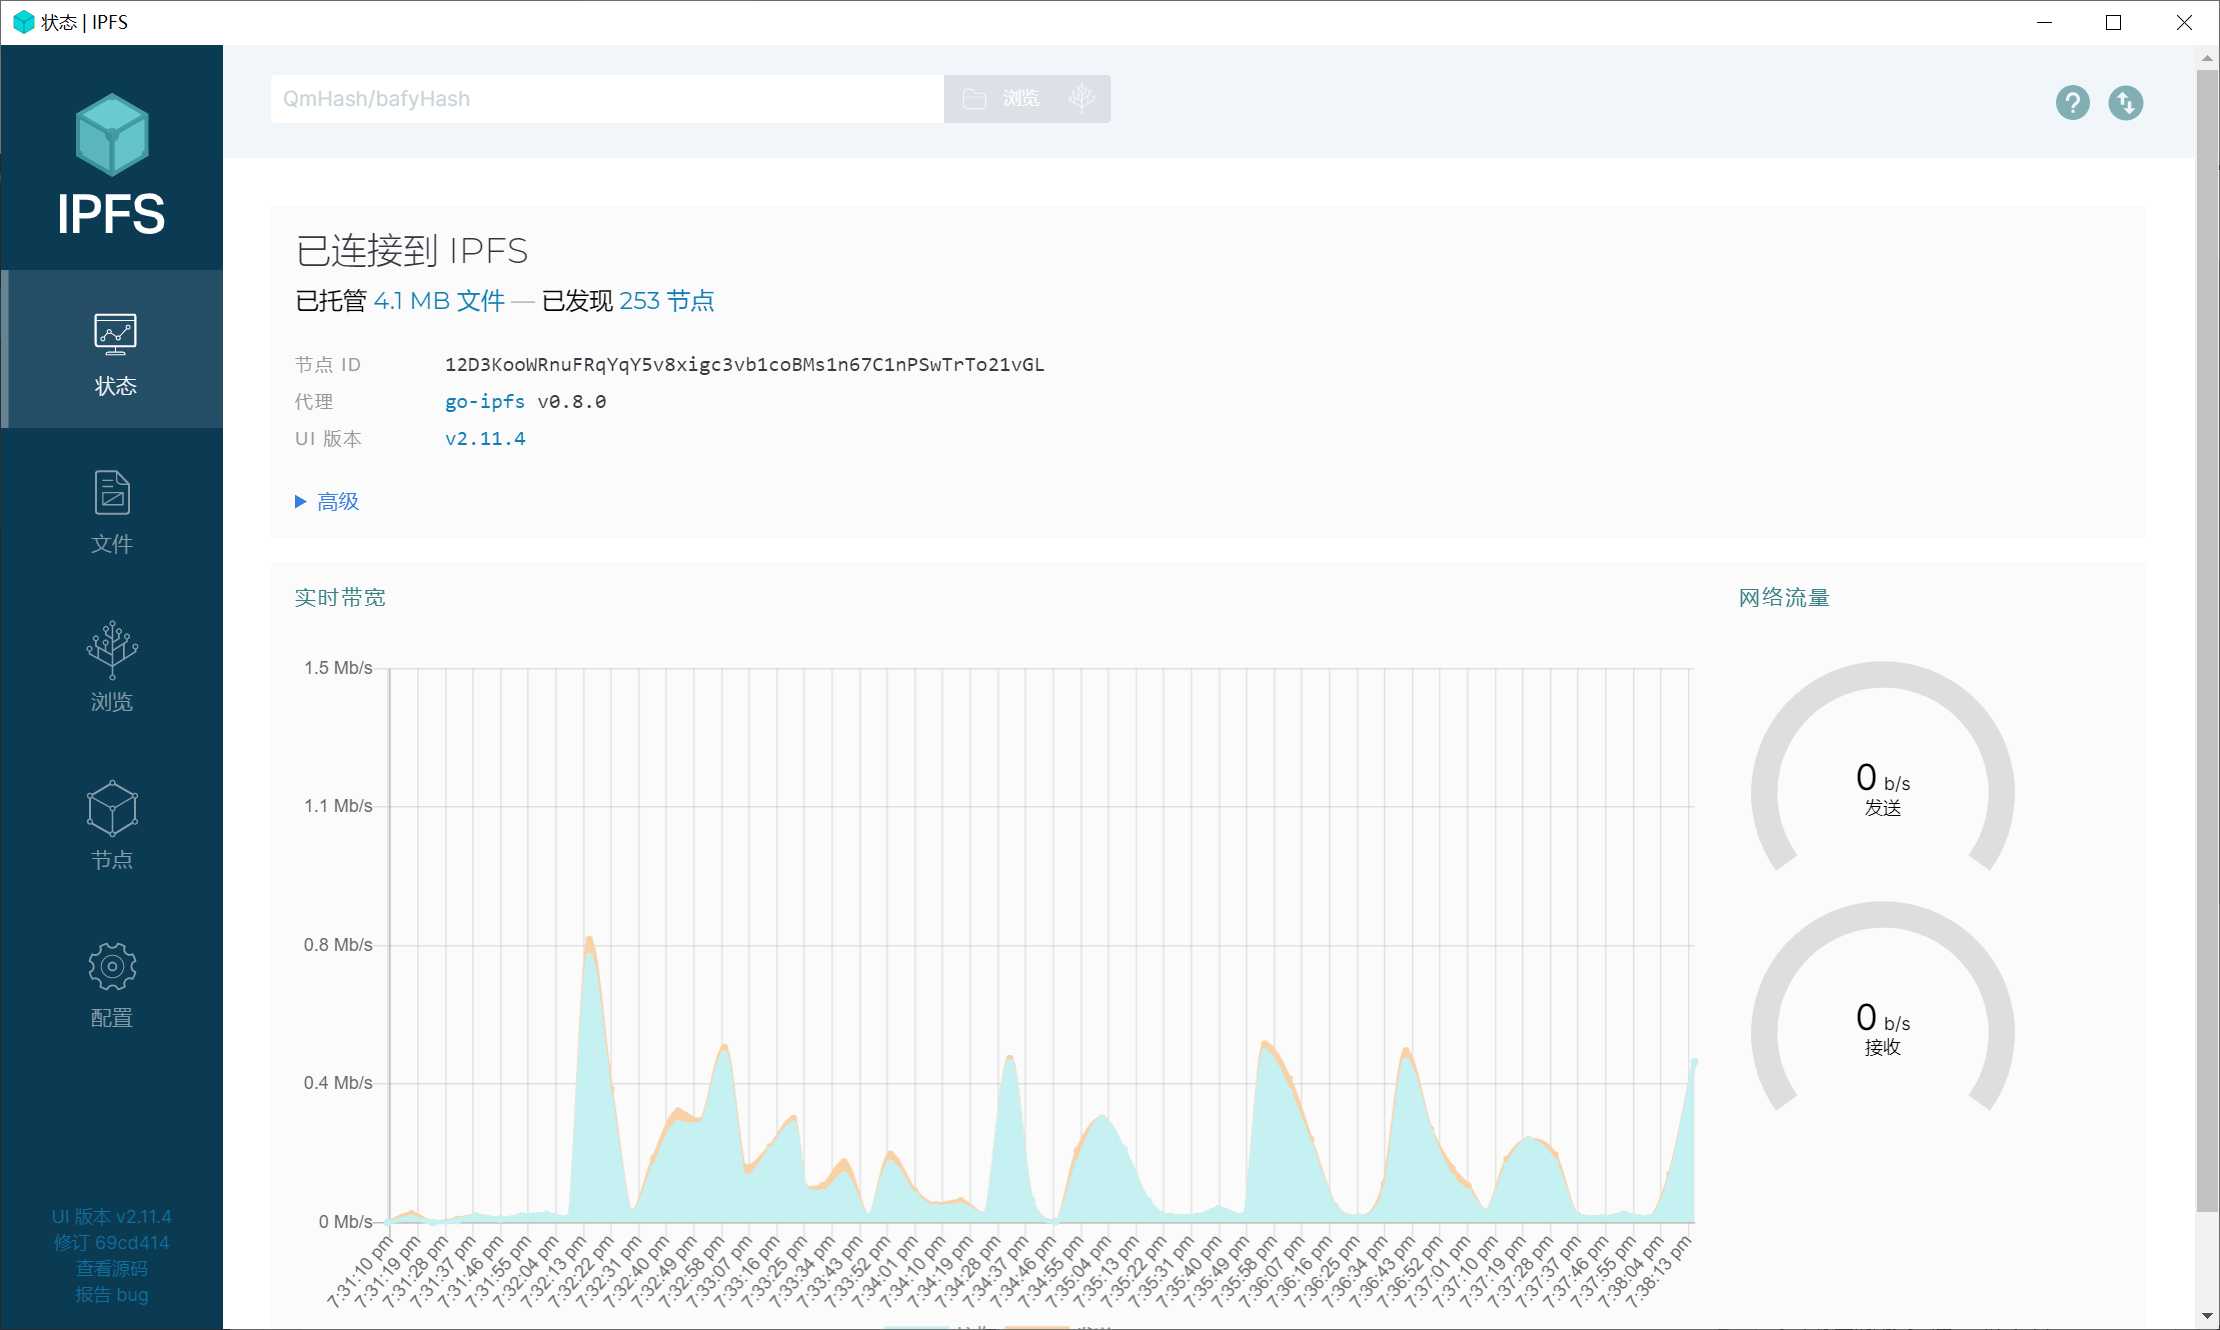
After the IPFs desktop version is opened normally, you will see the following interface.

Step 7 ipfs upload and download commands
This section describes how to use the command line to upload and download ipfs files.
Whether you upload or download using ipfs, you need to ensure that the machine has access to the ipfs node, that is, you need to start a cmd terminal and type in it
ipfs daemon
Then, open another cmd terminal, locate the directory where the file to be uploaded or the directory where the file to be downloaded is saved, and execute the file upload and download commands.
Upload:
ipfs add [Filename]  #Note that if the file to be uploaded is not in the current directory, the Filename needs to be represented by an absolute path or a relative path
# After normal upload, you will get a line of output similar to the following
# > added QmZnpQaDqyRsQBgim3oU3szxfxDkrpNUSmgaSuEkacwhnP hello.txt
# You need to record this hash value, which is equivalent to the unique identification of your file in the ipfs network. You need to use this hash when downloading
Download:
ipfs get [File in ipfs In the public network hash value] -o [File name to save]
For example, the author has uploaded a hello file on the ipfs public network, which can be downloaded using the following command:
ipfs get QmZnpQaDqyRsQBgim3oU3szxfxDkrpNUSmgaSuEkacwhnP -o hello.txt  #Download the file with the hash value of QmZnpQaDqyRsQBgim3oU3szxfxDkrpNUSmgaSuEkacwhnP in the ipfs network and save it as hello.txt in the current directory
type hello.txt  #Output the content in hello.txt to the terminal, and you will get the following output, that is, the file content previously uploaded by the author
# > Hello, ipfs!
So far, the file upload and download of ipfs have been completed. Any file type can be uploaded and downloaded through ipfs. After the local machine becomes an ipfs node, ipfs can be used as a huge network disk.