#oracle19c
Oracle 19C download address
Baidu online disk link: https://pan.baidu.com/s/1mtsWs3dibid4vwFwuv08iQ
Extraction code: poi2
Install dependent packages
[root@karms ~]# cat /etc/redhat-release CentOS Linux release 7.0.1406 (Core)[root@karms ~]# yum install -y compat-libcap1 compat-libstdc++-33 gcc-c++ ksh libaio-devel libstdc++-devel elfutils-libelf-devel fontconfig-devel libXrender-devel
Create user
[root@karms ~]# groupadd oinstall[root@karms ~]# groupadd dba[root@karms ~]# groupadd asmdba[root@karms ~]# groupadd backupdba[root@karms ~]# groupadd dgdba[root@karms ~]# groupadd kmdba[root@karms ~]# groupadd racdba[root@karms ~]# groupadd oper[root@karms ~]# useradd -g oinstall -G dba,asmdba,backupdba,dgdba,kmdba,racdba,oper -m oracle
Configure hosts file
[root@karms ~]# ifconfig | grep 192 inet 192.168.1.10 netmask 255.255.255.0 broadcast 192.168.1.255 inet 192.168.122.1 netmask 255.255.255.0 broadcast 192.168.122.255[root@karms ~]# echo "karms 192.168.1.10" >> /etc/hosts
Modify kernel file
[root@karms ~]# cat >> /etc/sysctl.conf << EOF> fs.aio-max-nr = 1048576> fs.file-max = 6815744> kernel.shmall = 16451328> kernel.shmmax = 33692319744> kernel.shmmni = 4096> kernel.sem = 250 32000 100 128> net.ipv4.ip_local_port_range = 9000 65500> net.core.rmem_default = 262144> net.core.rmem_max = 4194304> net.core.wmem_default = 262144> net.core.wmem_max = 1048576> EOF[root@karms ~]# sysctl -pfs.aio-max-nr = 1048576fs.file-max = 6815744kernel.shmall = 16451328kernel.shmmax = 33692319744kernel.shmmni = 4096kernel.sem = 250 32000 100 128net.ipv4.ip_local_port_range = 9000 65500net.core.rmem_default = 262144net.core.rmem_max = 4194304net.core.wmem_default = 262144net.core.wmem_max = 1048576
Close selinux and firewalld
repair/etc/selinux/config Line 7 in the file SELINUX=disabledsystemctl stop firewalldsystemctl disable firewalld
Setting environment variables
[oracle@localhost ~]$ cat >> .bash_profile << EOF
> export ORACLE_BASE=/u01/app/oracle> export ORACLE_HOME=/u01/app/oracle/product/19.3.0/dbhome_1/> export ORACLE_BIN=/u01/app/oracle/product/19.3.0/dbhome_1/bin/> export PATH=/usr/local/bin:/usr/local/sbin:/usr/bin:/usr/sbin:/bin:/sbin:/bin:/usr/local/bin:$ORACLE_BIN> export ORACLE_HOSTNAME=karms> export ORACLE_SID=karms> export NLS_LANG="SIMPLIFIED CHINESE_CHINA.AL32UTF8"> export LD_LIBRARY_PATH=$ORACLE_HOME/lib:$ORACLE_HOME/rdbms/lib:$ORACLE_HOME/network/lib:/lib:/usr/lib> export CLASSPATH=$ORACLE_HOME/jlib:$ORACLE_HOME/rdbms/jlib:$ORACLE_HOME/network/jlib> EOF
Create the required directory
[root@karms ~]# mkdir -p /u01/app/oracle/product/19.3.0/dbhome_1[root@karms ~]# chown oracle.oinstall /u01 -R
Modify shell restrictions[ root@karms ~]# cat >> /etc/security/limits. conf << EOF
> @oinstall soft nofile 2048> @oinstall hard nofile 65536> @oinstall soft nproc 16384> @oinstall soft stack 10240> EOF
The above operation is completed
sync
init 6
Pay attention to the following step
Upload the oracle installation package to / u01/app/oracle/product/19.3.0/dbhome_1 down
[oracle@karms dbhome_1]$ pwd/u01/app/oracle/product/19.3.0/dbhome_1[oracle@karms dbhome_1]$ unzip /home/oracle/V982063-01.zip -d .
Execute installation script
[root@karms ~]# xhost +
access control disabled, clients can connect from any host
[root@karms ~]# su oracle
[oracle@karms root]$ cd /u01/app/oracle/product/19.3.0/
[oracle@karms 19.3.0]$ cd dbhome_1/
[oracle@karms dbhome_1]$
[oracle@karms dbhome_1]$ ./runInstaller
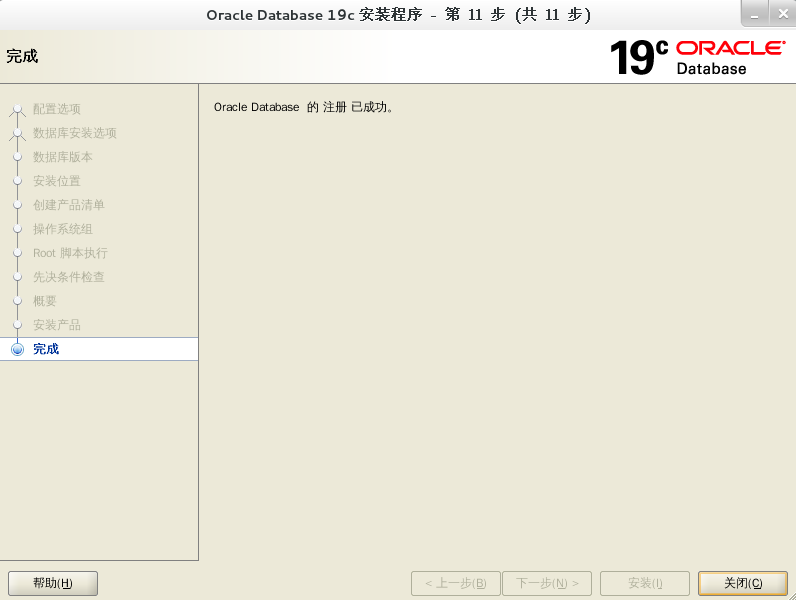
Starting Oracle database installation wizard
In case of DISPLAY error, modify oracle export $DISPLAY. The modified value can be viewed through the command on the right. printenv | grep DISPLAY
Then start graphically
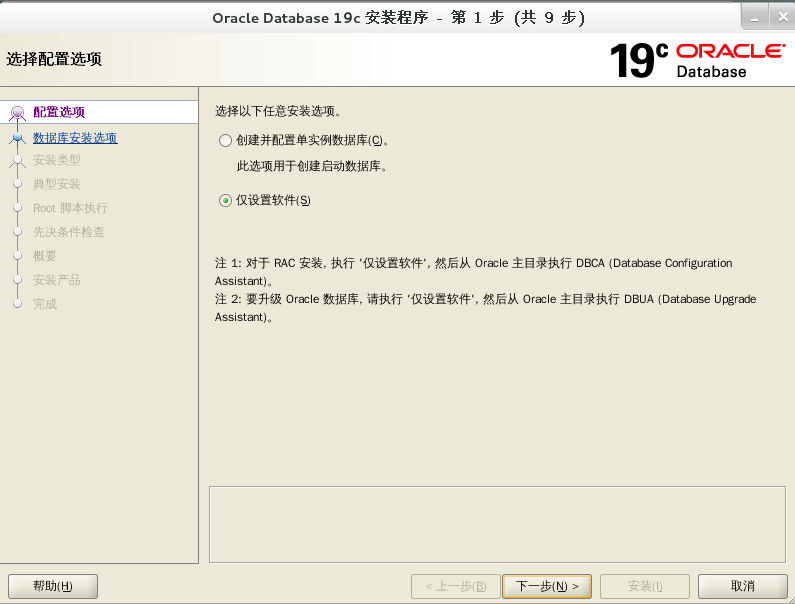
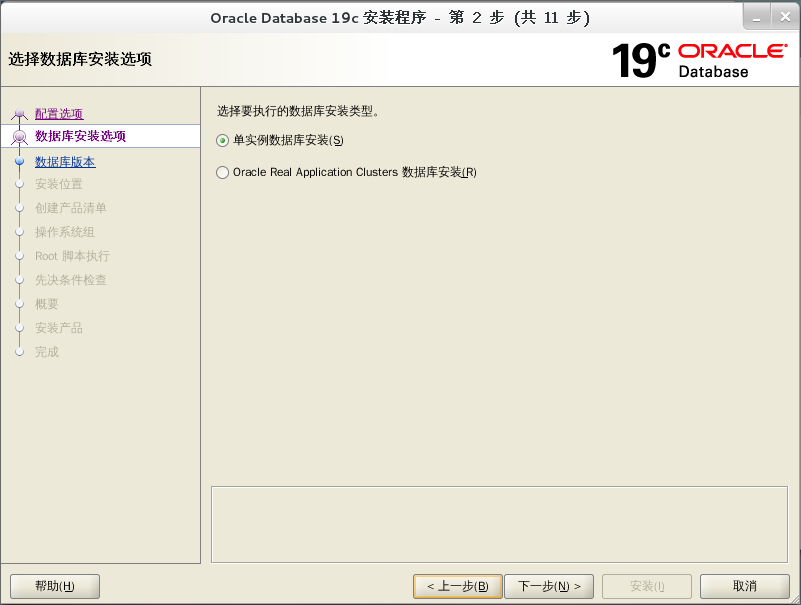
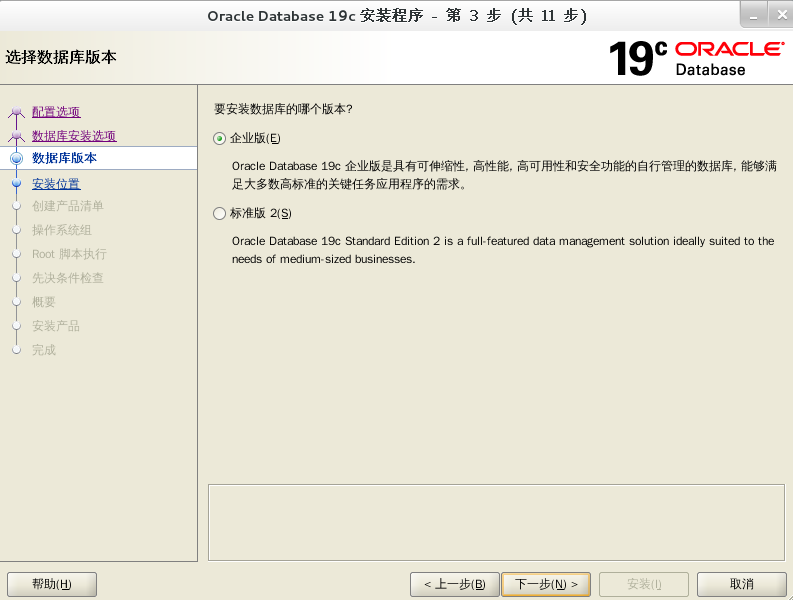
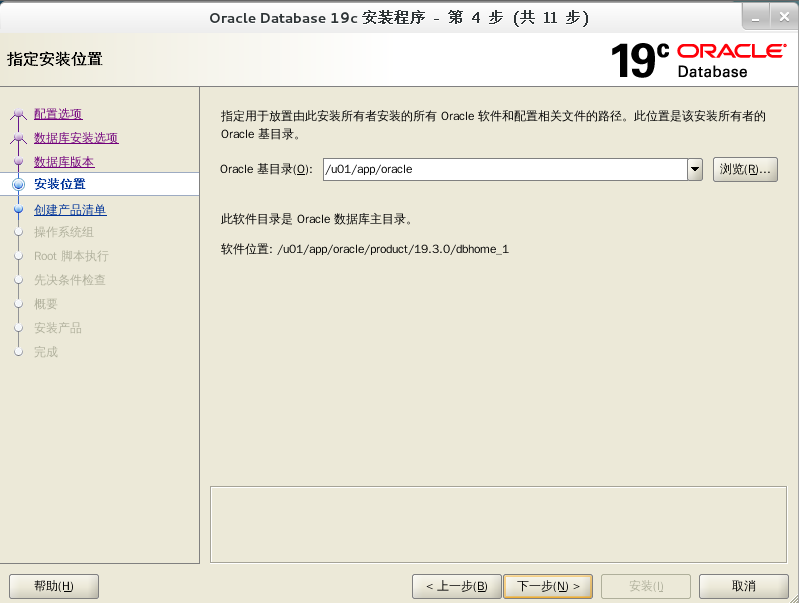
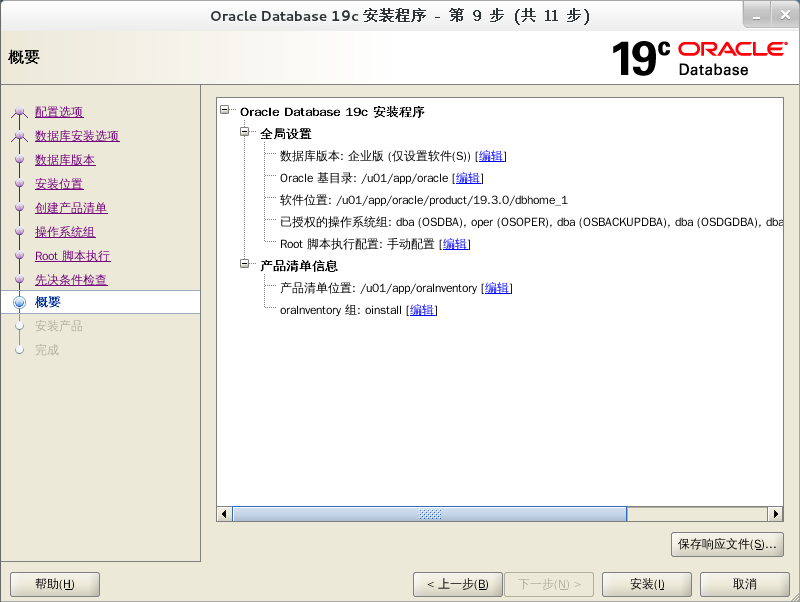
Do everything according to the picture below. Do not do anything else
Select set software only next
next step
next step
next step
next step

next step
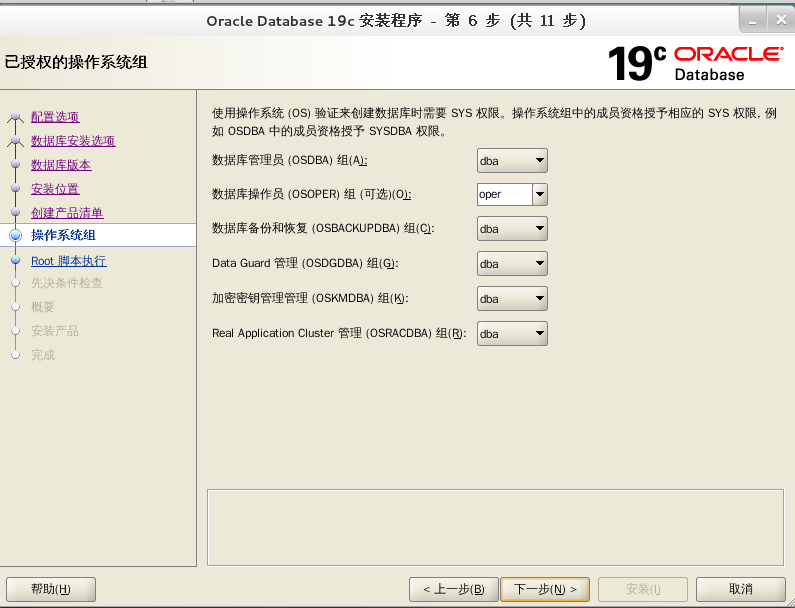
next step
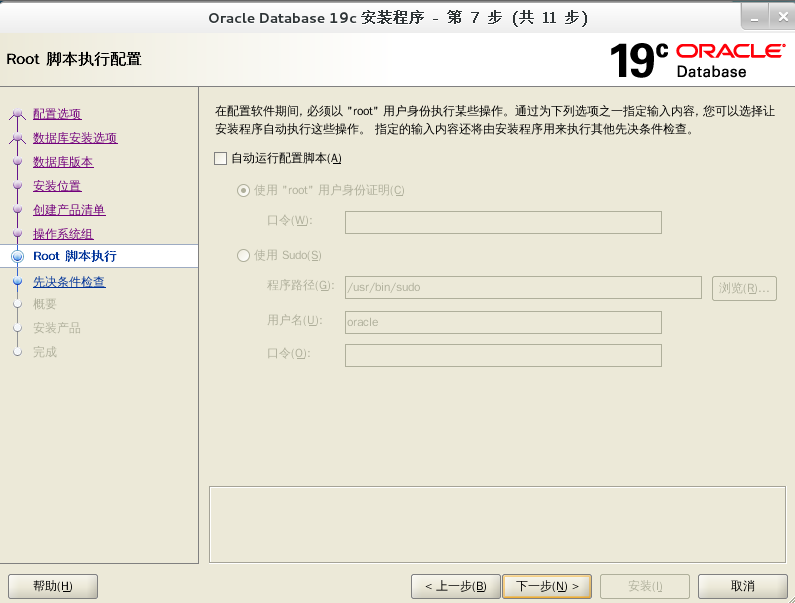
next step
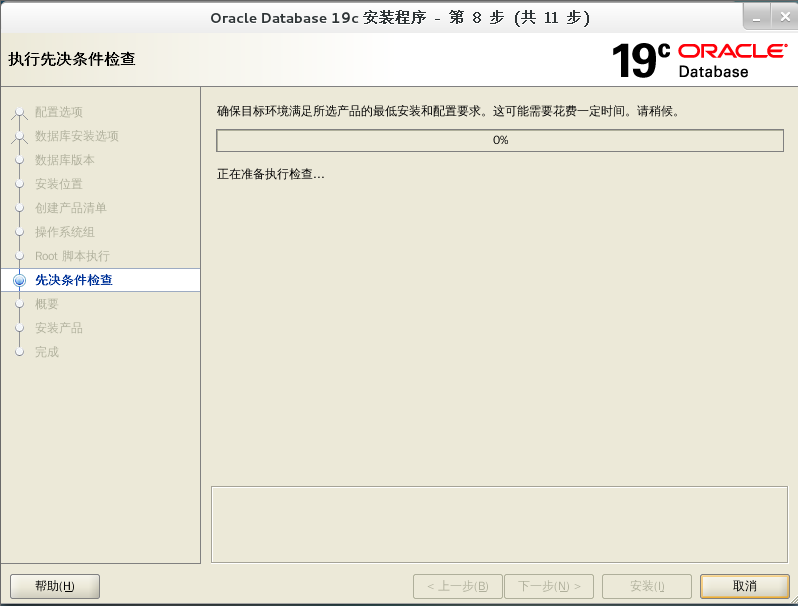
next step
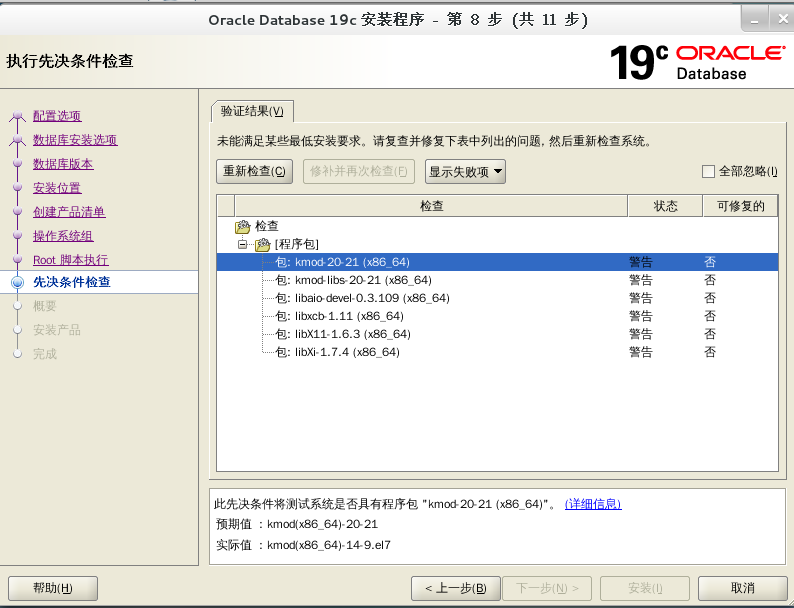
Some packages are not installed
Install the following package
[root@karms ~]# rpm -Uvh libaio-devel-0.3.109-13.el7.x86_64.rpm[root@karms ~]# rpm -Uvh libXi-1.7.9-1.el7.x86_64.rpm[root@karms ~]# rpm -Uvh libX11-1.6.5-1.el7.x86_64.rpm --nodeps[root@karms ~]# rpm -Uvh libxcb-1.12-1.el7.x86_64.rpm --nodeps[root@karms ~]# rpm -Uvh kmod-libs-20-21.el7.x86_64.rpm[root@karms ~]# rpm -Uvh --oldpackage kmod-20-21.el7.x86_64.rpm
After installing these packages, recheck at point. Click as follows and install at point
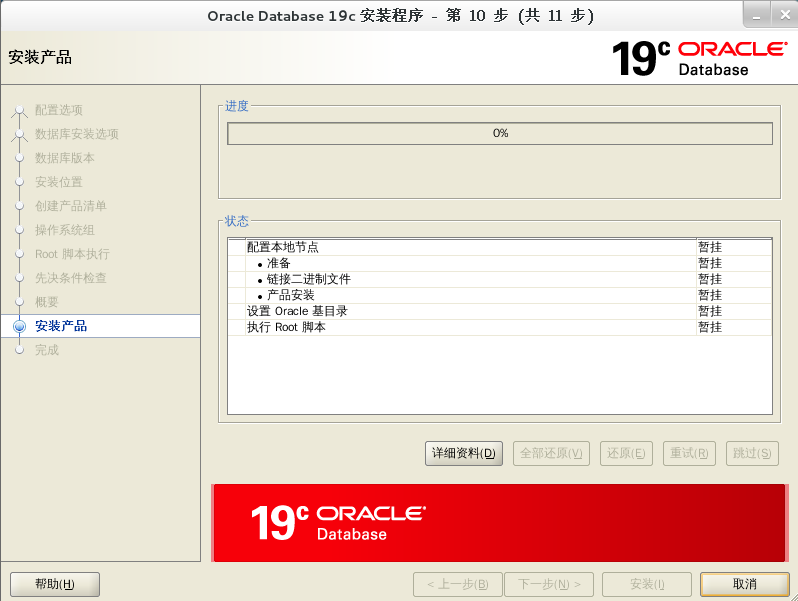
Wait patiently
Follow the prompts to execute the script
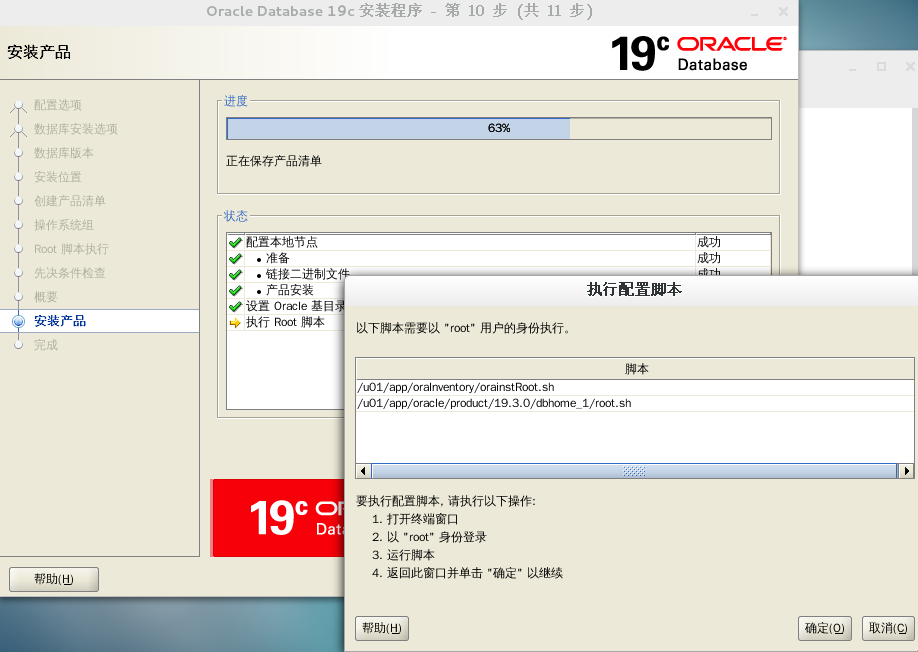
Note that the default execution script is the second line
[root@karms dbhome_1]# sh /u01/app/oraInventory/orainstRoot.sh change permission / u01 / APP / orainventory Add read and write permissions for the group. Delete global read, write and execute permissions.

Change group name/u01/app/oraInventory reach oinstall.The execution of the script has completed.[root@karms dbhome_1]# sh /u01/app/oracle/product/19.3.0/dbhome_1/root.shPerforming root user operation.

The following environment variables are set as:    ORACLE_OWNER= oracle    ORACLE_HOME=  /u01/app/oracle/product/19.3.0/dbhome_1

Enter the full pathname of the local bin directory: [/usr/local/bin]:    Copying dbhome to /usr/local/bin ...   Copying oraenv to /usr/local/bin ...   Copying coraenv to /usr/local/bin ...

Creating /etc/oratab file...Entries will be added to the /etc/oratab file as needed byDatabase Configuration Assistant when a database is createdFinished running generic part of root script.Now product-specific root actions will be performed.Oracle Trace File Analyzer (TFA - Standalone Mode) is available at :    /u01/app/oracle/product/19.3.0/dbhome_1/bin/tfactl

Note :1. tfactl will use TFA Service if that service is running and user has been granted access2. tfactl will configure TFA Standalone Mode only if user has no access to TFA Service or TFA is not installed[root@karms dbhome_1]#
After executing the script, click OK and then close it
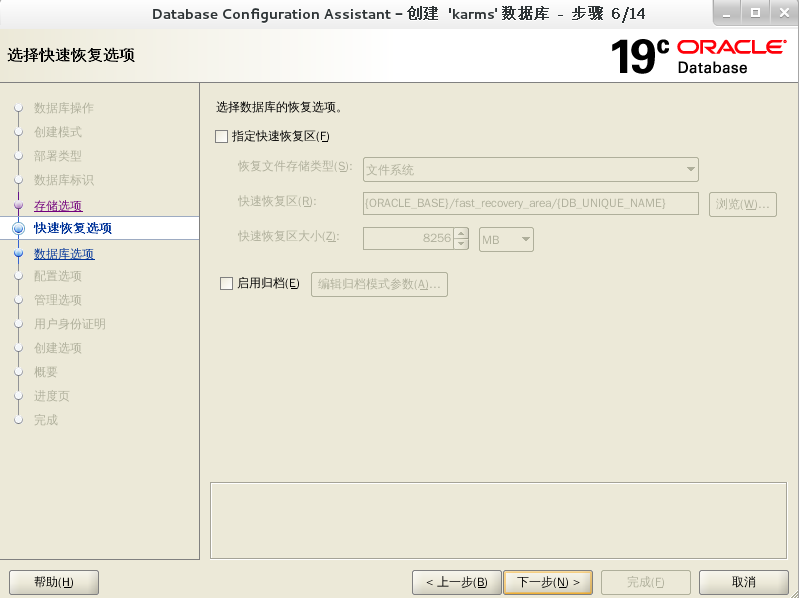
Execute the dbca command to create a database instance. Before execution, execute the following
source /home/oracle/.bash_profile
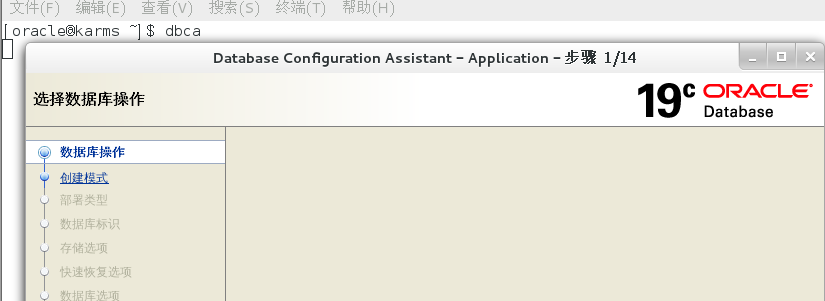
Select Create Database

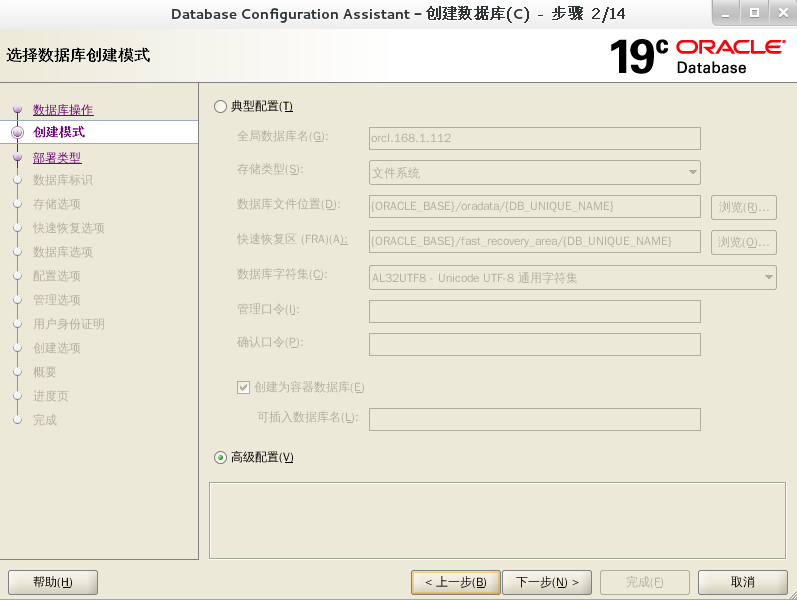
Select Advanced Configuration
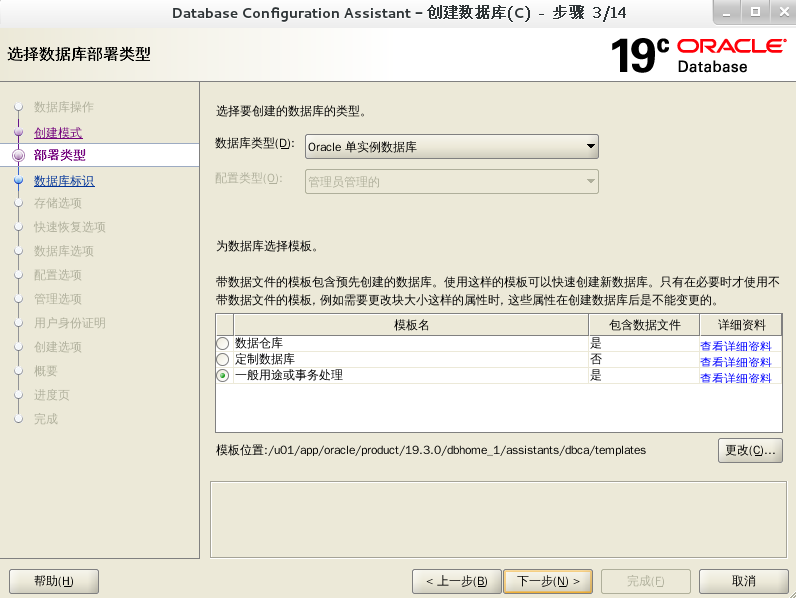
Select oracle single instance database and general purpose or transaction processing
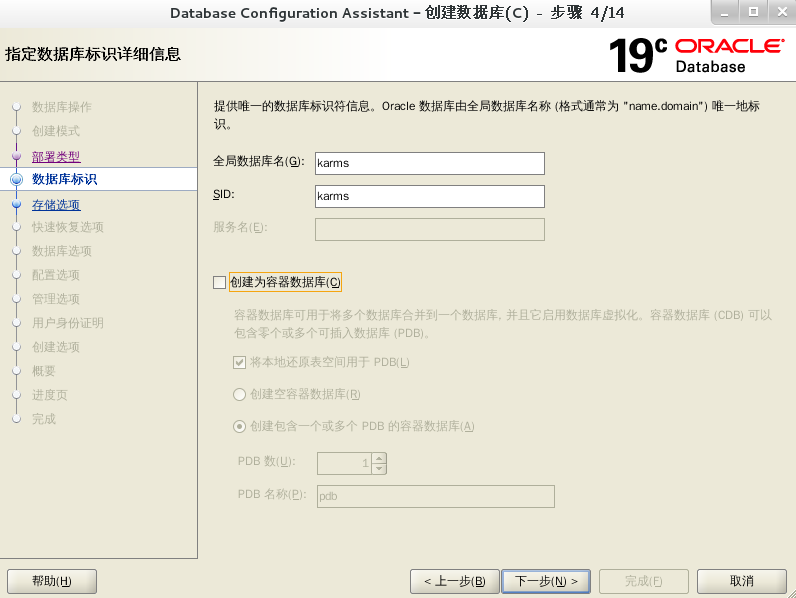
Fill in the global database name and SID
Note that the SID here must be the same as / home / Oracle / bash_ It is the same in the profile file. If it is different, you need to export Oracle when starting the instance_ SID=karms
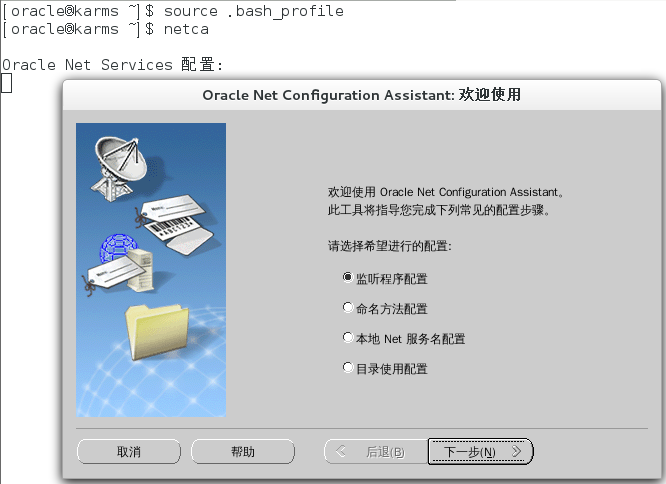
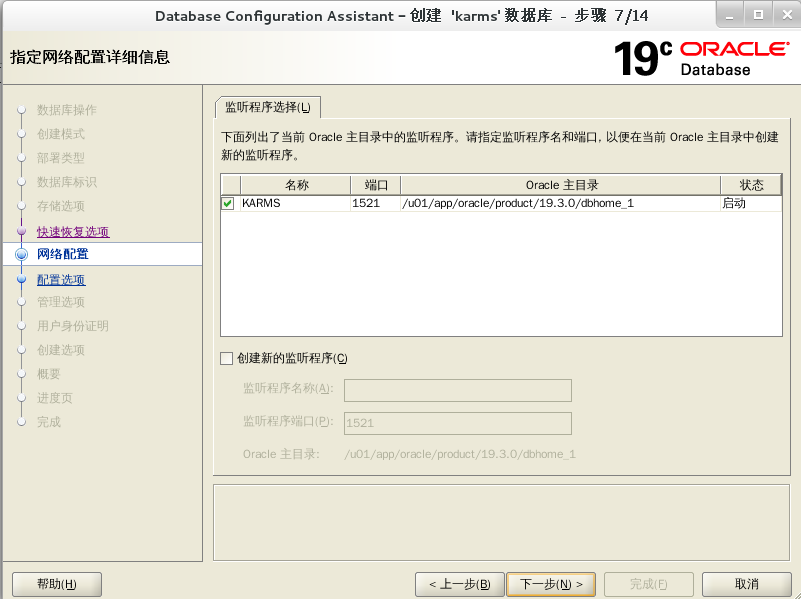
It suddenly occurred to me that I didn't create a listening port
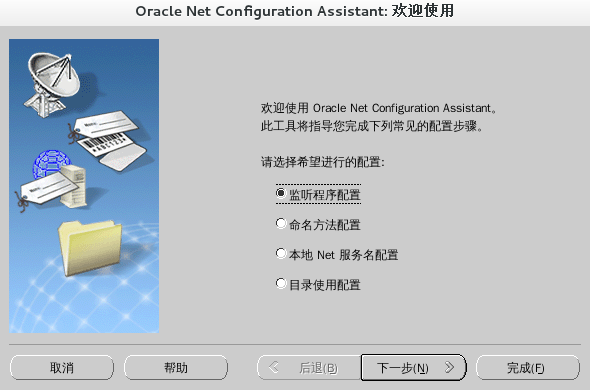
Execute netca
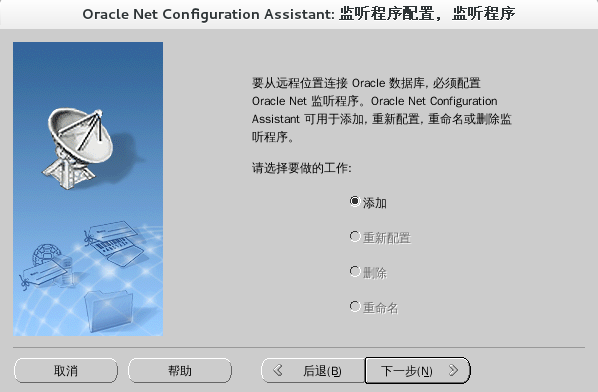
Select listener
Select Add
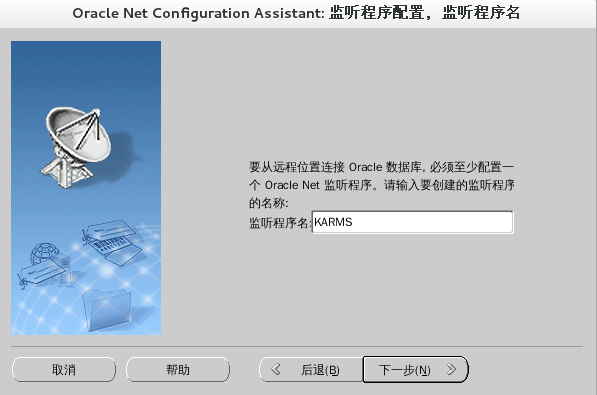
Fill in the monitoring program
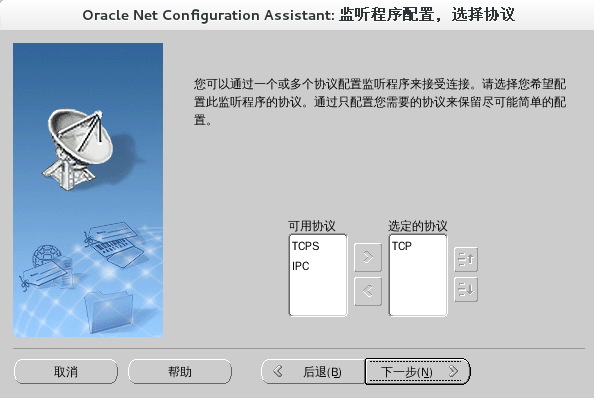
Default protocol next
Default port next
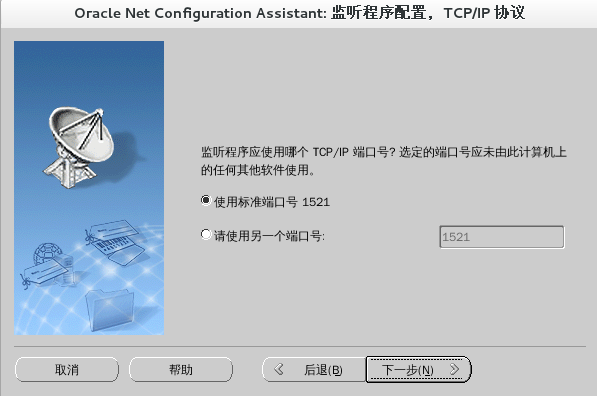
Finally, click finish
Then continue the previous operation of creating database instance

Default next step
Default next step
next step
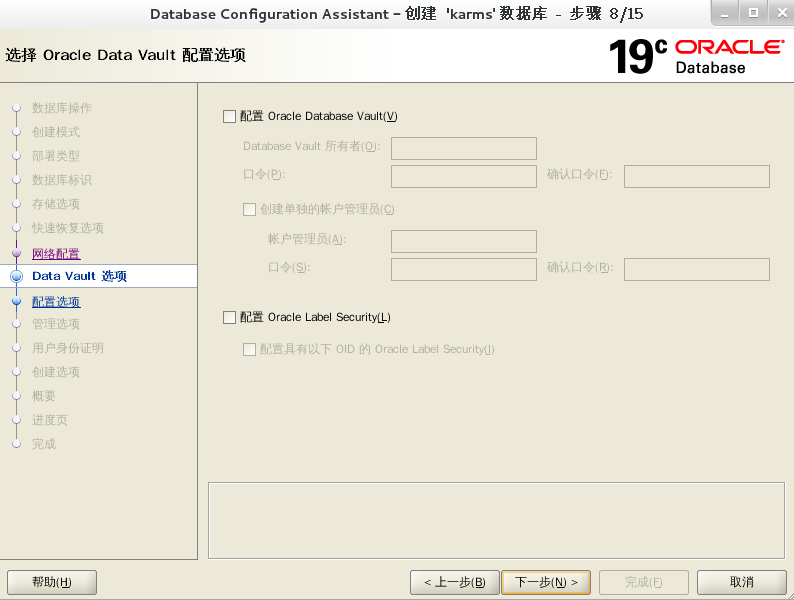
Pay attention to what character set I choose
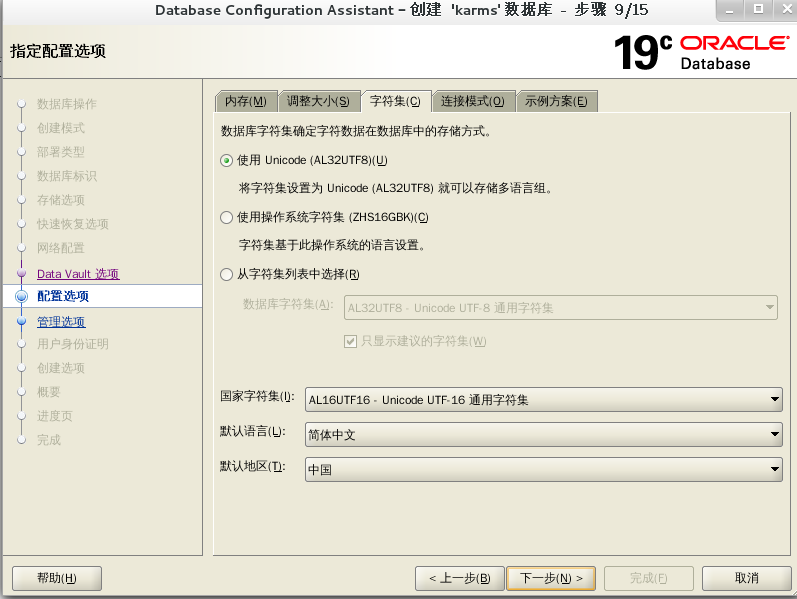
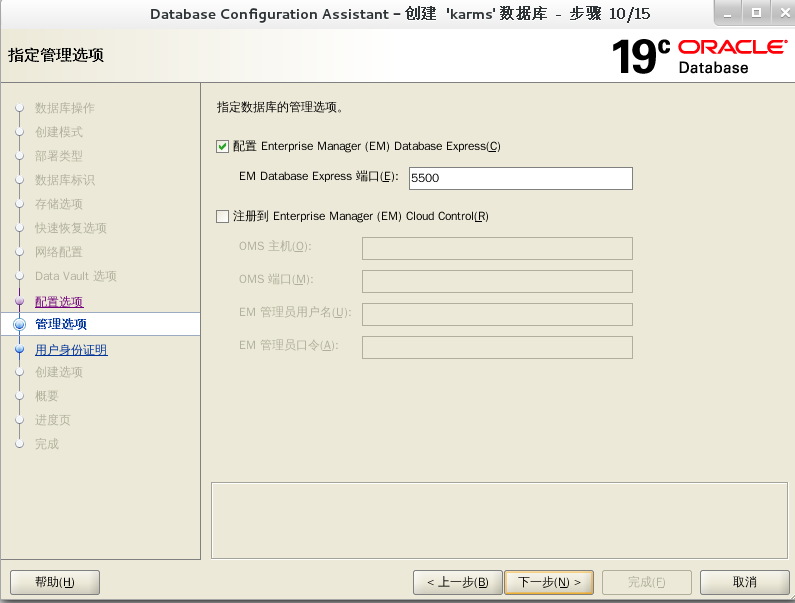
Default next step
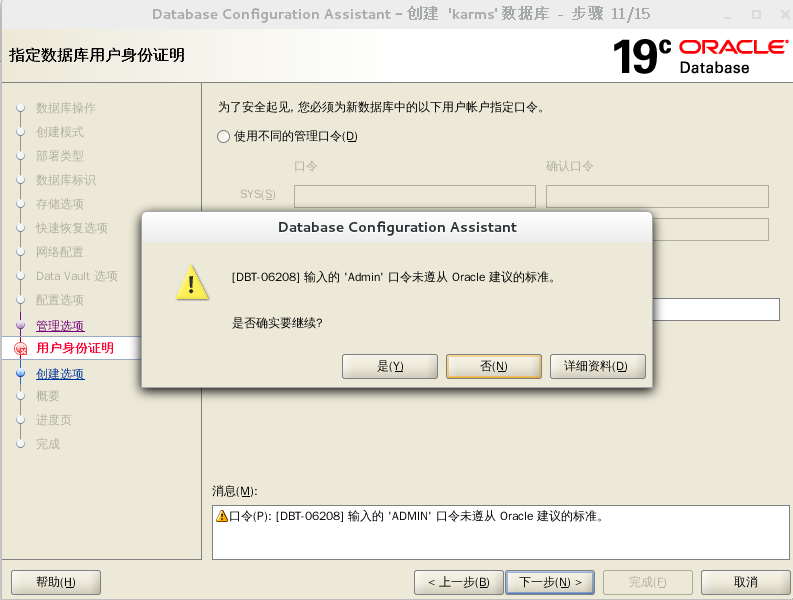
Here I fill in the same password. You can choose to fill in different management passwords
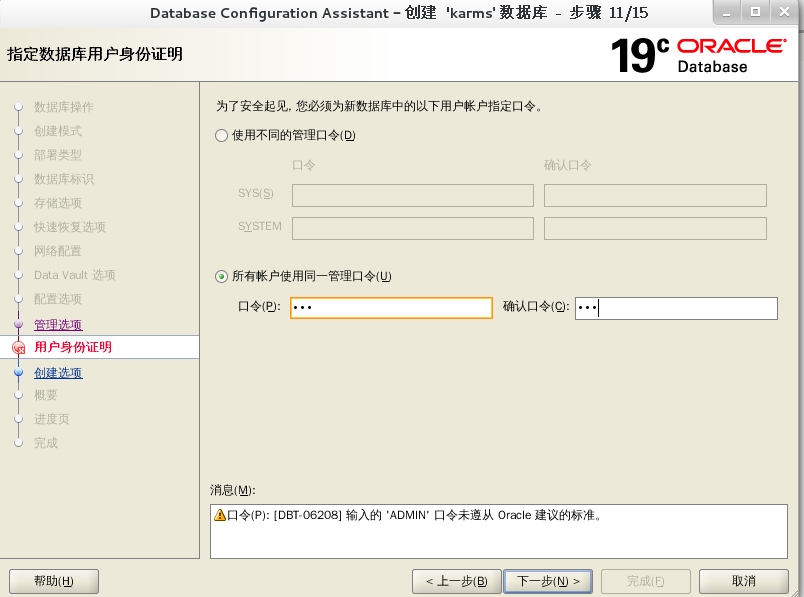
Click Yes
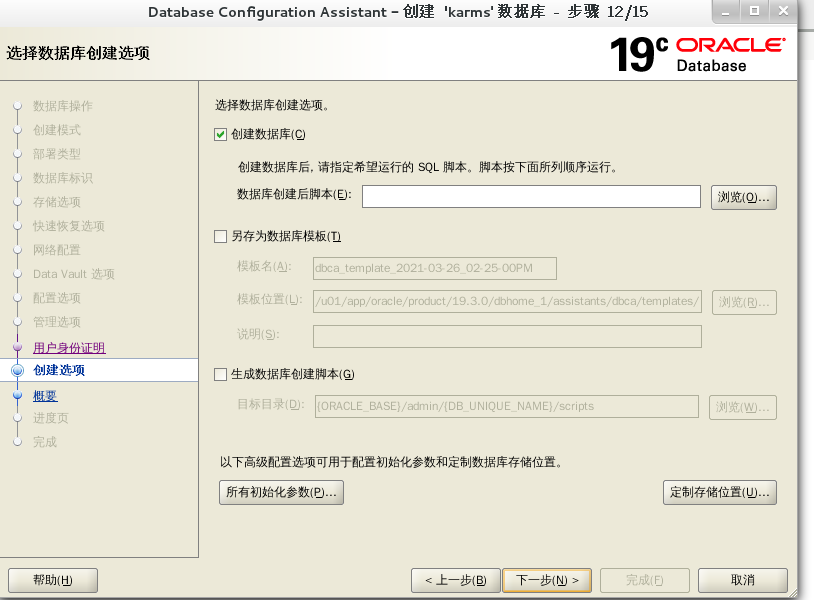
next step
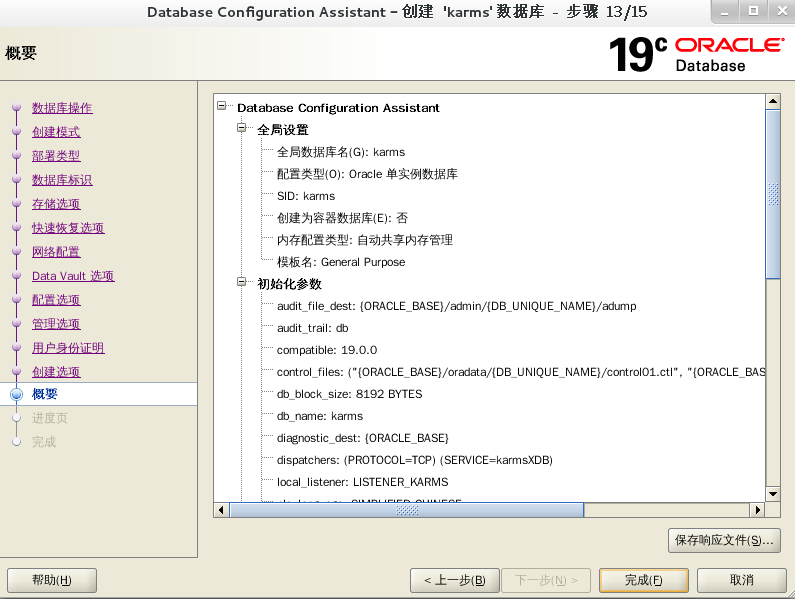
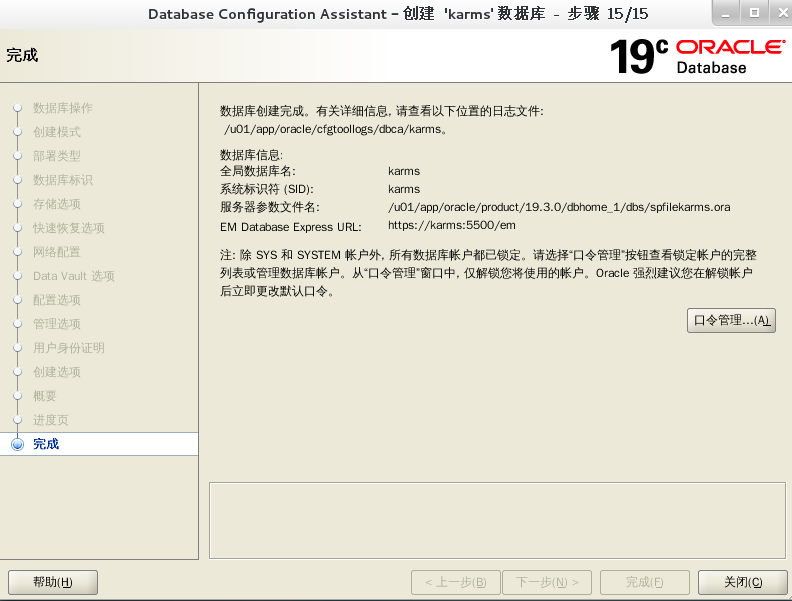
Click Finish to start creating the database instance
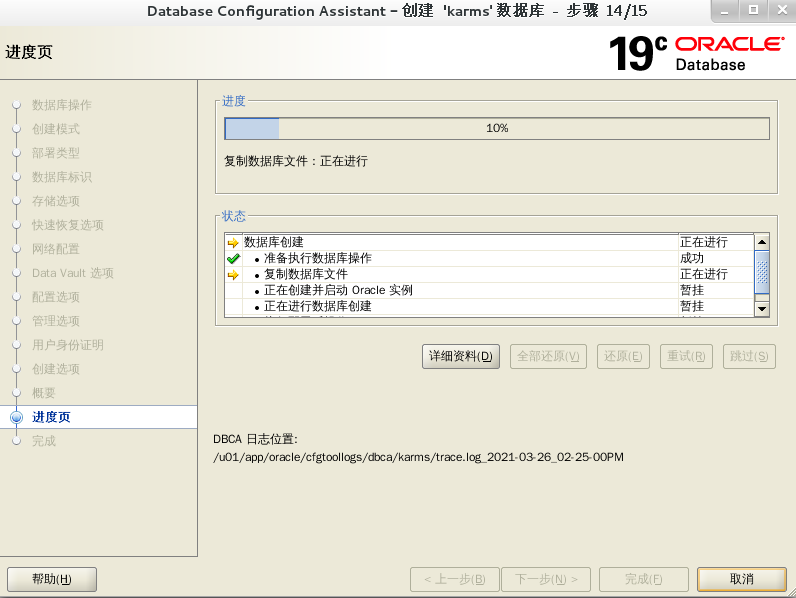
Wait patiently. I waited here for about 20 minutes
Start database instance sequence
Start listener
lsnrctl start
Enter oracle command line
sqlplus sys/123 as sysdba
Start instance
startup
Open instance
shutdown immediate
Close instance
shutdown
Start instance
dbstart
Close instance
dbshut
Modify Oracle in dbstart and dbshut files_ HOME_ There is a problem with the setting of listner. Open two files respectively and find them: edit dbstart with vi and ORACLE_HOME_LISTNER= , modified to
ORACLE_HOME_LISTNER=$ORACLE_HOME
The reason at this time is the setting problem of / etc/oratab. We found that
zgz:/home/oracle/product/10g:N
Finally, set "N" (there is only one instance in my environment, so there is only one line of configuration statement). We need to change "N" to "Y".