This paper mainly introduces how to instantiate a two-dimensional map with ArcGIS JS API 4.14, and briefly introduces and 3 Similarities and differences in the implementation of version X.
summary
After learning the offline deployment of ArcGIS JS API version 4.14, we will next introduce how to instantiate a basic two-dimensional map with JS API 4.14. There is no mandatory requirement for the reference of JS API in this article. No matter we introduce online API or offline deployment API, we can. However, in order to have a good experience when viewing our map on the front page, we recommend to reference offline deployment JS API here, because online JS API sometimes loads slowly due to network reasons, We sometimes wait a long time when viewing the page effect.
Technical basis before start
- Have certain front-end development ability, be able to build a basic HTML page and display it on the front-end page
- Local servers (IIS, Tomcat, Nginx, etc.) are installed and deployed
Operation steps
Build a basic HTML page
1.1. The development of JS API actually belongs to the category of WebGIS development. Since it is WebGIS development, it first requires us to master Web development. This series of articles do not require us to master the current mainstream front-end framework or TypeScript and other mainstream front-end technologies, but we only need to have a certain foundation for front-end development. In other words, if you can build an HTML page and display it in the front-end browser, it meets the technical conditions for reading this series of articles. 1.2. Next, we need to create a new HTML page in the local server directory and name it MapView html. Here we create a new HTML file in the webapps folder of Tomcat and rename it. Then add the following code to this file to build a basic HTML page:
<!DOCTYPE html>
<html lang="en">
<head>
    <meta charset="UTF-8">
    <title>MapView</title>
</head>
<body>
</body>
</html>
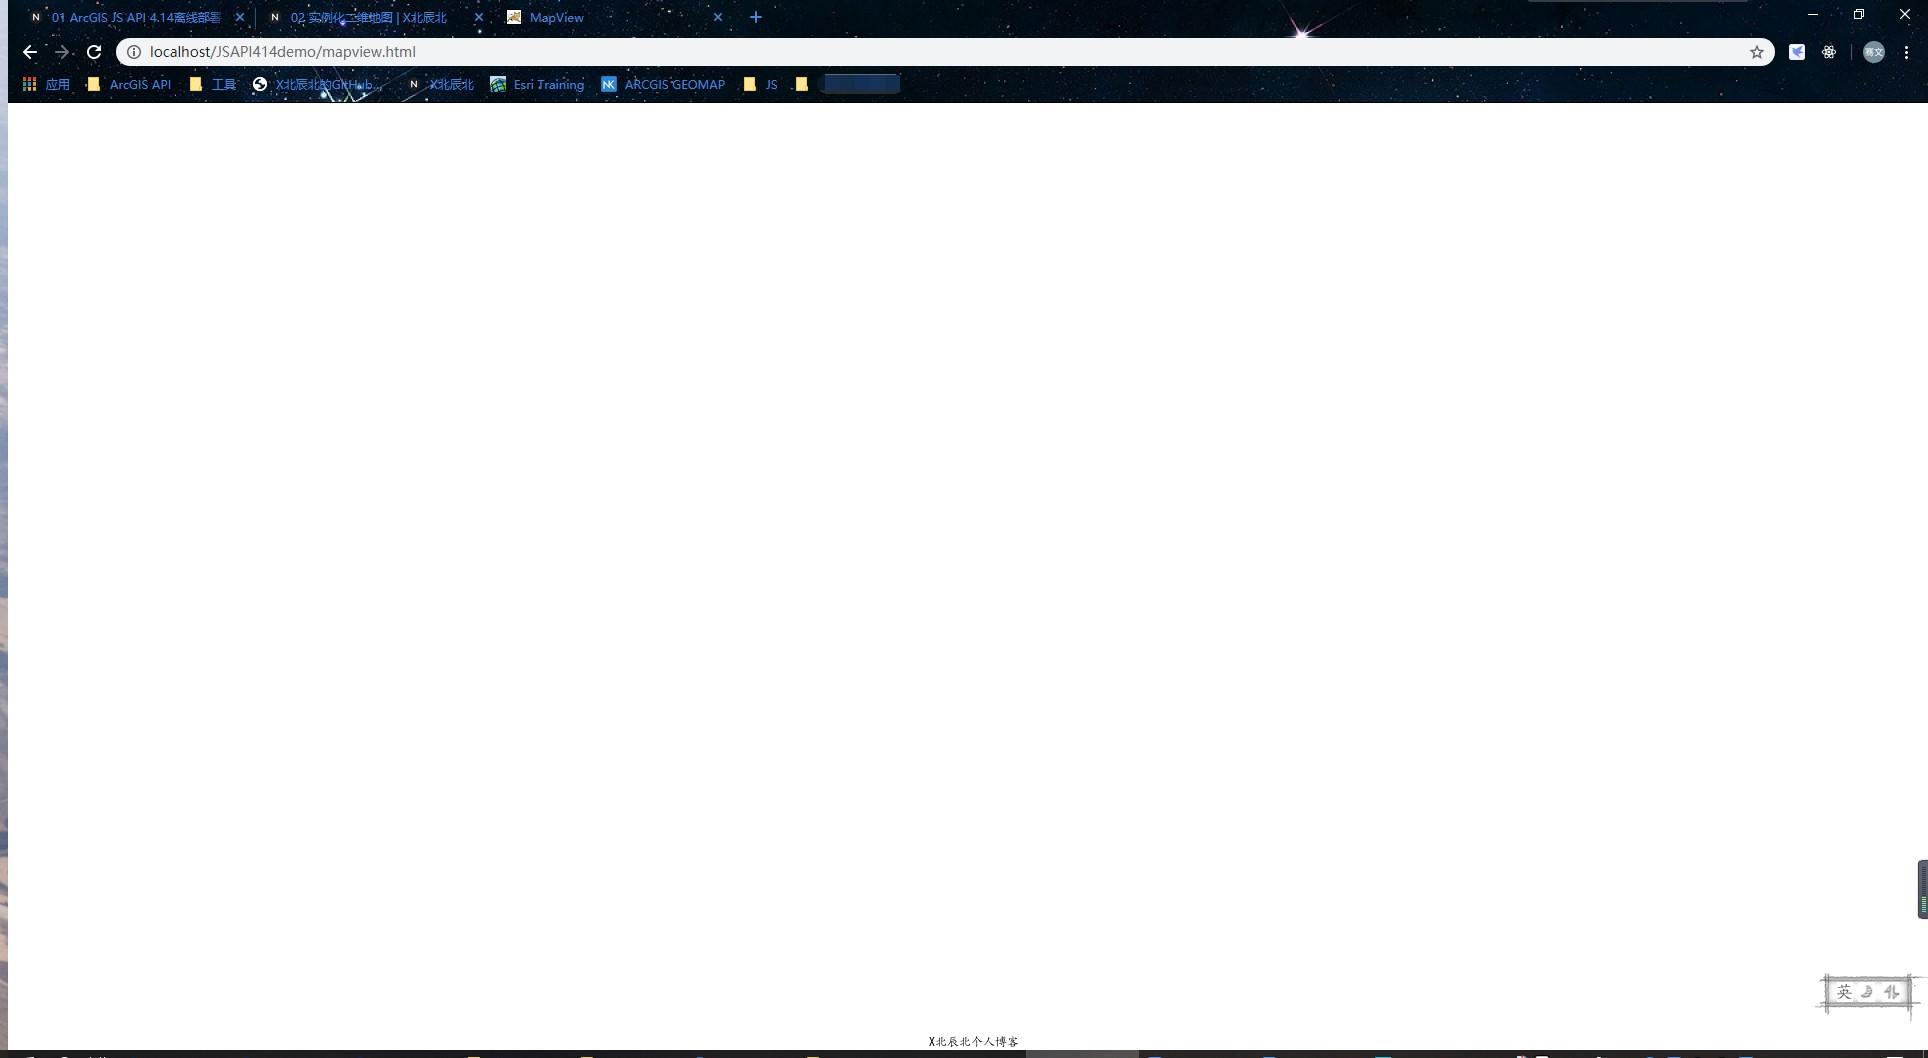
1.3 address in browser http://localhost/JSAPI414demo/mapview.html To access the newly created HTML, we see that the page is blank and no information is output, as follows:
Introduce the development package of JS API 4.14
2.1. After creating a basic HTML page, we will introduce the development package of JS API 4.14 into this page. In fact, it is the introduction of our offline deployment JS API. There are two files introduced here: init JS and related css files, as follows:
<link rel="stylesheet" href="http://localhost/4.14/esri/themes/light/main.css" />
<script src="http://localhost/4.14/init.js"></script>
2.2. As shown above, in css file, we have introduced main css file. In general development, we basically introduce this css file to instantiate the map. We put the css file in the < head > tag and the js file in the < body > tag and close it to the end tag of the < body > tag. This is mainly for a better user experience when the front end loads the page.
Create a new label to store the map and set the style
3.1 create a div with id "mapview" in < body > tag, and set its height and width to 100%, as follows:
<div id="mapview"></div>


body {
    margin: 0;
}
#mapview {
    position: absolute;
    width: 100%;
    height: 100%;
}
3.2 in addition to setting the div style above, we also set the outer margin of the body element to 0, mainly because Google browser has an outer margin of 8 pixels by default for the body element. This is not mandatory, and it is OK not to set the style of the body element. Its style is mainly set for beauty.
Load the module required for instantiating the map and instantiate it
4.1. After having the basic HTML page, introducing the JS API development package and creating a div for storing the map, we next introduce the module required to instantiate the two-dimensional map and instantiate it. 4.2. JS API 4.14 to instantiate a 2D Map, two modules need to be introduced: Map and MapView. The Map module is mainly used to instantiate the Map, and the MapView module is mainly used to bind the instantiated Map with the Div where we store the Map and display it on the front page. The introduction of these two modules is loaded and introduced through the AMD mode of dojo, as follows:
require(["esri/Map", "esri/views/MapView"], function(Map, MapView) {

});
4.3 after the module is introduced, we instantiate the two modules, and the code is as follows:
var map = new Map({
basemap: "osm" //Specify an underlay
});
var view = new MapView({
container: "mapview", //Specifies the div where the map is stored
map: map, // Bind to the instantiated map
zoom: 10, // Set the initialization level of the map
center: [104.072619,30.663279] //Set the coordinates of the initialization center point of the map
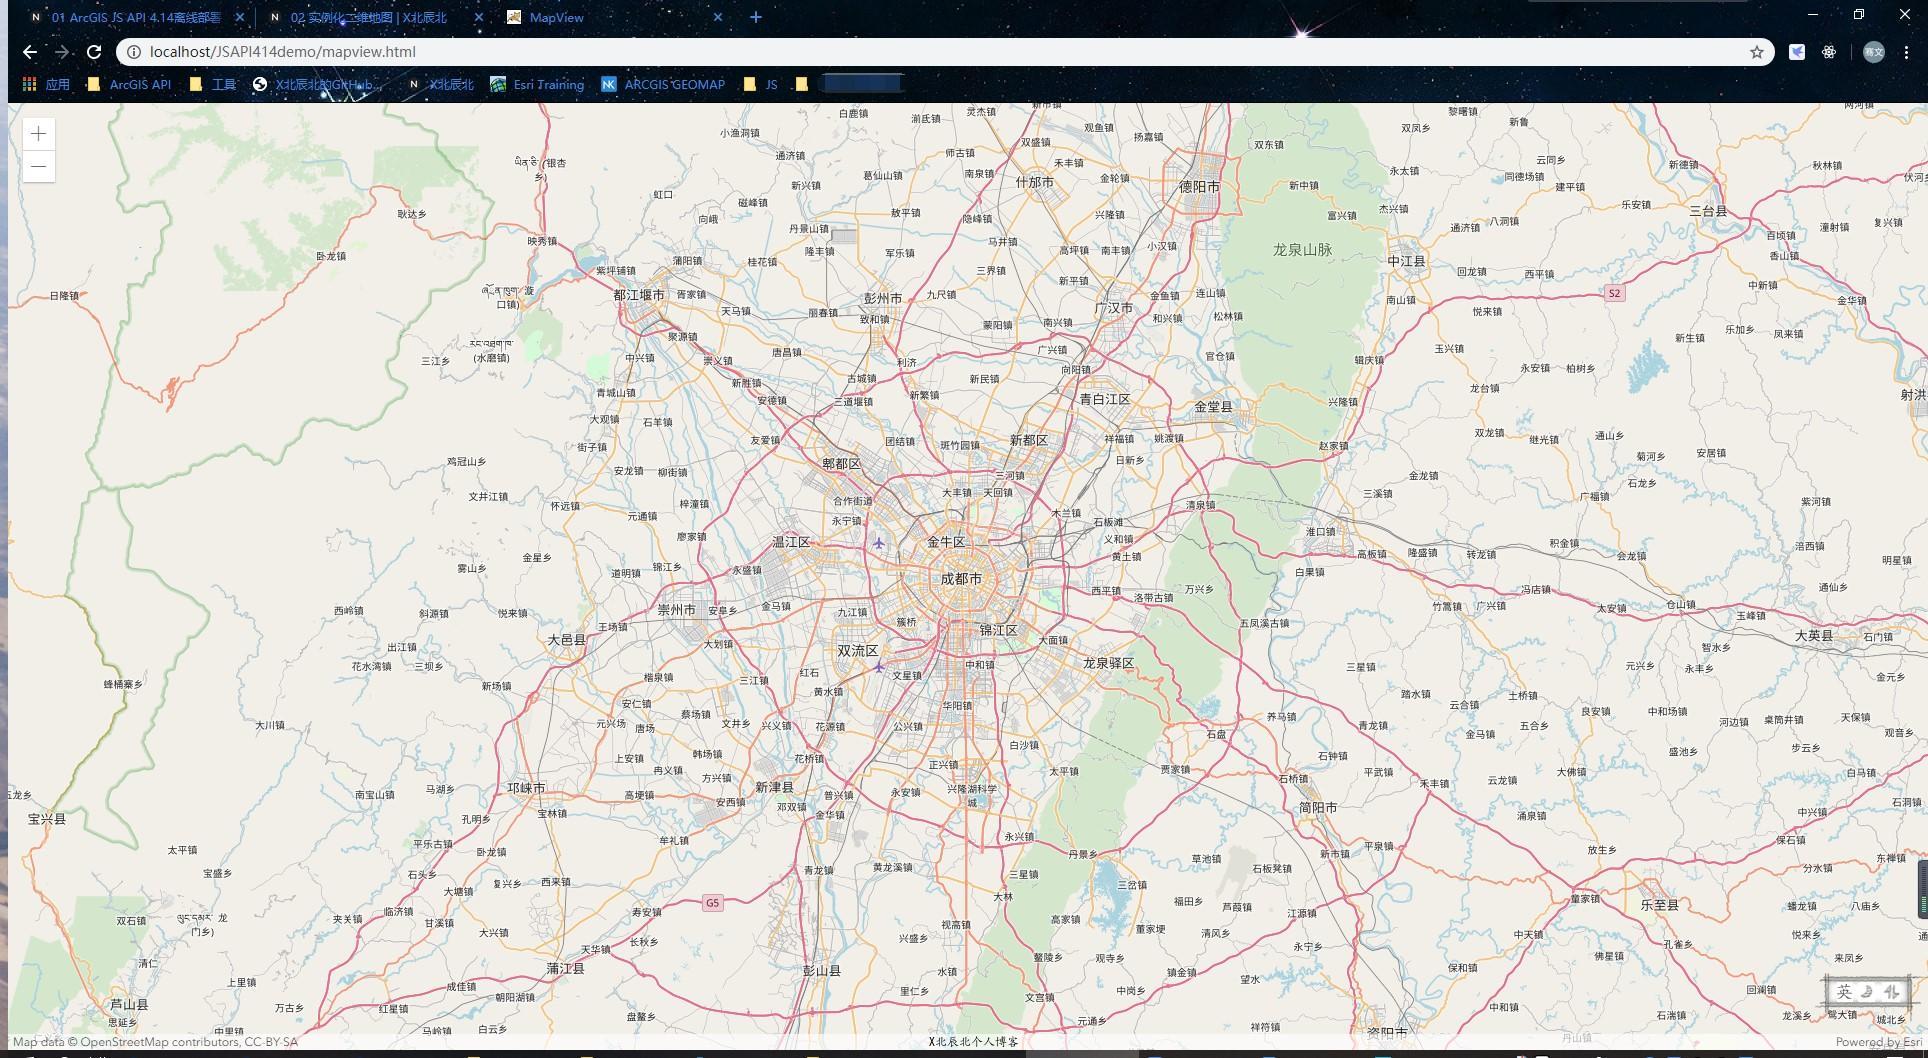
});Through the above code, we instantiate a map with osm as the base map, bind it with a mapview, set the initial zoom level of mapview to level 10, and specify the initialization center point as Chengdu. 4.4. Refresh the front page to see the effect. As shown below, a two-dimensional map is initialized successfully:
summary
This paper mainly introduces how to instantiate a two-dimensional Map with ArcGIS JS API 4.14 and set the initial center and zoom level of the Map. Familiar with JS API 3 Friends of X development can probably find that the two-dimensional Map uses JS API 3 X can also be instantiated, but it is not so troublesome when instantiating. You only need to instantiate a Map, initialize the Map center and zoom level, and bind them to Div. these things are all Map attributes when initializing the Map. However, in version 4.14, when Map is instantiated, you only need to specify the base Map, other zoom levels, initialize the Map center Binding div has migrated to MapView. So this is 3 X and 4 The differences in the implementation of X will be introduced one by one in the subsequent articles.
Attachment:
Full text code:
<!DOCTYPE html>
<html lang="en">
<head>
    <meta charset="UTF-8">
    <meta name="viewport" content="initial-scale=1, maximum-scale=1, user-scalable=no" />
    <title>MapView</title>
    <link rel="stylesheet" href="http://localhost/4.14/esri/themes/light/main.css" />
    <style type="text/css">
        body {
            margin: 0;
        }
        #mapview {
            position: absolute;
            width: 100%;
            height: 100%;
        }
    </style>
</head>
<body>
    <div id="mapview"></div>
    <script src="http://localhost/4.14/init.js"></script>
    <script>
        require(["esri/Map", "esri/views/MapView"], function(Map, MapView) {
            var map = new Map({
                basemap: "osm"   //Specify an underlay
            });
            var view = new MapView({
                container: "mapview", //Specifies the div where the map is stored
                map: map, // Bind to the instantiated map
                zoom: 10, // Set the initialization level of the map
                center: [104.072619,30.663279] //Set the coordinates of the initialization center point of the map
            });
        });
    </script>
</body>
</html>