1, Tool preparation
jmeter5.2.1. Download from the official website: http://jmeter.apache.org/download_jmeter.cgi
ant-1.10.8, download from the official website: https://ant.apache.org/bindownload.cgi
jenkins2.235.1 (windows version), download from the official website: https://www.jenkins.io/download/ (if the network is not good, you may not be able to download. You can search Baidu for other download resources by yourself)
JDK8, download from the official website: https://www.oracle.com/java/technologies/javase/javase-jdk8-downloads.html
2, Tool installation (installation path can be selected by yourself), configuration of environment variables:
1.Jmeter: directly decompress and then configure environment variables (mainly used to run Jmeter quickly under CMD, which has no impact on building the framework);
1) New JMETER_HOME, the value is F:\apache-jmeter-5.2.1 (tool installation path)
2) Edit Path and create a new value% JMETER_HOME%\bin
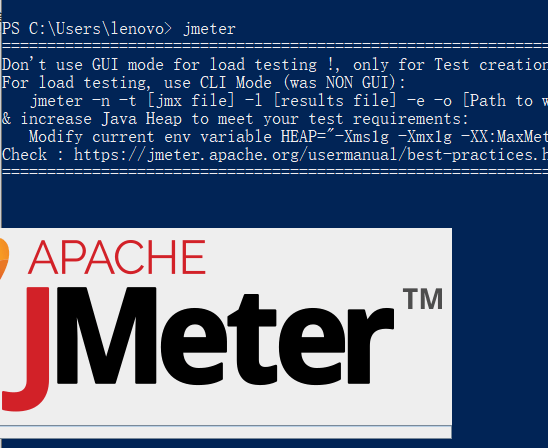
cmd: jmeter
If it is started successfully, the configuration is successful;
2.Ant: decompress directly and configure environment variables
1) New ANT_HOME, the value is F:\apache-ant-1.10.8 (tool installation path)
2) Edit Path to create a new value of% ANT_HOME%\bin
3) Edit or create a new CLASSPATH with a value of% ANT_HOME%\lib
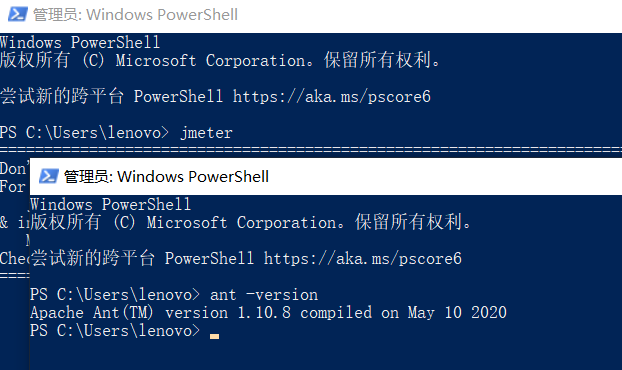
cmd: ant -version
If the version number appears, the configuration is successful
3.Jenkins: just unzip it directly (if you don't download the windows version, please refer to the reference link at the beginning and other installation methods)
Note: Jenkins is easy to install. Just follow the instructions step by step;
However, there will be many overtime problems in areas with poor network;
For example, the plug-in installation fails or cannot be loaded to the next interface;
If the network speed is extremely poor, you can choose the linux version, which is a little faster than the windows version;
cmd execution: Java - jar Jenkins War start Jenkins command
Access with browser: http://localhost:8080/ Check whether the local Jenkins is successfully installed
Refer to: https://www.pianshen.com/article/69911318236/
4.JDK8: unzip the installation, and then configure the environment variables
1) New JAVA_HOME, the value is F:\Appium\JDK8 (installation path)
2) Edit Path and create a new one with the value% JAVA_HOME%\bin, create another one with the value% JAVA_HOME%\jre\bin
cmd execution: java -version
If the version number appears, the configuration is successful
3, Prepare working environment
1. Create a directory
1) Select any path to create a working directory (the directory name is optional), such as E: \ interface test
2) Under this directory, create the report directory, scripts directory and build XML file;
3) Create html directory and jtl directory under report directory;
Report Directory: html directory is used to store test report files in html format, and jtl directory is used to store test result files in jtl format;
scripts Directory: used to store jmeter test script files in jmx format;
biuld.xml file: execute test script, generate test report and send email;
biuld. Configuration of XML file:
Reference link: https://www.jianshu.com/p/04cfce59890a
<?xml version="1.0" encoding="UTF8"?>
<project name="ant-jmeter" default="all" basedir=".">
<property name="jmeterPath" value="D:/Soft/JMeter/apache-jmeter-3.2"/>
<property name="mail_host" value="smtp.qq.com"/>
<property name="mail_port" value="465"/>
<property name="username" value="Fill in the sender's email address"/>
<property name="password" value="If used QQ Need to be in QQ Enabled in mailbox settings smtp Service, you will get an authorization code. Fill in the authorization code here"/>
<property name="mail_from" value="Fill in the sender's email address"/>
<property name="mail_to" value="Fill in the email address of the recipient"/>
<property name="mailsubject" value="Fill in the subject of the email"/>
<property name="message" value="Fill in the body of the email"/>
<tstamp><format property="time" pattern="yyyyMMddhhmm" /></tstamp>
<!-- jmeter Environment configuration -->
<property name="jmeter.home" value="${jmeterPath}"/>
<!-- jtl Test result storage path -->
<property name="jmeter.result.jtl.dir" value="D:/interfaceTestSuite/TestReport/jtl"/>
<!-- html Test result storage path -->
<property name="jmeter.result.html.dir" value="D:/interfaceTestSuite/TestReport/html"/>
<property name="htmlReportNameSummary" value="TestReport"/>
<property name="jmeter.result.jtlName" value="${jmeter.result.jtl.dir}/${htmlReportNameSummary}${time}.jtl"/>
<property name="jmeter.result.htmlName" value="${jmeter.result.html.dir}/${htmlReportNameSummary}${time}.html"/>
<target name="all">
<antcall target="test"/>
<antcall target="report"/>
<antcall target="sendEmail"/>
</target>
<!-- Perform interface test -->
<target name="test">
<echo>Execute interface automation test cases</echo>
<taskdef name="jmeter" classname="org.programmerplanet.ant.taskdefs.jmeter.JMeterTask" />
<jmeter jmeterhome="${jmeter.home}" resultlog="${jmeter.result.jtlName}">
<testplans dir="D:/interfaceTestSuite/Scripts" includes="Fill in the running script,"*.jmx"It refers to running all programs under this directory jmeter script" />
<property name="jmeter.save.saveservice.output_format" value="xml" />
</jmeter>
</target>
<!-- In the solution report NAN Field display problem-->
<path id="xslt.classpath">
<fileset dir="${jmeter.home}/lib" includes="xalan-2.7.2.jar" />
<fileset dir="${jmeter.home}/lib" includes="serializer-2.7.2.jar" />
</path>
<target name="report">
<echo>Generate interface automation test report</echo>
<tstamp> <format property="report.datestamp" pattern="yyyy/MM/dd HH:mm" /></tstamp>
<xslt classpathref="xslt.classpath" force="true"
in="${jmeter.result.jtlName}" out="${jmeter.result.htmlName}"
style = "${jmeter.home}/extras/jmeter-results-detail-report_21.xsl" >
<param name="titleReport" expression="${mailsubject}${time}"/>
<param name="dateReport" expression="${report.datestamp}"/>
</xslt>
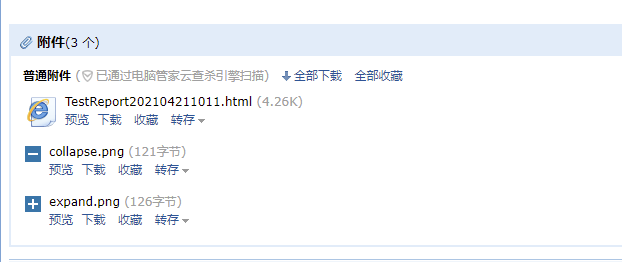
<!-- Because the relevant pictures will not be copied to the target directory when the report is generated above, it needs to be copied manually -->
<copy file="${jmeter.home}/extras/expand.png" tofile="${jmeter.result.html.dir}/expand.png" />
<copy file="${jmeter.home}/extras/collapse.png" tofile="${jmeter.result.html.dir}/collapse.png" />
</target>
<target name="sendEmail">
<echo>Send test report</echo>
<mail mailhost="${mail_host}"
ssl="true"
user="${username}"
password="${password}"
mailport="${mail_port}"
subject="${mailsubject}"
messagemimetype="text/html"
tolist="${mail_to}" >
<from address="${mail_from}" />
<attachments>
<fileset dir="${jmeter.result.html.dir}">
<include name="${htmlReportNameSummary}${time}.html" />
<include name="collapse.png" />
<include name="expand.png" />
</fileset>
</attachments>
<message>
${message}
</message>
</mail>
</target>
</project>
2. Configure jar package and JMeter properties:
1) Add ant-jmeter-1.1.1. In the F:\apache-jmeter-5.2.1\extras directory Copy the jar to F:\apache-ant-1.10.8\lib and replace it; (files for ant and JMeter interaction)
2) Download commons email jar,mail.jar,activation.jar under F:\apache-ant-1.10.8\lib; (used to send mail related operations. You can go online or download it in my blog)
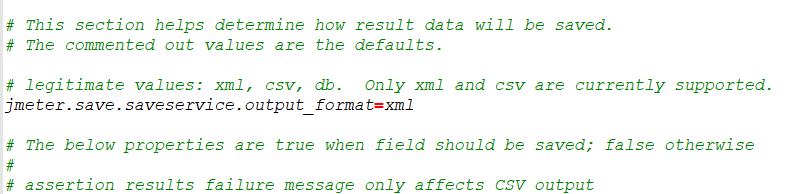
3) Open F: \ apache-jmeter-5.2.1 \ bin \ jmeter.com in text mode Properties found JMeter save. saveservice. output_ Format, uncomment and change the value to xml
4, Start testing
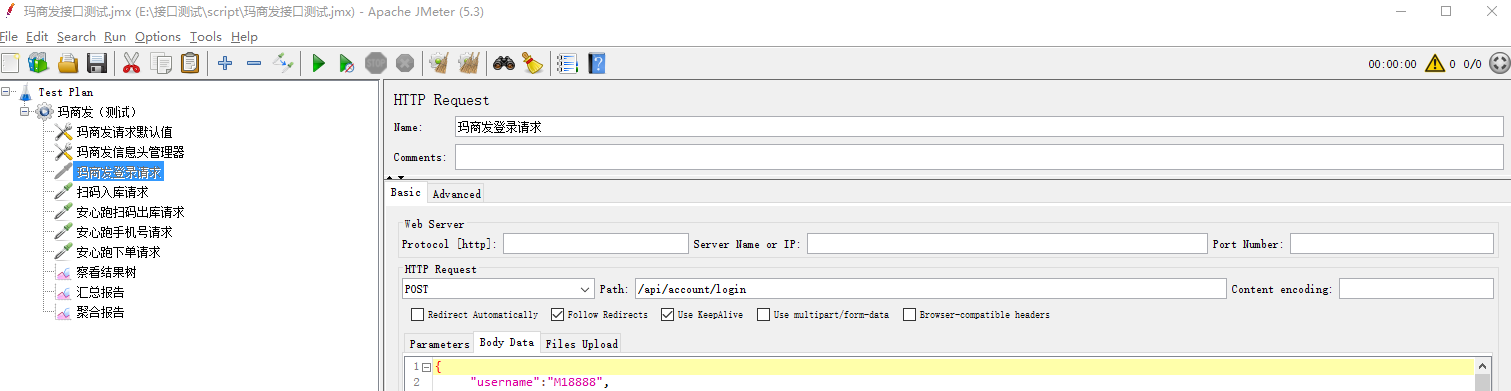
1. Get jmeter script
1) Start jmeter, add a thread group, add an http request and a view result tree under the thread group, and copy the url to the path. Click the green triangle above to start;
Note: before creating a new directory, you can save it directly under scripts. Note that you can also save it in other directories before starting scripts;
2. Start the script with ant
1) Open cmd: cd and configure build XML working directory, cd E: \ interface test
2) Execute the ant command:
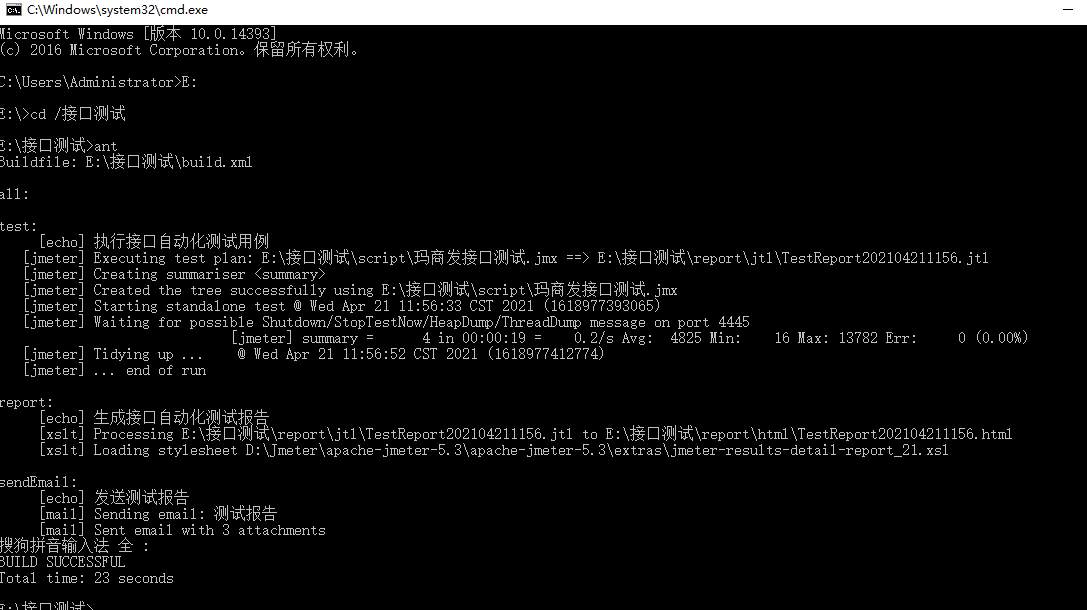
The first box, test, indicates the jmx script information to be executed
The second box, report, represents the test report information
The third box, sendEmail, indicates the message sent by mail
The fourth SUCCESSFUL indicates success
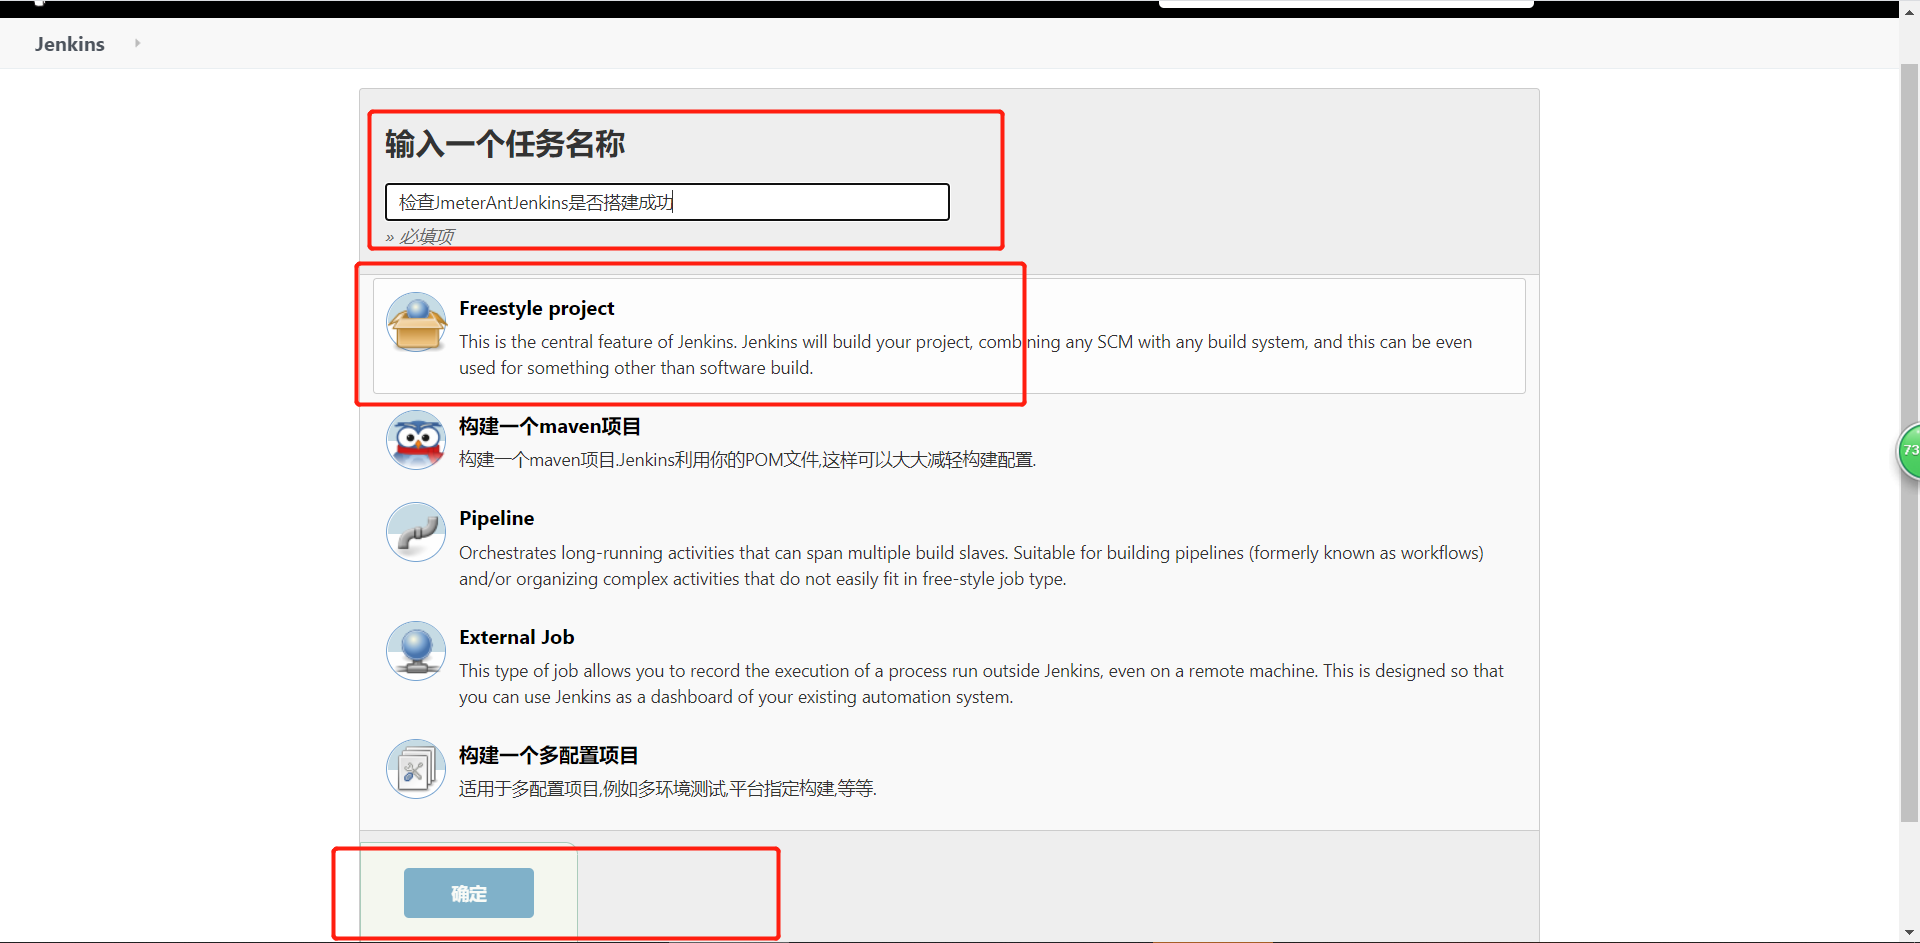
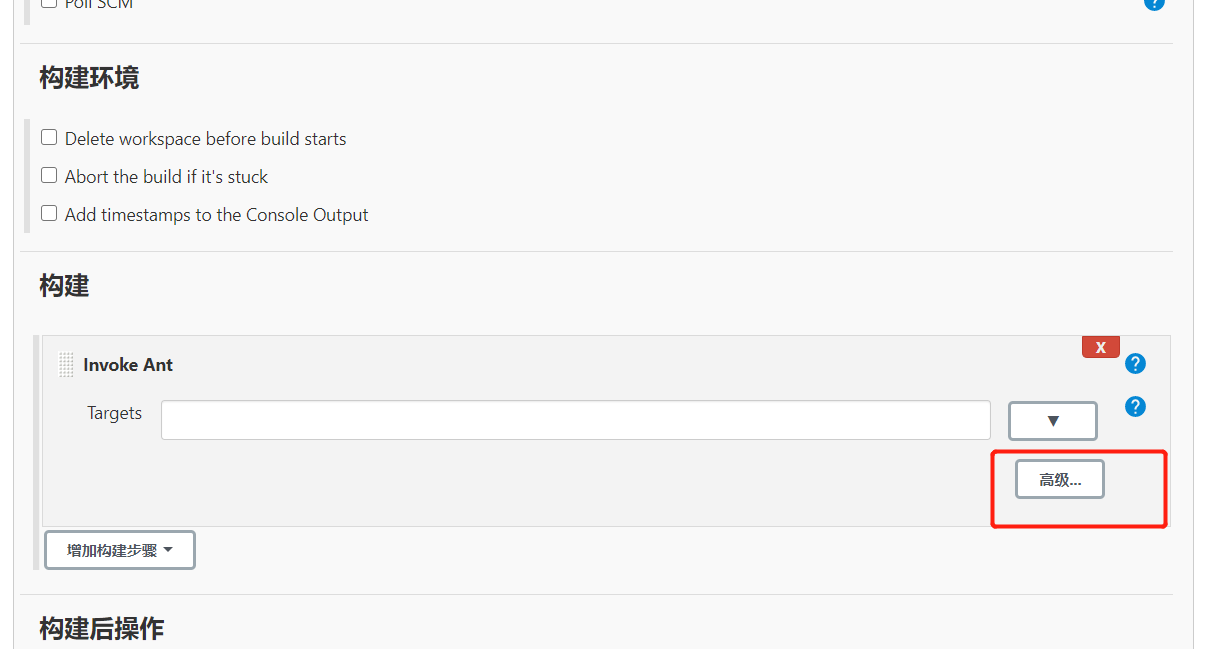
4. The task of executing ant is entrusted to jenkins
1) Create task
2) Build trigger:
Trigger use rule reference link: https://blog.csdn.net/niedongri/article/details/80812266
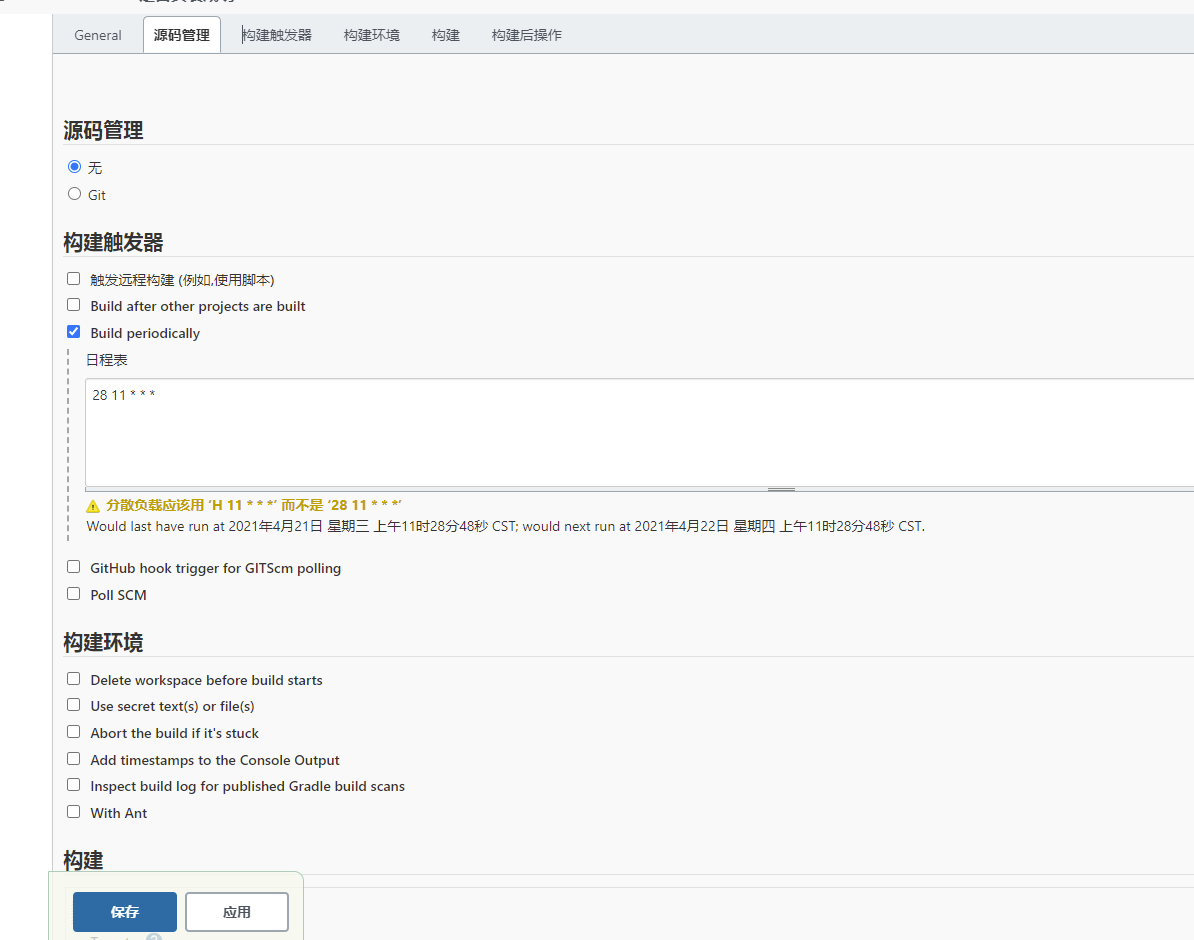
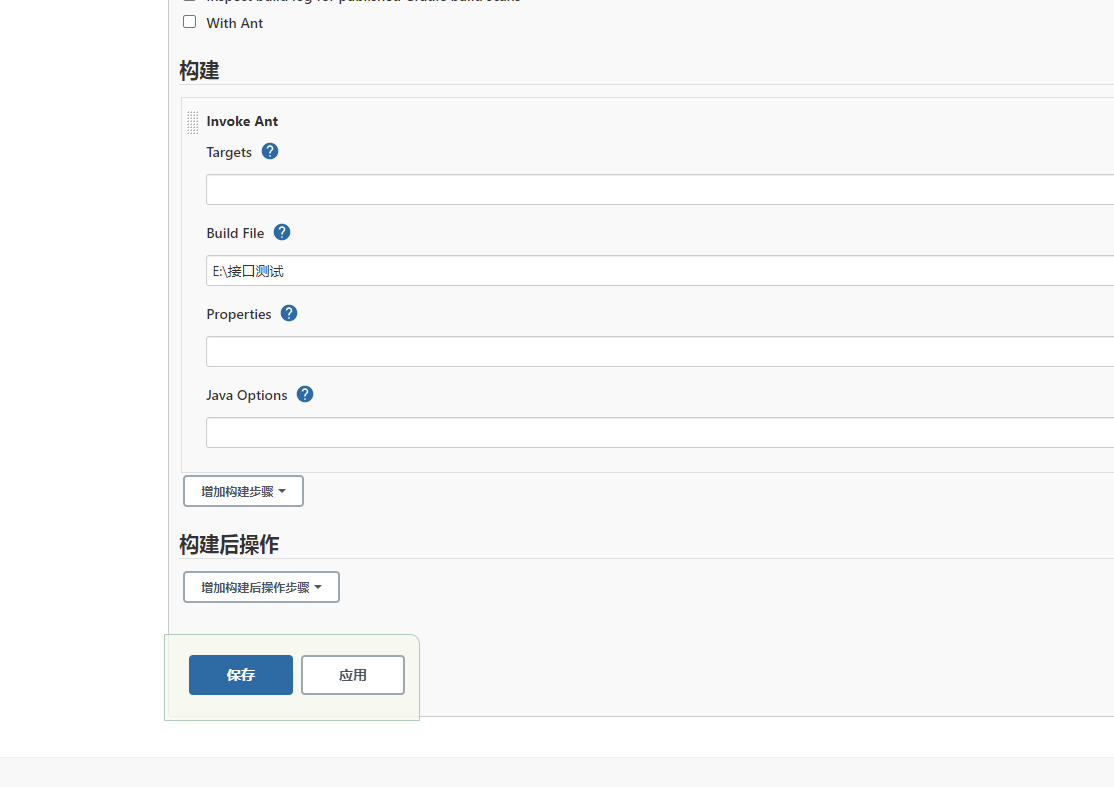
3) Click build XML script path, and then click save
4) Click return panel to view the execution
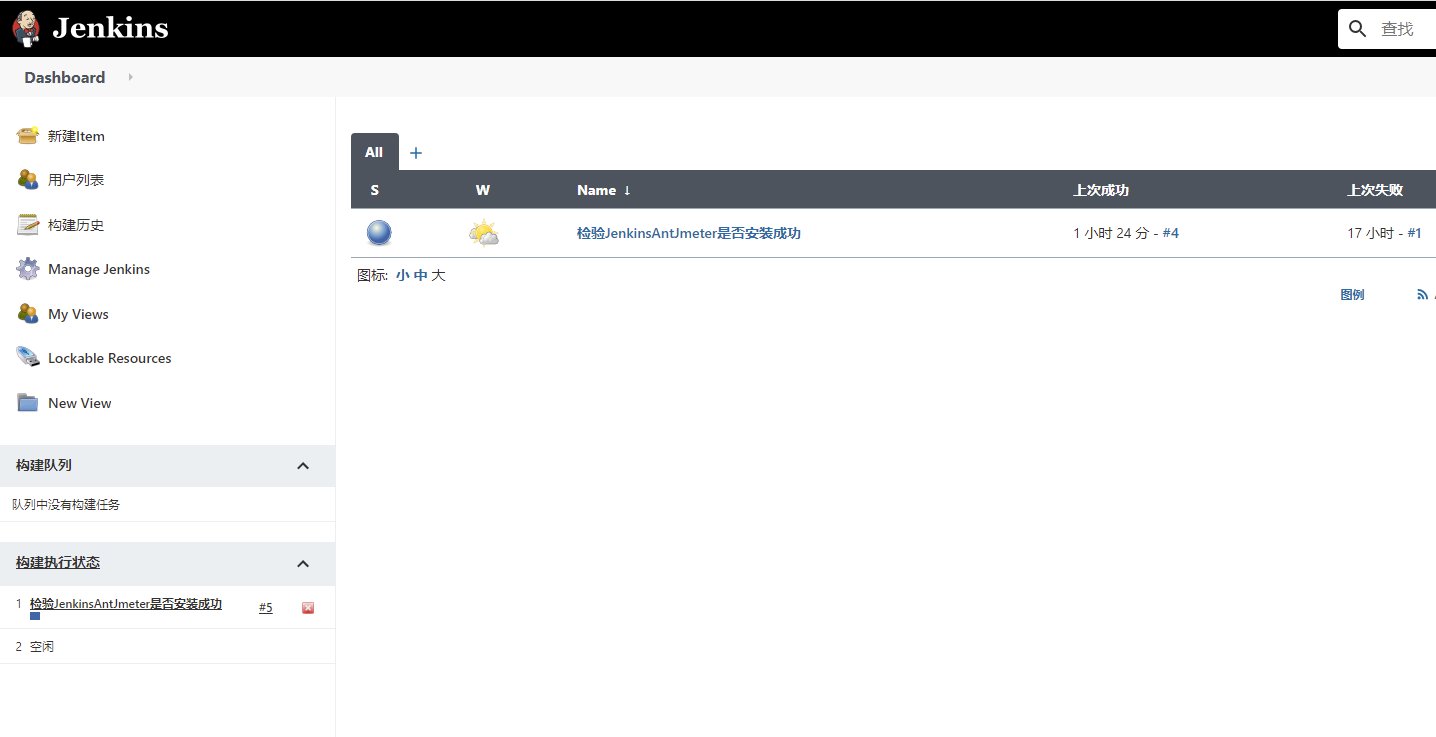
5) When the Jenkins scheduled task time is up, it starts to execute and sends the test report email to the corresponding mailbox