After reading this blog, you will be able to
- qq message second speed 99+
- Build cloud environment (or virtual machine) and deploy qq robot
- Using springboot to write a simple hello world for your artificial mental retardation
inspiration source
- Viagra's blog
- Be based on Cool Q A plug-in for coolq-http-api
Local deployment
Step 1: Download coolq and plug-in coolq HTTP API
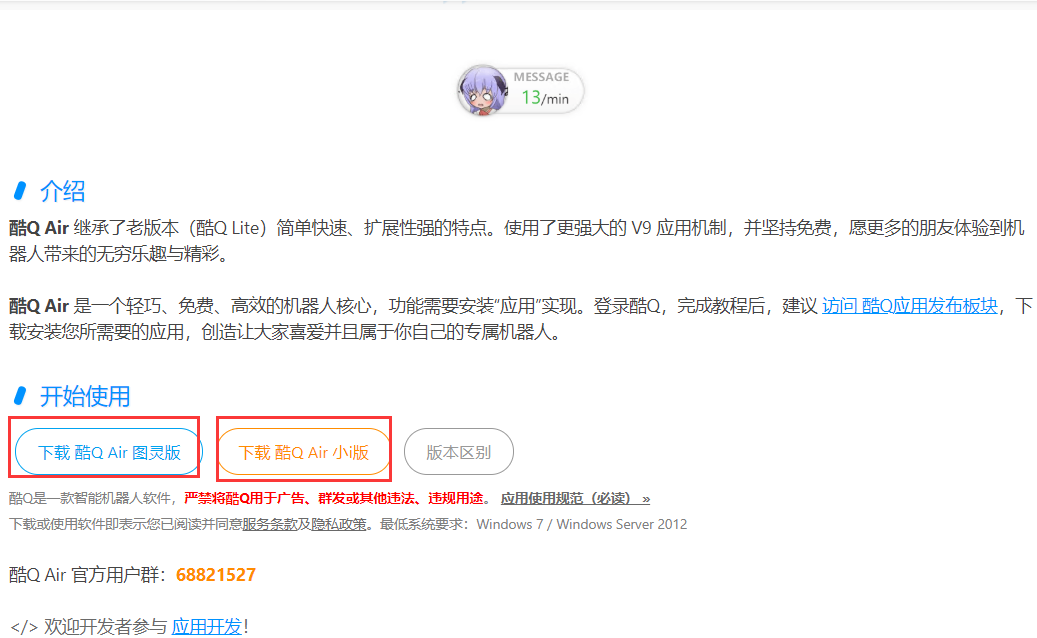
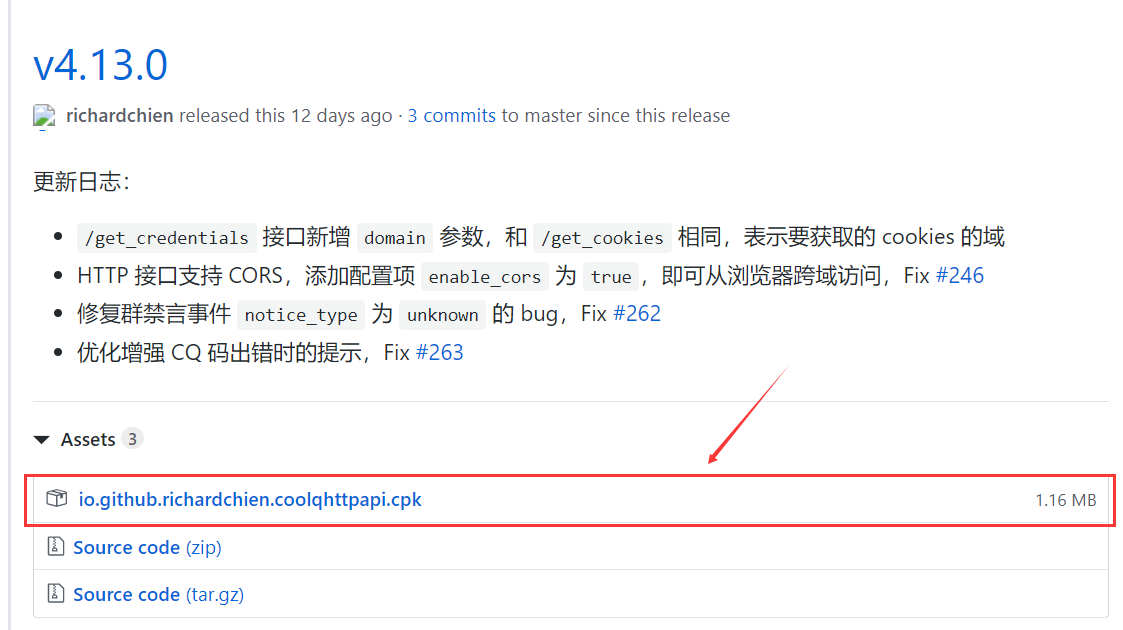
Step 2: unzip coolq and add coolq HTTP API
Unzipped directory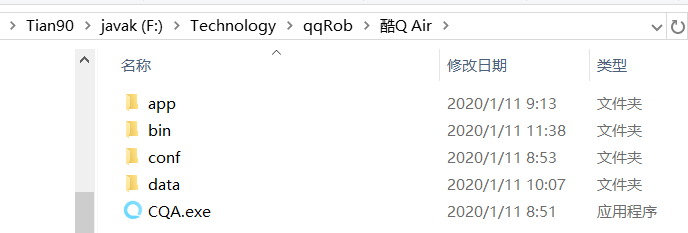
Copy the plug-in to the app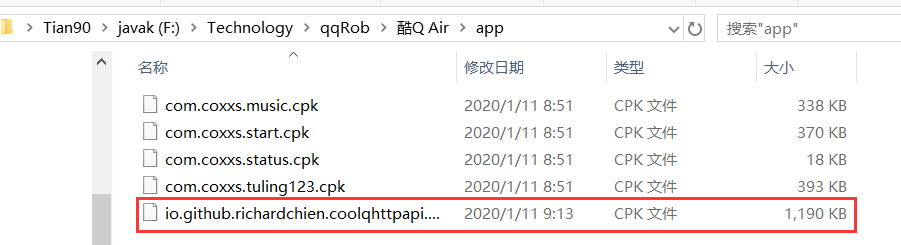
Step 3: open ku Q and get familiar with the basic operation
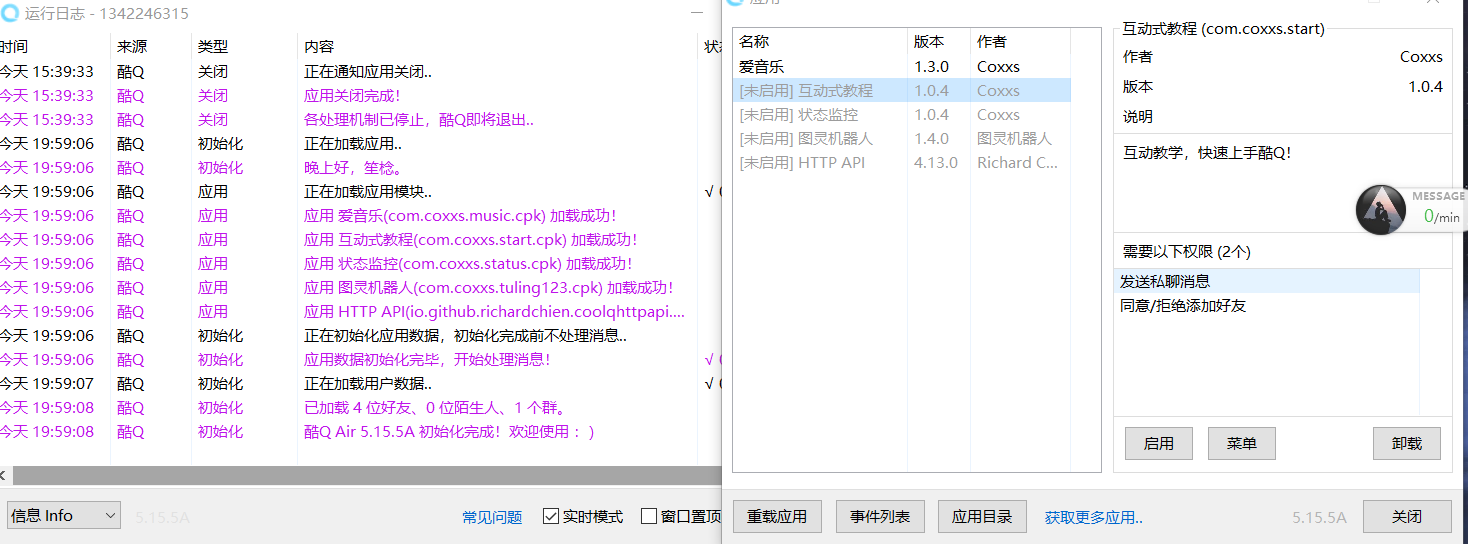
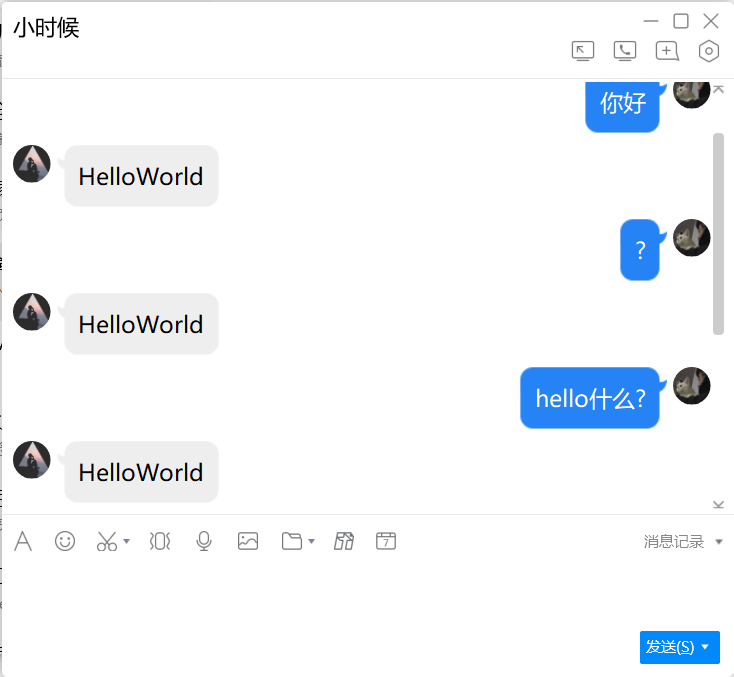
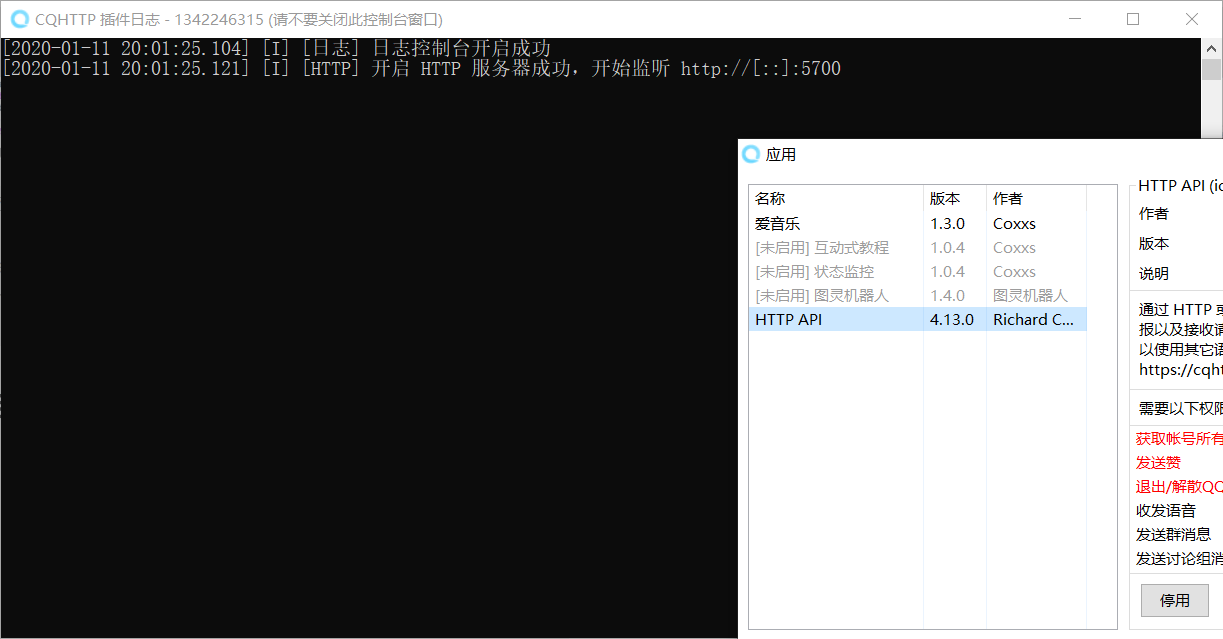
Step 4: start the plug-in to achieve 999 second speed+
Then write a url according to the api, and cycle through it. If you want to be more violent, open several more threads
public static void main(String[] args) throws IOException {
        String senMsg = "http://127.0.0.1:5700/send_private_msg";
        sendGet(senMsg, "user_id=Fill in the other party's qq Number&message=Fill in the content to be sent here", 20);//That's the number of bombings left
    }

    public static String sendGet(String url, String param, int n) {
        String result = "";
        BufferedReader in = null;
        try {
            String urlNameString = url + "?" + param;
            URL realUrl = new URL(urlNameString);
            // Open connection to URL

            for (int i = 0; i < n; i++) {
                URLConnection connection = realUrl.openConnection();
                // Set common request properties
                connection.setRequestProperty("accept", "*/*");
                connection.setRequestProperty("connection", "Keep-Alive");
                connection.setRequestProperty("user-agent",
                        "Mozilla/4.0 (compatible; MSIE 6.0; Windows NT 5.1;SV1)");
                // Establish the actual connection
                connection.connect();
                // Get all response header fields
                Map<String, List<String>> map = connection.getHeaderFields();
                // Traverse all response header fields
                for (String key : map.keySet()) {
                    System.out.println(key + "--->" + map.get(key));
                }
                // Definition BufferedReader Input stream to read URL Response
                in = new BufferedReader(new InputStreamReader(
                        connection.getInputStream(), "UTF-8"));
                String line;
                while ((line = in.readLine()) != null) {
                    result += line;
                }
            }
        } catch (Exception e) {
            System.out.println("Send out GET Exception in request!" + e);
            e.printStackTrace();
        }
        // UsefinallyBlock to close the input stream
        finally {
            try {
                if (in != null) {
                    in.close();
                }
            } catch (Exception e2) {
                e2.printStackTrace();
            }
        }
        return result;
    }
Cloud deployment
Step 1: install the docker plug-in. If you are interested, you can study more API s
Follow this tutorial CoolQ HTTP API plug in
Step 2: log in to ip+9000 port
It's a wine interface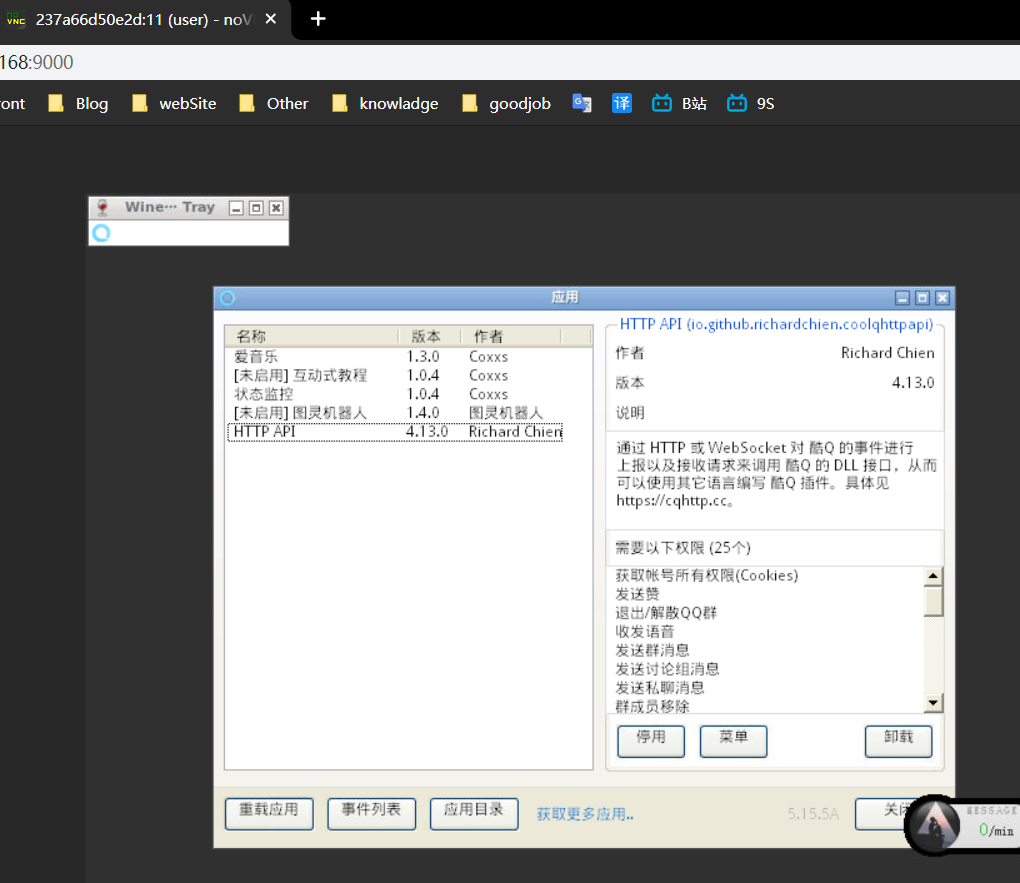
Note: change to the url of your project
Step 3: write the springboot project
public class HelloWorldController {
    @ResponseBody
    @RequestMapping("/hello")
    public String hello(String message){
        sendGet("http://xx.xx.xx.xx:5700/send_private_msg","user_id=xxxxx&message=HelloWorld", 1);

        return "success";
    }
    public static String sendGet(String url, String param, int n) {
        String result = "";
        BufferedReader in = null;
        try {
            String urlNameString = url + "?" + param;
            URL realUrl = new URL(urlNameString);
            // Open connection to URL

            for (int i = 0; i < n; i++) {
                URLConnection connection = realUrl.openConnection();
                // Set common request properties
                connection.setRequestProperty("accept", "*/*");
                connection.setRequestProperty("connection", "Keep-Alive");
                connection.setRequestProperty("user-agent",
                        "Mozilla/4.0 (compatible; MSIE 6.0; Windows NT 5.1;SV1)");
                // Establish the actual connection
                connection.connect();
                System.out.println("has been sent");
                // Get all response header fields
                Map<String, List<String>> map = connection.getHeaderFields();
                // Traverse all response header fields
                for (String key : map.keySet()) {
                    System.out.println(key + "--->" + map.get(key));
                }
                // Definition BufferedReader Input stream to read URL Response
                in = new BufferedReader(new InputStreamReader(
                        connection.getInputStream(), "UTF-8"));
                String line;
                while ((line = in.readLine()) != null) {
                    result += line;
                }
            }
        } catch (Exception e) {
            System.out.println("Send out GET Exception in request!" + e);
            e.printStackTrace();
        }
        // UsefinallyBlock to close the input stream
        finally {
            try {
                if (in != null) {
                    in.close();
                }
            } catch (Exception e2) {
                e2.printStackTrace();
            }
        }
        return result;
    }
}
Step 4: deploy the project to tomcat
Step 5: talk to artificial mental retardation