Individual developers quickly develop their own API s
- 1, Python flash writes a simple API
- 2, Write a simple API for Java Web
- 3, Write a simple API for Java SpringBoot
- 4, Simple API for Node Express construction
When we develop some front-end and back-end separation projects, we often encounter such problems. The front-end developers will ask, what if I don't have an interface? Back end developers will ask, how do I test the interface I write? But there will also be such cases. If you are a personal developer, you have to write both the front end and the back end. But if you want to check whether the back end can receive the network request from your front end? Wait, children, do you have many question marks?
The following ways of building API that blogger I met in the process of learning are now sorted out for everyone to learn and use
API service (personal understanding)
In short, it is used for general back-end languages (c + +, Python, java) to build a web server through network programming or using some existing web frameworks. This web server has the function of listening to routes, listening to requests from clients through specified routes, receiving parameters, processing, and then responding the processing results to clients
1, Python flash writes a simple API
To be honest, Python Flask is the simplest way to build a simple API. It only needs 5 lines of code to build a running server, but it can only be used for testing. If we want to put it into the production environment, we have to use a higher performance server, such as Nginx, to reverse proxy all requests of Flask
1.1 build Python Flask environment
- Install Python environment
- Installing the Flask framework
Download the Python installation package on the Python official website: Official website link
There are many installation tutorials on the Internet. There is only one thing to pay attention to. Remember to add environment variables. After installation, enter the following contents in the command console, and you can see the Python version information, which indicates that your installation is successful.

The next step is to install the Flask framework through Python's own package management tool pip: pip install - I https://pypi.tuna.tsinghua.edu.cn/simple Flash, I used the image source of Tsinghua so that we can download it quickly
1.2 write your first flash program
Create an app.py program and copy and paste the following code
from flask import Flask
# Creating a Flask instance is called class instantiation in OOP
app = Flask(__name__)
# Write route
@app.route("/")
def index(): # Write the view function, and the root path accessed by the user will give the view function index
return "Hello World"
# Run the instance and set the port to 3000
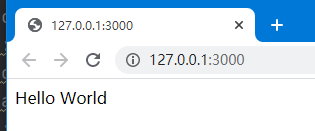
app.run(port=3000)Then run

We can see Hello World on the root page
1.3 Flask Advanced Series
When you run the first flash program, congratulations. You can already use flash to build a simple Web application. However, as a front-end and back-end interaction, some get request parameter processing, post request parameter processing, JSON data transmission and so on, we need to learn the following contents
- Flash dynamic routing: Look at the content of the first part
- Basic principle of HTTP request, HTTP response status code, self Baidu~
- Custom response make_response
- Parameter passing of request package of Flask
- jsonfiy basically uses the built-in functions encapsulated by json data provided by Flask
- Cross domain problem solving
- If you encounter problems, search the Internet. Maybe someone has encountered the problems you encounter and has solved them
The request parameter is common (it comes from the summary of a big man, and the source cannot be found emmm)
from flask import request

request.method:  Get request method

request.json

request.json.get("json_key"): obtain json data **More commonly used

request.args.get('name') : obtain get Request parameters

request.form.get('name') : obtain POST Request parameters

request.form.getlist('name_list'): obtain POST Request parameter list (multiple)

request.values.get('age') : obtain GET and POST All parameters carried by the request( GET/POST General)

request.cookies.get('name'): obtain cookies information

request.headers.get('Host'): Get request header related information

request.path: Get user access url Address, e.g(/,/login/,/ index/);

request.full_path: Get the complete of user access url address+Parameters such as(/login/?age=18)

request.script_root:  Sorry, I don't understand its meaning yet;

request.url: Get access url Address, e.g http://127.0.0.1:5000/?age=18;

request.base_url: Get access url Address, e.g http://127.0.0.1:5000/;

request.url_root

request.host_url

request.host: Get host address

request.files: Get files uploaded by users
Cross domain problem solving
# Solve cross domain problems
@app.after_request
def cors(environ):
    environ.headers['Access-Control-Allow-Origin']='*'
    environ.headers['Access-Control-Allow-Method']='*'
    environ.headers['Access-Control-Allow-Headers']='x-requested-with,content-type'
    return environ
2, Write a simple API for Java Web
2.1 construction environment
The premise is that you have a basic knowledge of Java and have learned the Java EE stage
- Install JDK version 1.8
- jre can be installed selectively. Installing JDK will automatically install jre
- A suitable development tool: idea, eclipse web version
- Basic use of maven tool (optional)
These Java developers should all know 8, so I won't explain
2.2 build a Java EE project
Core processing flow of Java EE
- The core of java EE is nothing more than servlet, listener, filter and jsp (that is, servlet)
- In Java EE, we use ajax or form form submission, a tag jump, js (window.location.href), jsp's own request forwarding, redirection and other page Jump methods at the front end to directly send requests to the Servlet at the back end.
- The request sent by the front end is received by the Servlet. The Servlet implements the operation of adding, deleting, modifying and querying with the database according to the request mode, and then hears that the printWriter returns to the front end in JSON string or ordinary string, or requests forwarding and redirection. The Servlet stores data in four domains, and then returns to the front end page
First of all, I'd like to share with you a few ajax technologies I use in learning Java EE
Native ajax implementation (this debugging took me a long time) Native ajax + Java EE to achieve user authentication Native ajax + Java EE to achieve two-level menu linkage
Jquery ajax api implementation (recommended) Jquery API implements ajax + Java EE
Recently, I'm learning about front-end and back-end interaction. In the future, I will continue to share explanations based on Promise, fetch, axios (third-party library) and other network requests
3, Write a simple API for Java SpringBoot
When you pass the Java EE stage, you enter the learning stage of Java Spring. Of course, it's easier to do it with SpringBoot, and it's no problem to do it with Spring MVC, but you need to write the front-end controller, web.xml configuration, springmvc.xml and other configurations
3.1 build a SpringBoot environment
Quickly build a SpringBoot project in idea
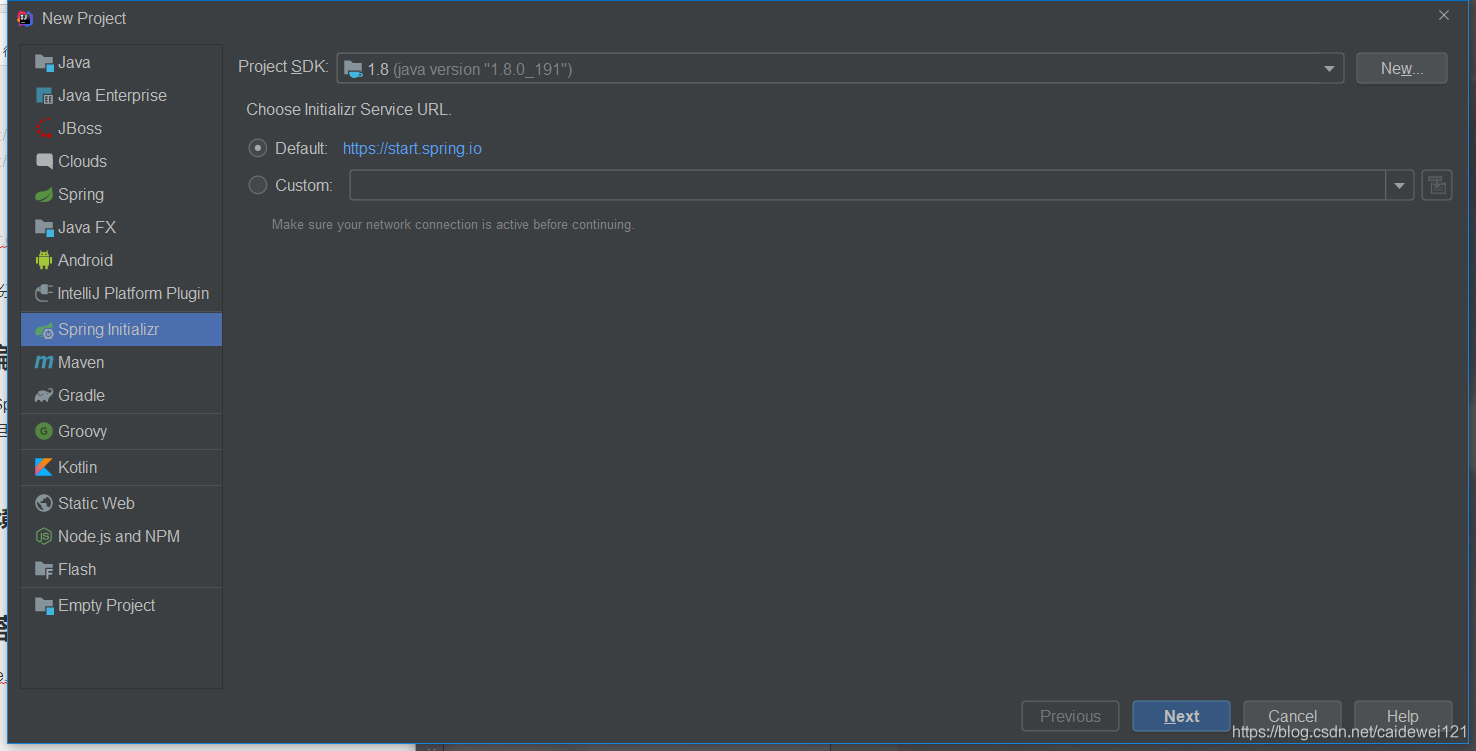
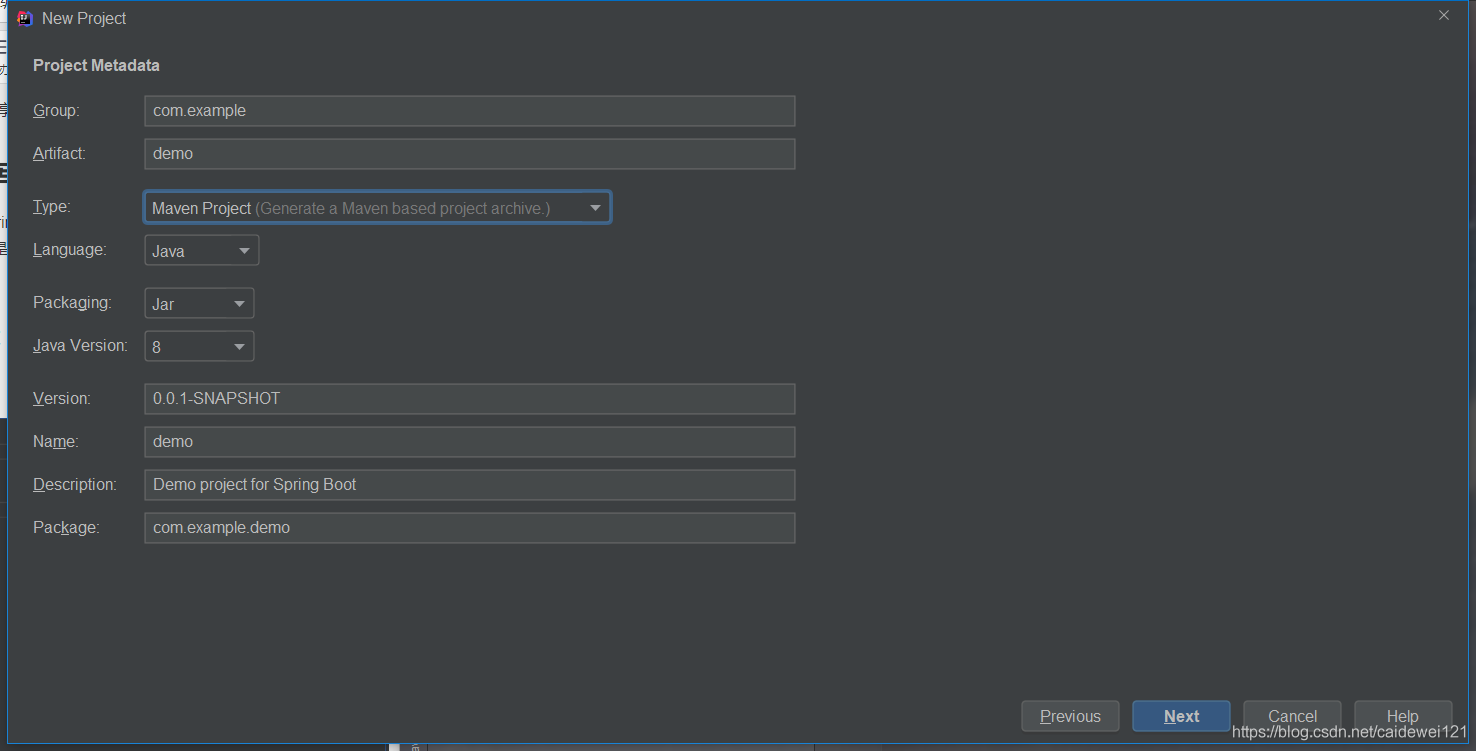
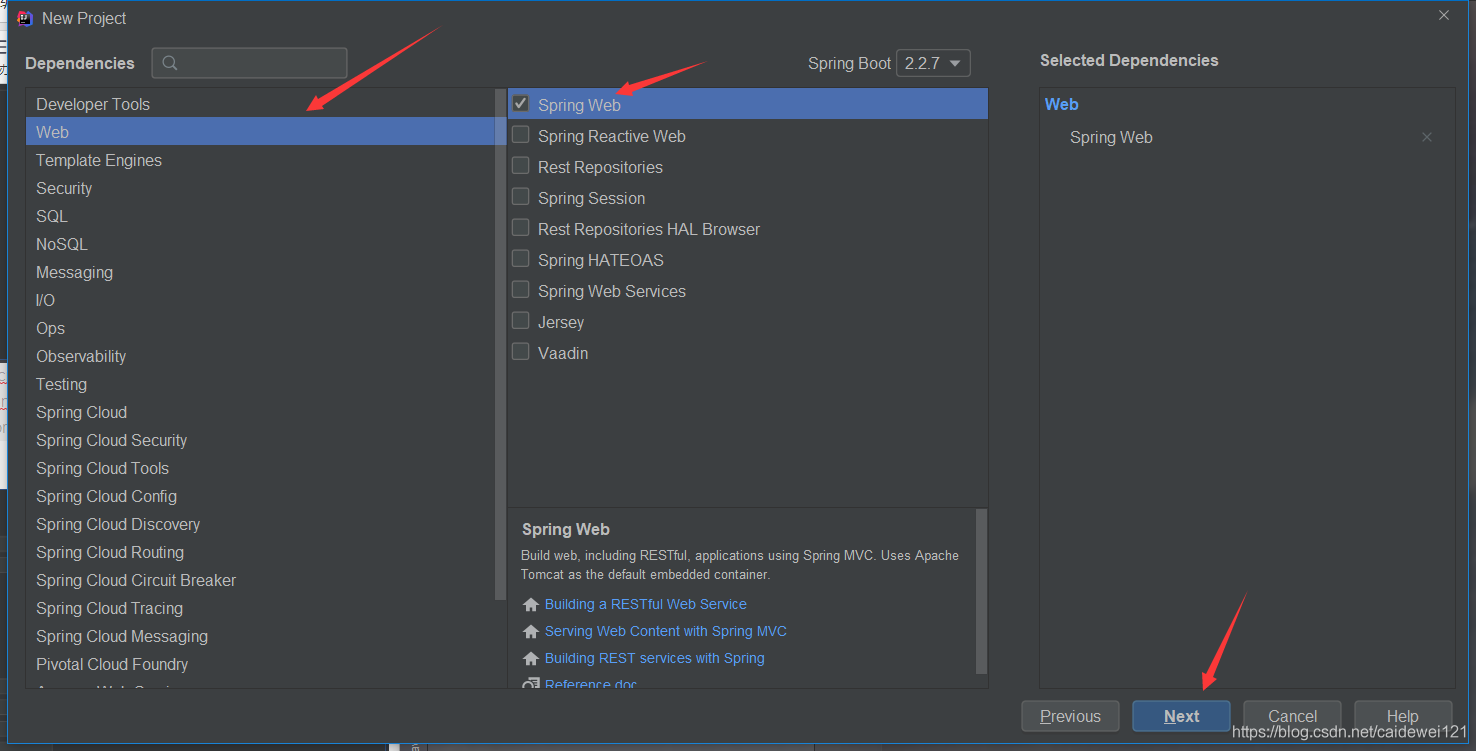
In this way, we can select a directory and wait until idea is automatically configured
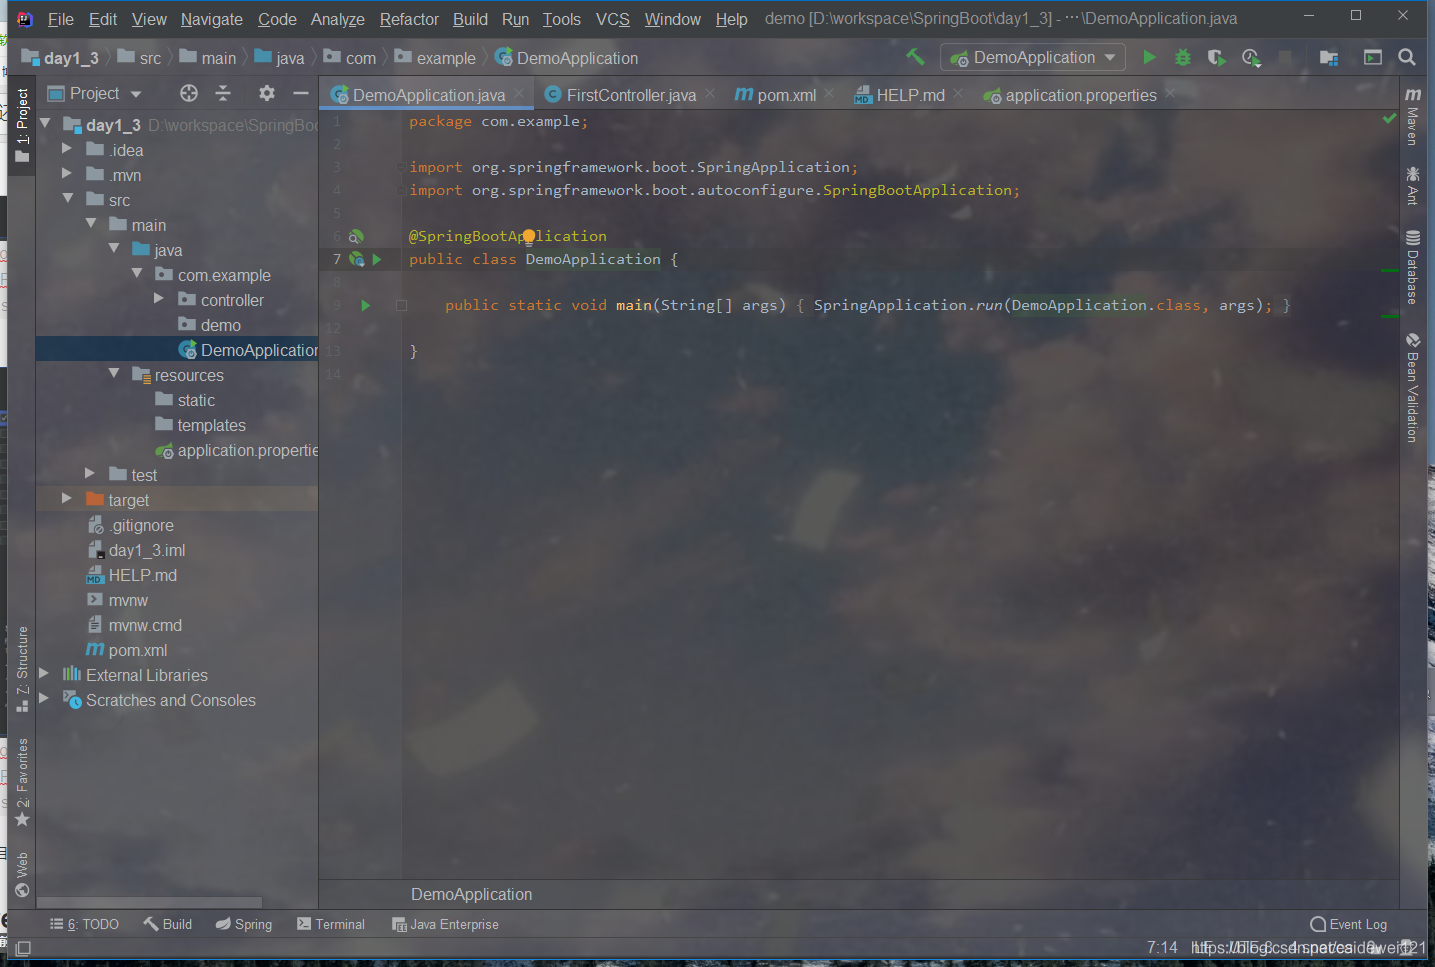
3.2 writing controller
Create a controller package. The directory must be under DemoApplication, because SpringBoot will scan its sub packages. If you don't do so, an error will be reported
package com.example.controller;
import org.springframework.web.bind.annotation.RequestMapping;
import org.springframework.web.bind.annotation.RestController;
@RestController // It is equivalent to controller + RequestBody in spring MVC
public class FirstController {
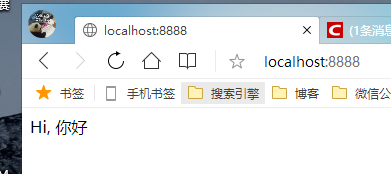
@RequestMapping("/") // The request path is the root path
public String index() {
return "Hi, Hello";
}
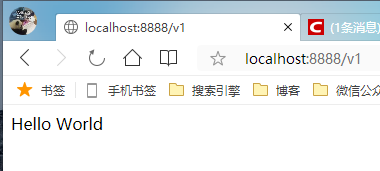
@RequestMapping("/v1")
public String myPage() {
return "Hello World";
}
}We write two methods, and then spring boot starts
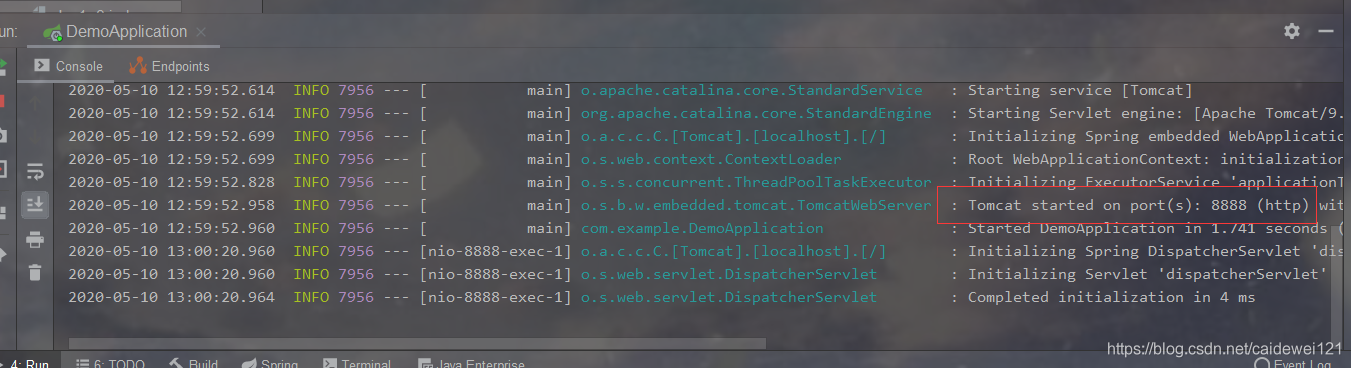
You can see that the string responds normally
4.3 return JSON data of standard type
- Write an entity class User
public class User {
 	private Integer id;
    private String username;
    private String password;

    // getter and setter are constructed with parameters (no parameters), and the toString method is omitted
}- Return object, collection, map
   // Return object
    @RequestMapping("/user")
    public User getUser() {
        return new User(1,"coco","ddd");
    }

    // Return collection
    @RequestMapping("/list")
    public List<User> getUserList() {
        List<User> list = new ArrayList<User>();
        list.add(new User(1,"coco","coco"));
        list.add(new User(2,"aaaa","aaa"));
        list.add(new User(3,"vvvv","vvvvv"));
        return list;
    }

    // Return map
    @RequestMapping("/map")
    public Map<String, Object> getMap() {
        Map<String, Object> map = new HashMap<>();
        User user = new User(1,"Gorit",null);
        map.put("Author information",user);
        map.put("Author's personal website", "https://www.gorit.cn");
        map.put("Number of fans",289);
        return map;
    }
//    map can store various data types and can be converted into corresponding JSON data
4, Simple API for Node Express construction
In addition to learning how to build the ECS environment, I have learned a little about the basic use of Node.js web framework Express, which is also very simple
4.1 you need to install node.js environment
Installation method: Baidu~ Download link Generally download. msi files. This is relatively small. It is a simple downloader. Click it to download it quietly in the background by default
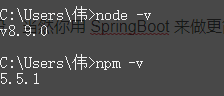
Check these two commands after downloading. Generally, the node will bring its own npm. If not, Baidu. My node version is 8.9.0 because the wechat applet requires this version. In short, the version should not be too low
4.2 build your first Express application
express official document building tutorial
- Initialize npm environment: npm init will let you create an index.js file
- Install express environment: NPM install Express -- no save will not be added to the global dependent environment. Only this installation is valid
- Write the index.js file
const express = require('express')
const app = express()
const port = 3000

app.get('/', (req, res) => res.send('Hello World!'))

app.listen(port, () => console.log(`Example app listening on port ${port}!`))
4. At the command prompt, use node index.js to see the effect
Pay attention to the path and port. Just make no mistake