When we use the traditional development method to develop the background system, we need to re run the project every time we write a function point, and then test it. If the project is relatively small, it is OK, but if the project is relatively large, this development method is more troublesome due to the large number of personnel involved. Based on this, we need to use Jenkins and Gitee to build an automated deployment platform and host the code to the server, which reduces the pressure on the local computer and liberates the deployment process.
1. Build Jenkins platform
First, we need to build Jenkins automation construction platform. First, we need to install Docker, and then install Jenkins in Docker. The installation commands are as follows:
# Install the yum utils tool
sudo yum install -y yum-utils device-mapper-persistent-data lvm2
# Configure Alibaba cloud Docker Yum source
sudo yum-config-manager --add-repo http://mirrors.aliyun.com/docker-ce/linux/centos/docker-ce.repo
# Install Docker
sudo yum install docker-ce docker-ce-cli containerd.io
# Start Docker
sudo systemctl start docker
# Configure startup and self startup
sudo systemctl enable docker
You can successfully install and start Docker through the above instructions. Next, we run Jenkins through Docker.
docker run \
  -d \
  --rm \
  -u root \
  -p 8080:8080 \
  -v /home/jenkins-data:/var/jenkins_home \
  -v /var/run/docker.sock:/var/run/docker.sock \
  -v /opt/develop_resource/apache-maven-3.6.3:/usr/local/maven \
  -v "$HOME":/home \
  jenkinsci/blueocean
After executing the above instructions, Docker will automatically pull the image of Jenkins and start it. Because we are deploying SpringBoot, we need to prepare the JDK and Maven environment. However, the Jenkins image comes with the JDK environment. Just prepare Maven. First, download the Maven compressed package. The order is as follows:
wget http://mirrors.tuna.tsinghua.edu.cn/apache/maven/maven-3/3.6.3/binaries/apache-maven-3.6.3-bin.tar.gz
Then, use the command to extract the file.
tar -zxvf apache-maven-3.6.3-bin.tar.gz
After decompression, be sure to pay attention to the directory where Maven is located, such as:
/opt/develop_resource/apache-maven-3.6.3
Mount it in the directory of the container, -v / opt / develop_ The Maven directory in the resource / apache-maven-3.6.3: / usr / local / Maven instruction must be replaced by your own. Now, we can run the instruction just now to start Jenkins. We can check whether the container is started through the docker ps instruction.
[root@10 /]# docker ps
CONTAINER ID   IMAGE                 COMMAND                  CREATED          STATUS         PORTS                                                  NAMES
dfa1b8b2c7a3   jenkinsci/blueocean   "/sbin/tini -- /usr/..."   15 seconds ago   Up 9 seconds   0.0.0.0:8080->8080/tcp, :::8080->8080/tcp, 50000/tcp   condescending_meitner
Next, we use the ip address of the server plus port 8080 to access Jenkins.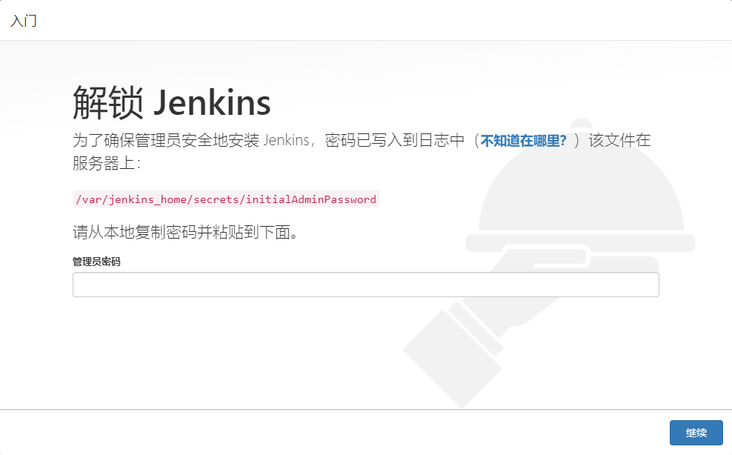
The administrator password can be viewed in Jenkins's startup log. Use docker logs dfa1b8b2c7a3 to view the log: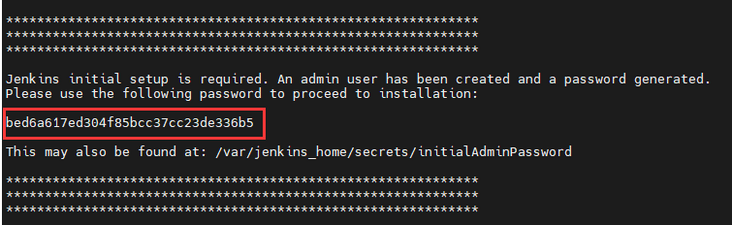
The password is the string in the red box. Pay attention to the following prompt under the red box:
This may also be found at: /var/jenkins_home/secrets/initialAdminPassword
It means you can use / var / Jenkins_ The administrator password can be found in the file home / secrets / initialadminpassword, but this is the directory in the Jenkins container. We mounted the Jenkins key directory / var / Jenkins when we started Jenkins_ Home, the host directory is / home / Jenkins data, so you can use the following instructions to view the administrator password.
cat /home/jenkins-data/secrets/initialAdminPassword
After getting the password, enter it into the Jenkins page to unlock Jenkins, and then click Install the recommended plug-in.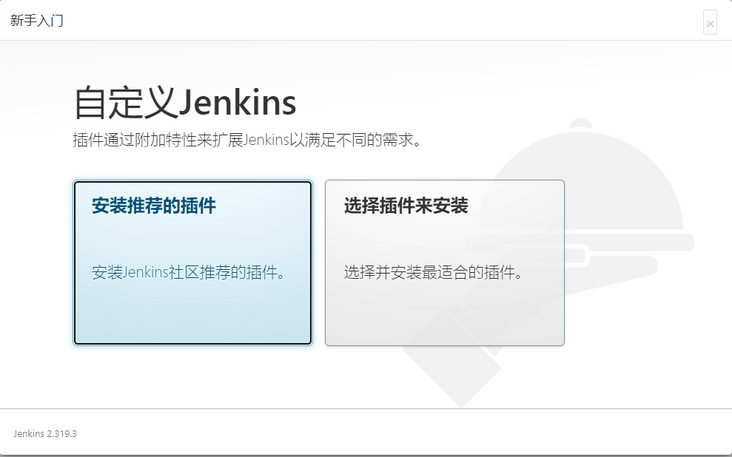
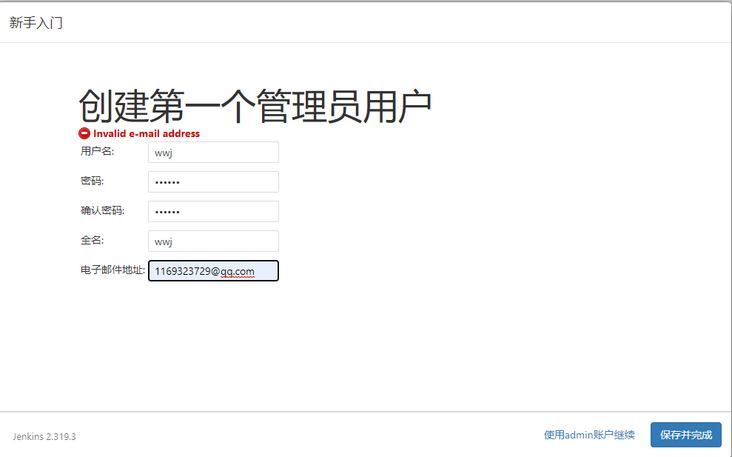
Next, click Next directly.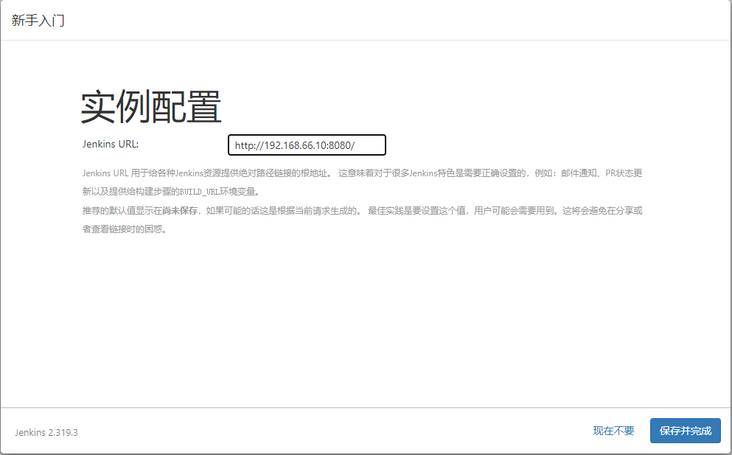
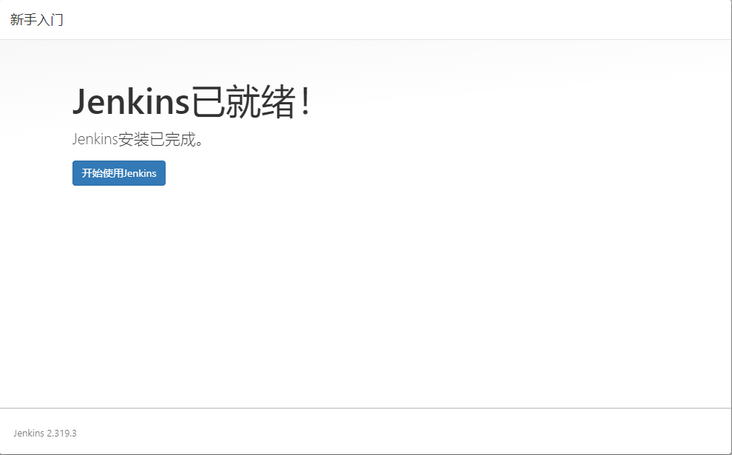
At this point, the Jenkins platform can be officially used.
2. Jenkins platform configuration
Next, configure the Jenkins platform. First, configure Maven.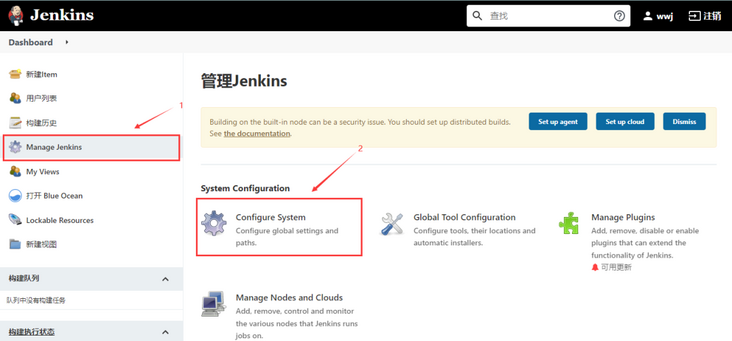
Click step by step to enter the system configuration. First, configure in global properties.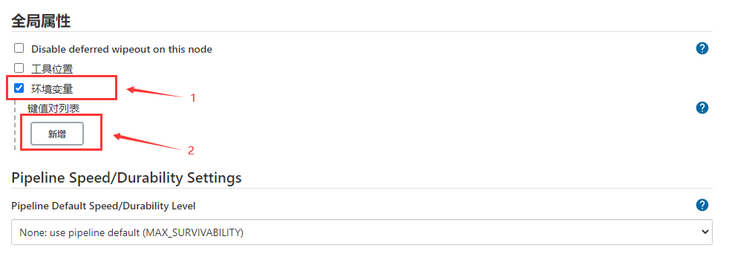
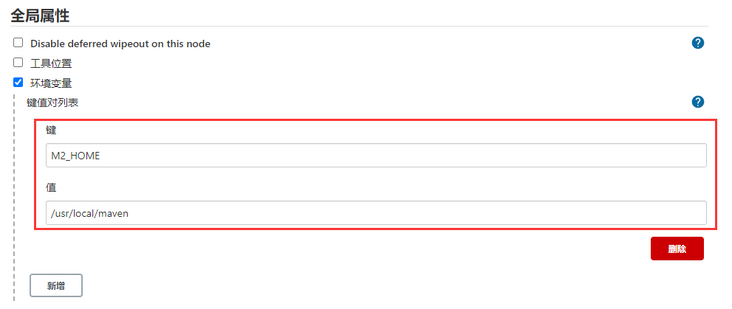
Remember the Maven directory we mounted when running the Jenkins container? The directory attached to the Jenkins container is / usr/local/maven. If you really don't understand, you can keep the same configuration as mine.
In the same way, add another configuration: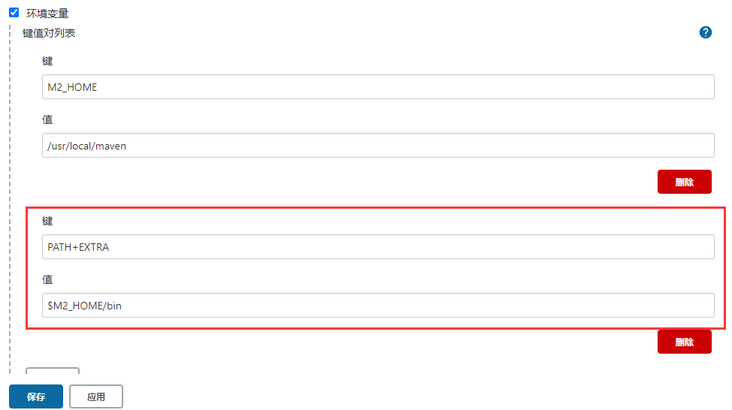
The function of PATH+EXTRA is to ensure that the environment in the original PATH variable is not lost. Finally, click save. After Maven is configured, Gitee needs to be configured.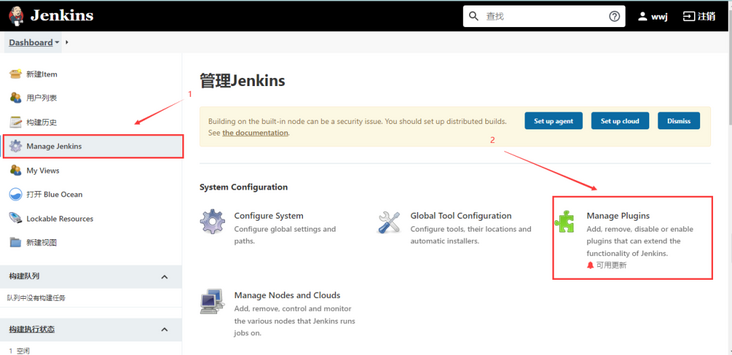
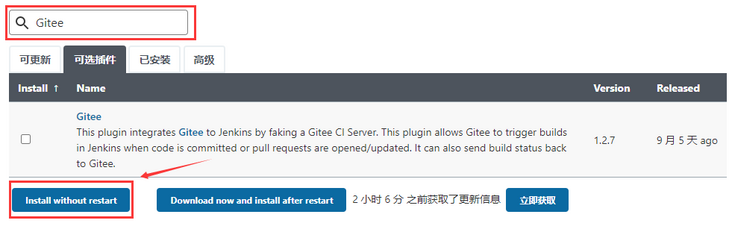
Click the optional plug-in, select Gitee, then click Install without restart to install and wait for the installation to complete. We will talk about the relevant configuration of Gitee later.
3. Create SpringBoot application
First, we create a simple SpringBoot application to test. The controller code is as follows.
@RestController
public class HelloController {

    @GetMapping("/hello")
    public String hello(){
        return "Hello World!";
    }
}
Then in the configuration file application Add to YML:
server:
  port: 8000
And create a docker folder under main and a Dockefile file under docker folder. The contents are as follows.
# Specifies which underlying mirror is based
FROM java:8

# Author information
MAINTAINER wwj

# Mount point statement
VOLUME /tmp

# Copy a local file or directory to the file or directory of the container
ADD /target/demo-0.0.1-SNAPSHOT.jar springboot.jar

#shell script
RUN bash -c 'touch /springboot.jar'

# Expose the 8000 port of the container to external access.
EXPOSE 8000

# When the container is running, execute the instructions to run jar
ENTRYPOINT ["java", "-jar", "springboot.jar"]
It should be noted that the ADD instruction is written. When the SpringBoot application is packaged, its jar package will be placed in the target directory.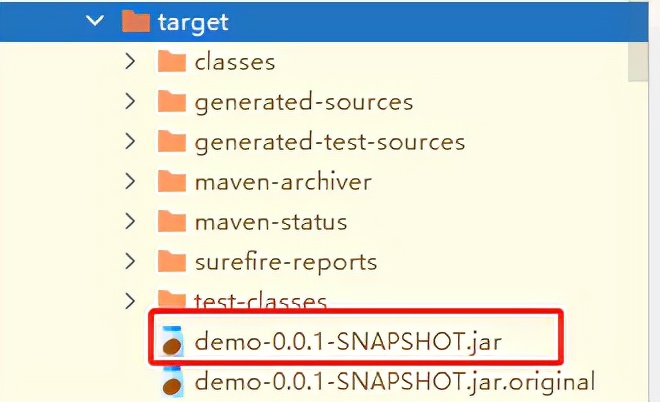
Therefore, you need to specify the location of the file, use the ADD instruction to put it into the container to be built, and then create a new warehouse in Gitee and push the code to the warehouse.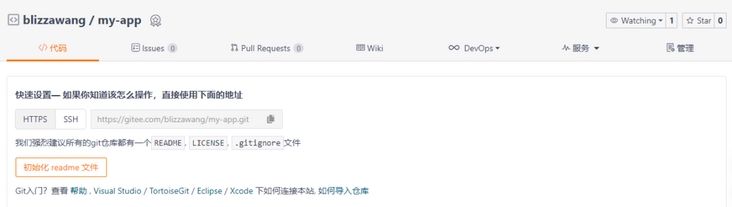
The name of the warehouse is whatever you call, and then push the application just now.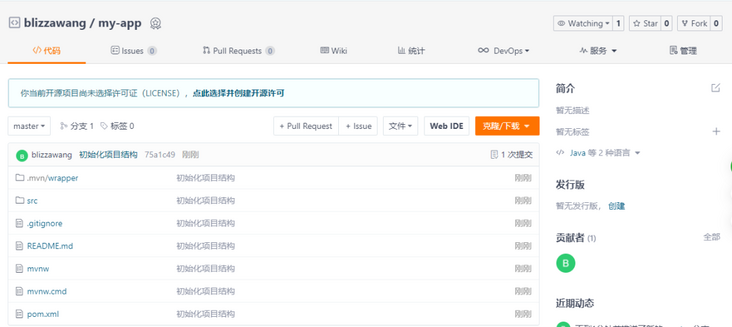
4. Gitee configuration
After the push is completed, return to the Jenkins management interface. Let's complete the configuration of Gitee and open the system configuration.
Find the Gitee configuration and fill in the corresponding information: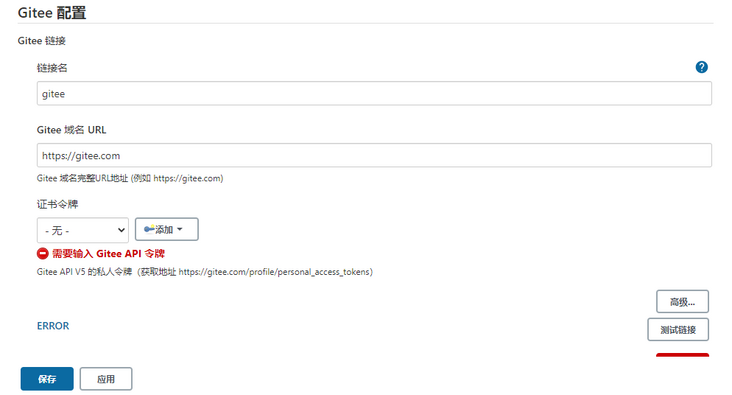
Click the Add button to add a Jenkins voucher.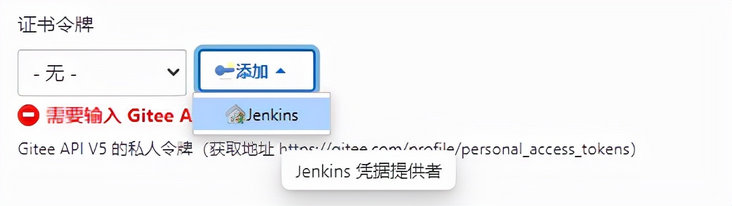
Select Gitee API token: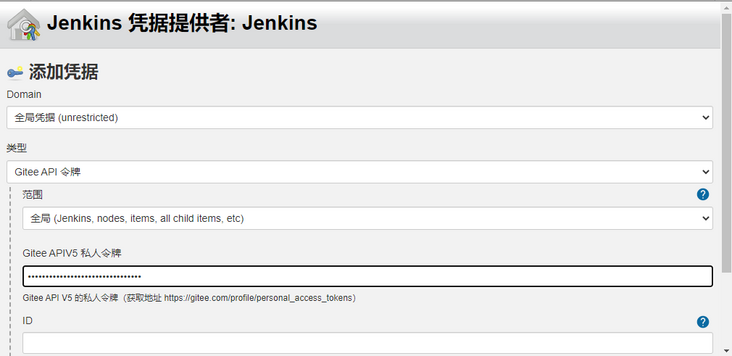
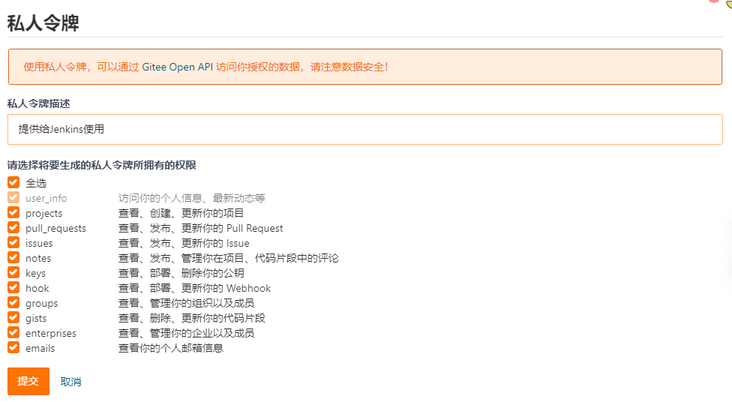
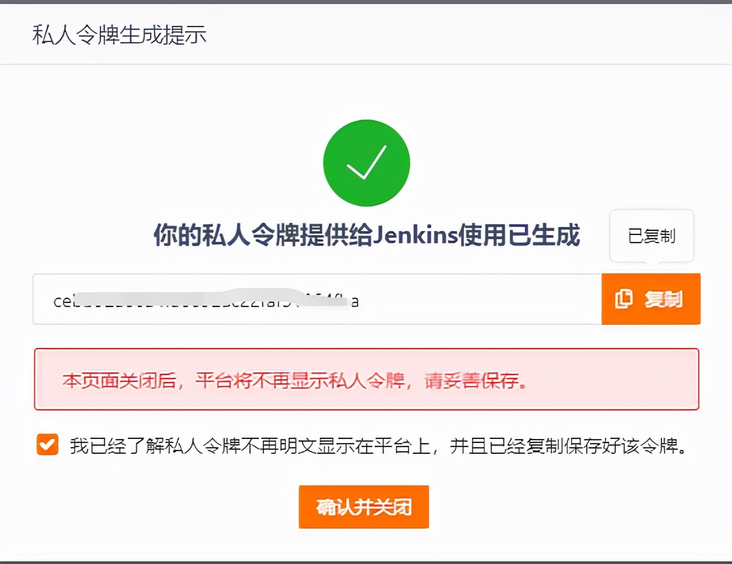
The acquisition address of the private token is: https://gitee.com/profile/personal_access_tokens.

5. Create an automated deployment task
After configuration, create a new task and click new Item.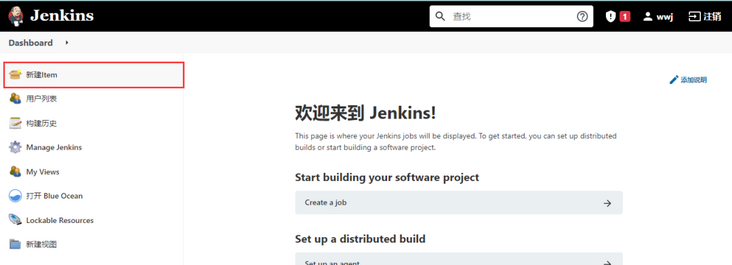
Enter any task name and select [Freestyle project].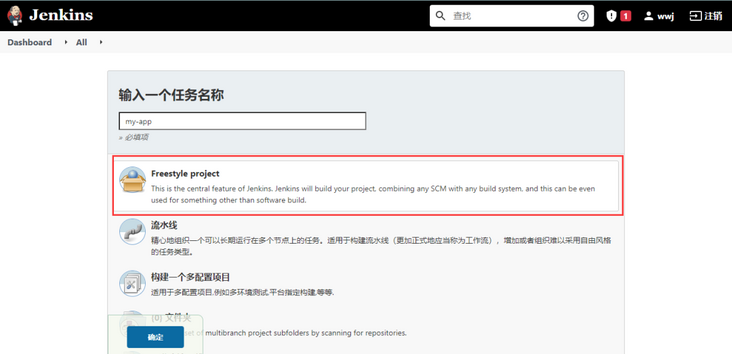
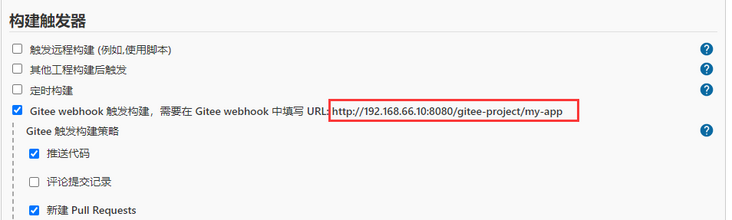
Check Git in the source code management office, fill in the project address, and then check the time to trigger packaging in the build trigger position.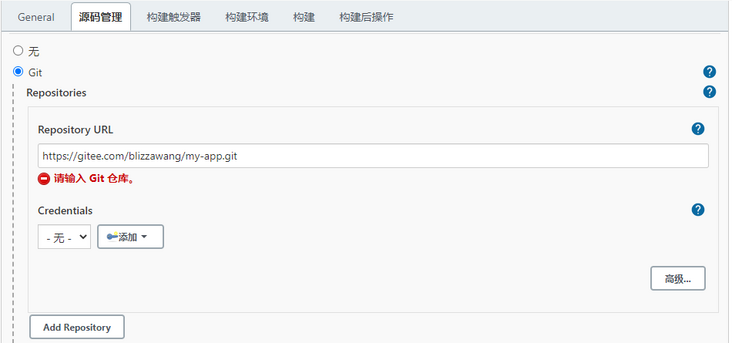
Click generate Gitee WebHook password at the bottom of the build trigger.
Then open WebHooks in Gitee project and add webHook.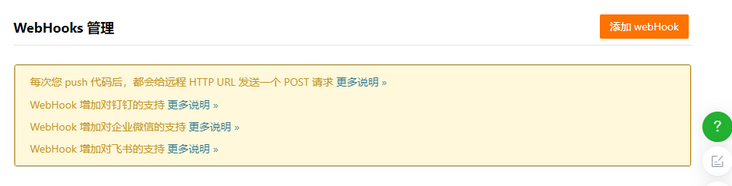
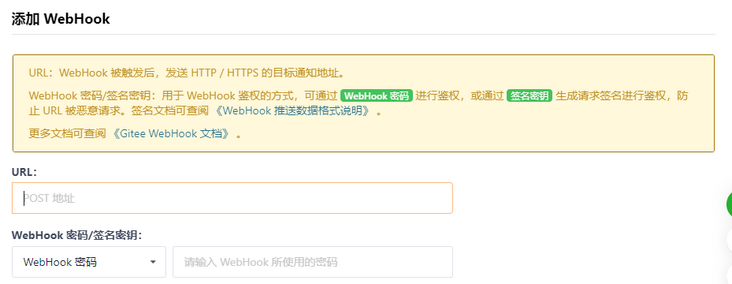
The URL here needs to be filled with a public IP, so if you are using a virtual machine, you need to use the intranet penetration tool to map it.
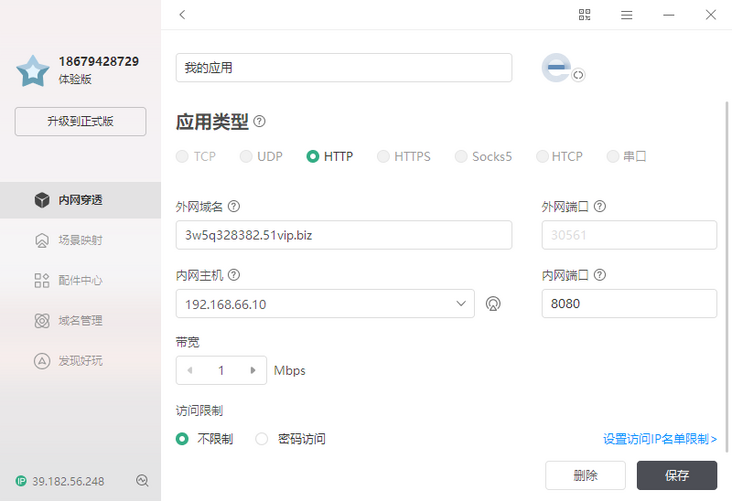
As for what the URL should be filled in, we need to modify it.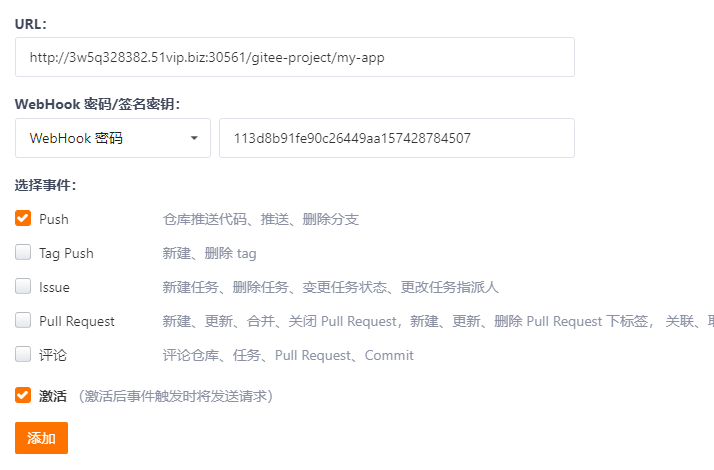
After filling in and clicking Add, Gitee will send a Post request to Jenkins. If the request result is as follows, the configuration is successful.
Return to the Jenkins management interface, continue to check the polling SCM under the build trigger, and enter the polling frequency.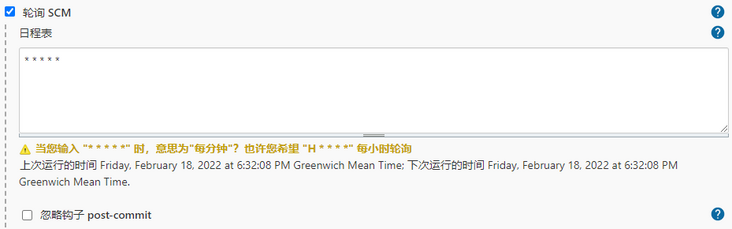
Finally, add the build steps under the build location and select execute shell.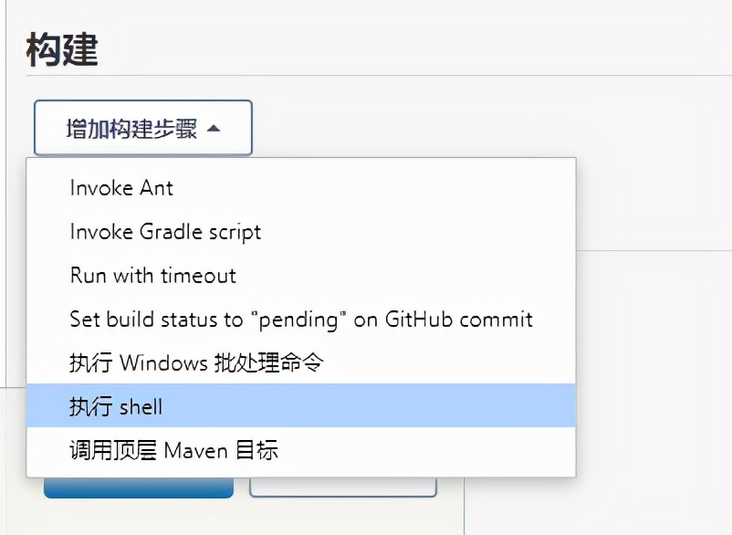
The shell script code is as follows.
#!/bin/bash -il
docker rm -f app_docker
sleep 1
docker rmi -f app_docker:1.0
sleep 1
mvn clean install -Dmaven.test.skip=true
sleep 1
docker build -t app_docker:1.0 -f ./src/main/docker/Dockerfile .
sleep 1
docker run -d -p 8000:8000 --name app_docker app_docker:1.0
This script means to delete the running app_docker container and delete app_docker:1.0 image, then use the mvn command to package the project code pulled from Gitee, and then use the Dockerfile file in the project to build an image named app_docker:1.0. Finally, run the image.
6. Packaging test
Finally, click save and the deployment task will be created. Let's test whether there is a problem.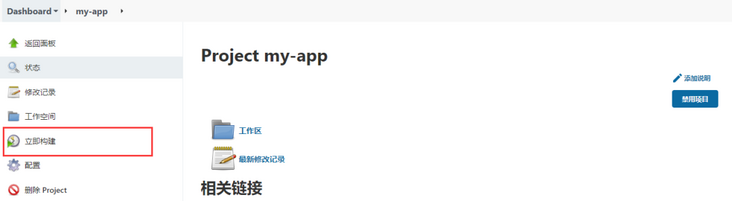
Click build now, Jenkins will build immediately and check the console output.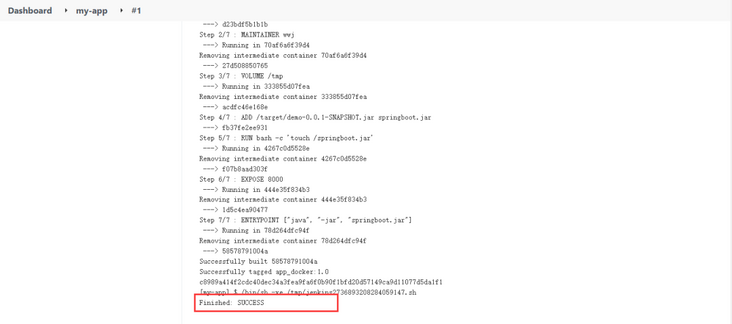
Finally, we can open the default address.