0.kubectl use
vim /etc/profile enters the configuration file and defines alias = original command operation
source /etc/profile makes the configuration file effective
Complete tool

1.NameSpace management
(1) View all namespaces
kubectl get namespaces
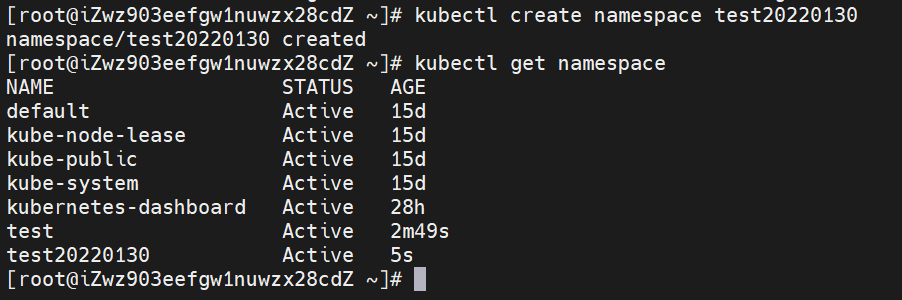
(2) Create a new namespace
kubectl create namespace test20220130
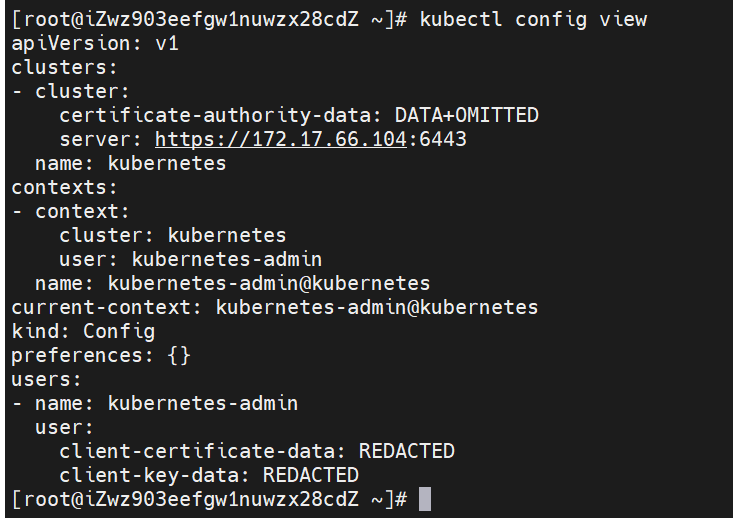
(3) View kubeconfig configuration file information
kubectl config view
(5) Query the currently configured context information
kubectl config current-context

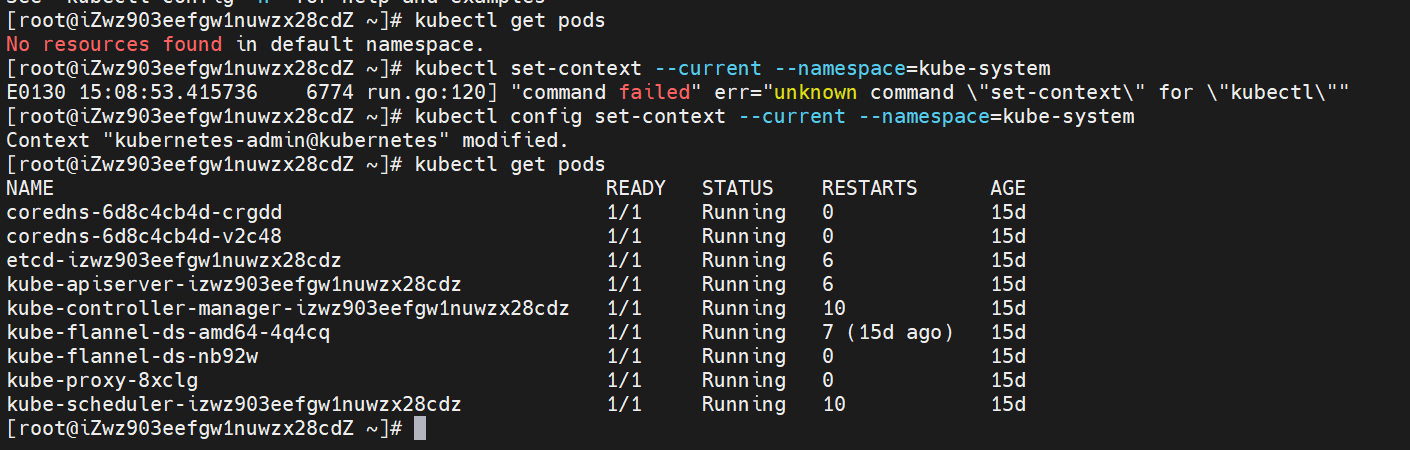
(6) Modify the default namespace to Kube system
kubectl config set-context --current --namespace=kube-system
2.Pod management
(1) Create a Pod using the command
kubectl run nginx2 --image=nginx:1.9
The Pod name is nginx2, and the image used is nginx version 1.9.

(2) View the status of the Pod
kubectl get pods
Query the status of pod and find that it is always in Pending status.

(3) View the details of pod
kubectl describe pod nginx2
An exception message is found: 1 node (s) had taint {node role. Kubernetes. IO / Master:}, that the pod didn't toterate
reference resources: 0/1 nodes are available: 1 node(s) had taint {node-role.kubernetes.io/master: }, that the pod didn't

(4) Query Node stain mark
kubectl describe node izwz903eefgw1nuwzx28cdz | grep Taint
master is set to non schedulable by default.

(5) Add and remove the stain mark of Node
kubectl taint node izwz903eefgw1nuwzx28cdz node-role.kubernetes.io/master:NoSchedule-
Mark the node as schedulable (adding a minus sign after the stain is unmarked).
Check the status and details of the Pod again, and it becomes Running status.

View the Pod details again and the Pod is created successfully.

Add stain
kubectl taint nodes node1 key1=value1:NoSchedule
Add tolerance:
spec:
  tolerations:
  - key: "example-key"
    operator: "Exists"
    effect: "NoSchedule"
(6) Limit the resources used
(6.1) set limit and requests
Create QoS demo Yaml file, set limits and requests. Create a Pod using yaml file:
kubectl apply -f qos-demo.yaml
apiVersion: v1
kind: Pod
metadata:
  name: qos-demo
spec:
  containers:
  - name: qos-demo-ctr
    image: nginx
    resources:
      limits:
        memory: "100Mi"
        cpu: "300m"
      requests:
        memory: "100Mi"
        cpu: "300m"
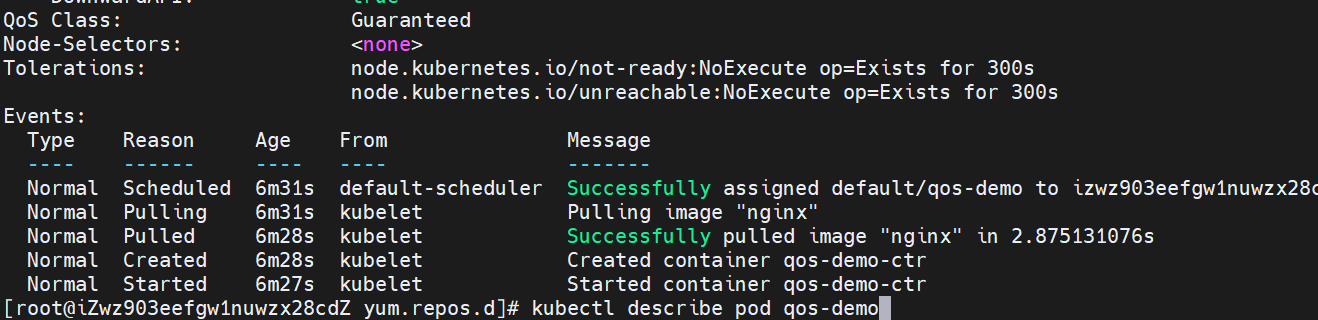
View the details of Pod: kubectl describe pod QoS demo
The corresponding Qos Class is Guaranteed.
(6.2) set only requests
Create qos-demo-2 yaml
kubectl apply -f qos-demo-2.yaml
apiVersion: v1
kind: Pod
metadata:
  name: qos-demo-2
spec:
  containers:
  - name: qos-demo-ctr-2
    image: nginx
    resources:
      requests:
        memory: "100Mi"
        cpu: "300m"
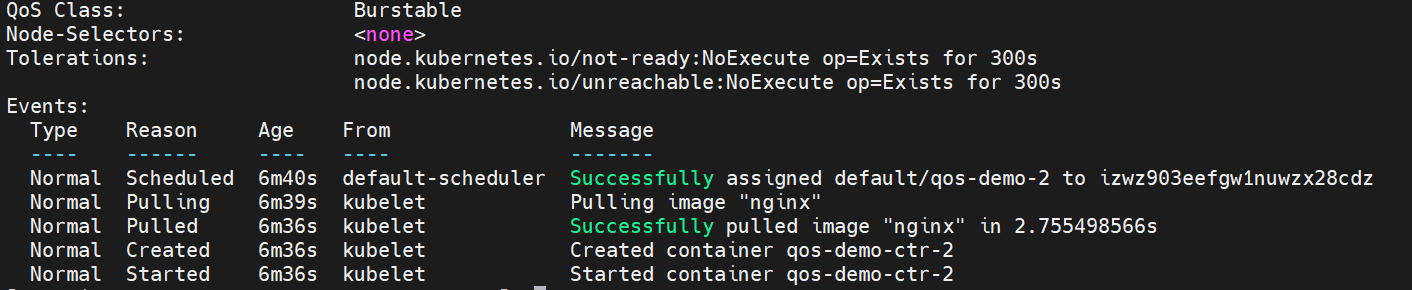
kubectl describe pod qos-demo-2
The corresponding Qos Class is Guaranteed.
(6.3) do not set requests and limit s
Create nginx Yaml file
kubectl apply -f nginx.yaml
apiVersion: v1
kind: Pod
metadata:
  creationTimestamp: null
  labels:
    run: nginx
  name: nginx
spec:
  containers:
  - image: nginx:1.9
    name: nginx
    ports:
    - containerPort: 80
    resources: {}
  dnsPolicy: ClusterFirst
  restartPolicy: Always
status: {}
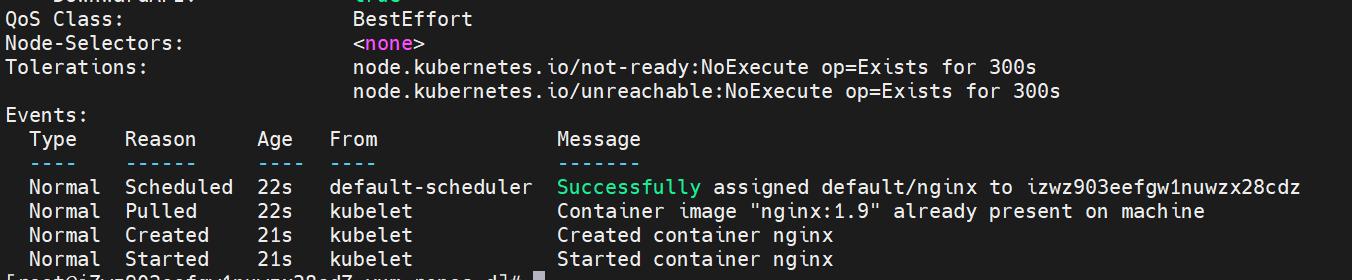
kubectl describe pod nginx
The corresponding Qos Class is BestEffort.
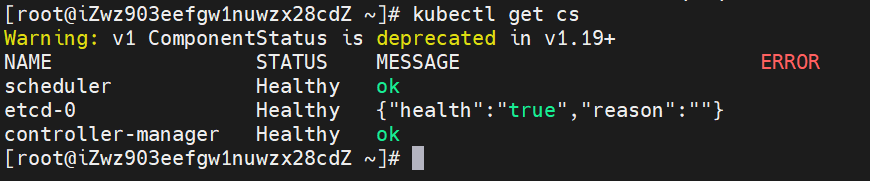
(7) View the status of components
kubectl get cs
(8)kubernetes automatically applies the yaml file under / etc / kubernetes / manifest
Set up static web in the / etc / kubernetes / manifest folder Yaml file.
docker will automatically start this pod. If you want to delete this pod, delete the file directly.
watch -n 1 kubectl get pods monitor the change of pod every 1s.
kubectl get pod -w monitor the change of pod
apiVersion: v1
kind: Pod
metadata:
  name: static-web
  labels:
    name: static-web
spec:
  containers:
  - name: static-web
    image: nginx
    ports:
    - name: web
      containerPort: 80


(9) Parent child container
initContainer: used to perform initialization before the main container starts.
There is an example on the official website of Kubernetes. You need to wait until the two sub containers init myservice and init mydb are completed before creating myapp container.
apiVersion: v1
kind: Pod
metadata:
  name: myapp-pod
  labels:
    app: myapp
spec:
  containers:
  - name: myapp-container
    image: busybox:1.28
    command: ['sh', '-c', 'echo The app is running! && sleep 3600']
  initContainers:
  - name: init-myservice
    image: busybox:1.28
    command: ['sh', '-c', "until nslookup myservice.$(cat /var/run/secrets/kubernetes.io/serviceaccount/namespace).svc.cluster.local; do echo waiting for myservice; sleep 2; done"]
  - name: init-mydb
    image: busybox:1.28
    command: ['sh', '-c', "until nslookup mydb.$(cat /var/run/secrets/kubernetes.io/serviceaccount/namespace).svc.cluster.local; do echo waiting for mydb; sleep 2; done"]
(10) Specify Node to create Pod
You need to start the Pod on the node with the disktype=ssd tag.
apiVersion: v1
kind: Pod
metadata:
  name: nginx-ssd
  labels:
    env: test
spec:
  containers:
  - name: nginx
    image: nginx:1.7.9
    imagePullPolicy: IfNotPresent
  nodeSelector:
    disktype: ssd
The node with disktype=ssd tag cannot be found. Pod cannot be created and is always in Pending state.

View the details of Pod creation.

kubectl label node iZwz903eefgw1nuwzx28cdZ distype=ssd
Label nodes
kubectl get nodes --show-labels
View the label information of Node

With qualified nodes, the Pod will be created automatically without restart.

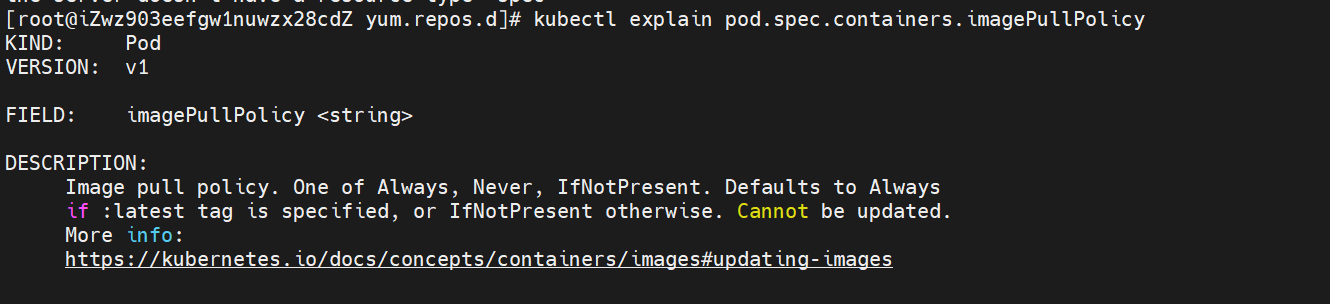
(11) Query attribute description
kubectl explain pod.spec.containers.imagePullPolicy