Blog Outline:
I. migration mode of KVM virtual machine
II. Static migration of KVM virtual machine
III. dynamic migration of KVM virtual machine
I. migration mode of KVM virtual machine
KVM virtual machine migration in KVM platform is divided into the following two types:
(1) cold migration (static migration)
The directory where we store the virtual machine disk is the disk of an nfs file system that is hung in. When performing a cold migration, as long as the nfs file system is mounted on the target host, you can see the disk file of the virtual machine to be migrated, which usually ends with. qcow2 or. raw. Then, just send the. xml configuration file of the virtual machine to the target server, and then redefine it Just migrate the virtual machine!
(2) heat transfer (dynamic transfer)
If the source host and the destination host share the storage system, they only need to send the execution status of the client's vCPU, the content in memory and the status of the virtual machine device to the destination host through the network. Otherwise, you need to send the client's disk storage to the destination master
On the plane. Shared storage system means that the image file directory of source and destination virtual machine is on a shared storage.
Based on the shared storage system, the specific process of dynamic migration:
(1) at the beginning of migration, the client is still running on the host, and at the same time, the memory pages of the client are transferred to the destination host;
(2) QEMU/KVM will monitor and record any changes of all memory pages that have been transferred in the migration process, and start to transfer the changes of memory pages in the previous process after all memory pages have been transferred;
(3) QEMU/KVM will estimate the transfer speed during the migration process. When the remaining memory data can be transferred within a set time period (default 30 ms), QEMU/KVM will shut down the client on the source host, and then transfer the remaining data to the destination host. Finally, the transferred memory content will resume the operation of the client on the destination host State;
(4) so far, the KVM dynamic migration operation is completed! After migration, the client should be the same as before, unless there is a lack of configuration on the destination host, such as the bridge. Note that when the memory usage rate in the client is very large and the modification is frequent, the data in the memory is constantly modified faster than the memory speed that KVM can transmit, the dynamic migration process cannot be completed, and only static migration can be performed at this time.
(3) precautions
(1) the CPU brands of the migrated servers should be consistent;
(2) 64 bit can only be migrated between 64 bit hosts, 32-bit can migrate 32-bit and 64 bit hosts;
(3) the name of the virtual machine in the host cannot conflict;
(4) the software configuration of the destination host and the source host should be the same as much as possible;
(4) summary
Static migration:
(1) copy image files and virtual machine configuration files;
(2) redefine the virtual machine!
Dynamic migration:
(1) create shared storage;
(2) two KVM hosts mount shared storage;
(3) start dynamic migration;
(4) create the migrated virtual configuration file;
(5) redefining virtual machine;
II. Static migration of KVM virtual machine
(1) environmental requirements
- One KVM service request A: IP address: 192.168.1.7, one of which is the KVM virtual machine of web01;
- A KVM server B: IP address: 192.168.1.8;
(2) implementation steps
Operation of KVM server A:
Because of the experimental environment, for the sake of simplicity, I'll skip here. If you are interested, you can create your own files or directories for testing!
[root@localhost ~]# systemctl stop firewalld
[root@localhost ~]# setenforce 0
//Experimental environment, simply shut down the firewall and SElinux
[root@localhost ~]# lsmod | grep kvm / / confirm that the virtual machine supports the kvm environment
kvm_intel             174841  0
kvm                   578518  1 kvm_intel
irqbypass              13503  1 kvm
[root@localhost ~]# virsh list --all / / confirm that the virtual machine exists and is in shutdown state
 Id    Name                         state
----------------------------------------------------
 -     web01                          Close
Operation of KVM server B:
[root@localhost ~]# systemctl stop firewalld
[root@localhost ~]# setenforce 0
//Experimental environment, simply shut down the firewall and SElinux
[root@localhost ~]# lsmod | grep kvm / / confirm that the virtual machine supports the kvm environment
kvm_intel             174841  0
kvm                   578518  1 kvm_intel
irqbypass              13503  1 kvm
[root@localhost ~]# virsh list --all / / confirm that there is no kvm virtual machine
 Id    Name                         state
----------------------------------------------------
[root@localhost ~]# scp 192.168.1.7:/etc/libvirt/qemu/web01.xml /etc/libvirt/qemu/web01.xml
//Copy virtual machine profile of KVM host A
[root@localhost ~]# scp 192.168.1.7:/kvm/disk/web01.raw /kvm/disk/web01.raw
//Copy virtual machine disk files of KVM host
[root@localhost ~]#  cd /etc/libvirt/qemu/
[root@localhost qemu]# virsh define web01.xml
//Define domain web01 (from web01.xml)
//Generate virtual machine from configuration file
[root@localhost qemu]# virsh start web01 / / start the virtual machine for testing
//Domain web01 started

[root@localhost qemu]# virsh list --all
 Id    Name                         state
----------------------------------------------------
 1     web01                          running
//It can be started up normally to show that there is no problem, just test by yourself!
Static migration migration completed!
There's nothing to say about static migration. Frankly, it's almost like cloning!
III. dynamic migration of KVM virtual machine
(1) environmental requirements
- One NFS server: IP address: 192.168.1.6;
- A KVM server a: IP address: 192.168.1.7;
- A KVM server B: IP address: 192.168.1.8;
Note: KVM host does not need KVM virtual machine!
(2) implementation steps
Server for NFS operation:
[root@localhost ~]# systemctl stop firewalld
[root@localhost ~]# setenforce 0
//Experimental environment, simply shut down the firewall and SElinux
[root@localhost ~]# yum -y install nfs-utils rpcbind
//Install software required for NFS
[root@localhost ~]# mkdir /kvmshare / / create shared directory
[root@localhost ~]# echo "/kvmshare  *(rw,sync,no_root_squash)" >> /etc/exports
//Configure shared directory permissions, shared users
//No root squash: make it obtain root permission of NFS server
[root@localhost ~]# systemctl start rpcbind / / start the remote transmission control service
[root@localhost ~]# systemctl start nfs / / start the NFS shared service
Two KVM S are verified:
[root@localhost ~]# showmount -e 192.168.1.6
Export list for 192.168.1.6:
/kvmshare *
Operation of KVM server A:
[root@localhost ~]# systemctl stop firewalld
[root@localhost ~]# setenforce 0
//Experimental environment, simply shut down the firewall and SElinux
[root@localhost ~]# lsmod | grep kvm / / confirm that the virtual machine supports the kvm environment
kvm_intel             174841  0
kvm                   578518  1 kvm_intel
irqbypass              13503  1 kvm
[root@localhost ~]# virsh list --all / / confirm that there is no kvm virtual machine
 Id    Name                         state
----------------------------------------------------
[root@localhost ~]# Virt Manager / / open the image interface to manage KVM
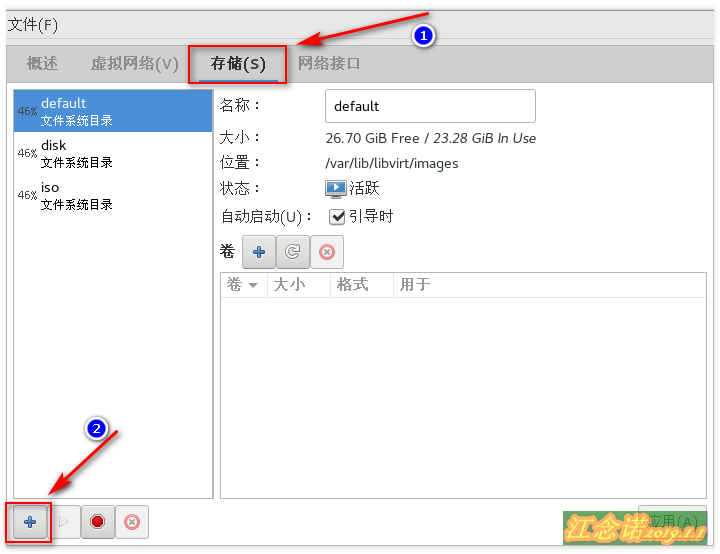
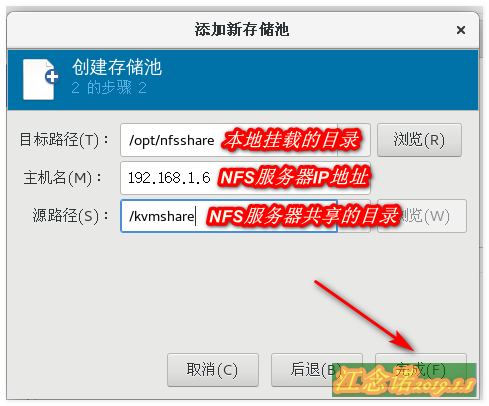
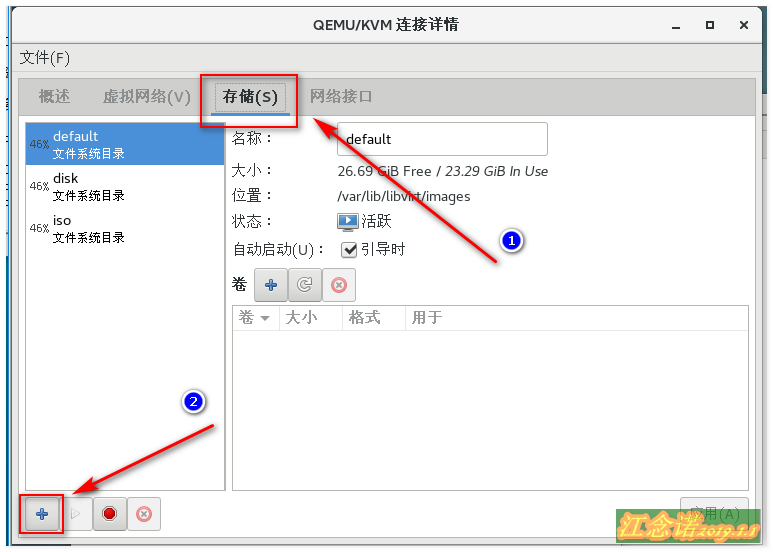
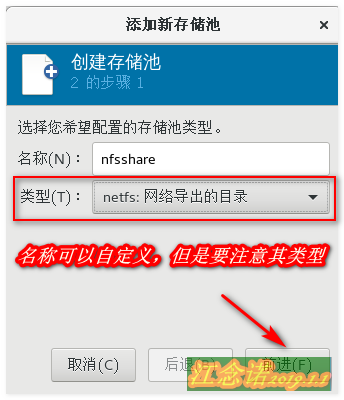
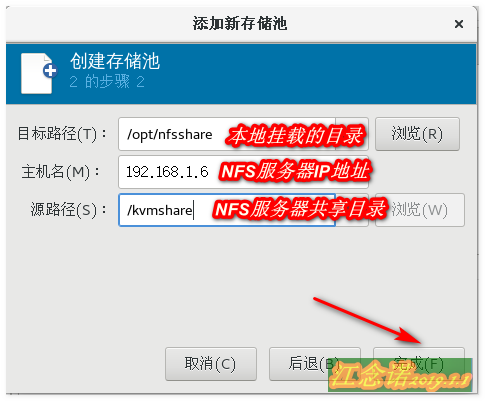
Create storage pool is preferred, as shown in the figure: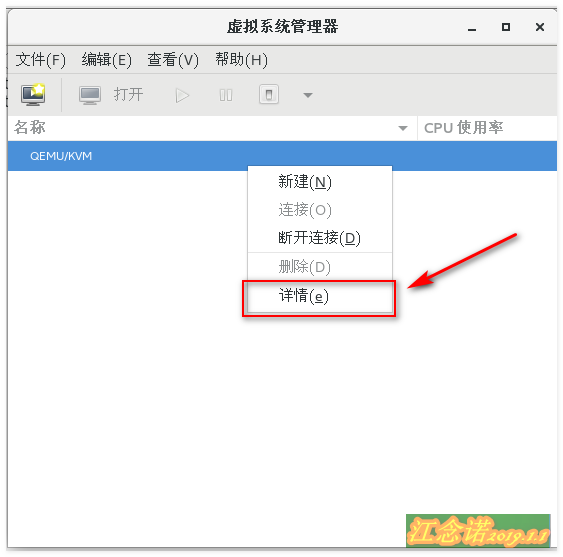

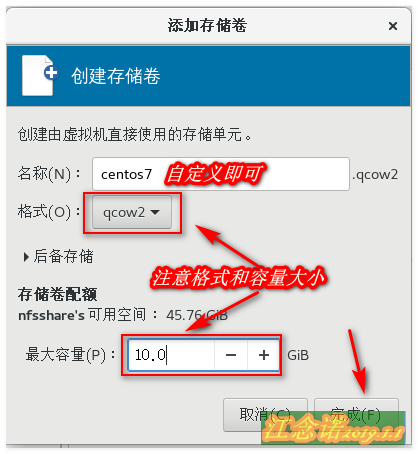
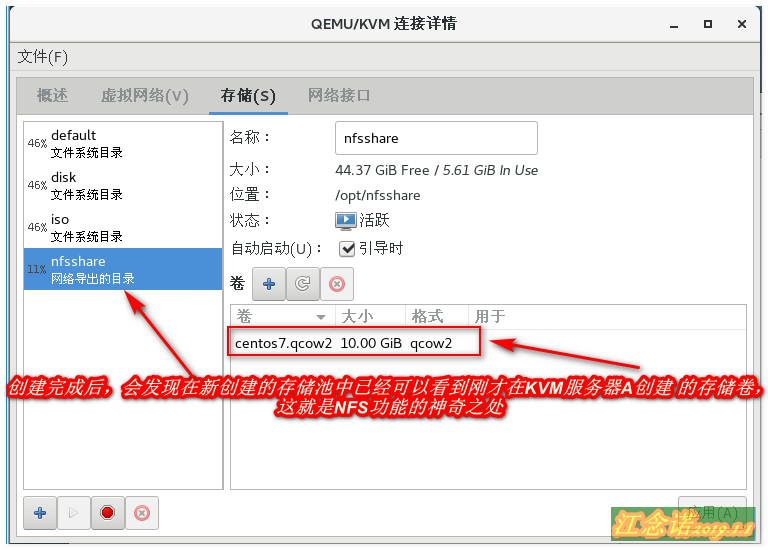
Next, create a storage volume based on the storage pool, as shown in the figure: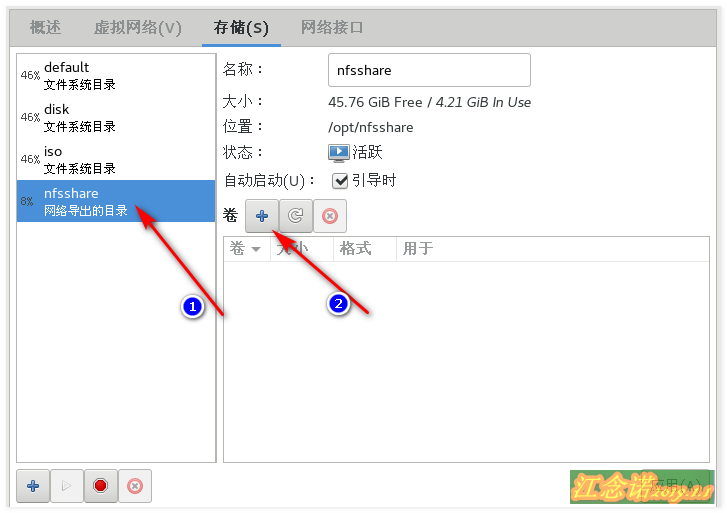
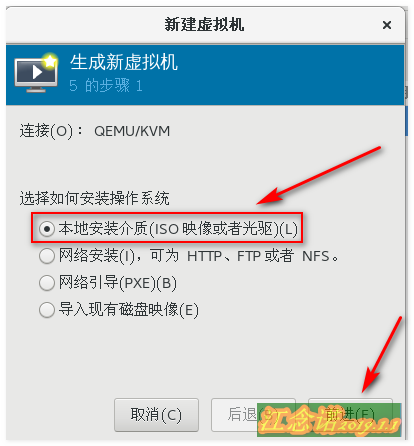
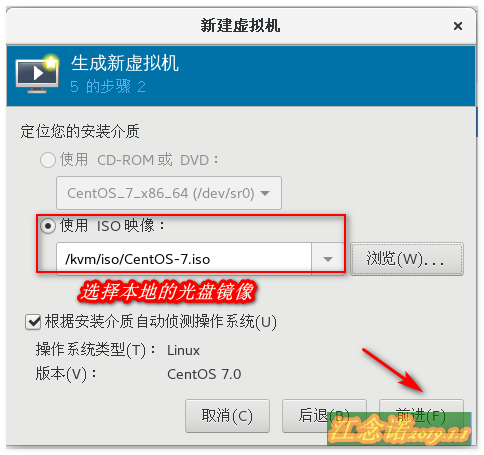
Next, create the virtual machine, as shown in the figure: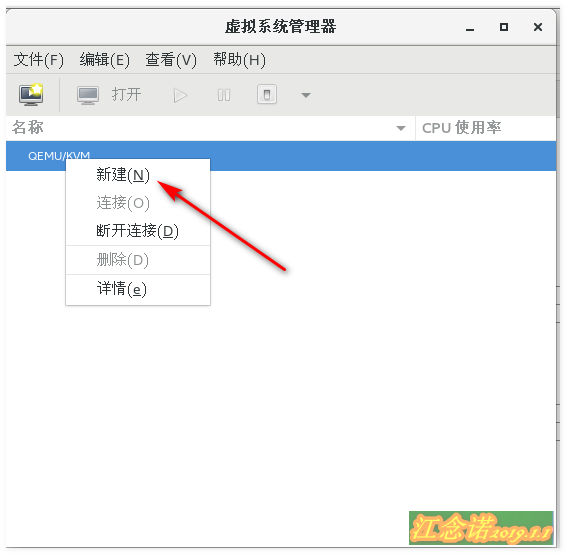
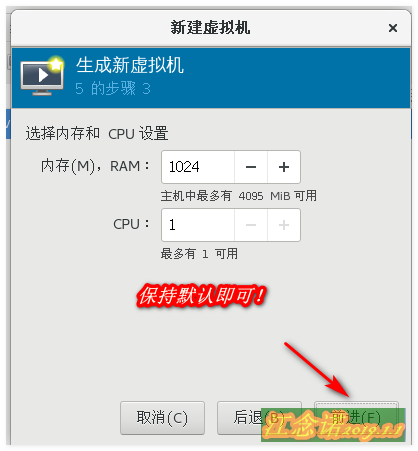
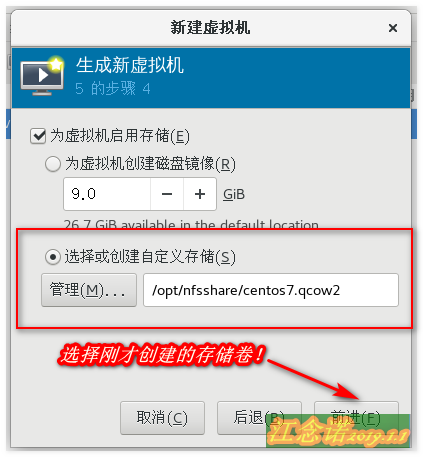
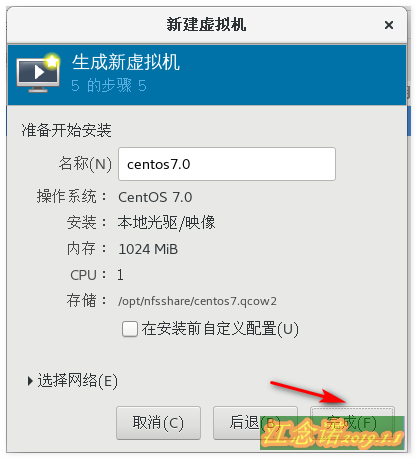
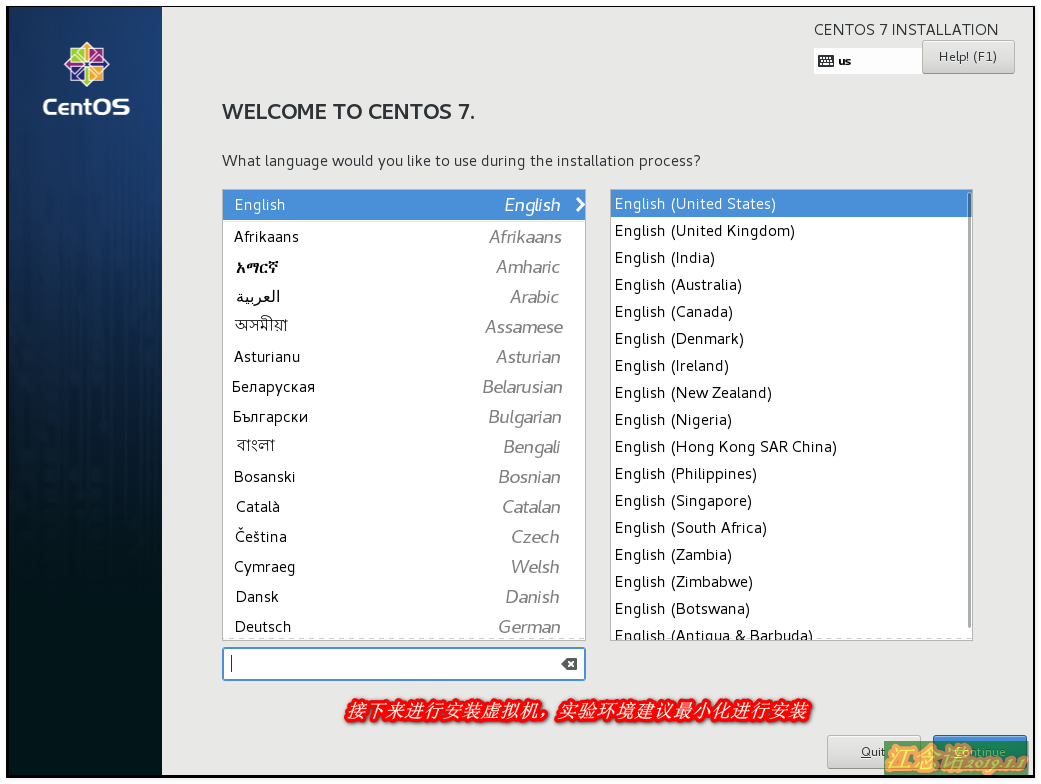
Next, according to their actual situation to create a suitable virtual machine!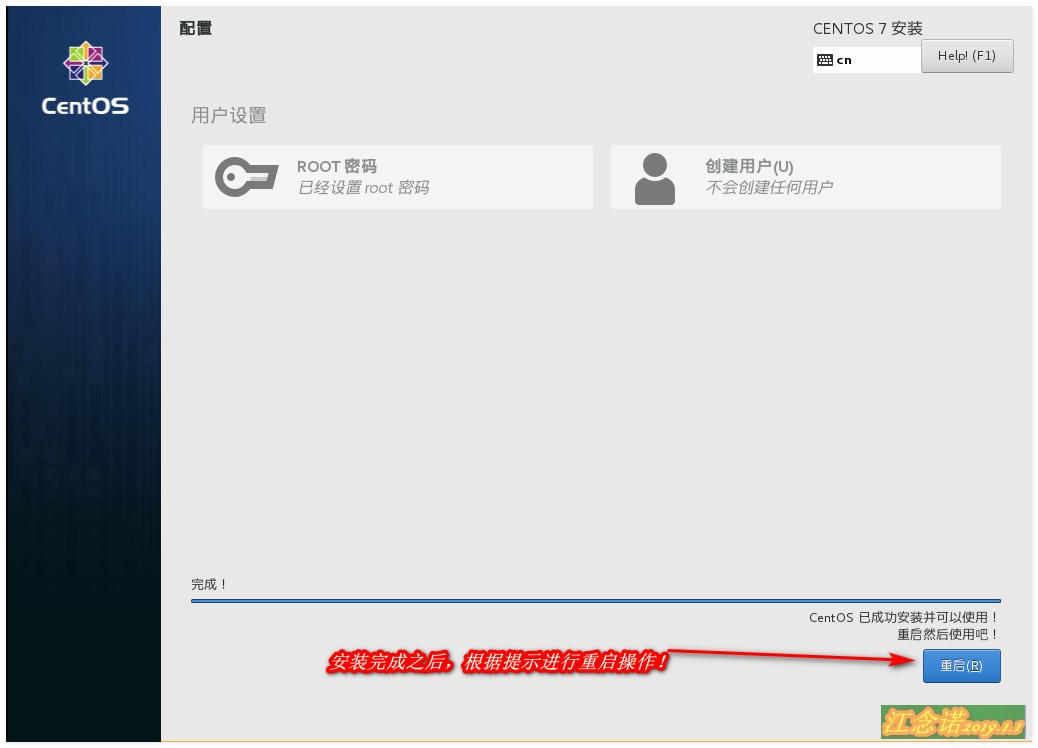
After the virtual machine is restarted, shut it down and configure it as a bridge network as follows:
[root @ localhost ~] (virsh destroy centos7.0 / / in the experimental environment, forced shutdown is adopted, but not recommended
 Domain CentOS 7.0 deleted

[root @ localhost ~] (systemctl stop NetworkManager / / close the network management tool
 [root @ localhost ~] (virsh Iface bridge ens33 br0 / / br0 is generated through ens33
 Failed to generate bridge ens33 with add-on device br0 / / the prompt failed. It doesn't matter
 Bridge interface br0 started

[root @ localhost ~] (virsh edit centos7.0 / / use the "Edit" command to edit the configuration file of the virtual machine
 Navigate to the interface and modify the following:
    < interface type ='bridge '> change to bridge
      <mac address='52:54:00:ef:a3:93'/>
      < source bridge='br0 '/ > change to bridge='br0'
[root @ localhost ~] (virsh start centos7.0 / / start centos7 virtual machine


Operation of KVM server B:
[root@localhost ~]# systemctl stop firewalld
[root@localhost ~]# setenforce 0
//Experimental environment, simply shut down the firewall and SElinux
[root@localhost ~]# lsmod | grep kvm / / confirm that the virtual machine supports the kvm environment
kvm_intel             174841  0
kvm                   578518  1 kvm_intel
irqbypass              13503  1 kvm
[root@localhost ~]# virsh list --all / / confirm that there is no kvm virtual machine
 Id    Name                         state
----------------------------------------------------
[root@localhost ~]# Virt Manager / / open the image interface to manage KVM
Create a storage pool, which is exactly the same as the operation of KVM server A.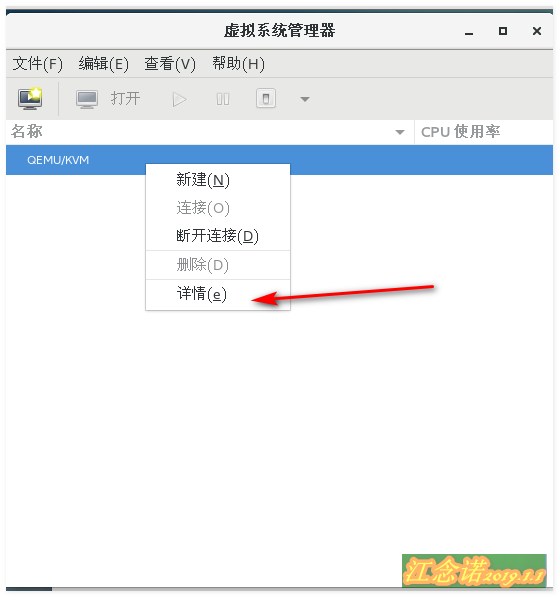
The bridge network card br0 is generated to facilitate the hot migration operation. The operation is as follows:
[root@localhost ~]# systemctl stop NetworkManager
[root@localhost ~]#  virsh iface-bridge ens33 br0
Failed to generate bridge ens33 with additional device br0
 Bridge interface br0 started
 //Because there is no virtual machine in the local area, you only need to generate a bridge network card!
[root@localhost ~]# hostname kvmB
[root@localhost ~]# su -
Last login: March 4 20:05:59 CST 2019 from 192.168.1.253pts/1
 [root@kvmB ~] ා / / modify the host name, otherwise an error may appear later
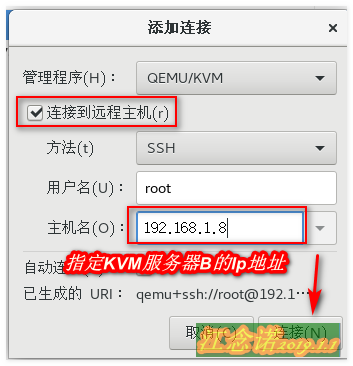
KVM server A performs the following operations: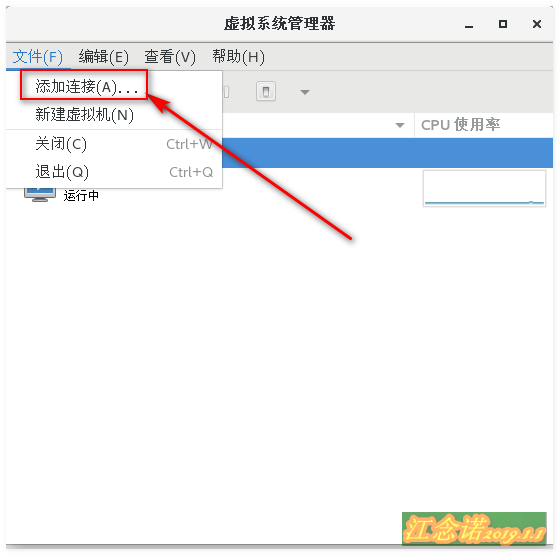
If the following error occurs, as shown in the figure: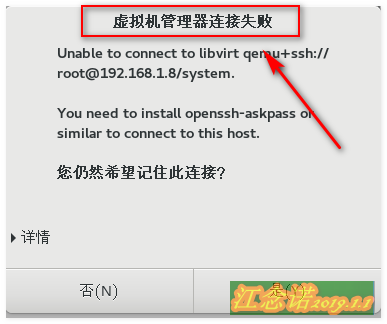
That's because there's no package installed that asks for passwords to connect Using SSH protocol!
The next operation needs to be performed on both KVM S:
[root@localhost ~]# yum -y install openssh-askpass
[root@kvmB ~]#  yum -y install openssh-askpass
//Install the dependency package that asks for the password. Note that both KVM servers need to be installed
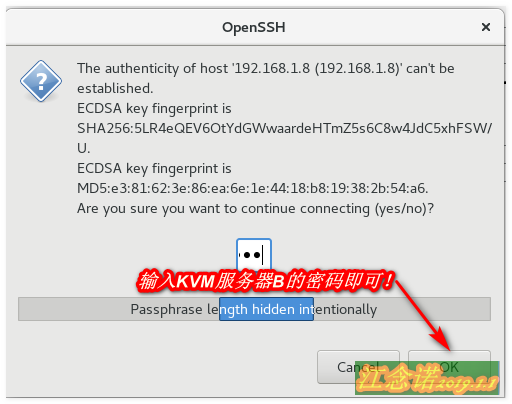
After installation, connect again on KVM server A: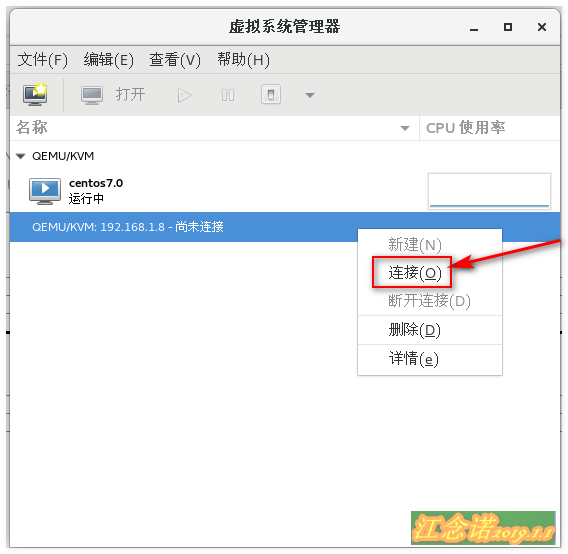
Open KVM virtual machine to visit Baidu all the time, as shown in the figure:
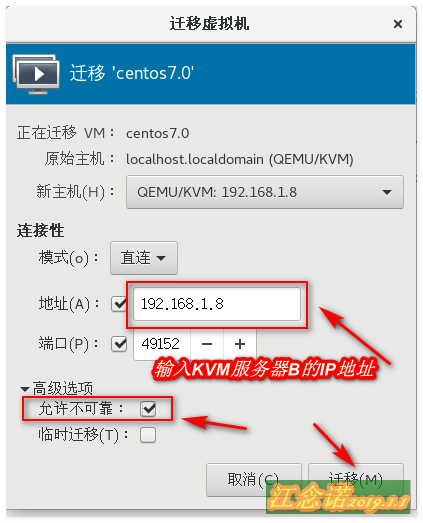
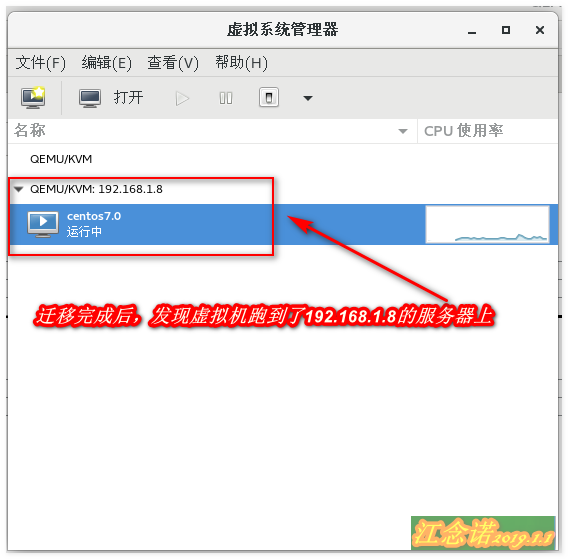
Next, perform the heat transfer operation, as shown in the figure: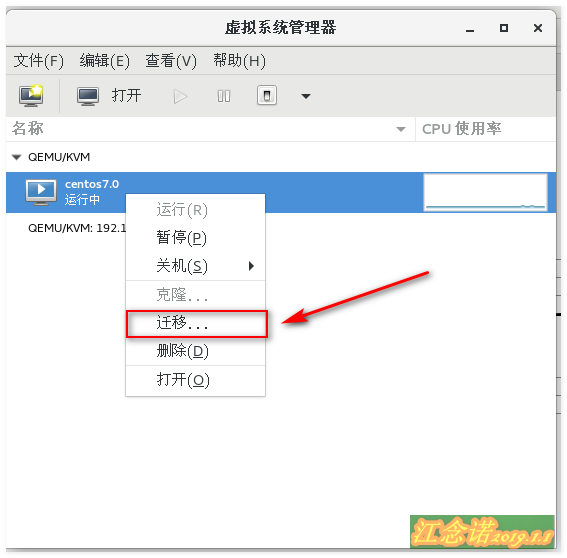
Check whether there is terminal phenomenon in KVM virtual machine access, as shown in the figure: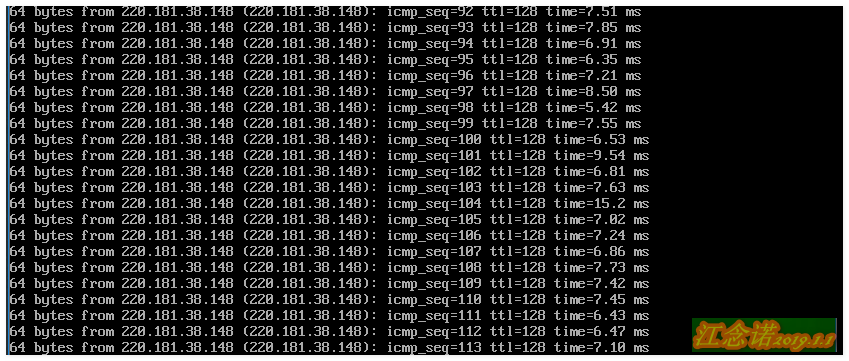
According to the displayed results, it is found that the access is not interrupted, so far, the dynamic migration is successful!
————————Thank you for reading————————