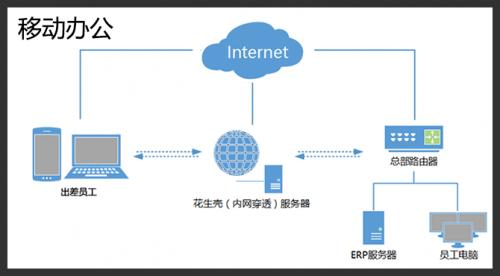
1. What is intranet penetration?
- Intranet penetration is also called intranet mapping, or "NAT penetration"
- In a word, let the external network access your internal network; Regard your intranet (host) as a server so that the external network can access it
- The principle diagram is as follows:
Use lanproxy to build intranet penetration
lanyproxy
lanproxy is an intranet penetration tool that proxies LAN personal computers and servers to the public network. At present, it only supports tcp traffic forwarding and can support any tcp upper layer protocol (access intranet website, local payment interface debugging, ssh access, remote desktop...). At present, peanut shell, TeamView, GoToMyCloud and other similar services are provided on the market, but if you want to use a third-party public network server, you must pay for the third party, and these services have various restrictions. In addition, because data packets will flow through the third party, it is also a hidden danger to data security. https://lanproxy.io2c.com
build
Hardware and environmental requirements
- A public network server (Centos 7.6), as long as there is a computer with public network ip, window s or linux will do
- java running environment is installed (because lanproxy is a program written by java, the public network computer must have a java running environment)
- Installed git (we pull to the lanproxy project through GIT)
- Installed maven (generate executable software (server, client) through maven packaging)
- An intranet computer (run an http server on the intranet computer to see the results later)
Server
The server must be built on the public ip, because we need to help us penetrate the intranet through the lanproxy server of the public network
Download build
- Pull the lanproxy item on github
git clone https://github.com/ffay/lanproxy.git
- Package the pulled lanproxy project through mvn
cd lanproxy
mvn package
After mvn is completed, there will be an additional distribution folder in the project
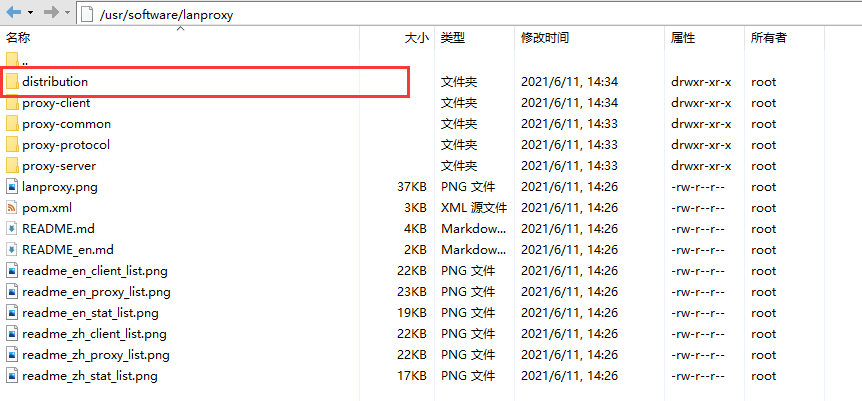
to configure
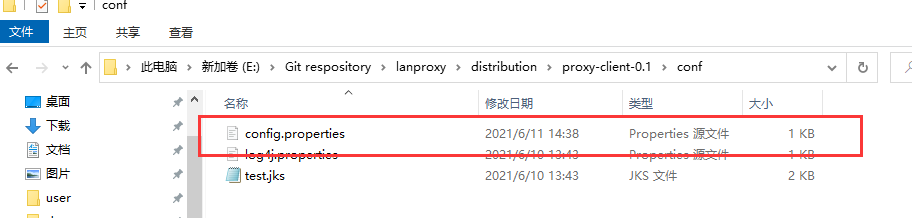
There are two folders under the distribution folder
- proxy-server-0.1: this folder is the server
- proxy-client-0.1: this folder is the client

The server configuration is in the folder proxy-server-0.1/conf/config In the properties file (we generally use the default without modification)
server.bind=0.0.0.0

#Communication port with proxy client
server.port=4900 # This is not the startup port of the server project, but
# For example, one of your projects deployed on the intranet server occupies port 4900, and you want to access the intranet through the public ip
# The project under port 4900, the server Port equals 4900

#If ssl configuration is not applicable here
server.ssl.enable=true
server.ssl.bind=0.0.0.0
server.ssl.port=4993
server.ssl.jksPath=test.jks
server.ssl.keyStorePassword=123456
server.ssl.keyManagerPassword=123456

#This configuration can be ignored
server.ssl.needsClientAuth=false

#WEB online configuration management related information
config.server.bind=0.0.0.0
config.server.port=8090 # Here is the start and access port of the server project
# User name and password
config.admin.username=admin
config.admin.password=admin
start-up
The start and stop programs are under proxy-server-0.1/bin (if it is under the window system, directly click startup.bat to start)
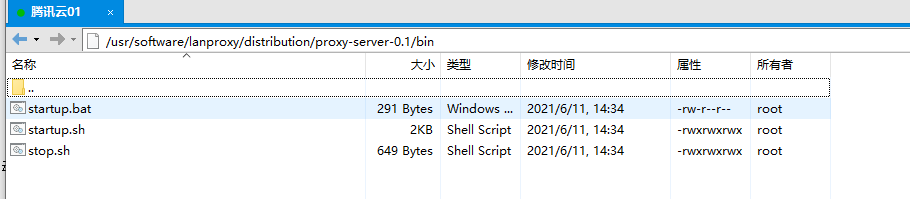
# Give executable permission
chmod 777 ./startup.sh
chmod 777 ./stop.sh

# start-up
./startup.sh

# stop it
./stop.sh
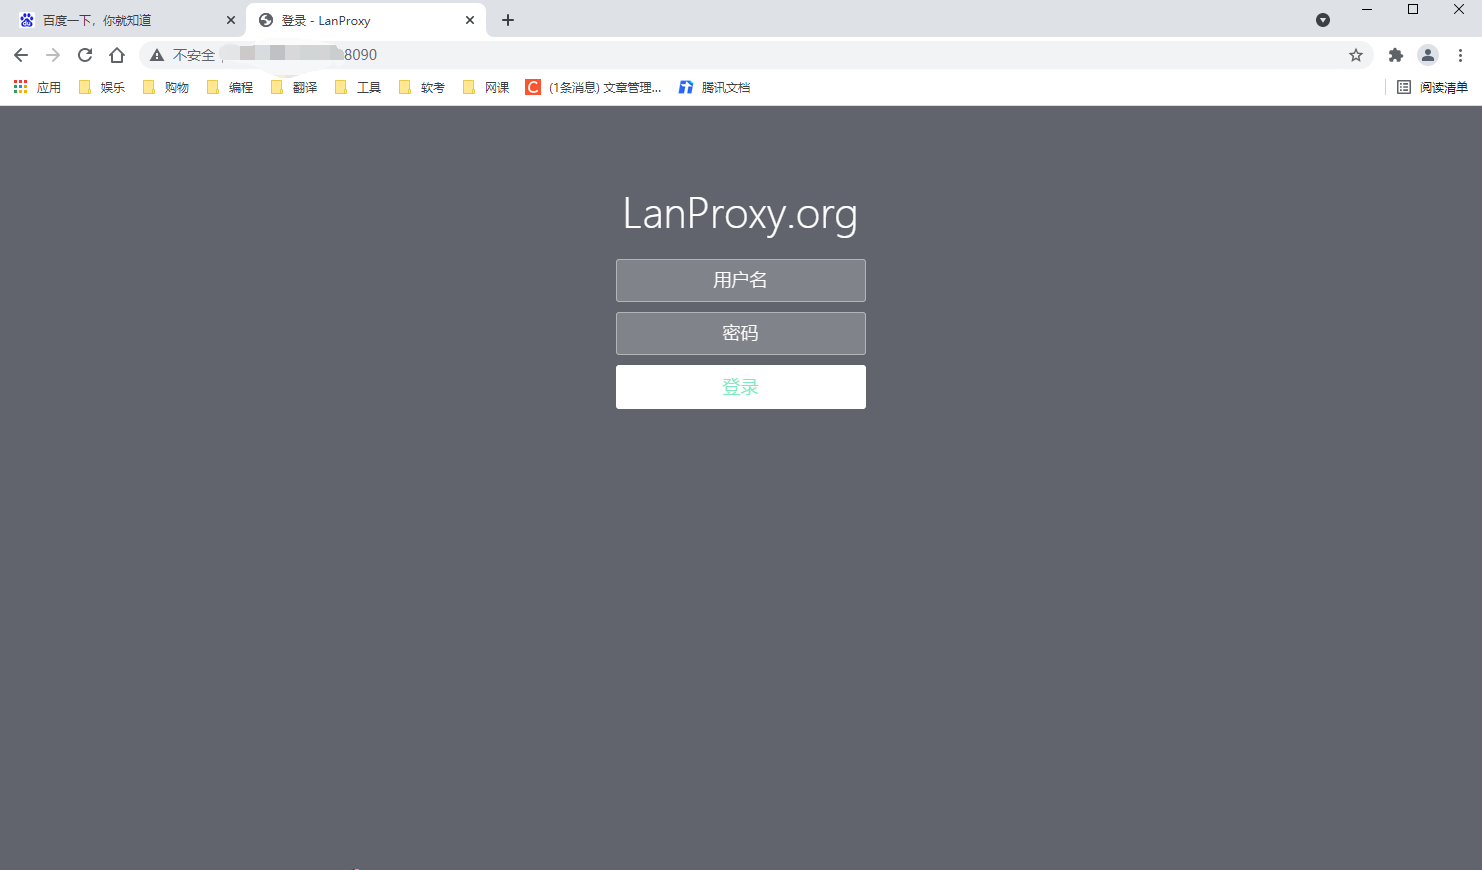
After startup, we can visit the visual website provided by lanproxy to configure the default address: http: / / [your public ip]:8090
The password account depends on your profile
- account:admin
- password:admin
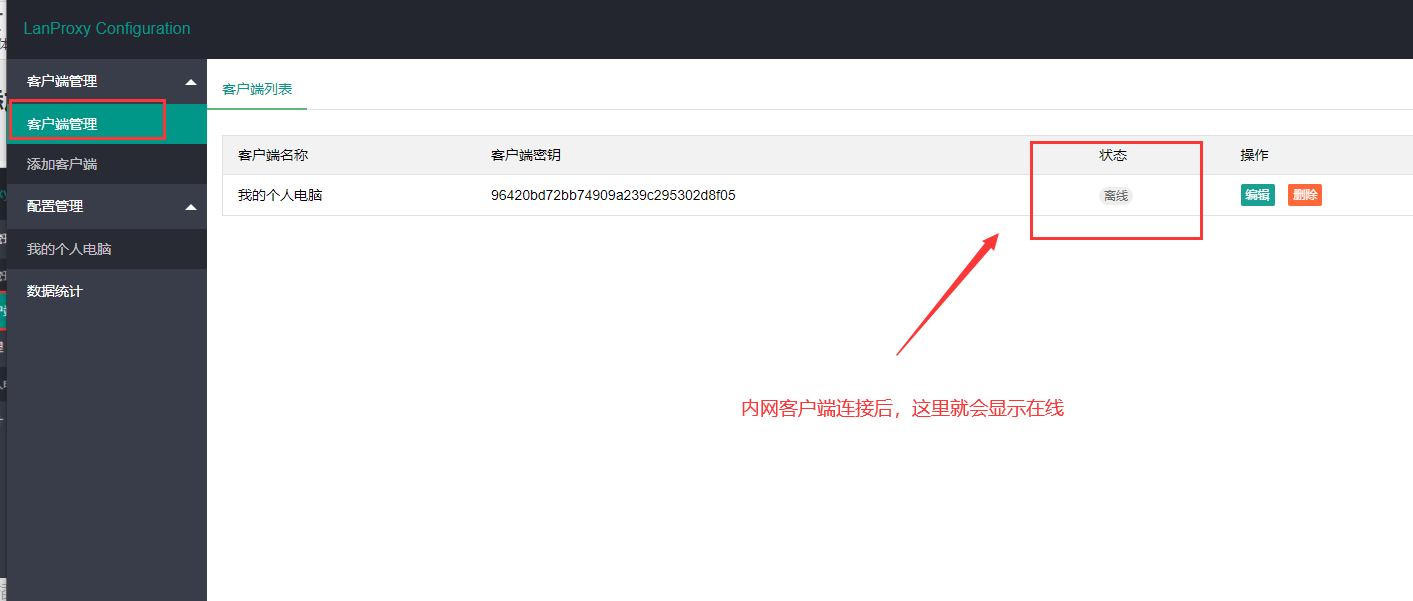
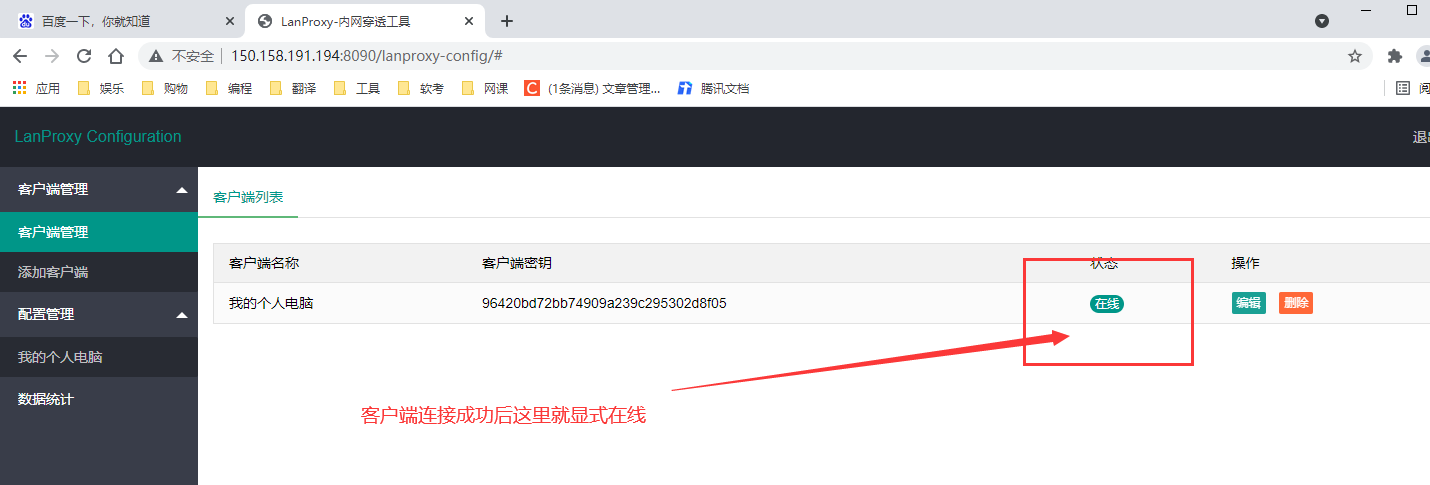
Add intranet user

After adding successfully, there will be a record in the client management
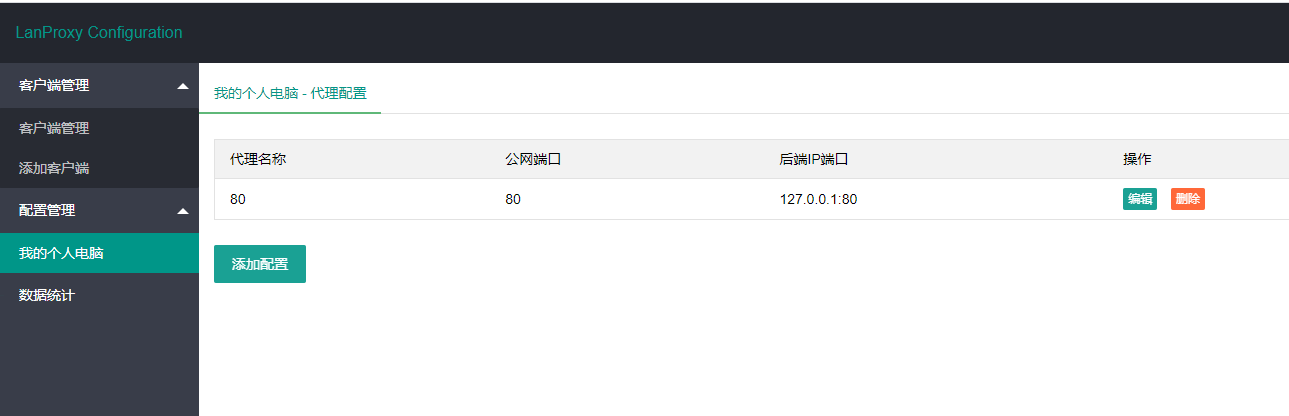
Add intranet mapping port
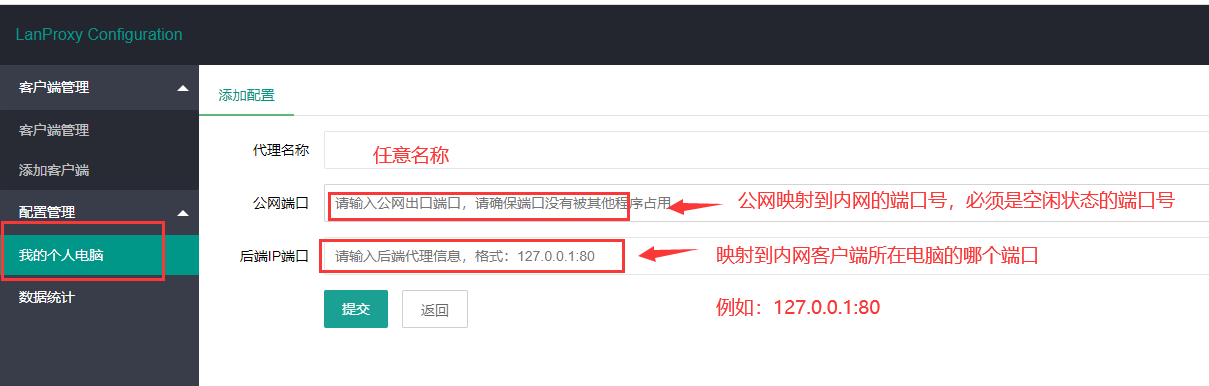
Add complete
client
The client needs to be built on the intranet ip computer that needs to be penetrated by the intranet, such as my personal computer
Download and install
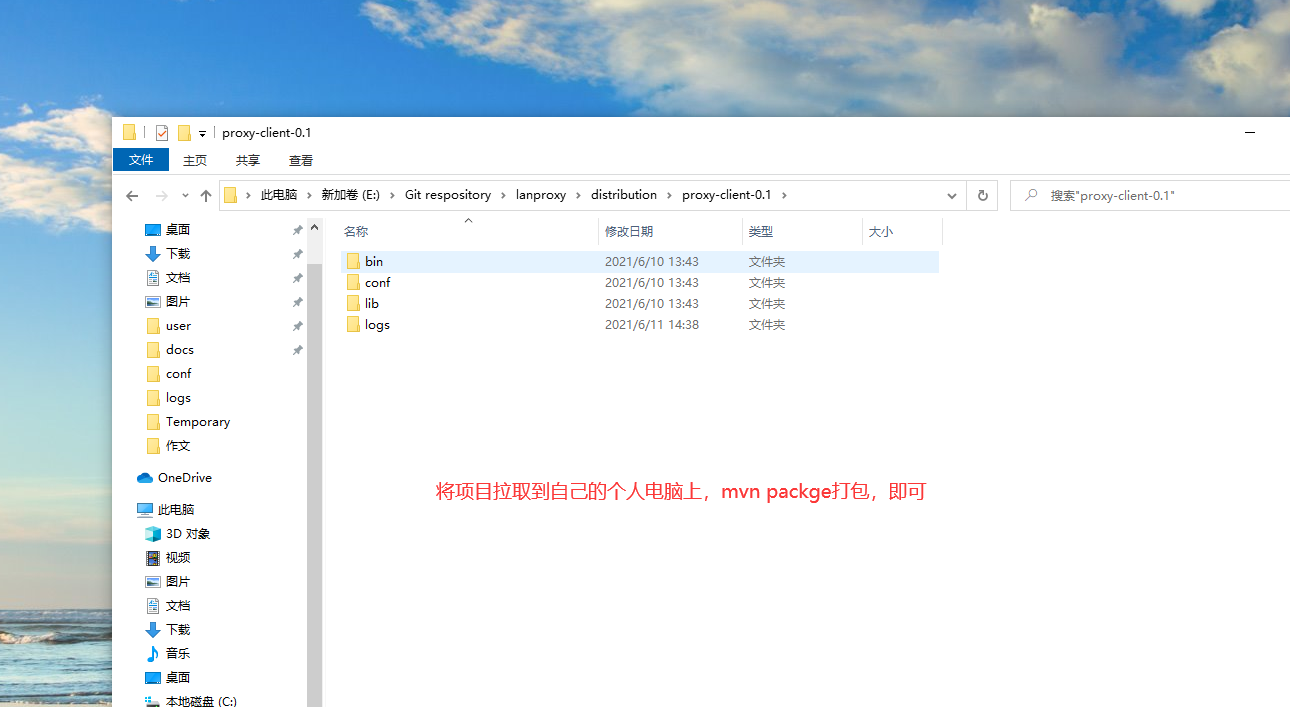
The client program is in the distribution file of the lanproxy project and is placed together with the server program
So computer programs are as like as two peas. We only need to pull the project down on our own computer, mvn package, and the program is basically the same as the server download.

Client configuration
The configuration files of the client and the server are in the conf folder,
# Here is the key configured in the background of lanproxy
client.key=e6a49a19b8024652ab4ff2210abf2c6a

# Configure ssl information and fill it in according to the configuration of the server (if enable = false, it does not need to be configured)
ssl.enable=false
ssl.jksPath=test.jks
ssl.keyStorePassword=123456

# Server ip
server.host=120.92.10.120

#The default port of proxy server SSL is 4993, and the default port is 4900
#ssl. When enable = true, fill in the SSL port here, SSL When enable = false, fill in the normal port here
server.port=4900
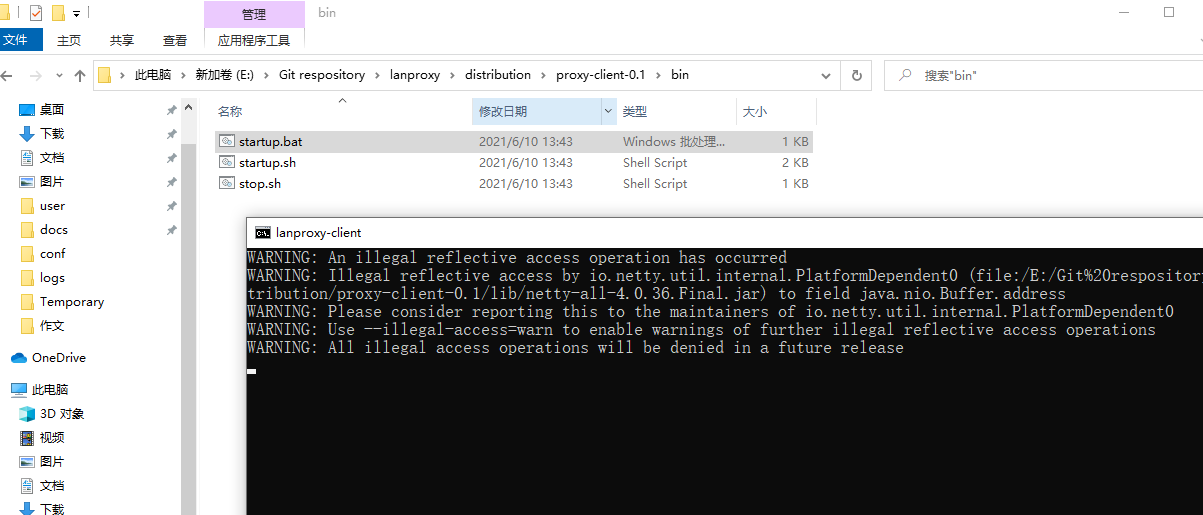
Start client
The startup program is also placed in the bin folder. On the window system, we can directly click (startup.bat) to start it
test
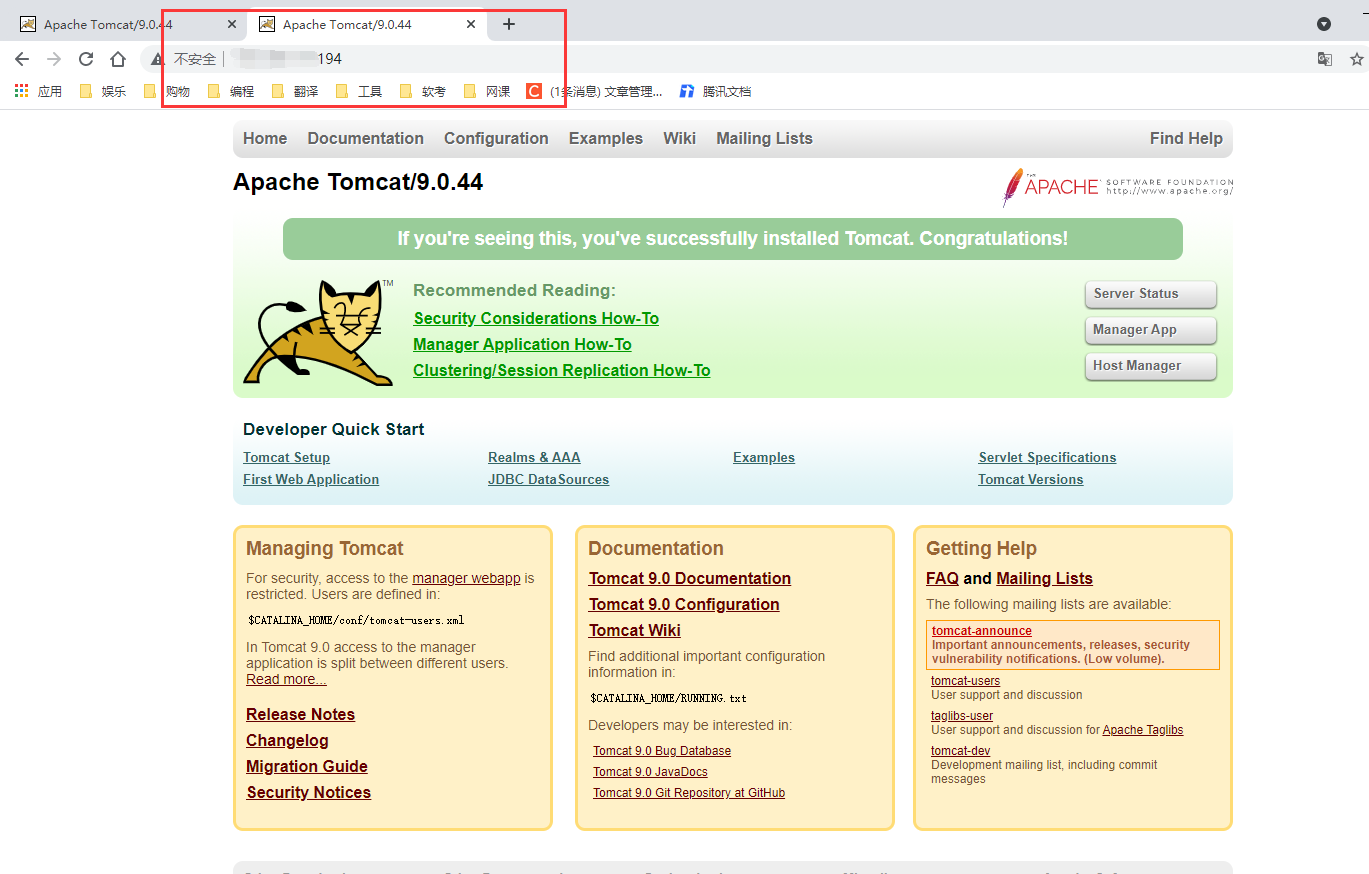
We open an http server on our intranet computer, such as tomcat, and change the publishing port to port 80
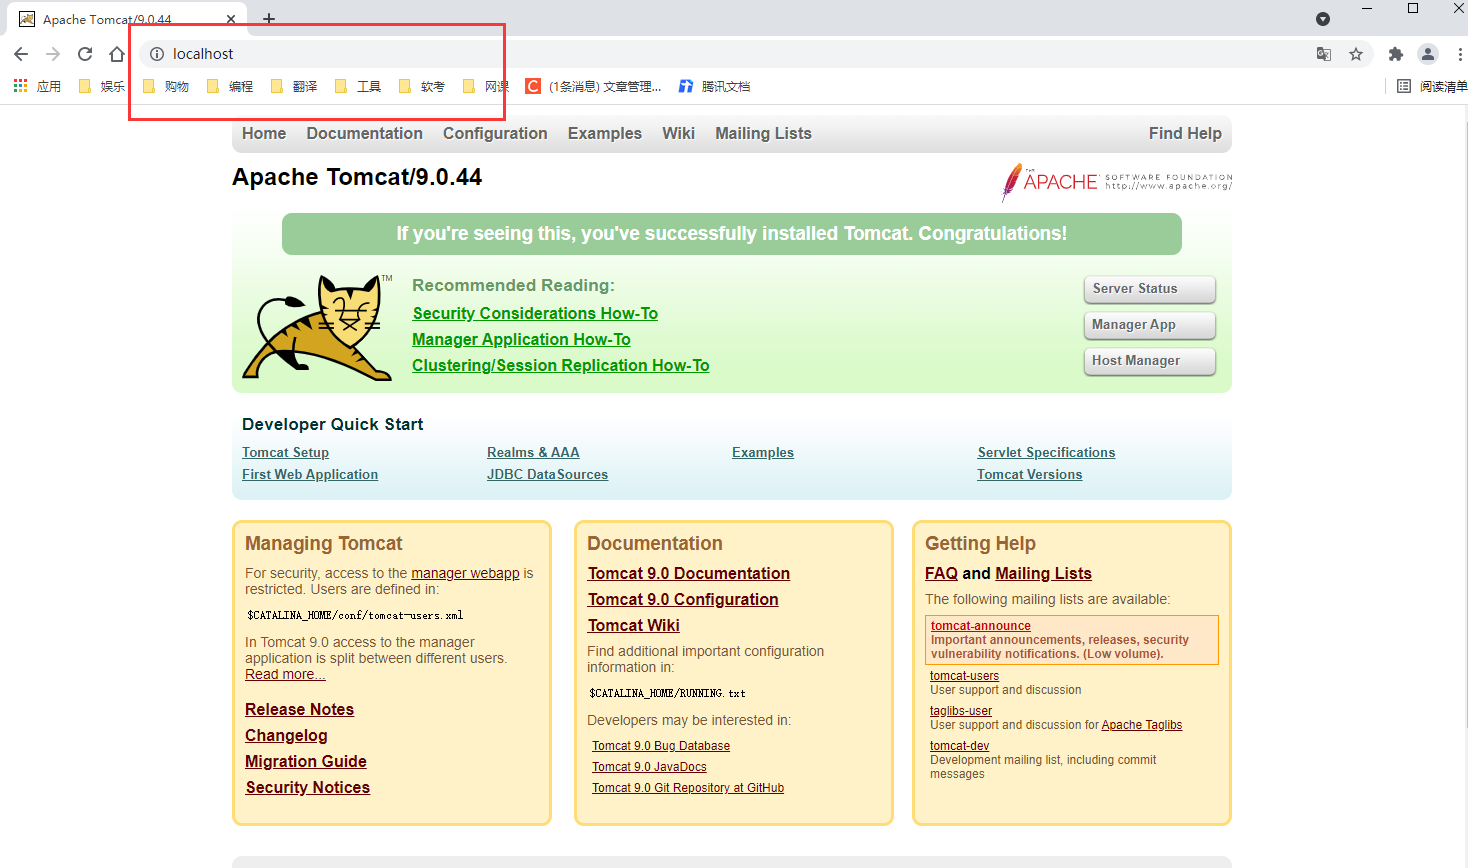
We have opened the client on the intranet computer and connected to the lanproxy server on the public network, so we can directly access port 80 of the public network computer to access the http server on the local computer
So far, it's done