Multi column document
Original: Multiple columns
Translated by: Xovee
Translation time: February 23, 2022
introduce
In LaTeX, you can easily create a two column document using the \ twocolumn command. If you need more document layouts or create multi column documents, you can use the multicol package. This article describes how to do this using the multicol package:
\documentclass{article}
\usepackage{blindtext}
\usepackage{multicol}
\title{Multicols Demo}
\author{Overleaf}
\date{April 2021}

\begin{document}
\maketitle

\begin{multicols}{3}
[
\section{First Section}
All human things are subject to decay. And when fate summons, Monarchs must obey.
]
\blindtext\blindtext
\end{multicols}

\end{document}
Import this package first
\usepackage{multicol}
Then we use the multicols environment. This environment has two parameters:
- Number of columns. In this example, we use 3.
- Title text. Enter the text in square brackets. The text will appear above multiple columns of text. You can use any LaTeX command, but you cannot use floating elements such as pictures and tables. In this example, we enter a title and a short paragraph of text.
The text in the labels \ begin{multicols} and \ end{multicols} will be displayed in a multi column format.
Column spacing
We can use the \ columnsep command to set the interval between columns. For example:
\documentclass{article}
\usepackage{blindtext}
\usepackage{multicol}
\setlength{\columnsep}{1cm}
\title{Second multicols Demo}
\author{Overleaf}
\date{April 2021}

\begin{document}
\maketitle

\begin{multicols}{2}
[
\section{First Section}
All human things are subject to decay. And when fate summons, Monarchs must obey.
]
\blindtext\blindtext
\end{multicols}

\end{document}
Here, the command \ setlength{\columnsep}{1cm} sets the column spacing to one centimeter. For length units in LaTeX, please refer to this article article.
Unbalanced columns
By default, the number of text in different columns in the document is equal. We can use multicols * to change this:
\documentclass{article}
\usepackage{blindtext}
\usepackage{multicol}
\setlength{\columnsep}{1cm}
\title{Second multicols Demo}
\author{Overleaf}
\date{April 2021}
\begin{document}
\maketitle
\begin{multicols*}{3}
[
\section{First Section}
All human things are subject to decay. And when fate summons, Monarchs must obey.
]
\blindtext\blindtext
\end{multicols*}

\end{document}
We can see that the text is displayed in turn from the left column to the right column.
Insert floating element
We can use wrapfig and wraptable to insert pictures and tables in multi column documents.
\begin{multicols}{2}
[
\section{First Section}
All human things are subject to decay. And when fate summons, Monarchs must obey.
]

Hello, here is some text without a meaning.  This text should show what
a printed text will look like at this place.
If you read this text, you will get no information.  Really?  Is there
no information?  Is there.

\vfill

\begin{wrapfigure}{l}{0.7\linewidth}
\includegraphics[width=\linewidth]{overleaf-logo}
\caption{This is the Overleaf logo}
\end{wrapfigure}

A blind text like this gives you information about the selected font, how
the letters are written and an impression of the look.  This text should
contain all...

\begin{wraptable}{l}{0.7\linewidth}
\centering
\begin{tabular}{|c|c|}
\hline
Name & ISO \\
\hline
Afghanistan & AF \\
Aland Islands & AX \\
Albania    &AL  \\
Algeria   &DZ \\
American Samoa & AS \\
Andorra & AD   \\
Angola & AO \\
\hline
\end{tabular}
\caption{Table, floating element}
\label{table:ta}
\end{wraptable}

\end{multicols}

\end{document}
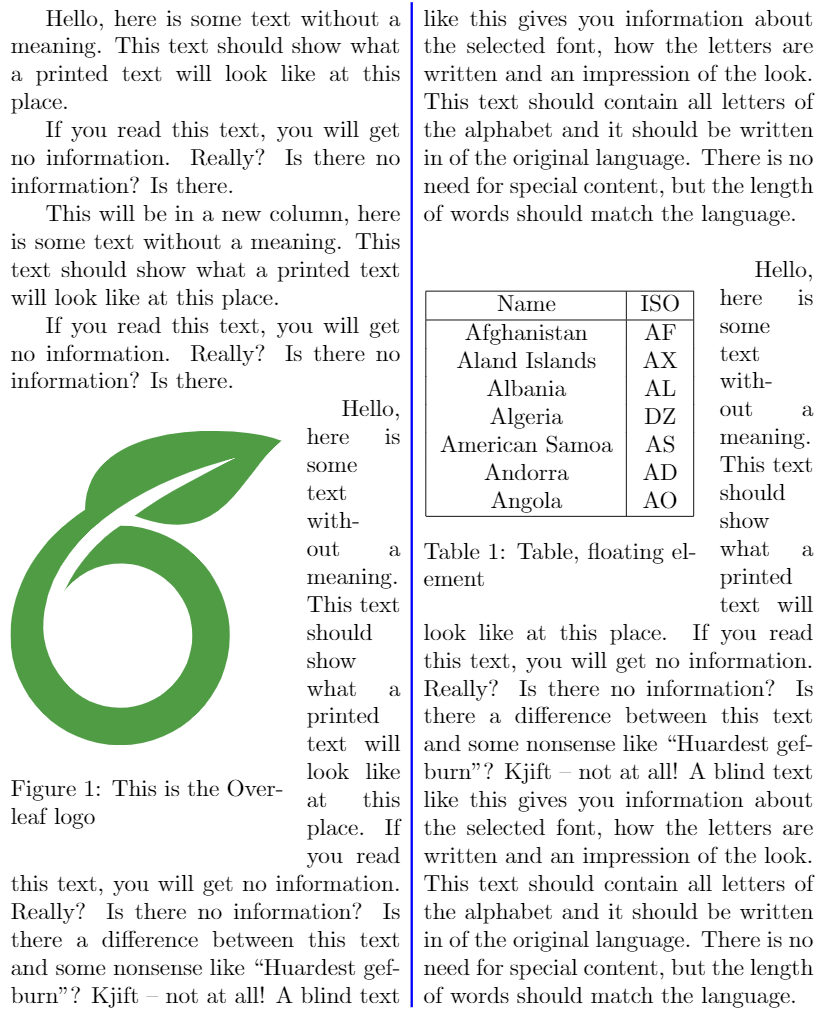
The current version of the multicol package has poor compatibility with floating elements. If you use the traditional figure * and table * environments, they will appear at the beginning or end of the next page, thus destroying the document structure. The above example shows a flexible approach (not perfect. For example, if you set the width of the element to \ linewidth, you will see text overlap). Some commands are briefly described below:
- \usepackage{wrapfig}. Introduce this package in the preamble.
- The wrapfigure environment will insert a picture surrounded by text. For more information and examples, you can refer to this article article.
Insert vertical line
You can insert vertical lines in the document to improve readability between columns.
\documentclass{article}
\usepackage{blindtext}
\usepackage{multicol}
\usepackage{color}
\setlength{\columnseprule}{1pt}
\def\columnseprulecolor{\color{blue}}

\begin{document}

\begin{multicols}{3}
[
\section{First Section}
All human things are subject to decay. And when fate summons, Monarchs must obey.
]
Hello, here is some text without a meaning.  This text should show what
a printed text will look like at this place.

If you read this text, you will get no information.  Really?  Is there
no information?  Is there.

\columnbreak
\blindtext
This will be in a new column, here is some text without a meaning.  This text
should show what a printed text will look like at this place.

If you read this text, you will get no information.  Really?  Is there
no information?  Is there...
\end{multicols}

\blindtext

\end{document}
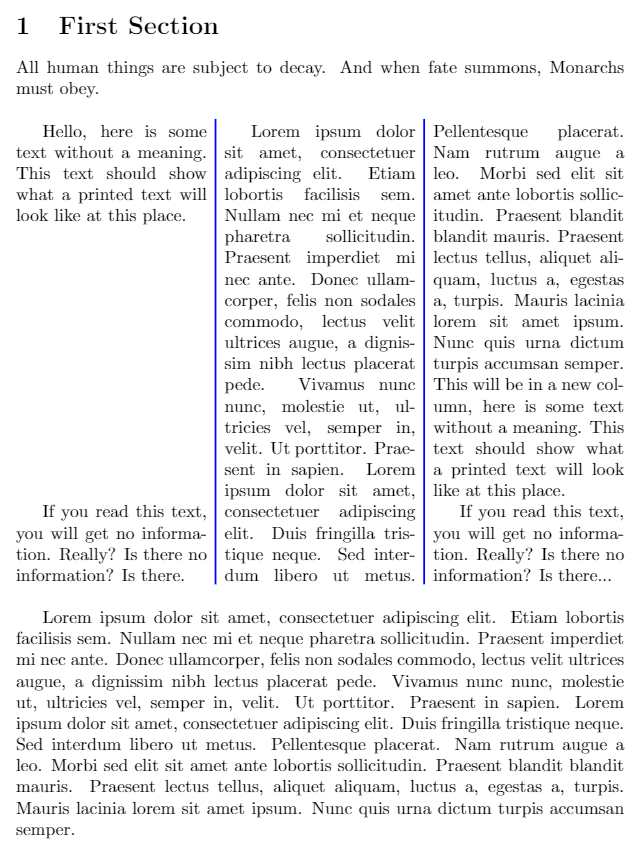
The following describes the commands:
- \usepackage{color}: import package.
- \Setlength {\ columnsepule} {1pt}: this command sets the width of the vertical line. It defaults to 0. In the above example, its width is 1pt.
- \def\columnseprulecolor{\color{blue}: the color of the vertical line is set to blue.
- Column break: this command inserts a column breakpoint. In this example, a large amount of space will appear before the second paragraph to fill the following columns with the following text. That is, the paragraph before the breakpoint will fill the available space evenly.