Project introduction
Tencent/CodeAnalysis: Static Code Analysis (github.com)
Wandering on Github, I found TCA, Tencent cloud's own project. I was curious and went in to have a look
The official documents are as follows:
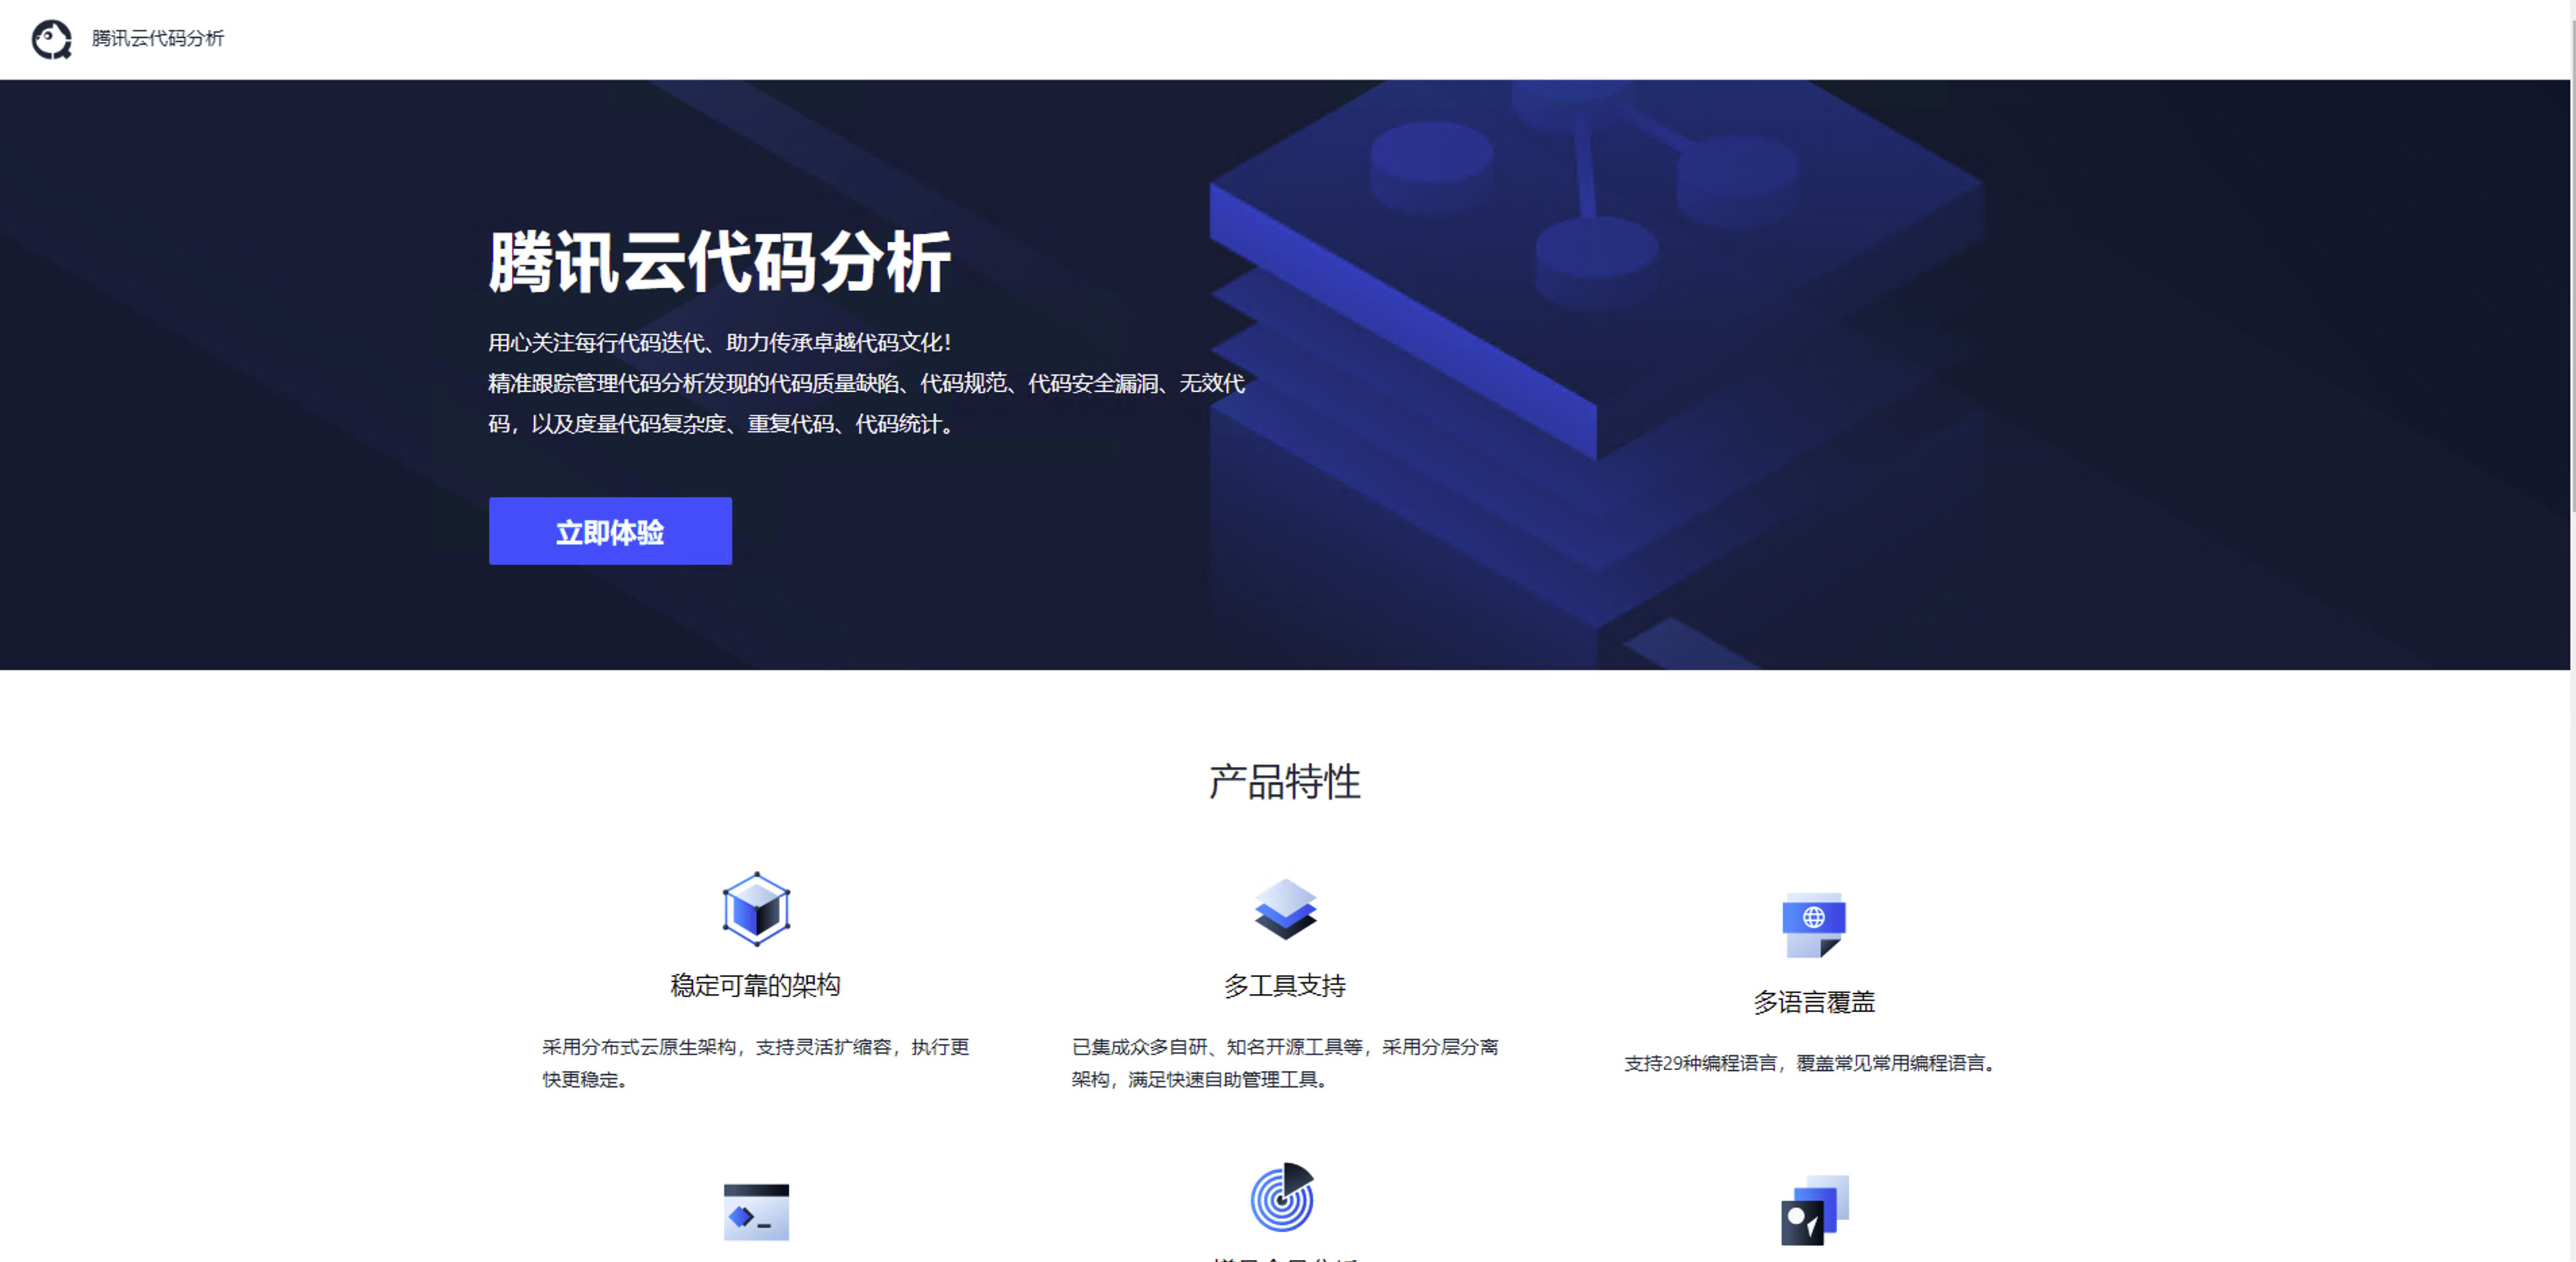
Tencent Cloud Code Analysis (TCA for short, the internal R & D code codelog) is a comprehensive code analysis platform, including three components: server, Web and client. It supports the integration of common code analysis tools in the industry. Its main function is to ensure the code quality under the agile iteration of multi engineering projects and support the team to inherit the code culture.
According to the official documents, TCA has the following key functions:
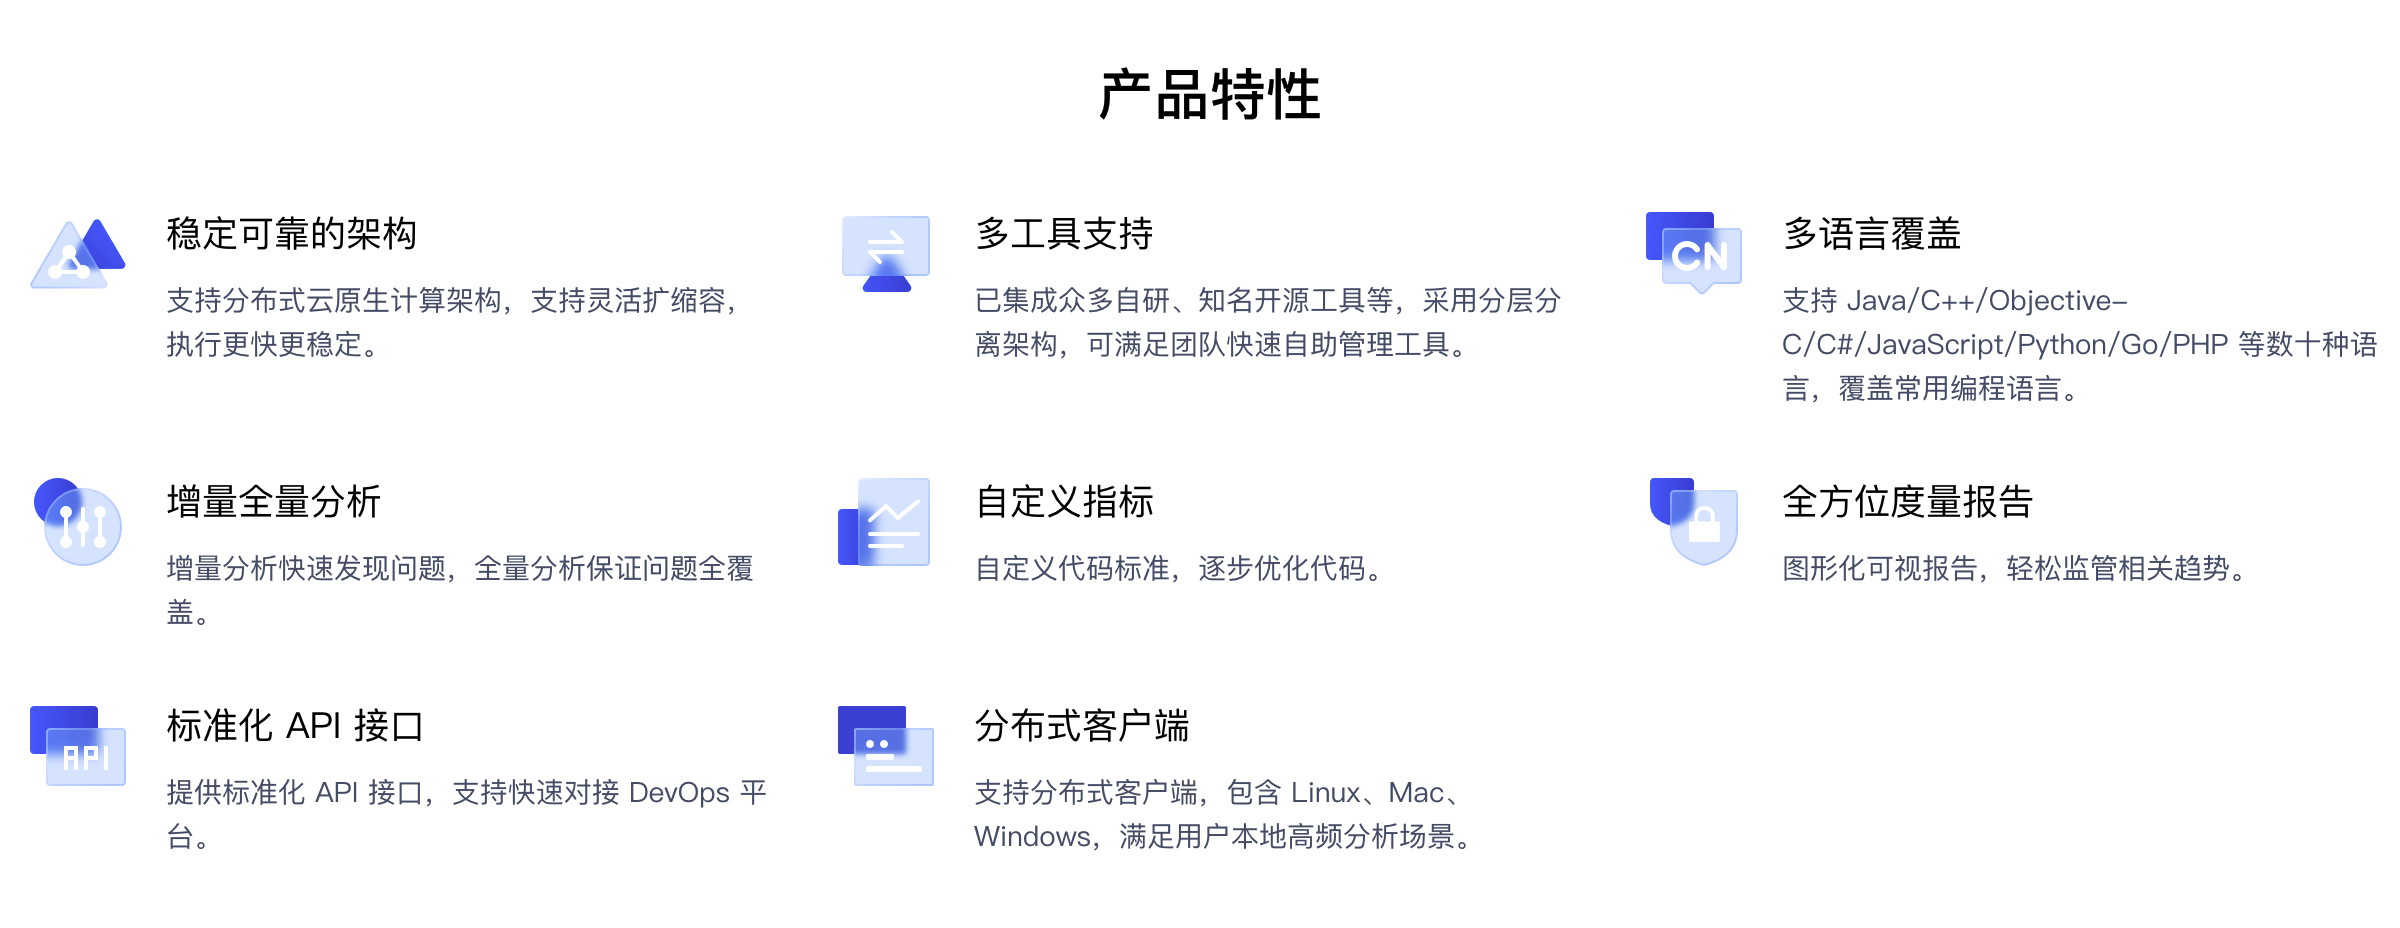
Language support: it supports dozens of languages such as Java/C++/Objective-C/C#/JavaScript/Python/Go/PHP, covering common programming languages.
Code inspection: code quality defects, code specifications, code security vulnerabilities, invalid codes, etc. found through code inspection and accurate tracking management. At present, many self-developed and well-known open source analysis tools have been integrated, and a hierarchical separation architecture has been adopted, which can meet the needs of the team's rapid self-service management tools.
Code measurement: it supports three dimensions: Code circle complexity, code repetition rate and code statistics to monitor the current code situation.
DevOps integration: the client can quickly connect to various DevOps scheduling systems through command line startup, and connect to upstream and downstream systems through standard API interfaces
As a web-side code detection tool, the official documentation indicates that the project can be privatized and deployed, and also supports docker. This deployment uses local deployment and installation
Installation deployment:
Operating system: CentOS 7.6
Server: Tencent cloud Lighthouse 2C4G6M, zone 3, Guangzhou
Software: ssh and ftp tools. Here I use xshell and xftp
Environment deployment:
Install MySQL 5 seven
# Install mysql yum source
wget https://repo.mysql.com//mysql57-community-release-el7-11.noarch.rpm
# Install MySQL
yum localinstall mysql57-community-release-el7-11.noarch.rpm
yum install mysql-community-server
# Start MySQL
systemctl start mysqld
# Confirm that MySQL starts normally
systemctl status mysqld
# View and generate the temporary password of MySQL root user:
grep 'temporary password' /var/log/mysqld.log
# To modify the root user password:
# Connect to MySQL service
mysql -uroot -p # Output the temporary password queried above
# Change the password of the root user (change to Password@2021 , which can be adjusted according to your own needs):
ALTER USER 'root'@'localhost' IDENTIFIED BY 'Password@2021';
Install Redis
It is for reference only and is not applicable to the deployment in the formal environment. It is recommended to use professional Redis services (such as Tencent cloud's Redis products) in the formal environment
# Install redis using yum or up2date
yum install redis
# Modify redis password
vim /etc/redis.conf
# find requirepass foobared# Copy a line and adjust the password according to your needs, such as requirepass tca123
# Start redis
systemctl start redis
# View redis running status
systemctl status redis
# Visit redis
redis-cli  127.0.0.1:6379> auth tca123 OK # Authentication passed
Install Python
# Download Python installation package
wget https://www.python.org/ftp/python/3.7.12/Python-3.7.12.tgz
# Install dependent components
yum -y install wget zlib-devel bzip2-devel openssl-devel ncurses-devel sqlite-devel readline-devel tk-devel gcc make libffi-devel xz-devel
# Unzip to the / usr/local/src directory$
tar zvxf Python-3.7.12.tgz -C /usr/local/src
cd /usr/local/src/Python-3.7.12 # Pre compile configuration
./configure prefix=/usr/local/python3 --enable-shared
# Compile build
make -j8 # Install Python
make install # Clean up the intermediate files of the compiled output
make clean # Link the Python executable of the build output to the / usr/local/bin directory
ln -s /usr/local/python3/bin/python3 /usr/local/bin/python # Link the pip3 executable of the build output to the / usr/local/bin directory
ln -s /usr/local/python3/bin/pip3 /usr/local/bin/pip # Link build output Python dynamic library
ln -s /usr/local/python3/lib/libpython3.7m.so.1.0 /usr/lib/libpython3.7m.so.1.0 # Configure dynamic library
ldconfig
# It is strongly recommended to replace domestic cloud servers with domestic software sources
pip config set global.index-url https://pypi.tuna.tsinghua.edu.cn/simple
Installing Nginx
# Install ningx using yum or up2date
yum install nginx
Application deployment
Start the Server side:
# Upload the file to the server and extract it. unzip is built into CentOS
# Move the source code to the data folder and rename it / tca_open_source
mv CodeAnalysis-main/ /data/
mv /data/CodeAnalysis-main /data/tca_open_source/
# After entering the Server service working directory (assuming that the working directory is / data/tca_open_source/server /, the following paths are relative paths in the working directory)
cd /data/tca_open_source/server/
# Configure MySQL and Redis services and execute initialization data (MySQL version running version: 5.7)
vim ./scripts/config.sh
# Fill in the database and Redis information and adjust the configuration information as needed. The default values have been provided for the main project configuration. The field description can be viewed in the document
# The root password of MySQL is Password@2021 The Redis password is tca123
# Execute initialization DB, install dependency and run initialization script
./scripts/deploy.sh init
# Establish a soft link between the installed celery and gunicorn executable files to the / usr/local/bin path
ln -s /usr/local/python3/bin/celery /usr/local/bin/celery
ln -s /usr/local/python3/bin/gunicorn /usr/local/bin/gunicorn
# Environment variable validation
export PATH=/usr/local/bin:$PATH
# Start service execution
./scripts/deploy.sh start
# Stop service execution
./scripts/deploy.sh stop
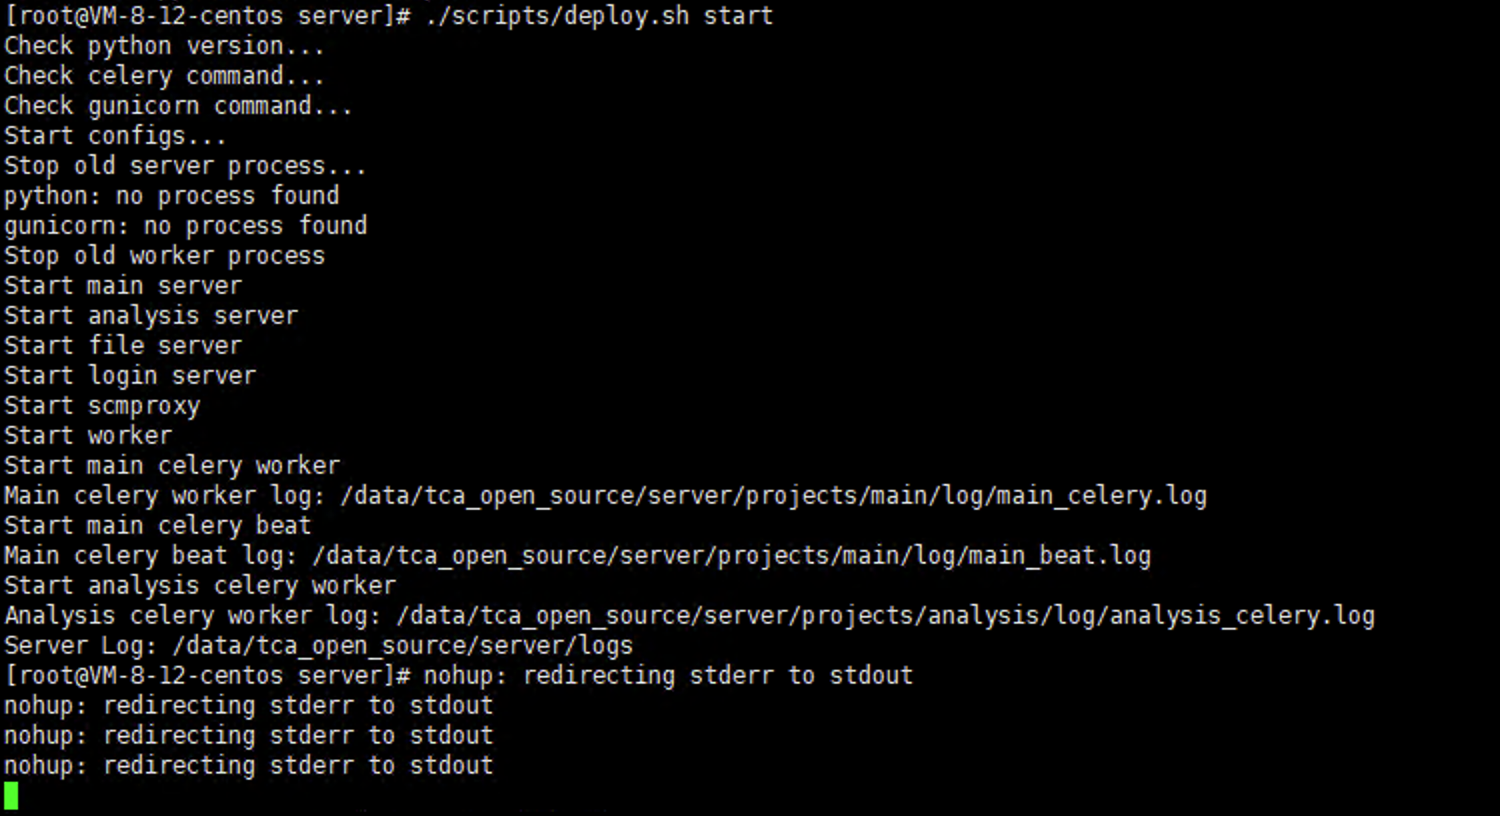
The status shown in the figure shows that the server side deployment is successful
Start the web side
#Switch to the web directory of TCA deploy source and treat it as a working directory (assuming that the working directory is
cd /data/tca_open_source/web/tca-deploy-source
# Execute the initialization command: set the default environment variables, install front-end resources, configure hosts, nginx, etc., and start nginx service
sh init.sh -d
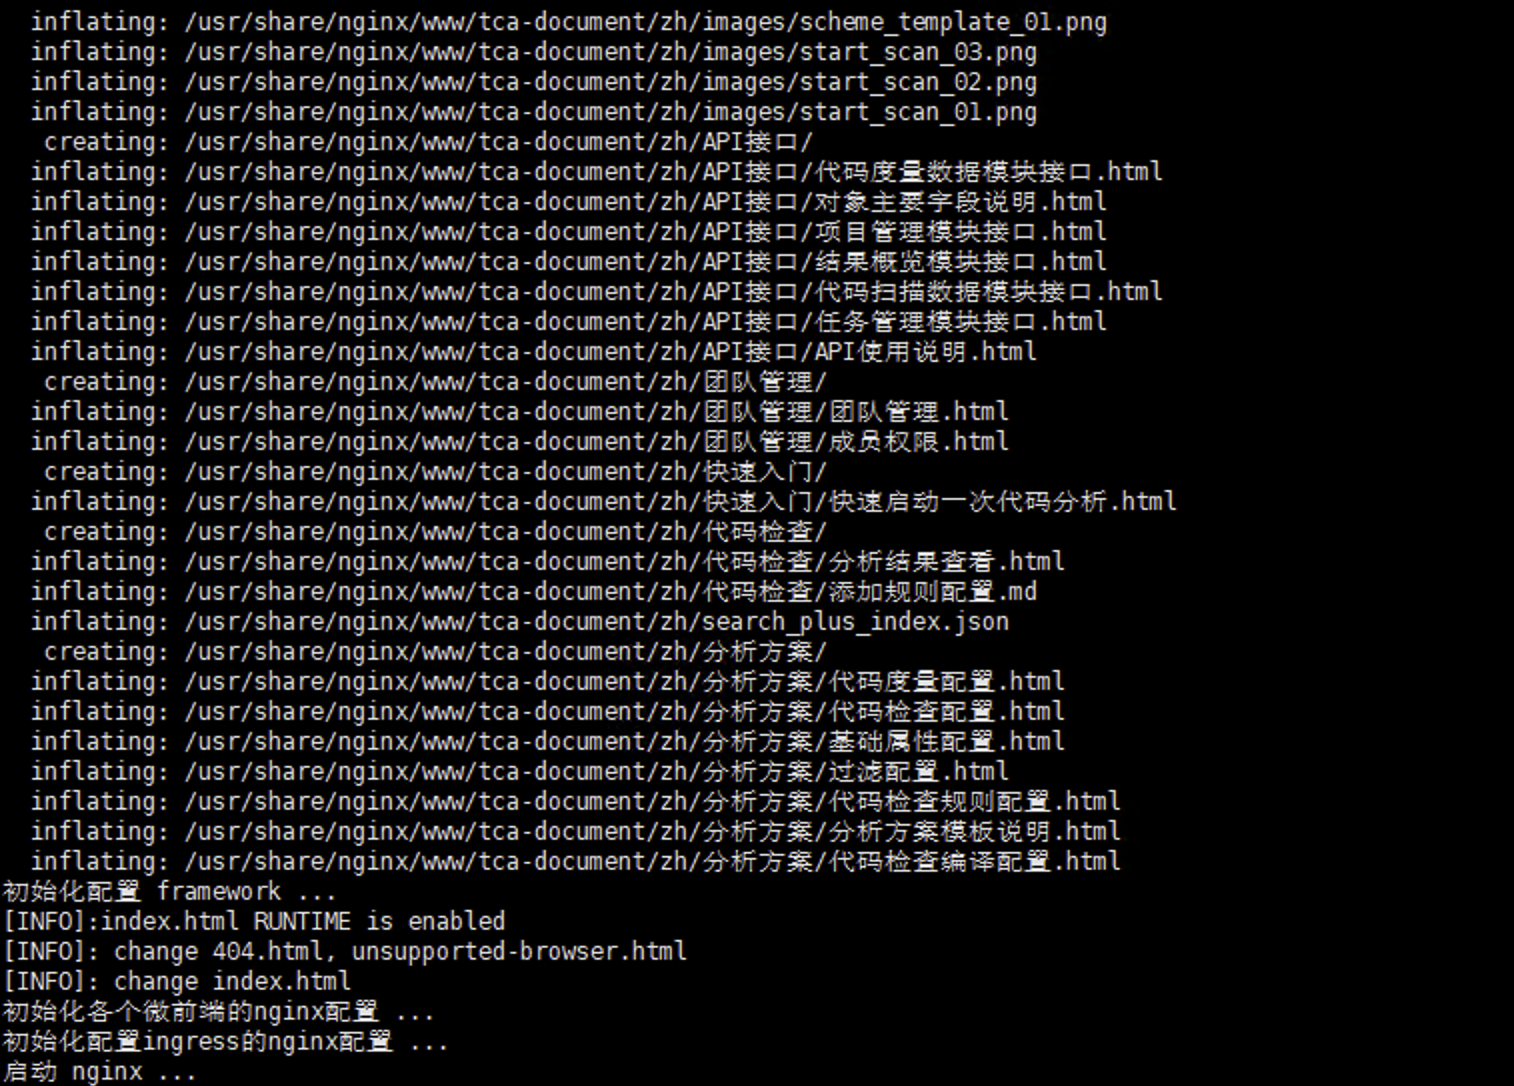
Web side deployment succeeded